Easy Messaging on ARM With Telegram (on RPI)
by Francoix_Badreau in Circuits > Raspberry Pi
2804 Views, 6 Favorites, 0 Comments
Easy Messaging on ARM With Telegram (on RPI)

There are a lot of possible ways to texting nowadays. From widely spread WhatsApp, Telegram and Viber to the most known only within a professional society, like Mattermost.
And do you know what I, personally, like about all these things so far? The fact, that almost all the modern messengers are free, and use the Internet connection to allow us to stay in touch, no matter what the distance between us.
So, today, I'd like to step i\even further and try to make messaging not only free but also sufficient and "green". By saying "green", of course, I mean the saving of energy. Yes, I am speaking about running a messenger on an ARM-based device, such as Raspberry Pi. Maybe this wish bases not only on noble feelings of the global mankind prosperity within the safe energy future but also on the fact, that I am working with ARM-based technology and spend a major part of my day with this device. So, convenient communication on the job is highly appreciated in these circumstances.
For this project, I've chosen the Telegram messenger. Why? Because I, simply like it, have already got used to it and believe it is one o\f the most progressive app of all.
How to Install Telegram on Raspberry Pi
Well, we have appointed the target of ours and want to reach it. We need Telegram on Raspberry Pi (the most popular and widely spread ARM device which I am working with). Basically, as Telegram is purely an x86 software (read "built up for Windows only") we can't install it on Raspberry Pi... Directly. Again, as UI have already mentioned in my previous projects on Instructables, to run any x86 software we need to implement the following chain:
Emulator - Wine - Software.
In case of Telegram, it doesn't require Wine and may be started directly within an emulator.
So, the steps contain the same actions:
1. Installation an emulator for x86 environment
2. Installation the software right wiothin an emulator.
Straightforward, isn't it? )) Anyway, let's get to the detailed guide.
Install an Emulator

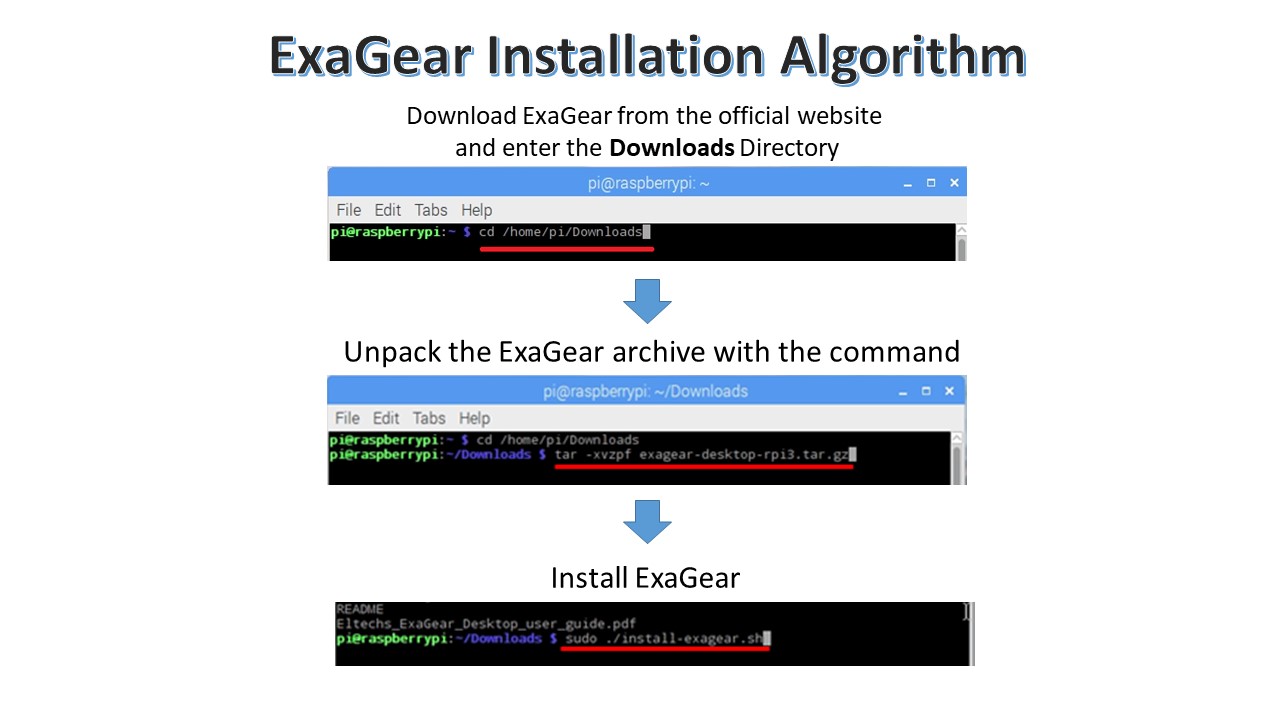
Without emulator, we can not create a "living environment" for our software. Use an emulator of you choice. I prefer ExaGear Desktop and I base this instruction on it. As this is a paid software and the process of installation is always about the same, so I've made special infographics which you are more than welcome to share.
So the whole process includes:
1. Downloading ExaGear Desktop archive :
$ tar -xvzpf exagear-desktop-rpi2.tar.gz
2. Installing it from the Downloads derictory:
$ sudo ./install-exagear.sh
3. Then checking if it's working:
$ exagear
$ arch
i686
That'sit. You're all set!
Istalling Telegram

The next step is dirt simple!) Just literally copy the following steps:
1. Download the Telegram installer for Linux 32 bit from their official website: https://desktop.telegram.org/
$ wget https://telegram.org/dl/desktop/linux3
(*NOTE! These guys may change either the name of the file, or the link to it, so if "wget" doesn't work just check on their website!)
2. Unpack the archive from the download directory:
$ cd home/pi/Downloads
$ tar -xJvf tsetup*.tar.xz
3. Run Telegram:
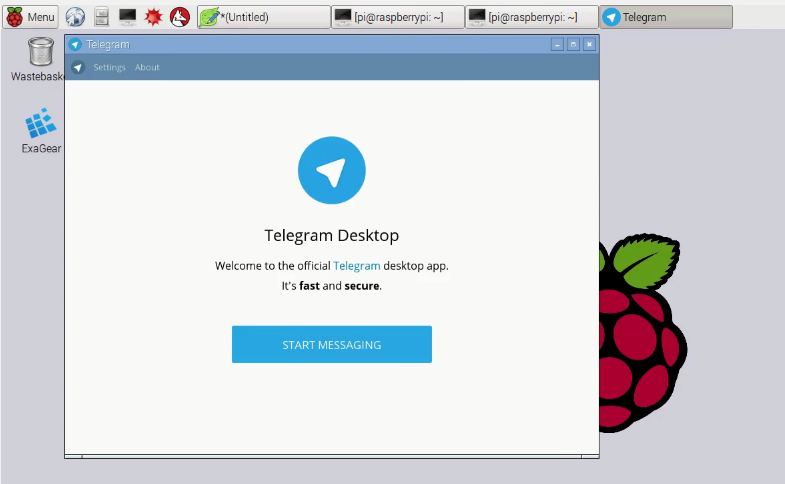
$ Telegram/Telegram
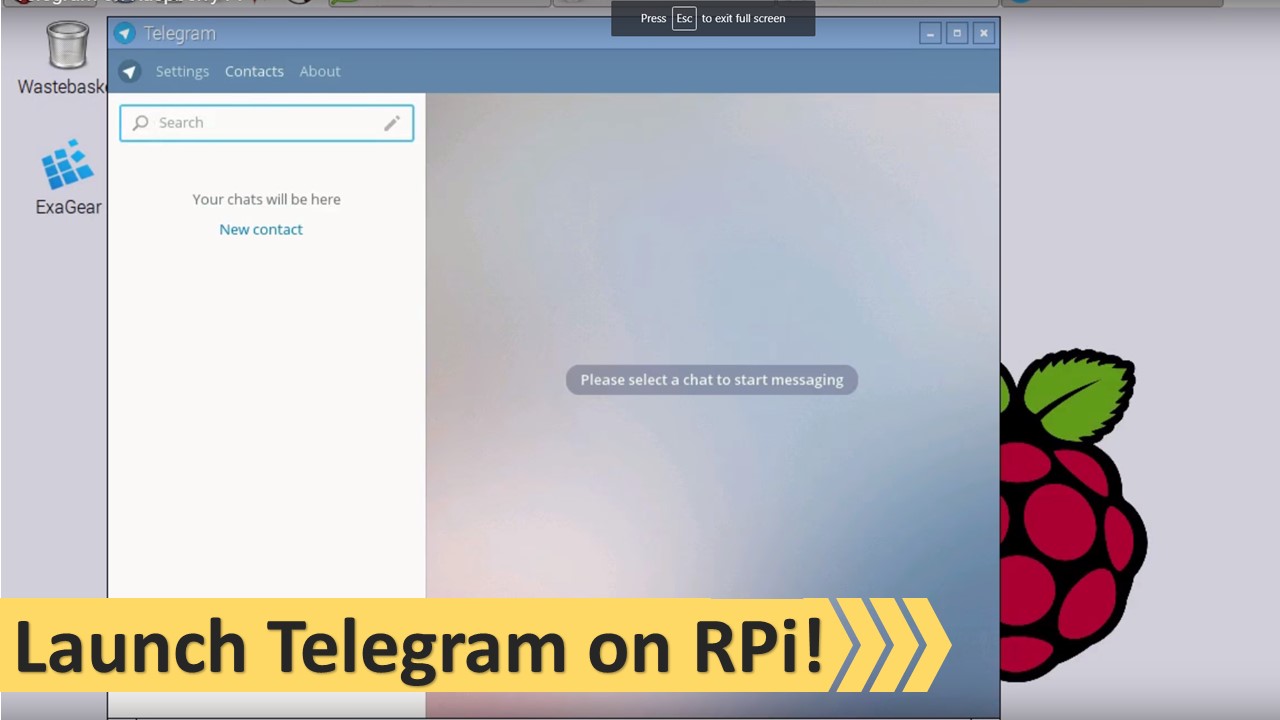
DONE! :) Enjoy
Conclusion
Send messages, communicate with colleagues and co-workers, or among you development team. Send voice messages and pictures. It's very convenient and the usa\ge for Telegram on Rapebrry pi is only limited with your imagination!
Also, if you like the way of installation I'm representing and would like to try to do it with ExaGear - here is the link to the product - https://eltechs.com/product/exagear-desktop
Guys from ExaGear have got their own blog with the original article Telegram on Raspberry Pi
(*where I borrowed a part of the tutorial from and where you can find the video for more visualization)