Maze Design Made Easy for Fusion 360 or Vetric Software
by Kevr102 in Workshop > Woodworking
1780 Views, 4 Favorites, 0 Comments
Maze Design Made Easy for Fusion 360 or Vetric Software


In this Instructable and more a follow up to a previous Instructable I did with 3D Printed Mazes in a cube.
I've always found it difficult to create a Maze either using Vetric Software or Fusion 360 and it seems to be a long drawn out process to create one so I think I may have found the easy way of creating Mazes
I would like to show you a way to design a Maze which can either be cut into wood or 3D Printed once the SVG is compiled, I didn't have the time in the previous Maze Instructable to show the process properly.
This Instructable is just how to Generate a Maze then working with Vetric and Fusion 360 to provide Maze's that we can cut out of wood or 3D Print.
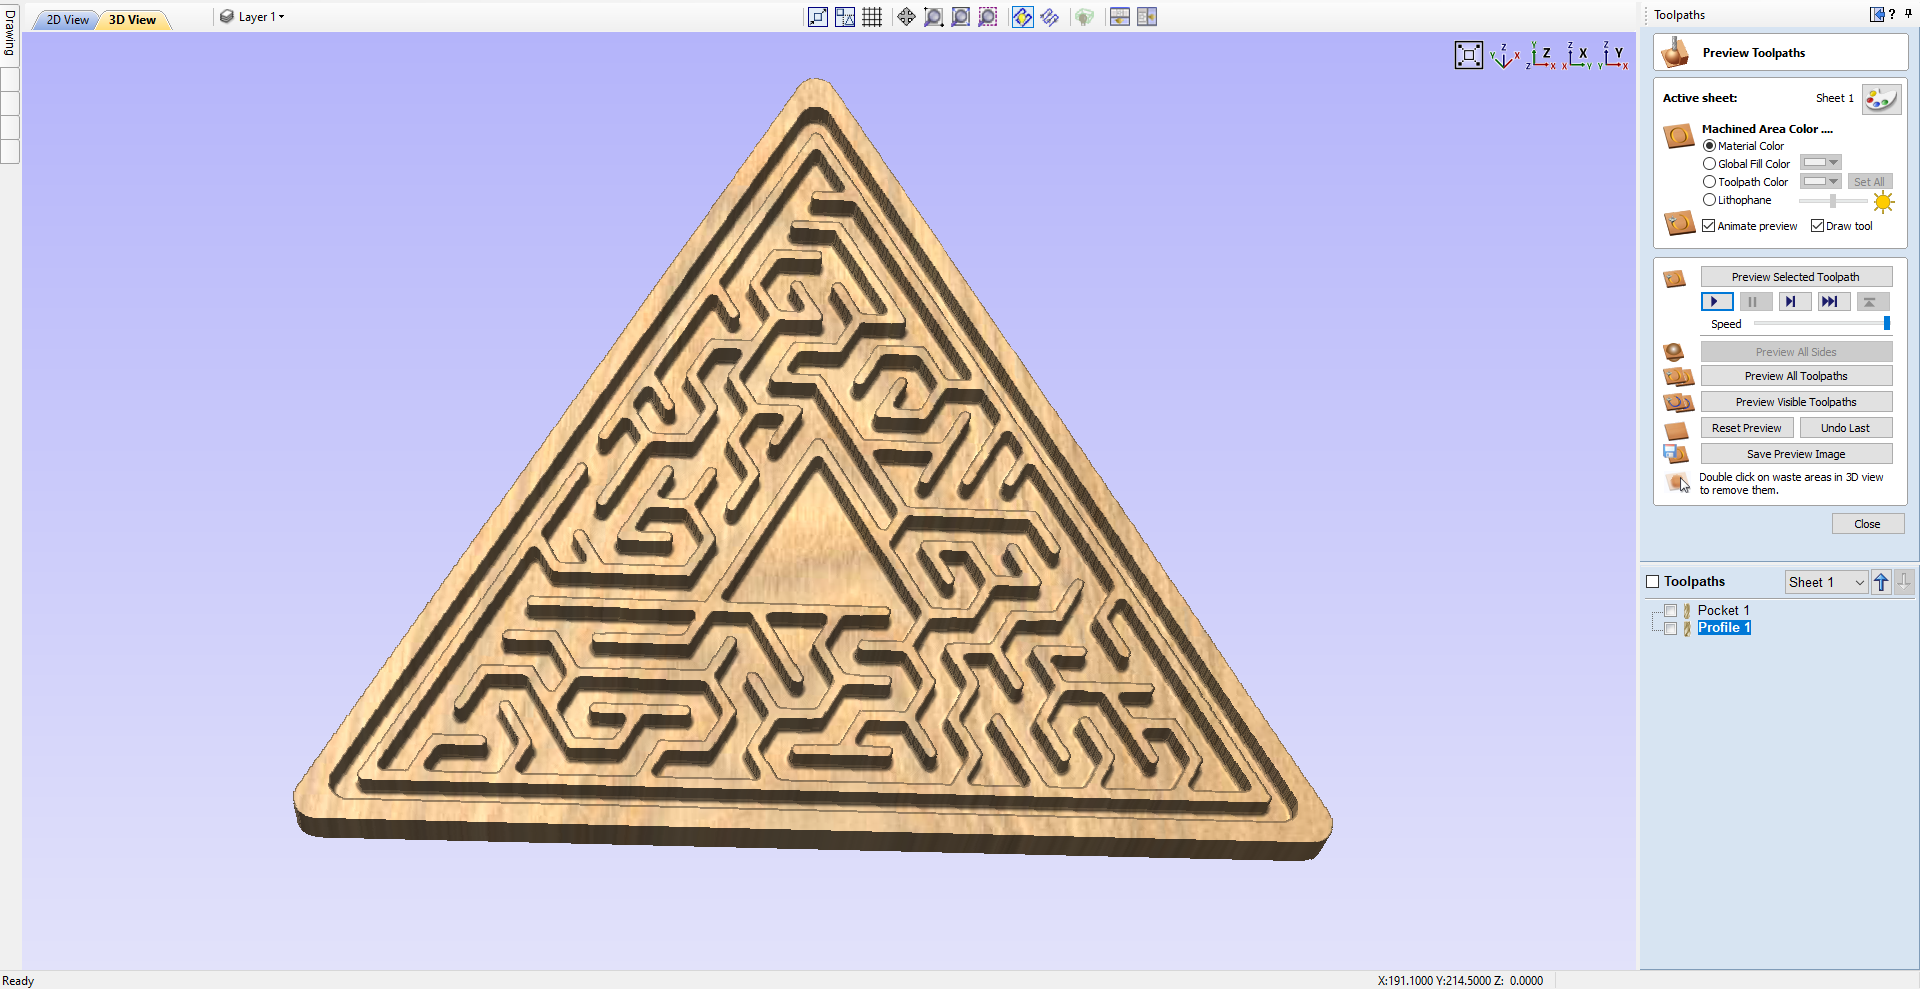
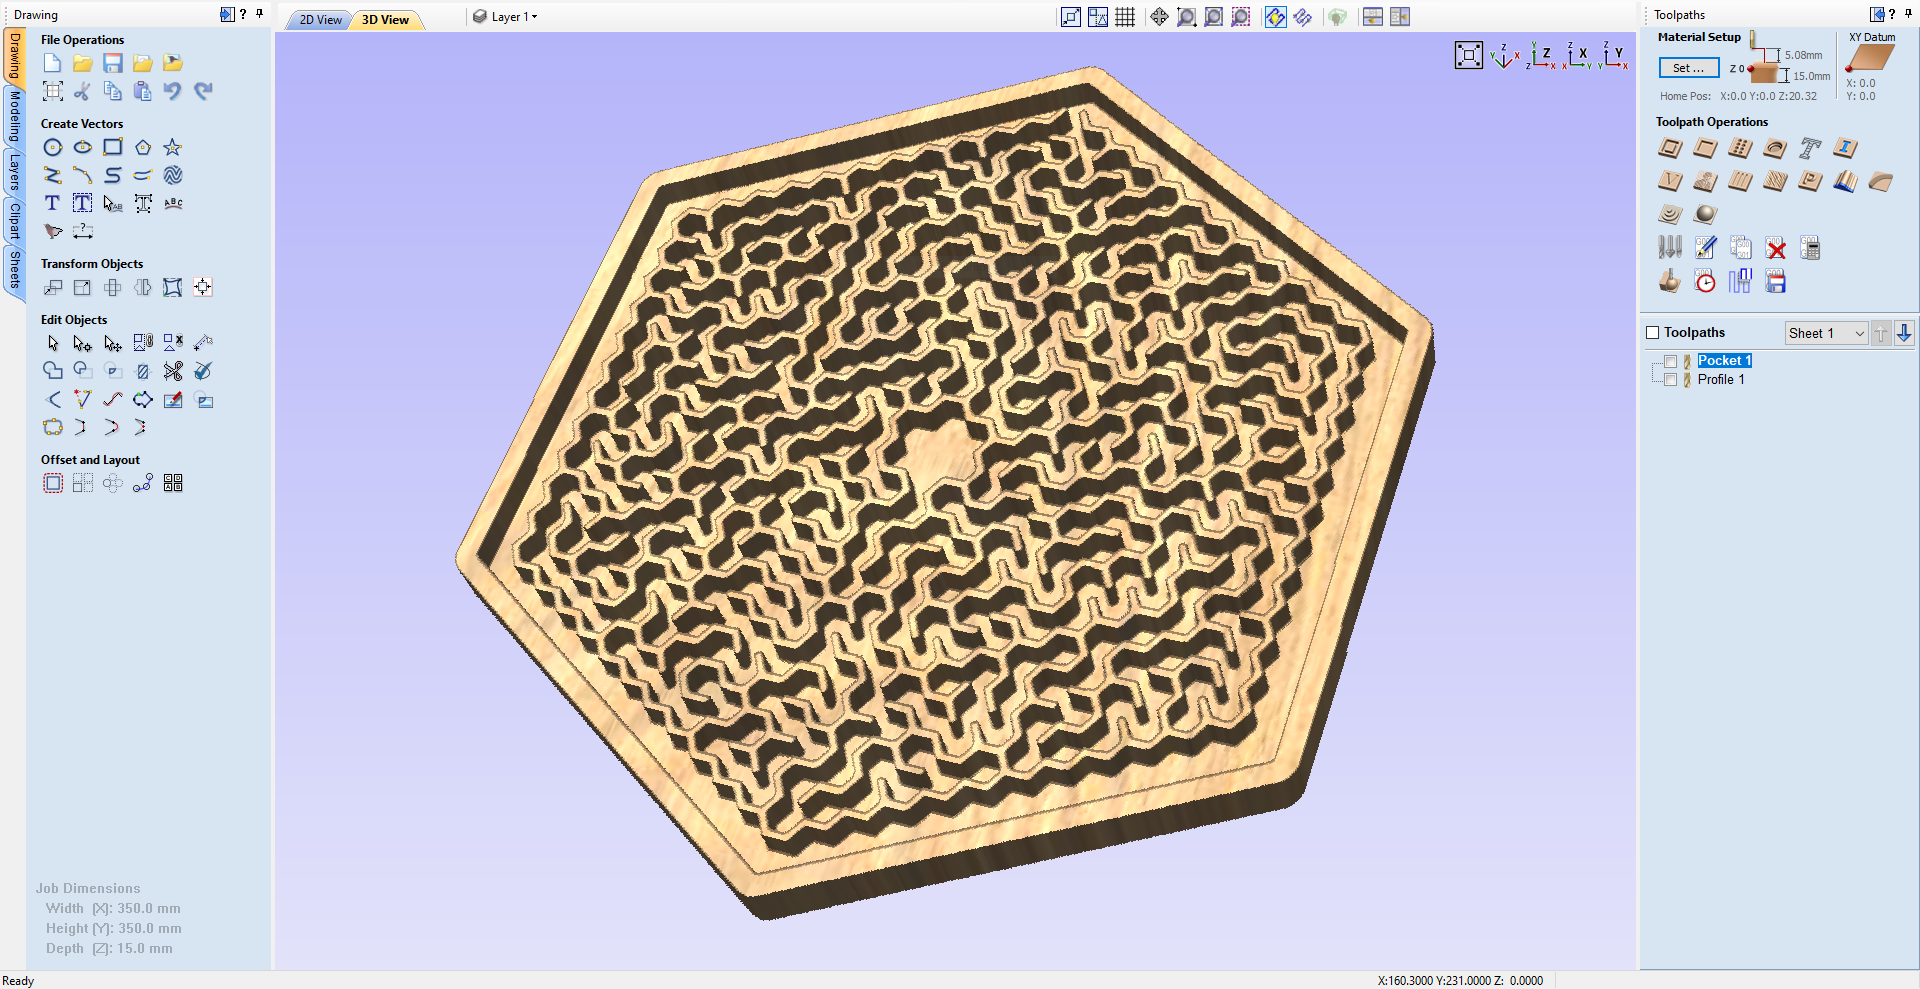
This process works with Rectangular Mazes and also Round Mazes, it may work with other shapes.
For this design you will need Inkscape which is a free download and to actually cut out of wood or 3D Print you will need one of the Vetric software's or Fusion 360 for wood or 3D Print.
These Mazes can be made to have a acrylic or perspex cover or just an open Maze.
The first part of the design is to Generate a Maze, this is done with a free online Maze Generator tool which is free as long as you aren't making a business out of it, in which case you will need a licence, for this purpose it's fine.
Generating the Maze.
Supplies
Maze Generator
Vetric Cut2D /V Carve or Fusion 360
Inkscape
Generating the Maze

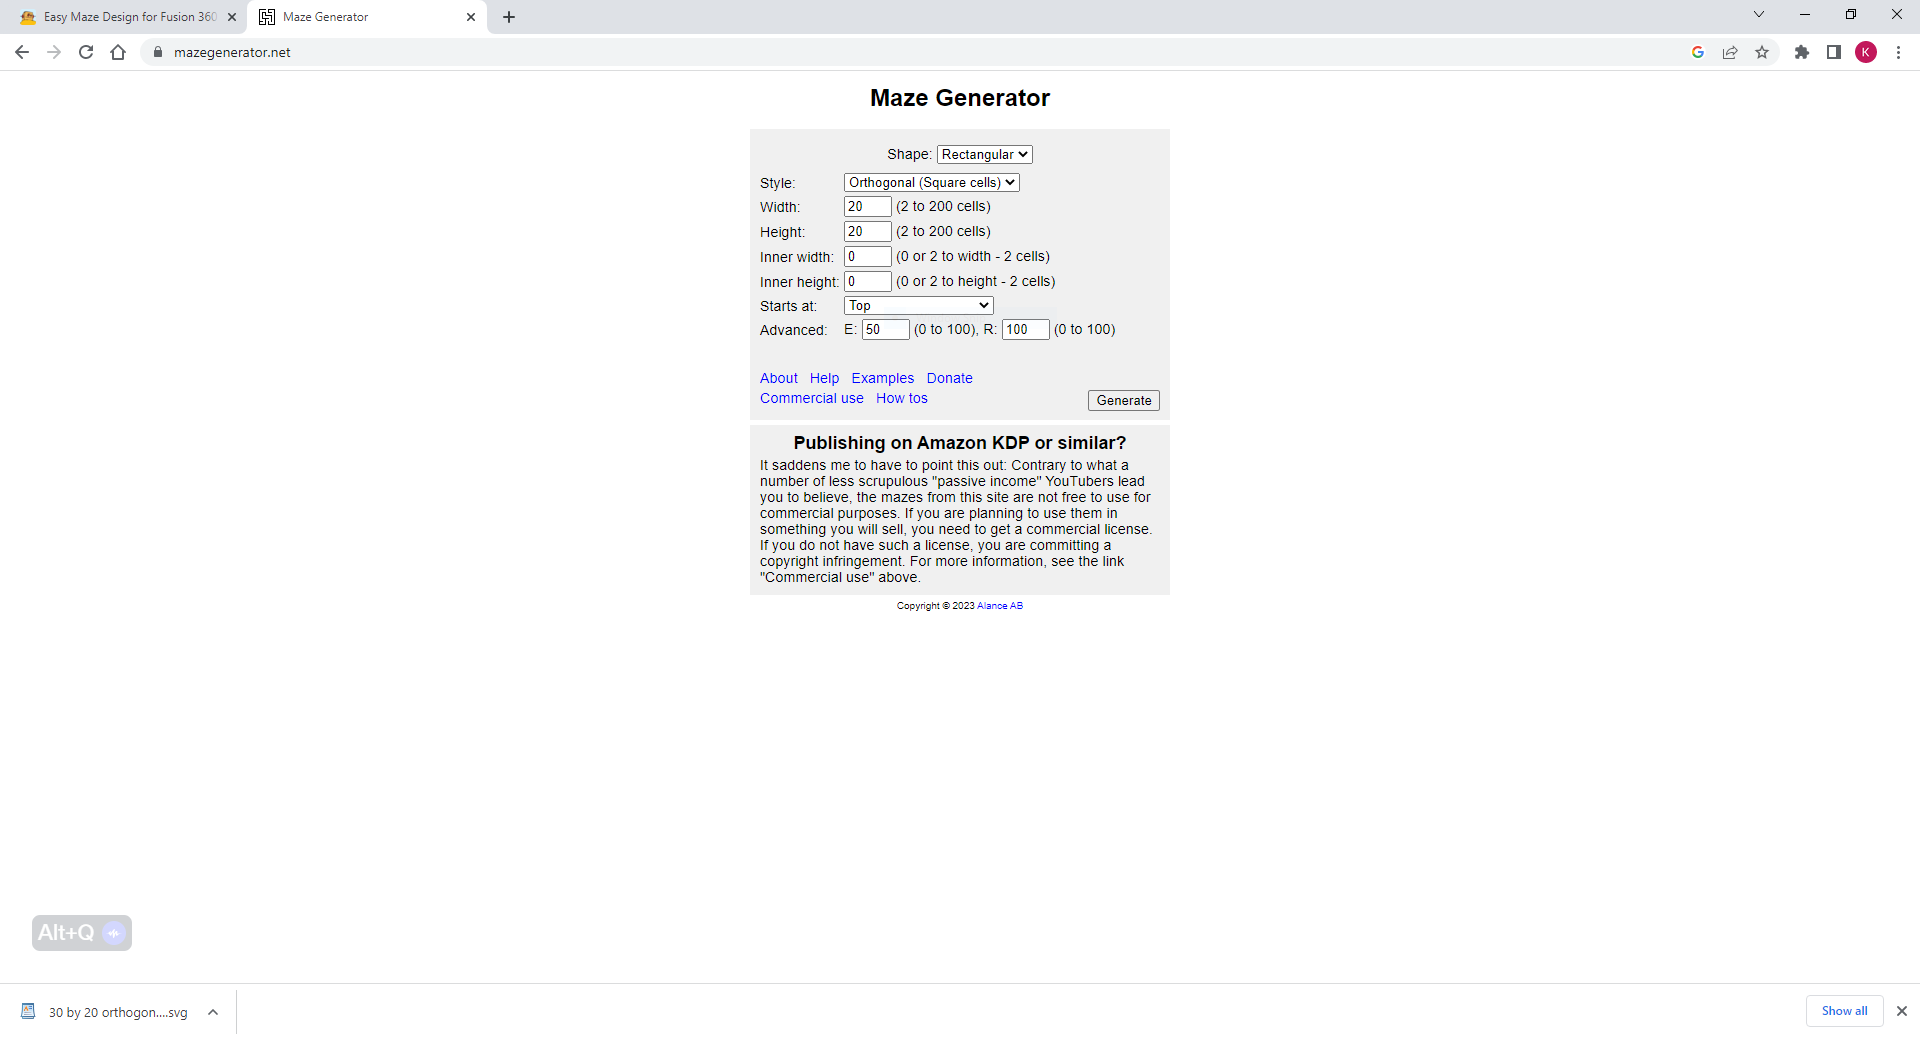
To Generate the Maze we use an online Maze Generator, the one I used is https://www.mazegenerator.net/
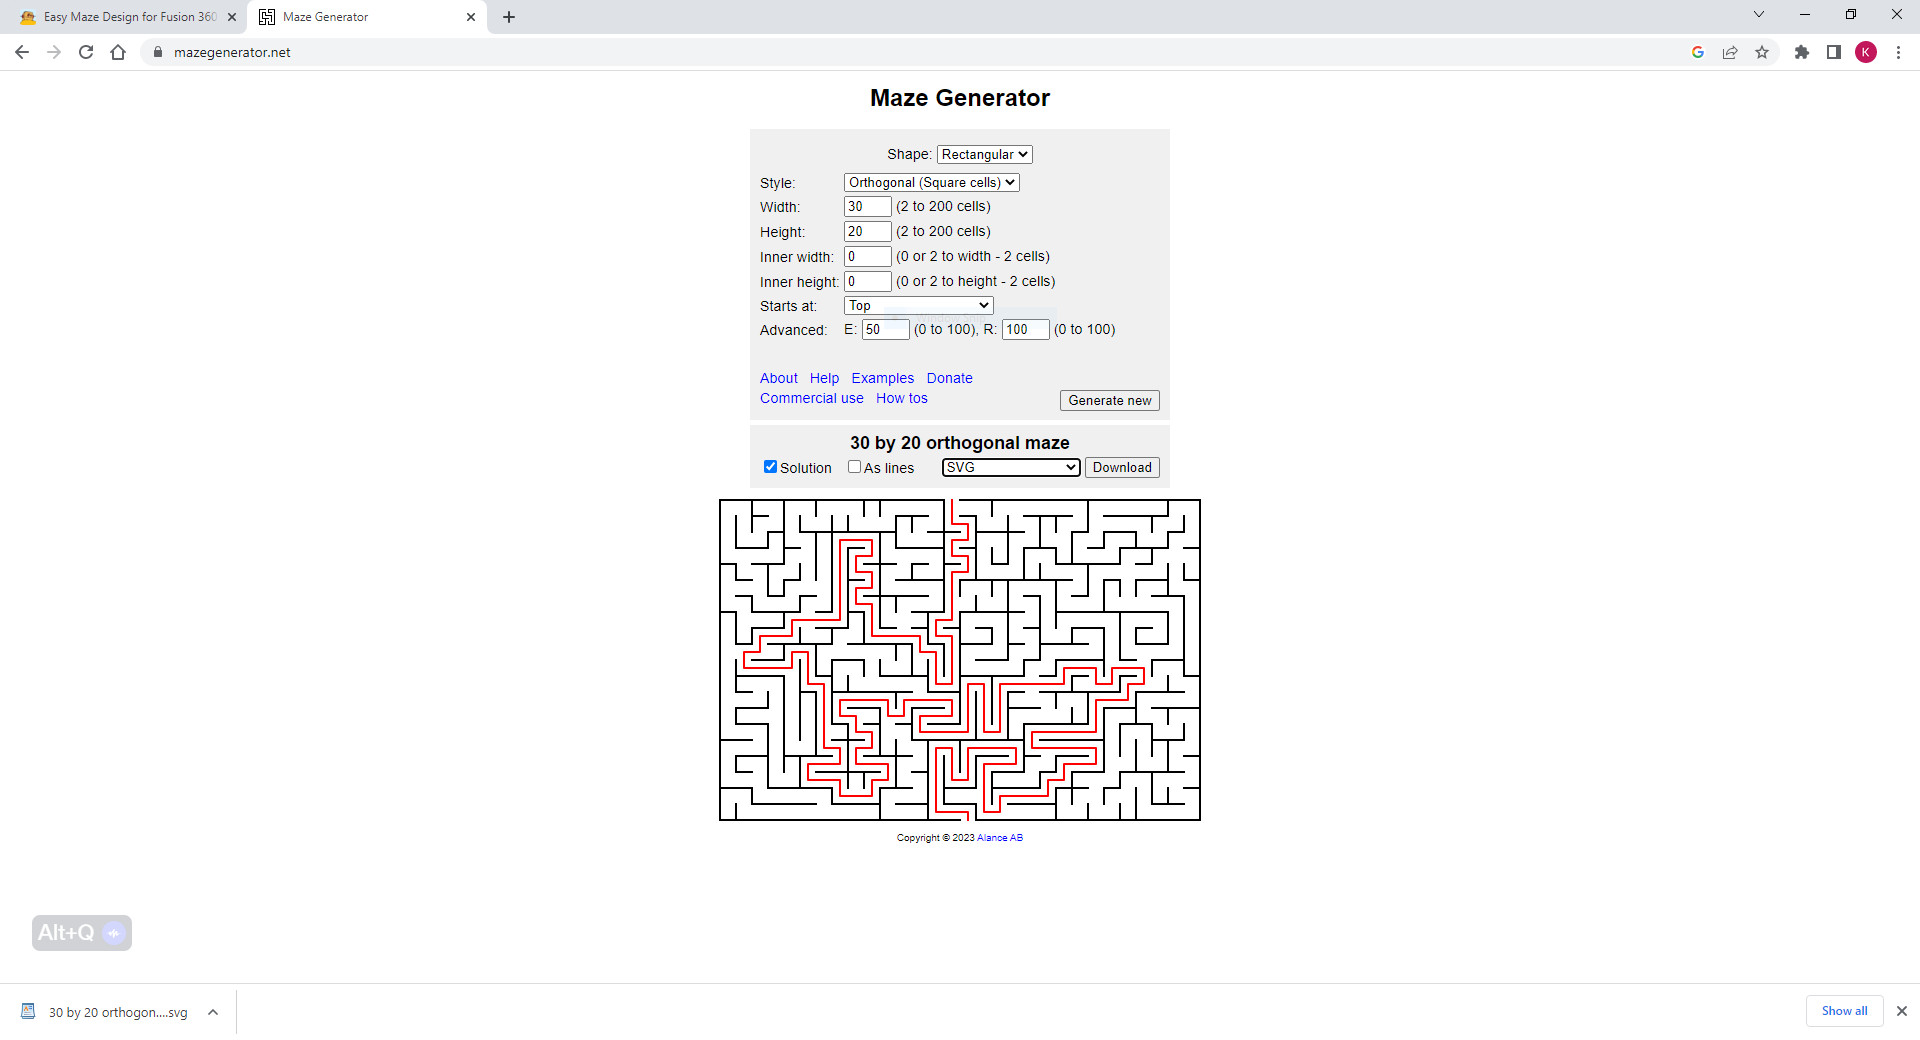
We will make a rectangular Maze Width 30 Cells and Height 20 Cells then Generate, you can tick the solution box and keep generating until you see a solution you like, you can make these as challenging or easy as you like.
Now you have chosen your Maze you can download as an SVG I always download without the solution.
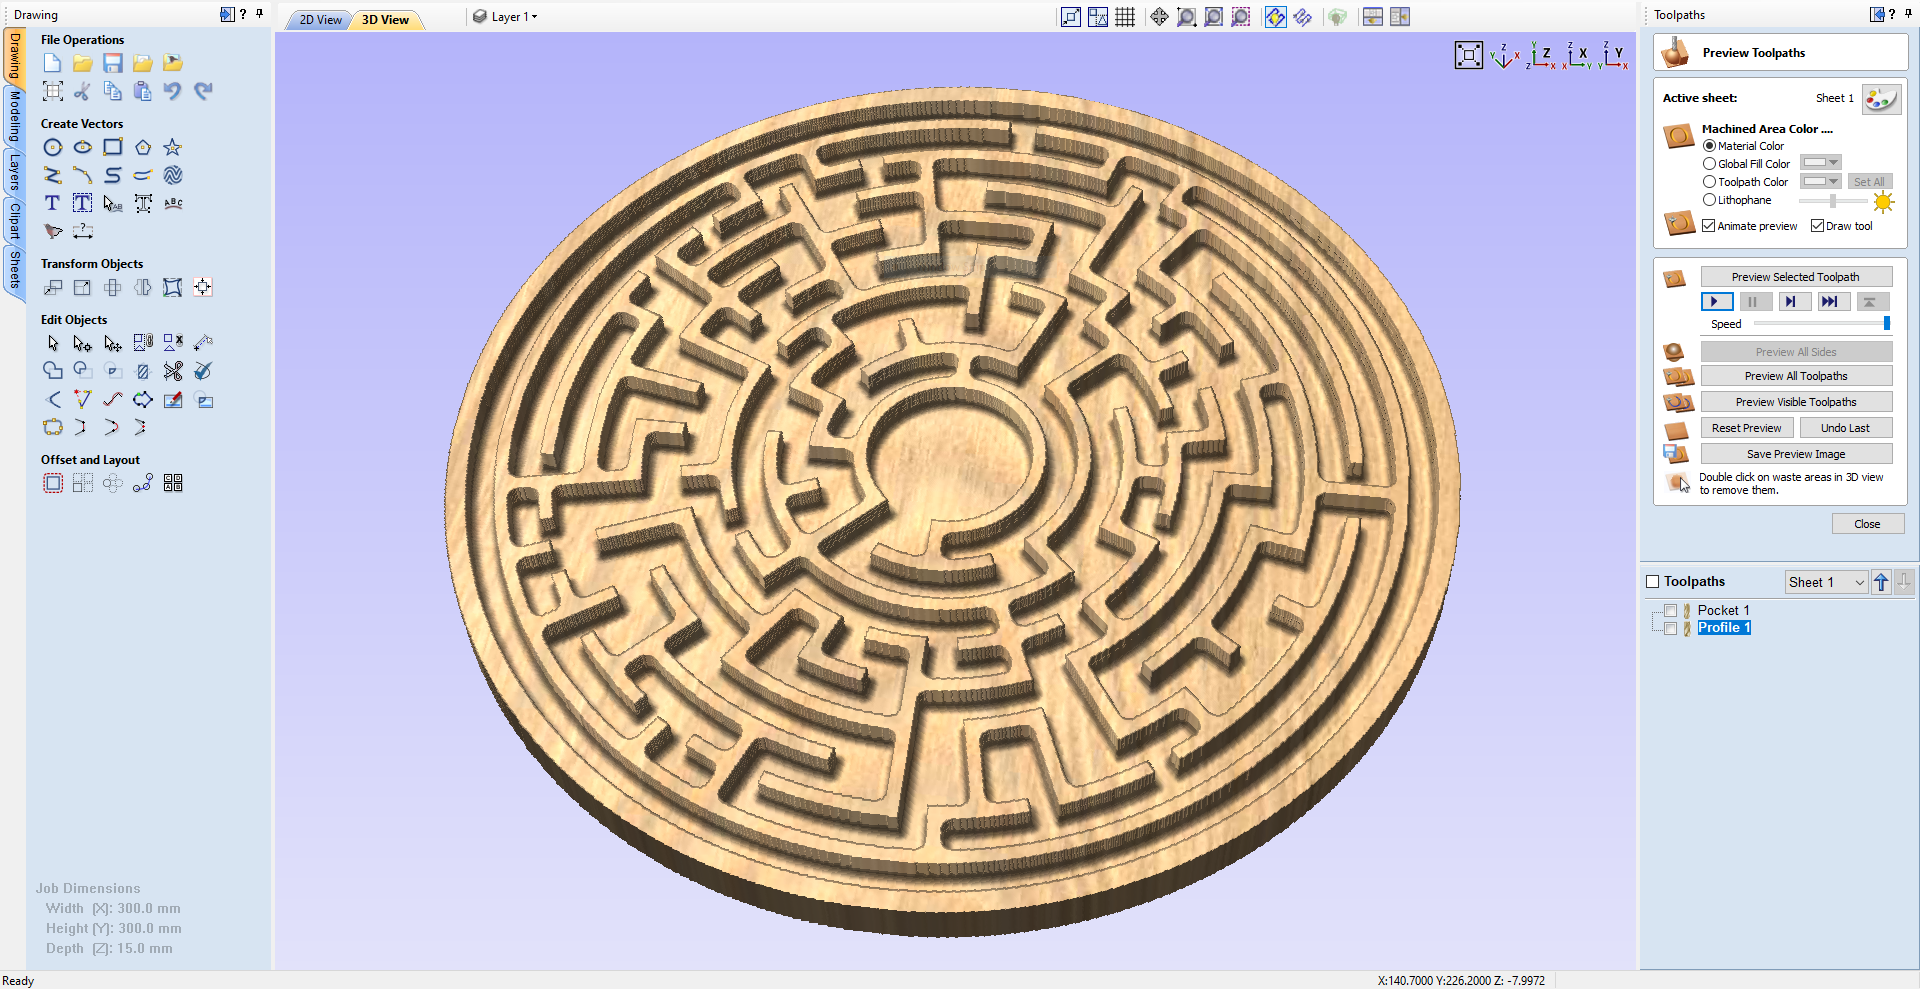
I did the same thing with the round maze, keep generating with solution until you find the one you like and download it.
That's the Maze SVG Generated and Downloaded, we can now move onto Inkscape which is also a free download.
Inkscape Maze Design
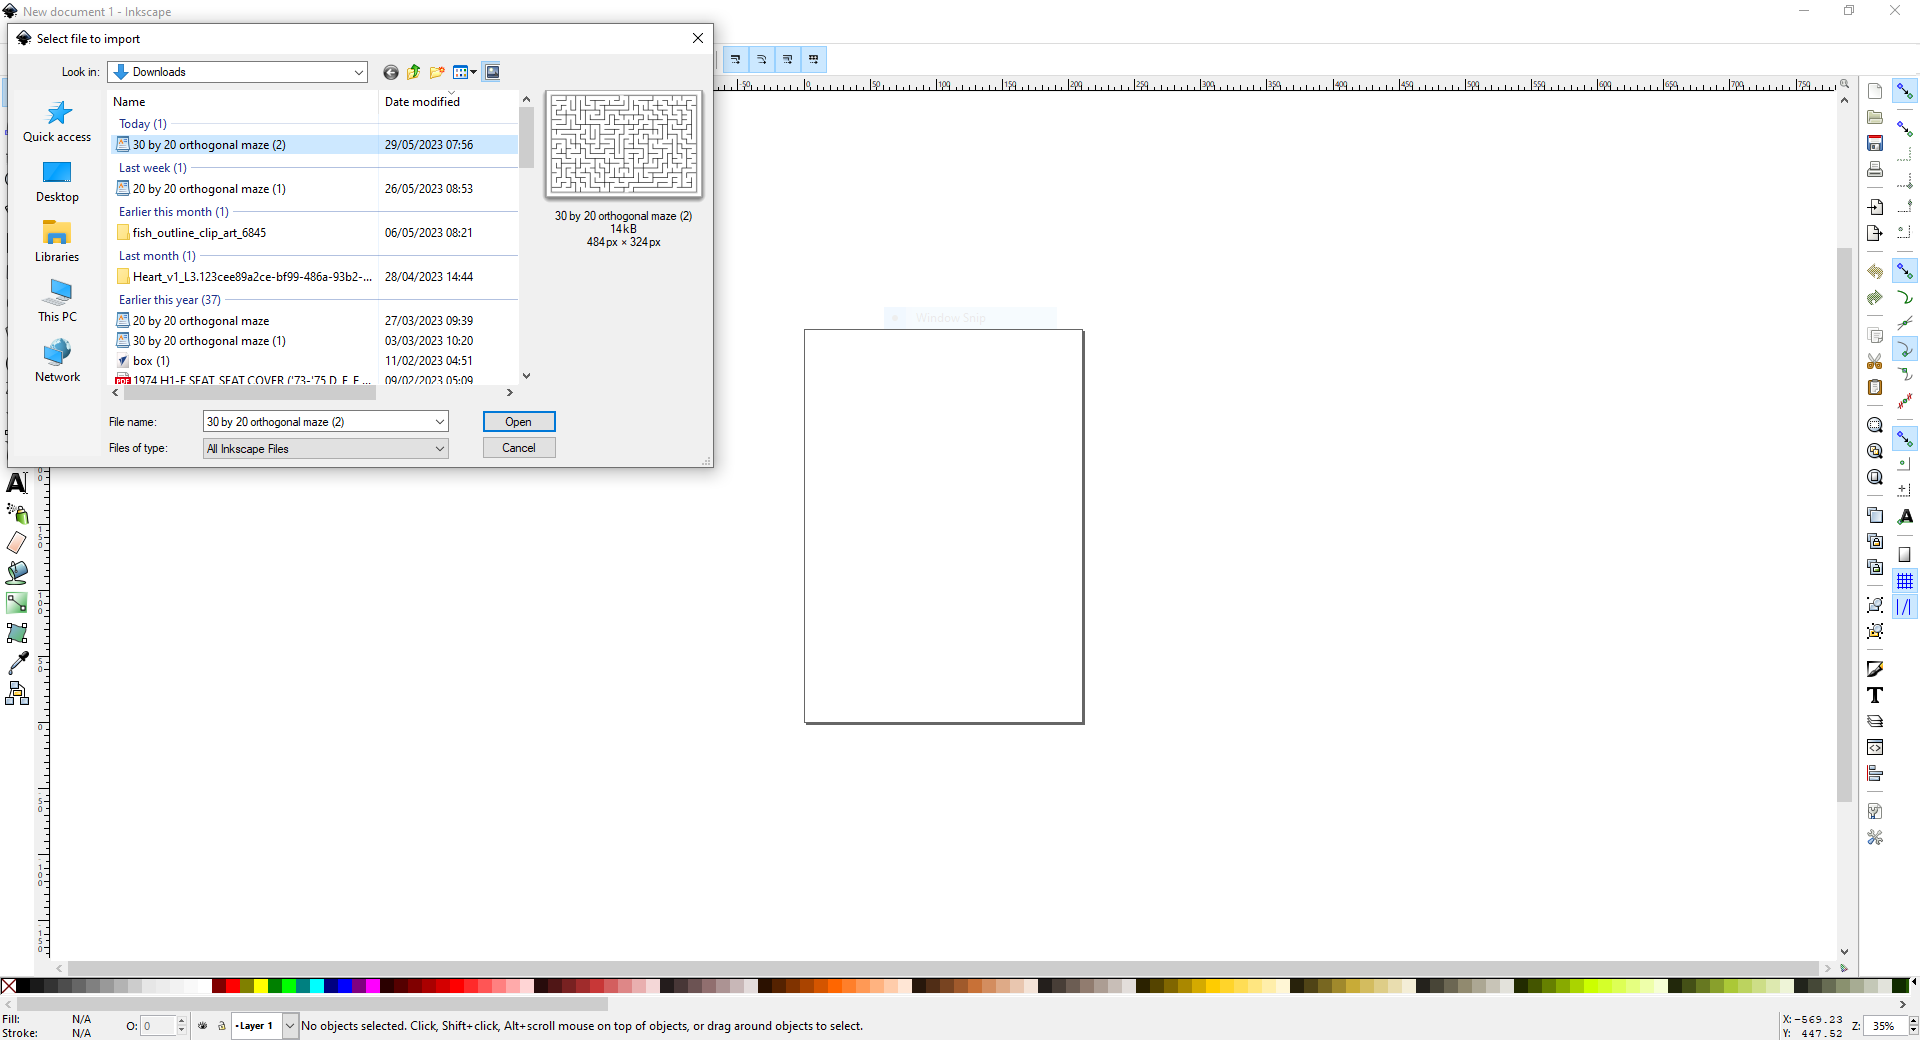
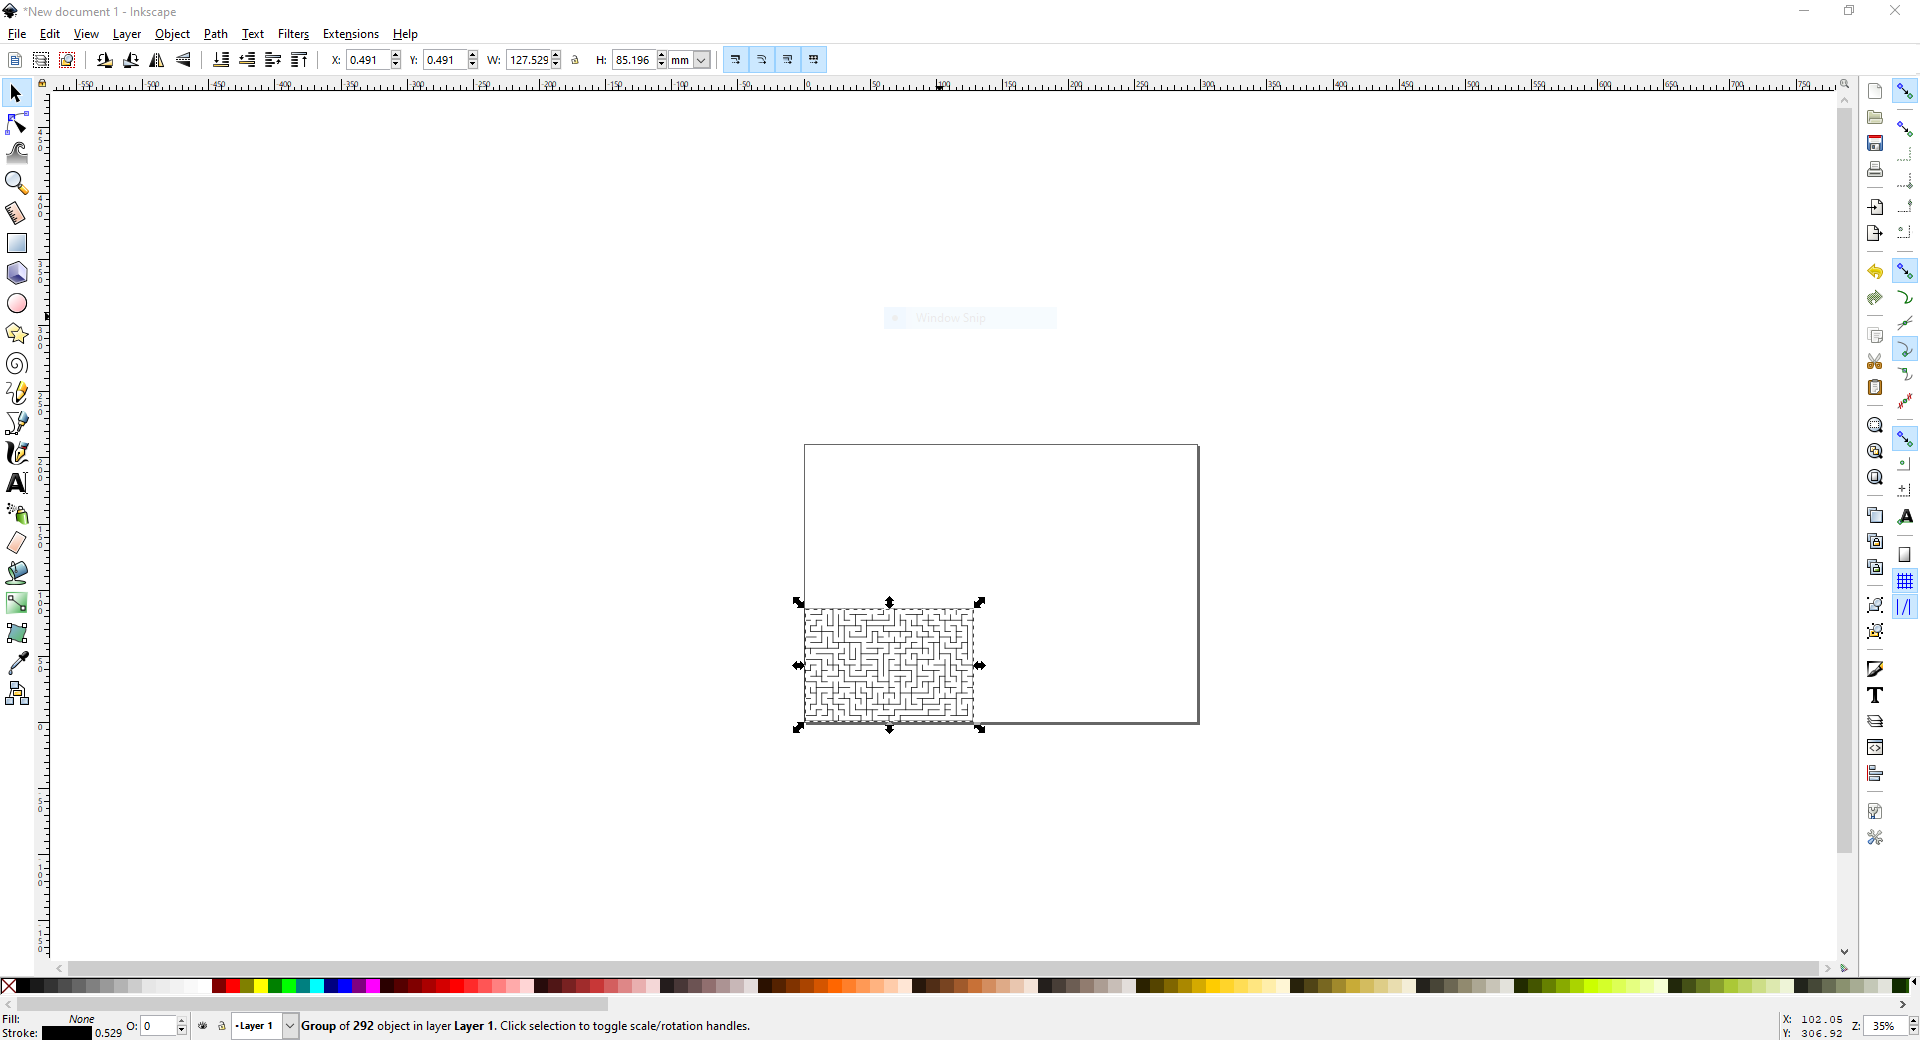


Open Inkscape and Import the newly generated Maze SVG into the design, you can drag the maze into the box, I made the box Landscape use control and drag a corner of the Maze to the size you want, Using the control key keeps the prospective, the standard box in Inkscape is A4 Dimensions can be changed in File/Document properties.
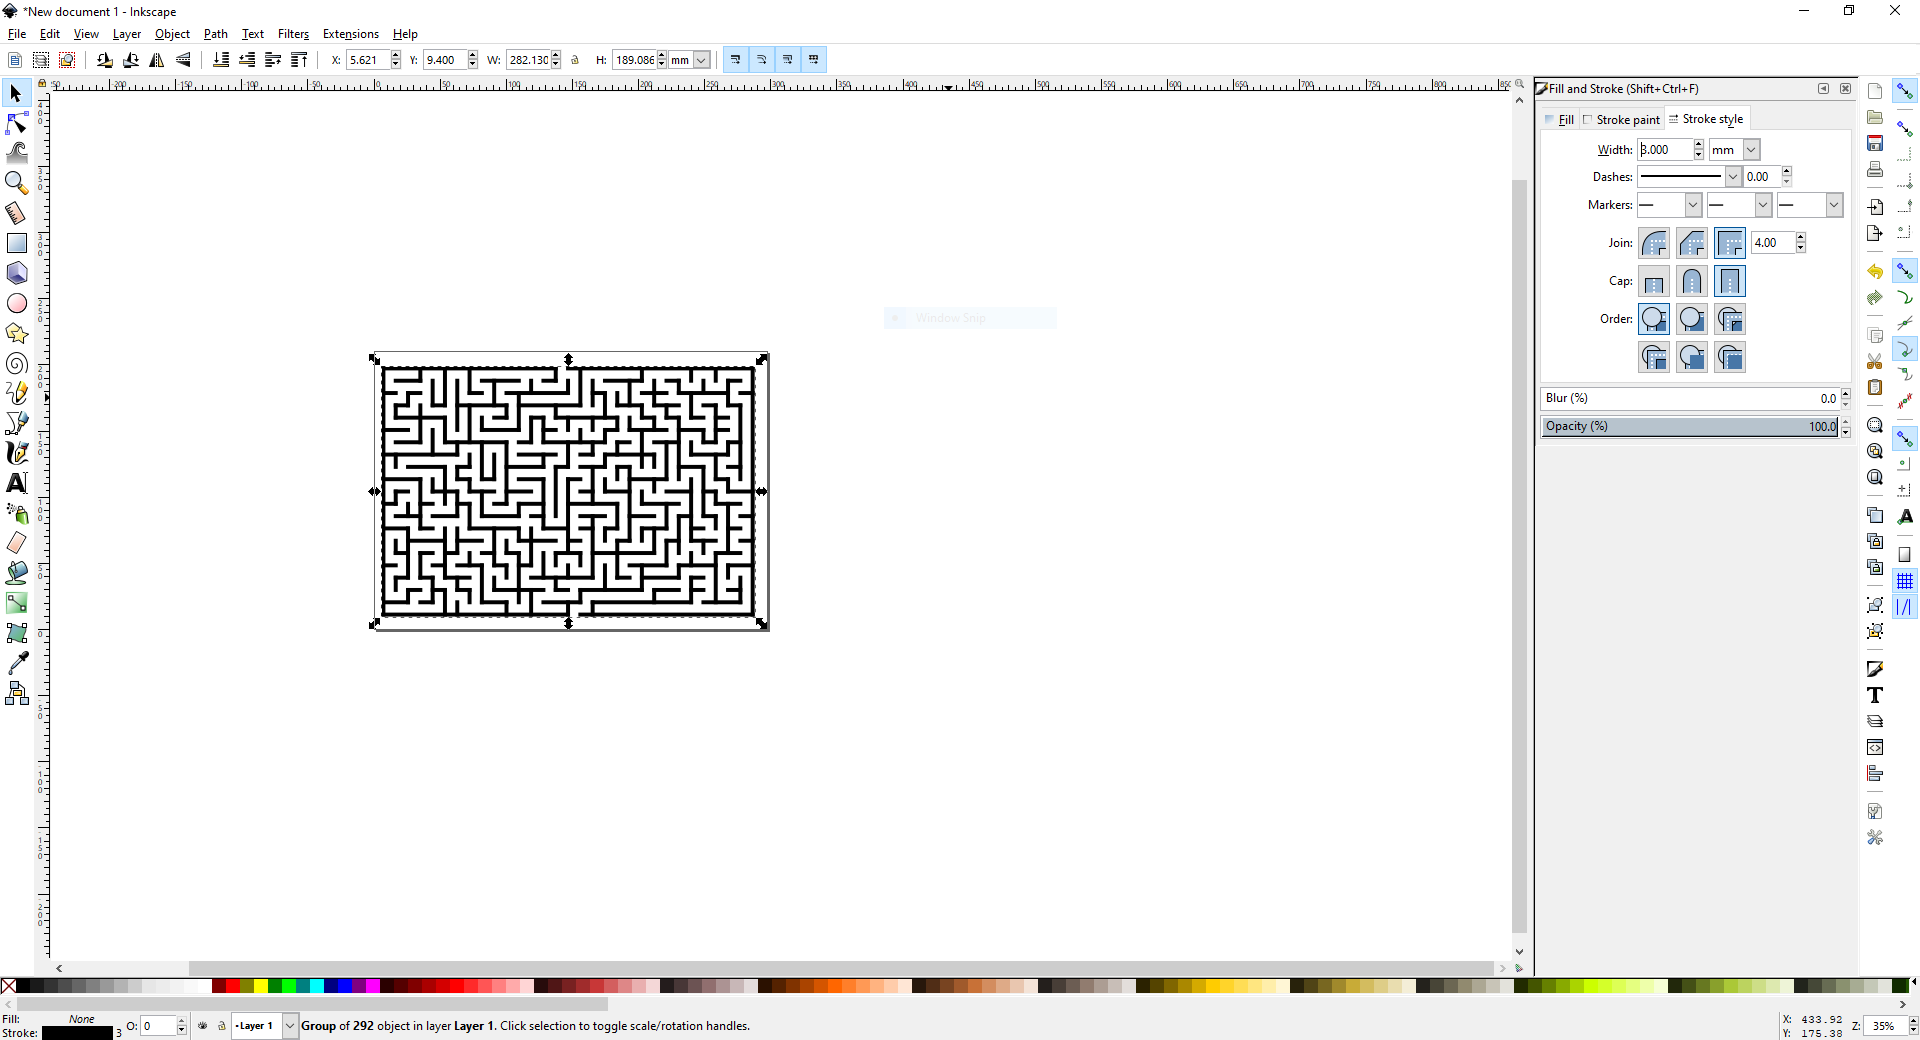
The next process is to thicken the lines of the Maze, Select Object on the top menu and fill and stroke, Stroke style and thicken the lines to suit, I will select 3mm click on the design and the lines will thicken.
We now need to select Path on the top menu and then Stroke to Path ensure the design is highlighted prior to doing this and the end to end pointers are showing, select Stoke to Path, we can now save the design as a PNG file, saving as an Inkscape doesn't work for me.
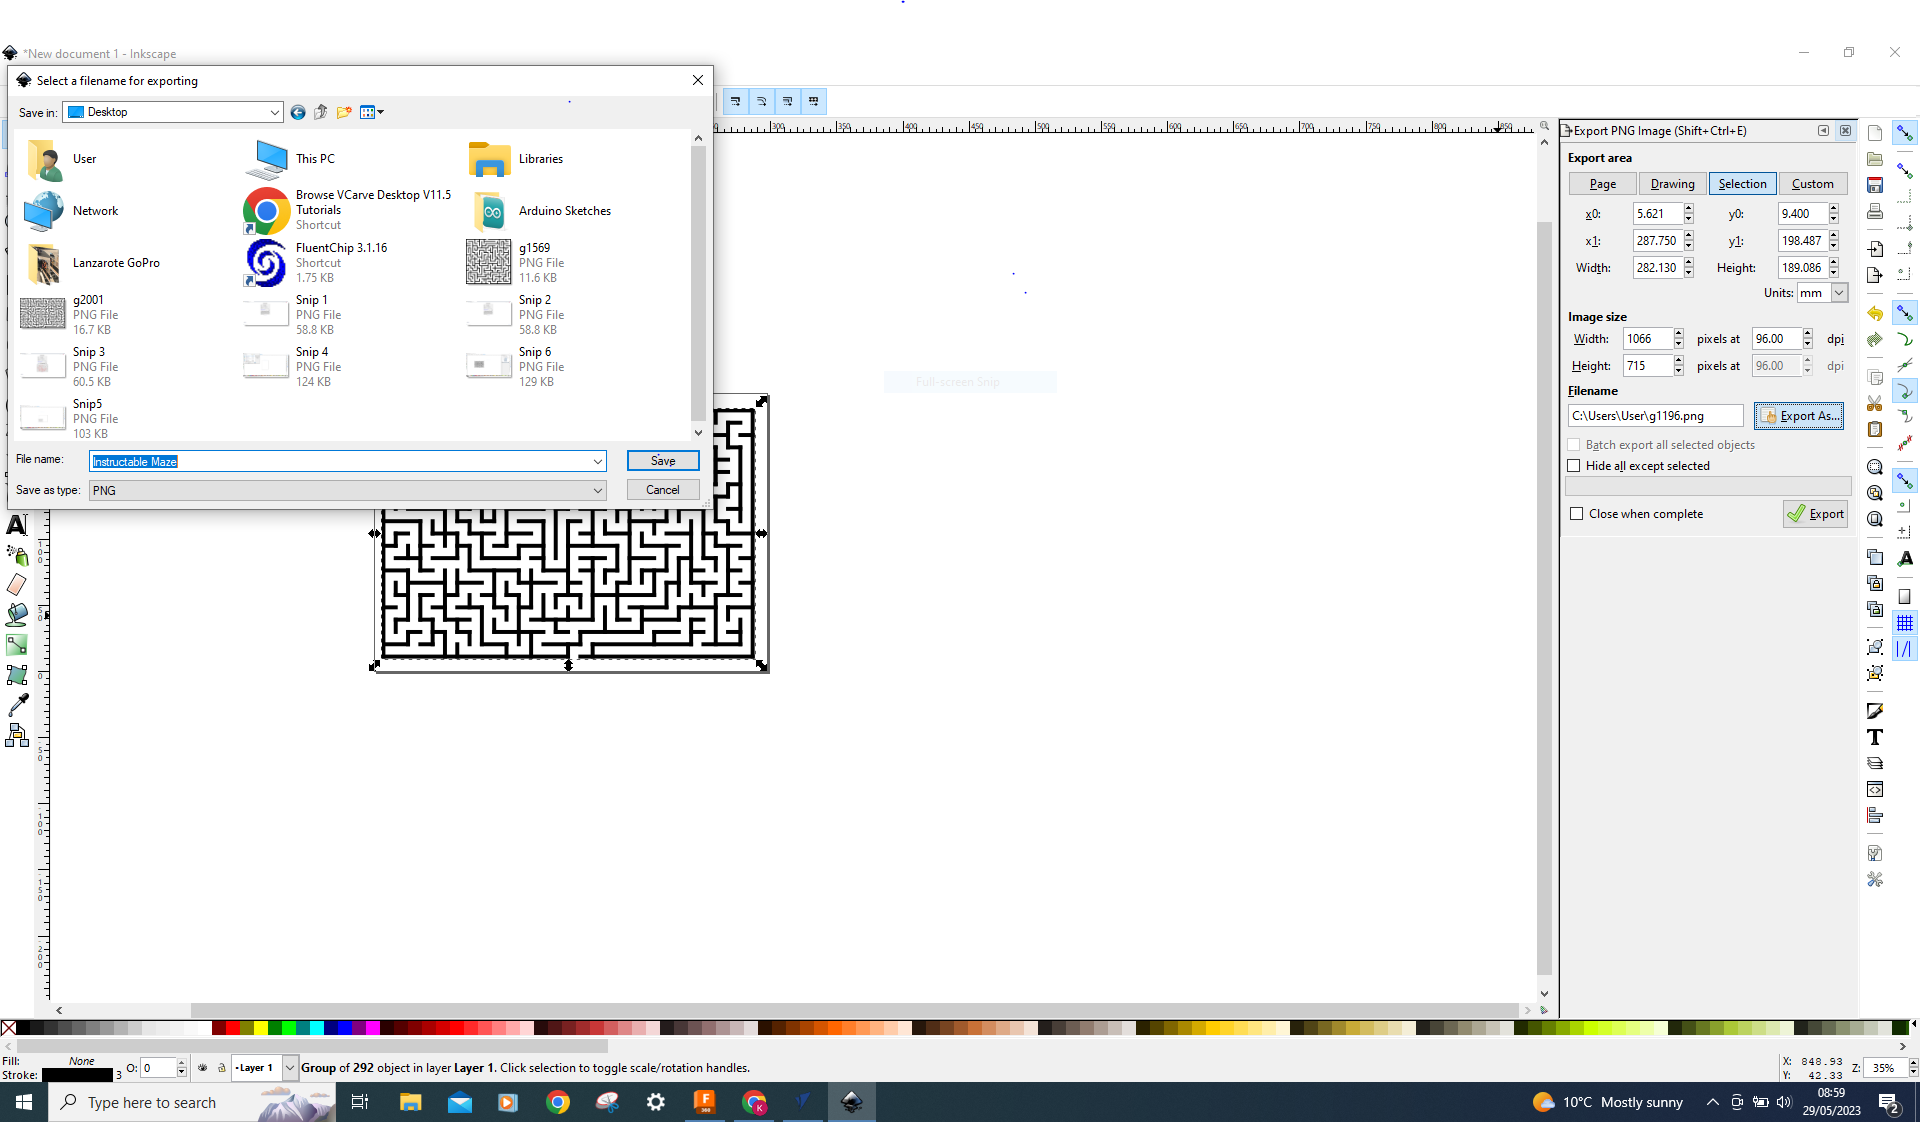
To create the PNG file, top menu File, export PNG Image, select export as and choose where you'd like to save the PNG file you can also rename the file, I named this one the Instructable Maze, press the save key, you also have to press the export key with the green tick as well for it to work.
So the process is:
Import Maze
Move and change the size
Thicken the lines on the Maze
Stroke to Path
export as PNG file
We have now created a PNG file to work with so we can now move onto Vetric to create our Maze enabling us to cut out of wood.
Vetric Vcarve Maze Design
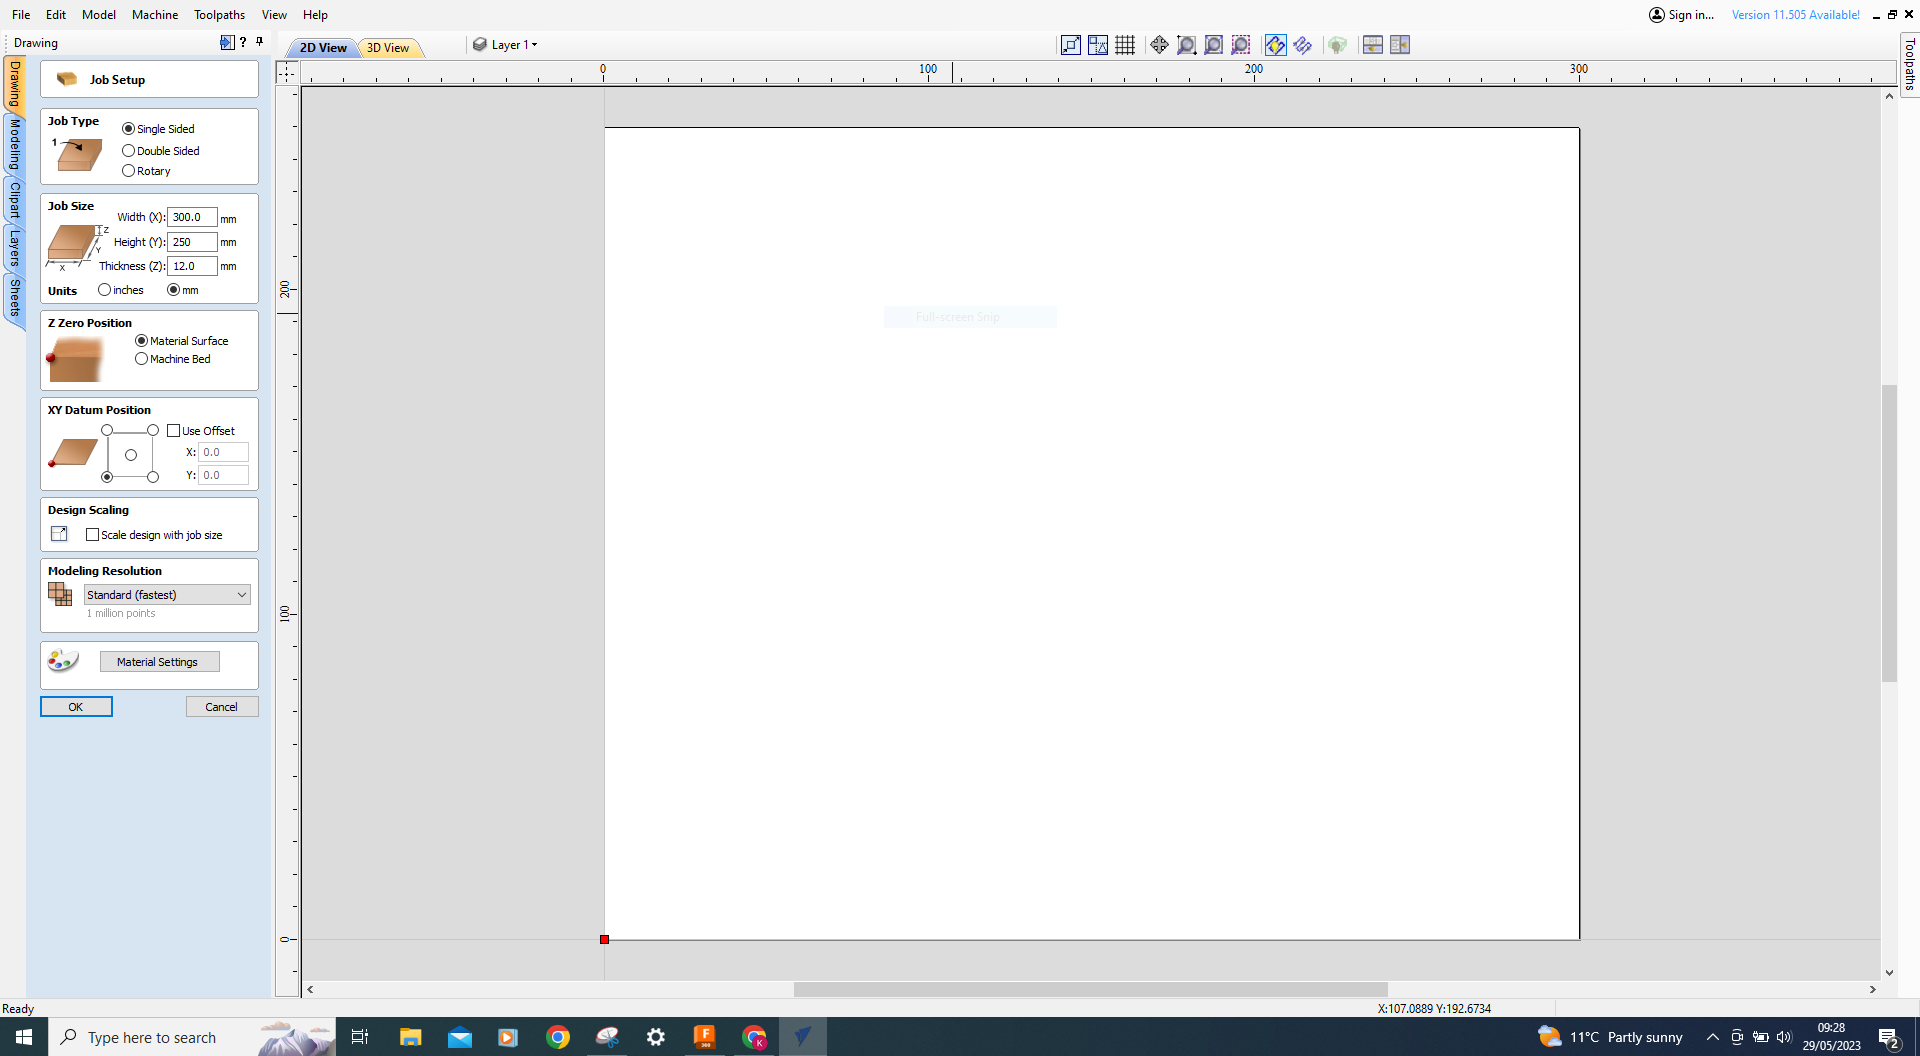
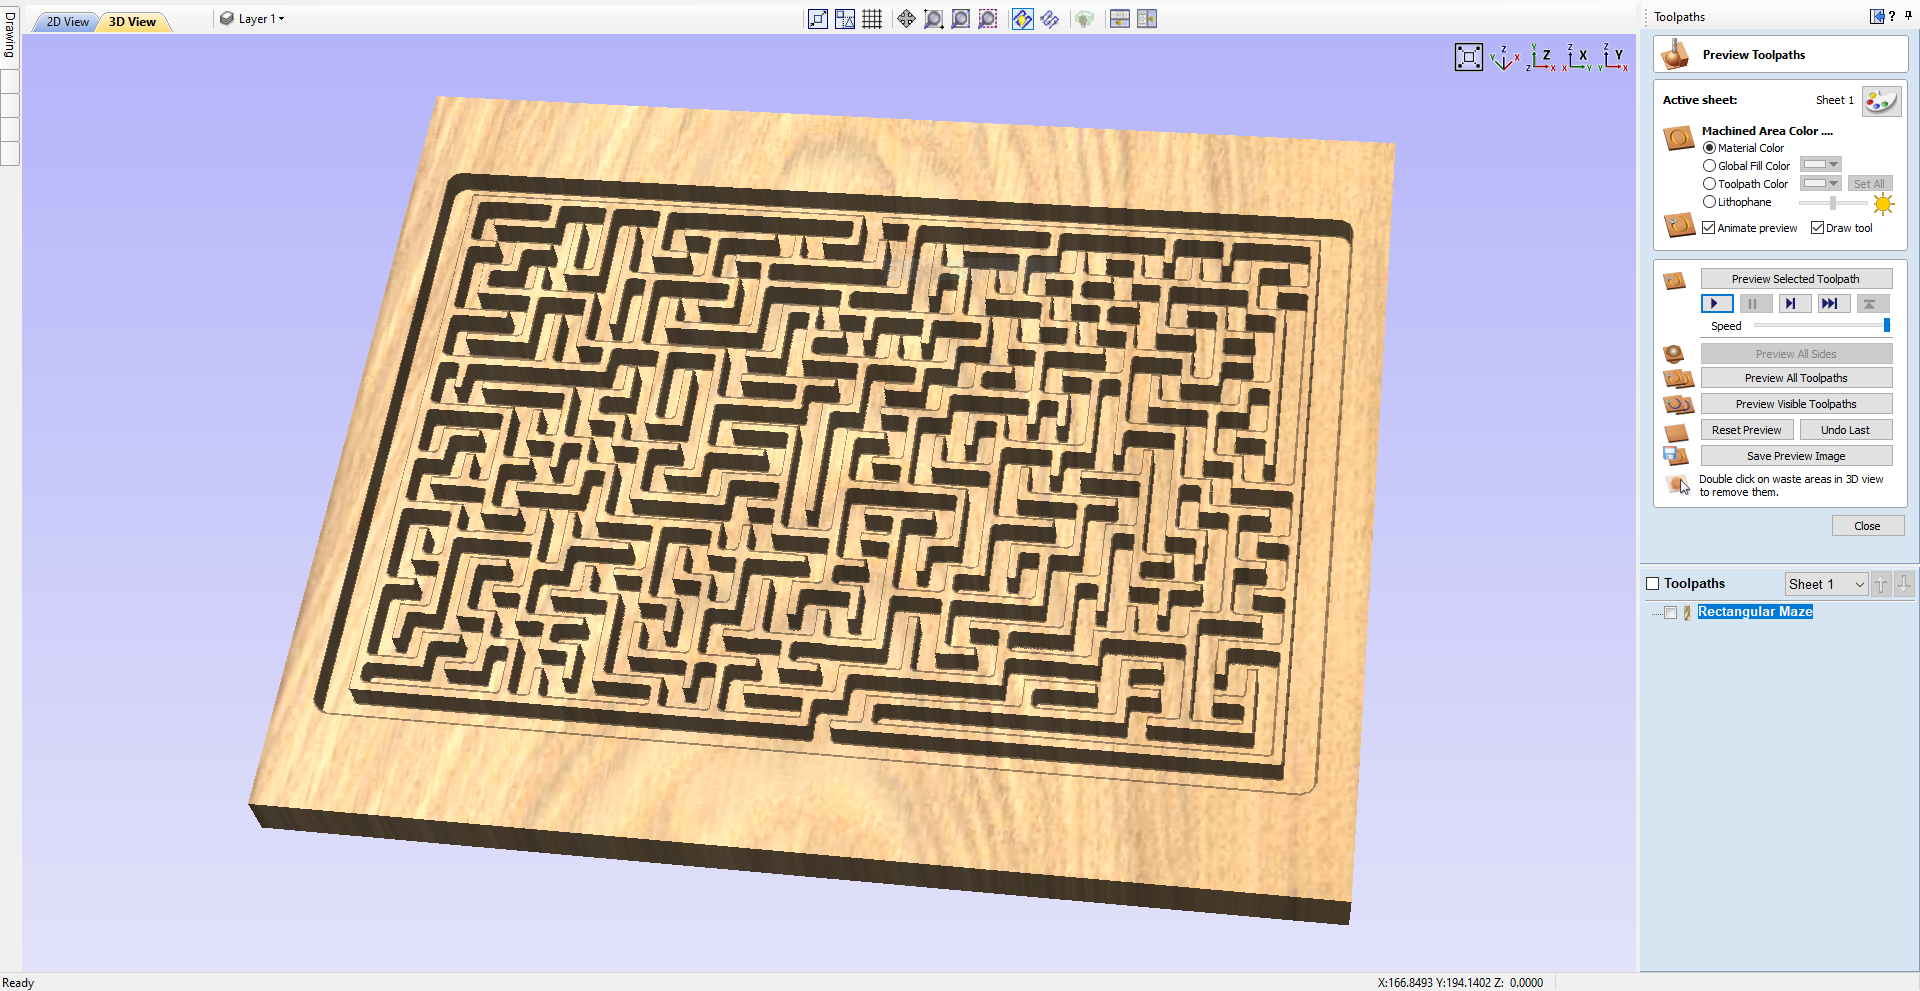
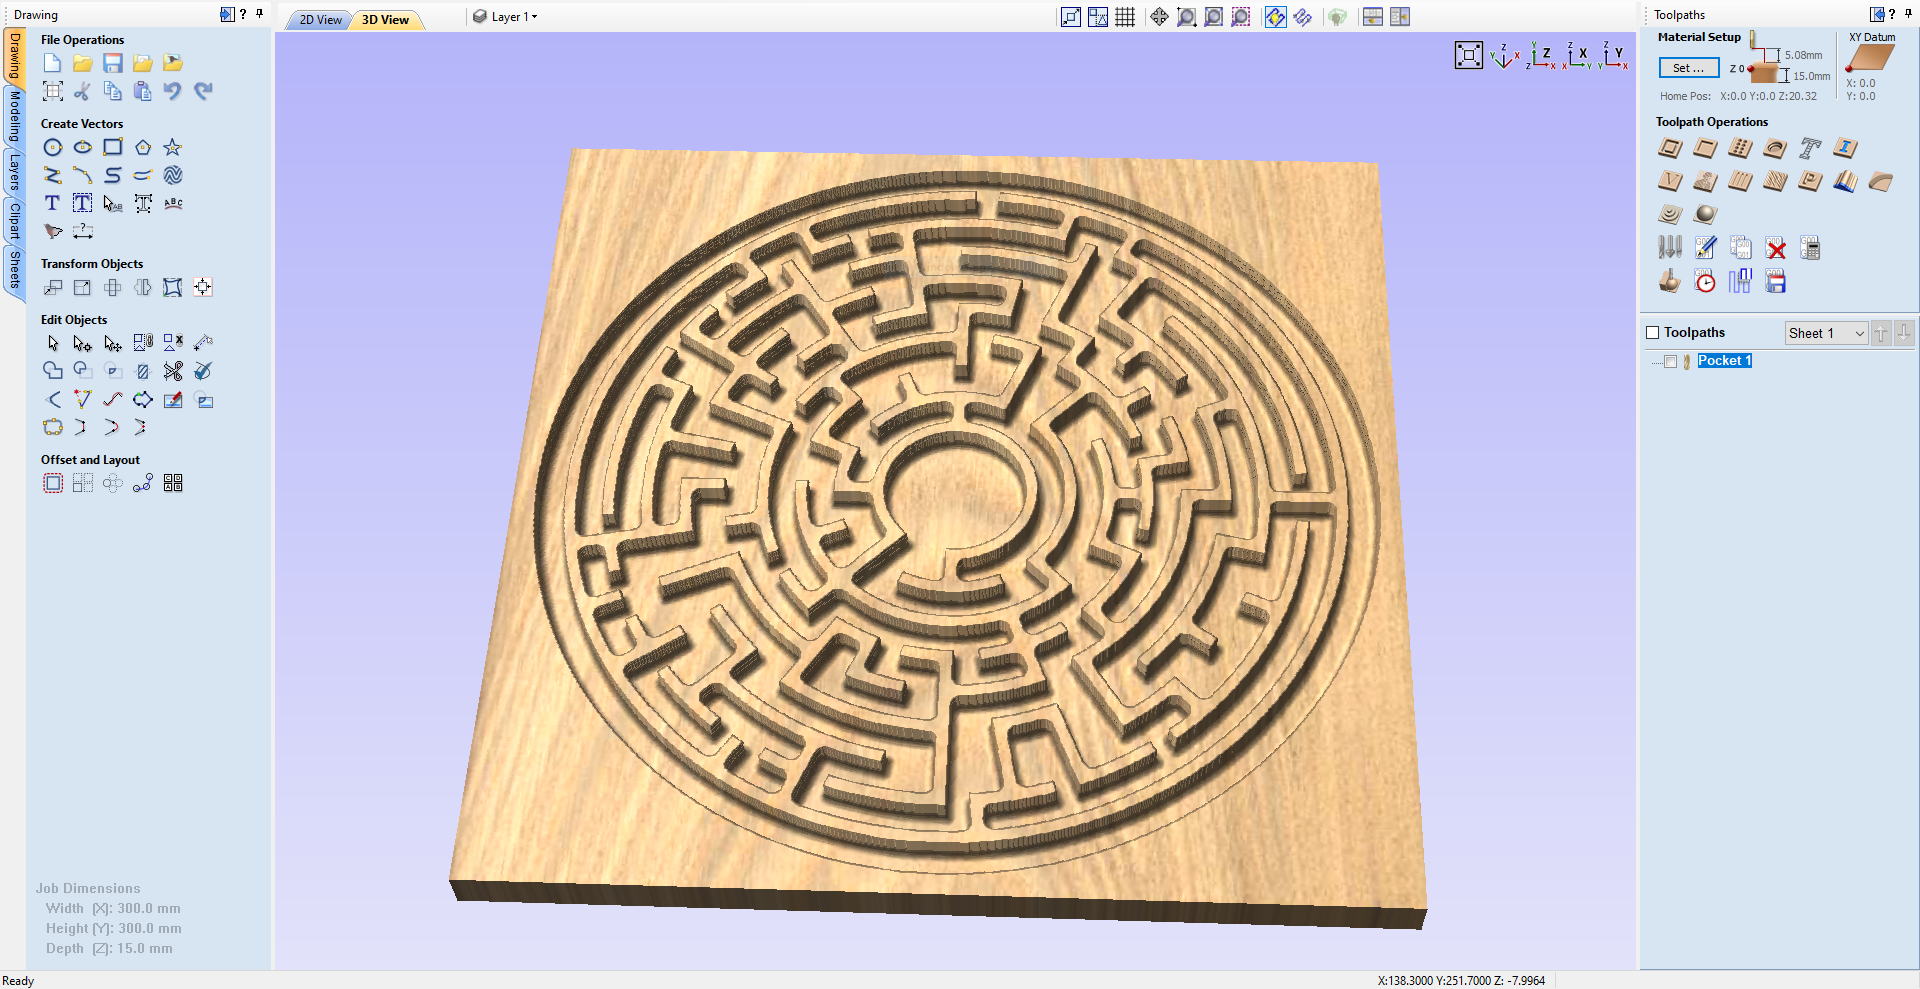
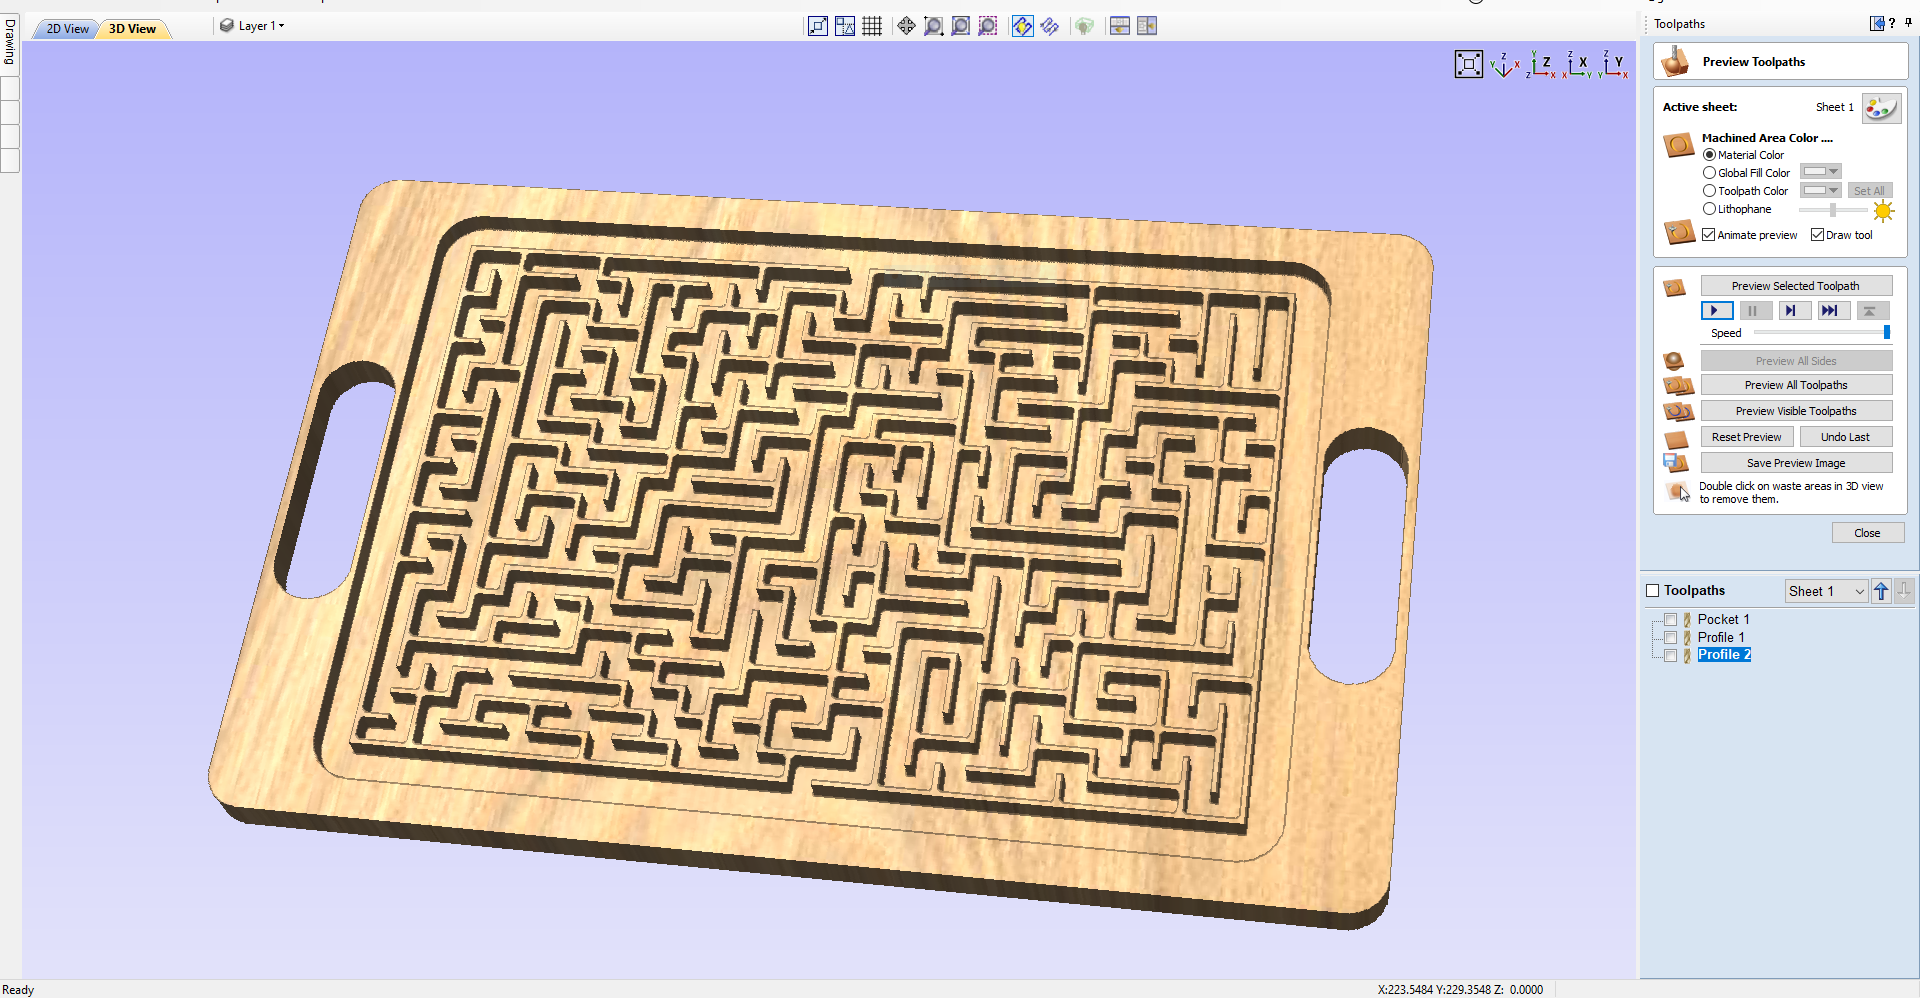
In Vetric set up you can set up the dimensions of your Maze, for this Maze I will make the dimensions 300mm Width x 250mm Height and thickness of the wood 12mm, select the zero point, I will select bottom left, choose the material, I will select medium oak and click ok.
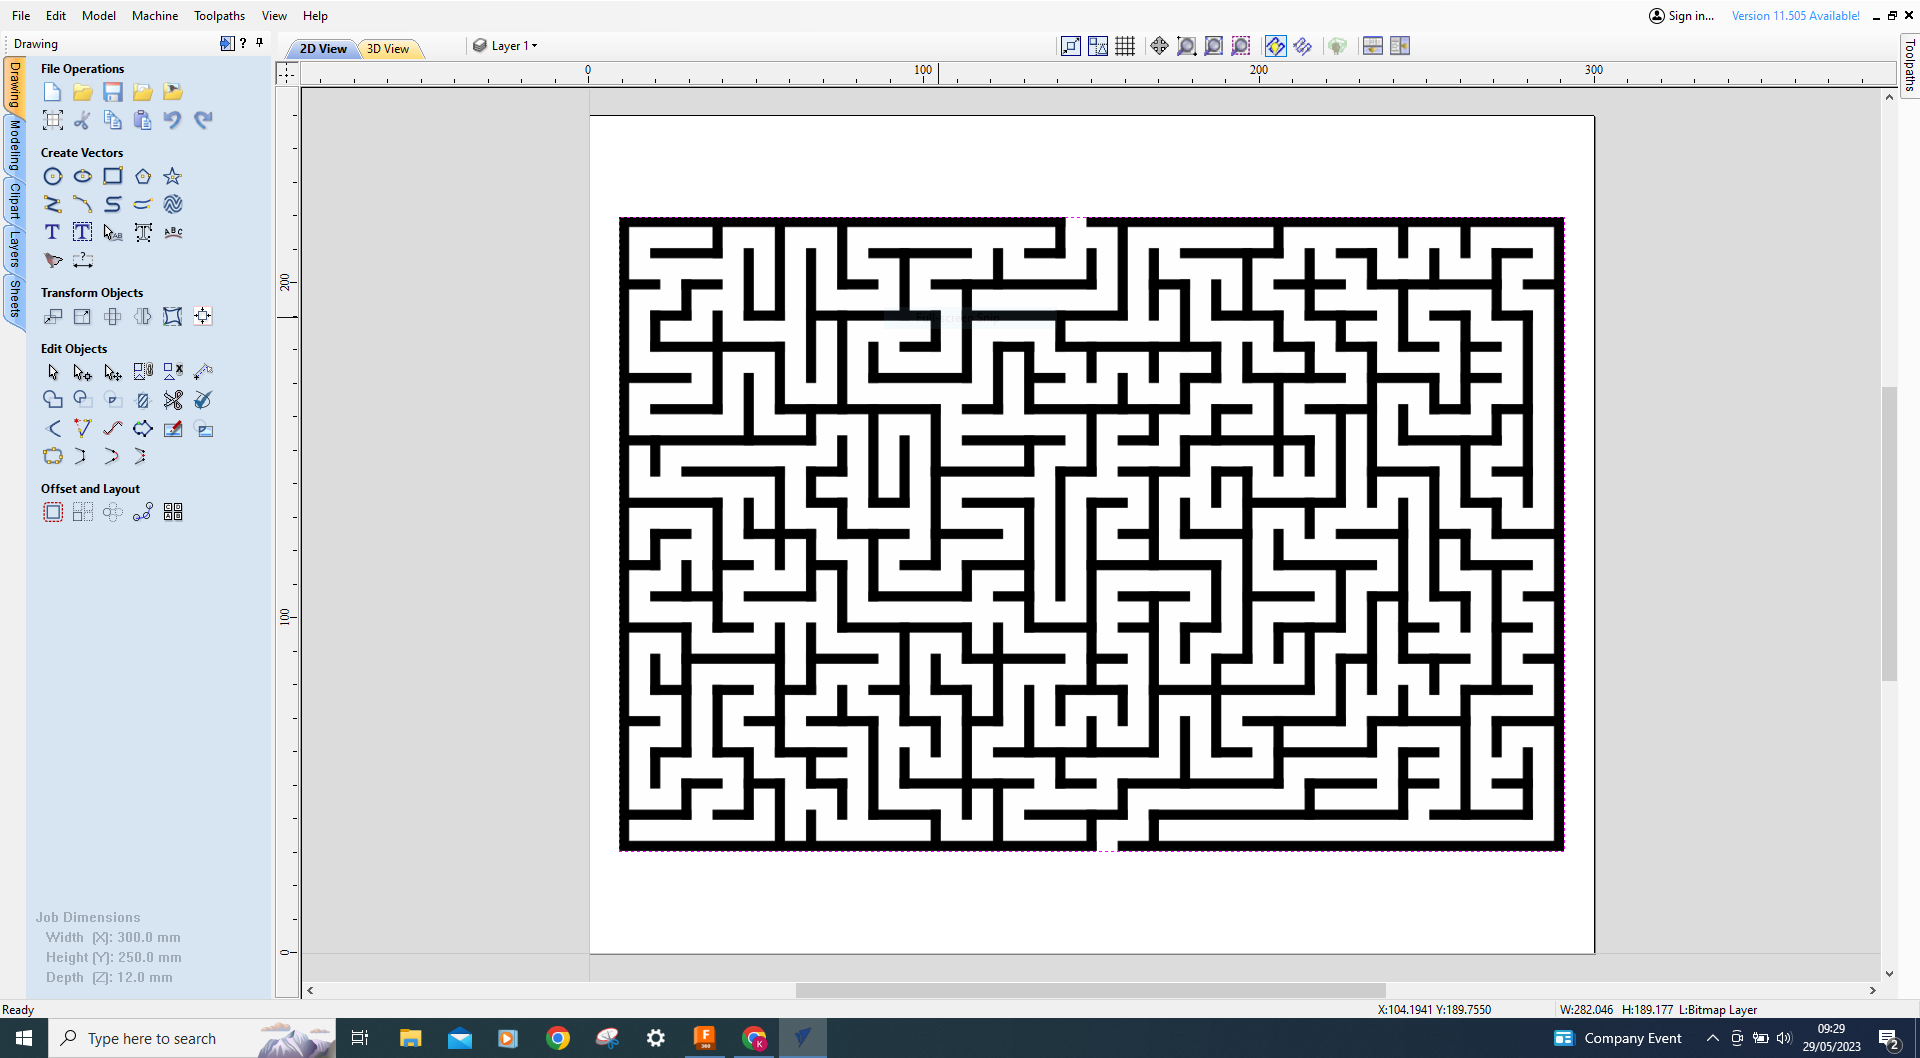
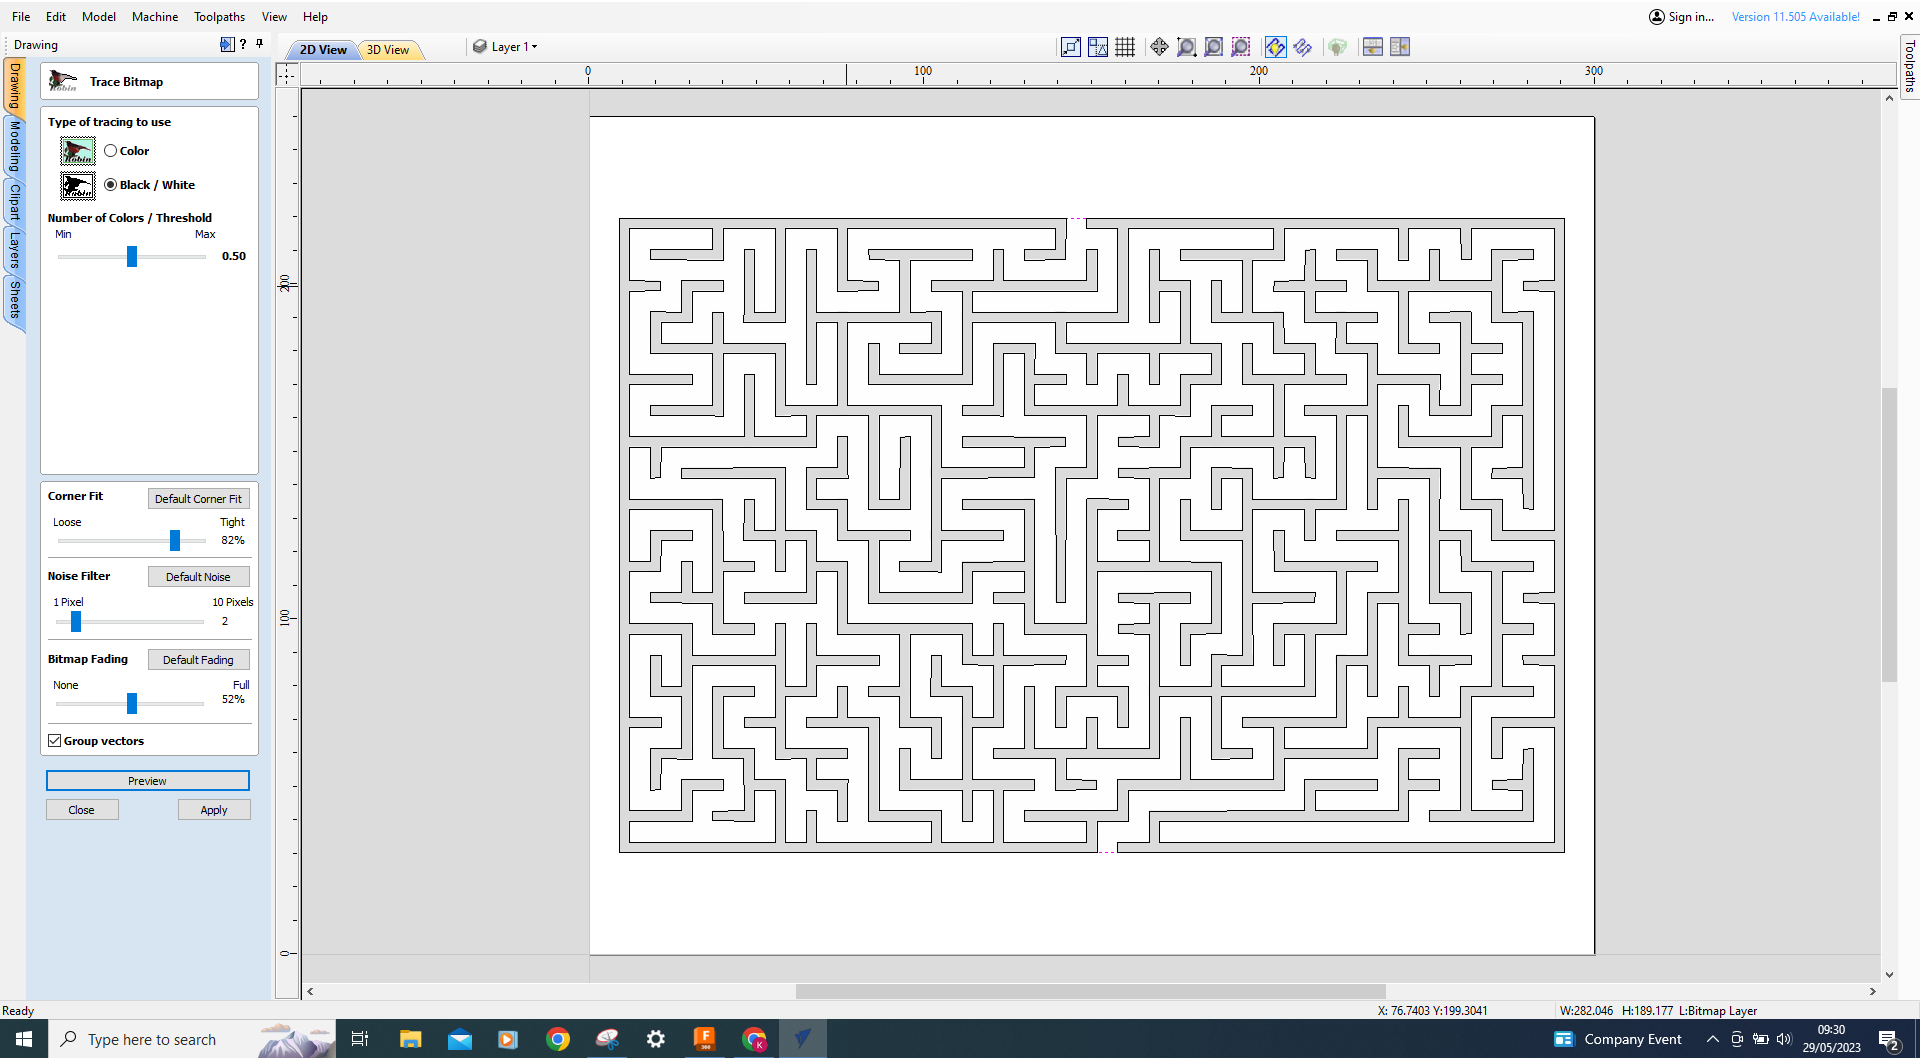
Import our Maze design using the Import Bitmap Tab and drag this into the rectangle, click on the maze to highlight and then use the trace bitmap tab, You can now Preview this and apply then press ok,
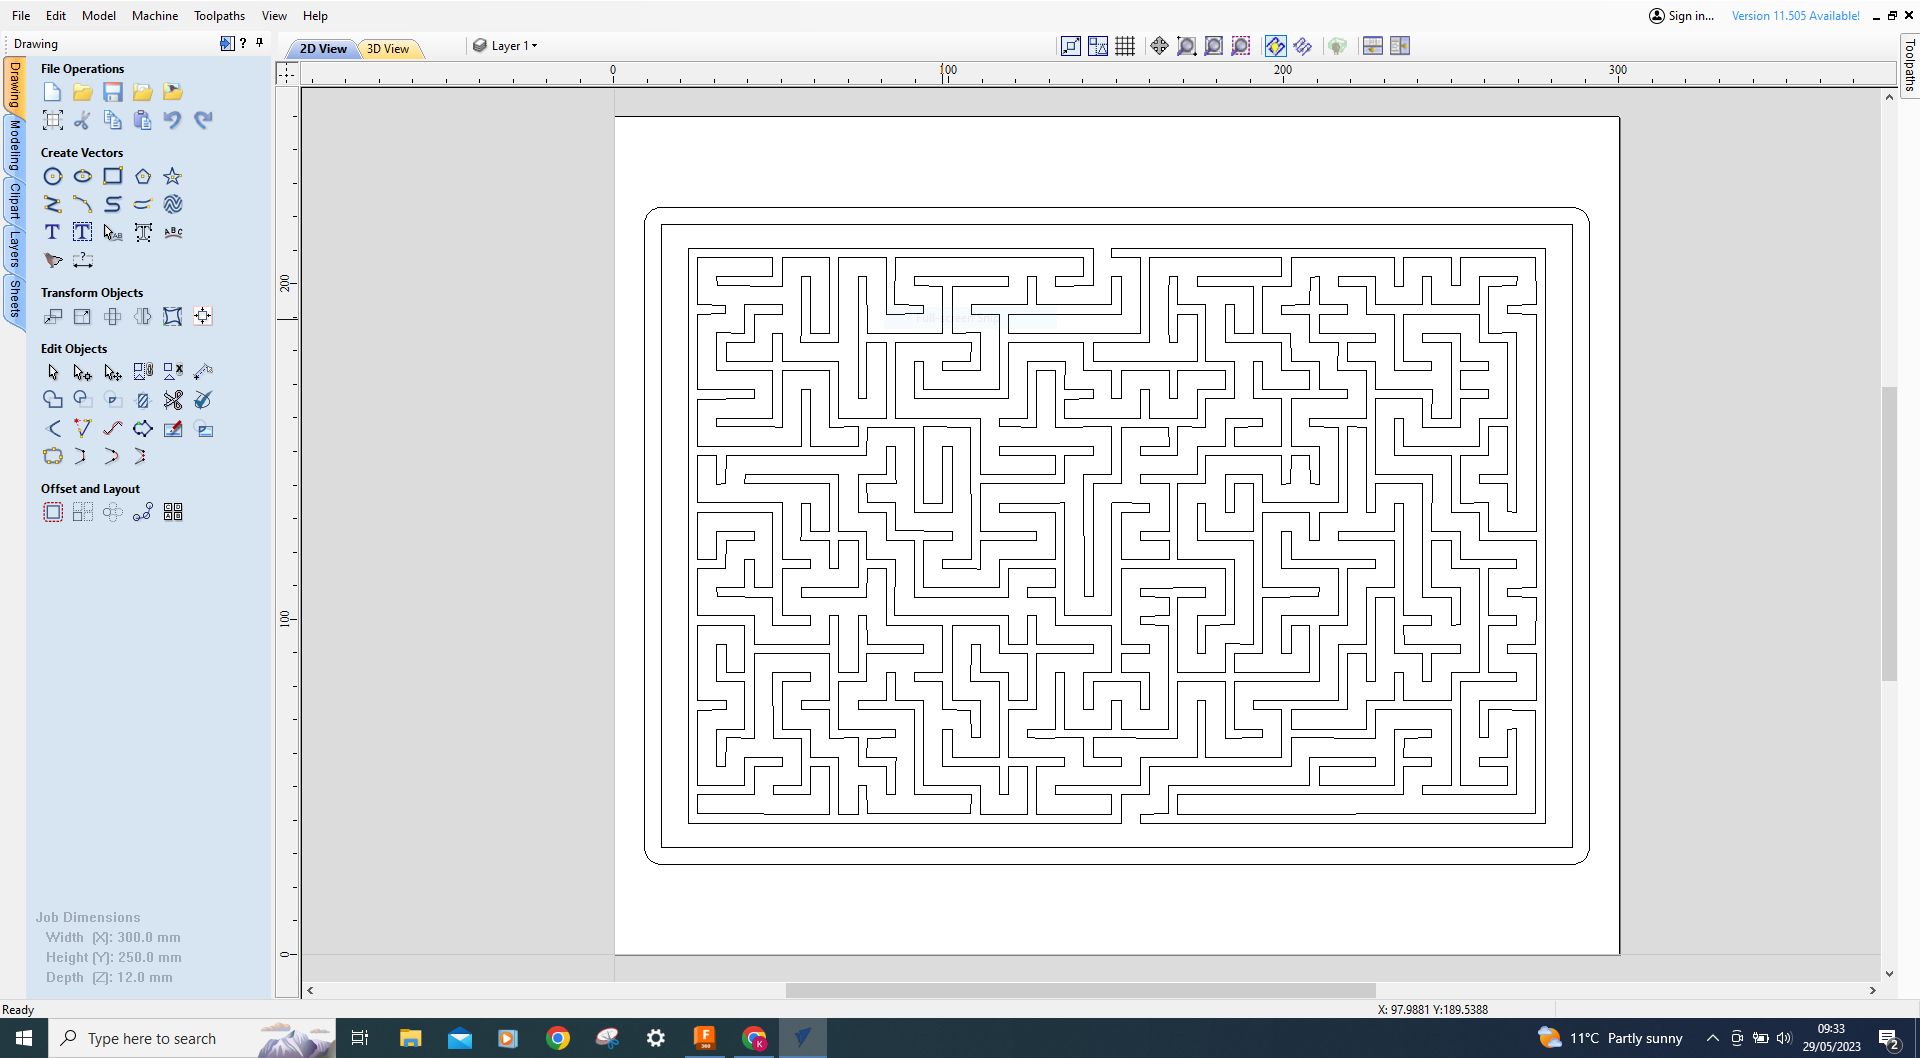
Zoom in on the Maze click anywhere on the grey areas of the Maze, this will now turn black and delete this leaving the maze design, pressing control on the keyboard and the tabs on the design you can change the overall dimension of the maze at this point.
For this cut to work we now need to create a rectangle around the Maze, create the rectangle big enough to create an offset inwards, in effect its creating a border for the steel ball to run in around the perimeter so you can use the Maze either way up.
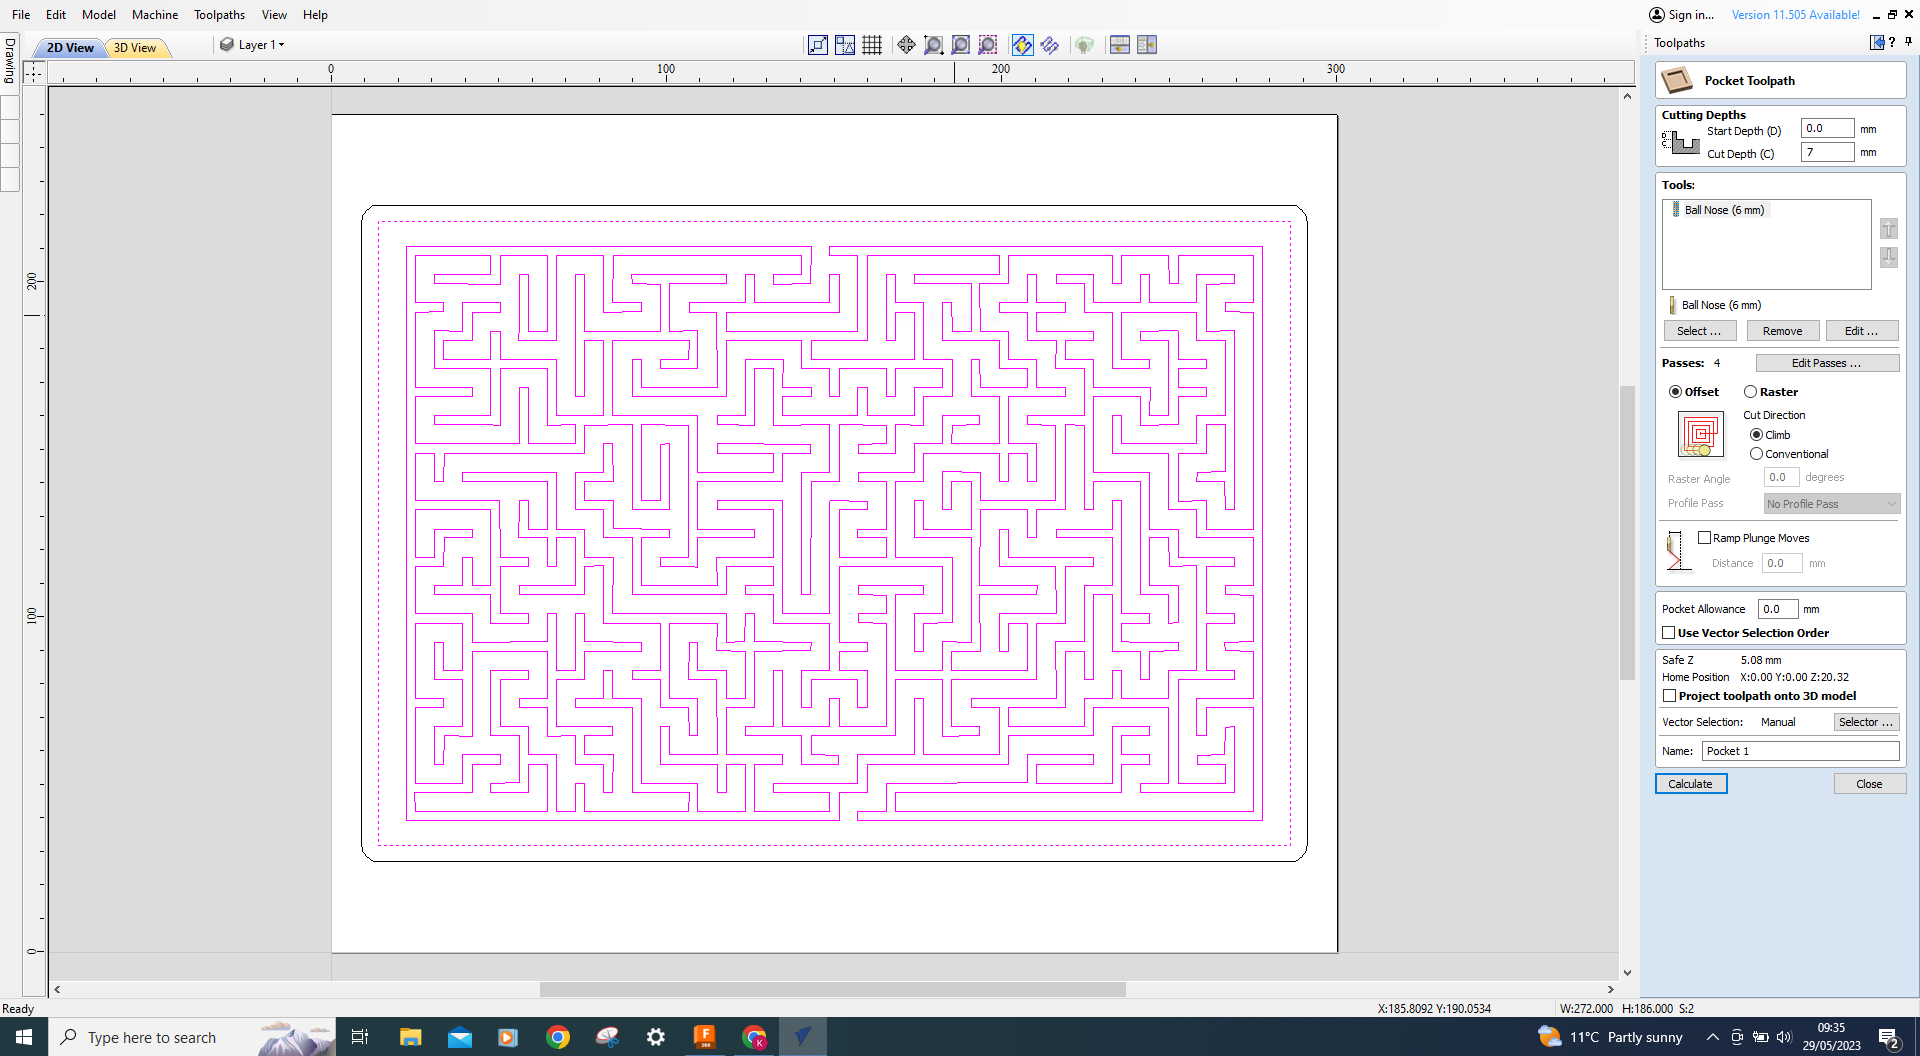
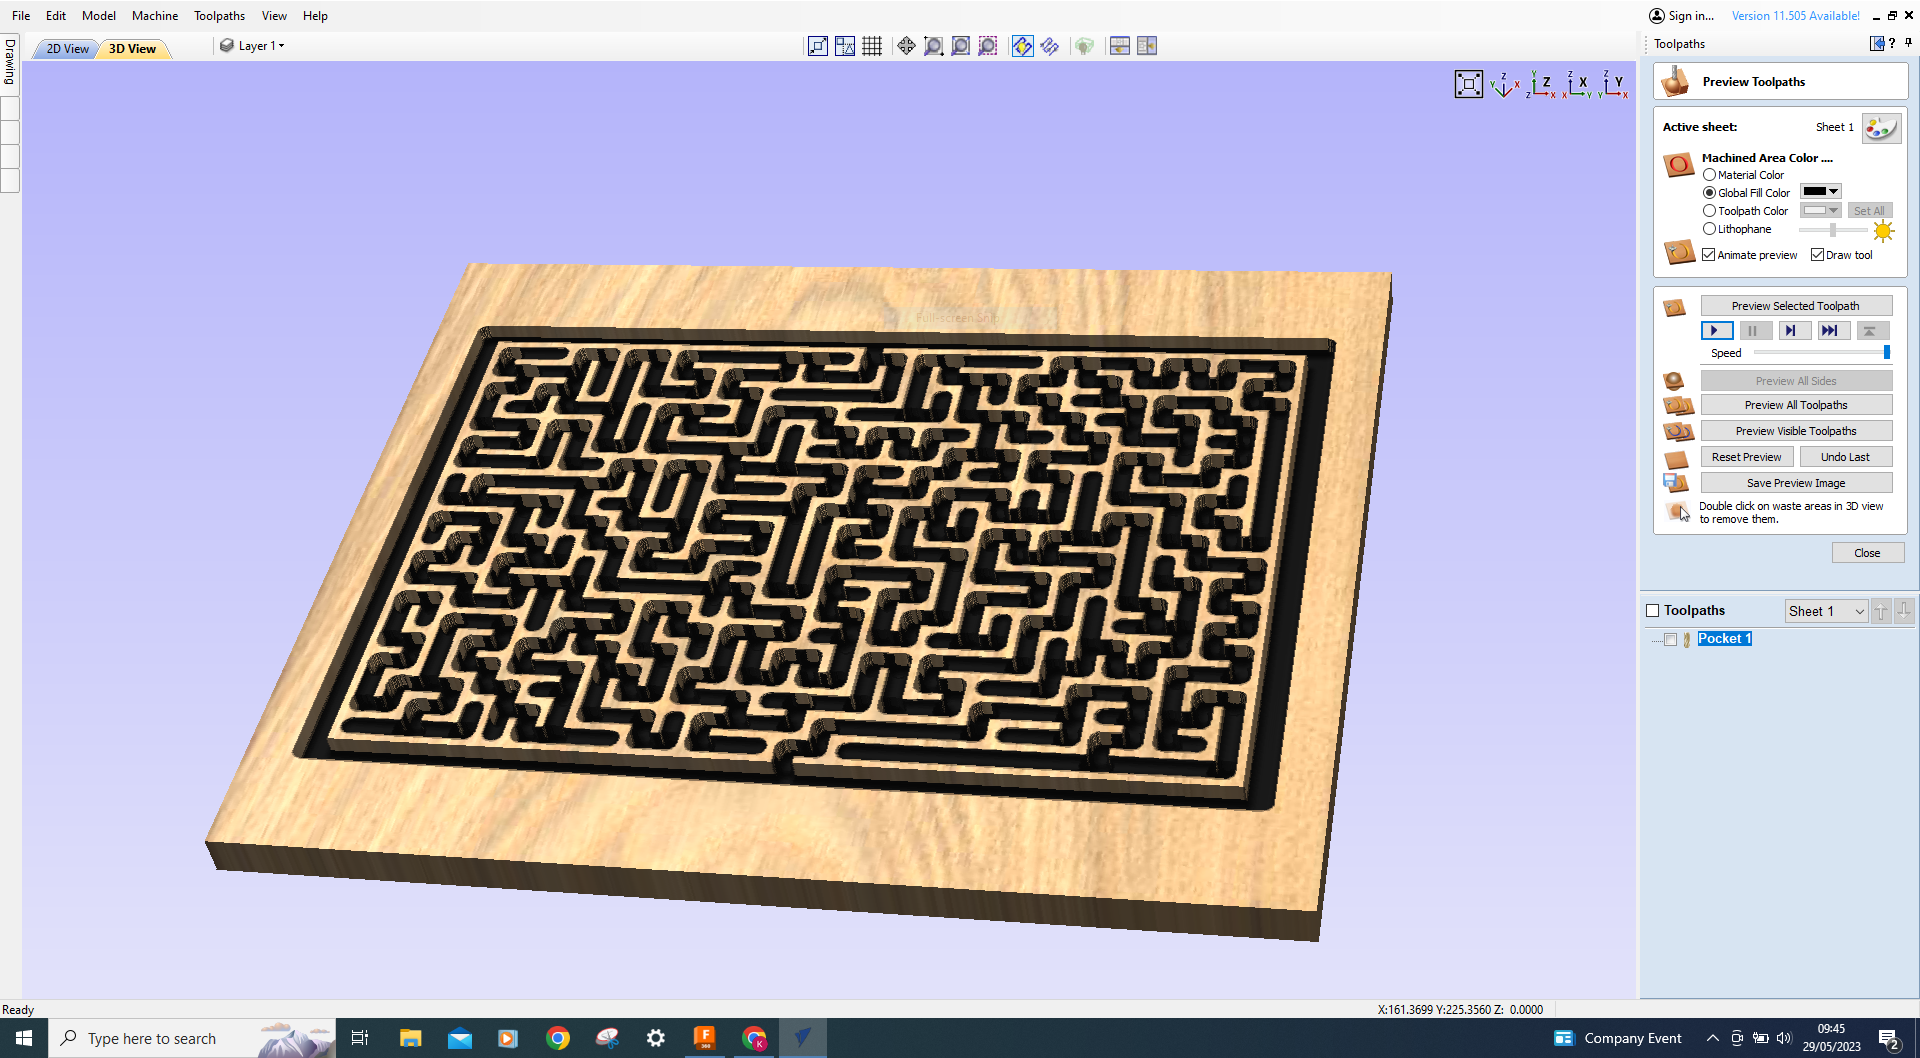
Moving onto creating a tool path section we can now select the depth we want to cut to, dependent on what ball size, using the measure tool, measure the distance between the lines where the ball will run and select the ball to suit.
In this instance I am using a 3mm Ball end bit to get more definition in the corners, but again its dependent on what size your wood is and your maze design as to what size bit you will use.
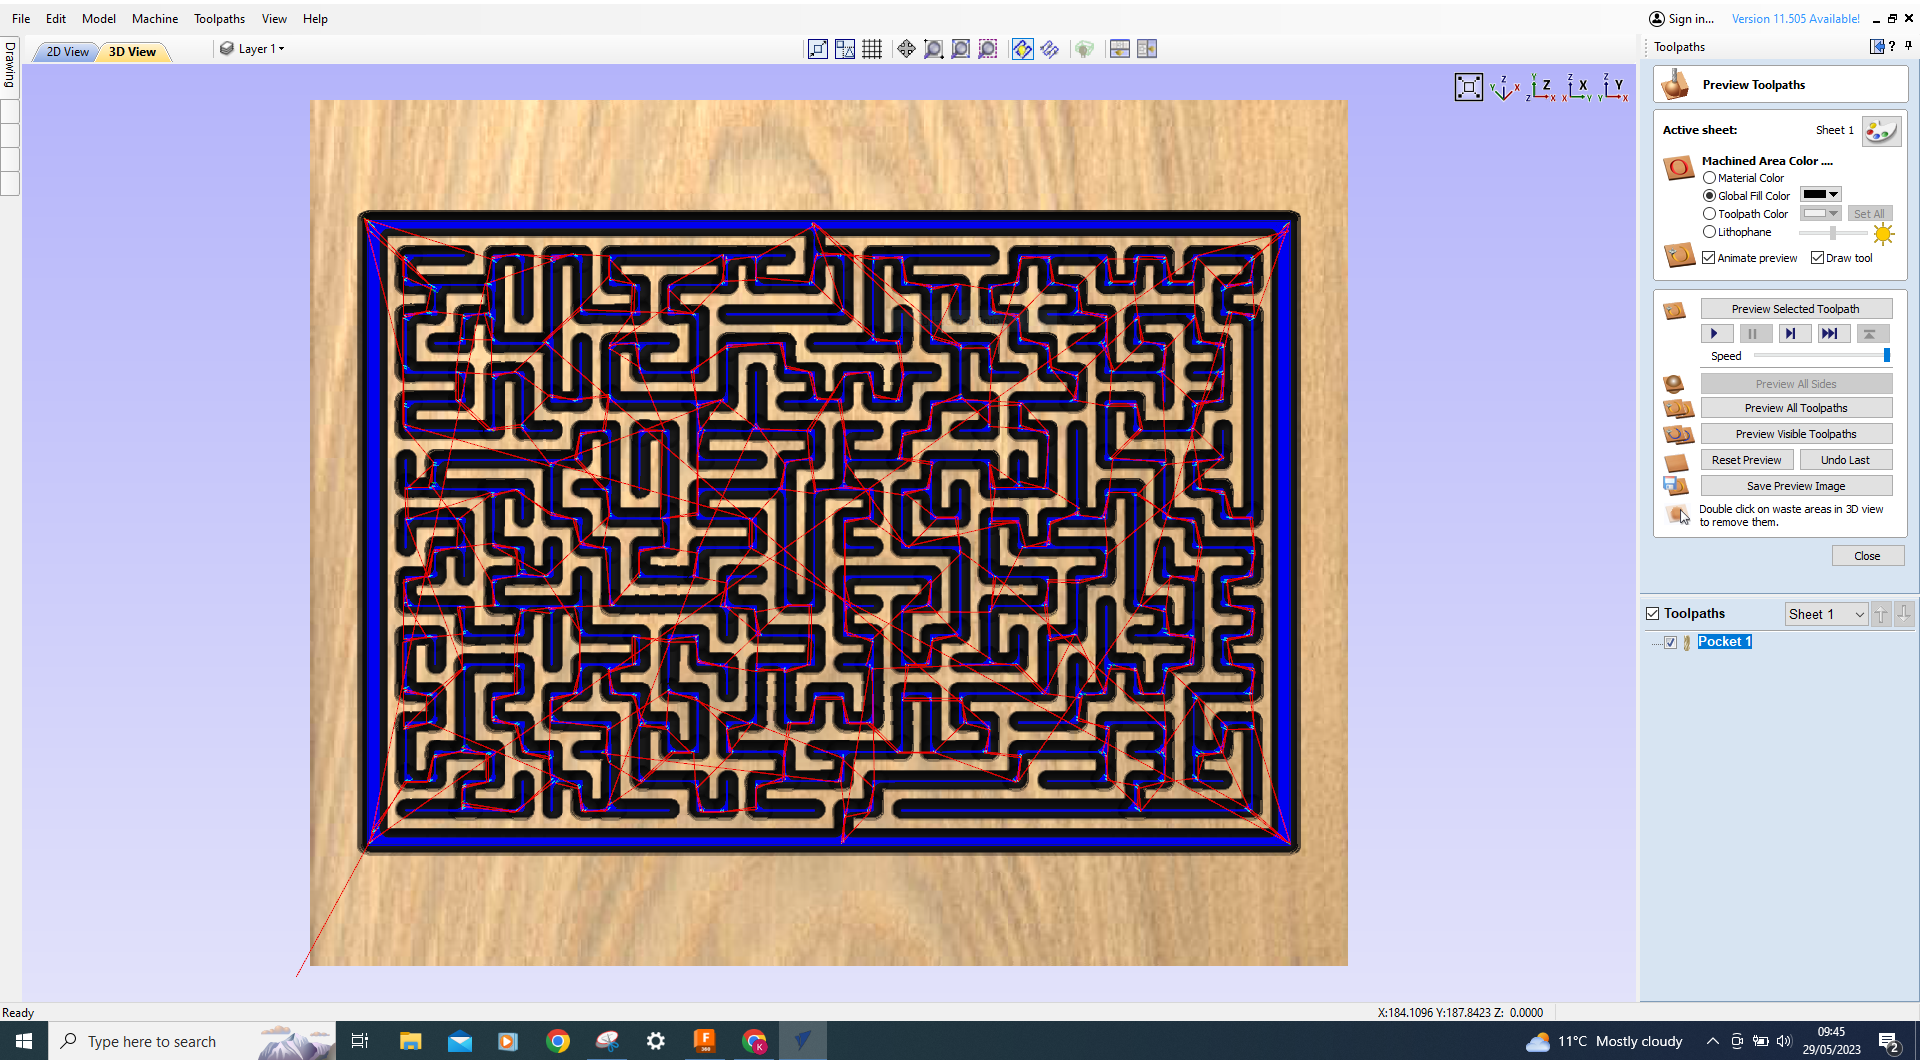
To make the cut use the Pocket tab and highlight the entire maze and the inner border line not the outer, press create and preview, there you have it, an easy ish Maze use a chopping board or similar for the Maze, It's usually a cheaper option, to contain the ball a recess can easily be created for a perspex or acylic cover, a double sided maze can easily be mad with the correct depth of wood etc, there are plenty of options.
Finally, export the Maze as a DXF and save to a folder where you can easily find it to use in Fusion 360
Fusion 360 Maze
When importing a scaled SVG into Fusion 360 it doesn't keep the original scaled dimensions, so you have choices, either scale it up and guess in Fusion or in Vetric export the design as a DXF file in Vetric, this way it keeps the original dimensions, it just takes longer to extrude, or maybe that's just my lap-top.
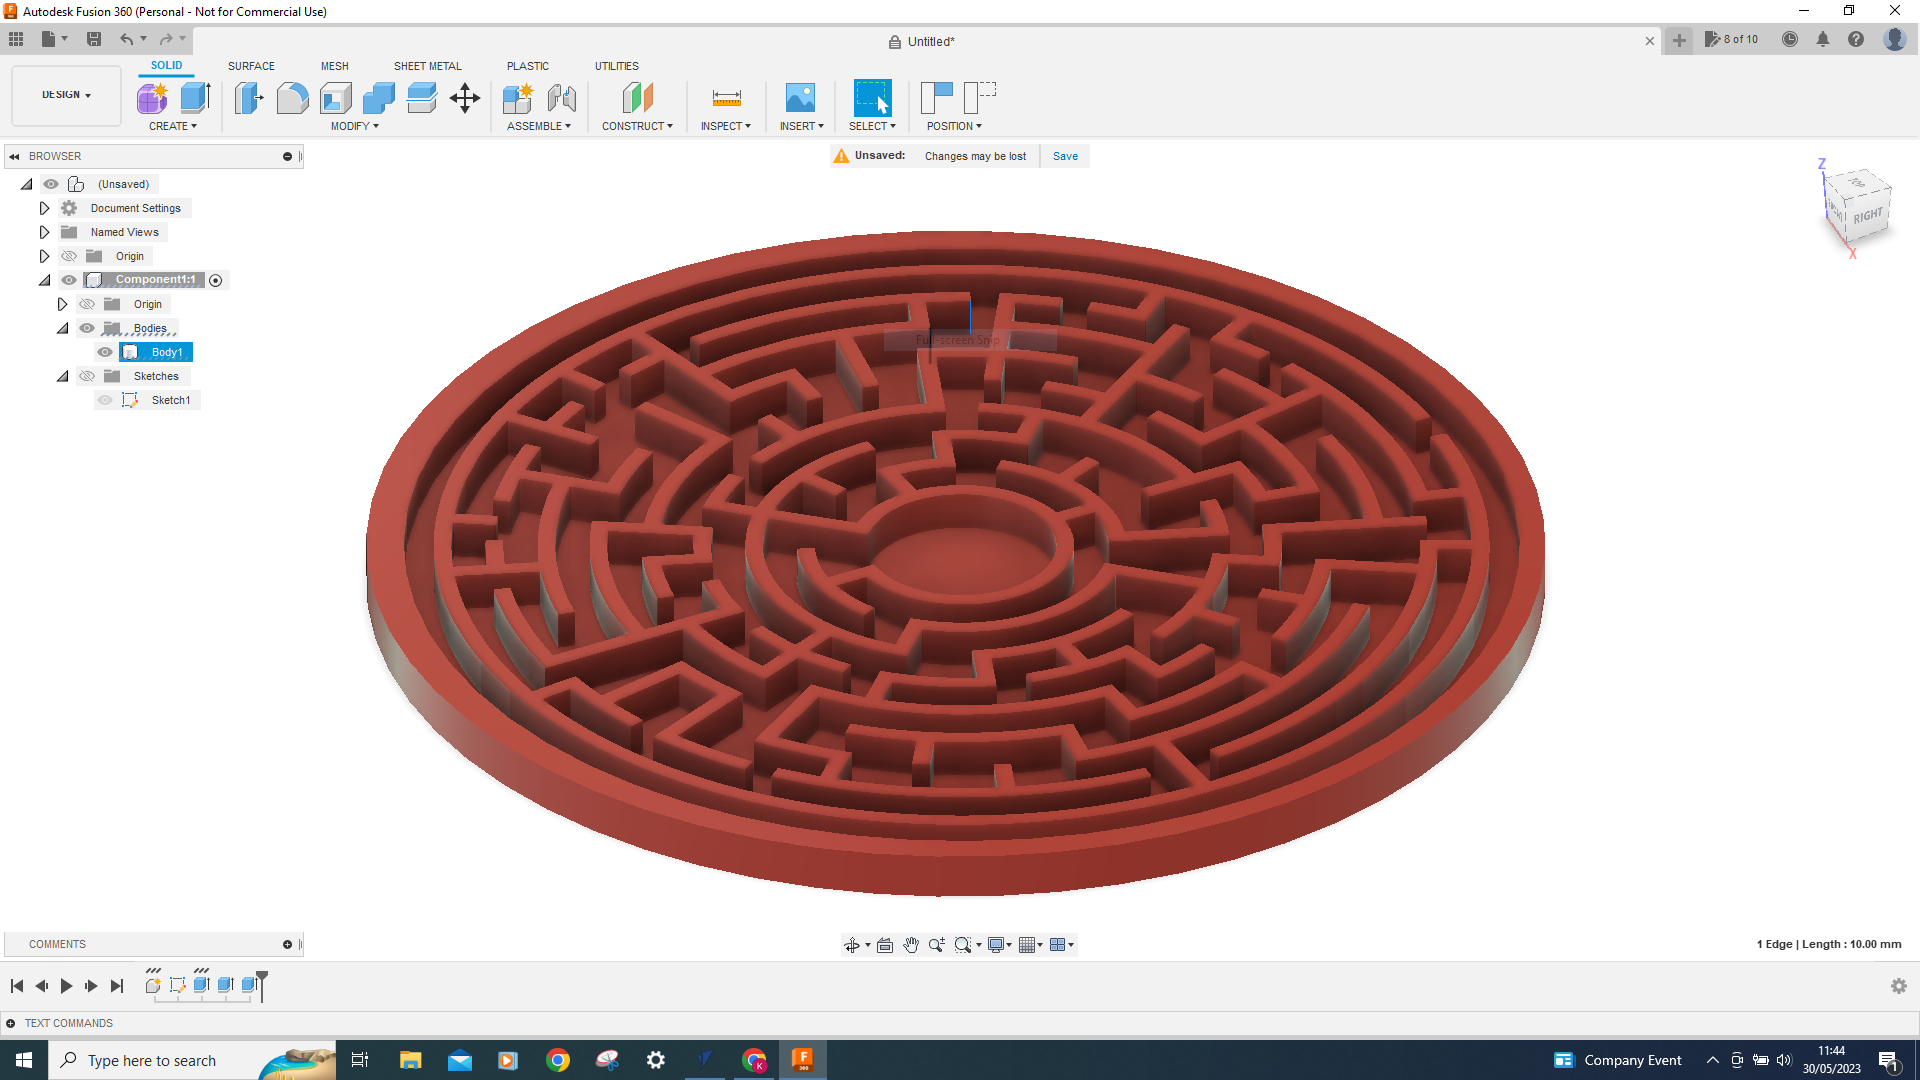
You create a new component and select the top plane, use insert and select dxf file.
With the dxf file on the screen I now create a 10mm off-set around the perimeter and then extrude the maze first to the height you want, then the base using the join option, then the border also using the joint option to create a single component.
You can now either go into Manufacture and cut out of wood or utilities and 3D Print.
I don't have a CNC Machine anymore so I can't show the completed object but the design is there, it creates the G-code so all should be ok.
Summary
I hope you found this Instructable helpful and an easier way of creating Mazes, this is just something I stumbled upon in Vetric whilst trying to design a Maze for my sister and it seems to work ok, I won't say that i'm the first to come across it but I haven't seen anything else like it online.
As always thanks for looking.