Easy Time Lapse for Most DSLR'S
by eXtremeSomething in Circuits > Cameras
35059 Views, 65 Favorites, 0 Comments
Easy Time Lapse for Most DSLR'S
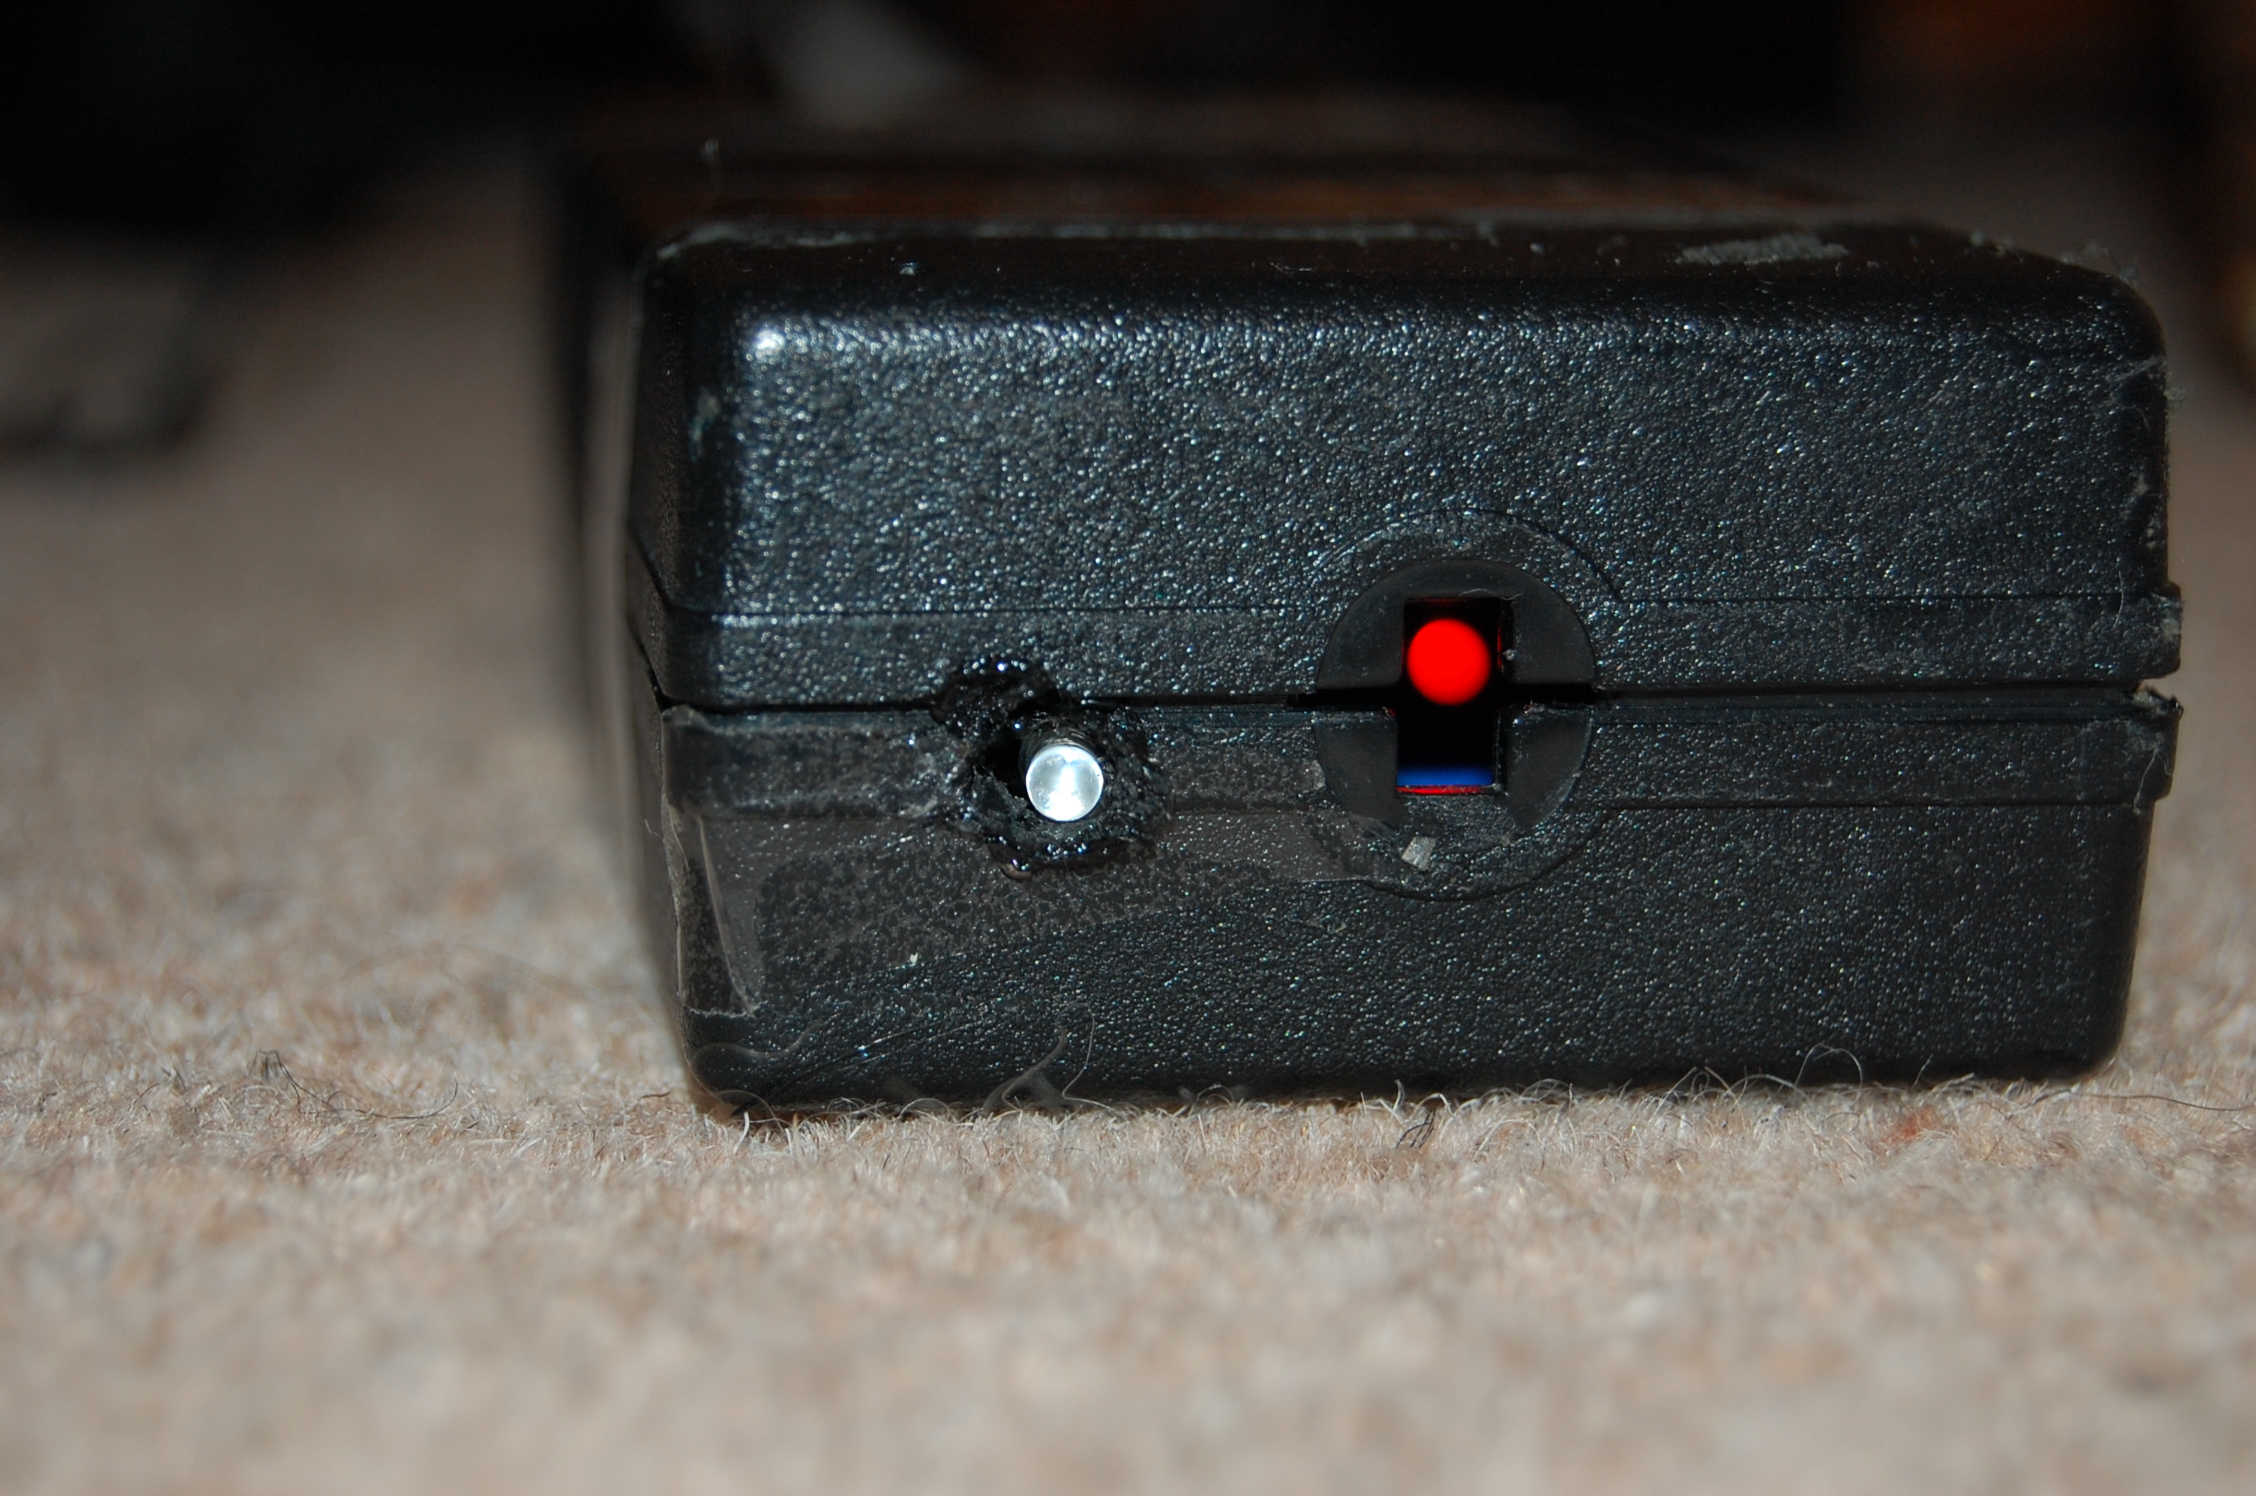
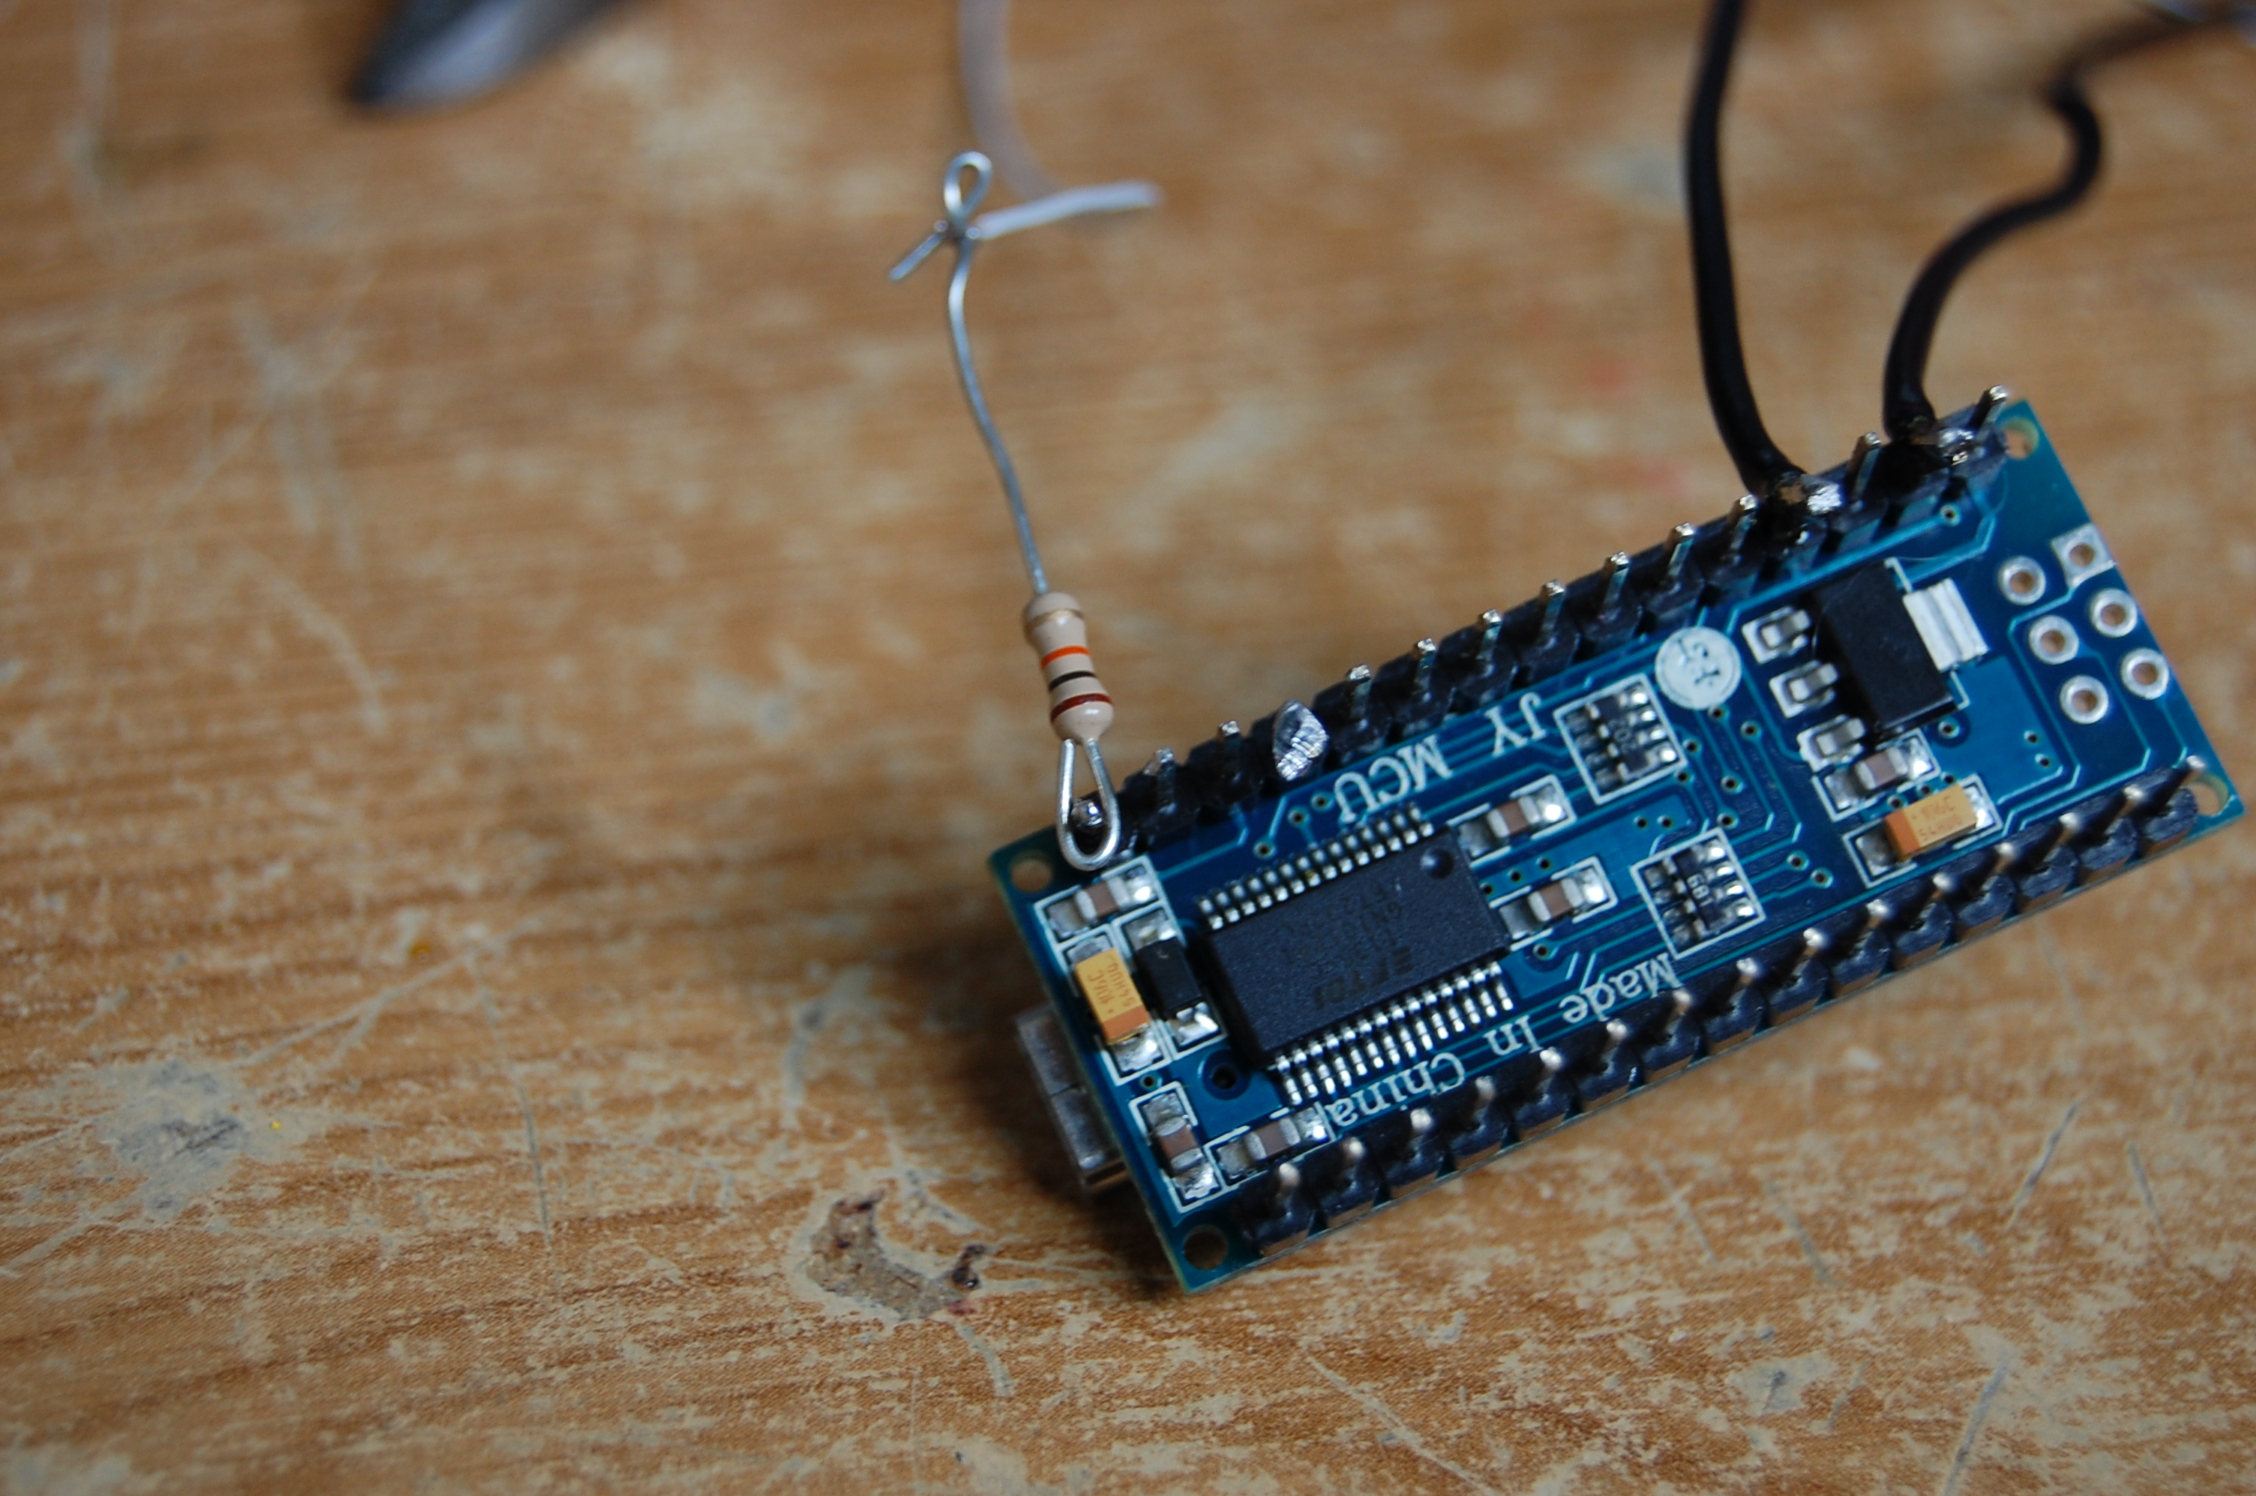
This is a step by step build guide to making your own intervalometer on the cheap, allowing you to take timelapse footage.
The problem:
I filmed timelapse footage before using my CANON A480 compact camera, which was made very easy using CHDK (the canon hack and development kit) firmware hack. How ever I really wanted the footage to be of higher quality so I wanted to use my Nikon D40.
My Solution:
Most low end DSLR's like mine, have an Infrared remote as the sole external trigger. Other cameras may have pre-made wired intervalometers onsale, but these cost hundreds of dollars. Yet the majority of them have IR remote cabability. This means you can buy a cheap knock off, of your camera's remote and HACK 'IT' UP.
Get the Parts

For this easy build you will need :
- An IR remote for your make of camera. (this is Crucial for sucess)
- An arduino of any type, however the nano is a good size.
- A single 2N3904 NPN transistor, yet any comparable NPN will do
- One 10K resistor.
- PP3 9V battery *
- PP3 battery clip *
- A nice project box or enclosure
- Metal toggle switch
- L-ion battery pack *
Disassemble the Remote
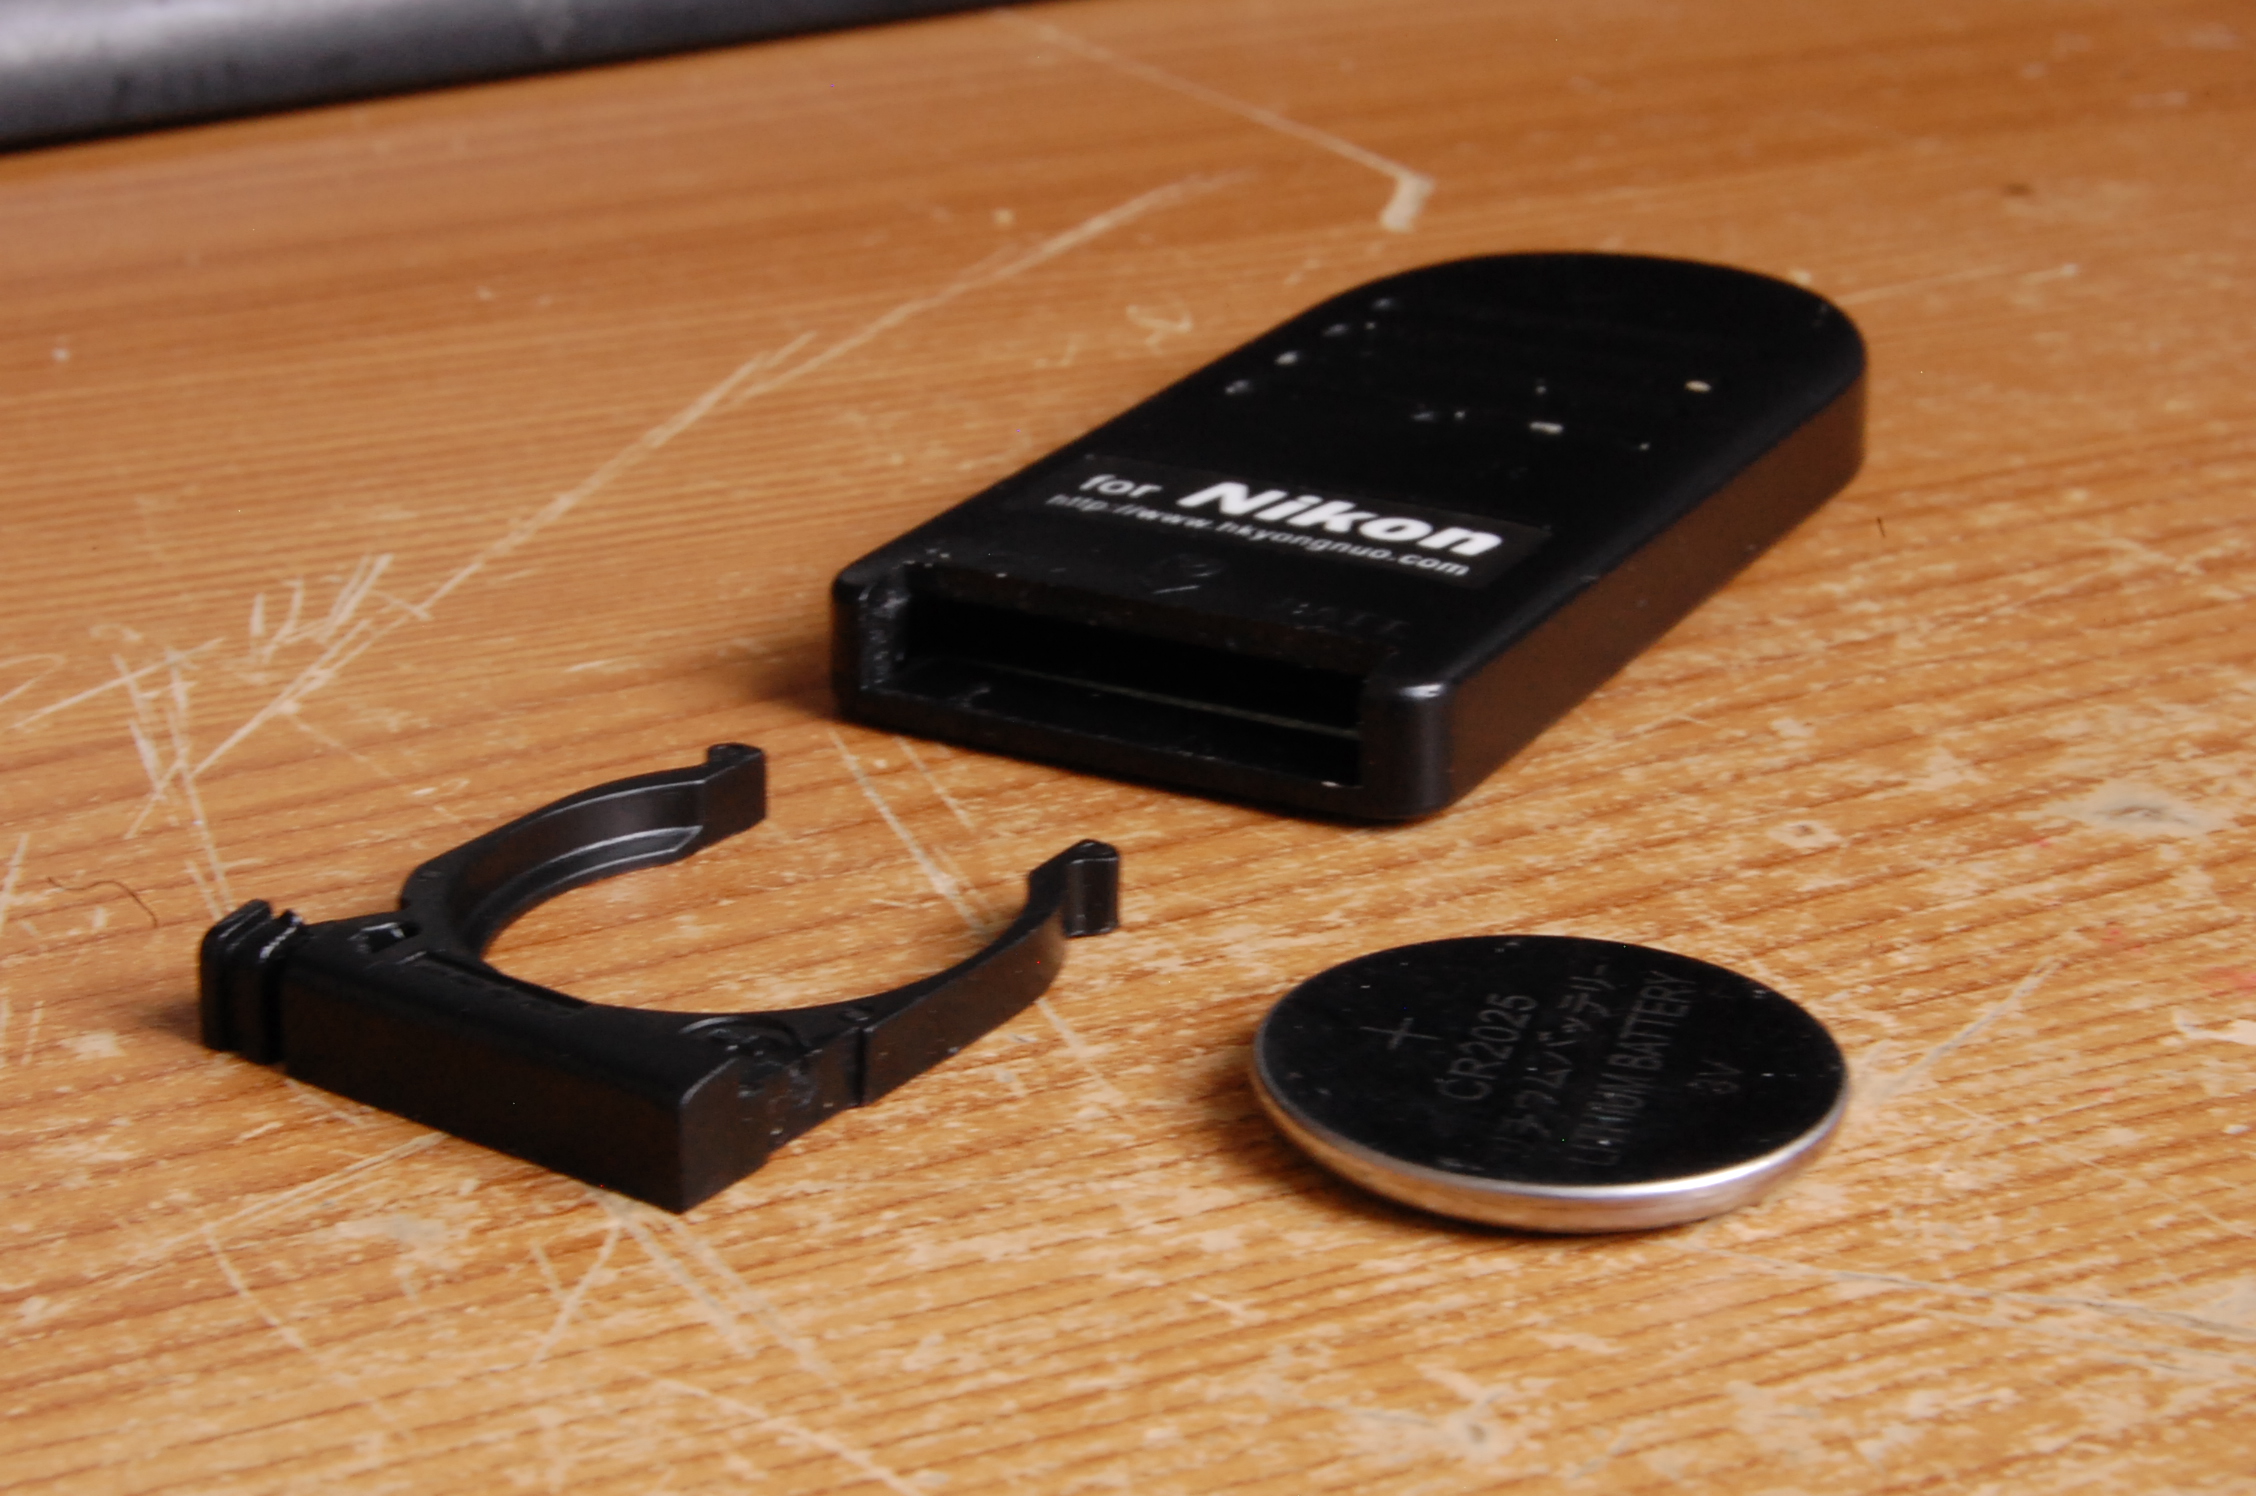

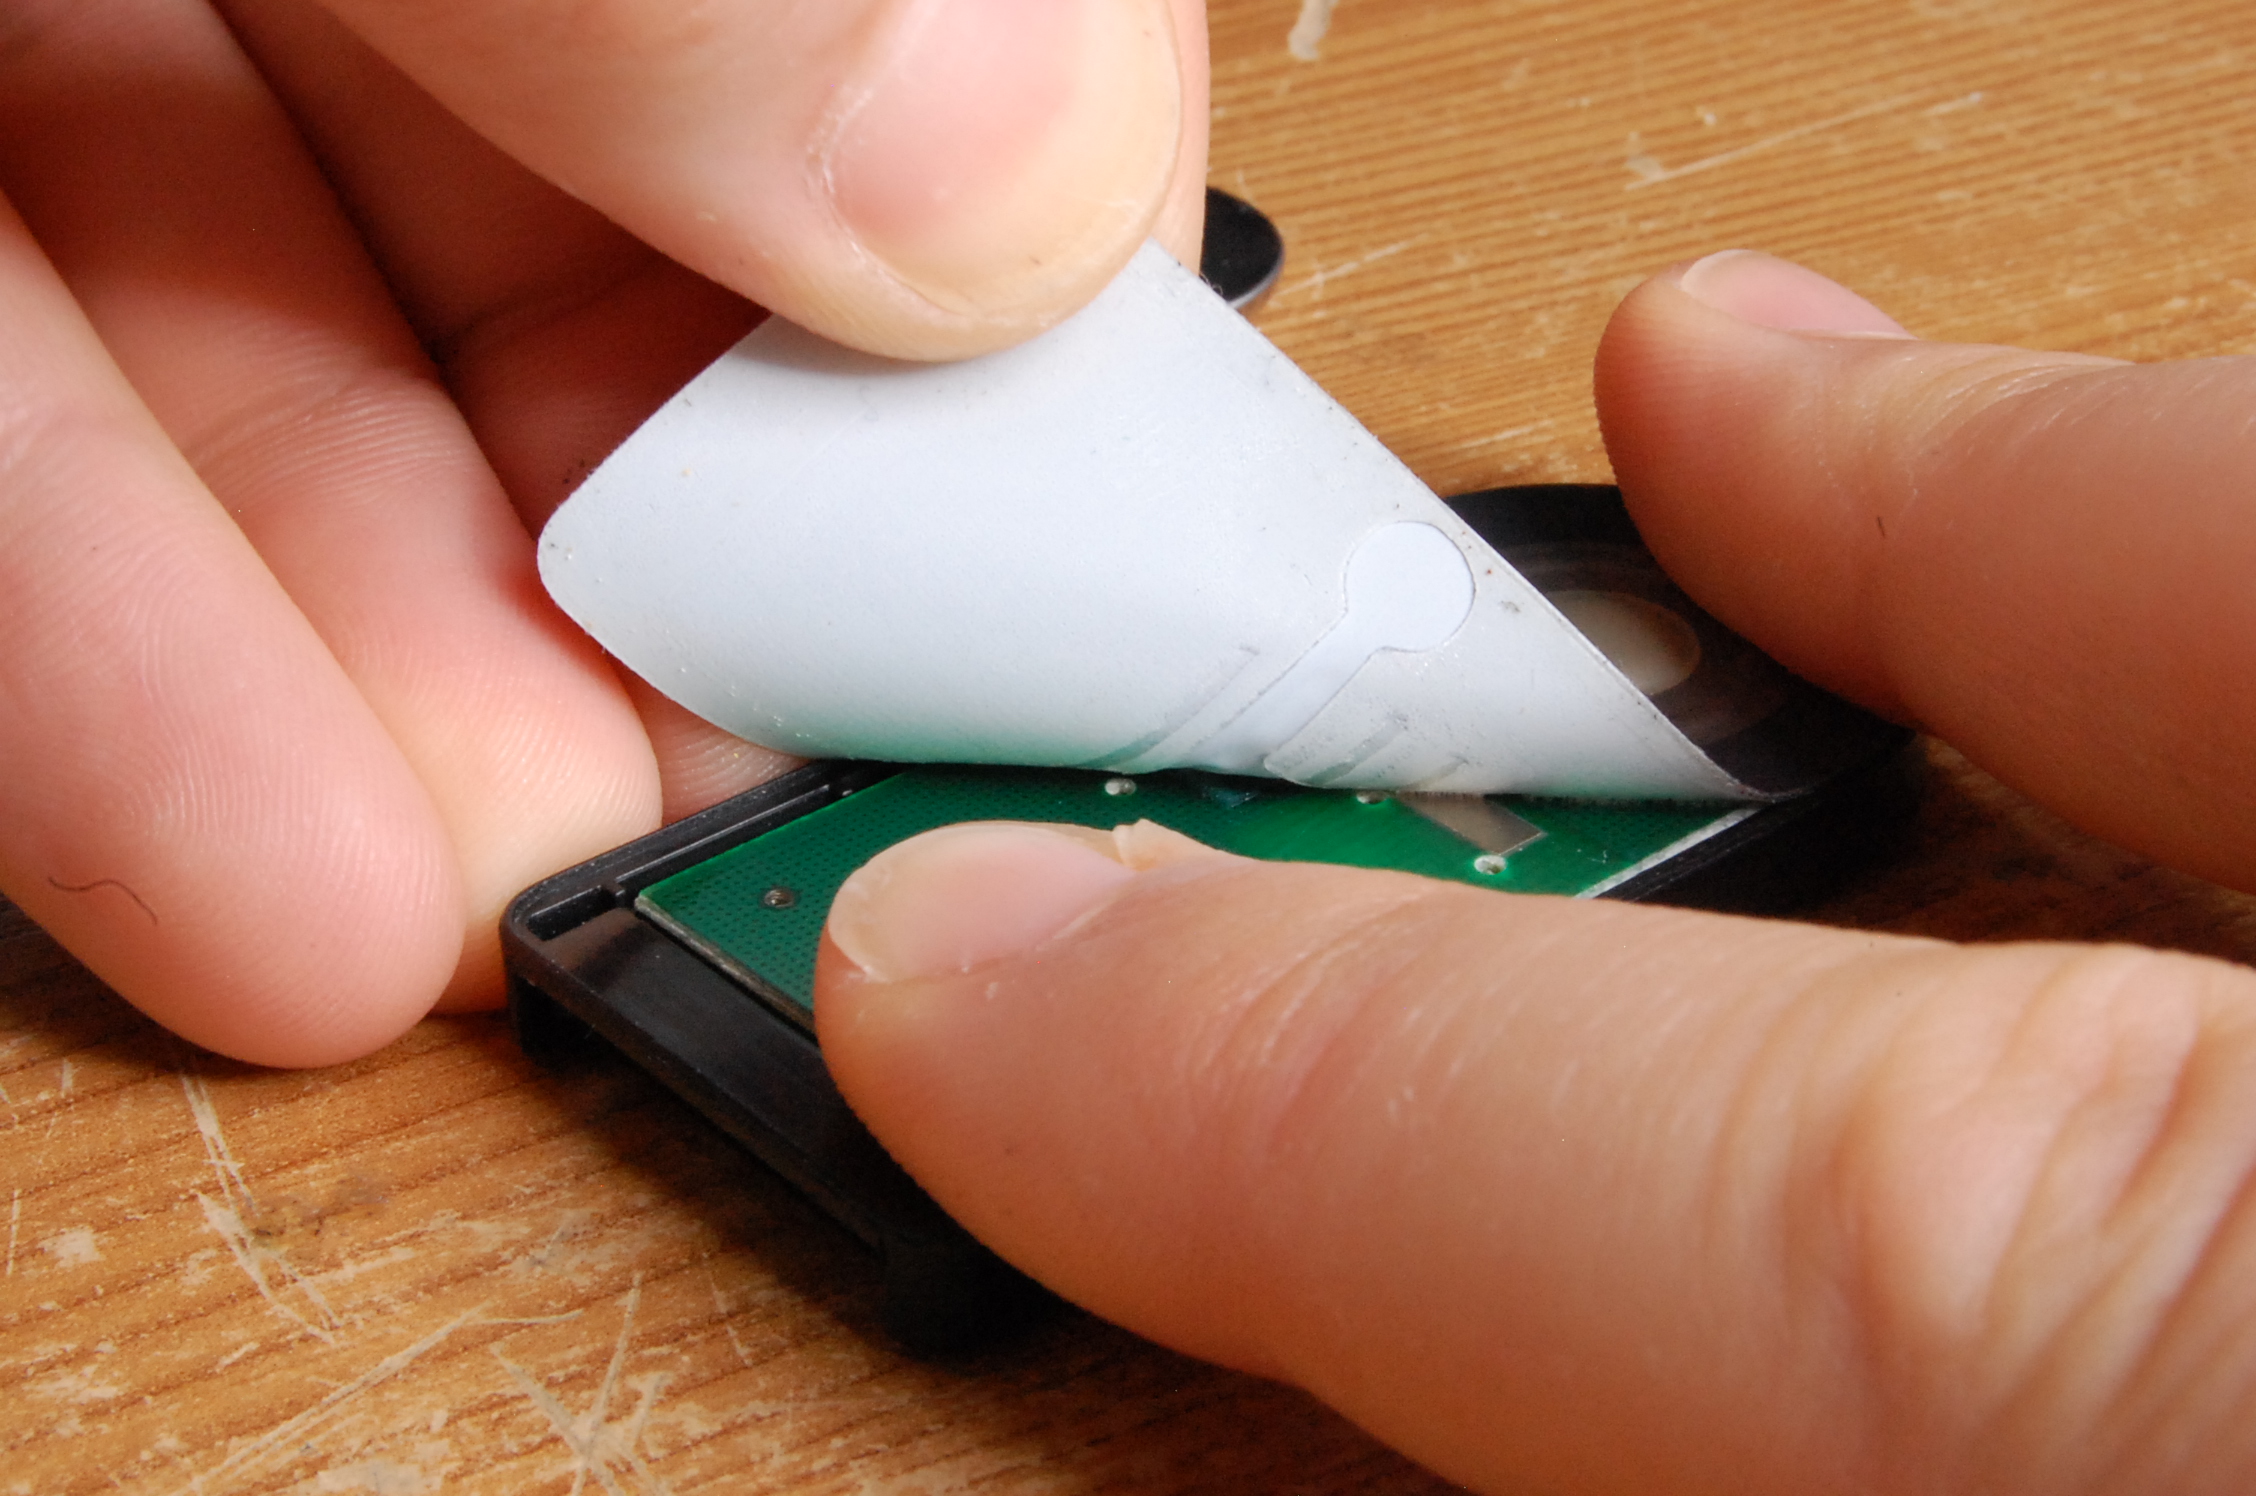
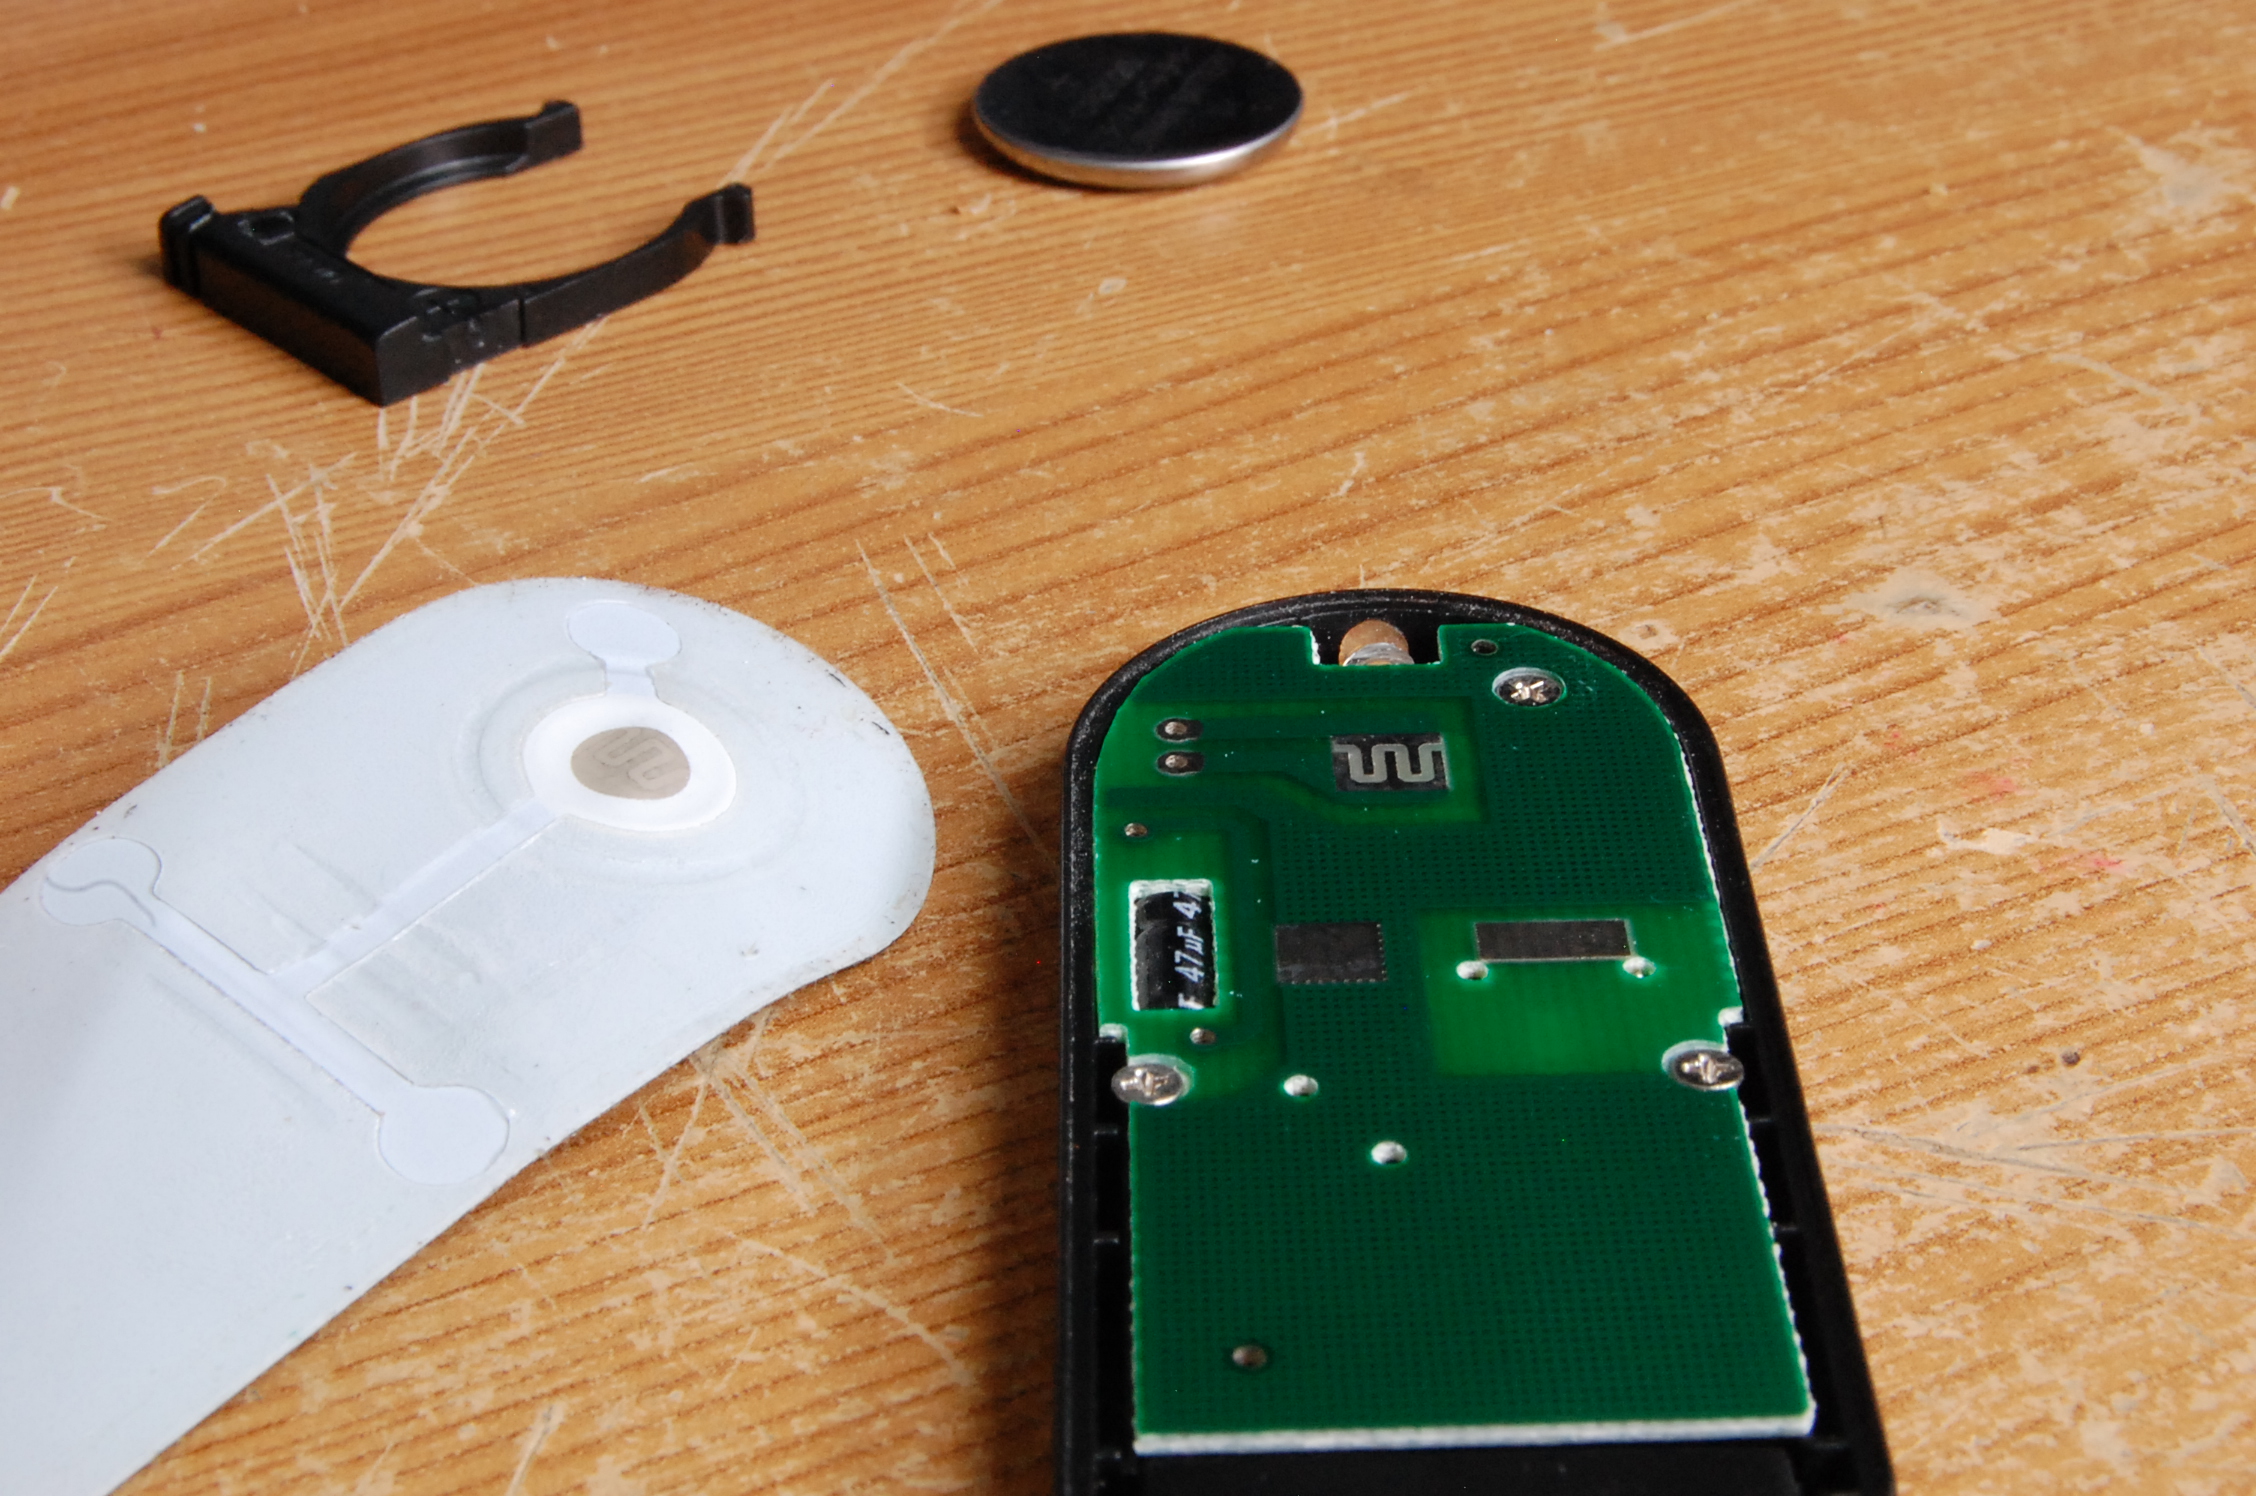
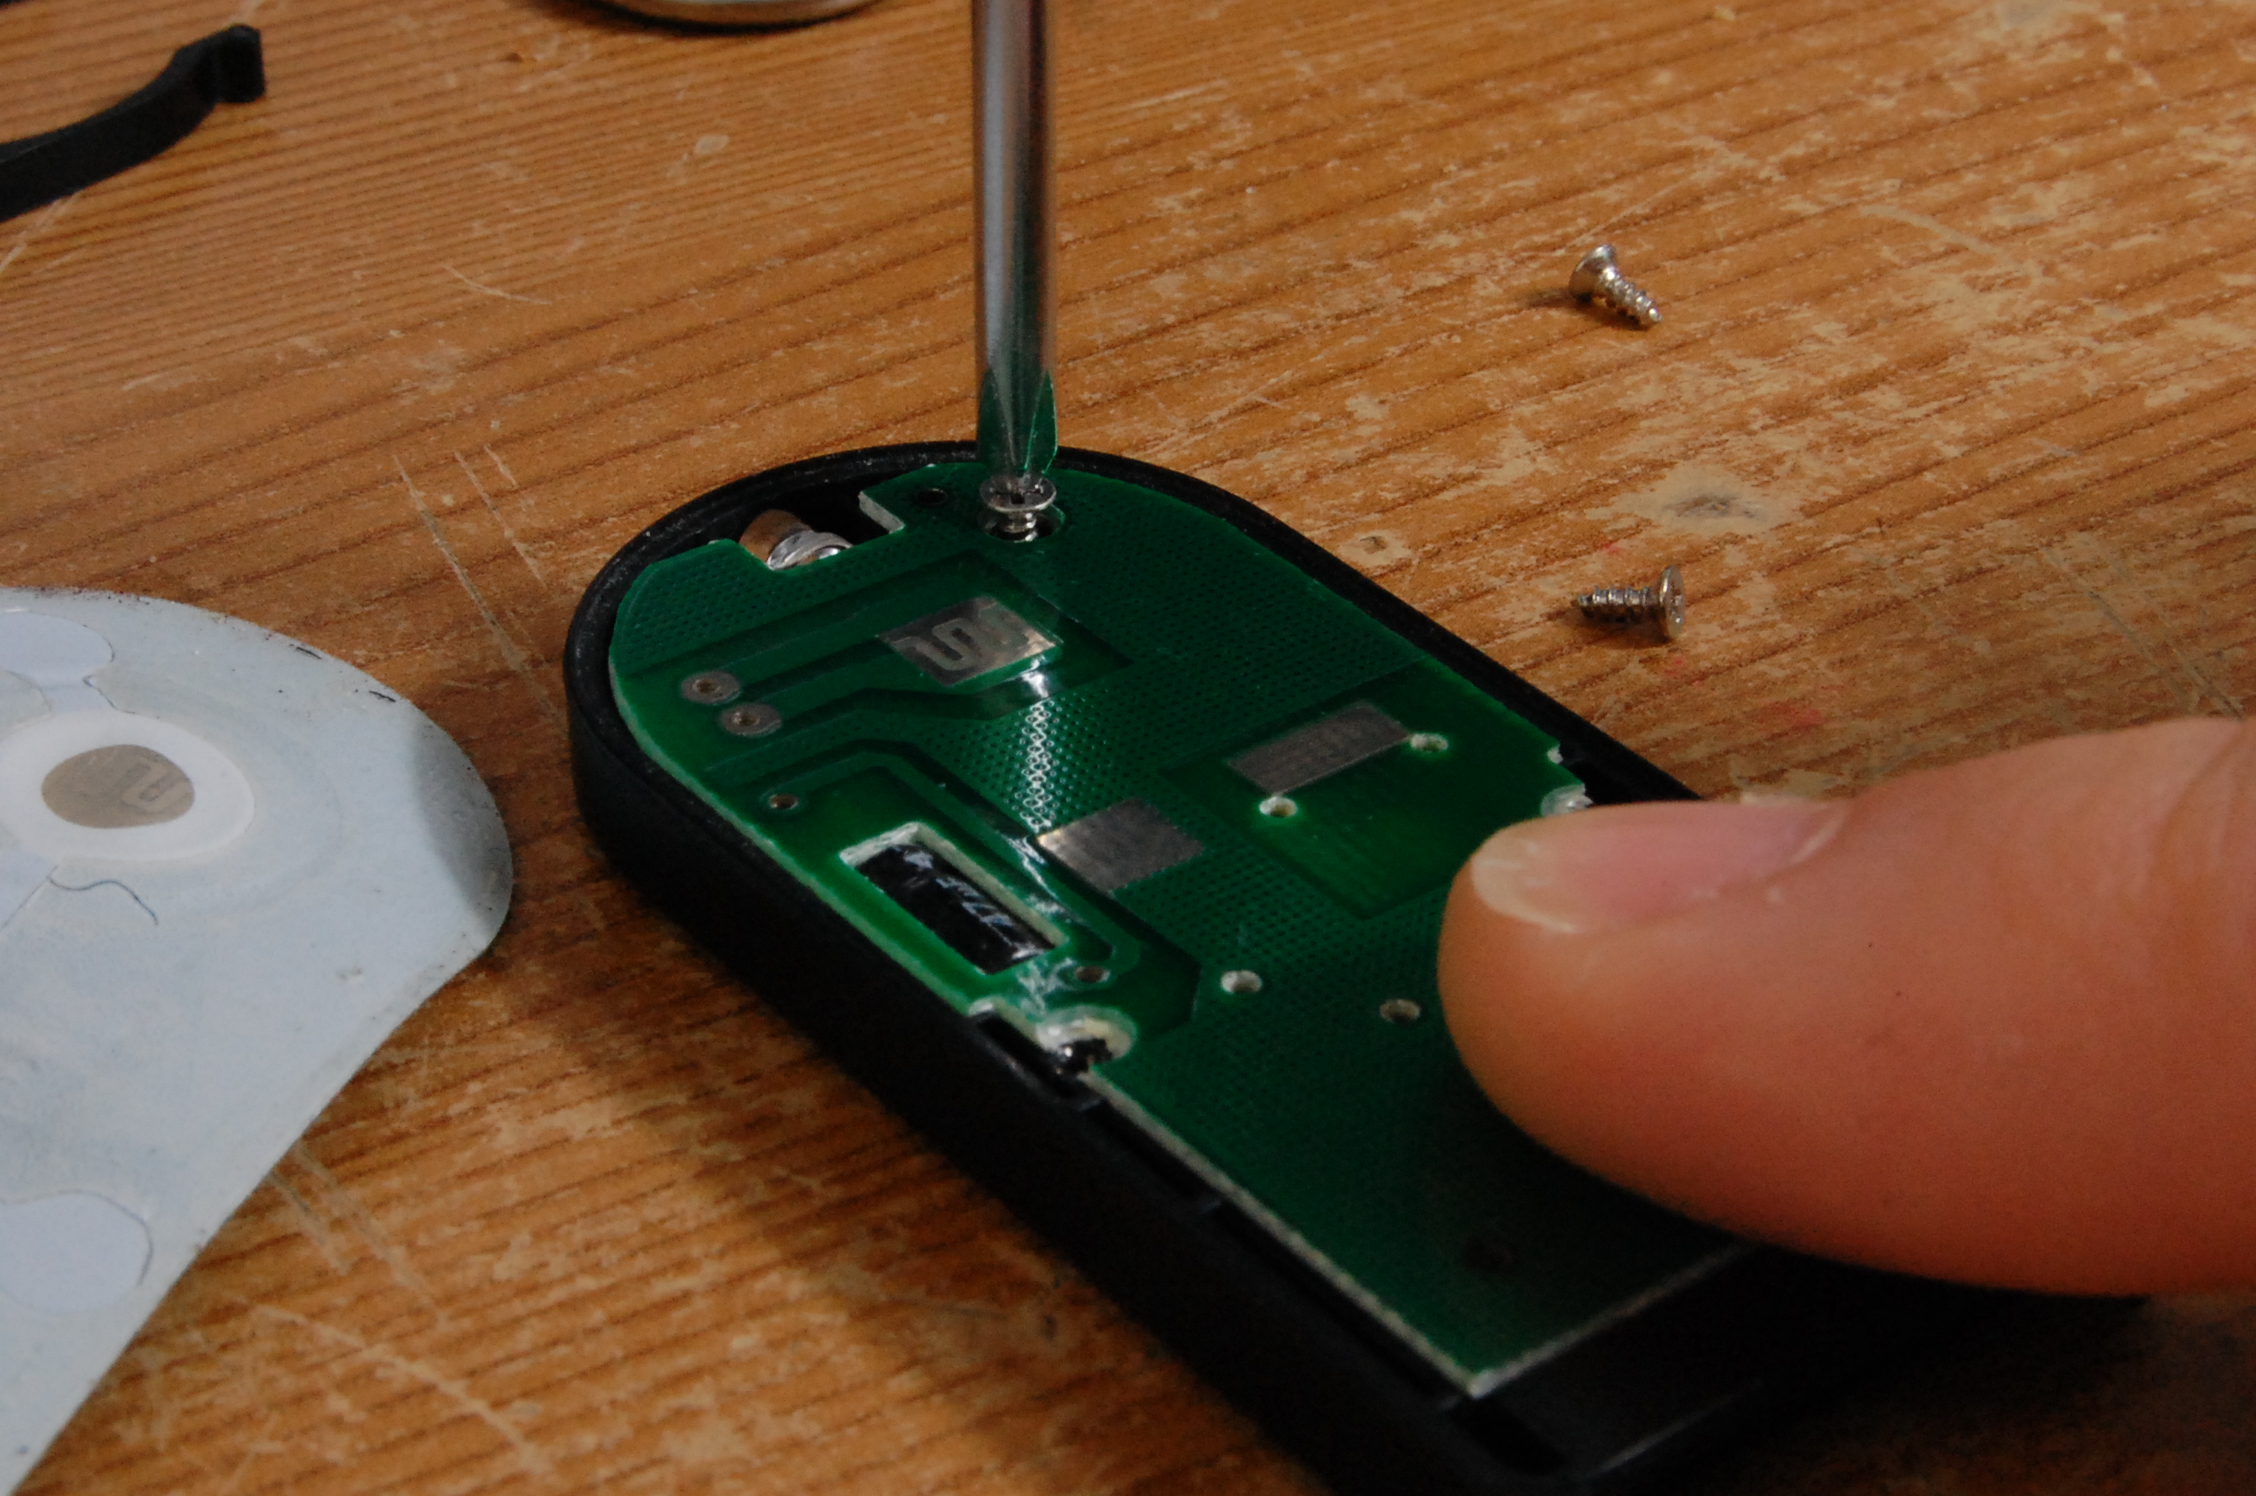
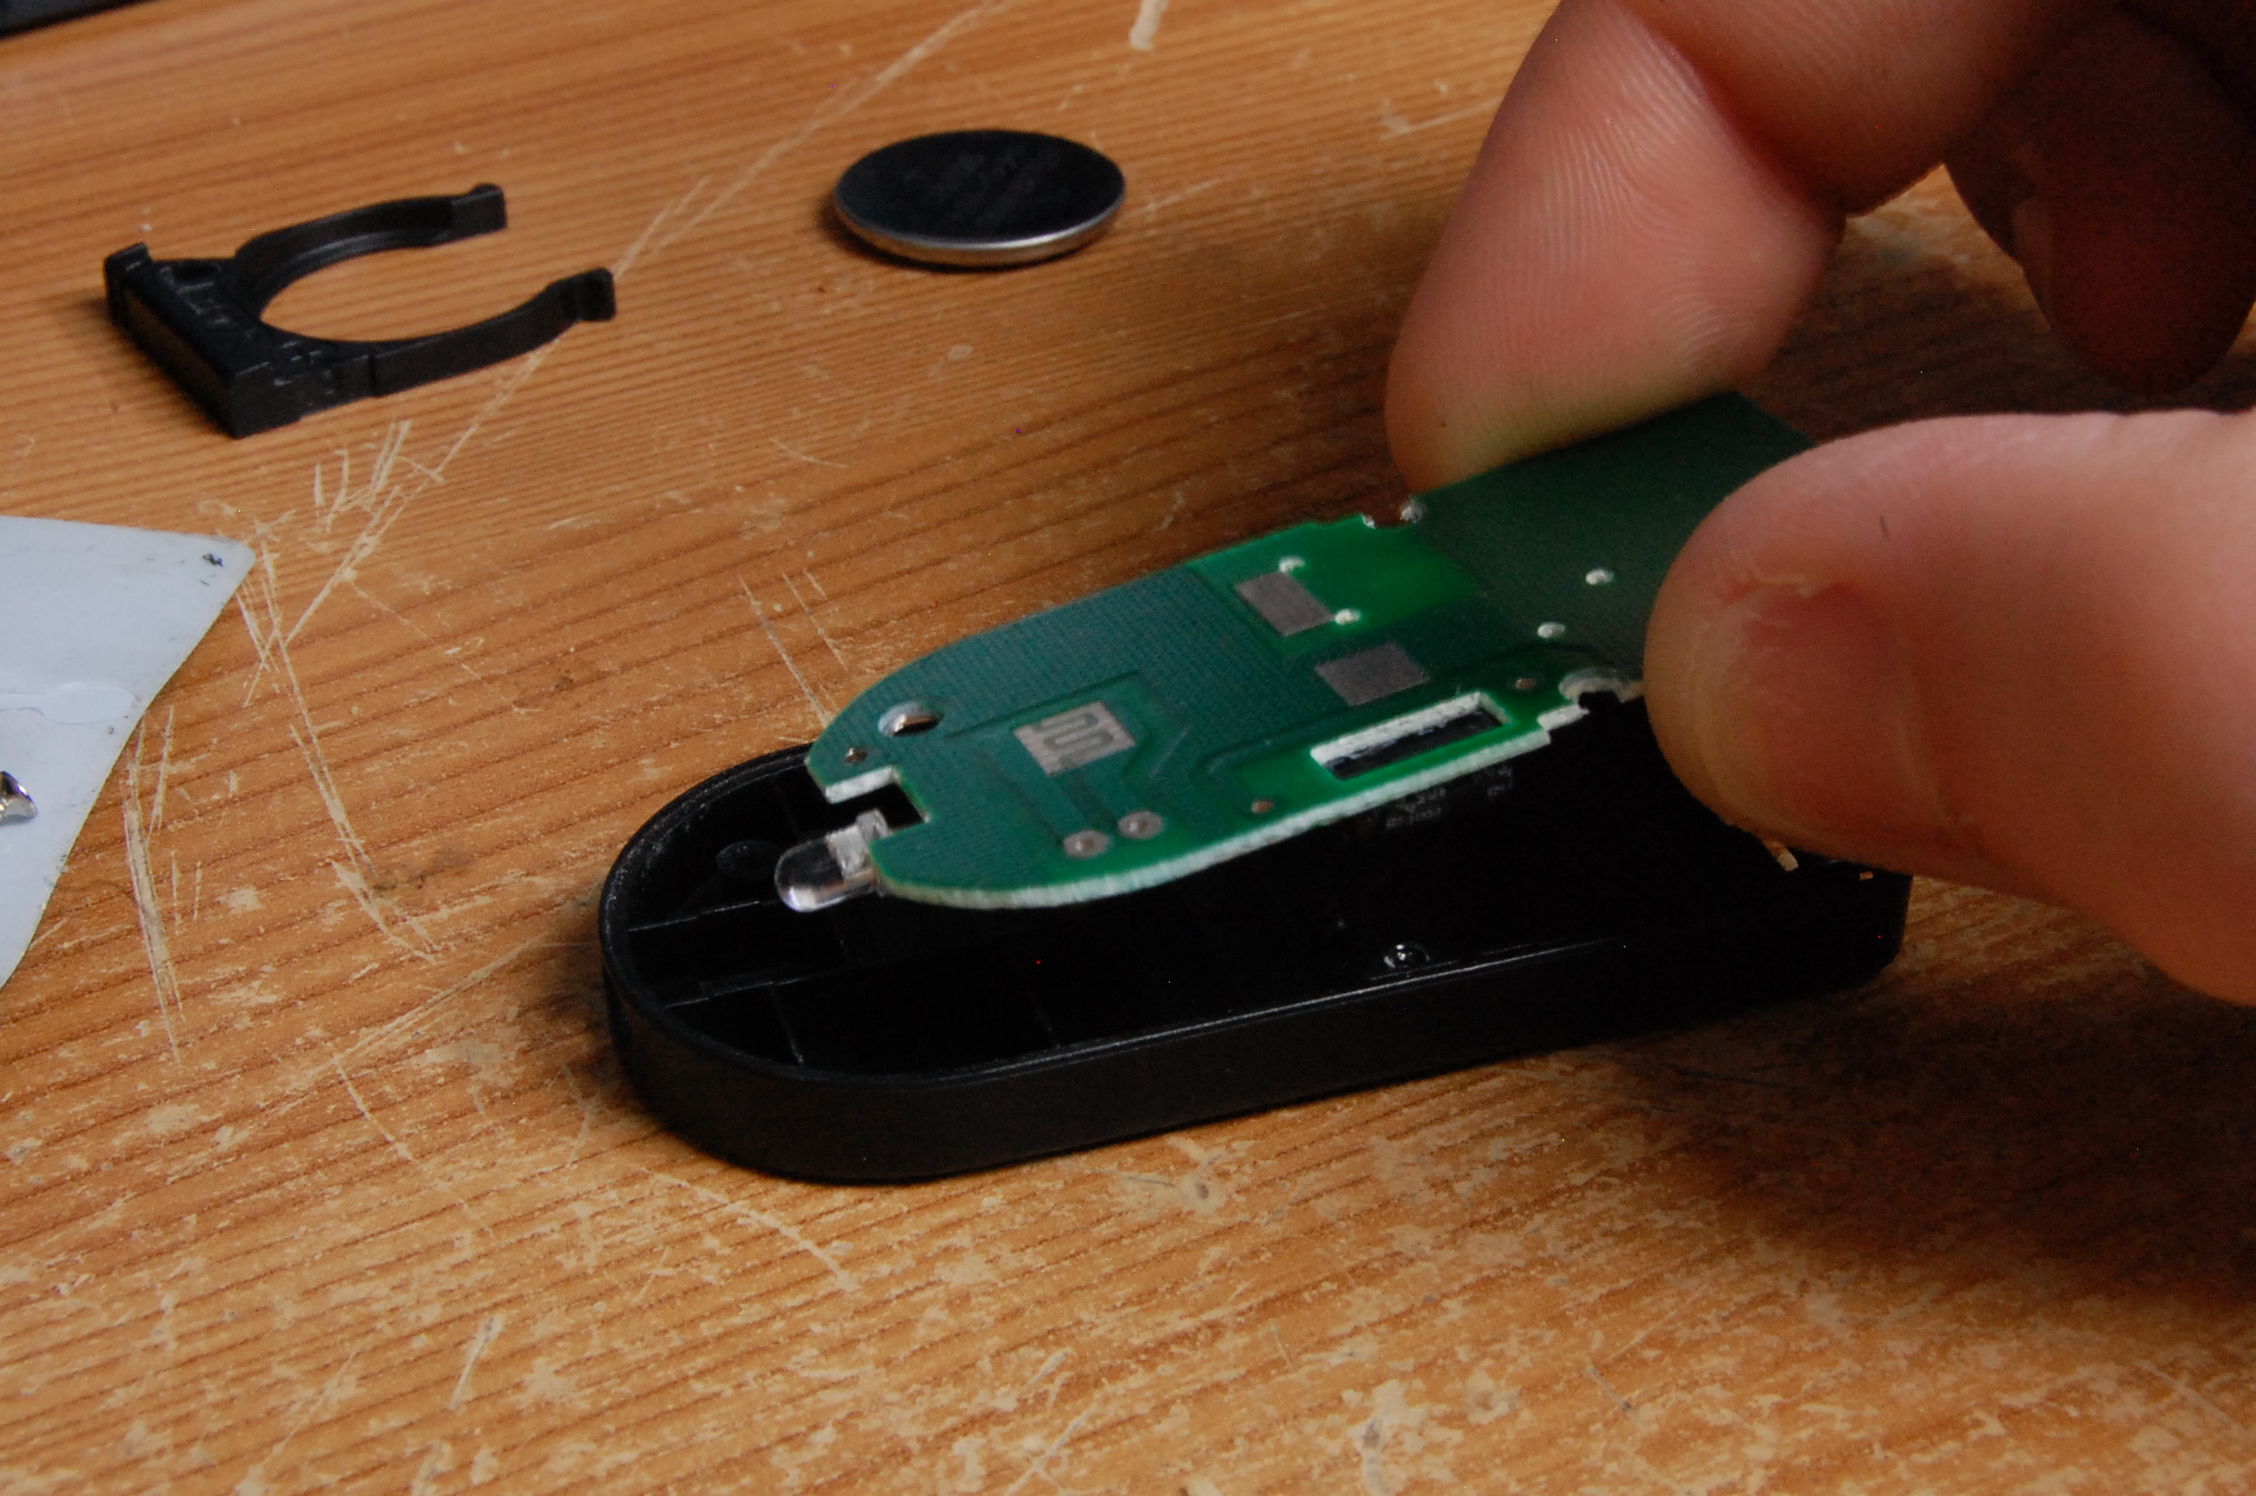
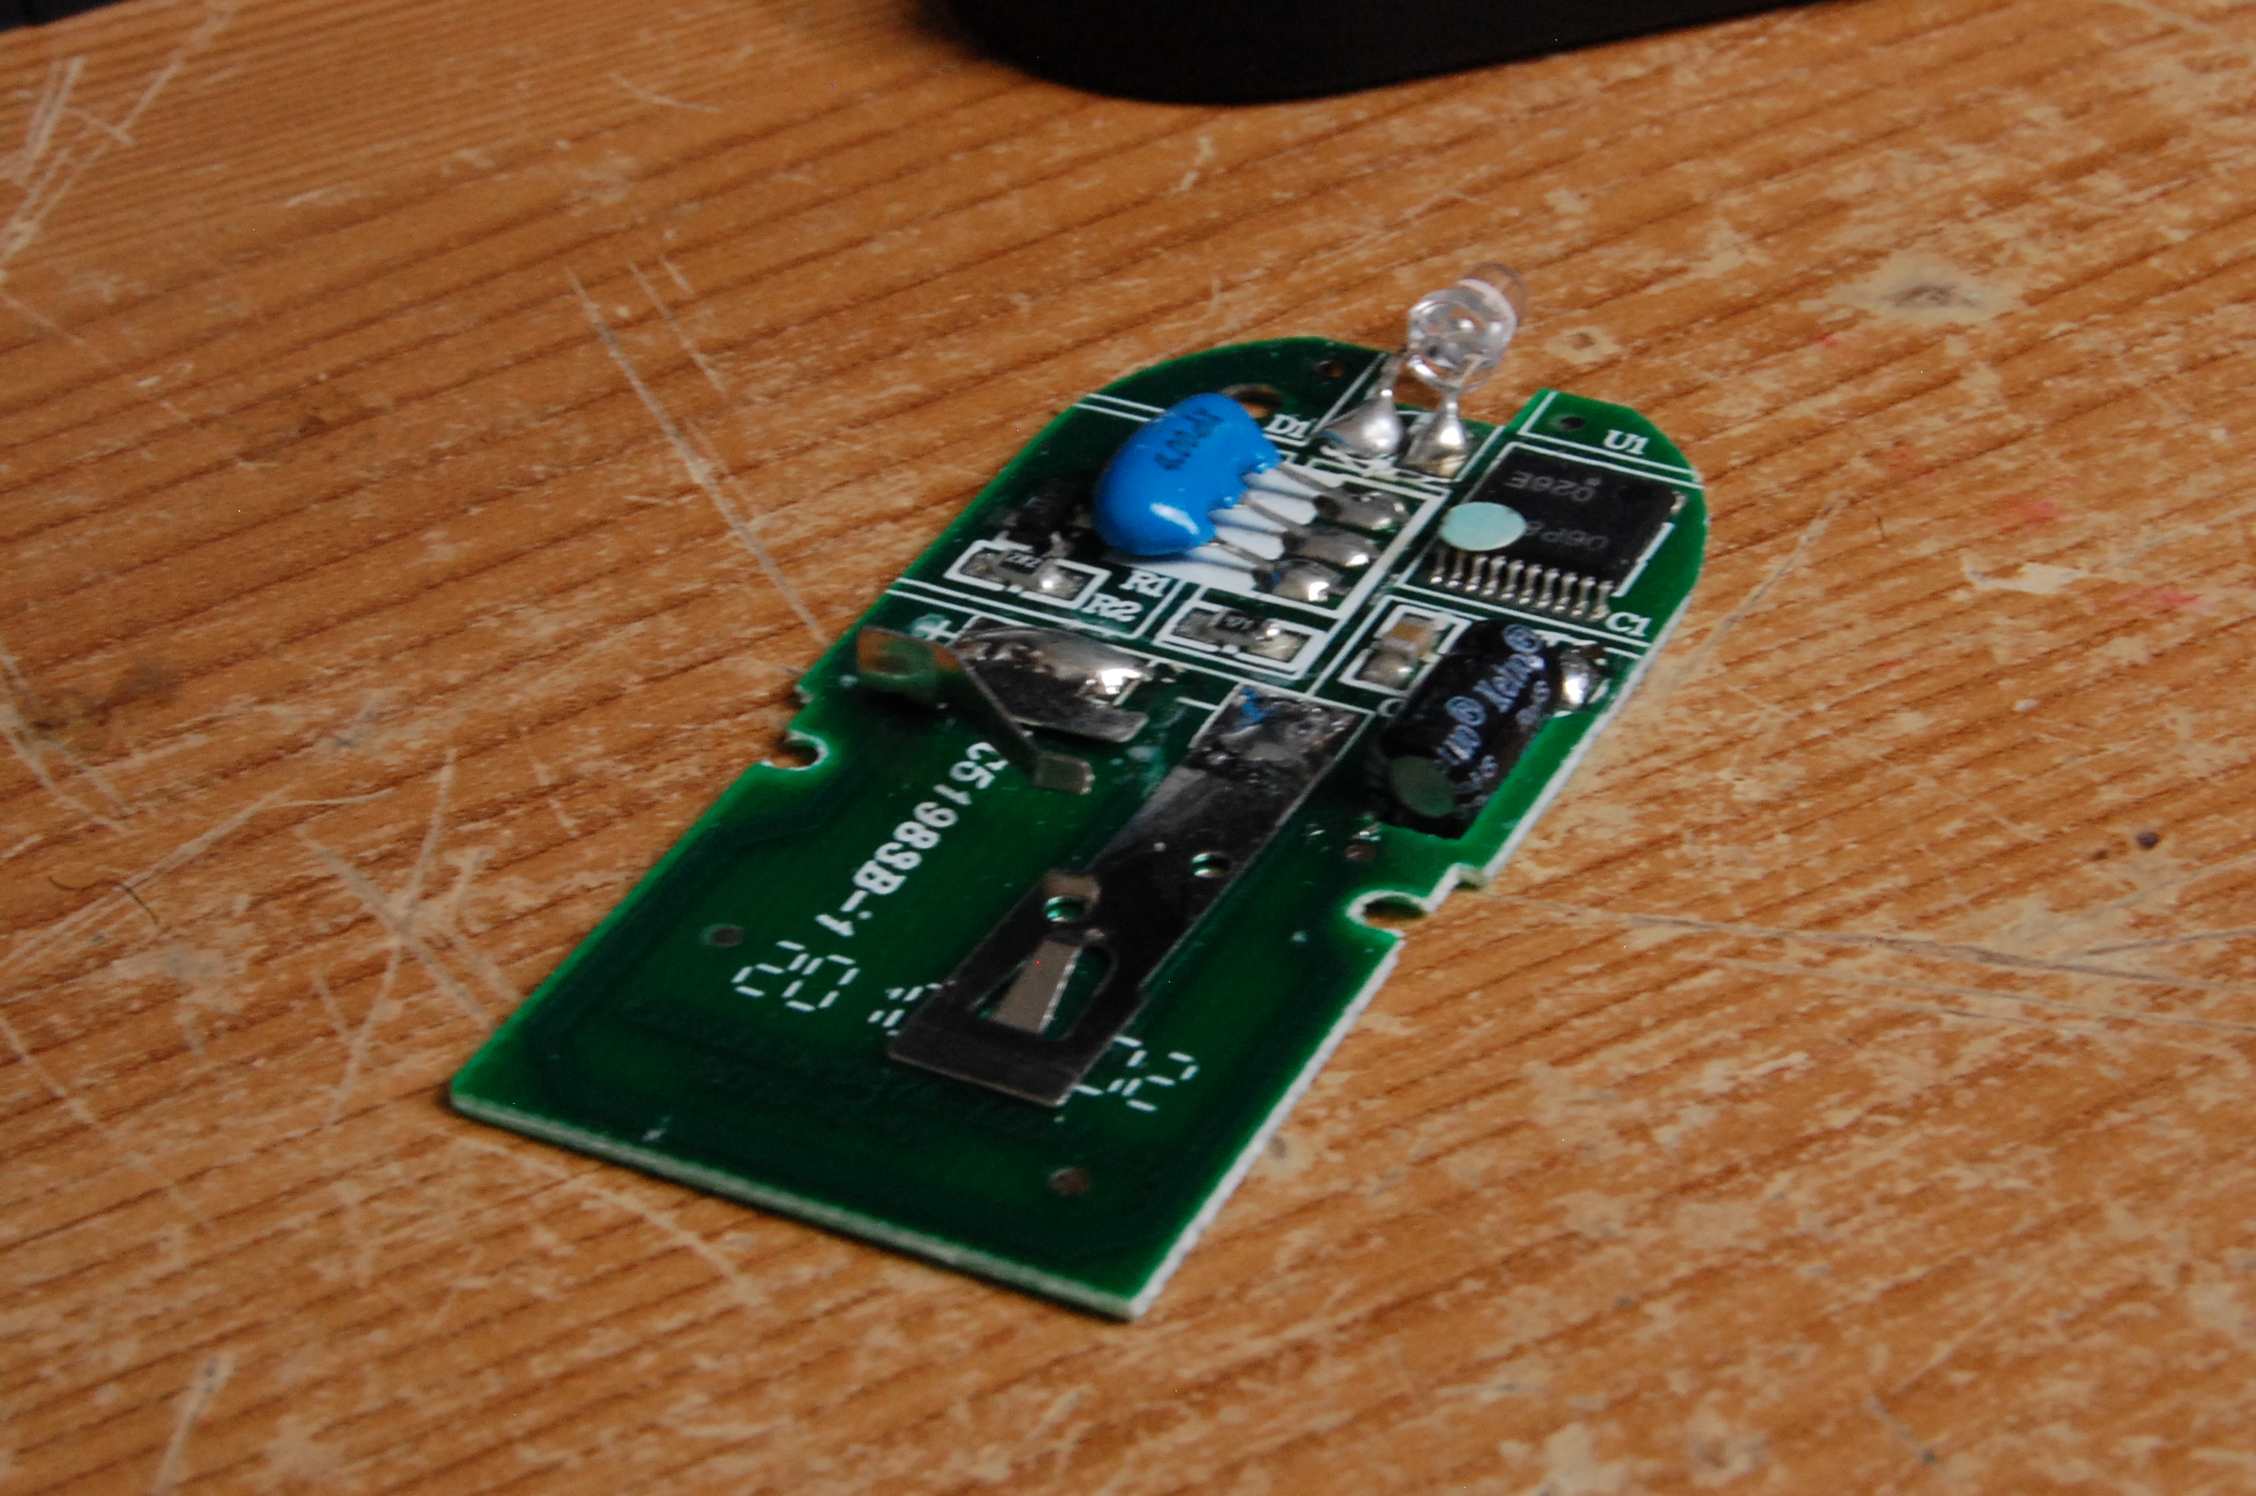
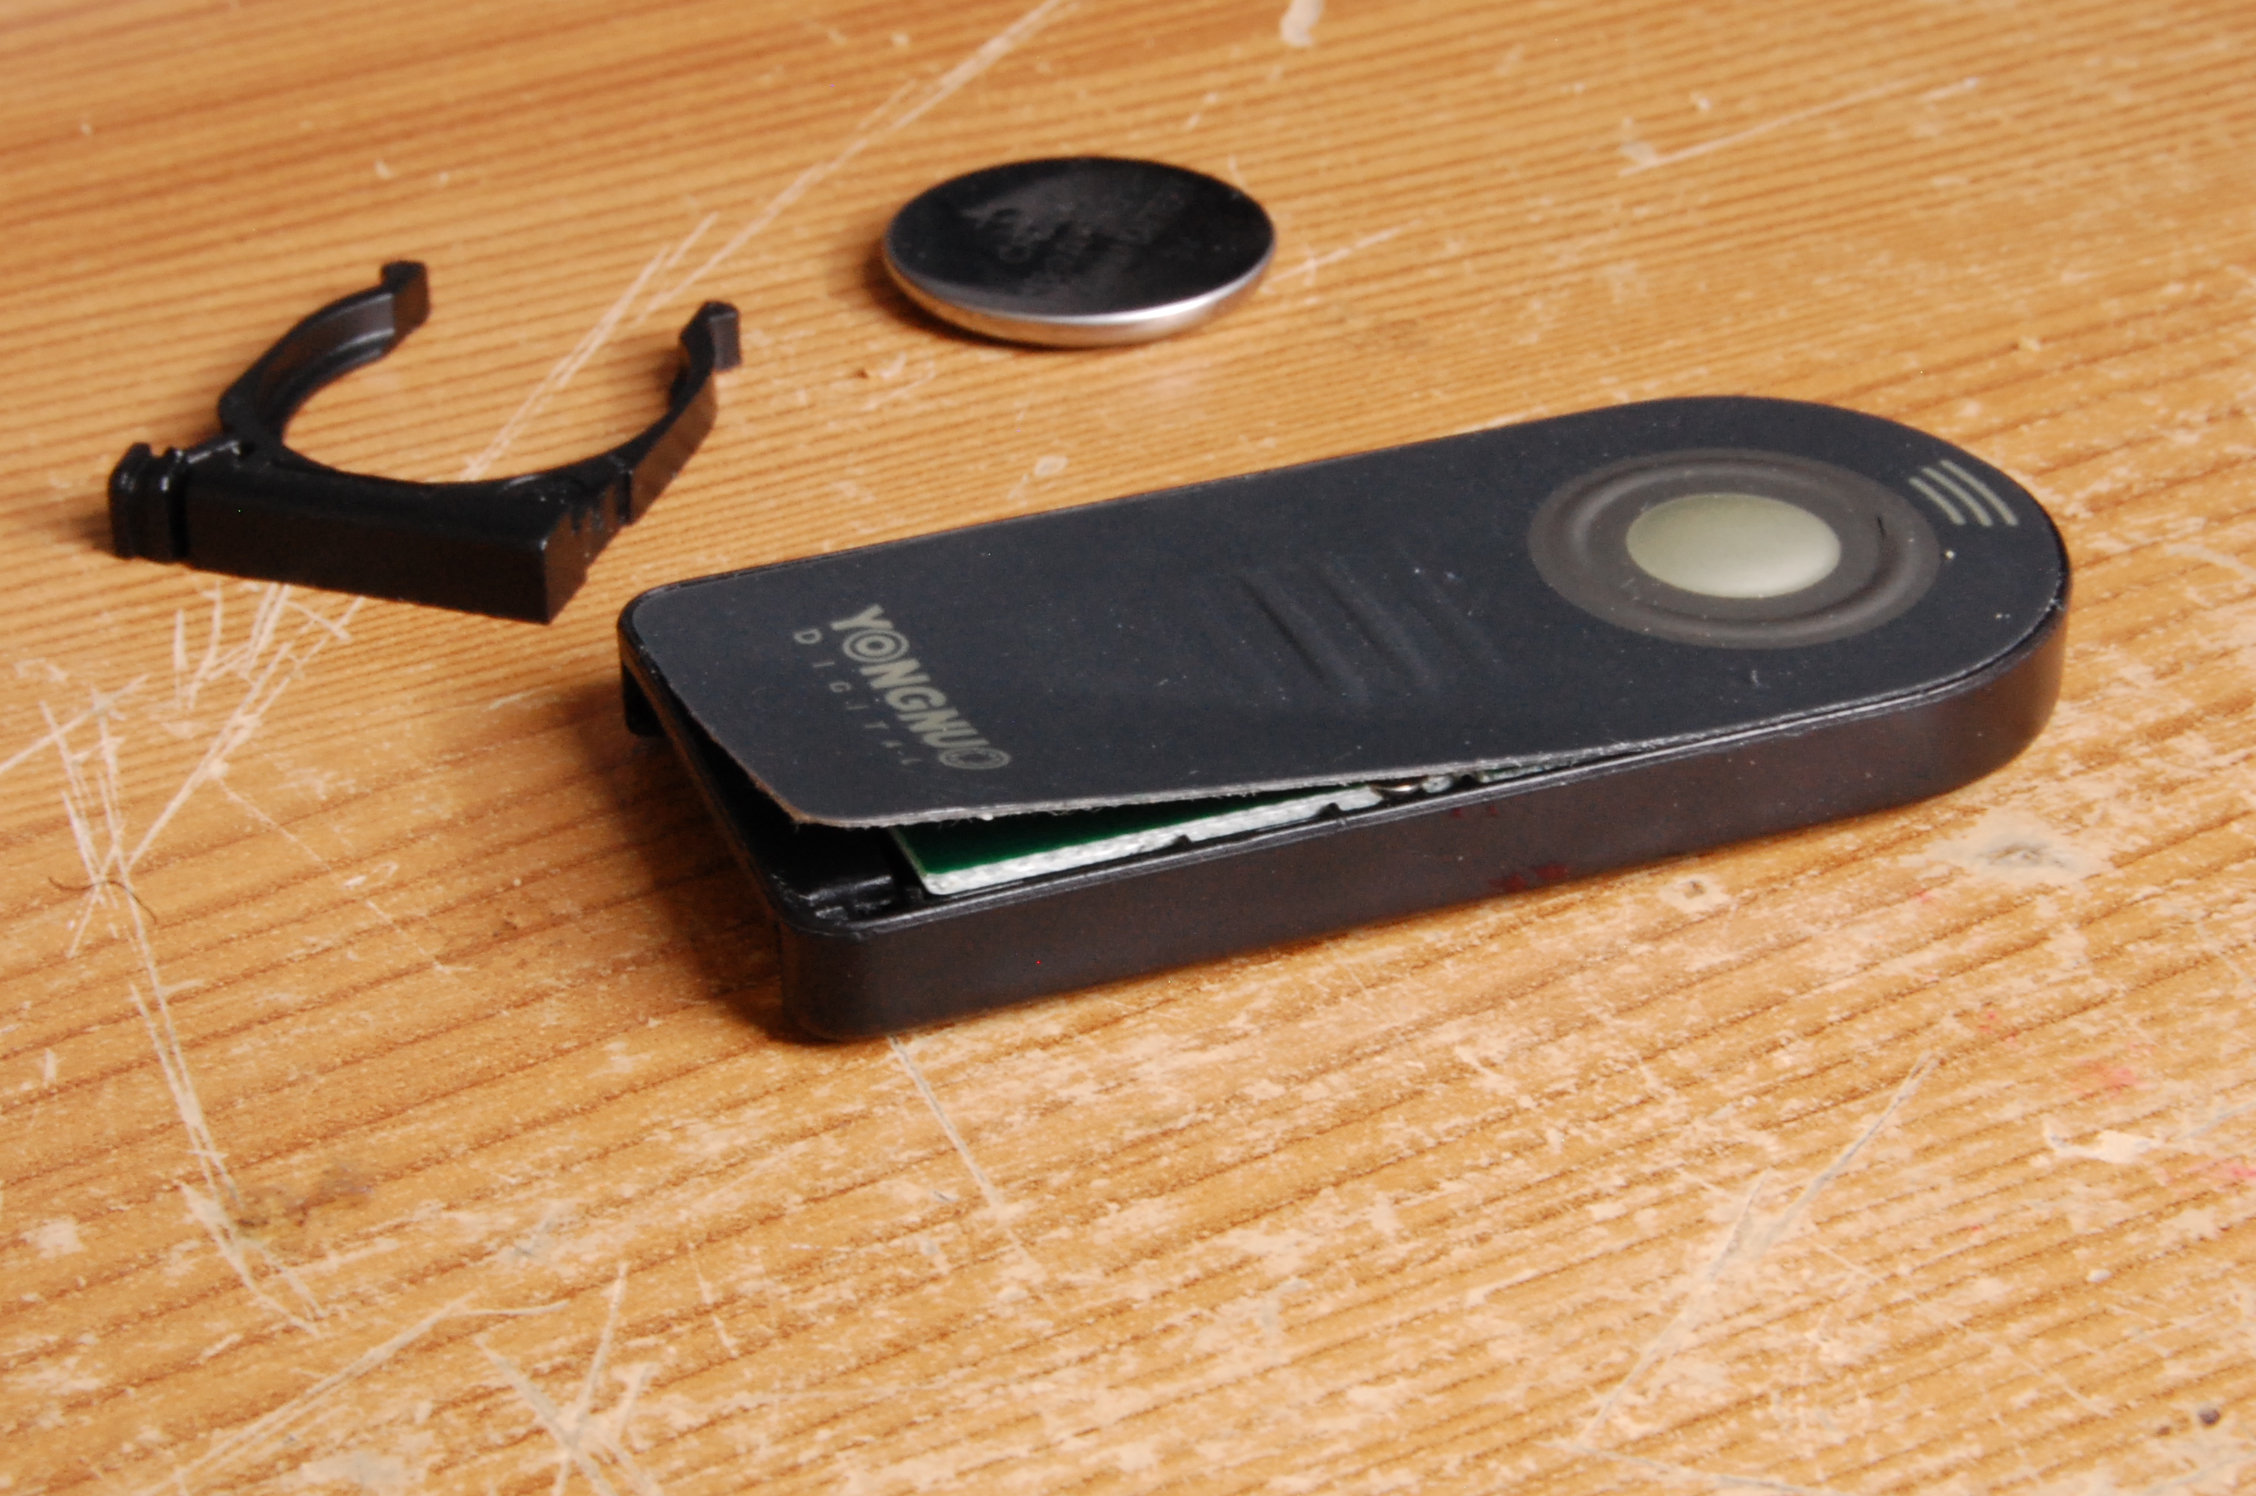
In this step we disassemble the remote. The pictures are self explanitory but here we go:
- Remove the battery by removing the battery compartment
- Use a small flathead screwdriver or knife to carefully lift the front cover / sticker
- Peal back the cover whilst holding the circuit board in place
- Use a philips screwdriver to take out the 3 screws that hold the circuit board in place
- Lightly pull the circuitboard back to remove it from the case
- Admire your handy work.
Identifying Contact Pads

In this step you will locate the button contact pads and identify their polarity.
Locating the Pads:
Locating the Pads:
- As you can see in the photo the white plastic cover has a small metal disk where the button is located.
- Use the cover to find this location on the circuit board and you will find a metal pad divided in two by meandering split. This is the contact pad.
- Tape the battery back in place so that the + symbol and text is facing you i.e. up from the board.
- Using a voltmeter work out the polarity of the contact pads, one side should be positive and the other negative. If you are having trouble check the voltage across the battery to make sure it is defiantly connected.
2N3904 NPN BI-POLAR JUNCTION TRANSISTOR TIME !
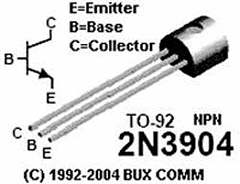
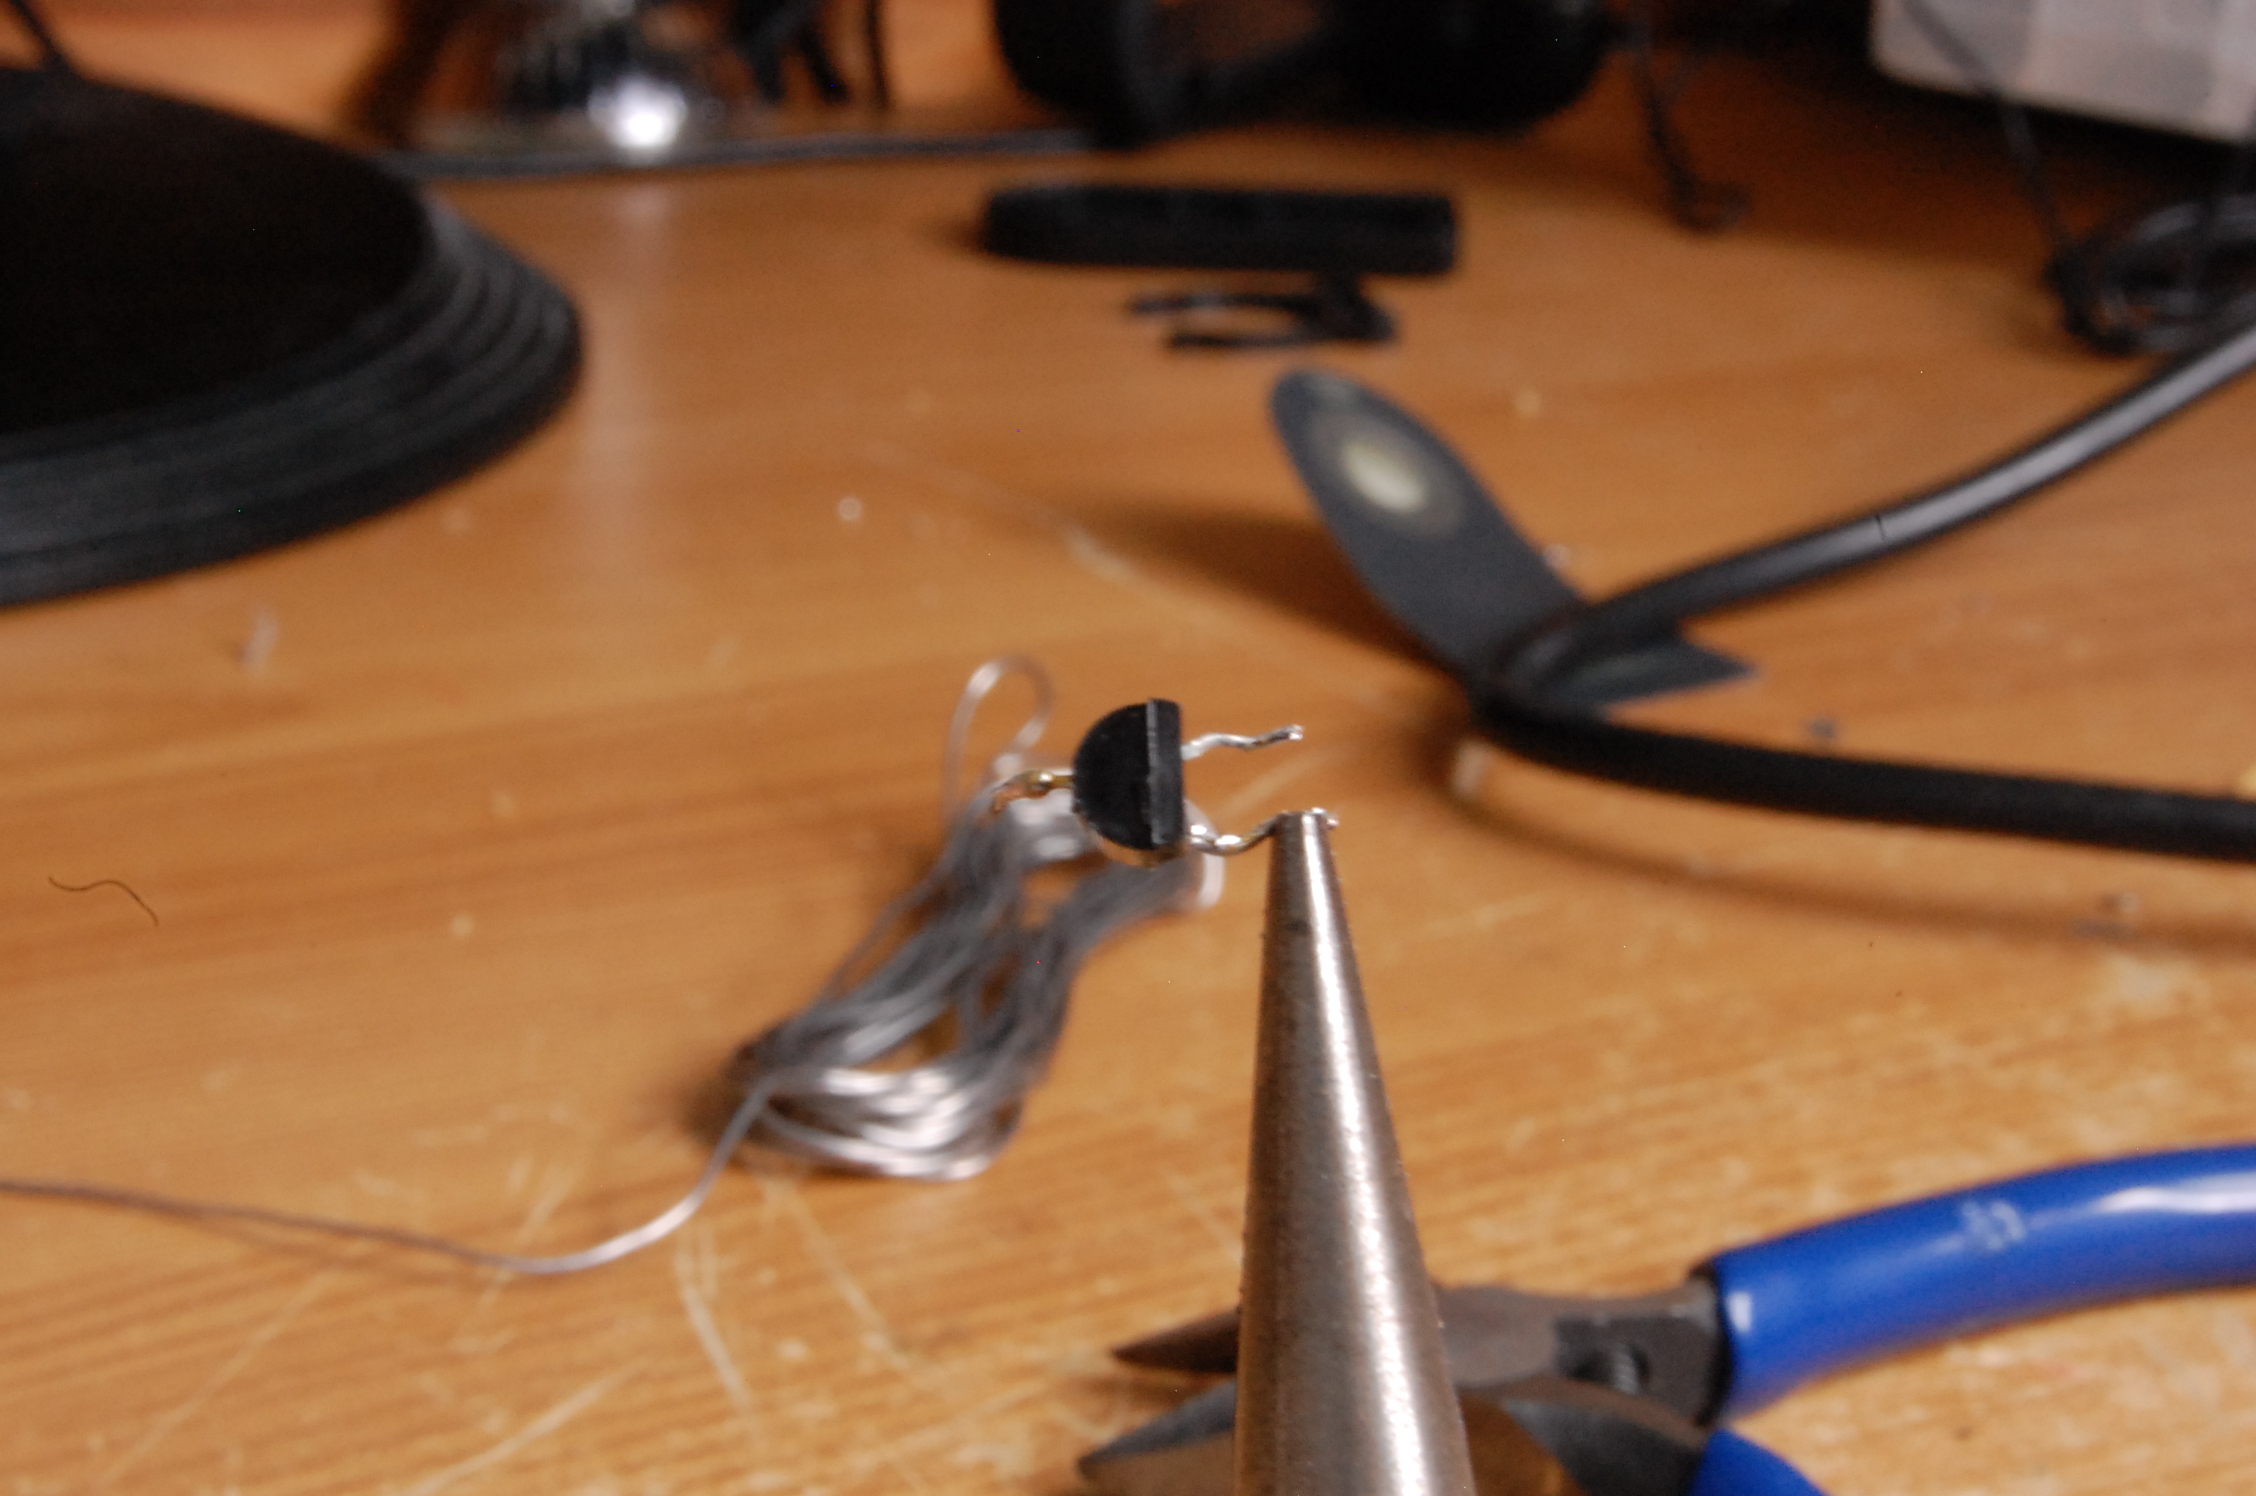
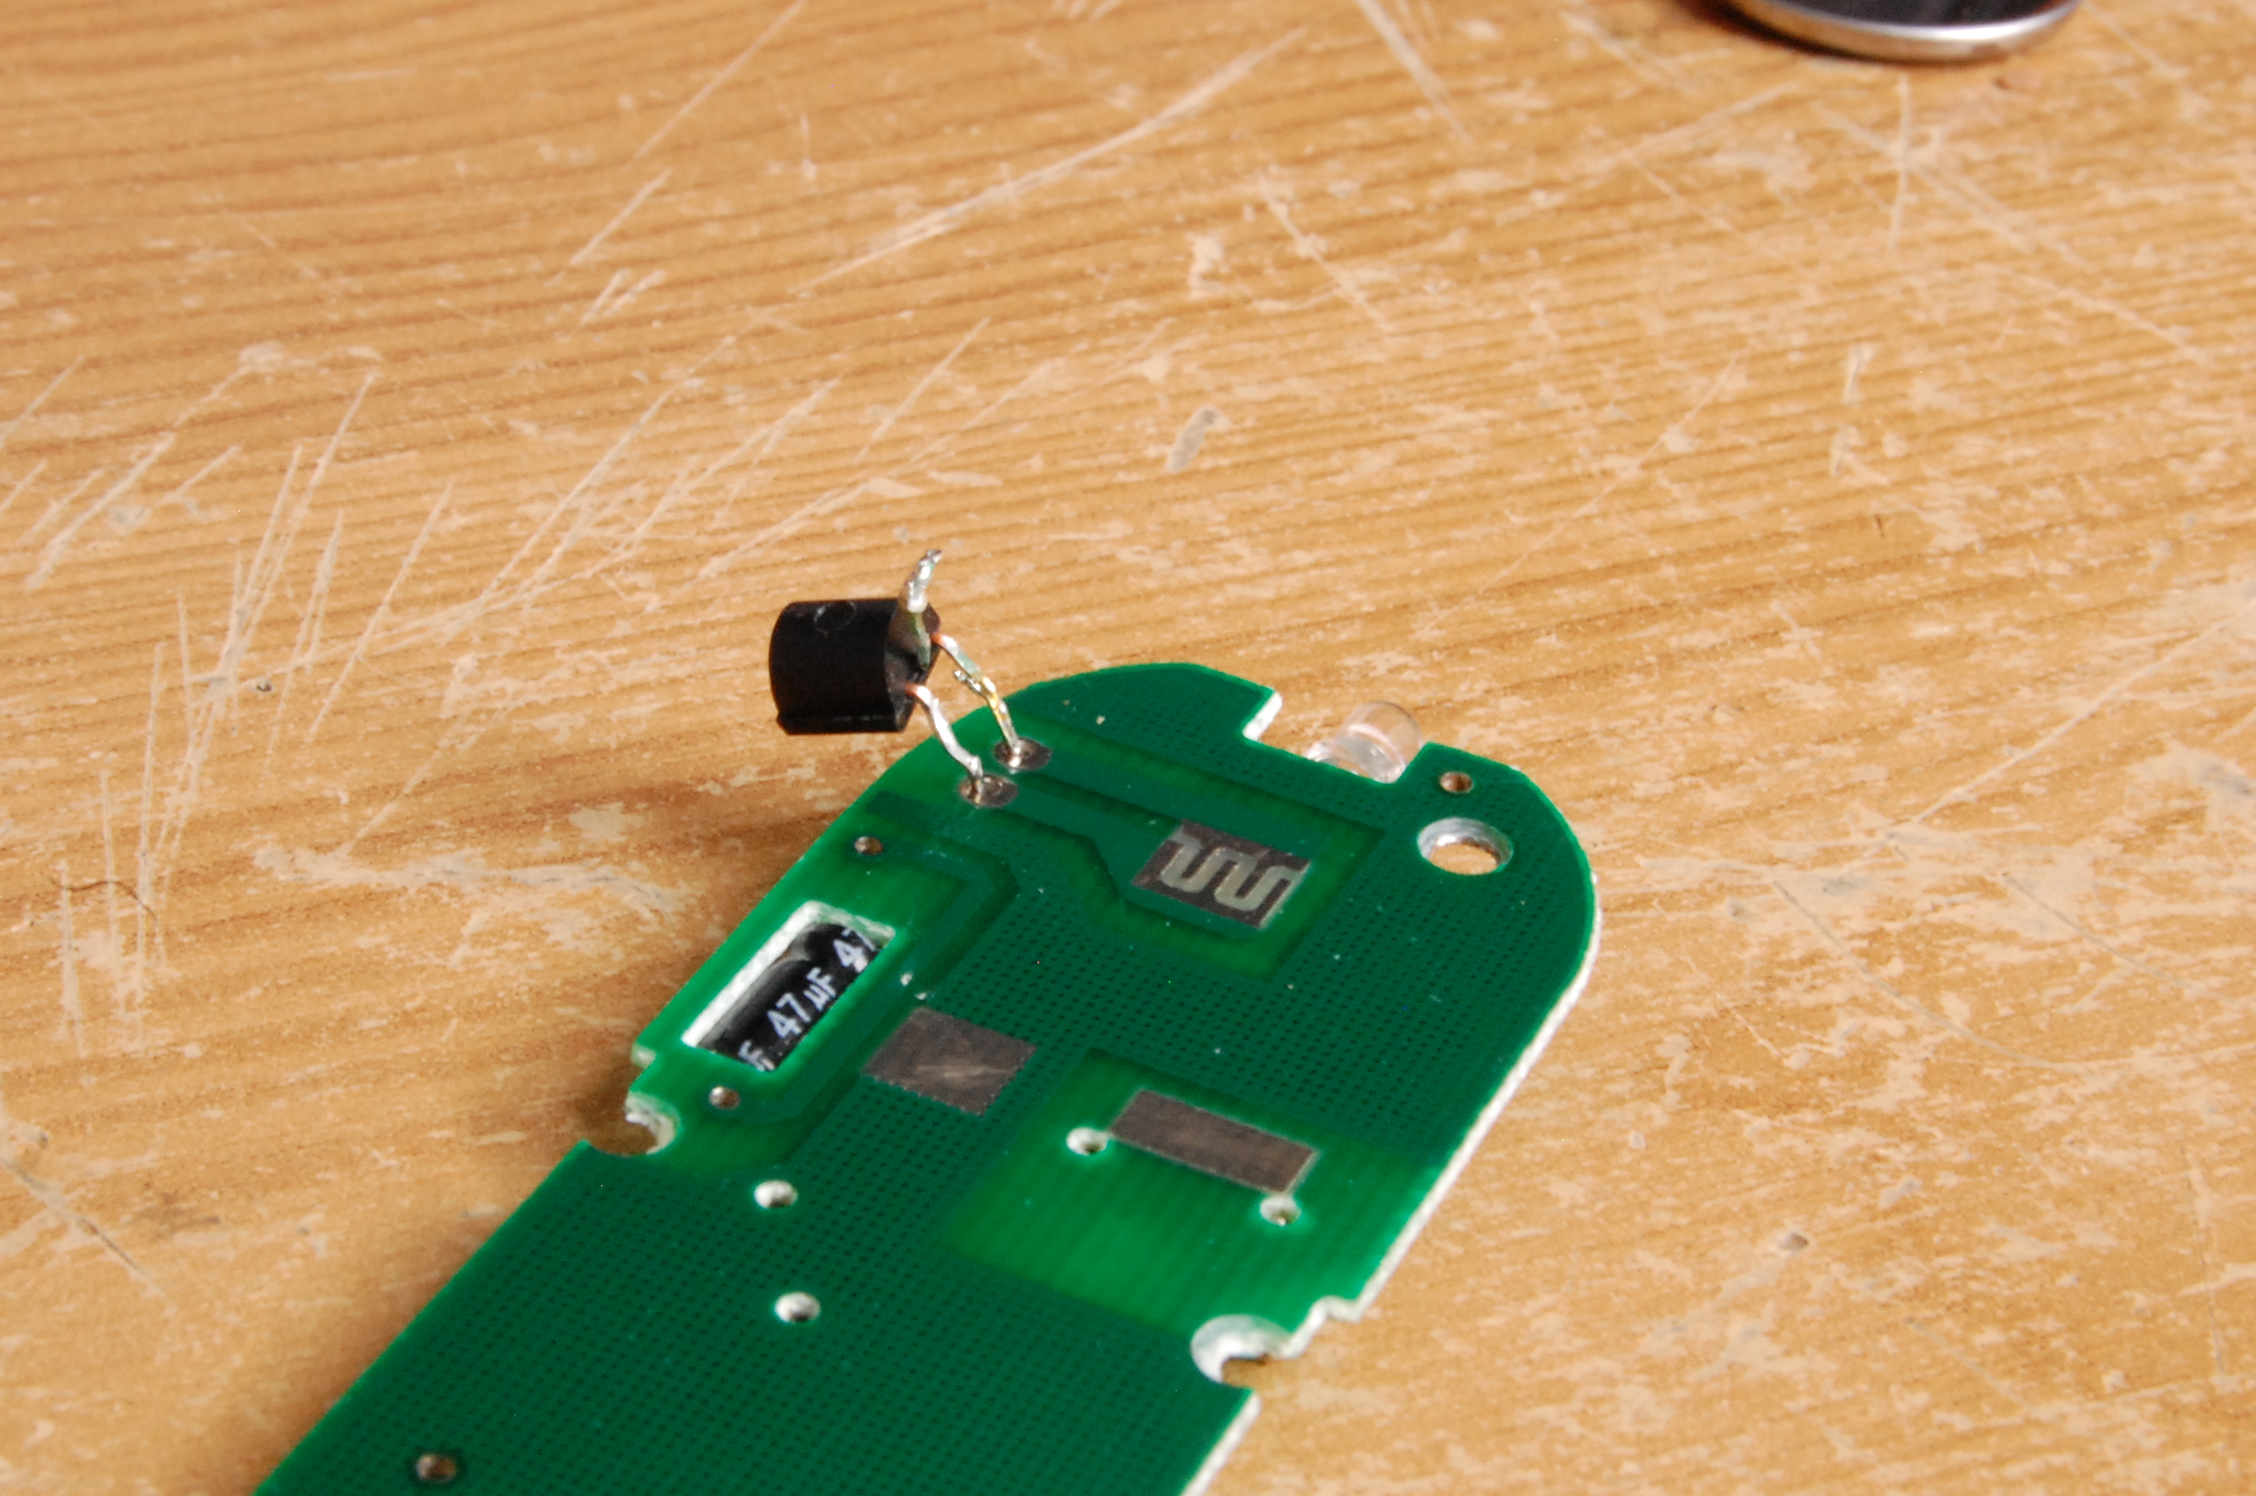
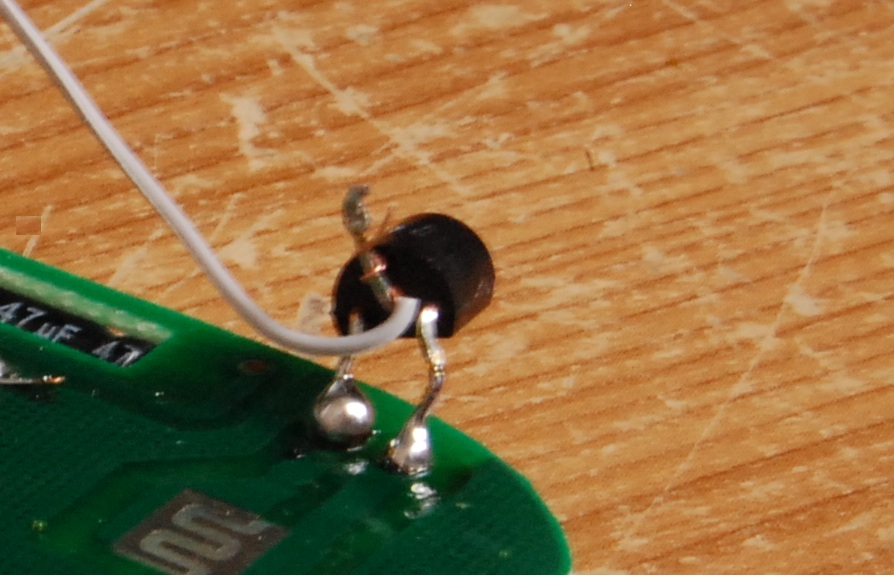
Now you have found the polarity of the pads you can start soldering the transistor in place:
- Start by familiarising yourself with each leg of the transistor and note what each one needs to be connected to.
- The positive contact pad must be connected to the collector and the emitter must be connected to the negative contact pad.
- Bend the legs of the transistor appropriately and solder them in place, Try not to bend them tom much or they will snap. When soldering apply heat for no more than 4 seconds allowing to cool between each solder joint is made.
2N3904 NPN BI-POLAR JUNCTION TRANSISTOR, THE FINAL FRONTIER !


The transistor part is nearly done, just the base leg left:
- Cut and strip some wire
- Twist the wire around the middle leg of the transistor
- Solder the wire in place
- Solder the other end of the wire to a 10k resistor
- Connect this resistor to pin 13 of the arduino with solder if using the nano.
Powering the Remote From the Arduino
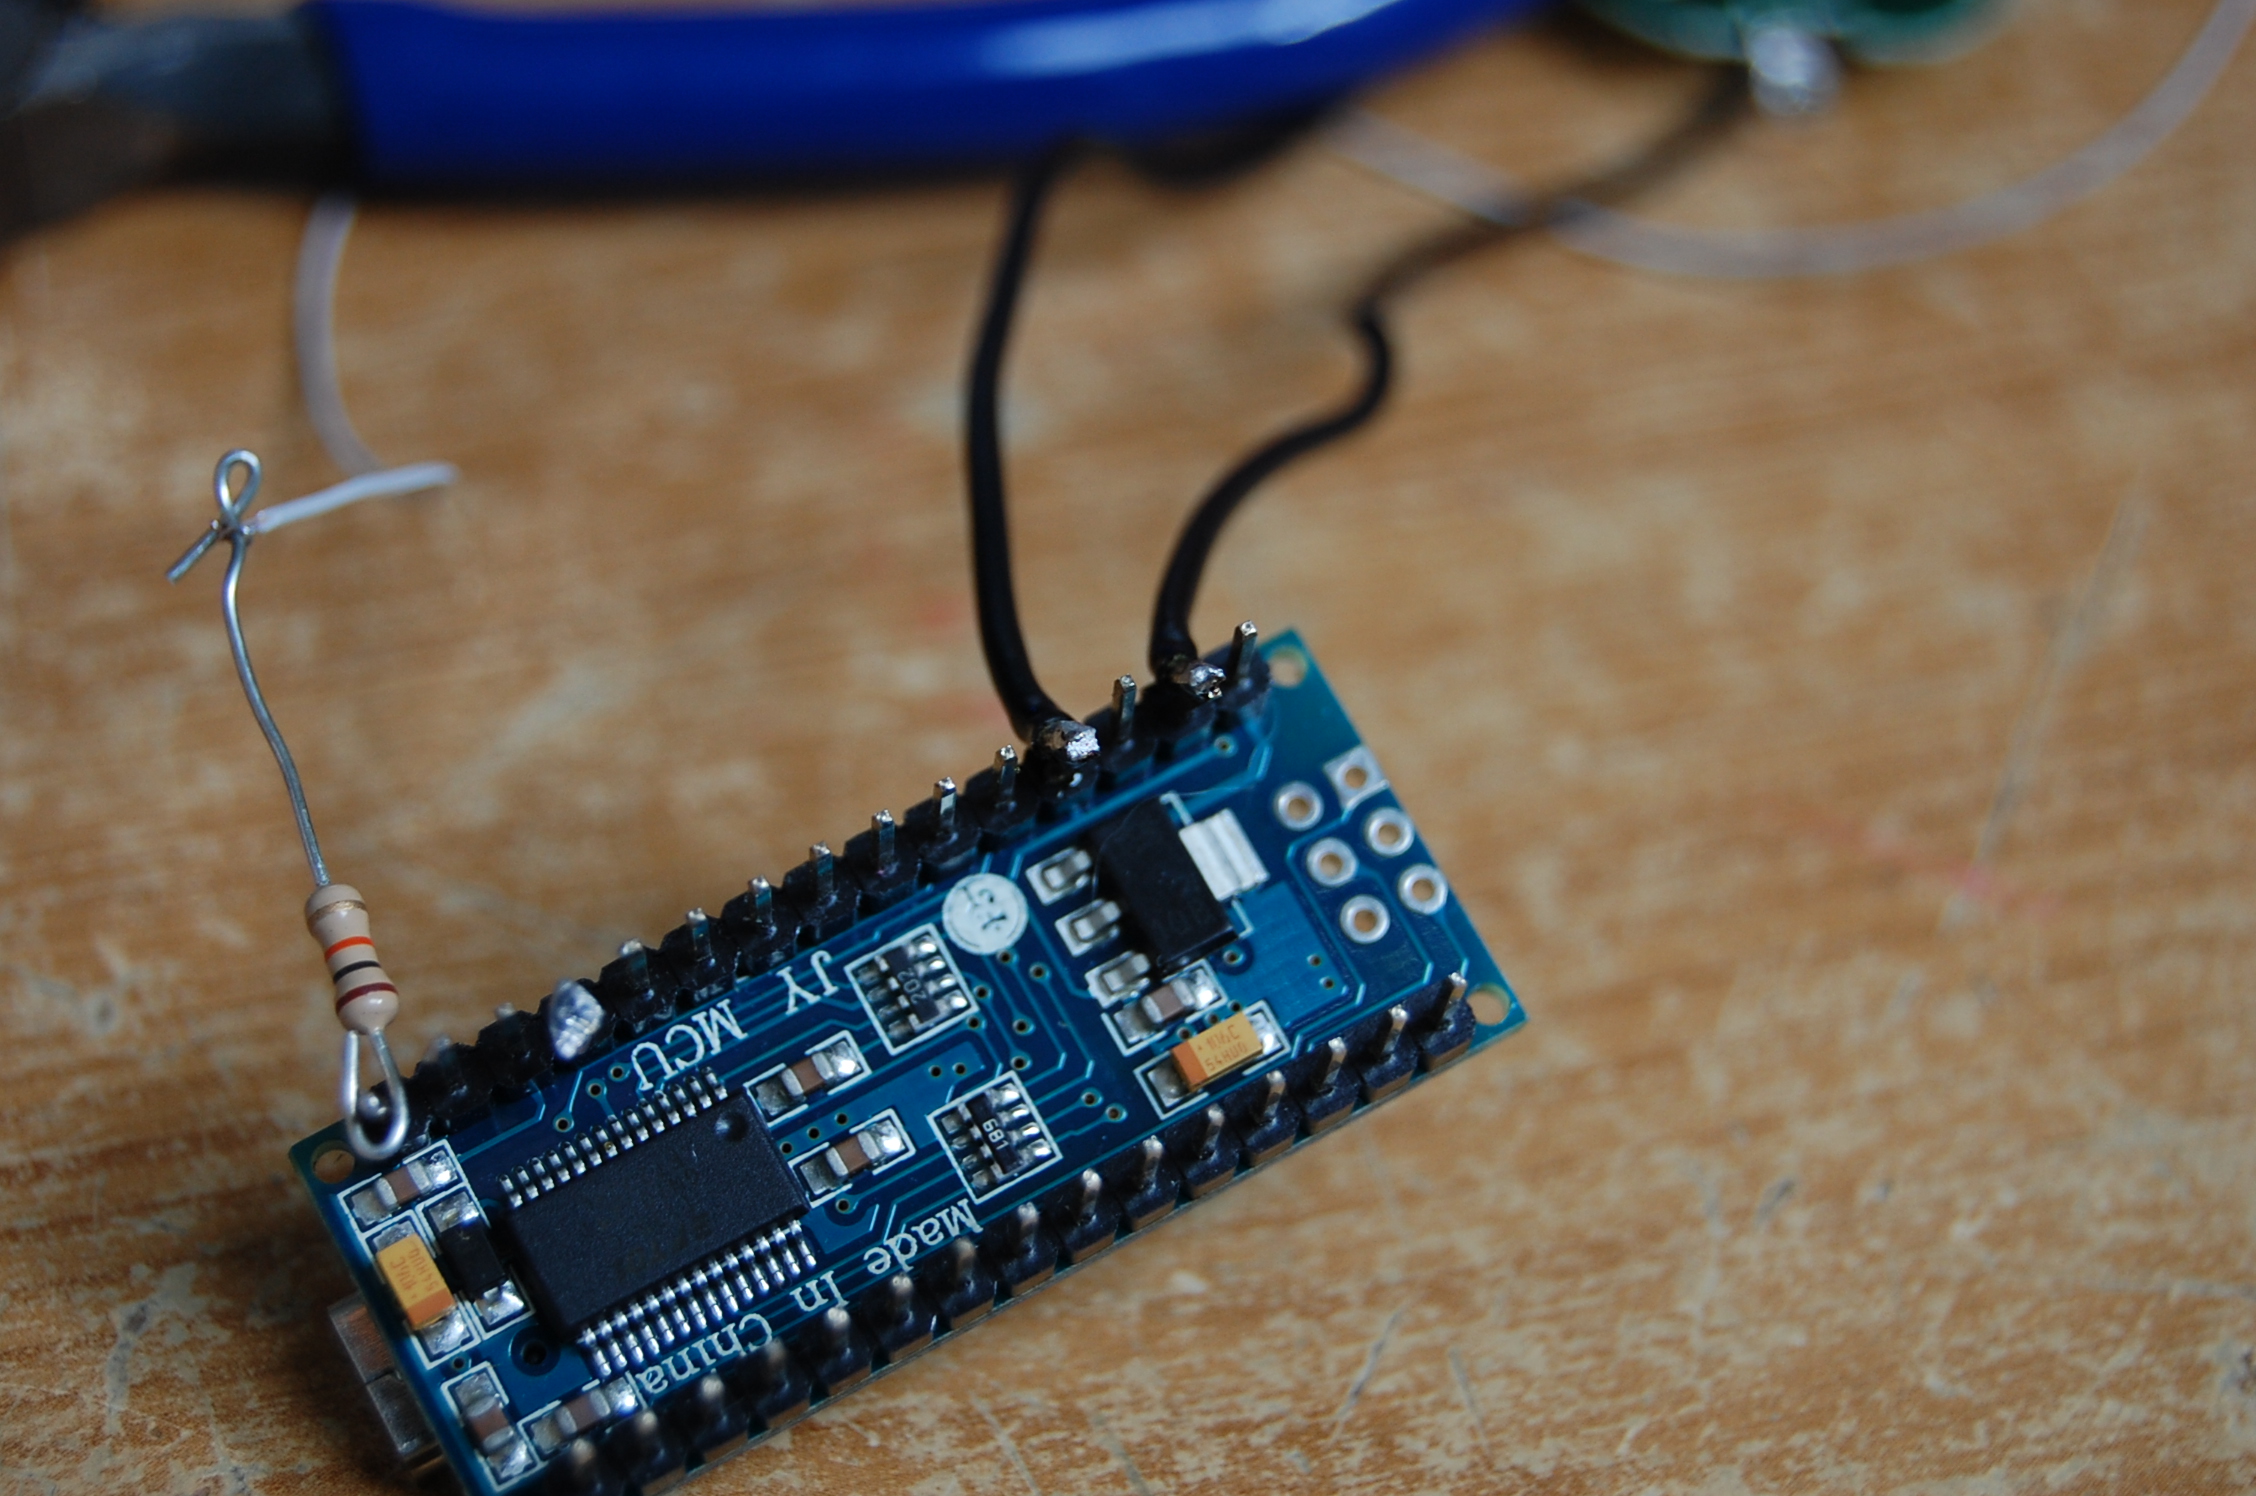
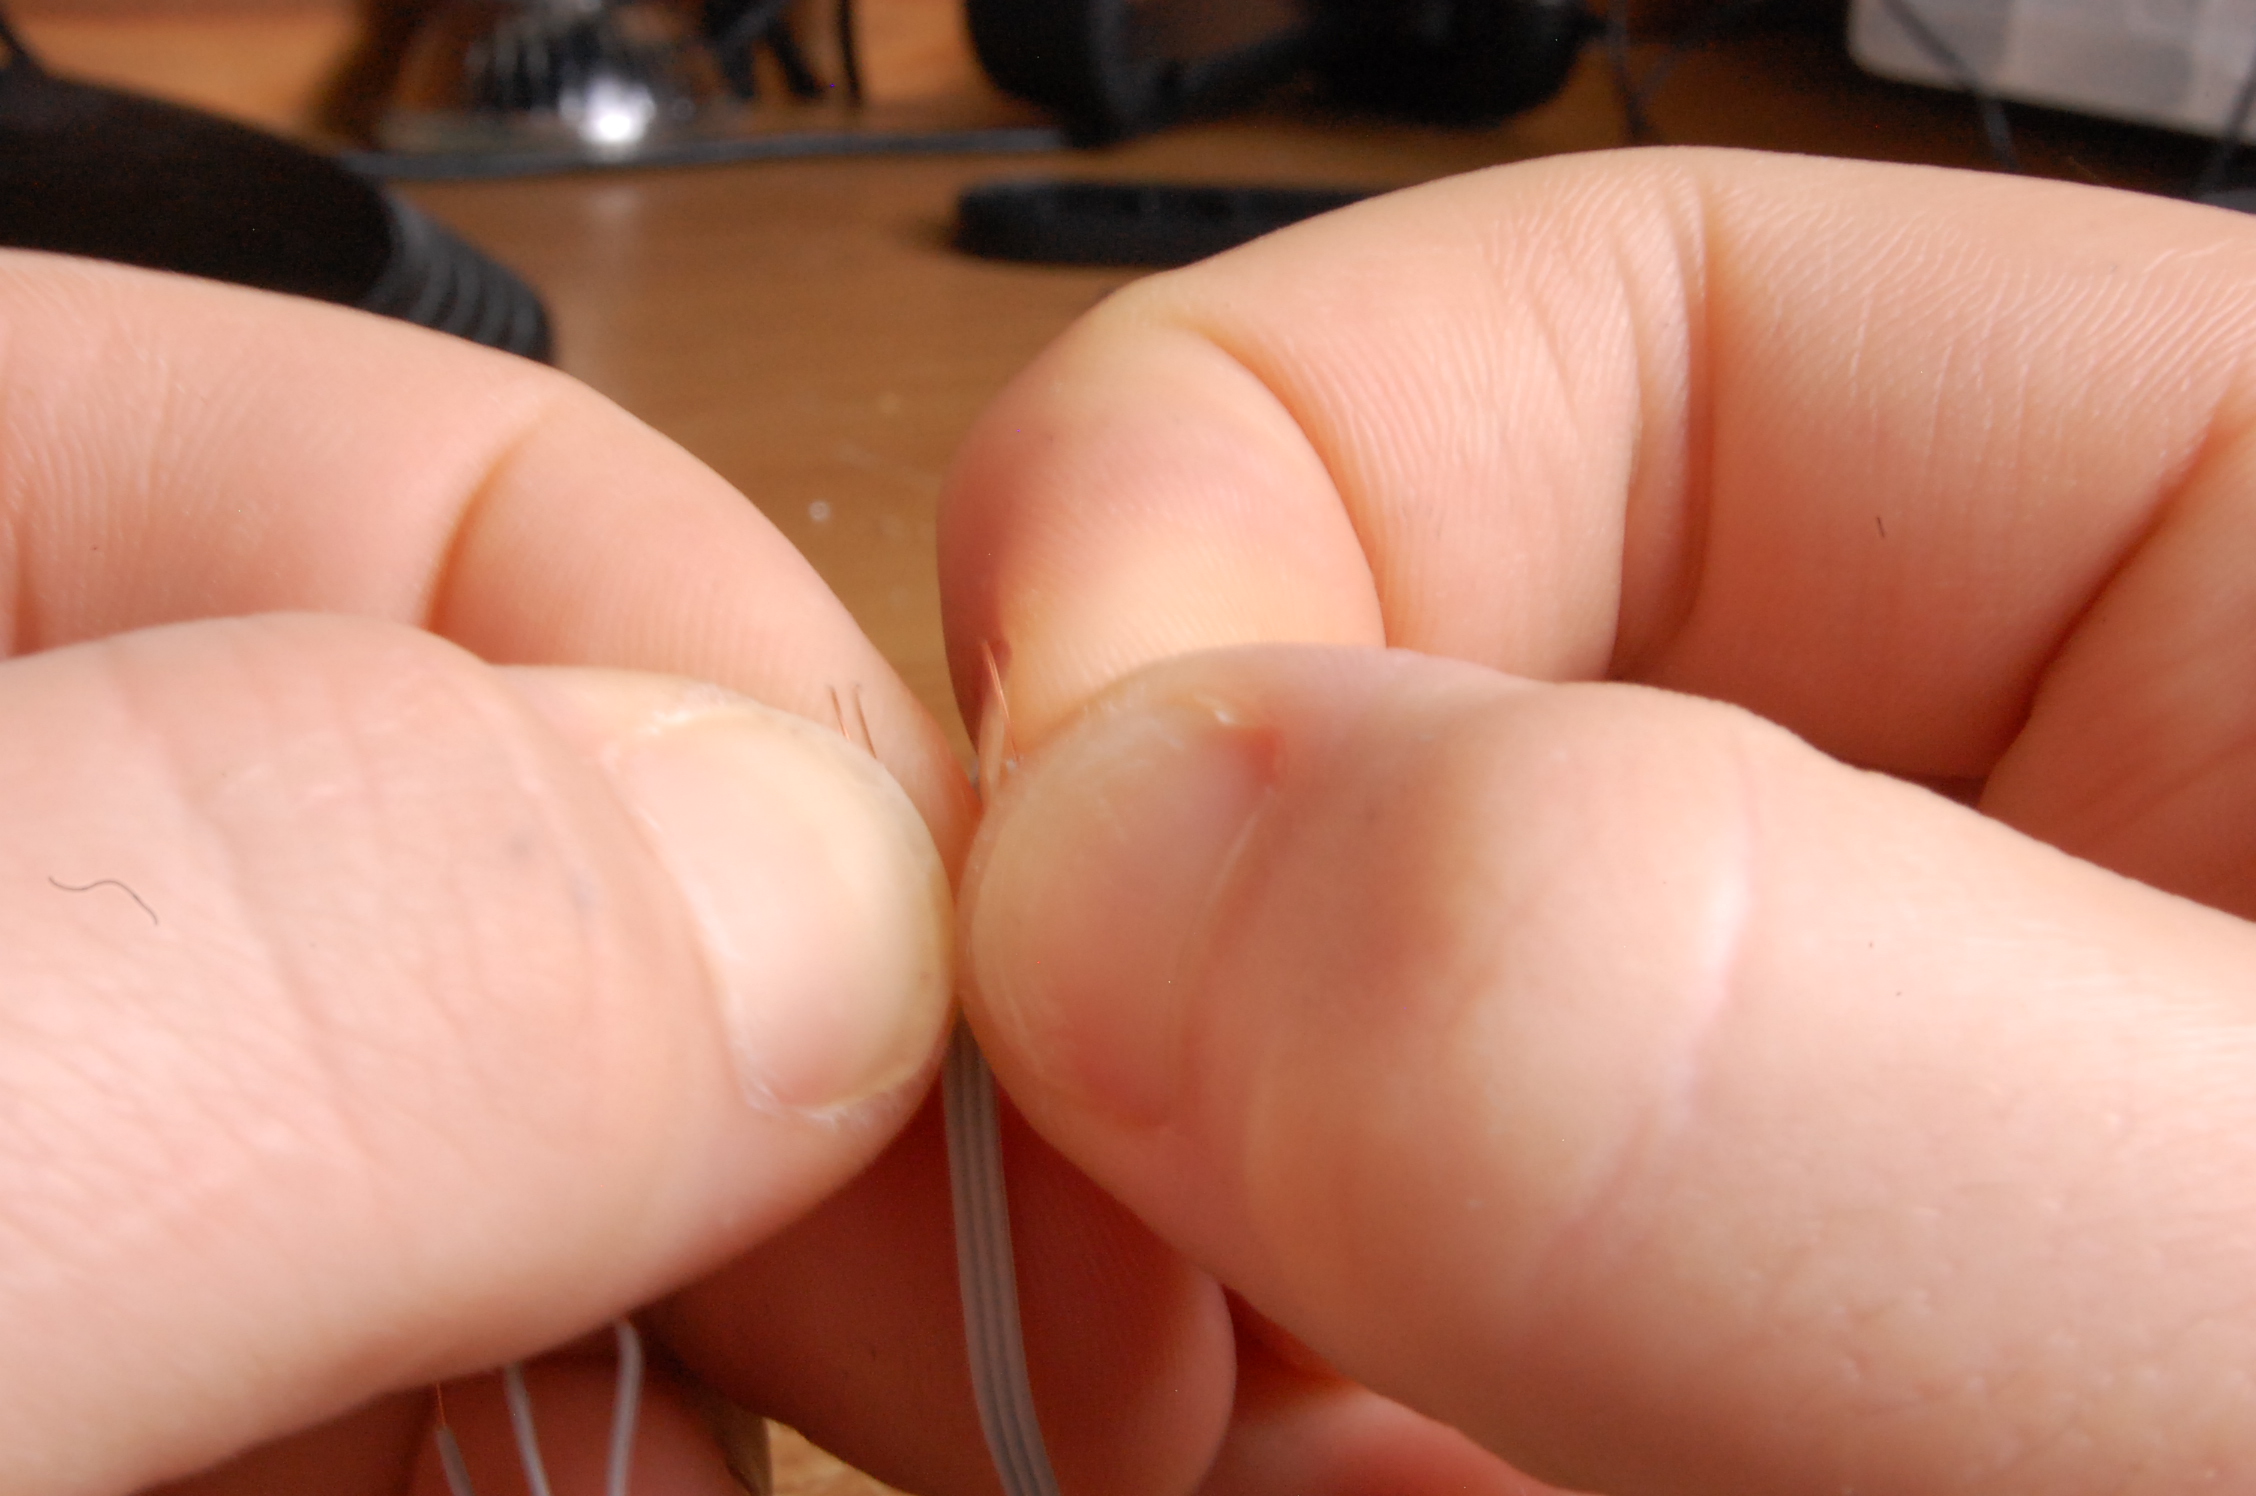
To power the remote:
- Either solder or just dry connect a wire to the 5v pin on the arduino
- Solder this wire to the positve connector on the remote identifiable by a + symbol.
- Do the same again with another wire but this time connect it to the GND pin on the arduino
- Solder this wire to the negative connector on the remote identifiable by a - symbol.
Power the Arduino
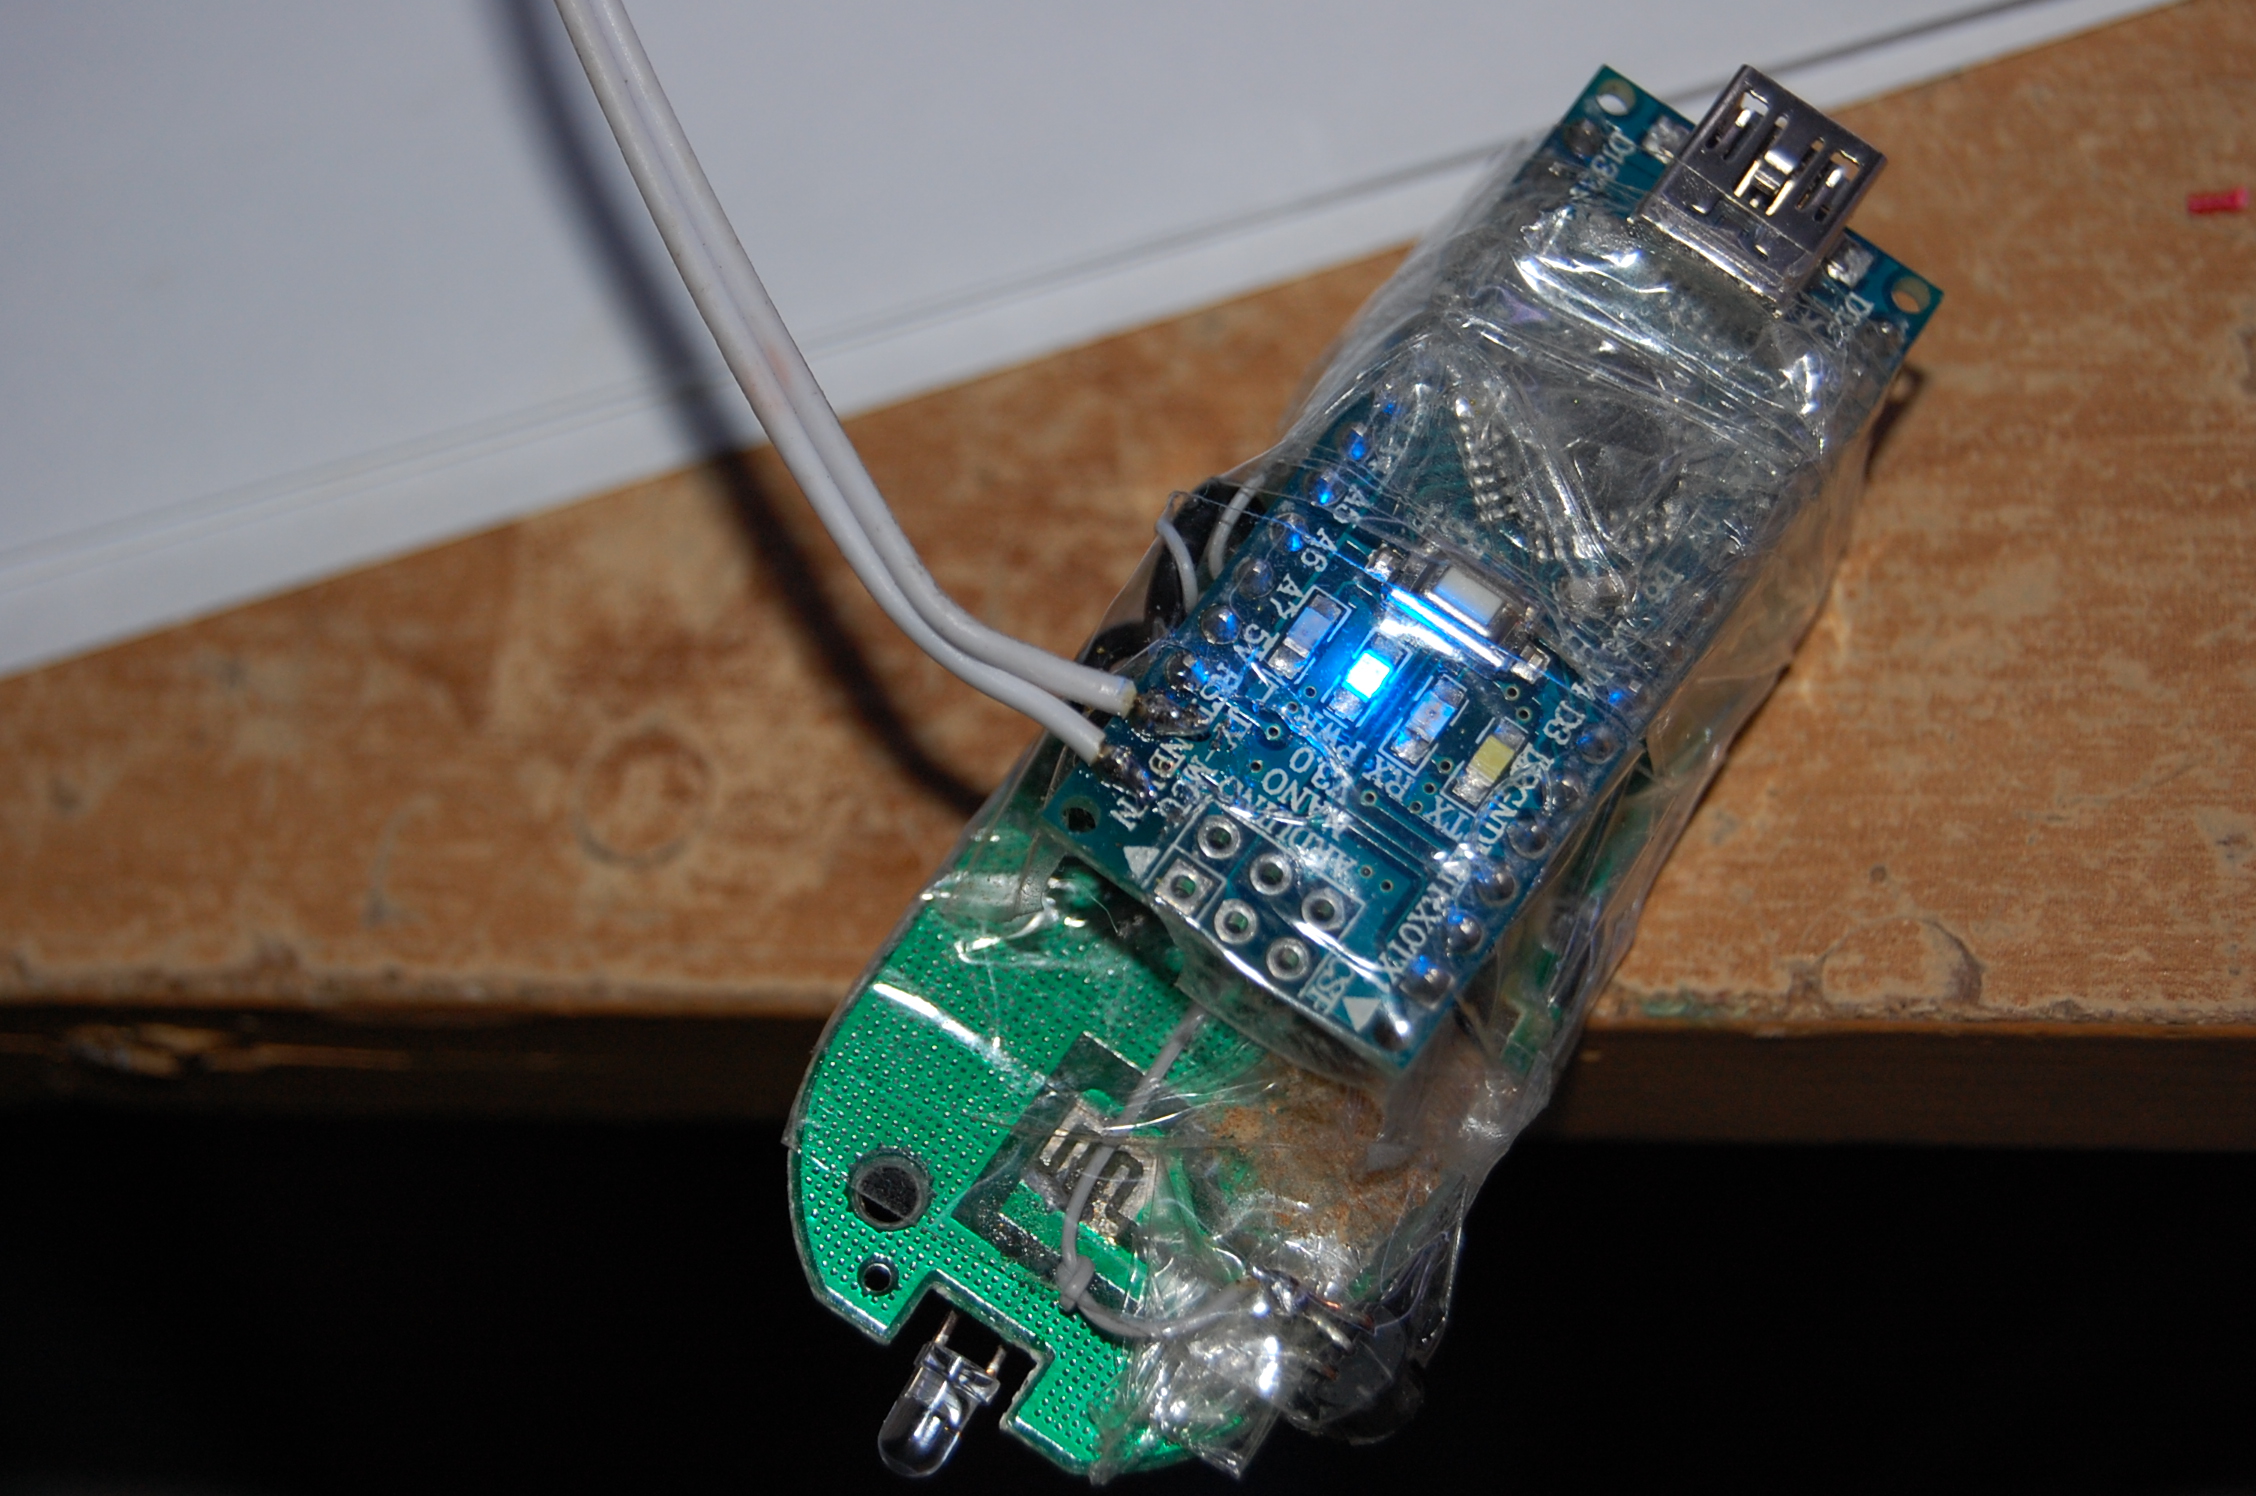
For this step I used a 5V battery pack which I purchased on ebay to power the arduino, however a cheaper option is to use a 9V PP3 battery.
Steps:
Steps:
- Solder the red lead of the PP3 battey clip to the VIN pin of the arduino
- Solder the black lead of the PP3 battery clip to the GND pin of the arduino.
Programming the Arduino
I have included a basic code for the intervalometer below. Follow the next steps:
The code in text format:
/*
Intervalometer:
Turns on an IR remote on and off, every X seconds allowing you to do time lapse footage.
*/
int npn_base = 13;
int X_seconds = 60; // Set the number of seconds here, only use whole numbers, such as 1, 30 or 32 but not 31.4 for example
void setup() {
// Initialize the digital 13 pin as an output.
pinMode(13, OUTPUT);
}
void loop() {
digitalWrite(npn_base, HIGH); // Set the LED on
delay(400); // Wait a short time, to allow the remote to react
digitalWrite(npn_base, LOW); // set the LED off
for (int i=0; i<X_seconds; i++){ // A loop that repeats the one second delay X times. X_seconds is set at the top
delay(1000);}
}
- Download and install the arduino IDE
- Download the code included with this instructables and change the value of X_seconds at the top to set the time.
- Connect the arduino via usb and upload the code on to the arduino
The code in text format:
/*
Intervalometer:
Turns on an IR remote on and off, every X seconds allowing you to do time lapse footage.
*/
int npn_base = 13;
int X_seconds = 60; // Set the number of seconds here, only use whole numbers, such as 1, 30 or 32 but not 31.4 for example
void setup() {
// Initialize the digital 13 pin as an output.
pinMode(13, OUTPUT);
}
void loop() {
digitalWrite(npn_base, HIGH); // Set the LED on
delay(400); // Wait a short time, to allow the remote to react
digitalWrite(npn_base, LOW); // set the LED off
for (int i=0; i<X_seconds; i++){ // A loop that repeats the one second delay X times. X_seconds is set at the top
delay(1000);}
}
Downloads
Optional Extras

When you connect the battery the device should start to run. Make sure your camera is on remote mode first and it should start taking picture by default every 60 seconds.
Optional Extras:
Optional Extras:
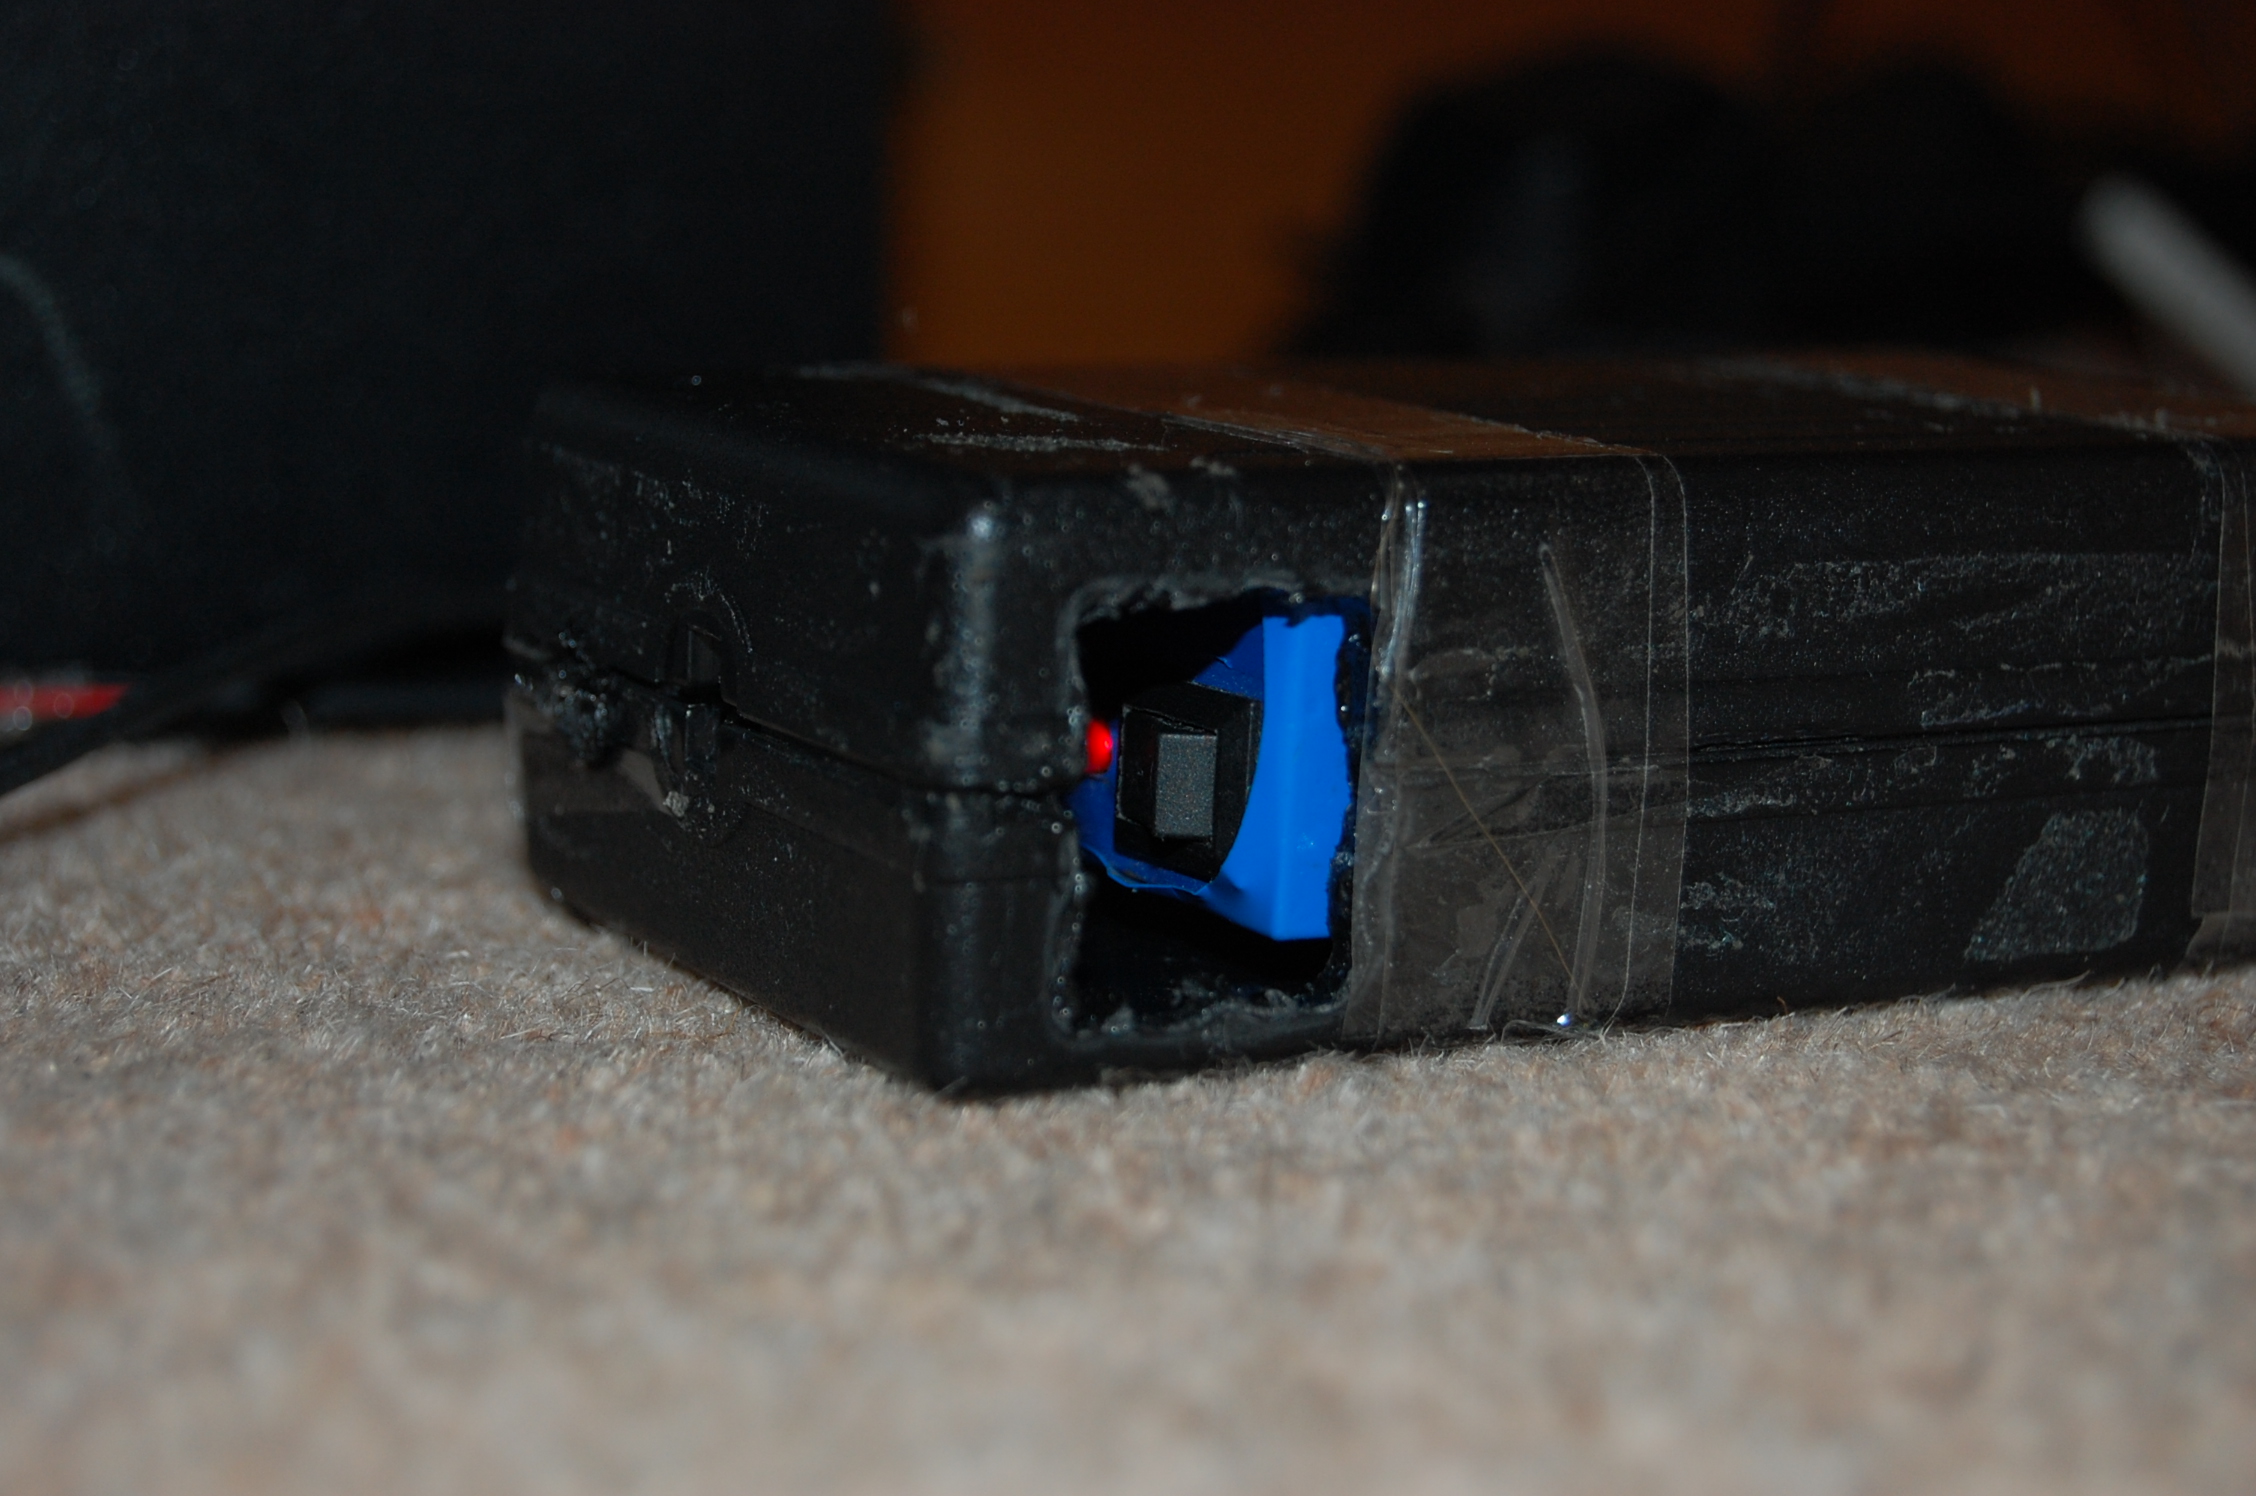
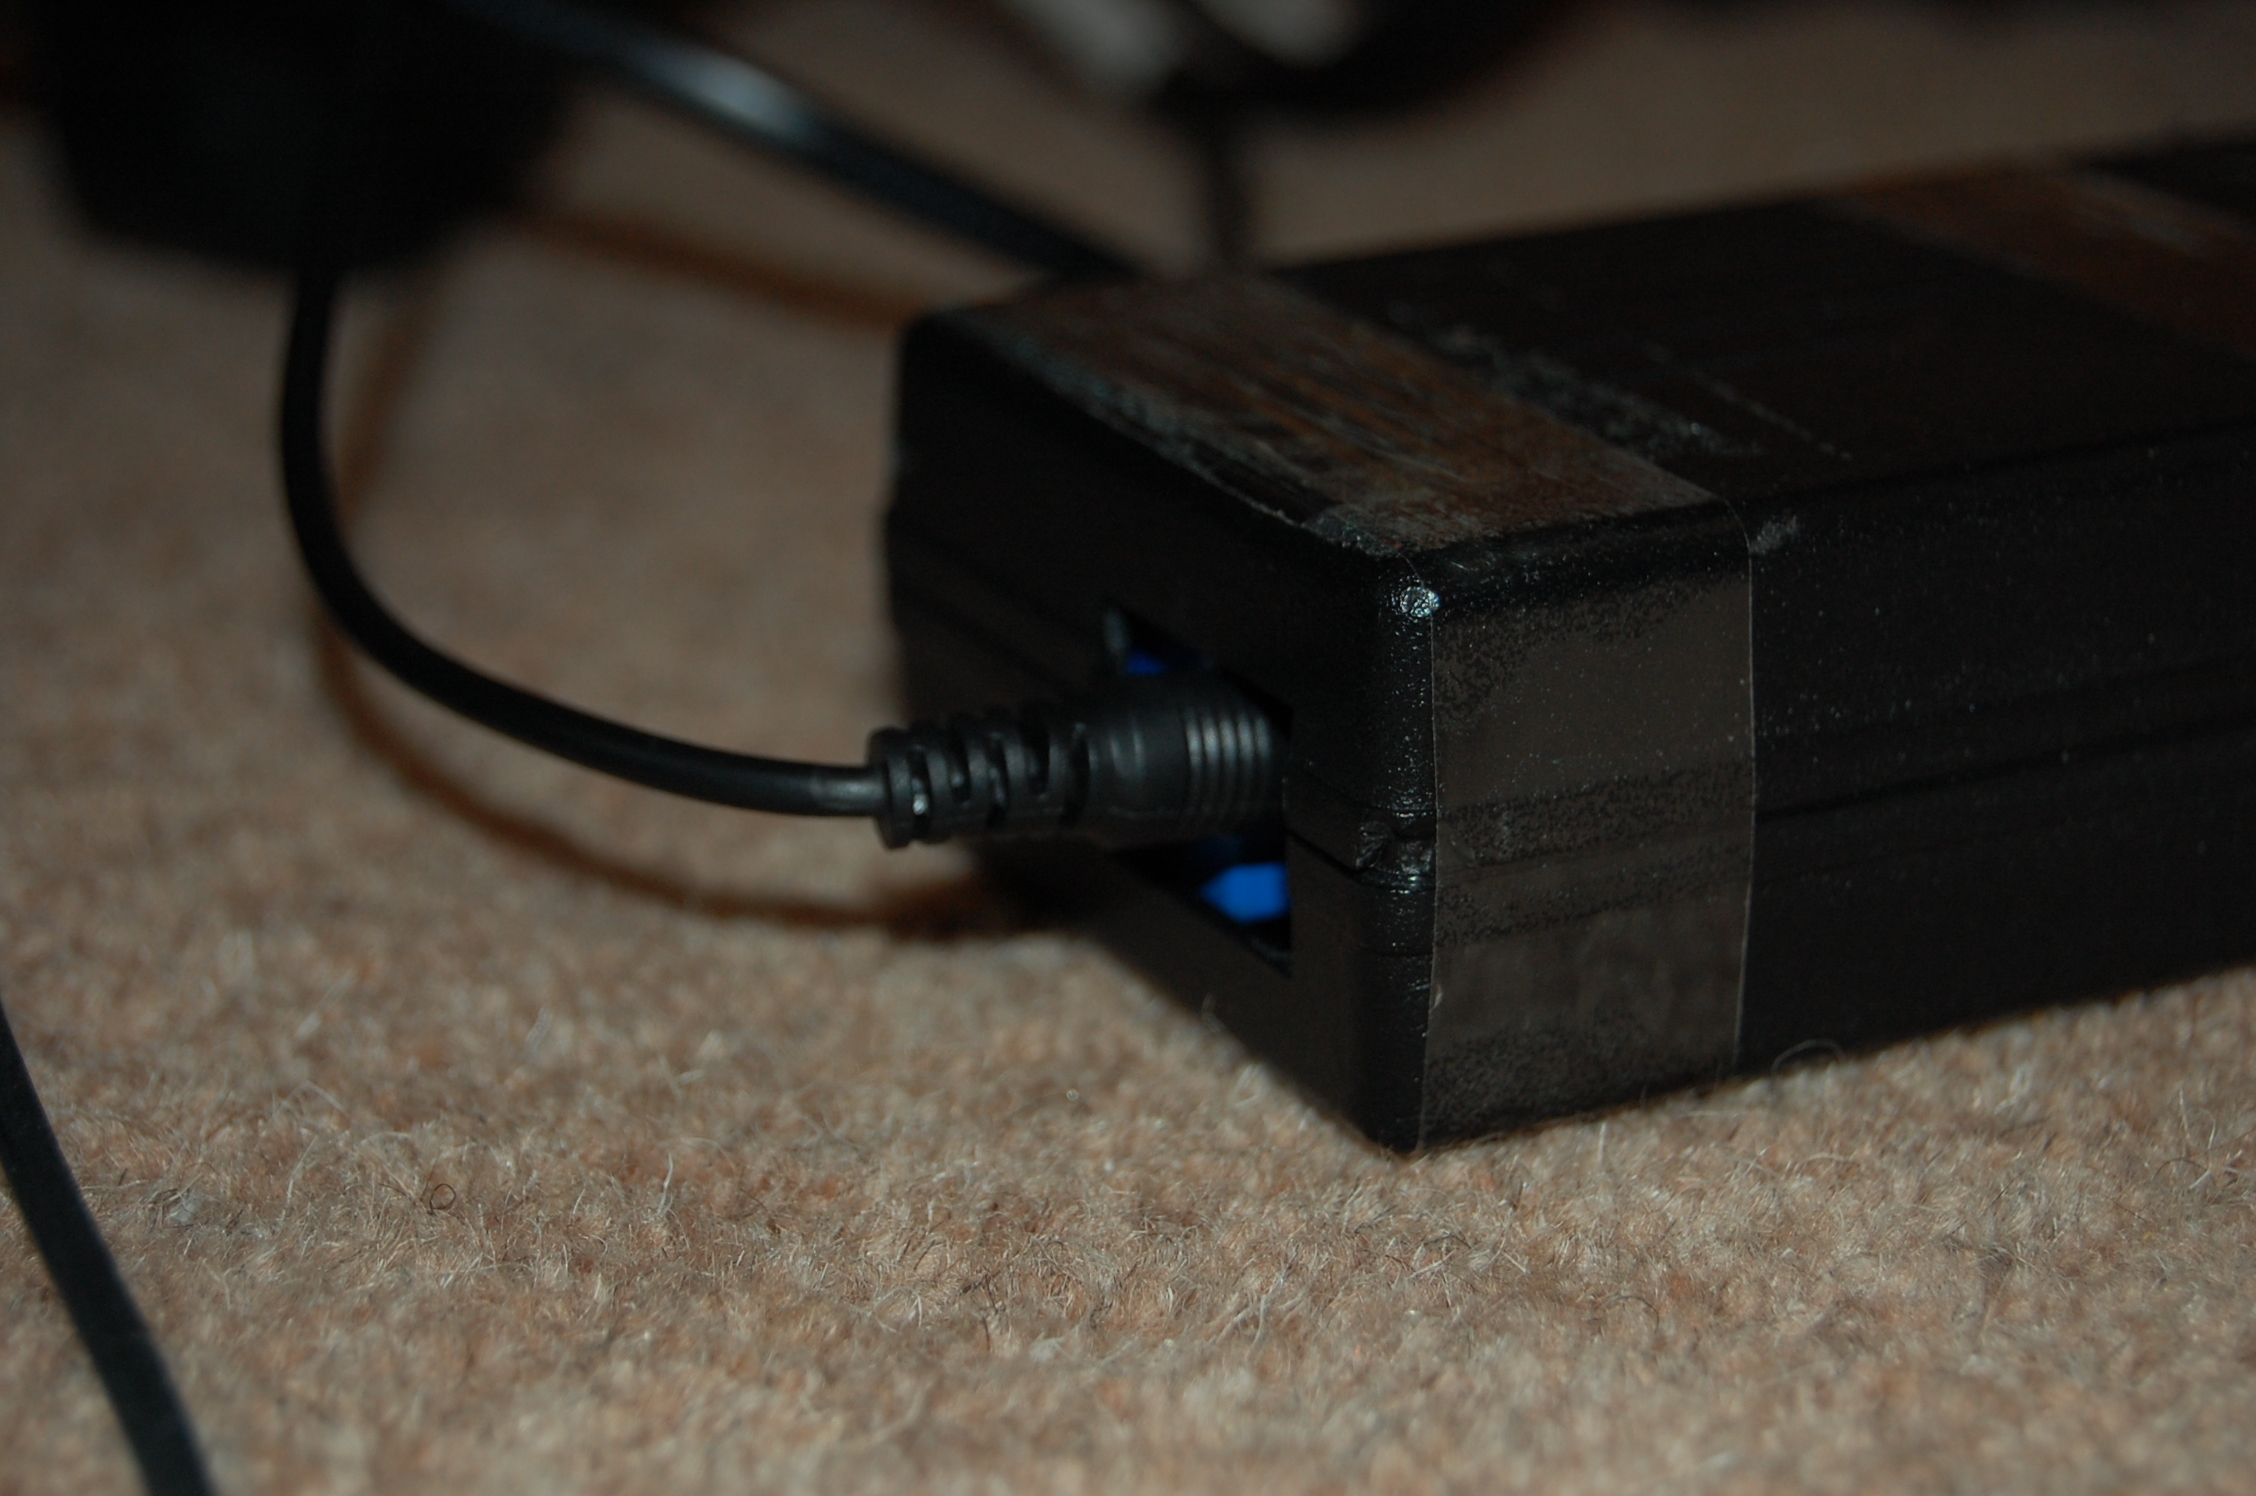
- To improve your creation try housing the circuits and battery in a nice little project box
- Add a power switch to save you from plugging and unplugging the battery each time.
- If your good with code you could try adding a menu system to set the time whilst in the field.