Easy CNC Engraving From Image Template
by AndreasHerz in Workshop > CNC
1507 Views, 6 Favorites, 0 Comments
Easy CNC Engraving From Image Template
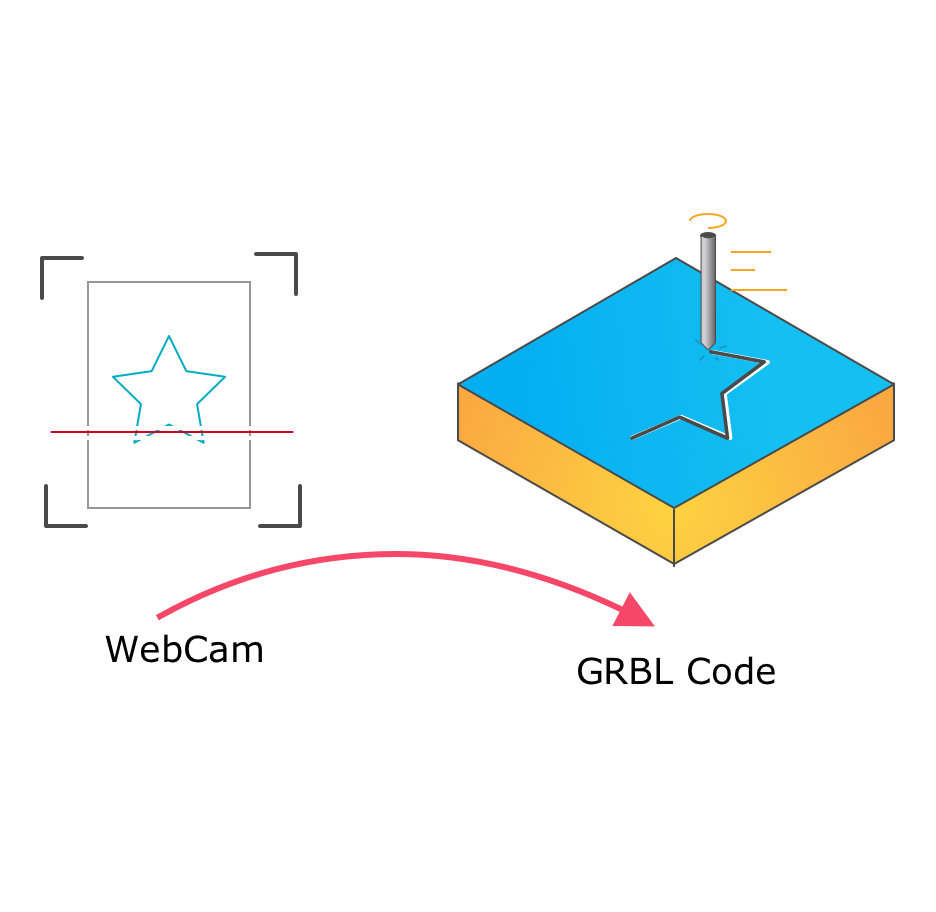
CNC machines are an essential part of the hacker’s toolset. These computer-controlled cutters of wood, metal and other materials can translate a design into a prototype in short order, making the process of iterating a project much easier. However, the software to create these designs can be expensive and complex.
The motivation for this project was to reduce the effort of toolpath generation and the frustration at the cost of commercial software.
What is the philosophy behind HoruCNC?
Dead simple - design and print your template with any kind of software you like, scan it with your WebCam, and press the Carve button to send your GRBL code direct to your CNC mill.
It should be possible that not CNC and CAD users should be able to engrave a stamp or a name plate in minutes. Possibly the software simply extends the standard tool set of a CAD expert if he want to engrave something without having to create a 3D model.
Install the Software
The software is written in Python3 for convenience. Python has a very good interface to OpenCV for image processing, which is heavily used here.
git clone https://github.com/freegroup/HoruCNC.git
cd HoruCNCpip3 install opencv-python sudo apt install python3-opencv sudo apt install libqt4-test pip3 install -r requirements.txt
python3 ./src/main.py
Configure Your Camera
You can use any connected camera you want. Just edit the ./config/configuration.ini and replace the camera index (camera-scanner entity) with the one you want use.
[common]
# which camera to use to scan the image to carve
#
camera-scanner=0

# settings of the CNC machine
#
serial-port=/dev/ttyAMA0
serial-baud=115200

# How ofter should the UI update the preview image
#
image-read-ms=500

# path to the pipeline folders. (Relative to the "main.py" file)
#
pipelines=../pipelines
Place Your Printout in Front of the Camera
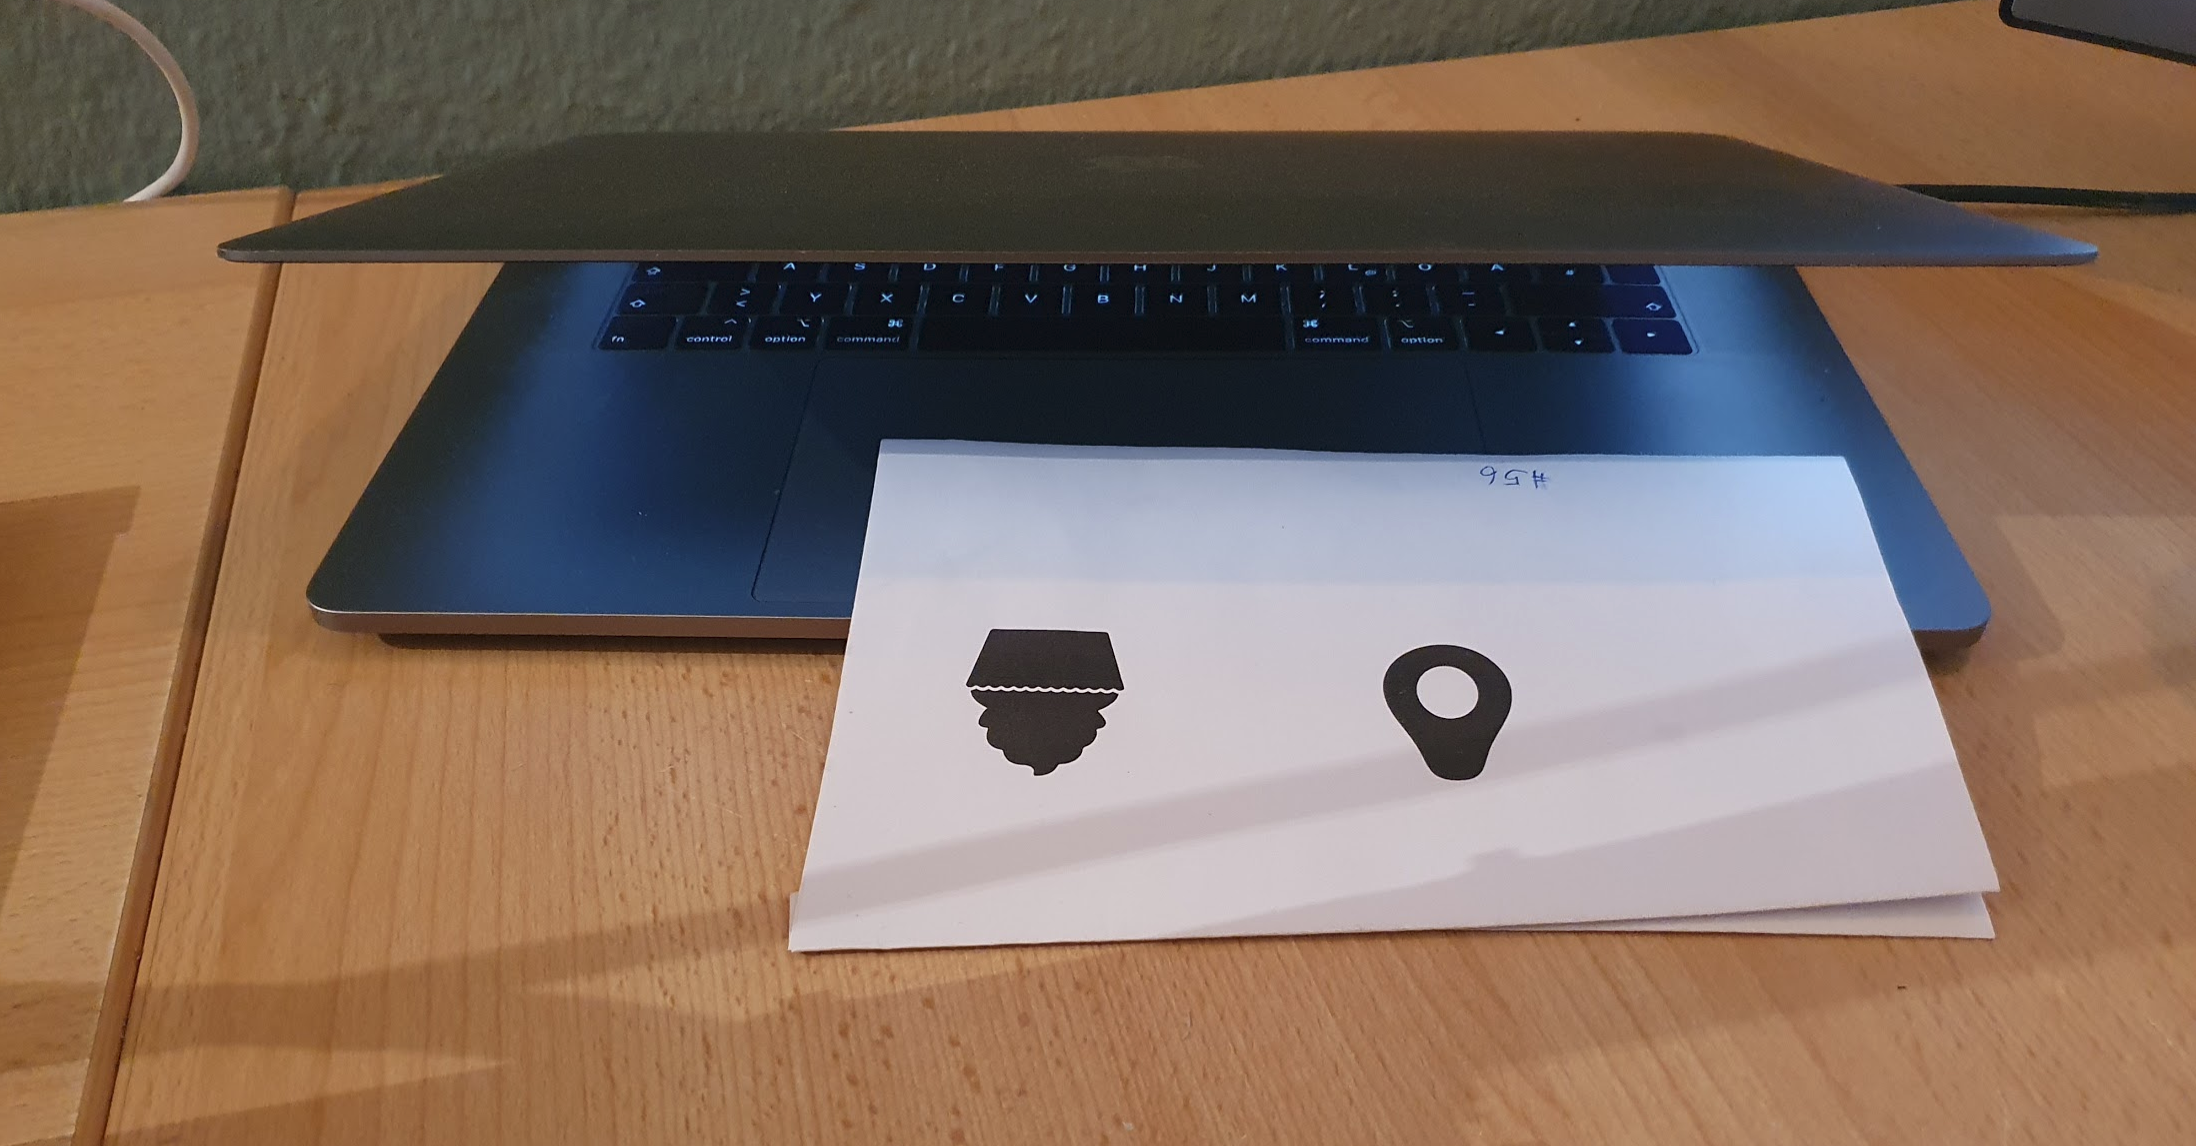
HoruCNC uses a WebCam as input source and generates from the traced outline a GRBL file. For this purpose, you must printout your template, place them in a good way in front of your webCam and modify some parameter as described below.
Of course, this method has several disadvantages such as, accuracy, complex calculated travel paths, ... but high precision is not what the software is designed for. It should be very easy to make cutters for cookies, stamps and engravings of name plates. Everything where an accuracy of 0.01mm is not required.
Zoom In/out
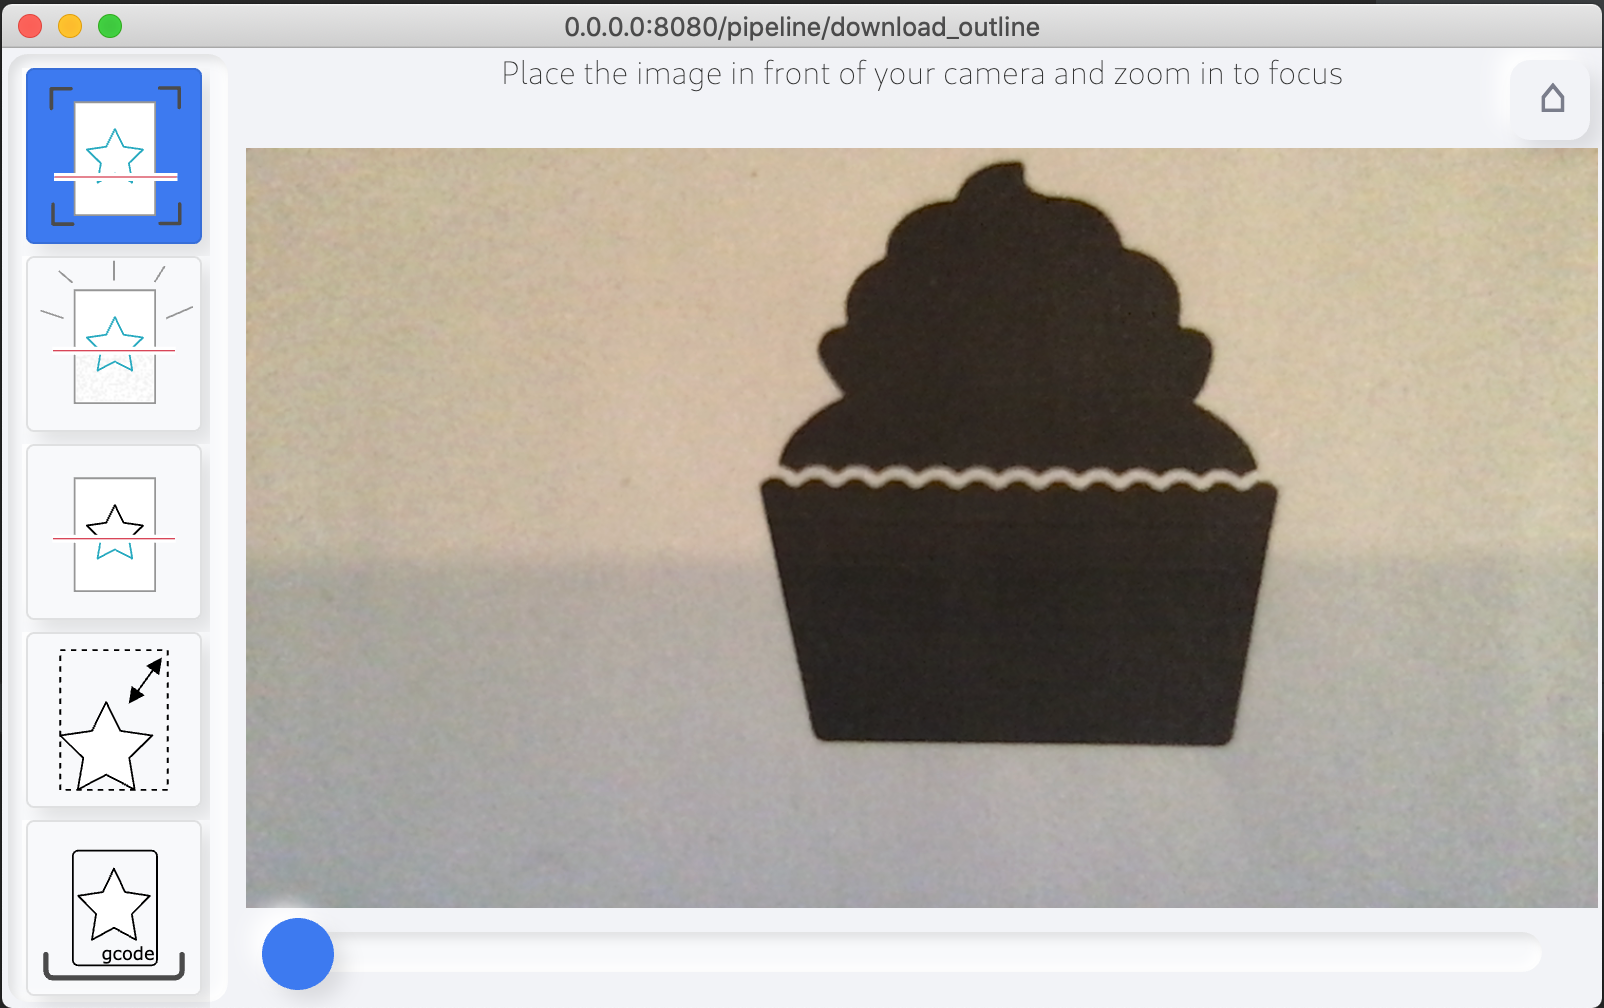
Place your template in that way that only the part your want engrave is visible. Maybe you can zoom in/out until your template is in the camera scope.
Remove Some Noise
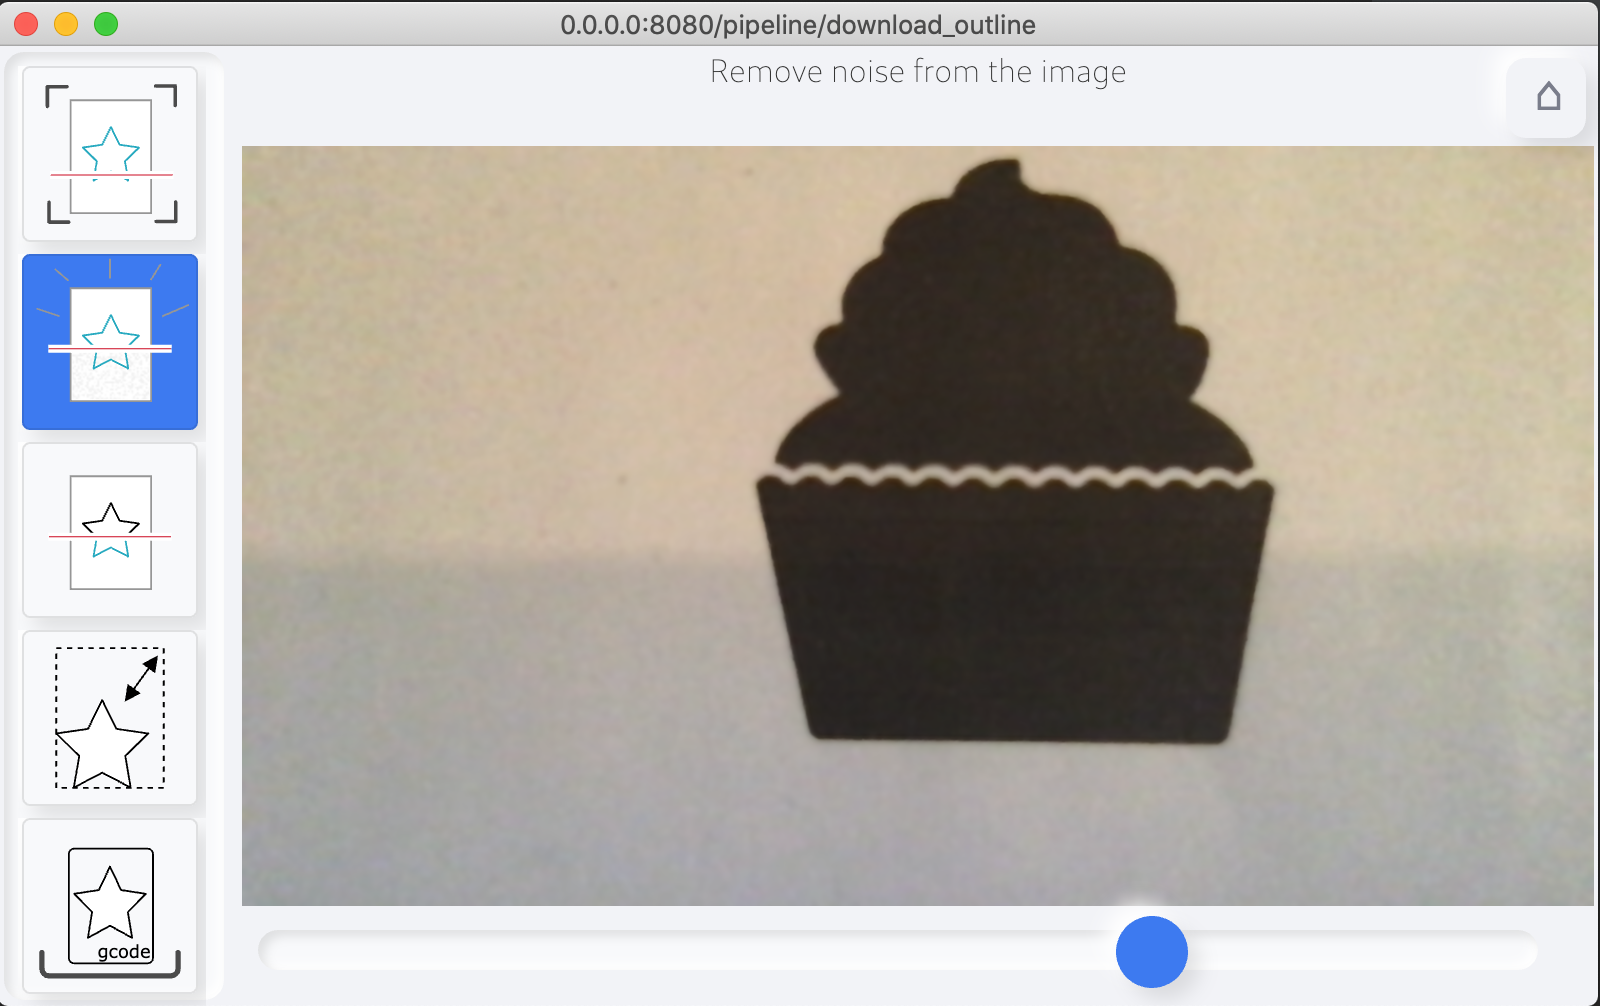
You can apply a Gaussian blur filter to remove some dark/white noise from the image. This helps a little bit to get a better result.
Convert to Black&white
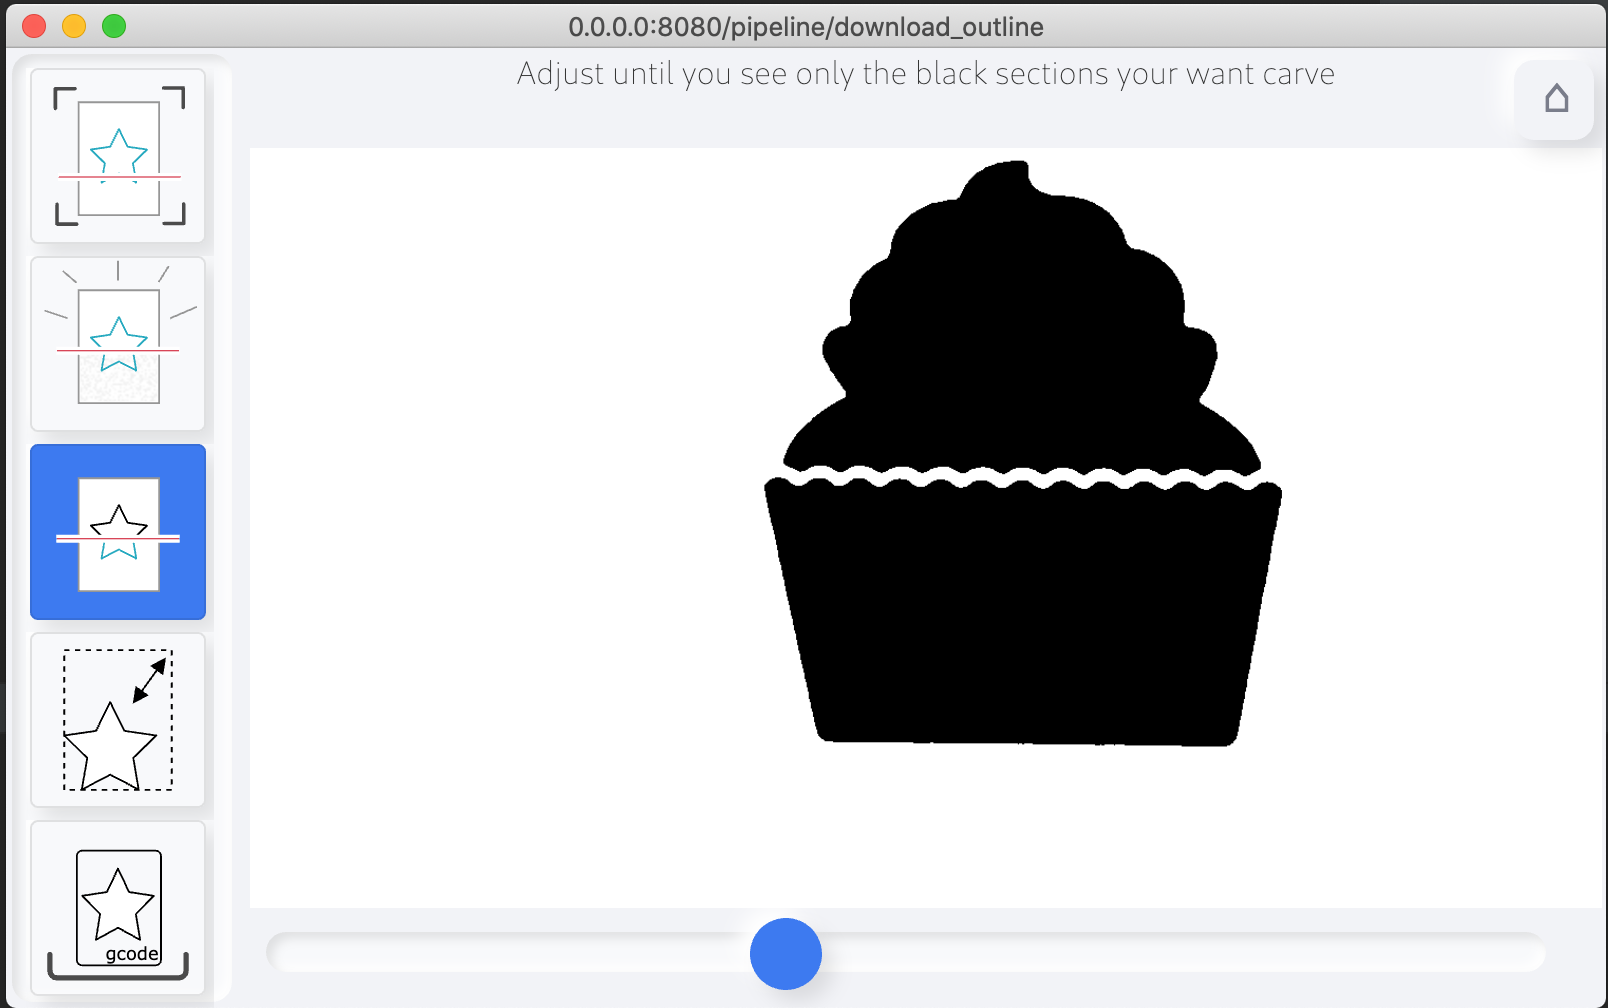
Next, the threshold value must be set to generate a black and white image from the color image. The value should be set so that only the part you want to engrave is visible.
If this is not possible, you should cover the disturbing part of the image with a white sheet or position the image in front of the camera.
Scale Your Outline
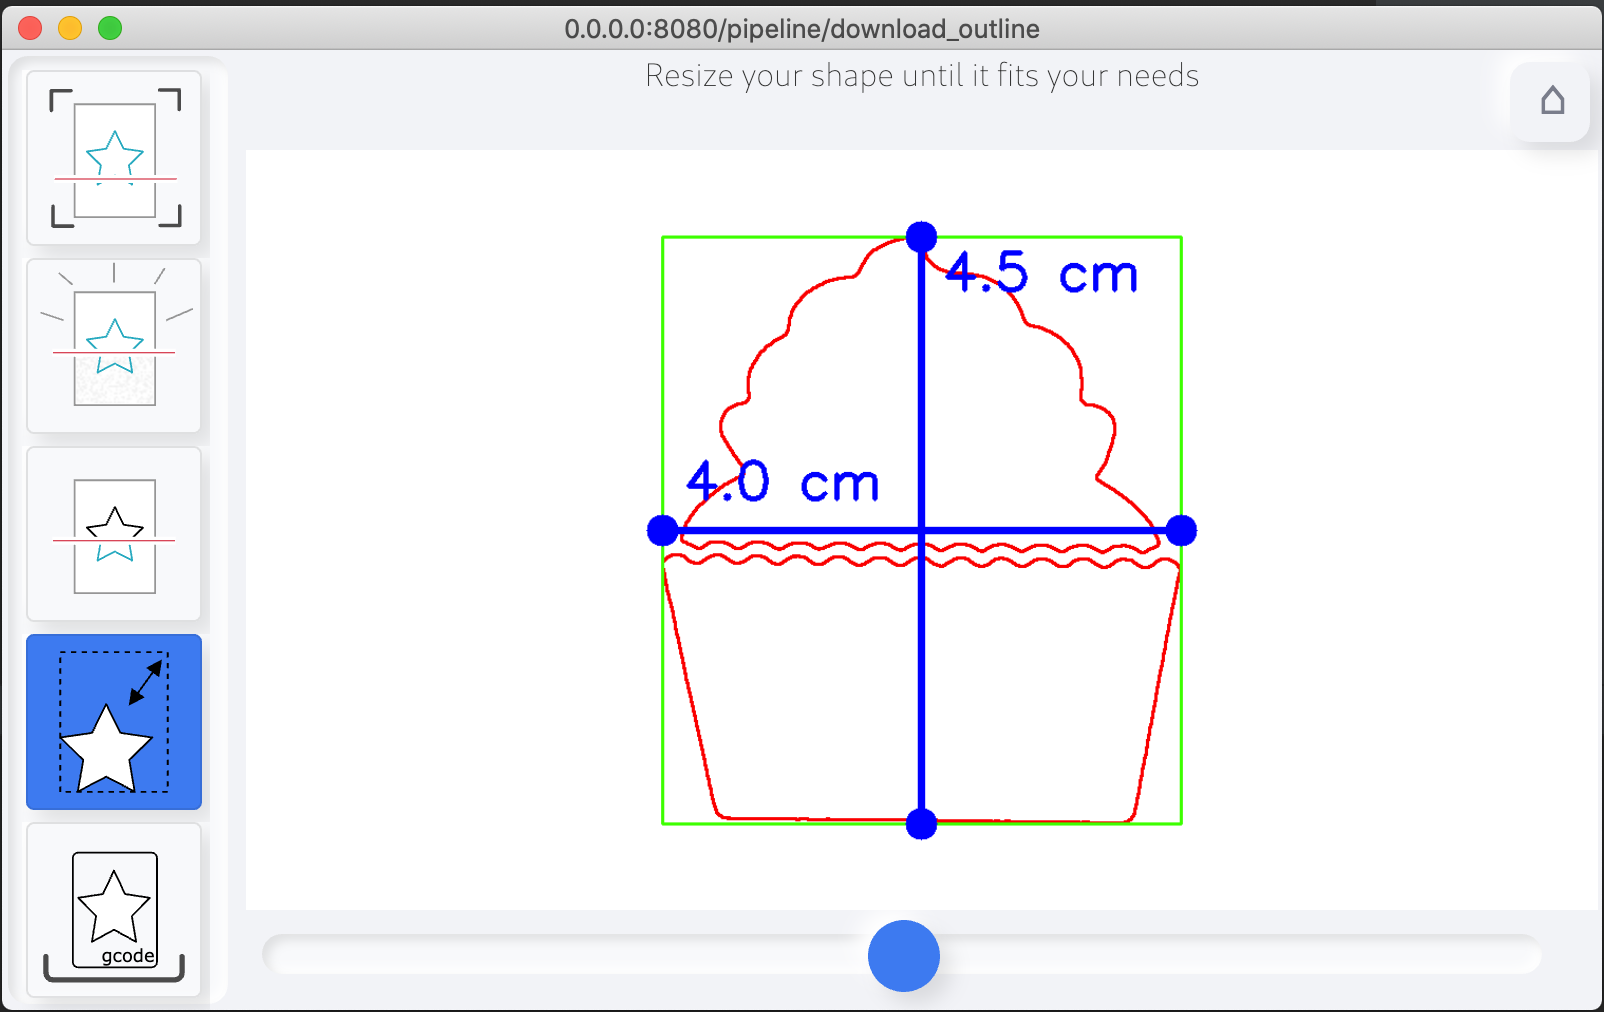
You can now define your dimension of your carving data. Just move the slider until you have the required bounding box dimension.
Preview Your GRBL Code and Download
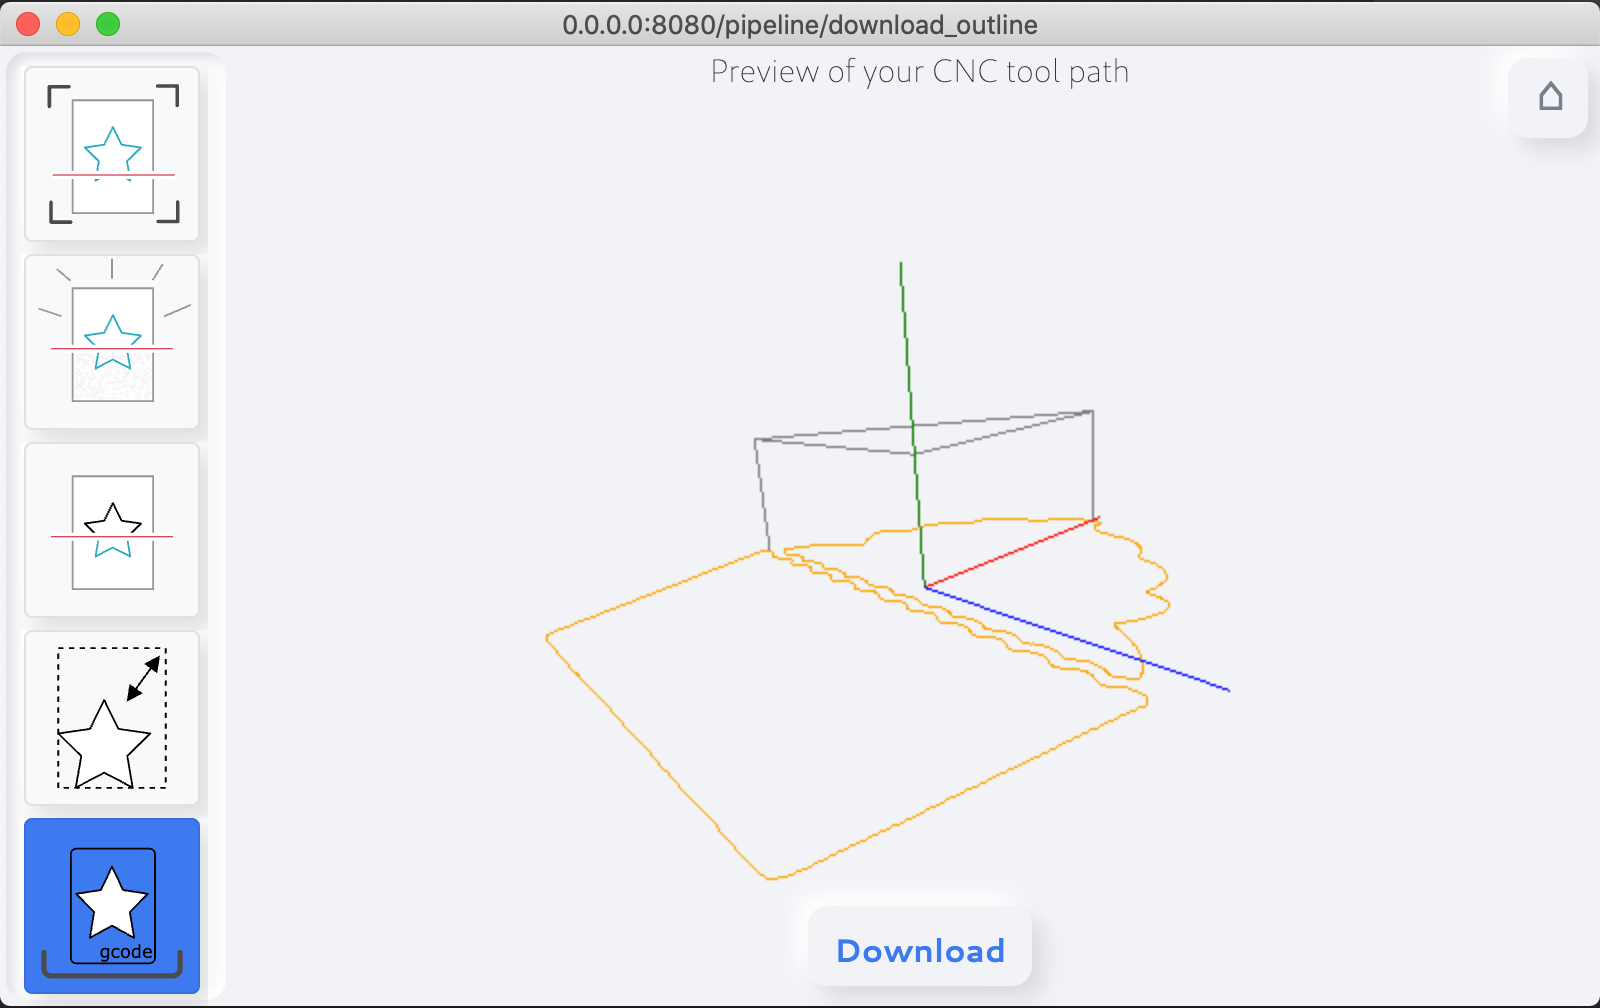
Now you can preview your GRBL Code before you download them. You can drag&rotate the 3D preview of your toolpath.
As you can see in the image above, the center of your GRBL toolpath is always the center of the document.
Video of the Overall Process
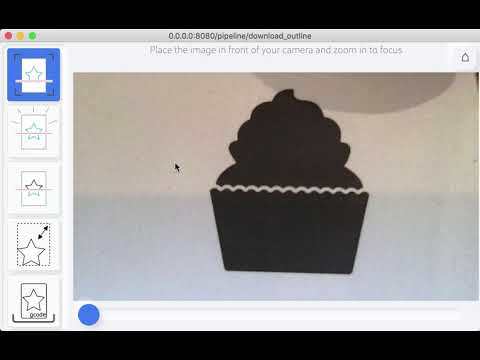
all of the sources are available at github and feel free to send some comments of pull requests