Easy Dodging Video Game With Makey Makey
by renmic in Circuits > Electronics
1161 Views, 2 Favorites, 0 Comments
Easy Dodging Video Game With Makey Makey
I created a game where the player uses a physical controller connected to the Makey Makey to control a character. The player will try to move the character around so that it will not get hit by any rocks. I made this project because I wanted to create a simple game project where even small children could experience the fun of designing a game. As such, it is intended for the younger generation to create in order to learn the process of how a game is made. By making this game, you are able to entertain your friends, have your parents evaluate it, and gain firsthand coding experience.
Supplies
- Cardboard
- Paper
- Metal discs
- Aluminum foil
- Tape
- Alligator clips
- Drawing utensils
- Makey Makey kit
- Chromebook or laptop
- Scratch (https://scratch.mit.edu)
DESIGNING THE START SCREEN
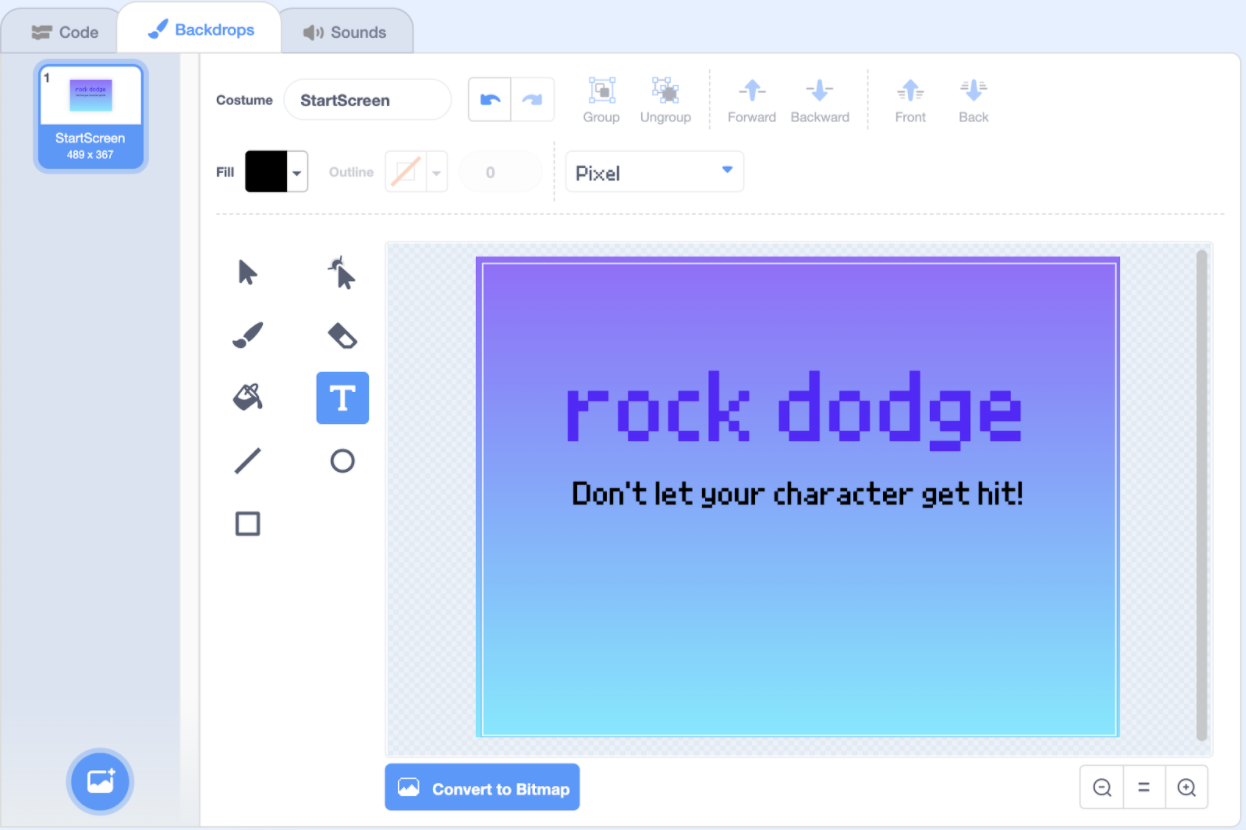
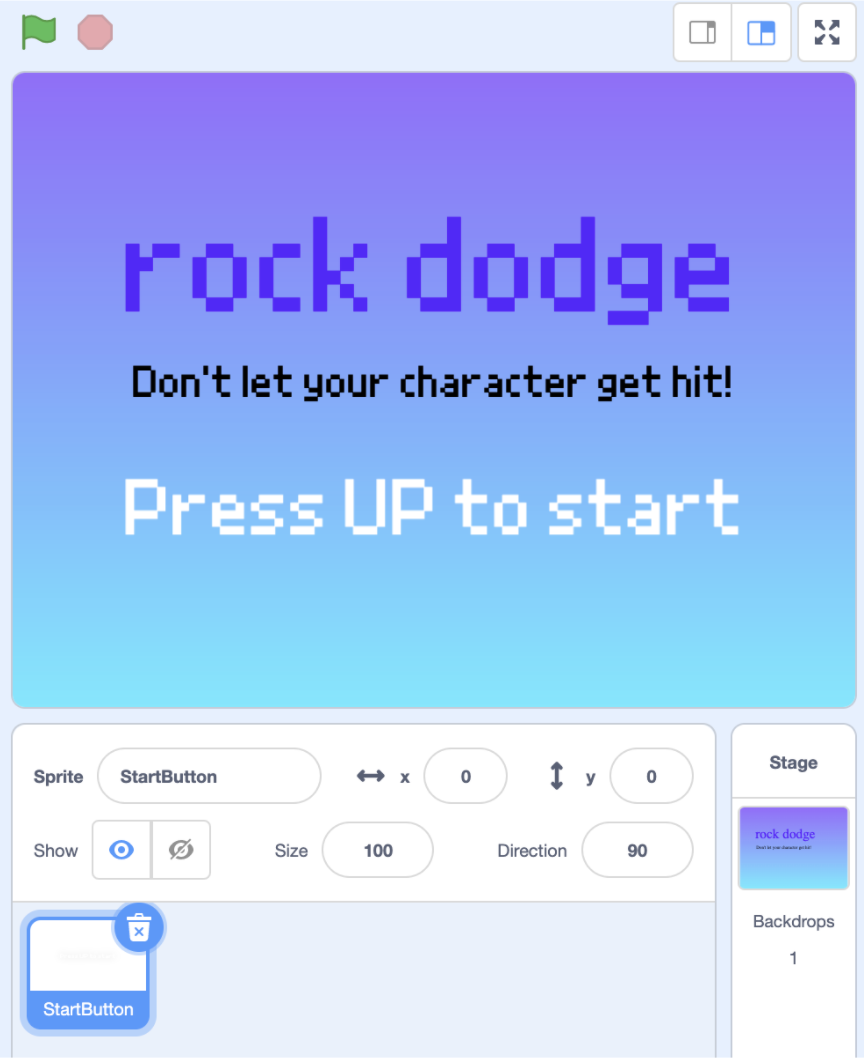
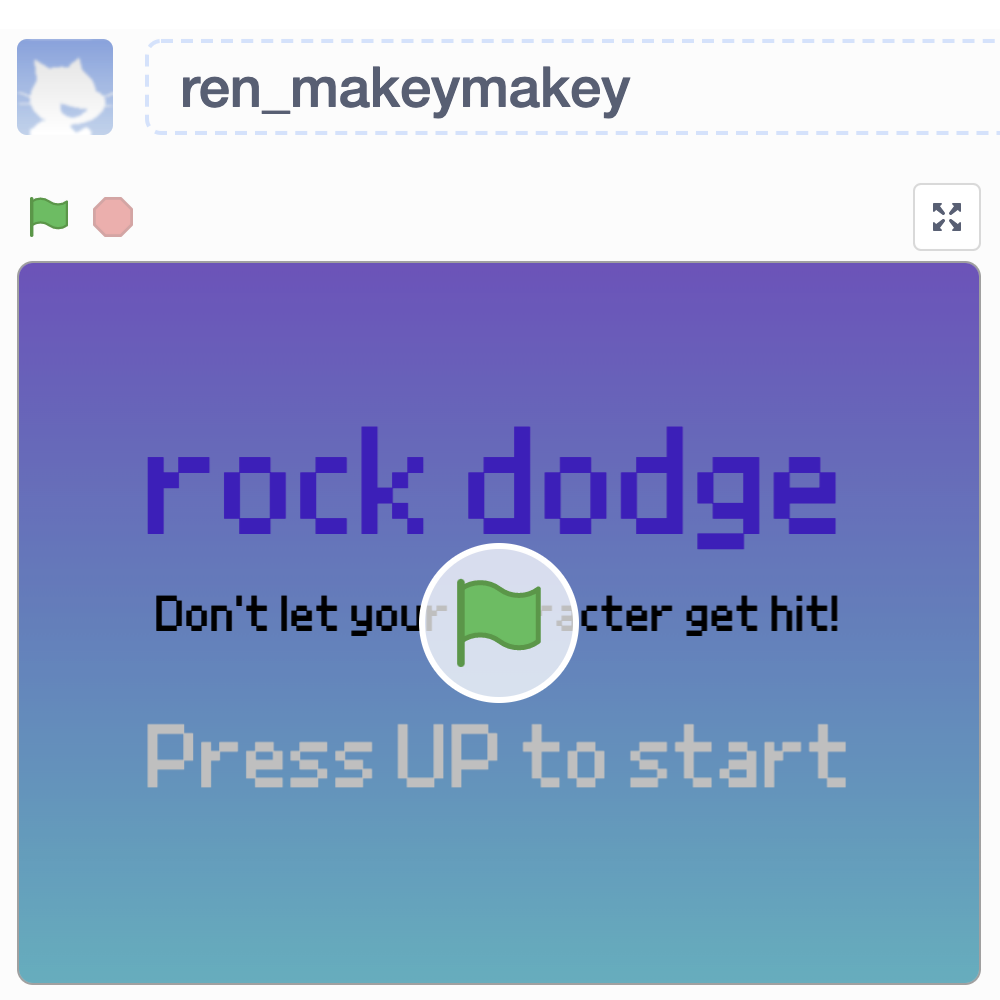
- First, we will design an animated and interactive start screen. To do this, go to the Backdrops section of your scratch project and create a new backdrop.
- Name it “StartScreen.”
- Create a rectangle that covers the entire backdrop with any color/gradient you want. This will be the background color/gradient.
- Create a large text box with any font you like and name it something like “Rock Dodge.”
- Create a smaller text box below it and write in the instructions for the game, which could be something like “Don’t let the the character get hit!” (First image)
- Next, let’s give the start screen some life! Let’s create a sprite named “StartButton.”
- Once that sprite is created, inside the Costumes section, create a text box with the words “Press UP to start.” (Second image)
- Create a variable named “hasGameStarted,” which as its name suggests, will indicate whether or not the game has started yet. Uncheck the variable upon creation to stop it from displaying on the screen.
- From the sound library, add the sounds “B Elec Piano” and “Suction Cup” to the sprite.
- Create a new message named “gameStart”
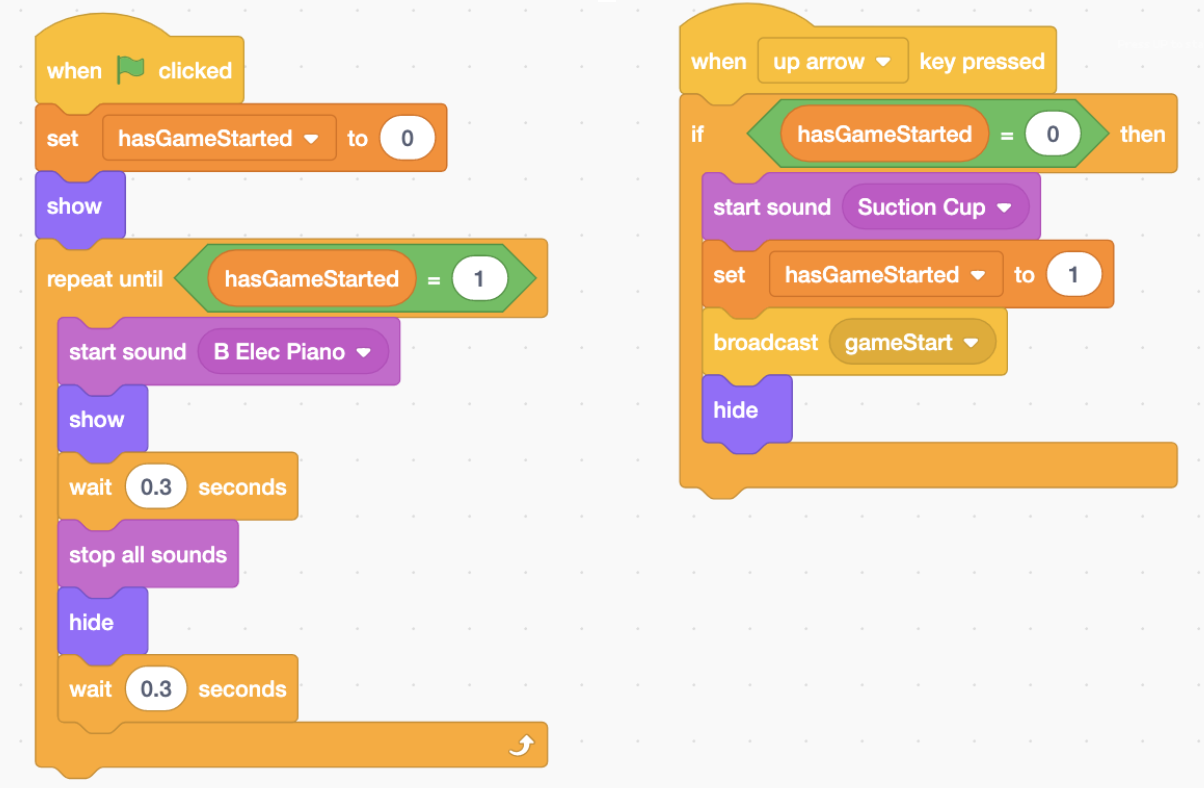
- Inside the StartButton sprite, copy the code from the (Third image)
CREATING THE OBSTACLES
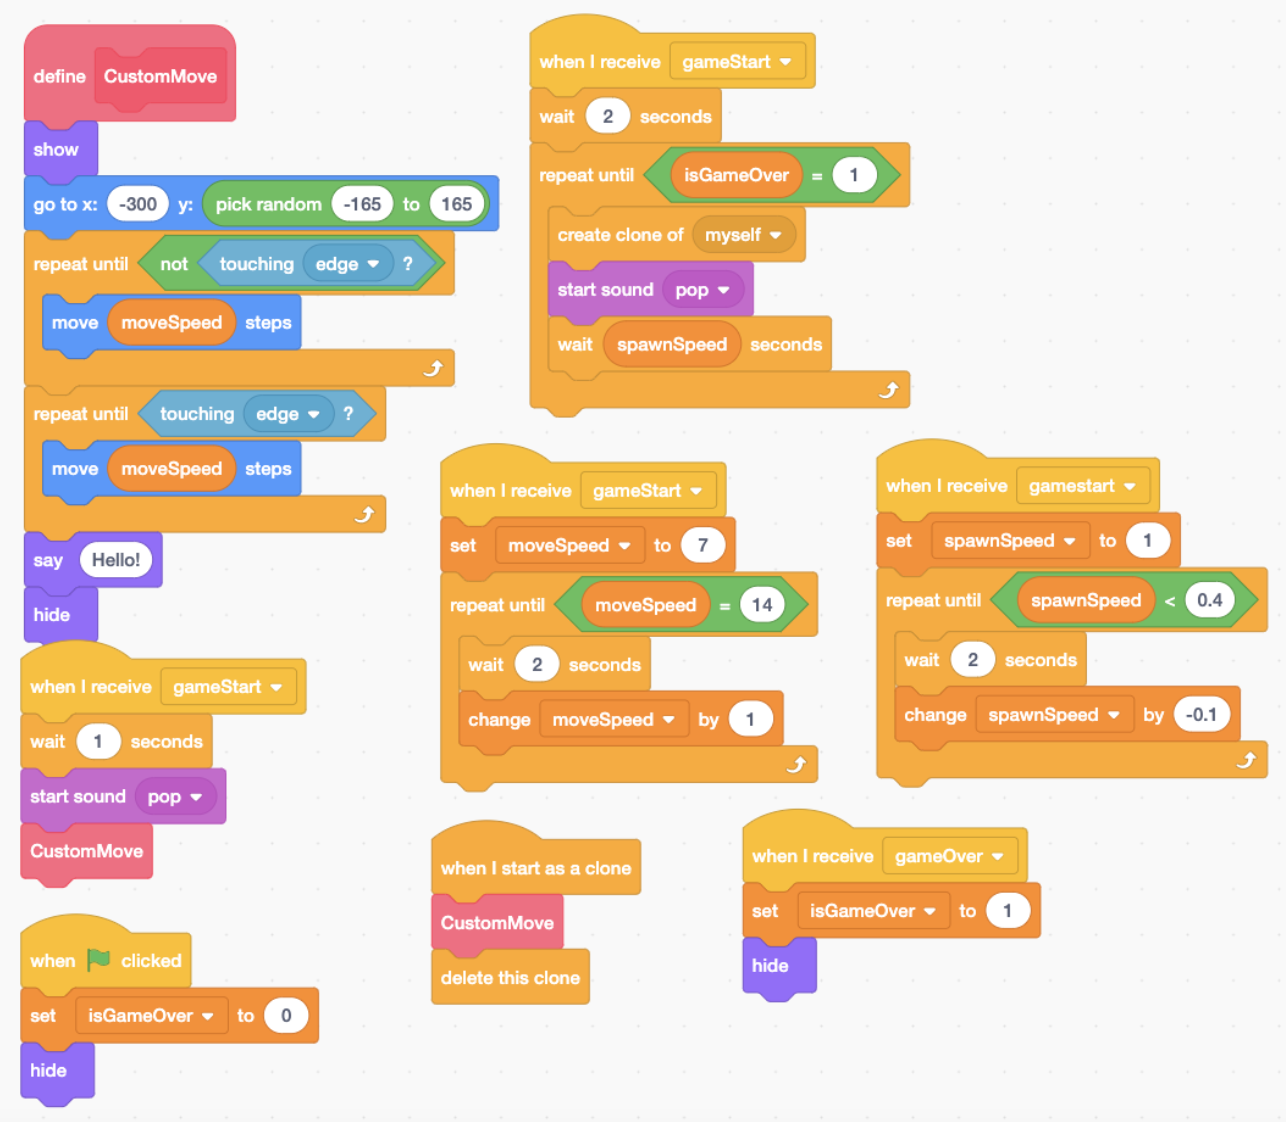
- Create another sprite and rename it to “Rock.” The sprite I picked for this one from the Scratch library was Rocks. Resize it to about a third of its original size.
- Create a variable named “spawnSpeed,” “moveSpeed,” and “isGameOver.” Uncheck all of them when they are created.
- Create a new message name “gameOver”
- Copy the code from (First image) into the Rock sprite (careful, it’s a lot!)
MAKING THE PLAYER
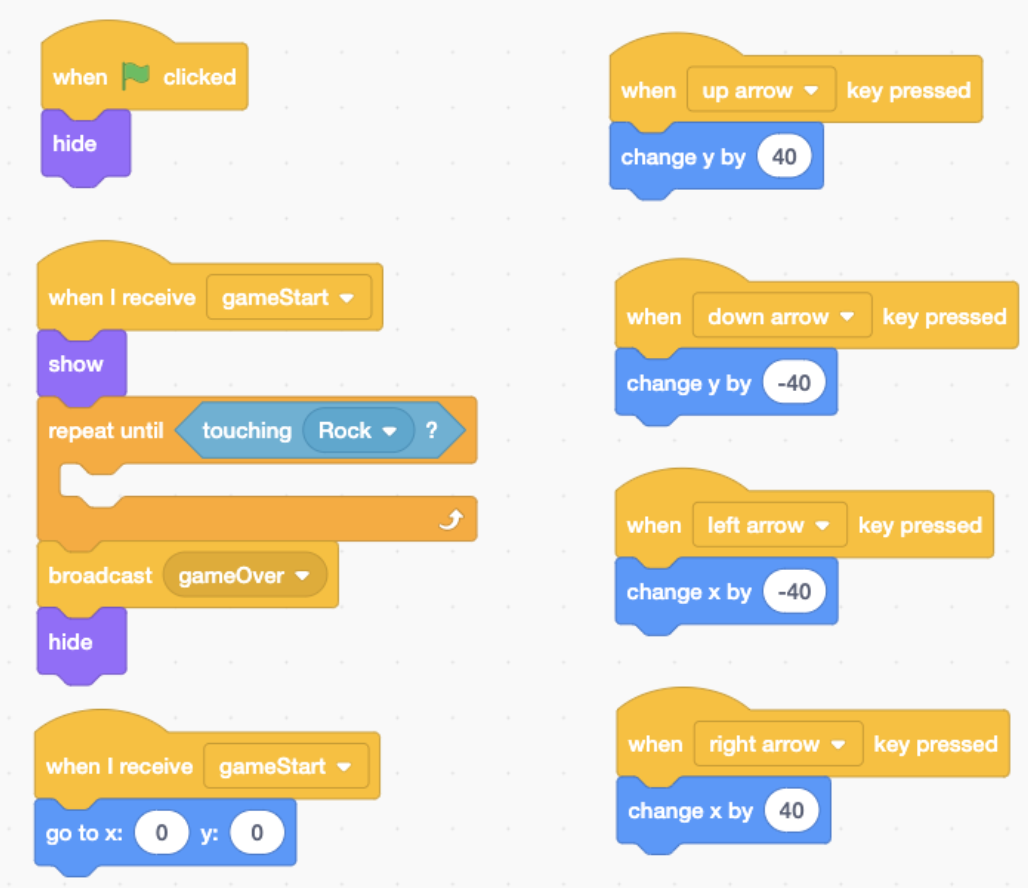
- Create another sprite and rename it to “Character.” The sprite I picked for this one was Pico.
- Create a variable named “score.” You can leave it checked.
- Copy the code from (First image) into the Character sprite
ANIMATING THE BACKGROUND
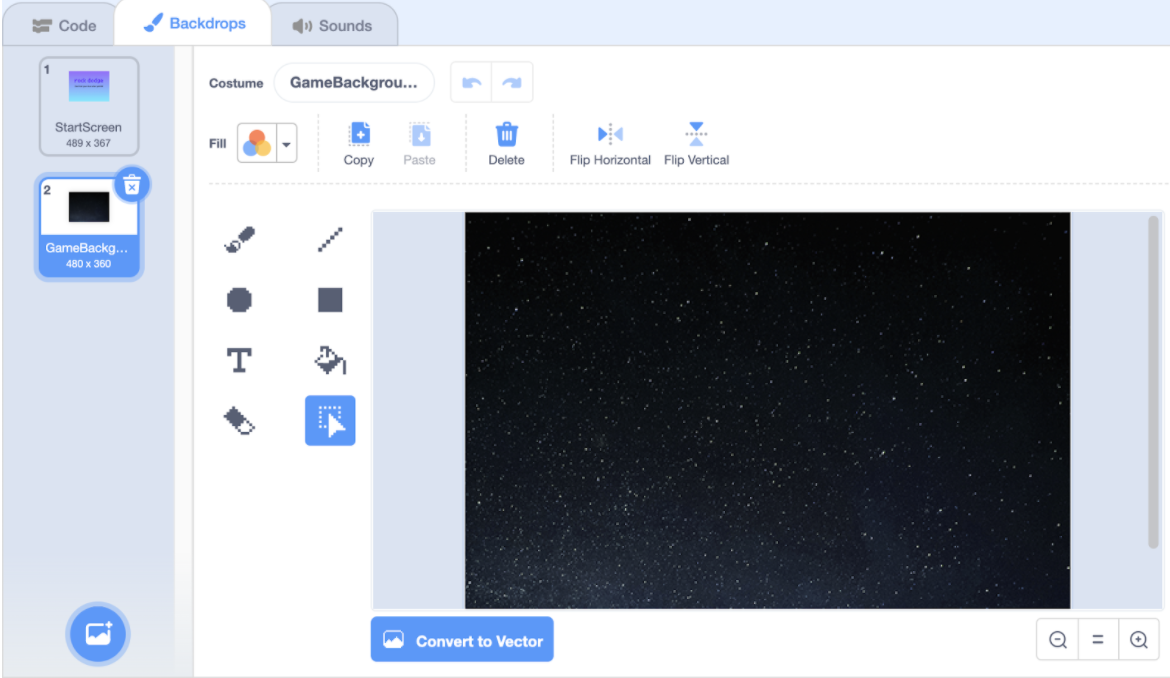
- Go to the Backdrops section and create another backdrop, which in my case, is “Stars.” Rename it to “GameBackground.” (First image)
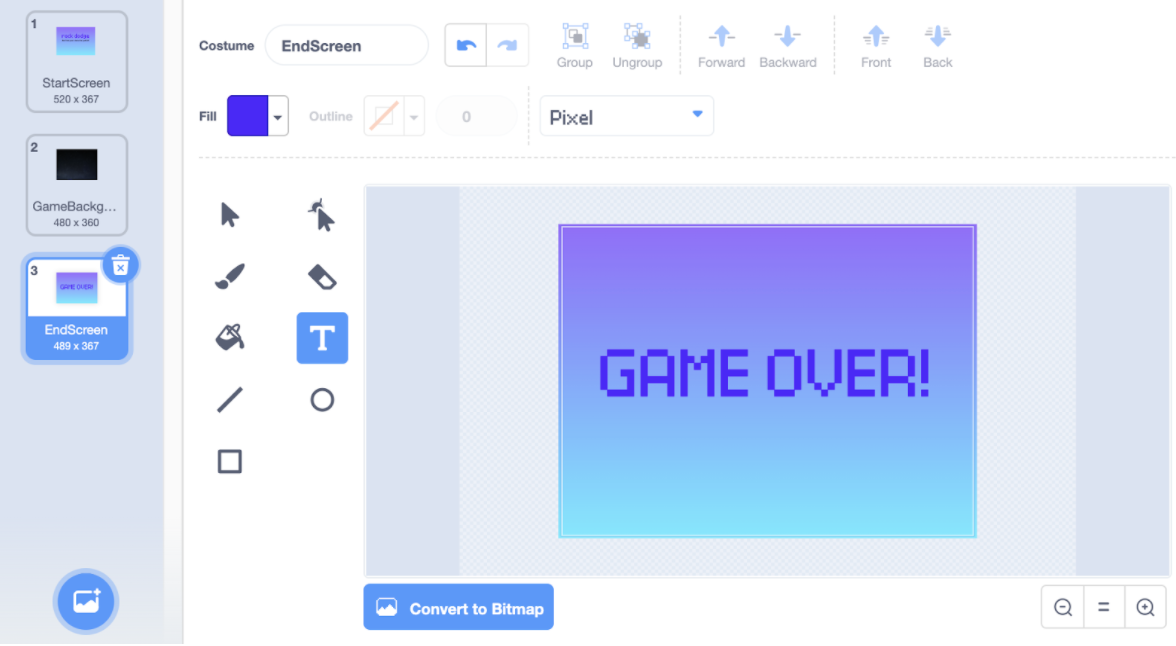
- Next, create another backdrop and name it “EndScreen.” You can do whatever you want, but I put a big fat “GAME OVER!” on mine. (Second image)
- From the sound library, add any background or ending music you want. In my case, I chose Chill.
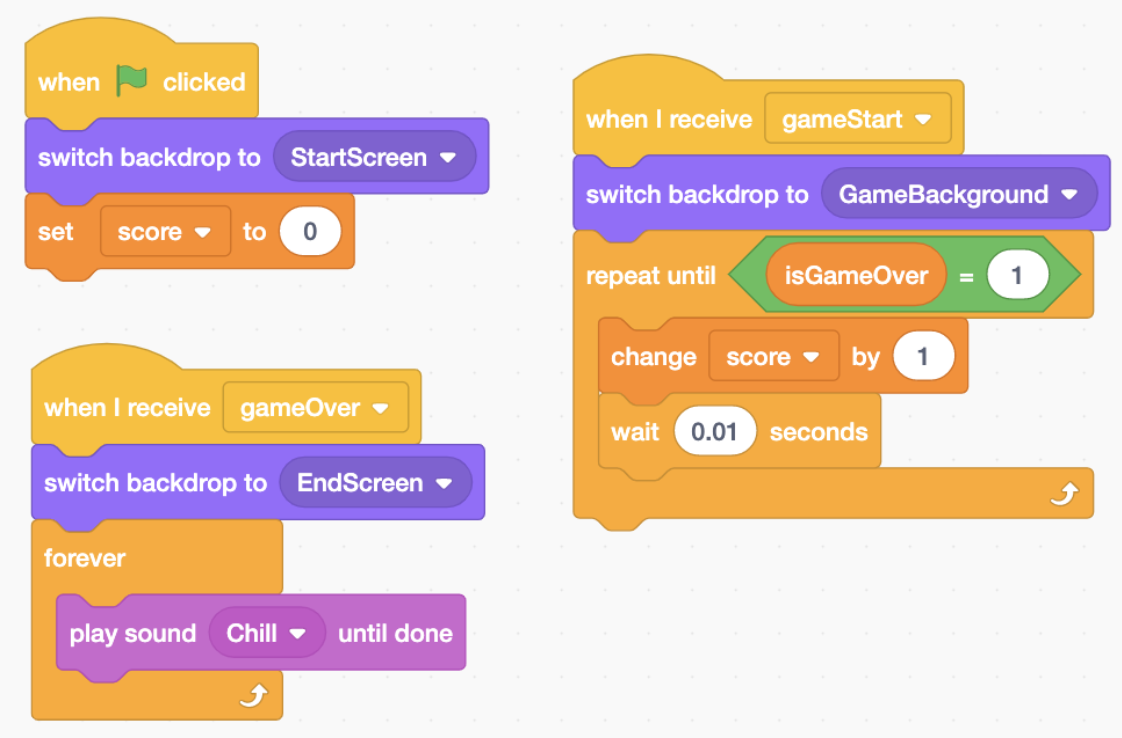
- Copy the code from (Third image) into your Backdrops section
- Wa-la! You’re done with your game's code! Go ahead, test it out, make your own changes, and have fun!
DESIGNING THE CONTROLLER
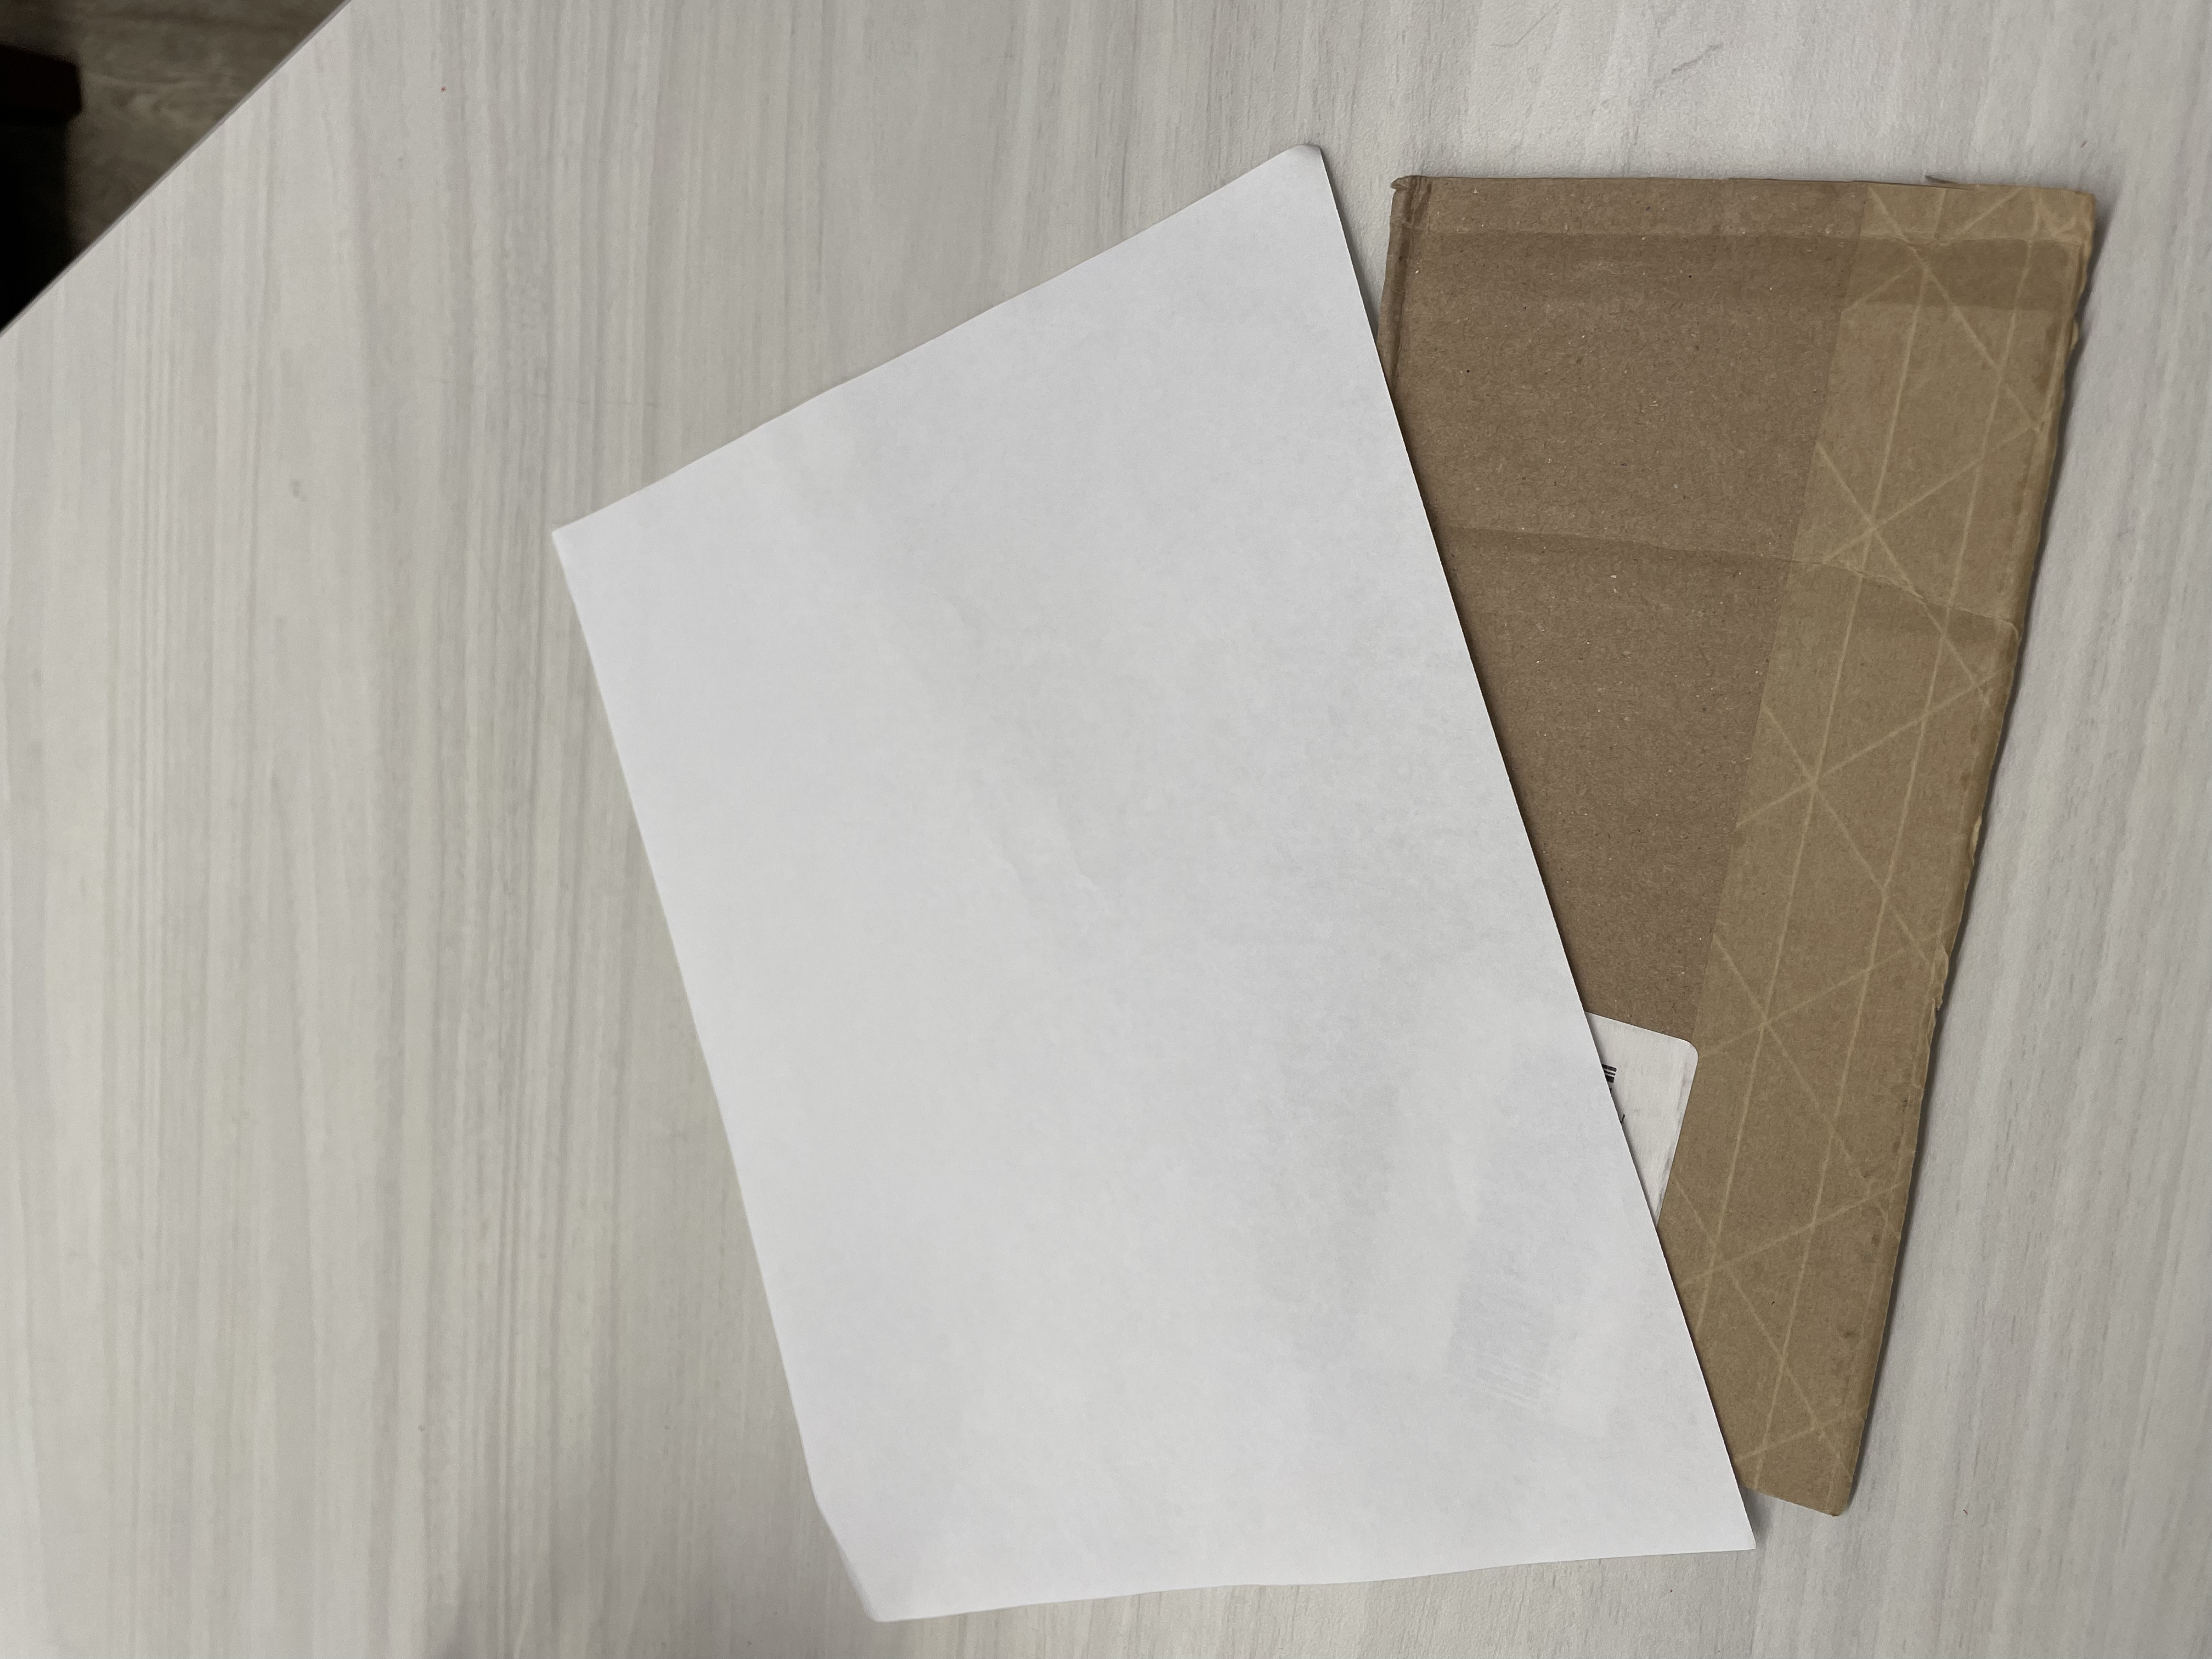
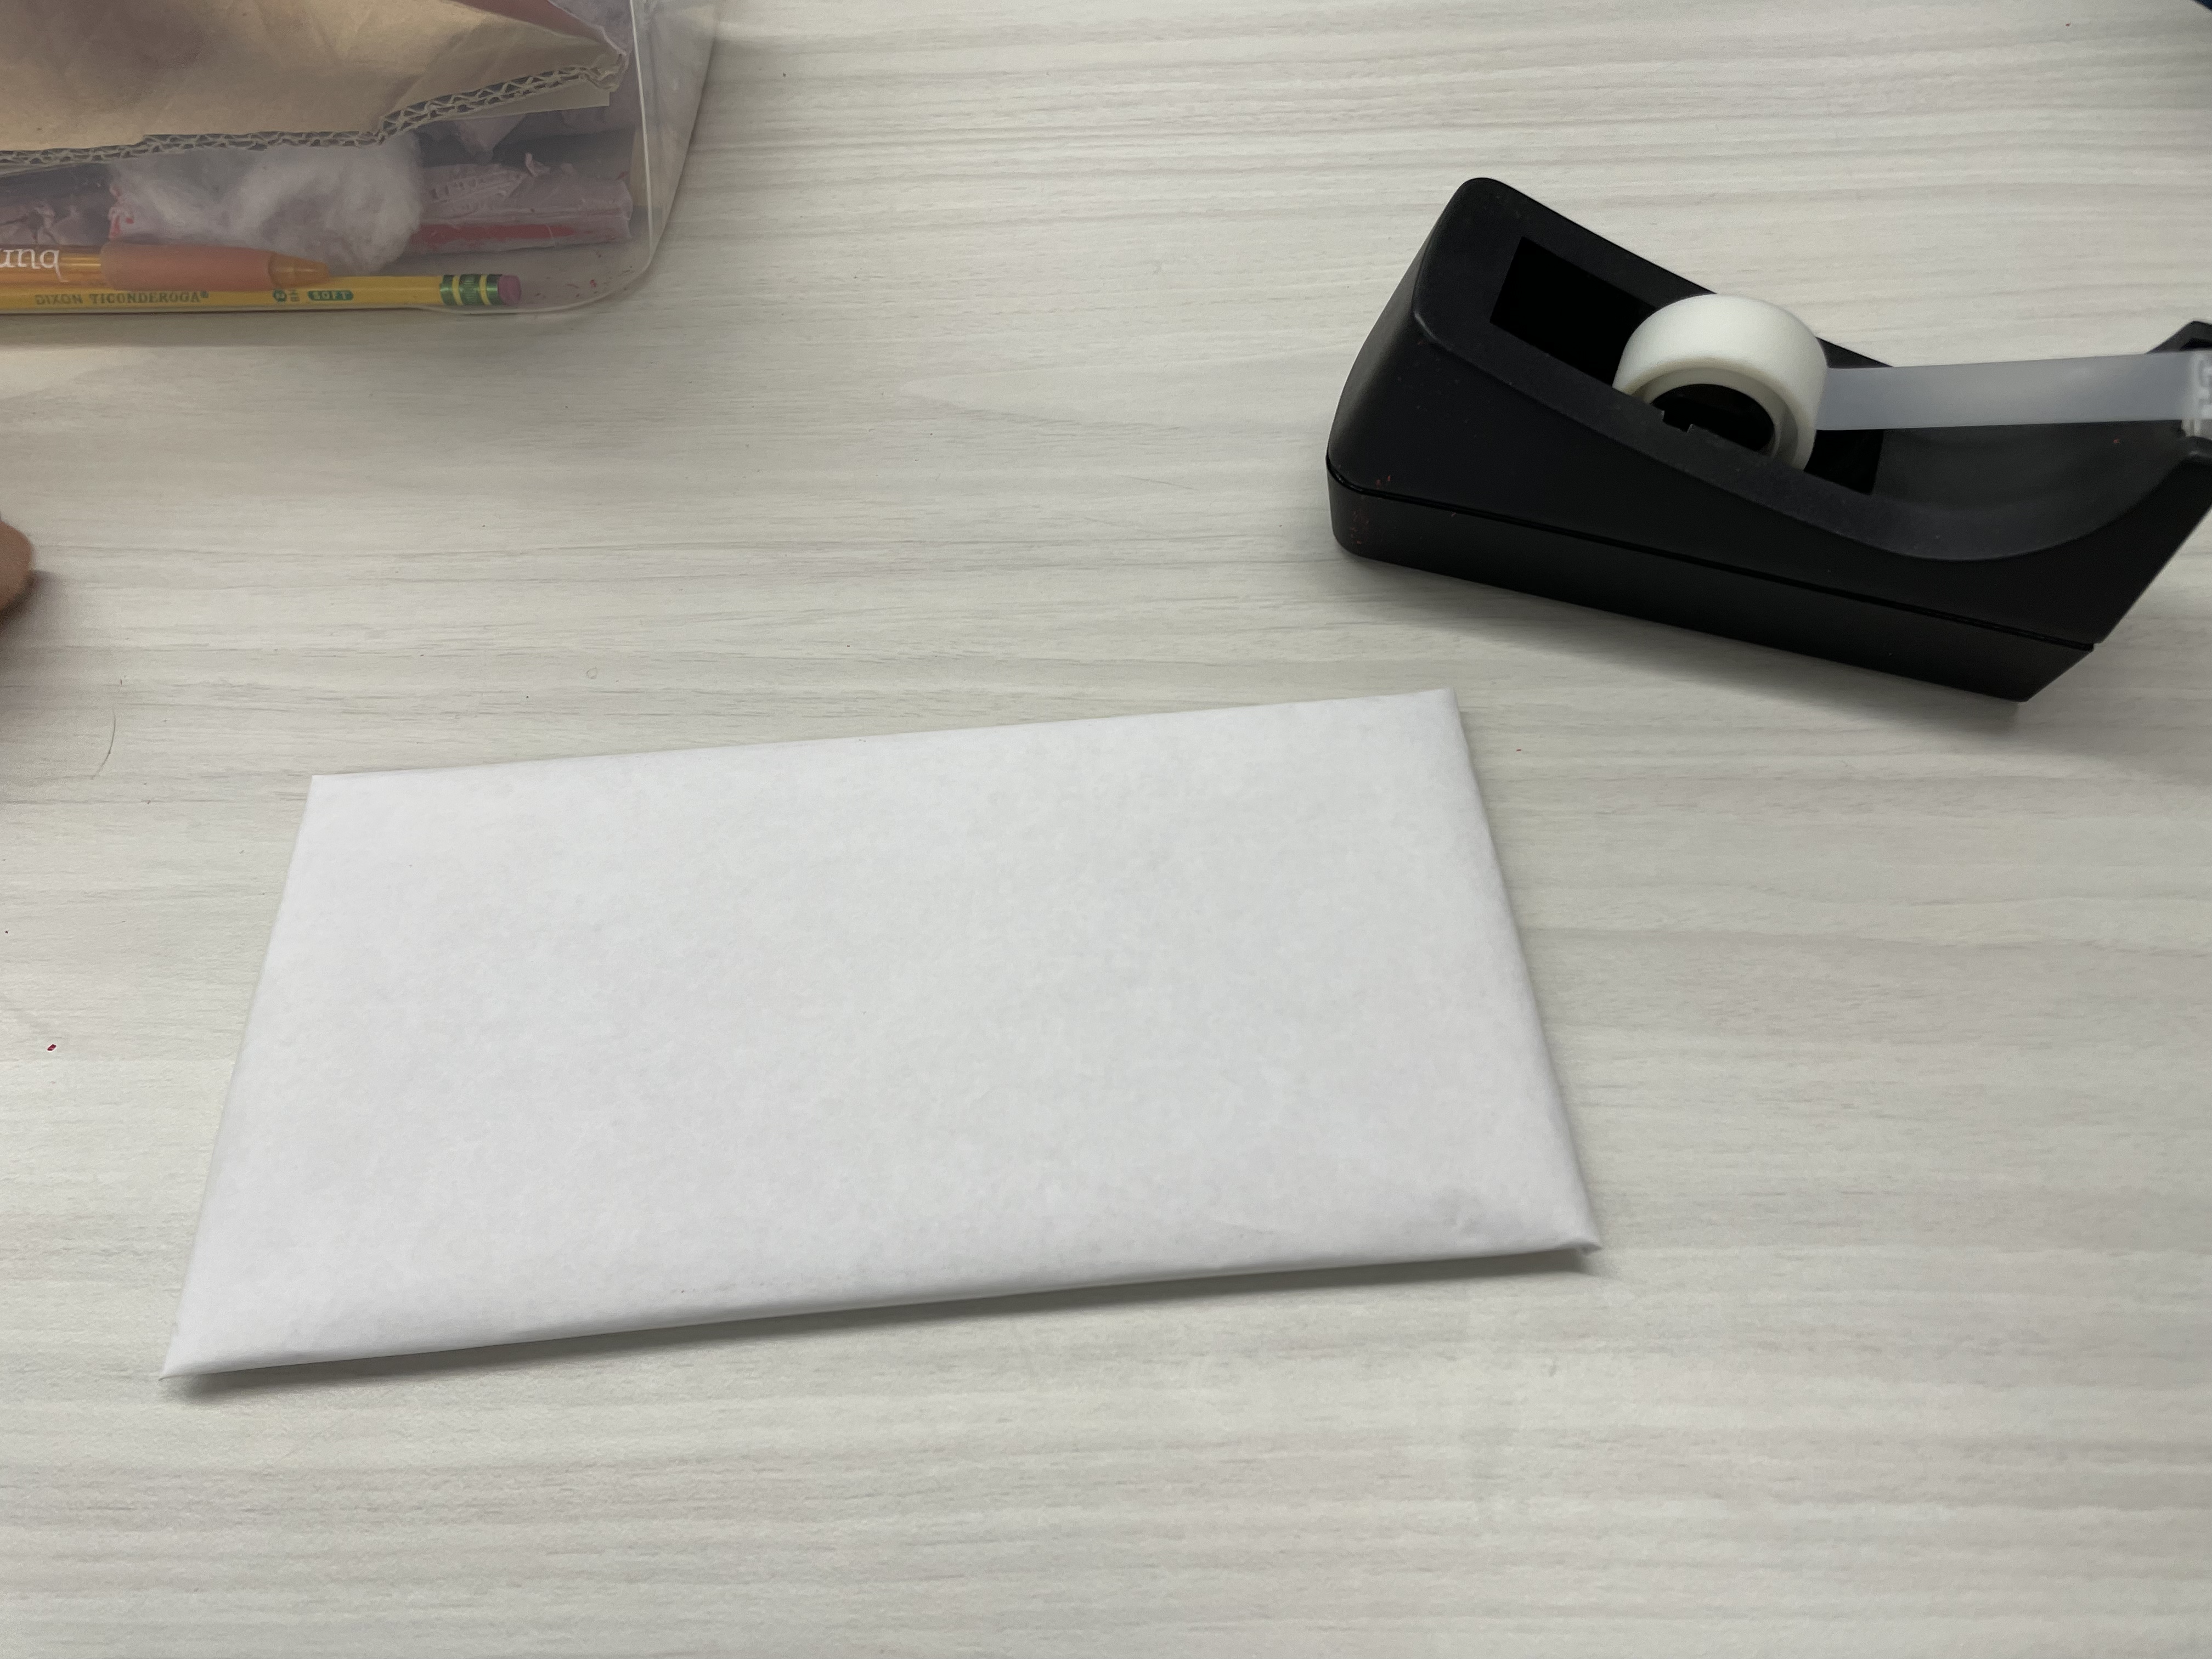
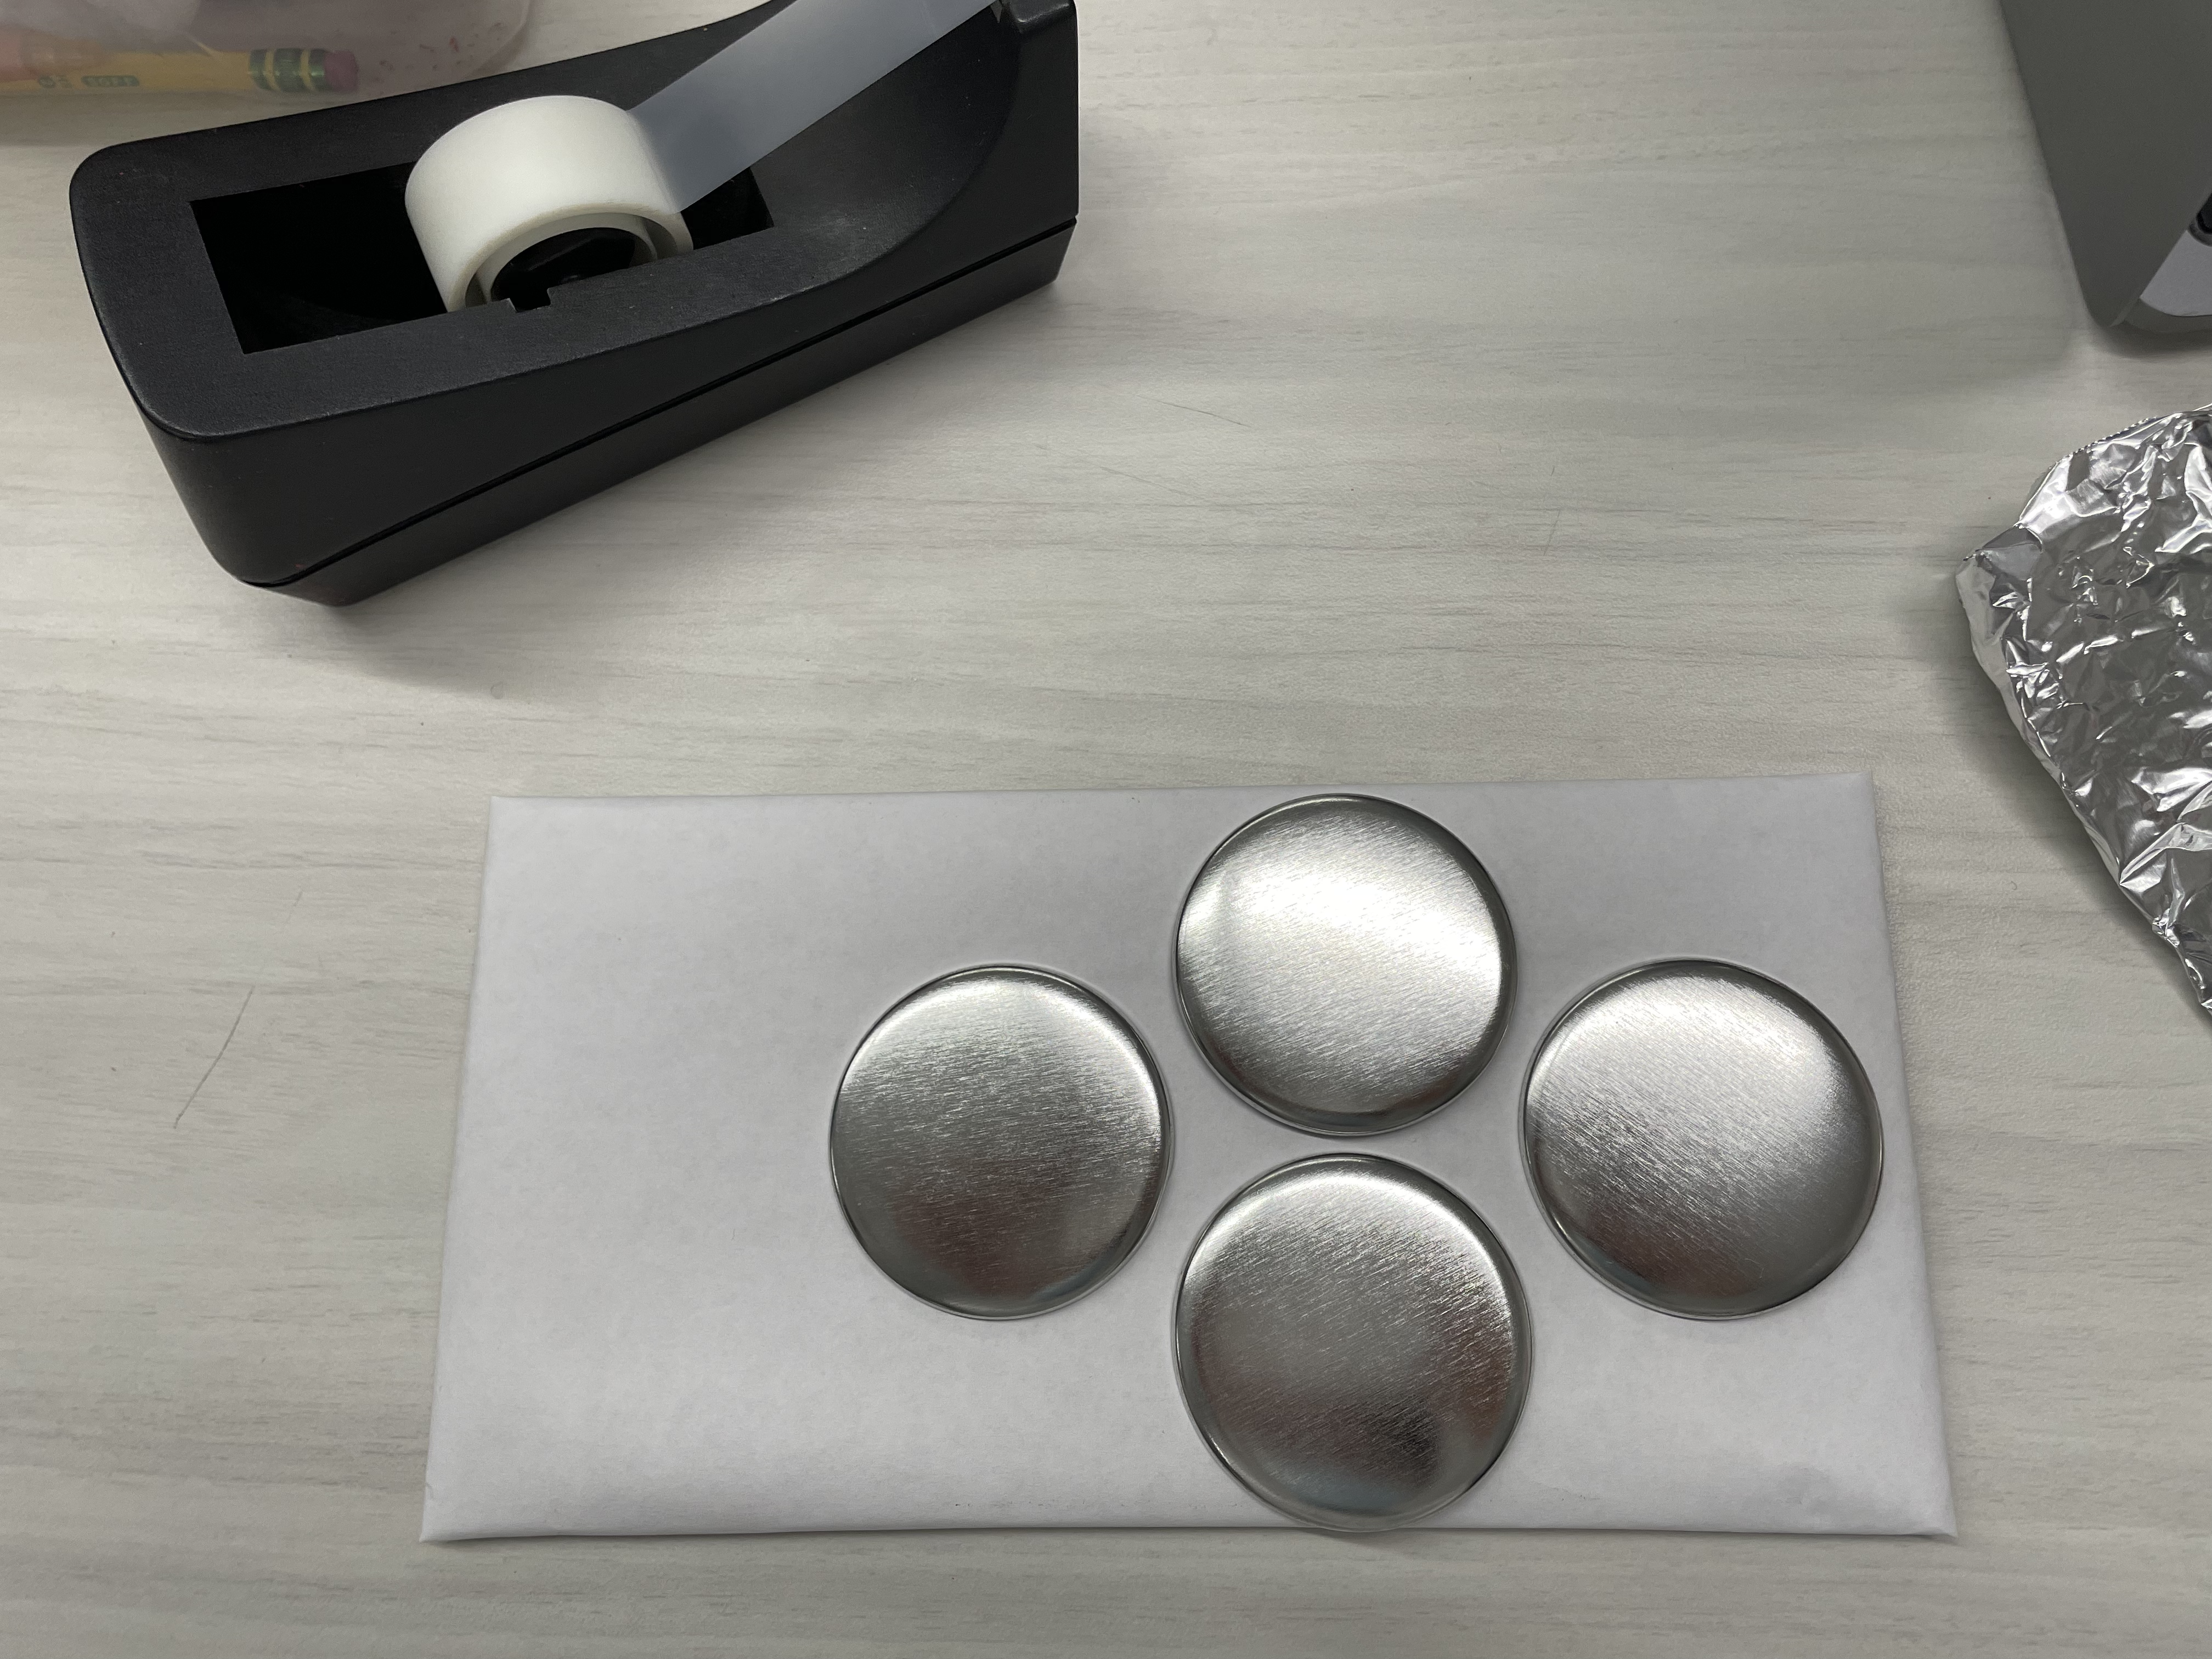
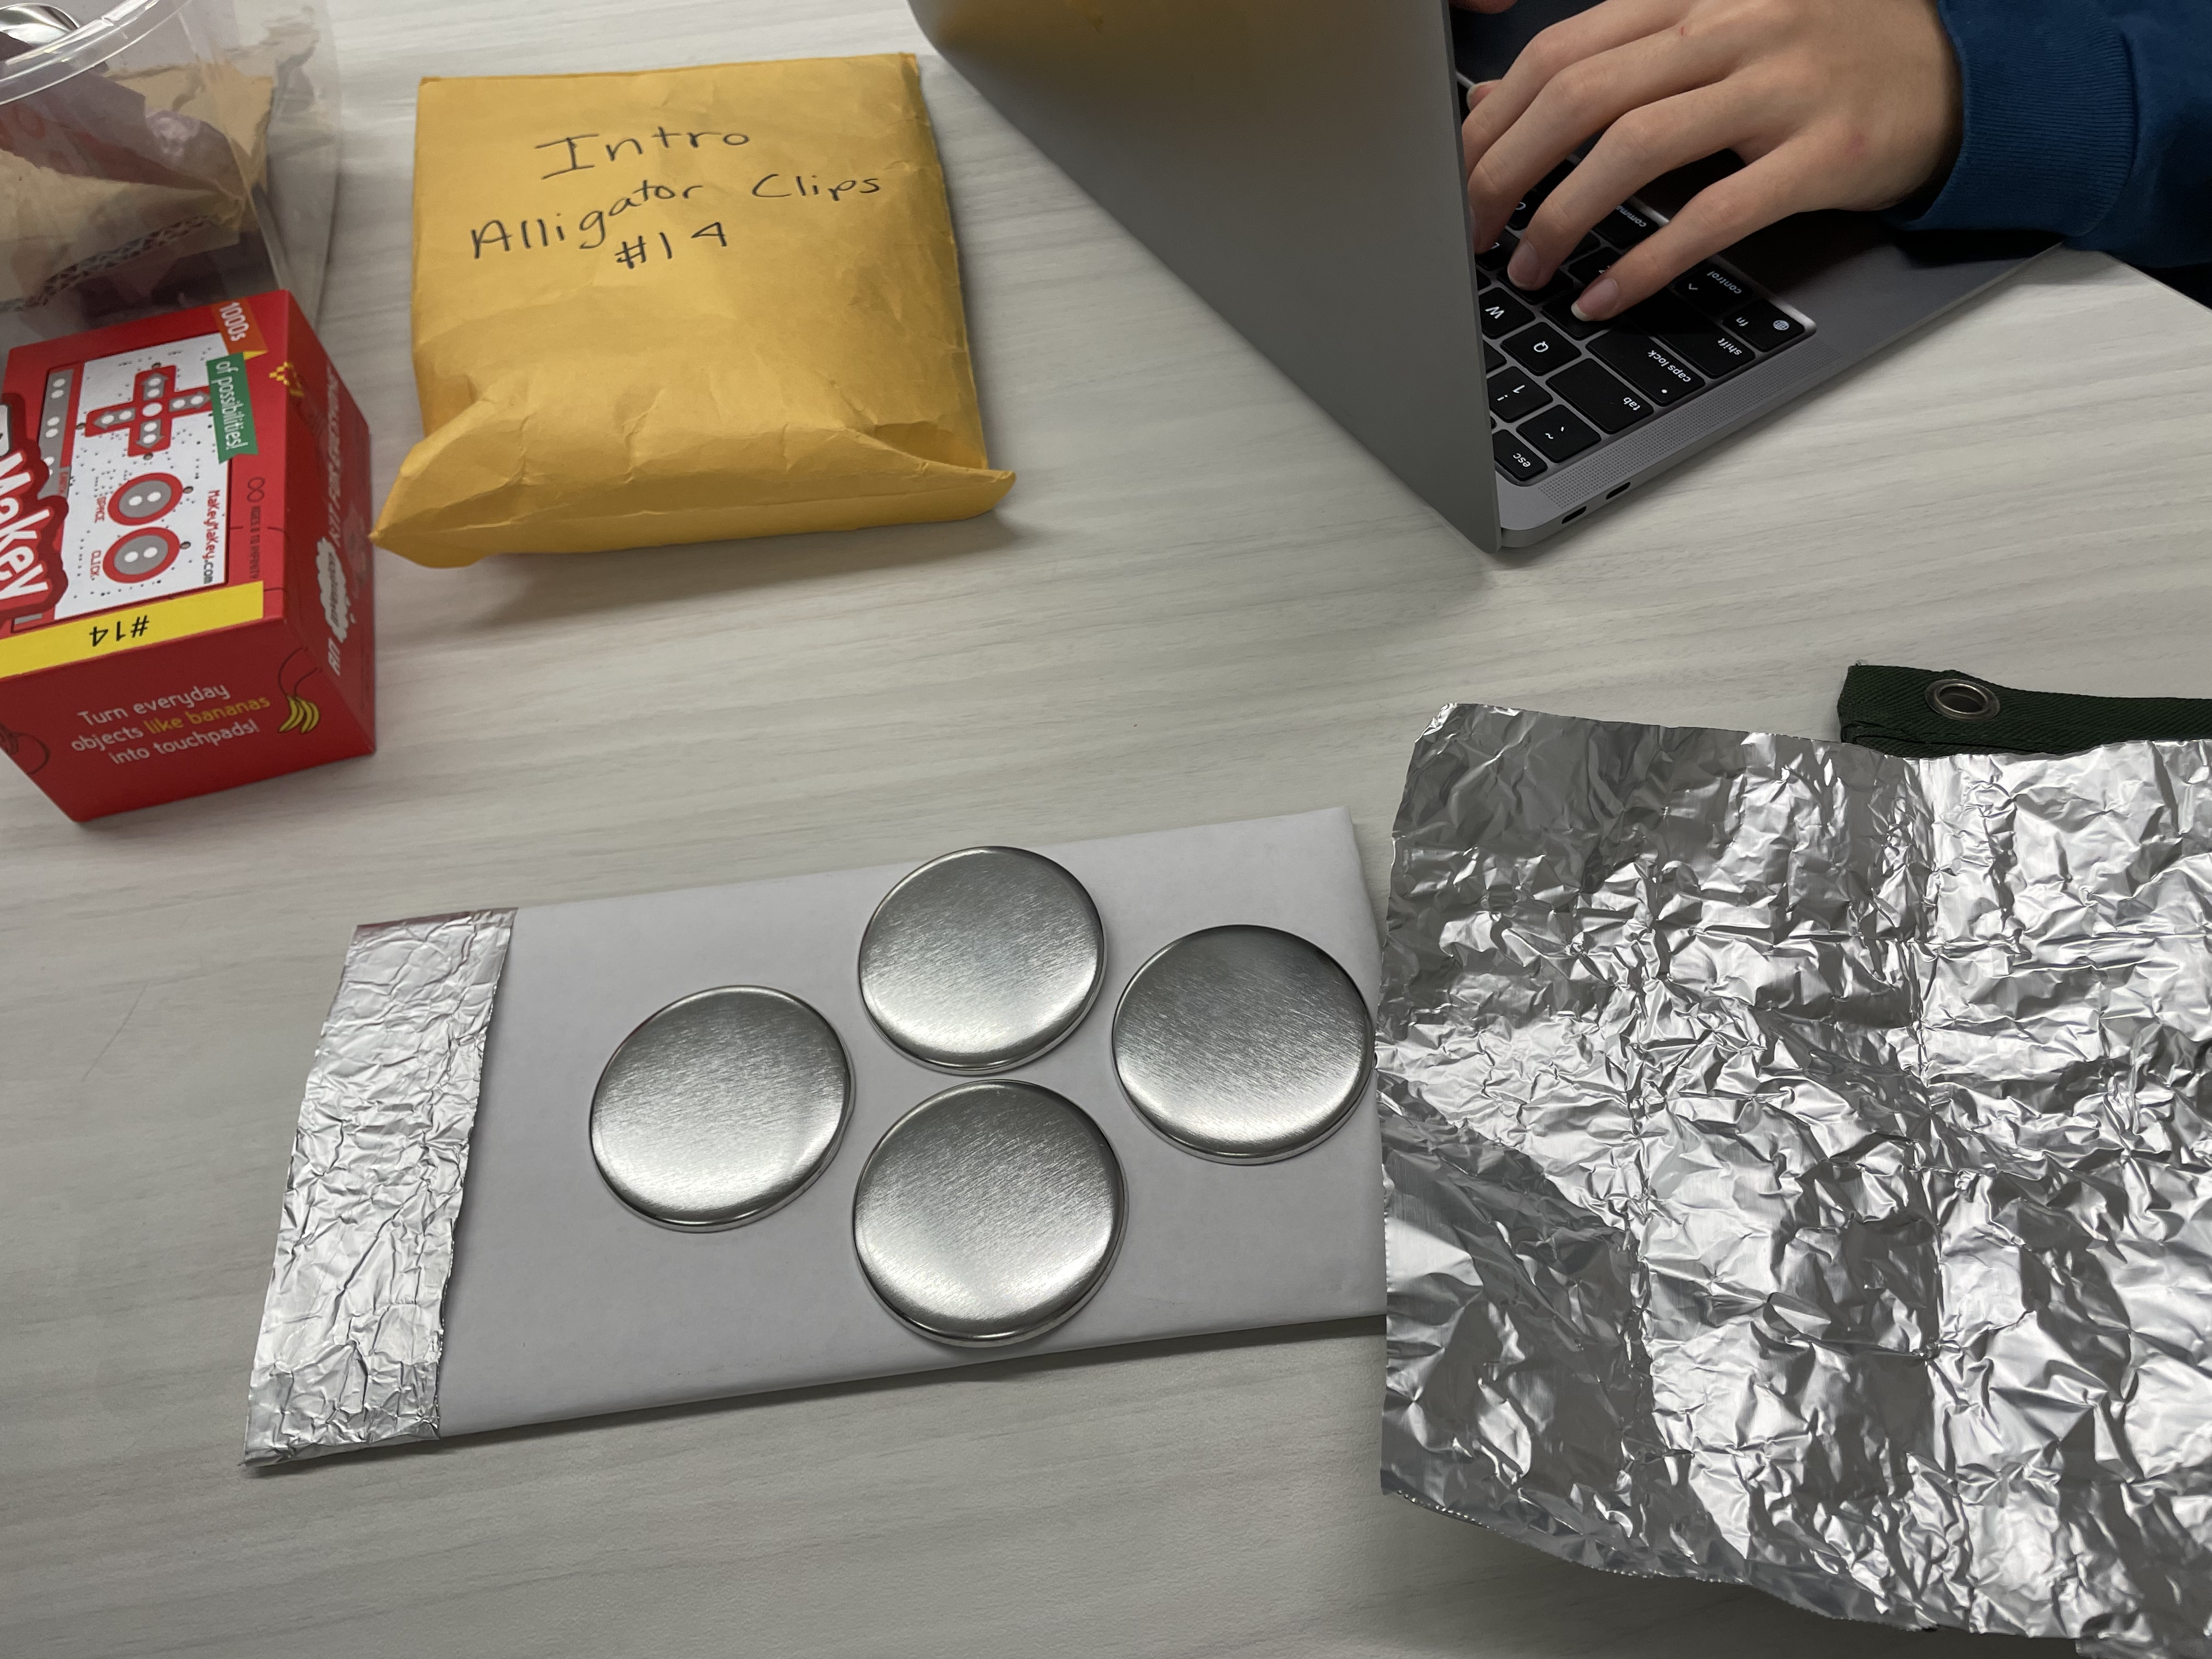
- Get your paper and cardboard out. Using tape, cover the entire piece of cardboard with the paper (First and second image). This is the base of your controller.
- Tape your metal discs onto the controller towards the right (Third image)
- Tape a strip of aluminum foil to the left side of the controller (Fourth image)
ADDING THE MAKEY MAKEY
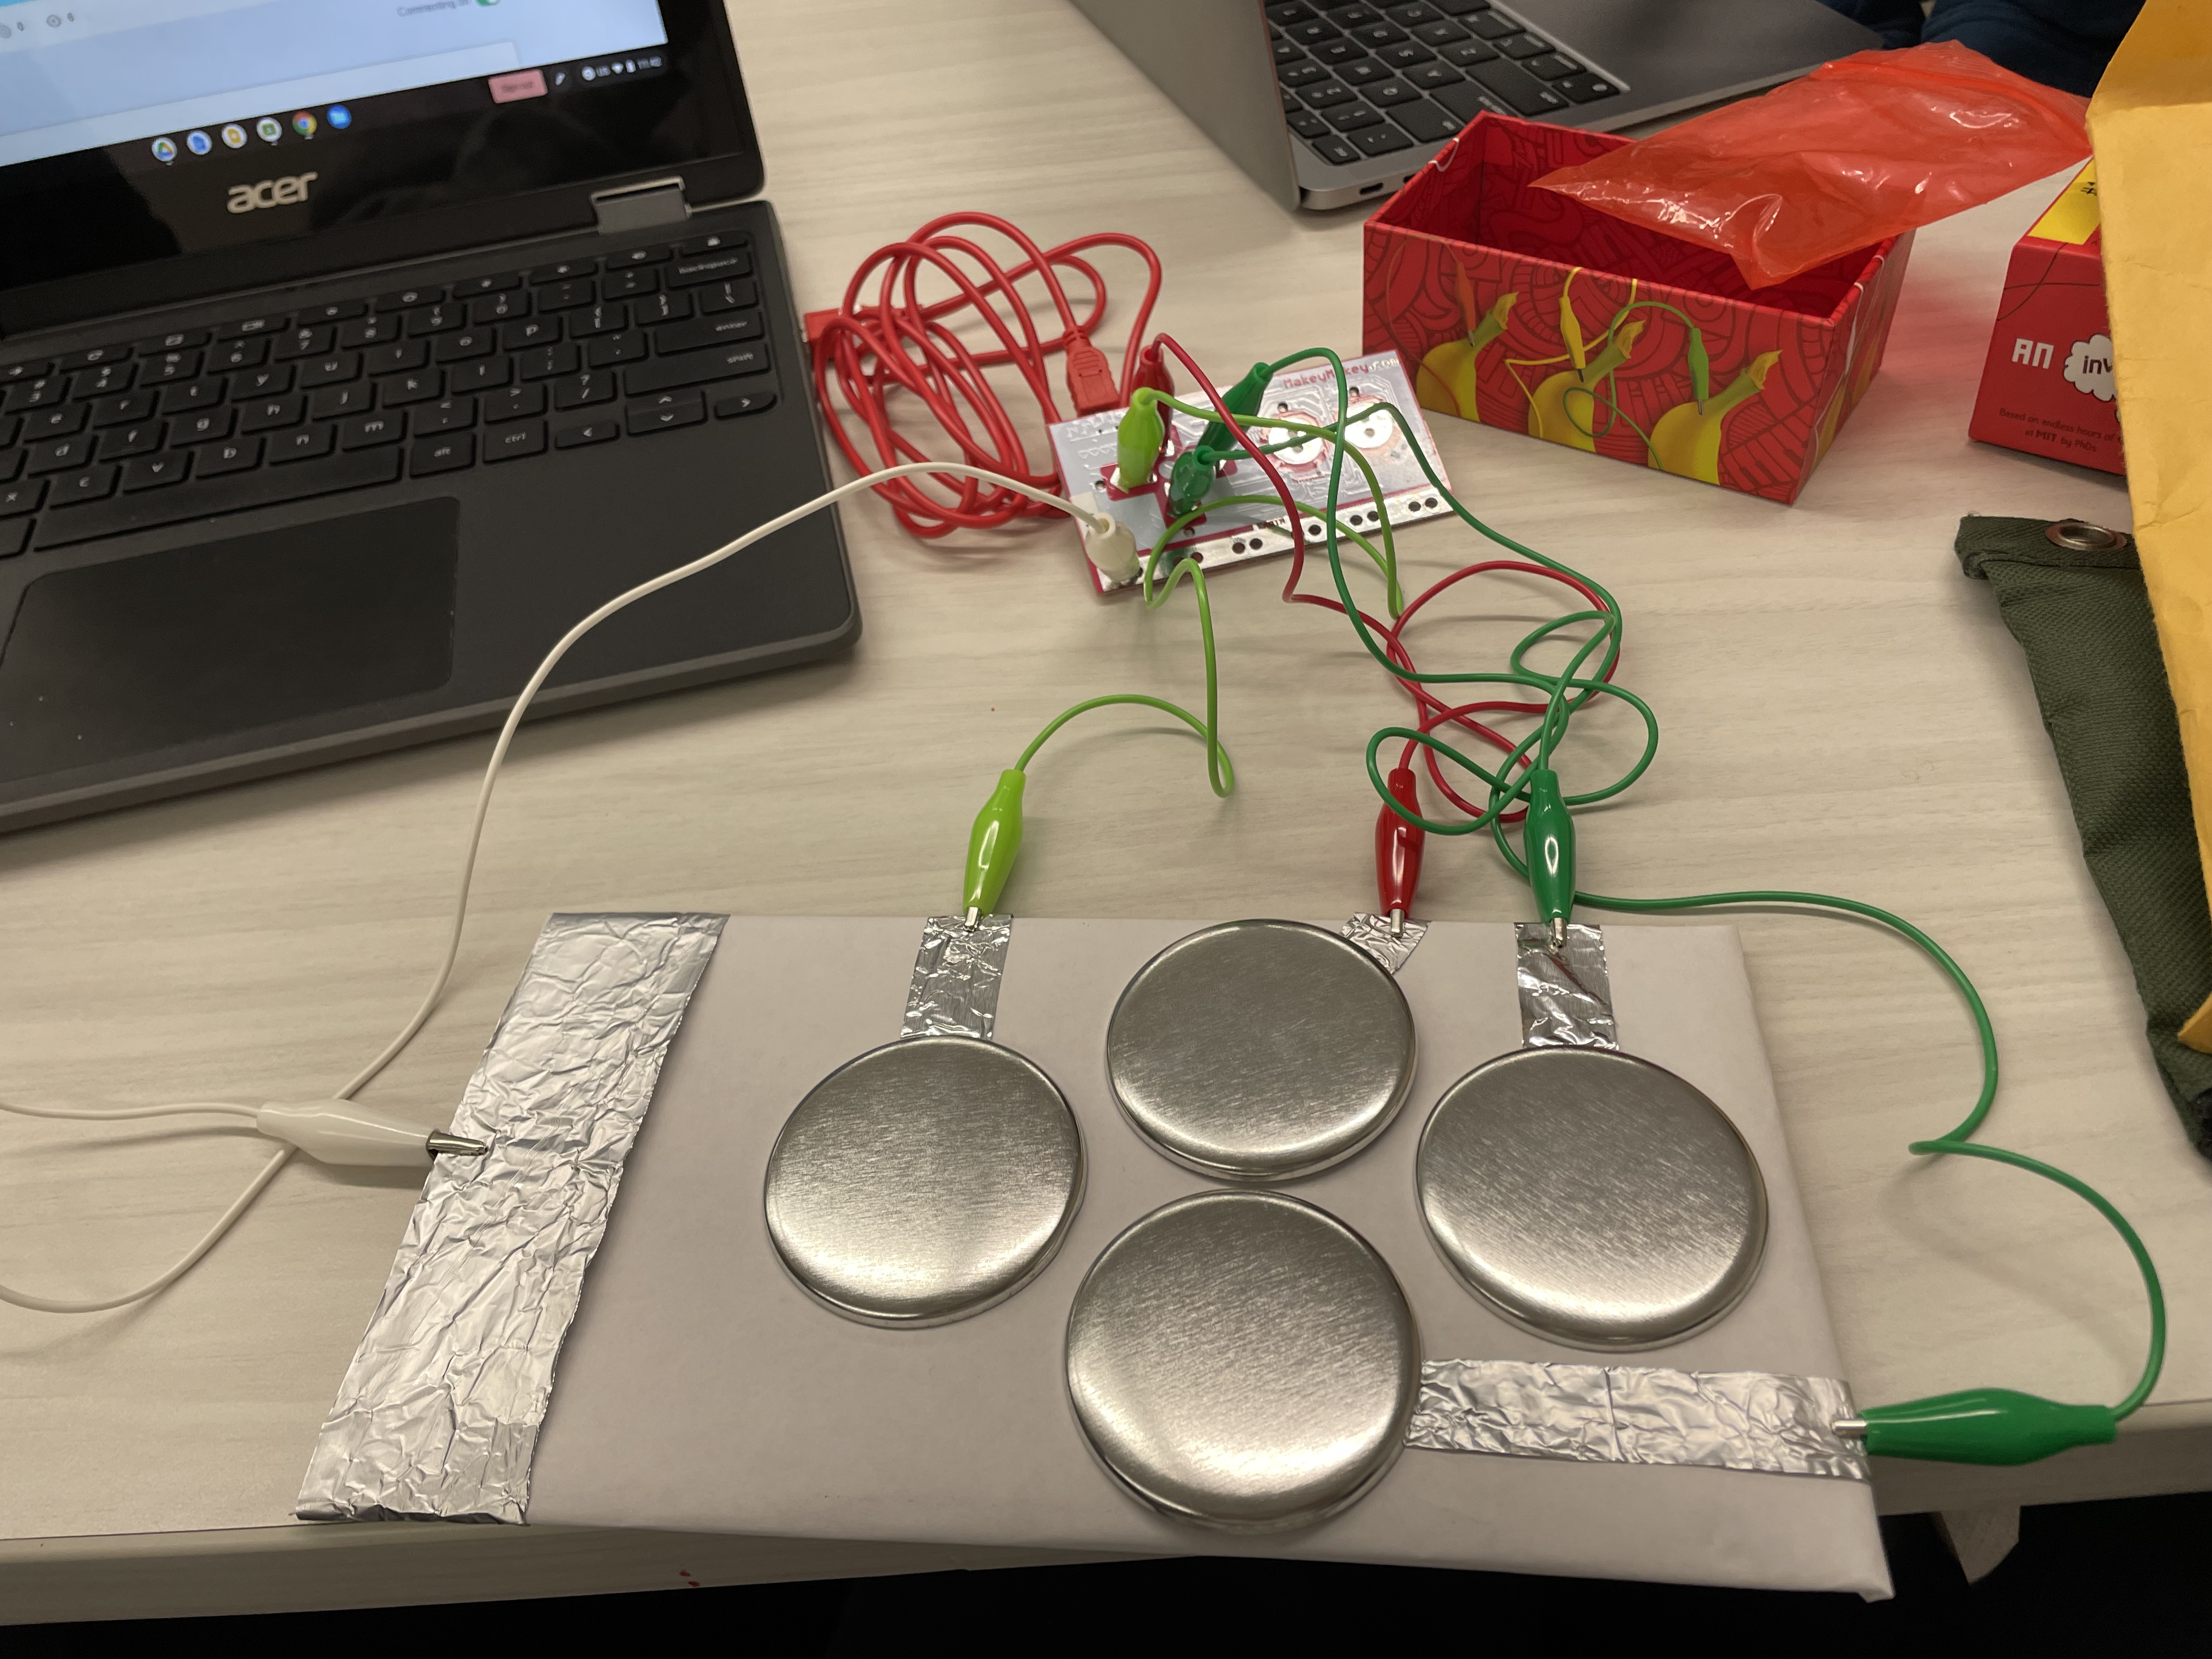
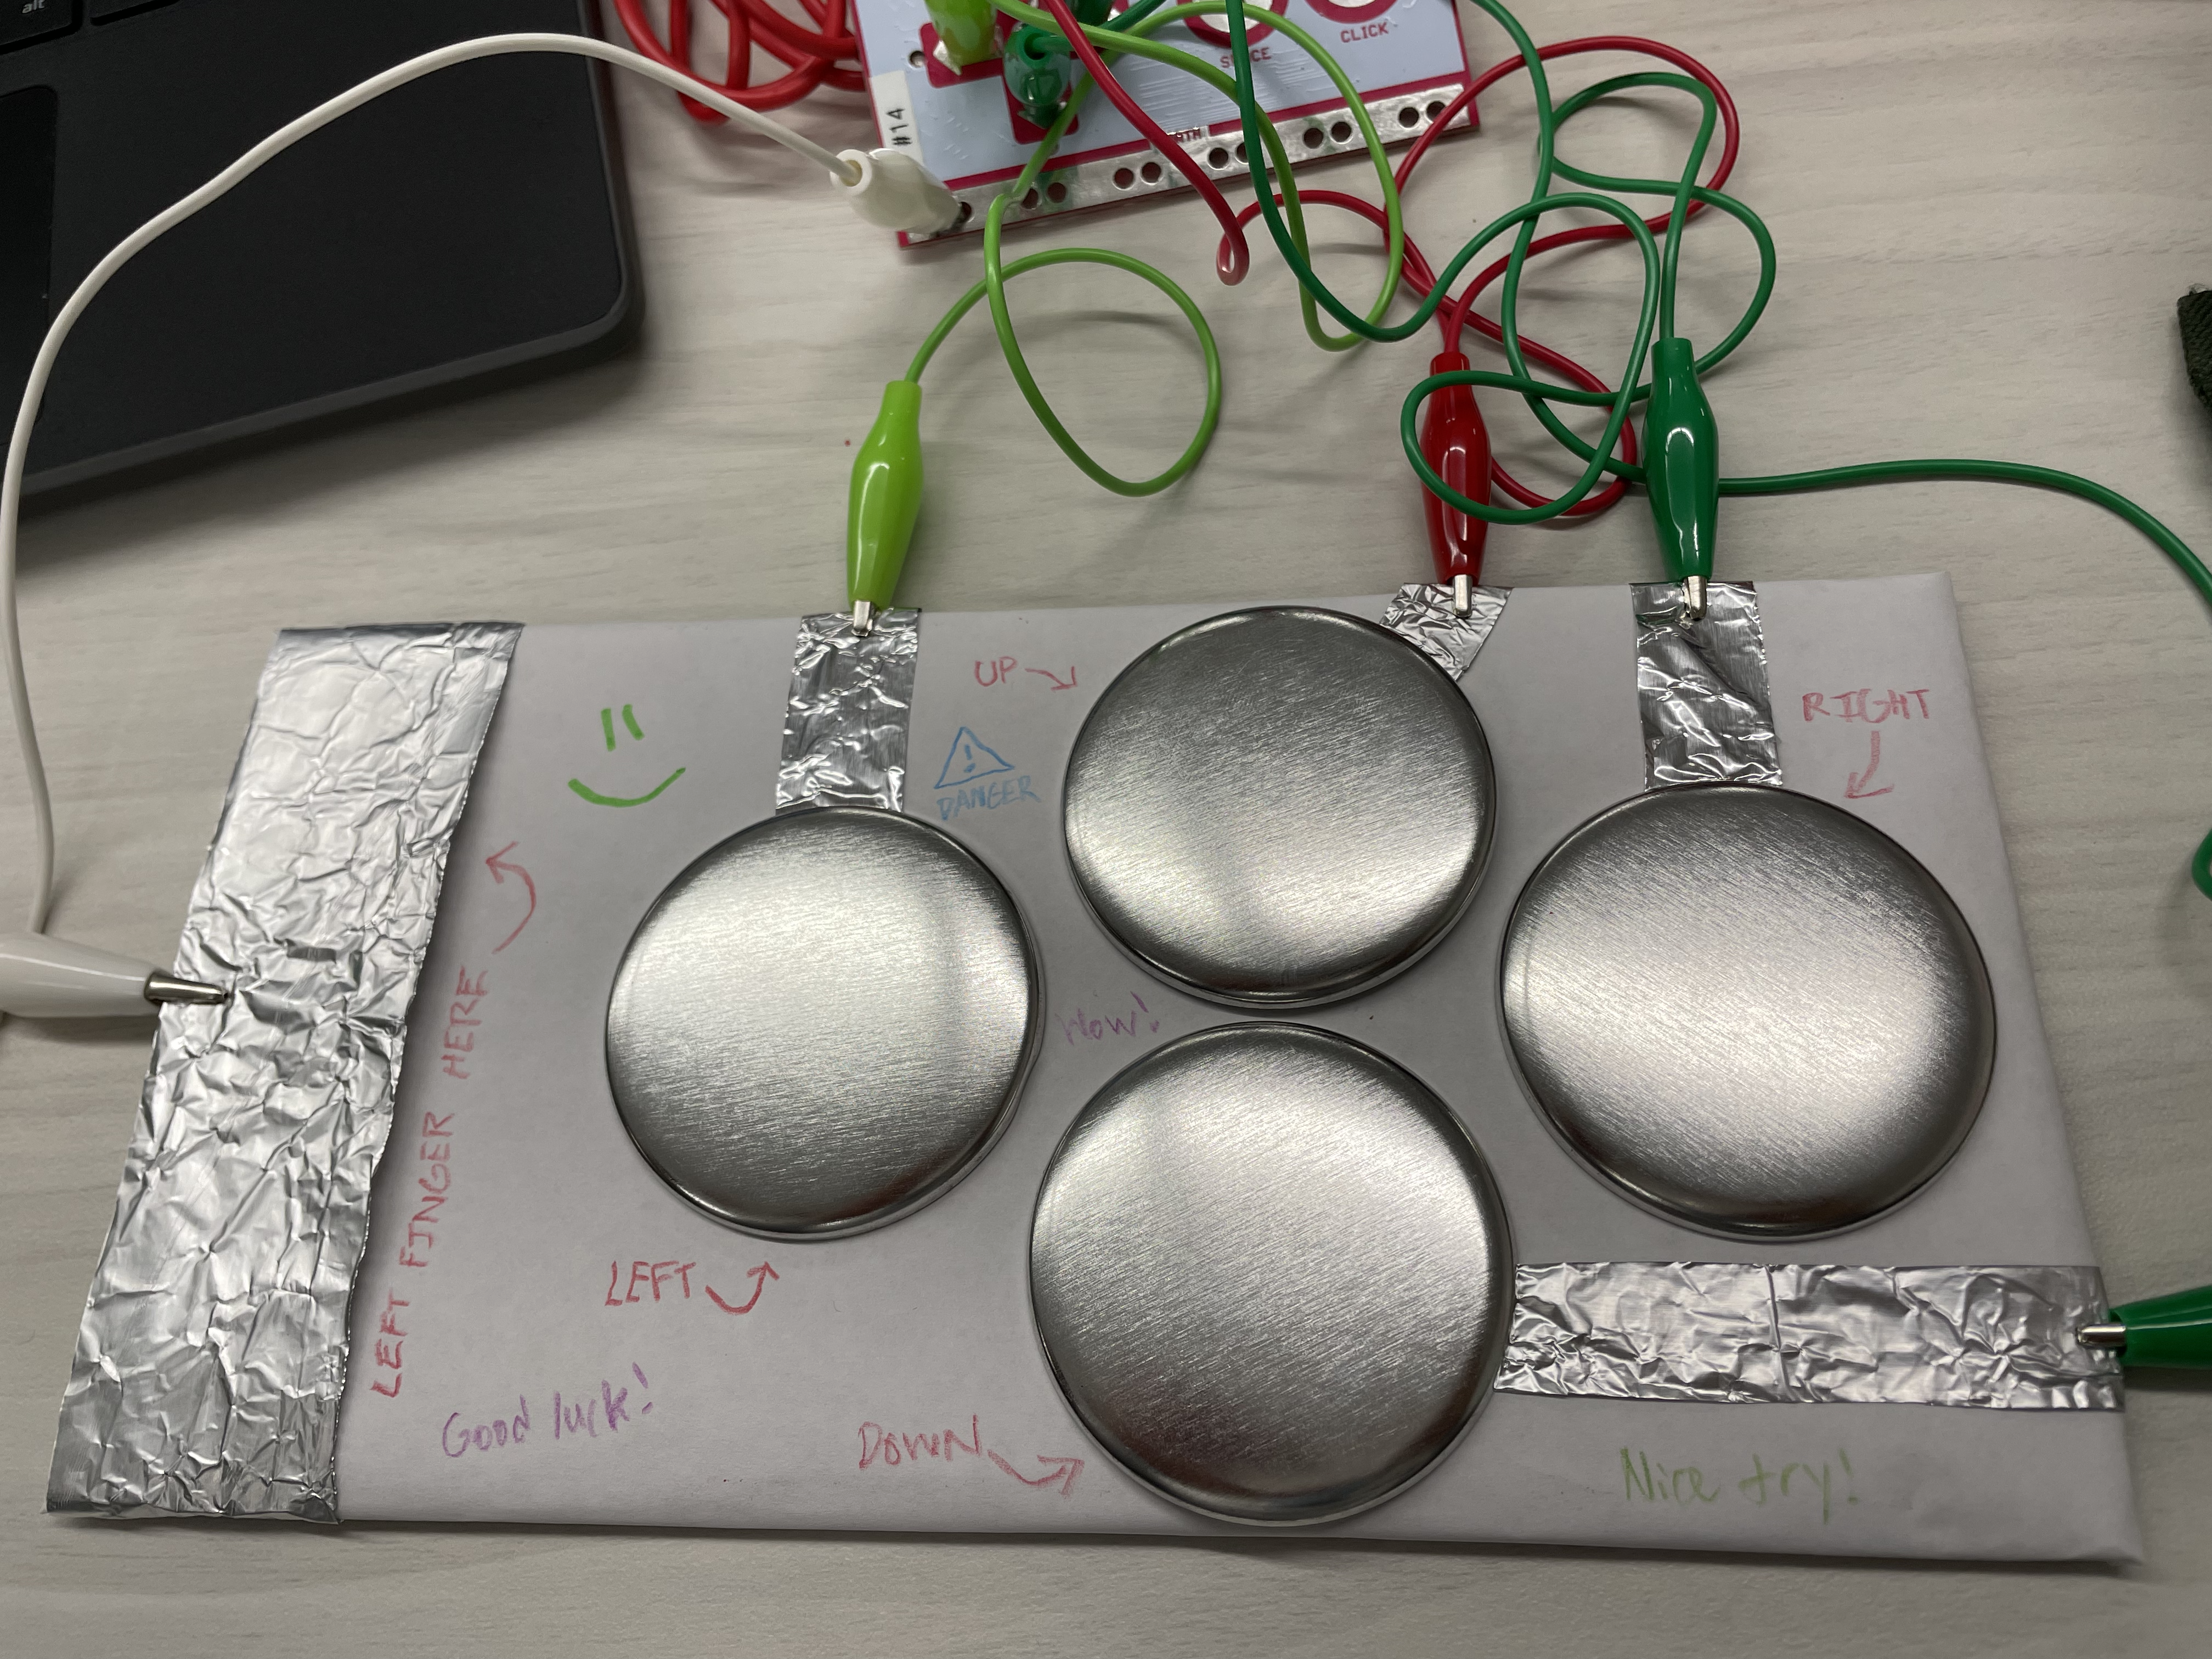
- Use aluminum foil to create "bridges" from each metal disc to the edge of the paper. Then, with the alligator clips:
- Use one clip to connect the foil on the left side to the "Earth" of the Makey Makey
- Use four clips to connect each "bridge" of the metal discs to the corresponding arrow keys on the Makey Makey
- (First image)
- Plug in the Makey Makey to the computer and decorate your controller. Add things like "place your left finger on the left," "good luck," and however many images you want!
TEST IT OUT!

After you start your Scratch project, place one of your left fingers onto the left strip of aluminum foil and with your gith hand, you can control the character!