Easy Creepy Sugar Skull Mask
by tkovacsofsky in Craft > Costumes & Cosplay
487 Views, 1 Favorites, 0 Comments
Easy Creepy Sugar Skull Mask
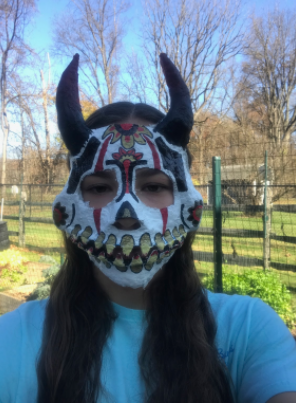
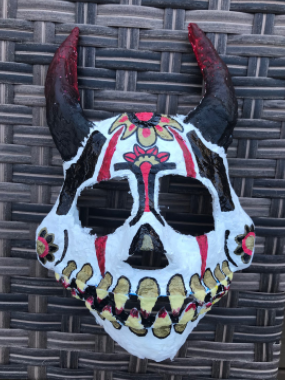
This year, I wanted to make my own Halloween costume. I wanted to make my own unique costume, which included a mask. I know masks from some stores can be itchy or uncomfortable, so I'm going to show you how to make a super cool, comfortable, and creepy mask at home for cheap!
Supplies
warm water
Paris Craft
egg carton or cardboard
masking tape
elastic
acrylic paint or paint markers
exacto knife
needle tool (or anything sharp and pointy will work)
scissors
pencil
paper towels
paper
paintbrush
podge podge
tinfoil
Step One: Rough Sketch
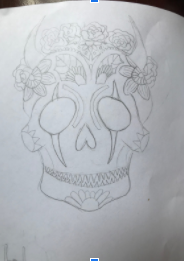
Sketch out what you want your mask to look like. I looked up pictures of sugar skulls to help me get ideas for designs.
Step Two: Rough Mask/prototype
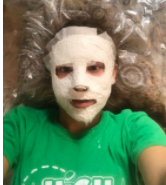
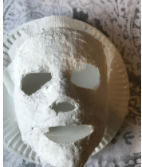
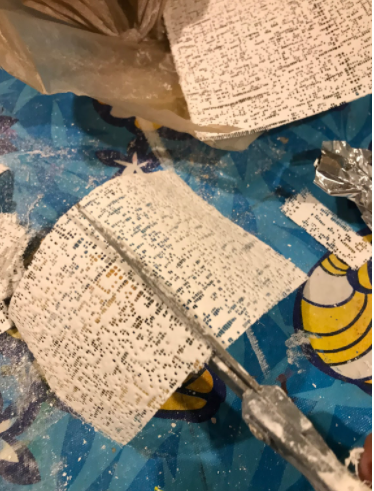
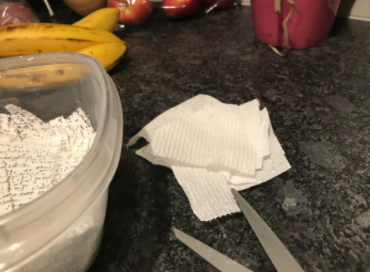
For this step, you are basically just making a rough shape of your face. Get a bowl of warm water and cut up strips of paper towels and Paris Craft to prepare (see picture). Dip the paper towel strips in warm water and lay them over your face in the shape of the mask so the Paris Craft doesn't stick to your face. Then, add the Paris Craft strips over the paper towels. Be sure to really blend the Paris Craft together, and be careful not to get it in your eyes. Leave the wet Paris Craft on your face for about 20 min for it to dry. Once dry, peel the paper towel off of the Paris Craft.
Step Three: Shaping the Face
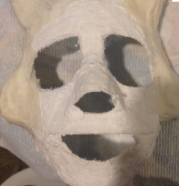
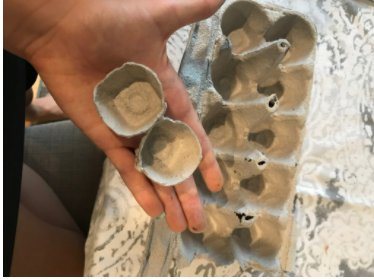
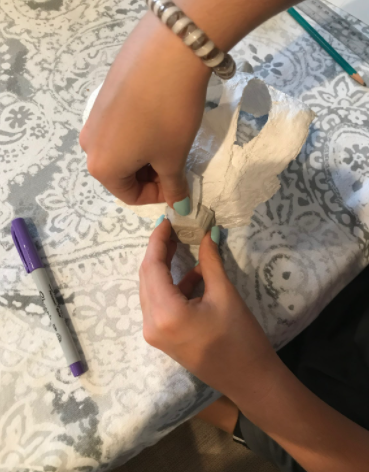
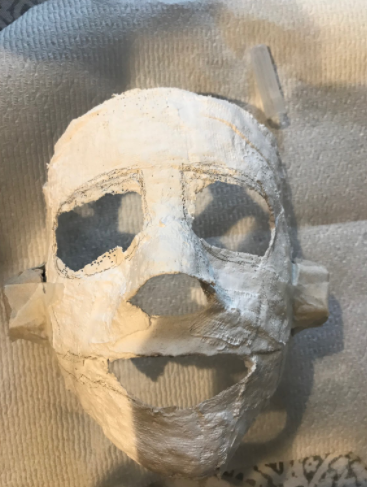
Now since we have the actual mask, we want to give it some facial features, such as cheekbones. For this, you'll need to first cut out two sections of an egg carton (see picture). You could use cardboard or tinfoil instead. Hold the mask up to your face and tape them on with masking tape (it is important to use masking tape, clear or duct won't work) wherever you think they should go. Rip lots of little pieces of tape and overlap them so it will be more secure. I taped mine on at about nose level. Also, sketch out any parts you want to cut off of the mask, for example the eyes like I did in mine. Go ahead and cut those with an exacto knife. I ended up thinking they looked too extreme, so I built it up a little with tinfoil and added lots of tape over it until it was smooth, so they had a nice blended look.
Step Four: Horns
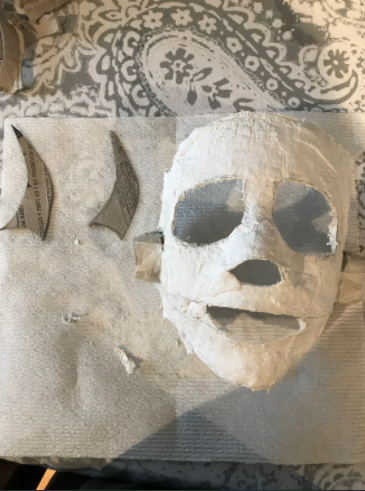
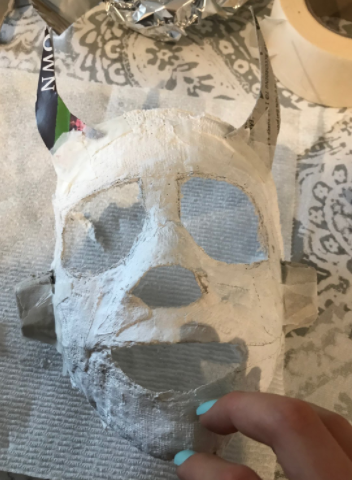
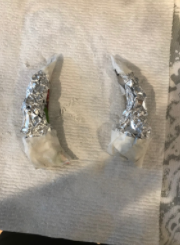
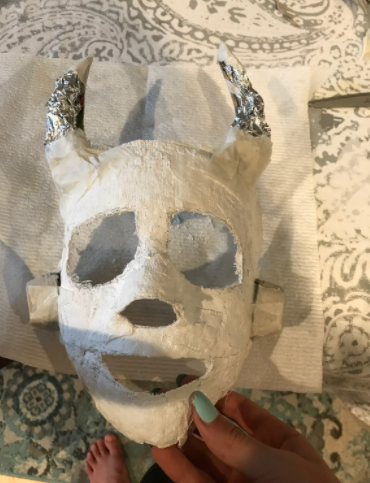
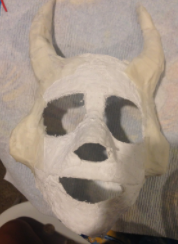
This step is optional, so if you don't want horns you don't have to make them. Use the flat part of the egg carton (or cardboard) to cut out the shape of a devil horn. Cut out two. Tape them up to the face and position them around until you are happy with the placement. Mark where they were, then take them off so you can create the three-dimensional look. Cut a piece of tinfoil and scrunch it up to match the shape of the horn. Tape the tinfoil to the cardboard. Smush down the end going into the head for a blended look. Tape them on the head using lots of little pieces of tape, and tape from the back as well. Once they are securely taped on the head, cover them in tape to smooth out any bumps from the tinfoil. This doesn't have to be perfect, because you'll plaster over it later.
Step Five: Plaster Over the Cheeks and Horns
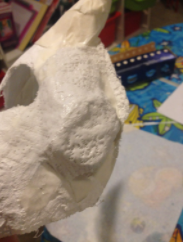
For this step, you just cut you strips of Paris Craft like you did before, get a bowl of warm water, and plaster over the horns and the cheeks. You can cut smaller or larger pieces if needed. Smooth is down really well.
Step Six: Mouth
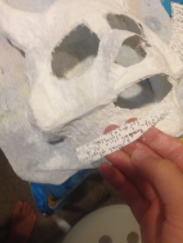
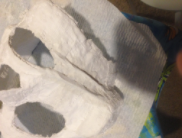
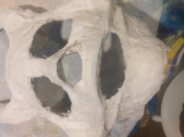
I wanted the mouth on my mask to be raised, to give it some more dimension and to look cooler. To do this, you'll need to cut thin strips of Paris Craft, dip them in your warm water and roll them up to look like a worm. I wanted mine to go all the way across, so I cut mine a length going from the mouth hole to the cheekbones. Once you cut the piece to your desired length, dip them in water roll it into a worm, and blend it on the face. You may need to cut little pieces of Paris Craft to help it stay in place if it doesn't blend easily. Do this on both sides and the top and bottom to look like a mouth.
Step Seven: Teeth
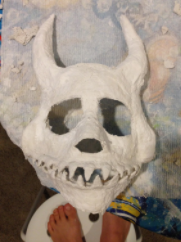
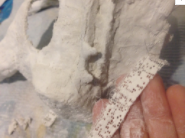
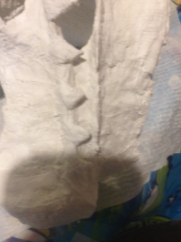
For the teeth, you want to take a thin strip of Paris Craft (similar to the ones for the mouth), dip it in the water, and bunch it up into a ball and shape it into a little triangle. Sometimes they don't hold their shape if it's too wet, so pressing it on a paper towel to get some water out might help. Don't dry it out too much though, because you need to blend them to the mouth. To do that, you just position it where you want in on the mouth and smooth it down. You can add a small square of Paris Craft to stabilize them if needed. Make the ones near the end smaller, and the ones in the front larger. Position them outward a little bit so you can still have room for your mouth, but put the teeth over the mouth hole. It might be tricky getting them to stay at first, but you'll get the hang of it!
Step Eight: Modge Podge
This step is easy, just use a paintbrush and paint a thin layer of modge podge over the entire mask. This helps the paint go on smoother.
Step Nine: Painting!
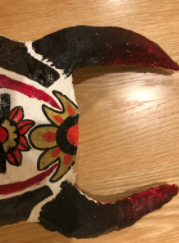
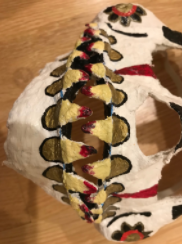
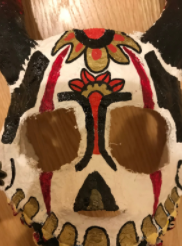
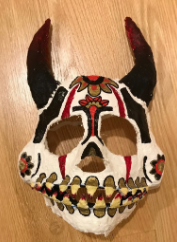
With this step, you can get really creative. paint the mask however you want! You can look at your sketch or pictures online to get inspiration. You can use acrylic paint or paint markers. Paint the whole thing white or whatever base color you chose with acrylic paint first. I recommend using paint for the big areas and paint markers for the small areas, although you don't need paint markers. When you want to blend an area, use acrylic paint because paint markers dry fast. For mine, I decided to do a black and red ombre on the horns. For the face, I just went off my sketch but added in some creepy elements, like clown eyes and blood on the teeth. It also helps to stick to a color scheme, I did red, black, and gold for mine.
Step Ten: Attaching Elastic
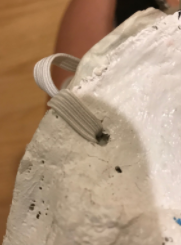
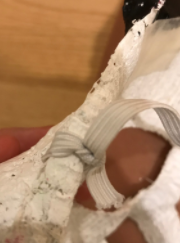
This is the final step! For this, you use your needle tool to poke a hole in the edge of the mask on each side. I did mine right above the part of the cheekbone that sticks out. You then measure the elastic around your head, remember it stretches, so make it small. Once you did that, cut it a little longer than you need, thread it through one hole and tie a knot to the longer part of the elastic. Do the same thing on the other side, and your mask is done! Now you have a super creepy and unique mask for Halloween!