Easy Cool Looking Photoshop Tutorial
by xenia003 in Design > Photo Editing
16139 Views, 551 Favorites, 0 Comments
Easy Cool Looking Photoshop Tutorial
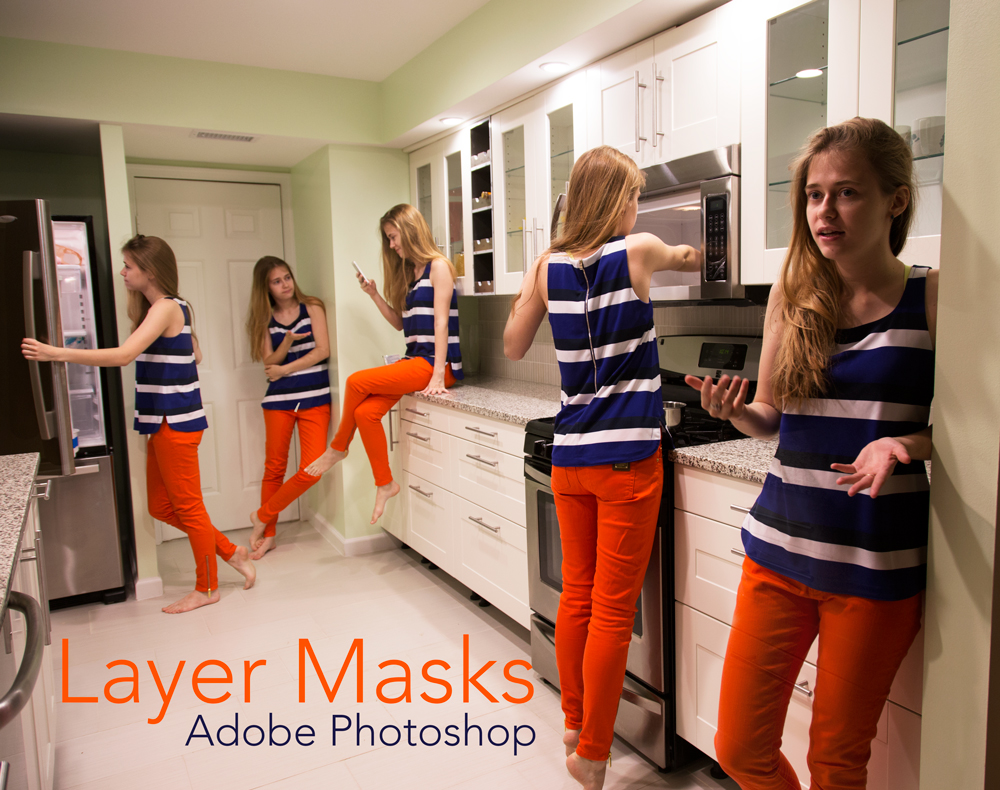
This is an introductory level Adobe Photoshop tutorial. Automation technique is used to merge the photos together which makes it easy to proceed. I tried to include as much detail as possible. To create this picture you will need to have the photographs themselves (step 1), Adobe Photoshop installed and just a little bit of ambition and time. Depending on your level of familiarity with the program it should take you from 15 to 30 minutes to finish the editing itself.
Update: If you want to see a full video of the tutorial go to Youtube video
Taking Pictures
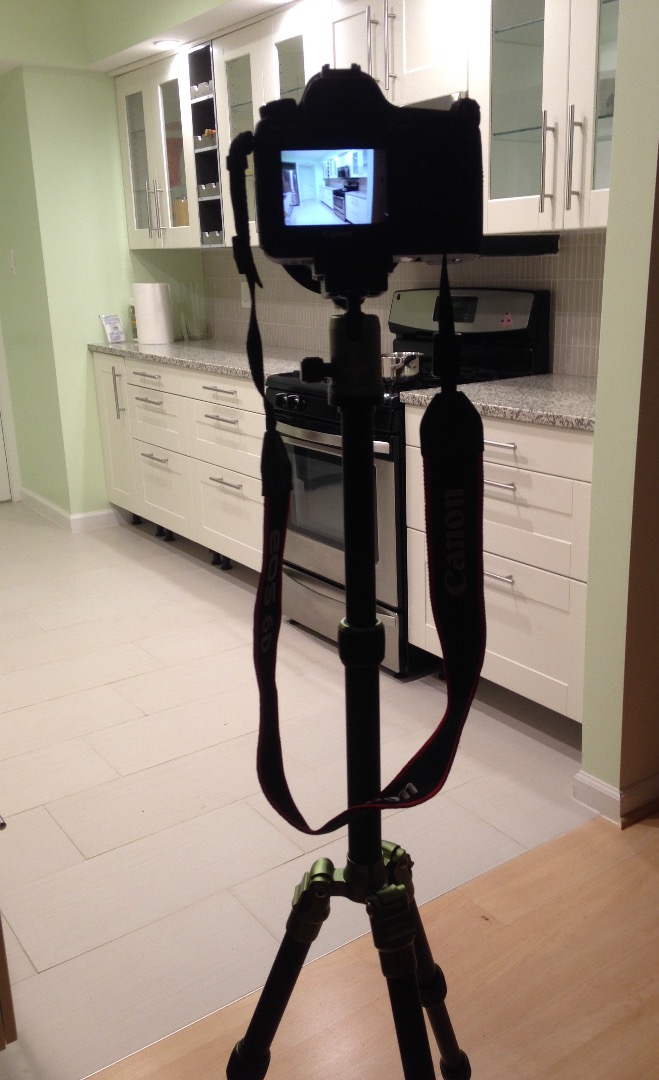
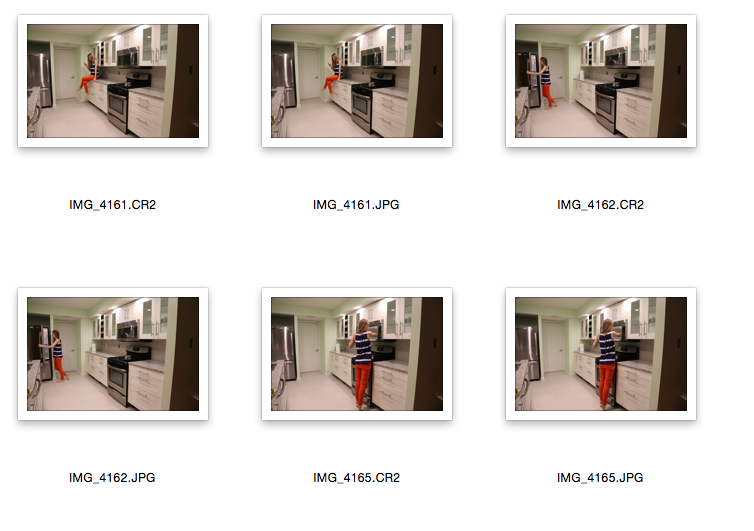
It is important to take pictures just the right way to make your life easy. The main thing would be to set a camera on the tripod while shooting and do not move it while taking photographs. The perspective and background should be consistent and overlapping. If you don't have access to the tripod try to put camera on something like a table or do not move your hands too much. This would add distortions and inconsistency to the image. On the photograph you can see how I took the pictures as well as some of the pictures.
Photomerge in Photoshop
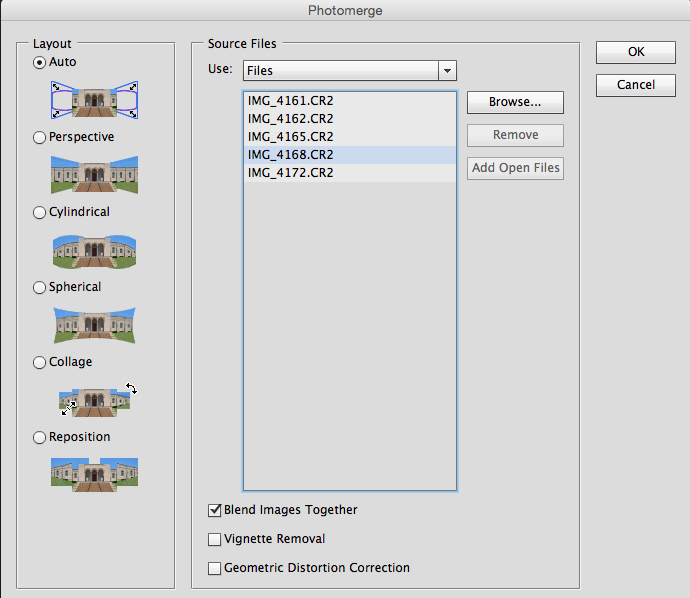
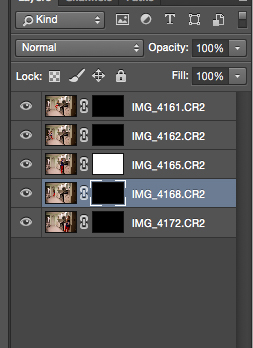
- When you get your photographs decide which ones you are going to use. If you are new try to use poses that will not overlap.
- Open Photoshop
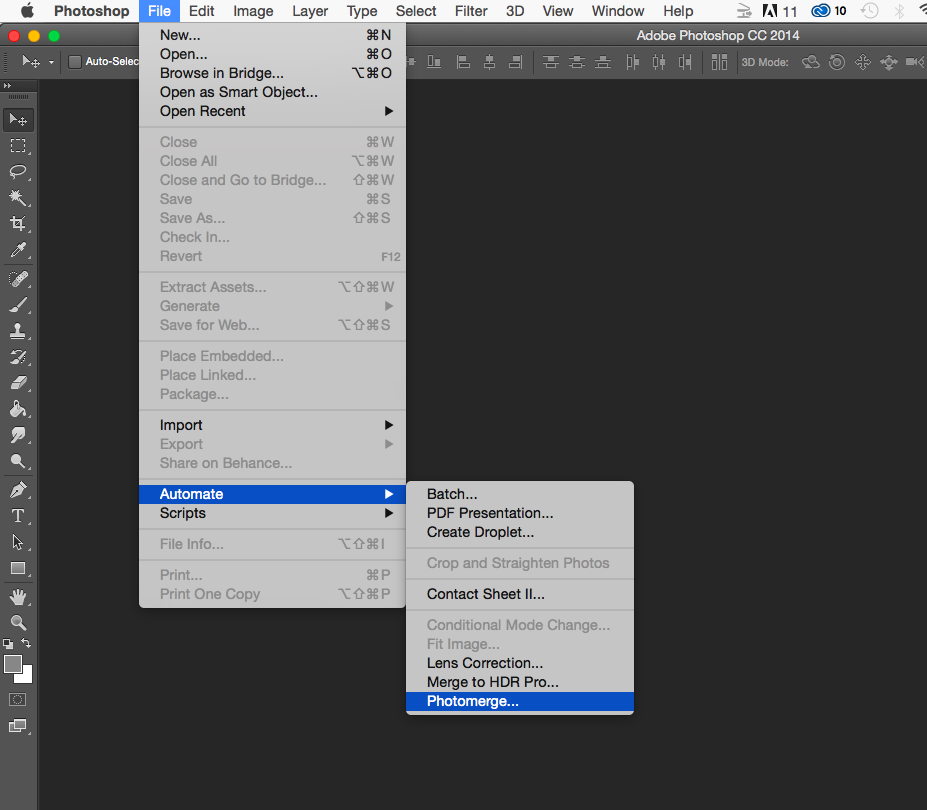
- Go to File > Automate > Photomerge...
- In the Photomerge window check "Auto" on the left, which should be default, then go Browse and pick your images. Press OK.
This might take some time to process, and in the end you should see layers in the right bottom corner show up as they do on the picture.
Quick Review of Photoshop Tools Used
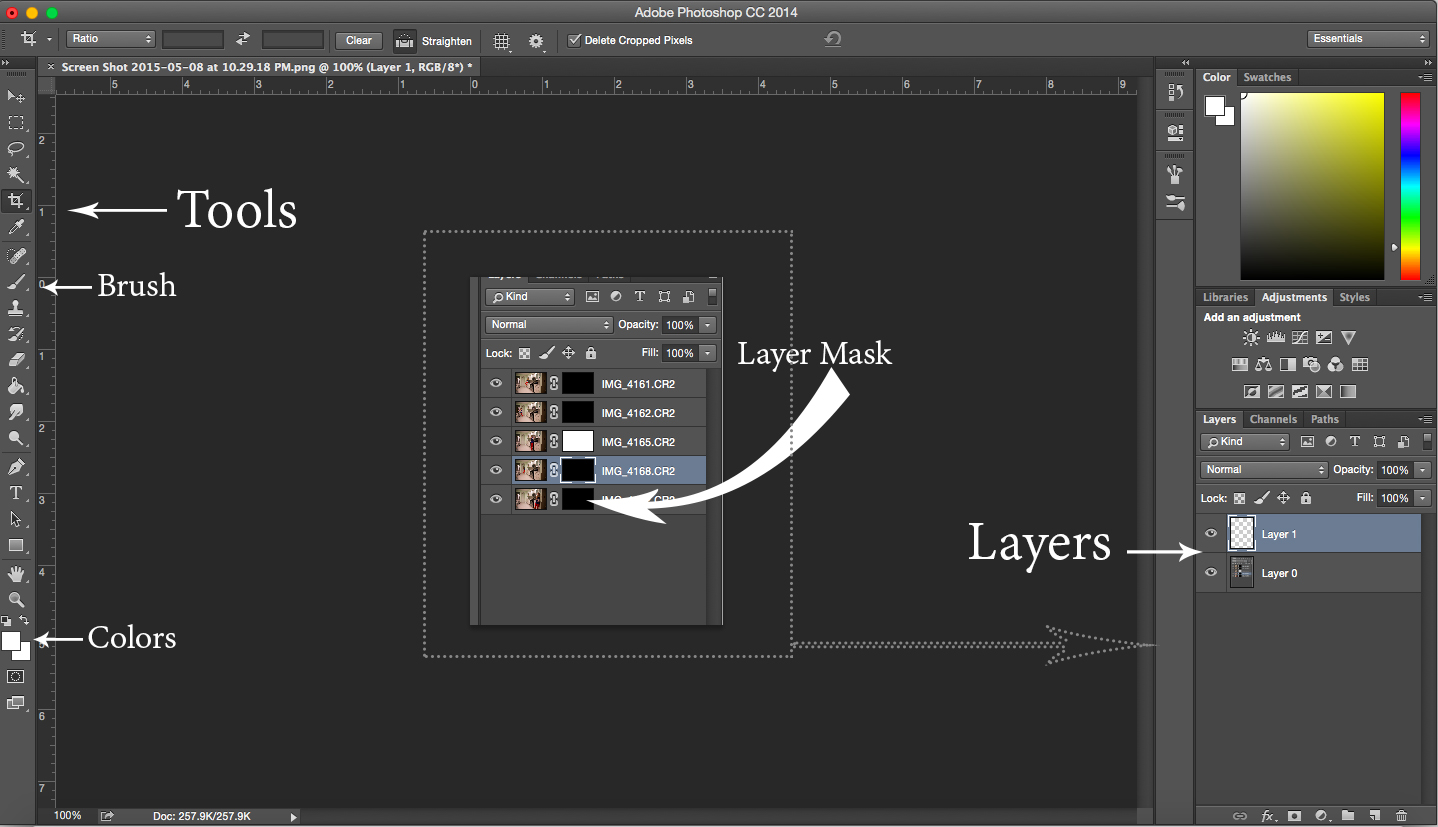
Colors: there're two rectangles showing the colors. They are easy to switch back and forth and one is background color. Set front one to white and background to black if they are some other color (double click on the rectangle to pick color)
Brush: when you click on the brush in the upper left corner you will see an icon with different sizes and settings. This will change as we go through the Instructable.
Layers: Layers give a convenient way to manage all the things in the project as layers. You can change the order, opacity, make some invisible. We won't use much of it today.
Layer Masks: Layer masks play a big role in this project. Layer masks is a tool to show or hide something on the picture. When you have a layer masks it will have either black or while. Black would hide what is on the layer in that part; white would show it. To work with this masks click on the rectangle next to the small icon of the layer. Then use brush with black/white or gray and just paint on the image. You will see how it works in the next step.
Editing
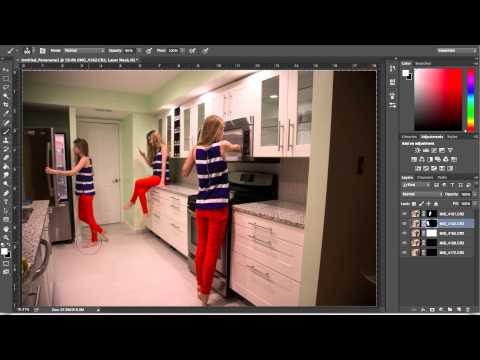
Now you should have all the layers on top of each other, and layer masks hiding most. Click on the layer mask of the first layer and using white brush paint over the region you want to show up*! Be sure to include the shadow too. If you show too much - don't worry - you can either undo it (Edit > Undo) or just paint over with black.
*click on the layer mask icon, or you will just paint over the picture. In case it happened - undo (Edit > Undo).
If two poses overlap - zoom into the picture and just be more careful with what you show.
For more comprehensive steps watch the video
You Have Your Amazing Picture Ready!
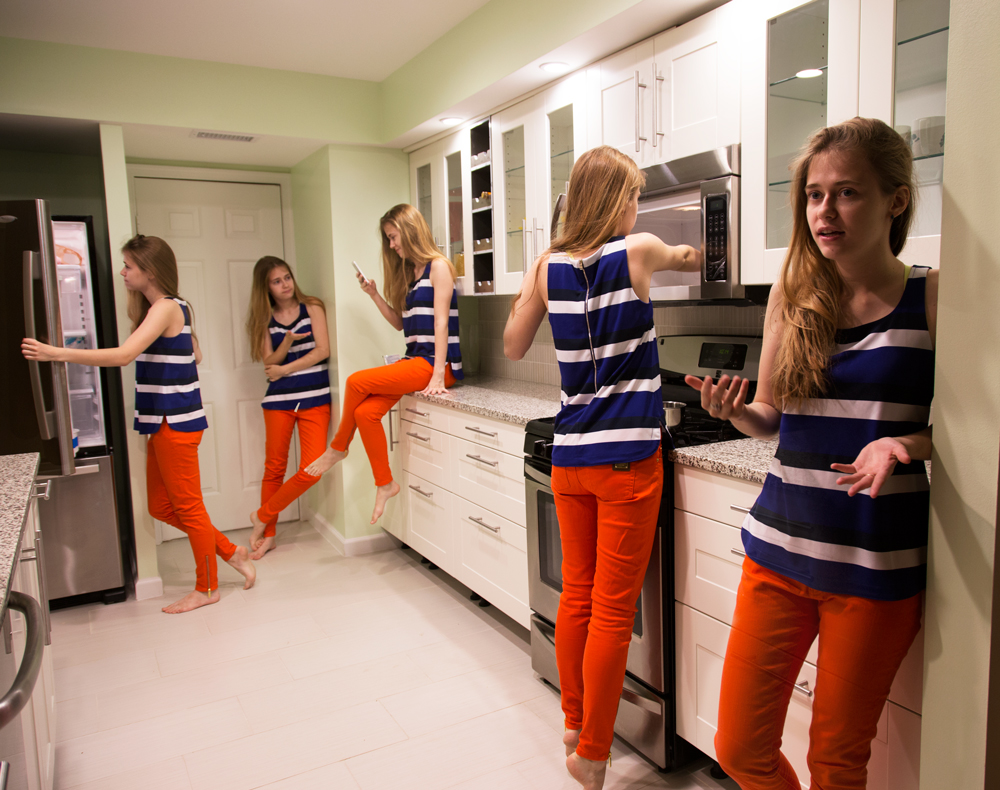
Now you can just save it! (File > Save).