Easy Cherry Blossom Scene Using Acrylic
568 Views, 6 Favorites, 0 Comments
Easy Cherry Blossom Scene Using Acrylic

A simple, cherry blossom painting using acrylic paint that’s quick and perfect for beginners.
Supplies
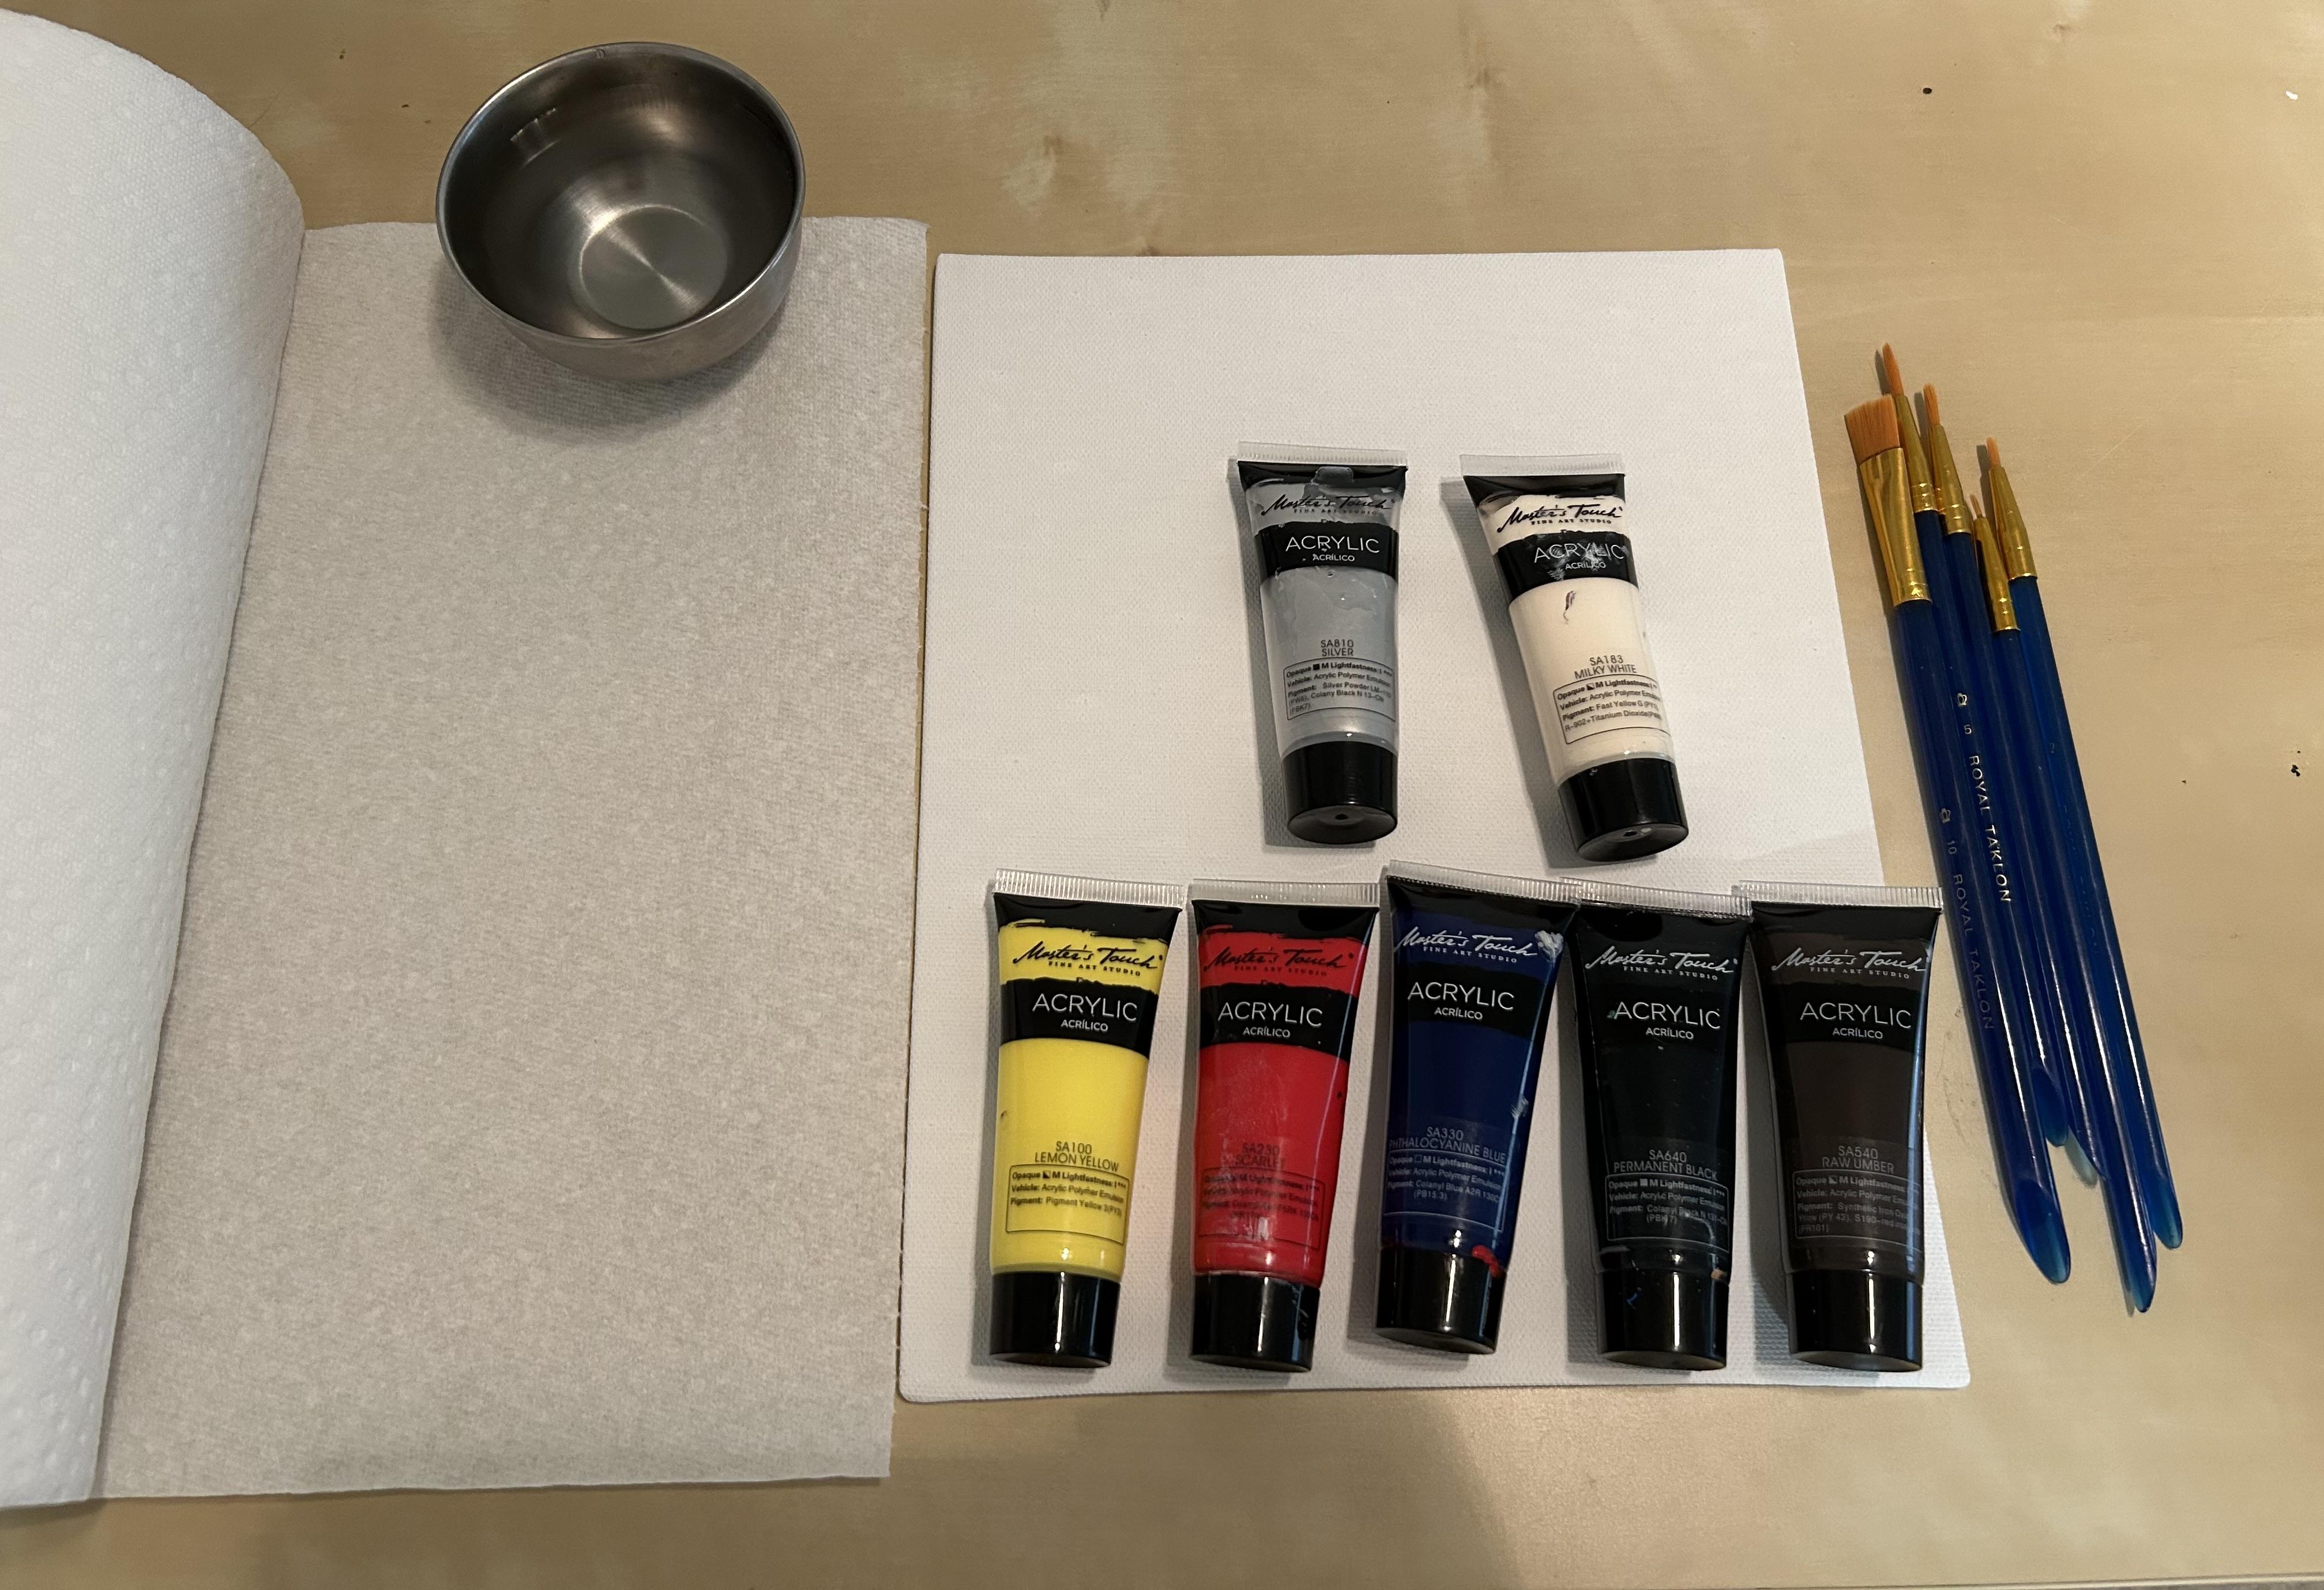
- Canvas of Any Size
- Acrylic Paints
- Yellow
- Red
- Blue
- Black or Brown
- White
- Silver (Optional)
- Paper Towels
- Paper Plate (Optional)
- Water Cup or Bowl
- Various Sizes of Brushes (the larger the canvas, the larger the brush)
Creating the Horizon Line
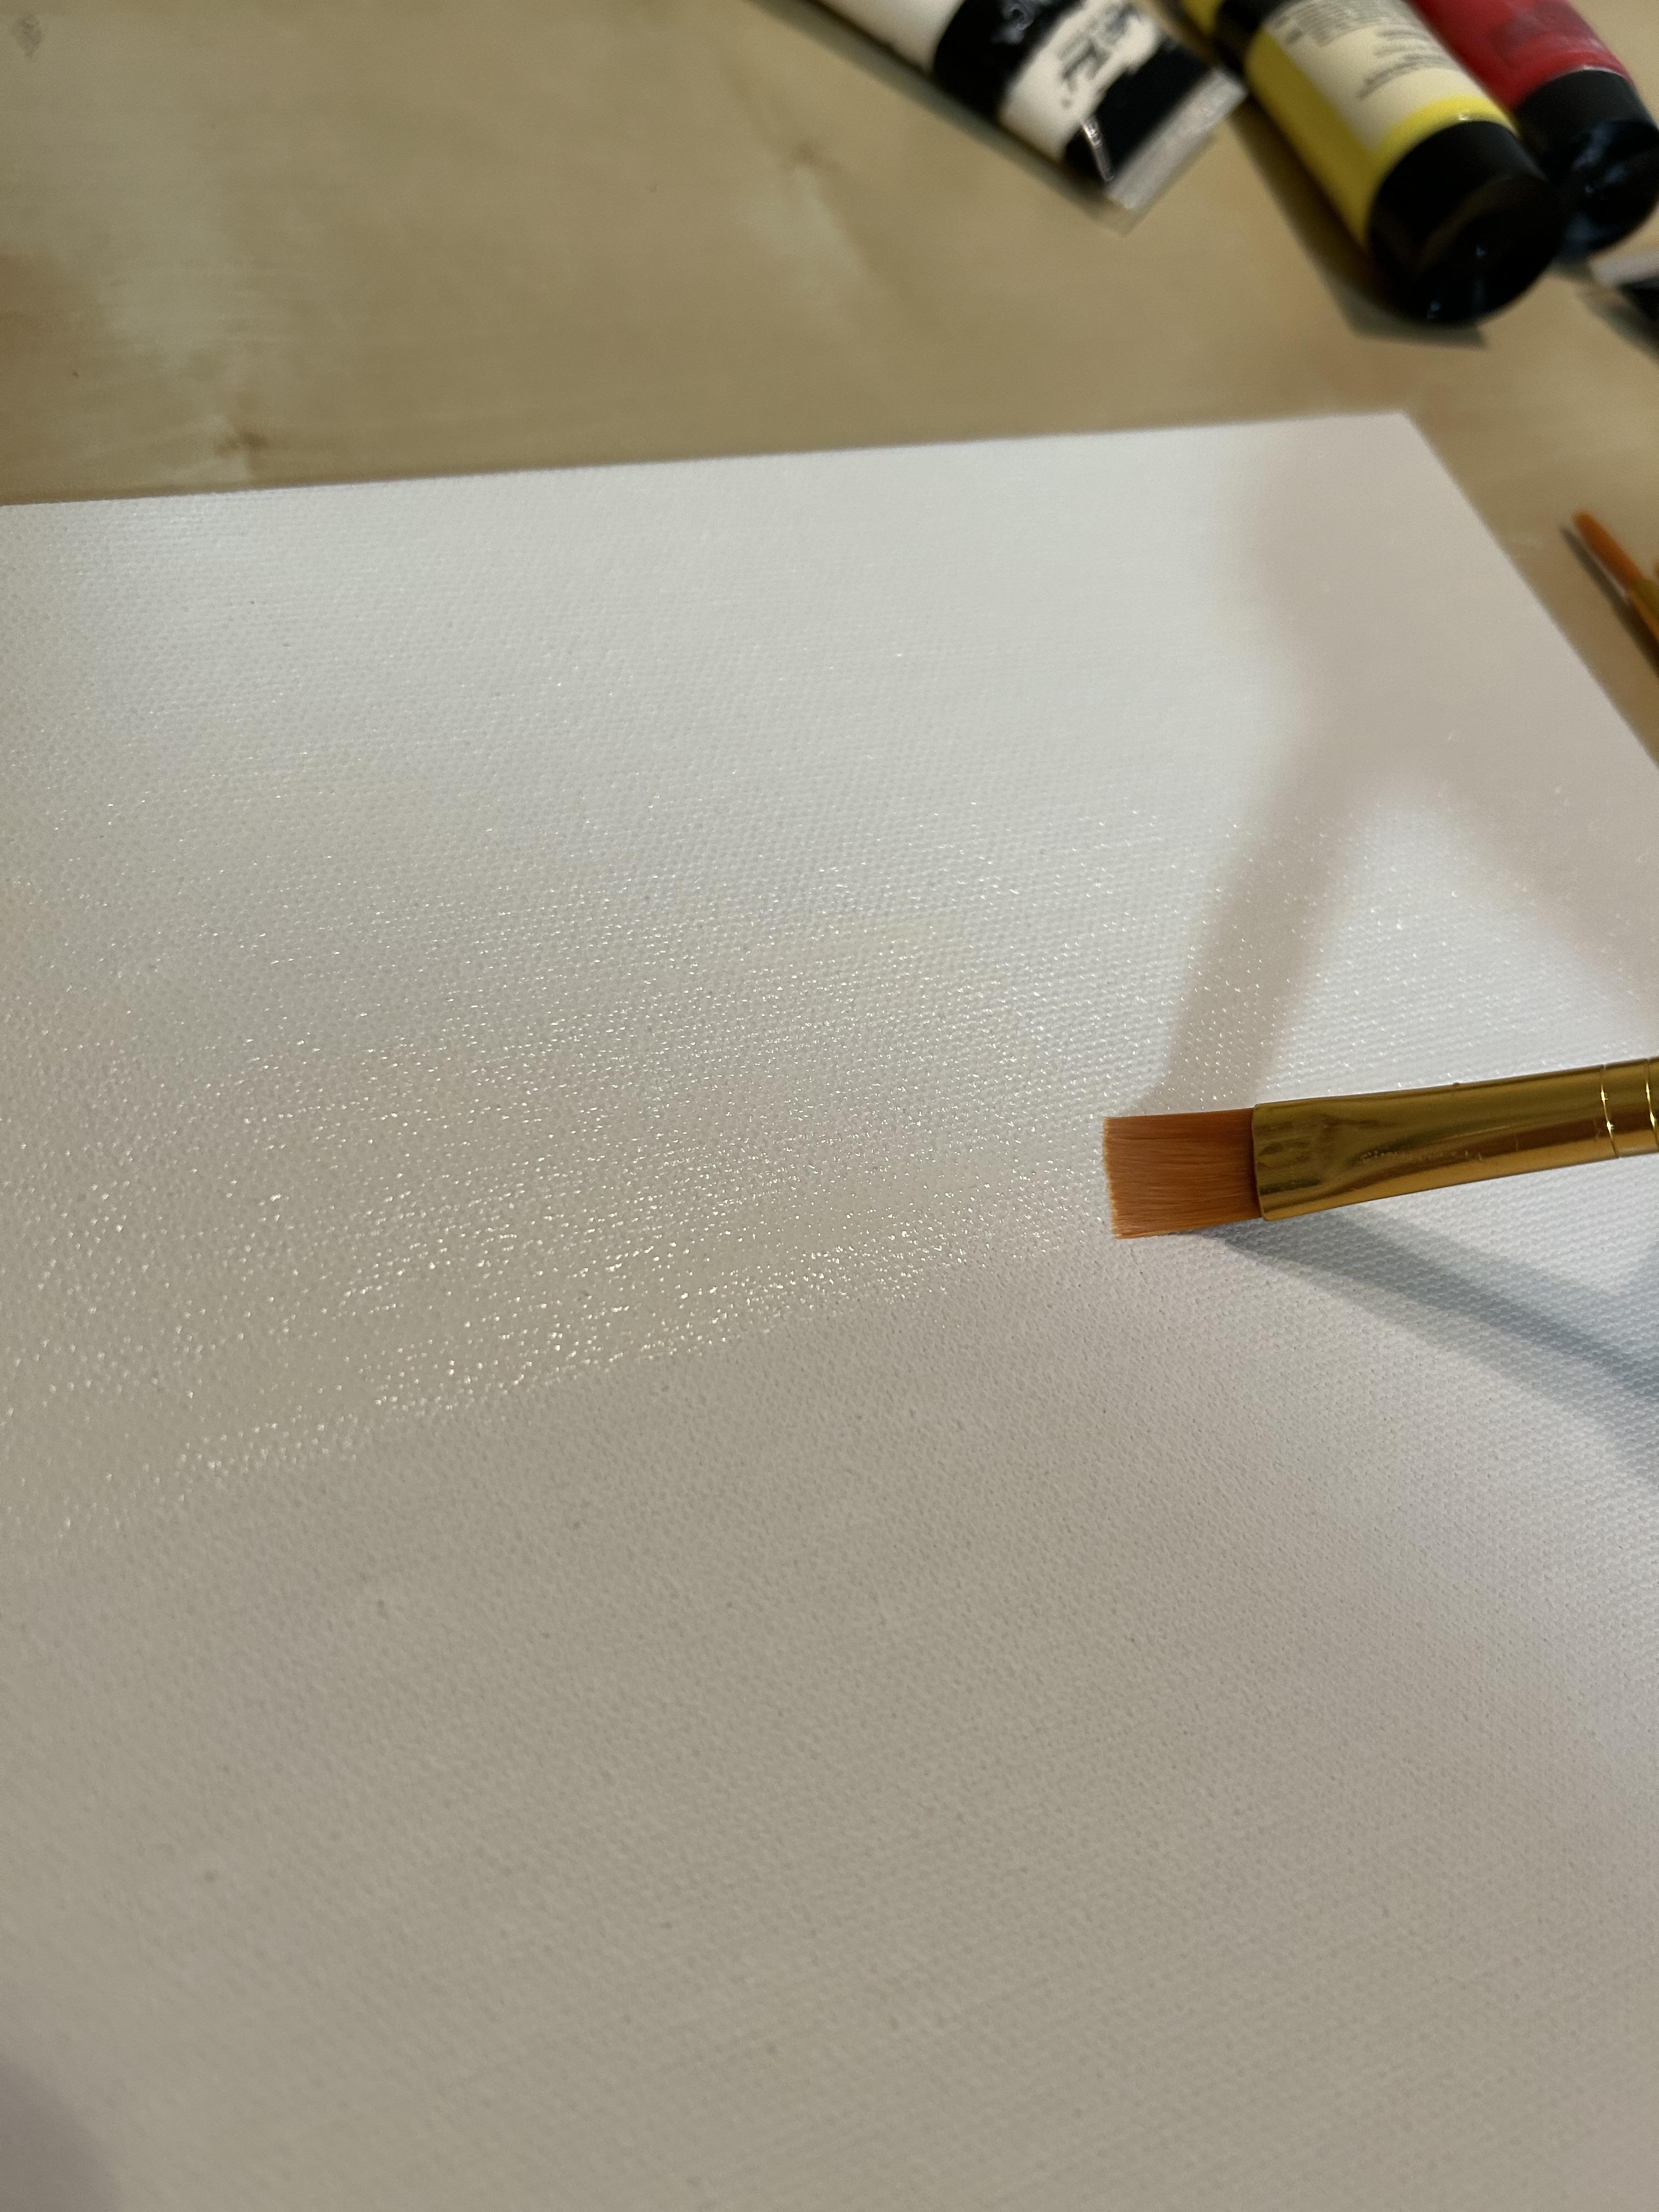
When painting, it's best to work from the background to the foreground to help create depth and make it easier to paint. To do this, you first want to establish your horizon line. Using a large or medium brush, dip the brush into the water, then into your white paint. About two thirds of the way down from the top of your canvas, draw a horizontal line with the white paint. It should be faint, but still visible. After creating the line, paint over the top portion with more watered down white paint to create a base for the sky.
Tips
- Starting with the foreground makes it difficult to add to the background later on.
- If it's too difficult to see with white, use a watered down blue or yellow instead.
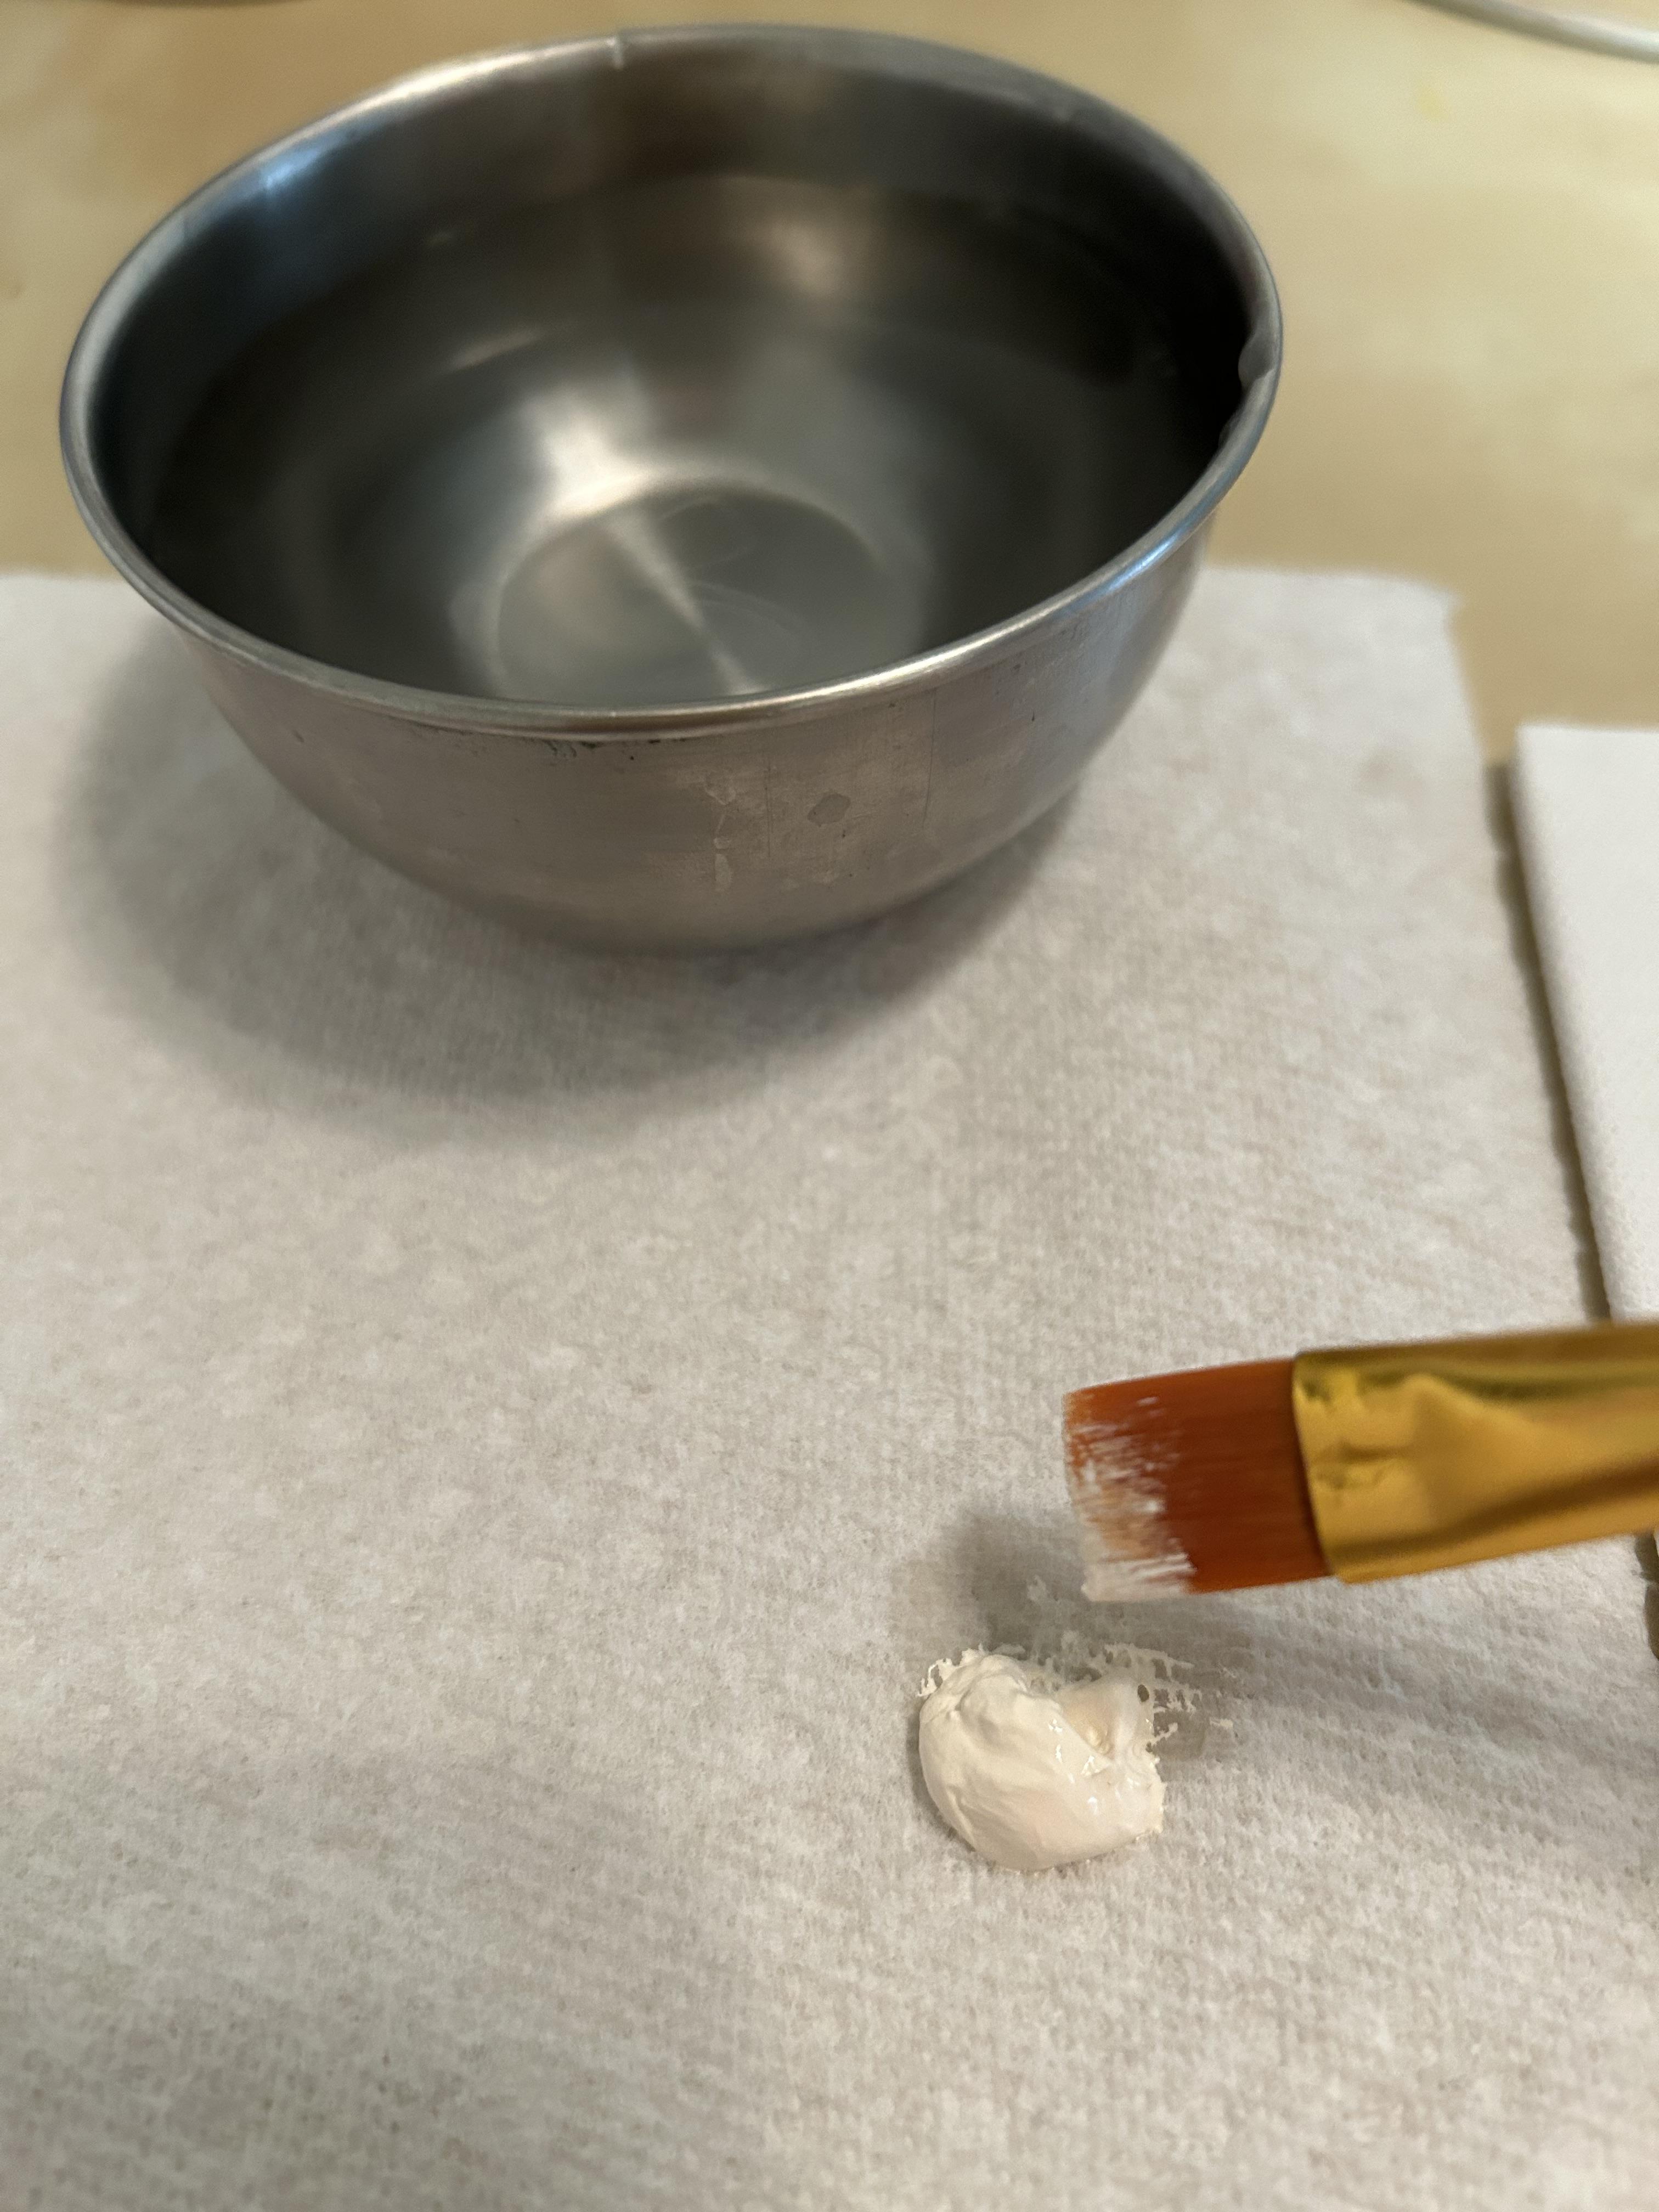
Creating Purple

To create the sky, we first need to make purple paint. This can be done on either a paper plate or paper towel. Combine red paint with a small dab of blue paint. Add white as needed to adjust the shade of purple. For this painting, I went for a lavender purple.
Painting the Sky
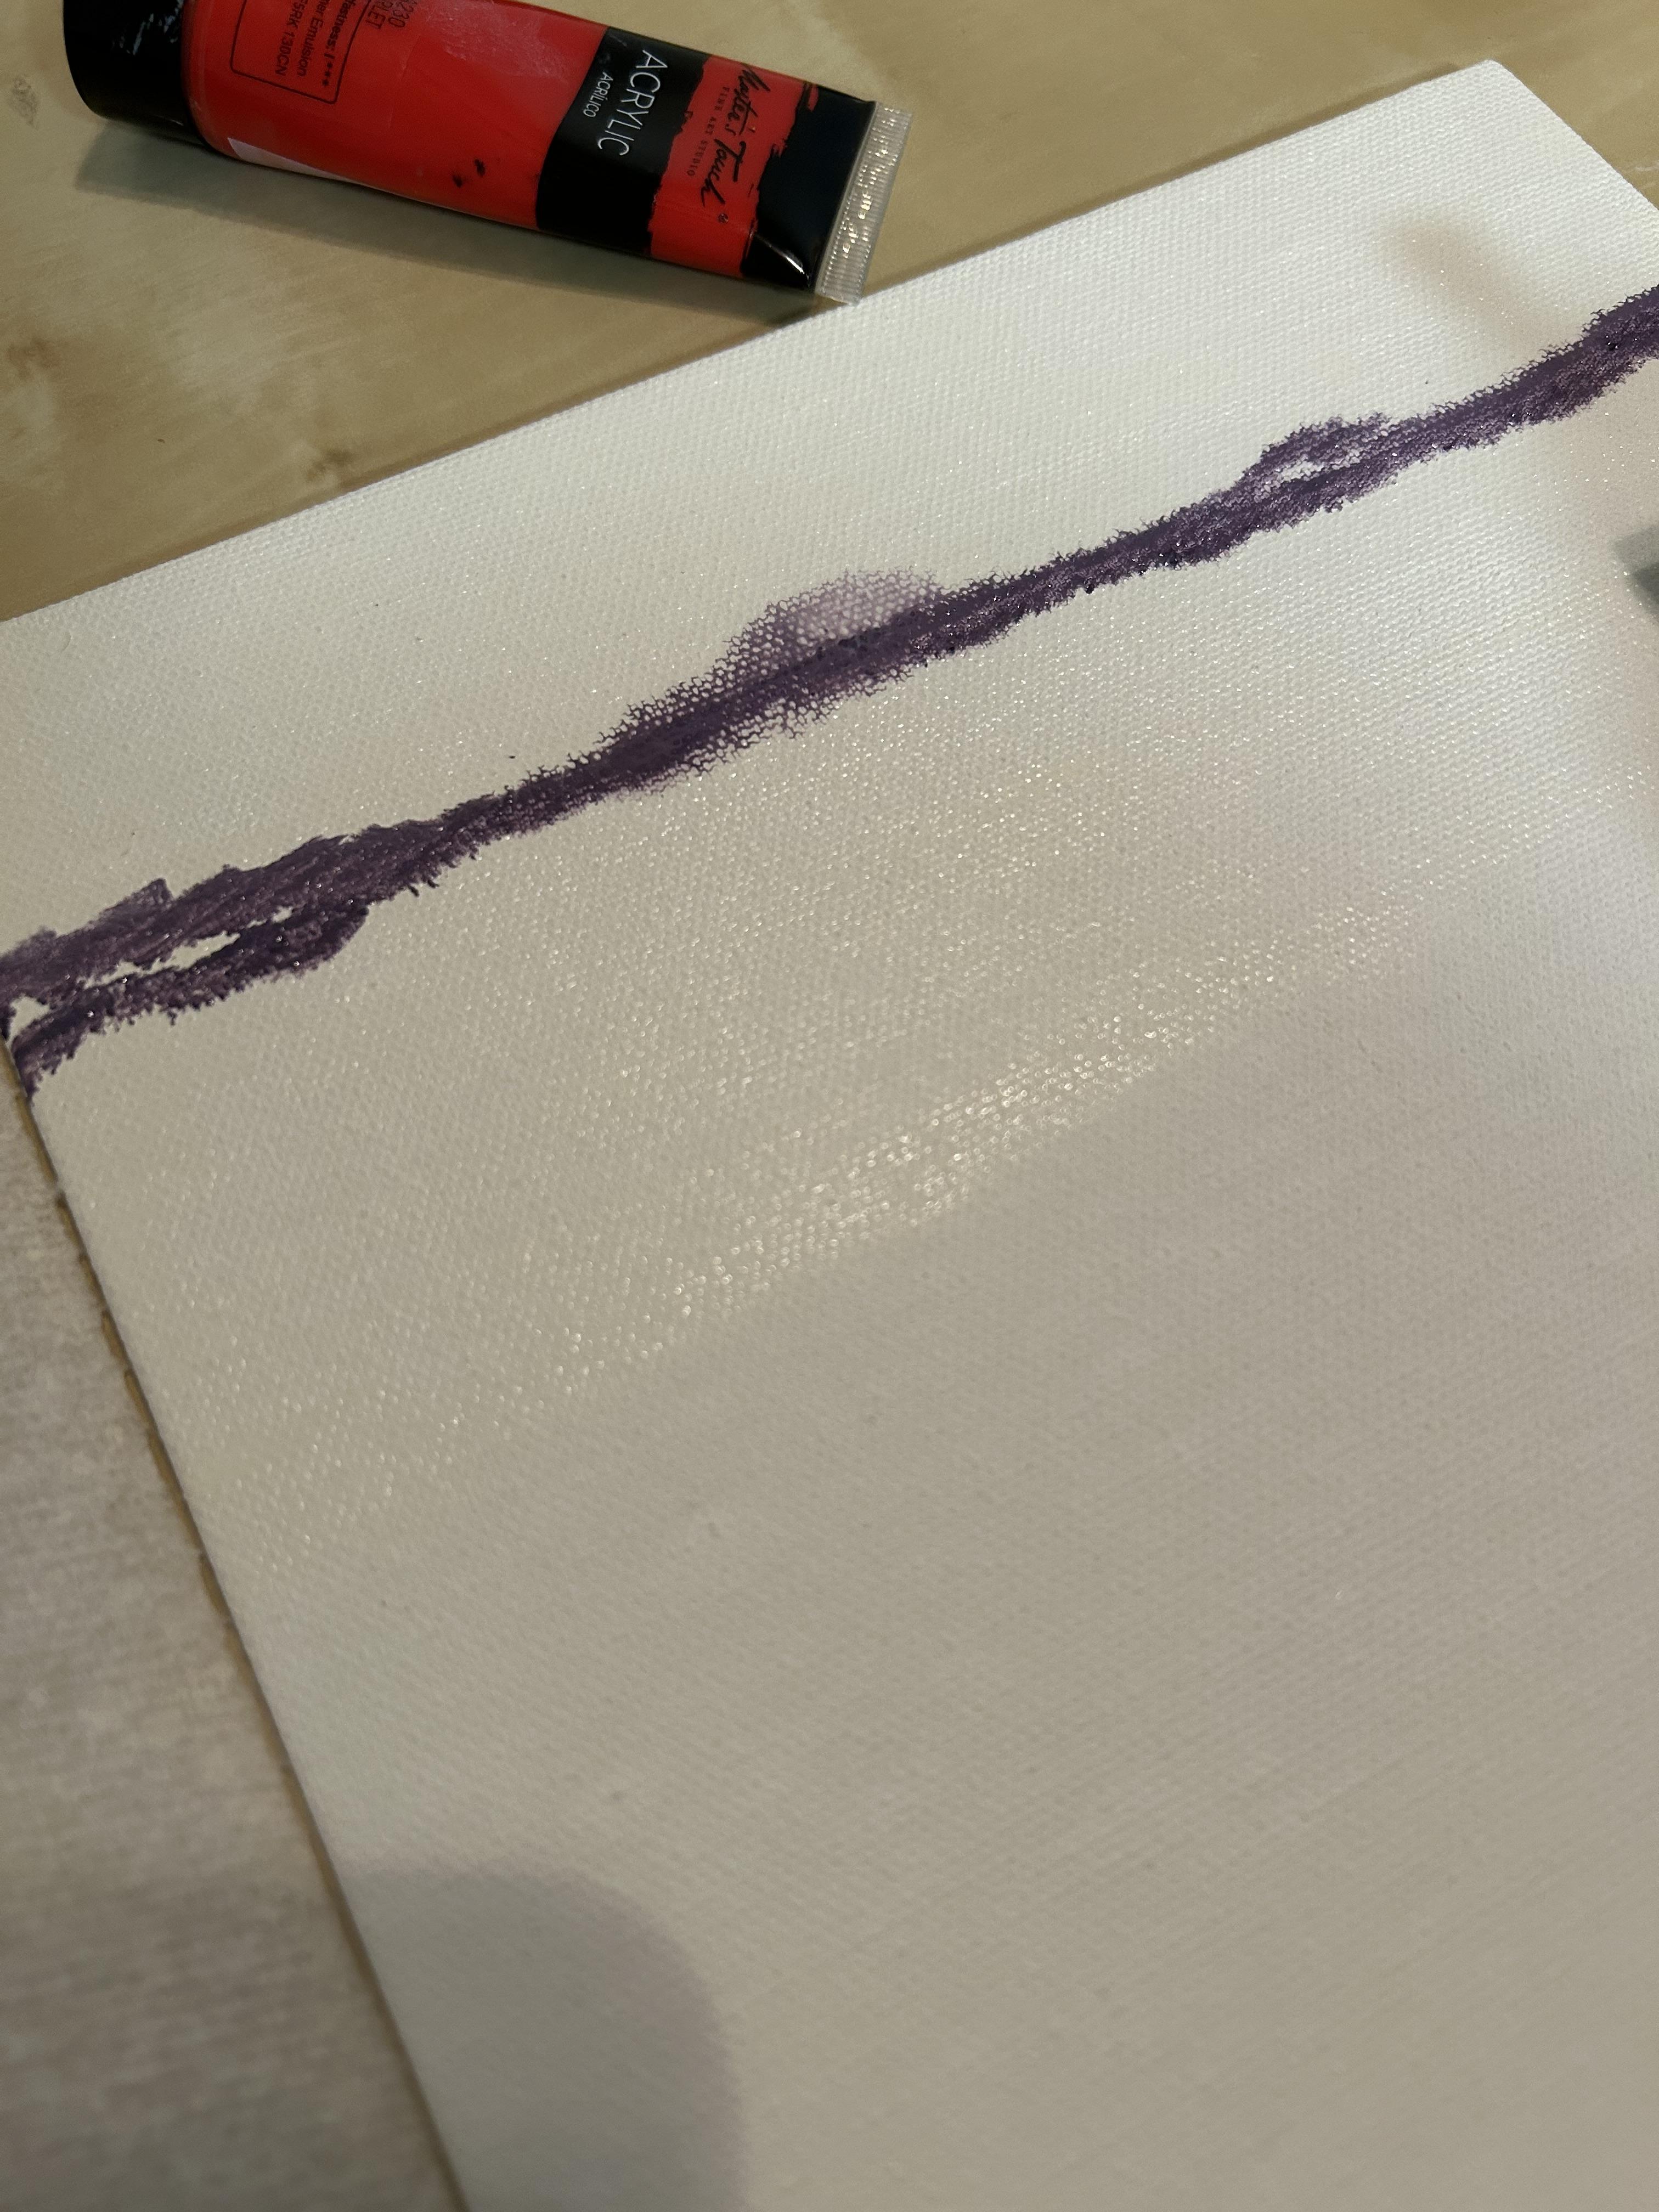
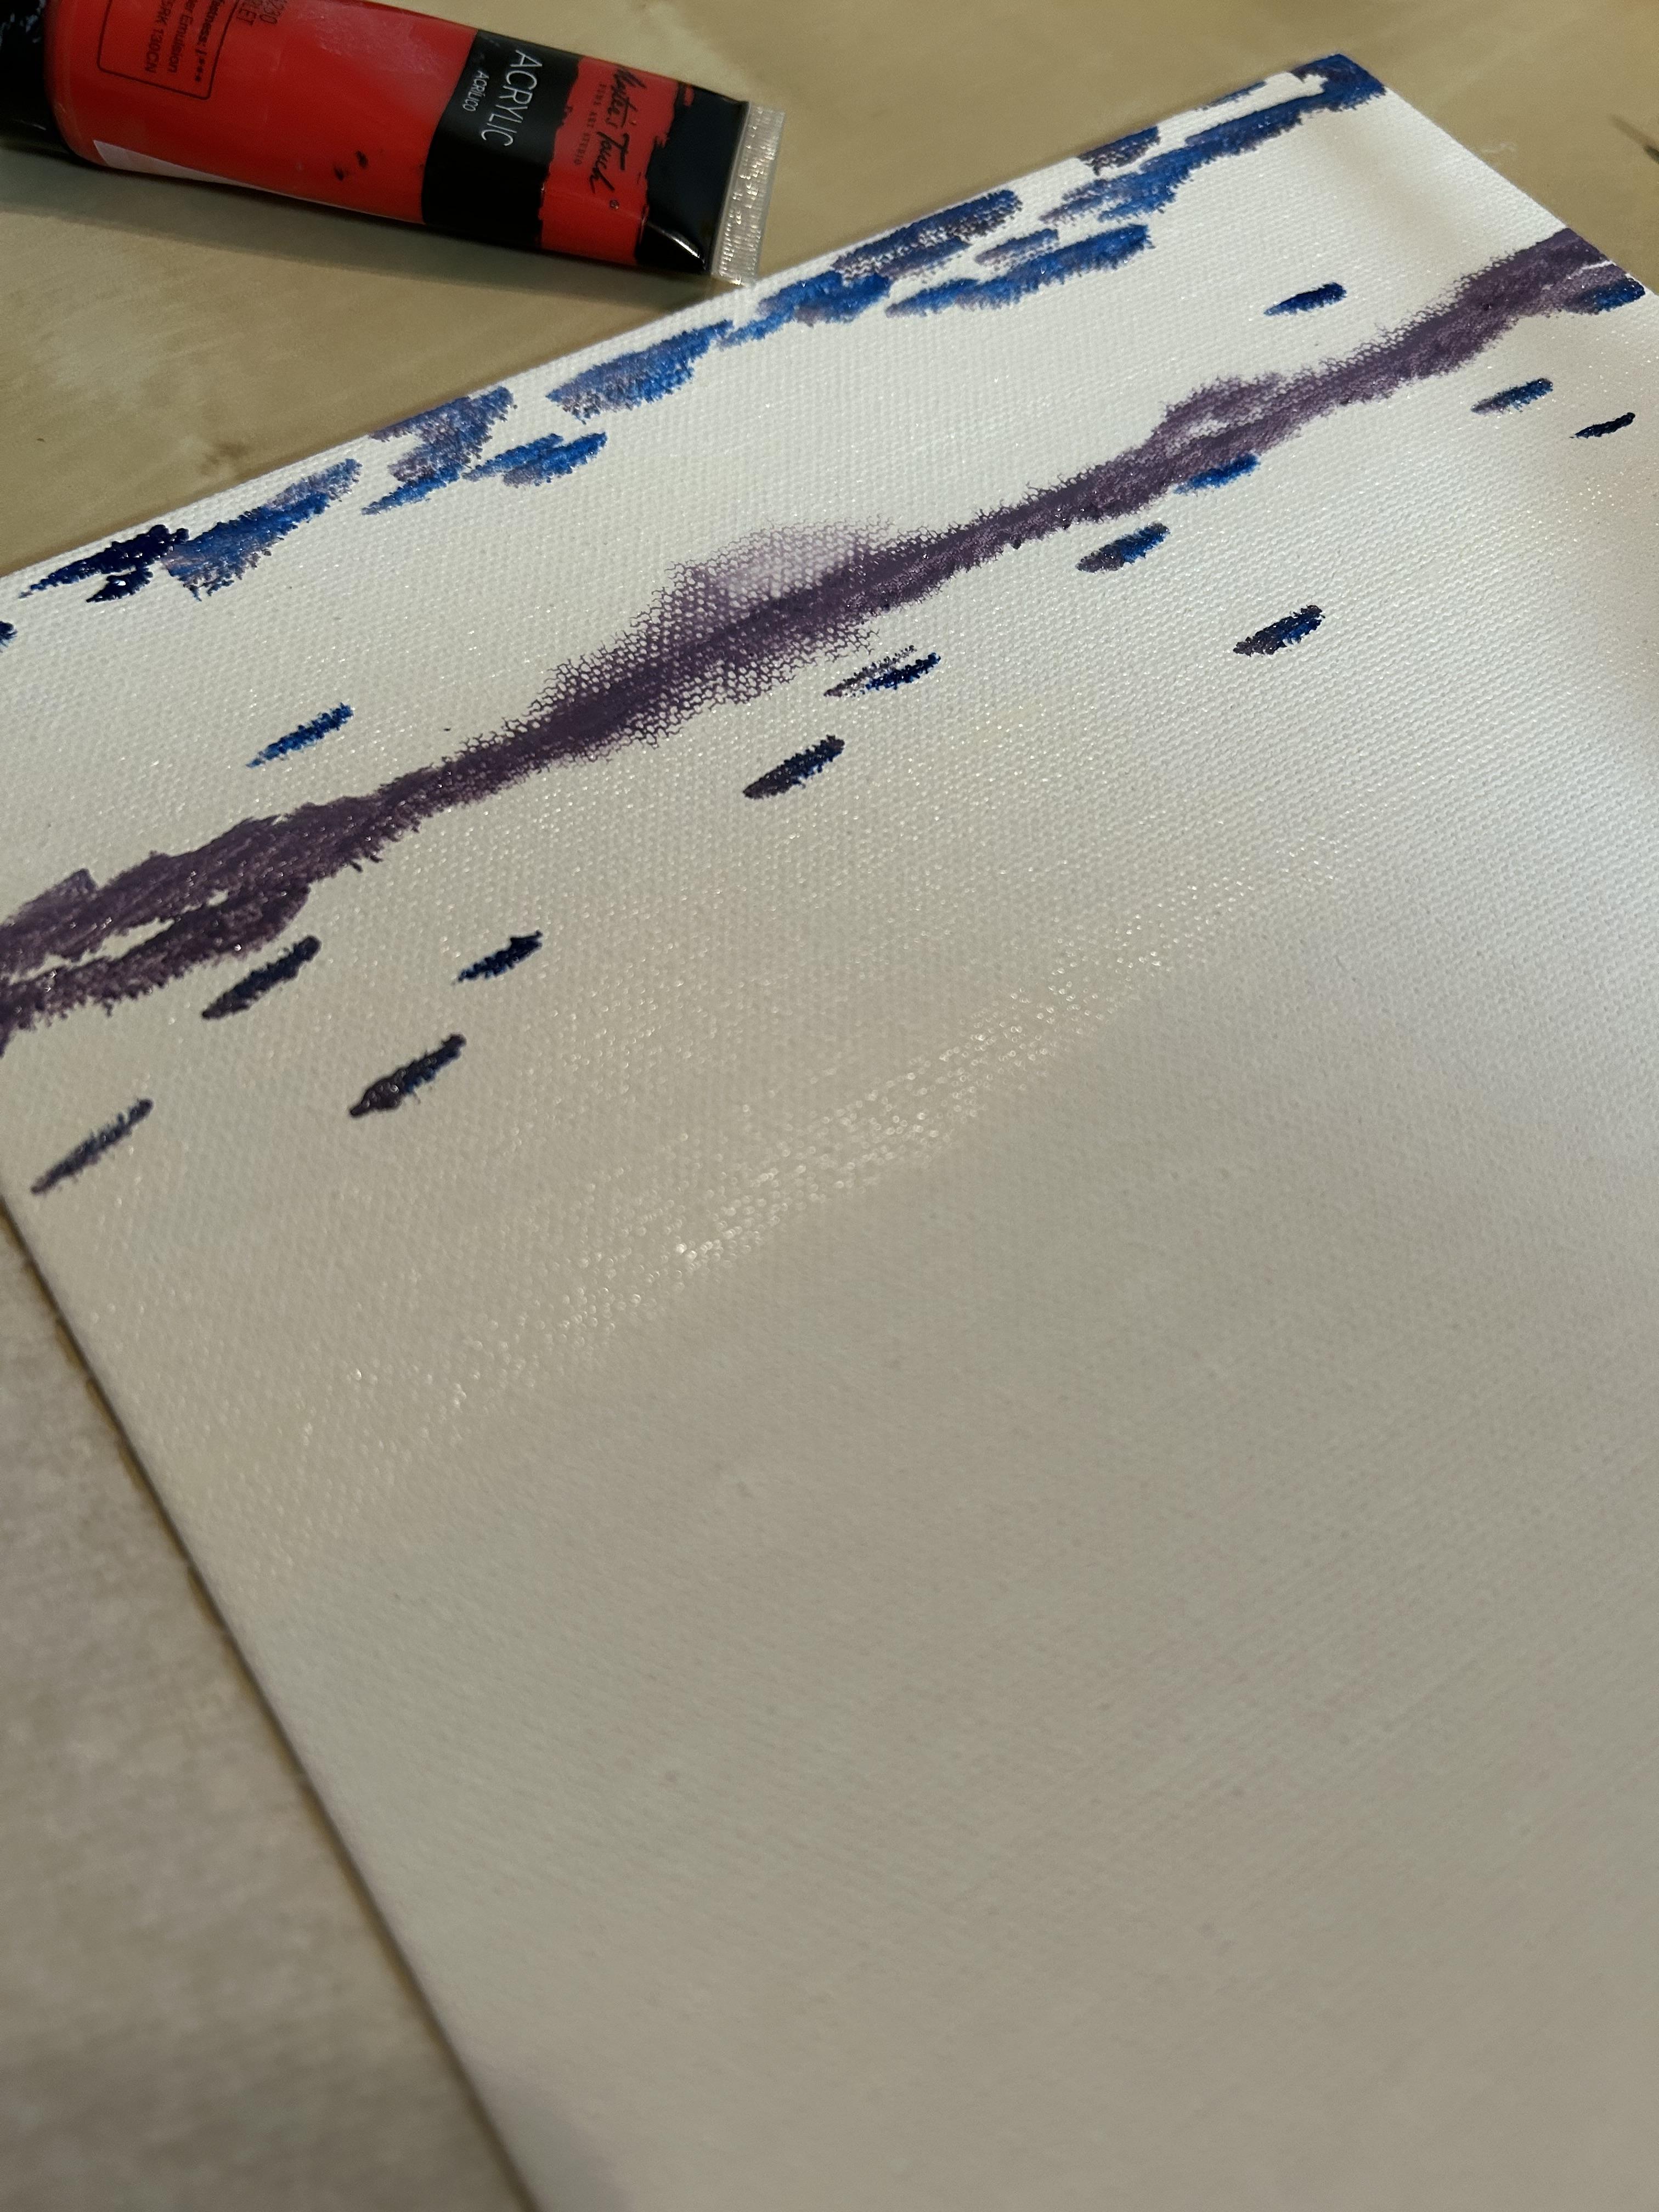
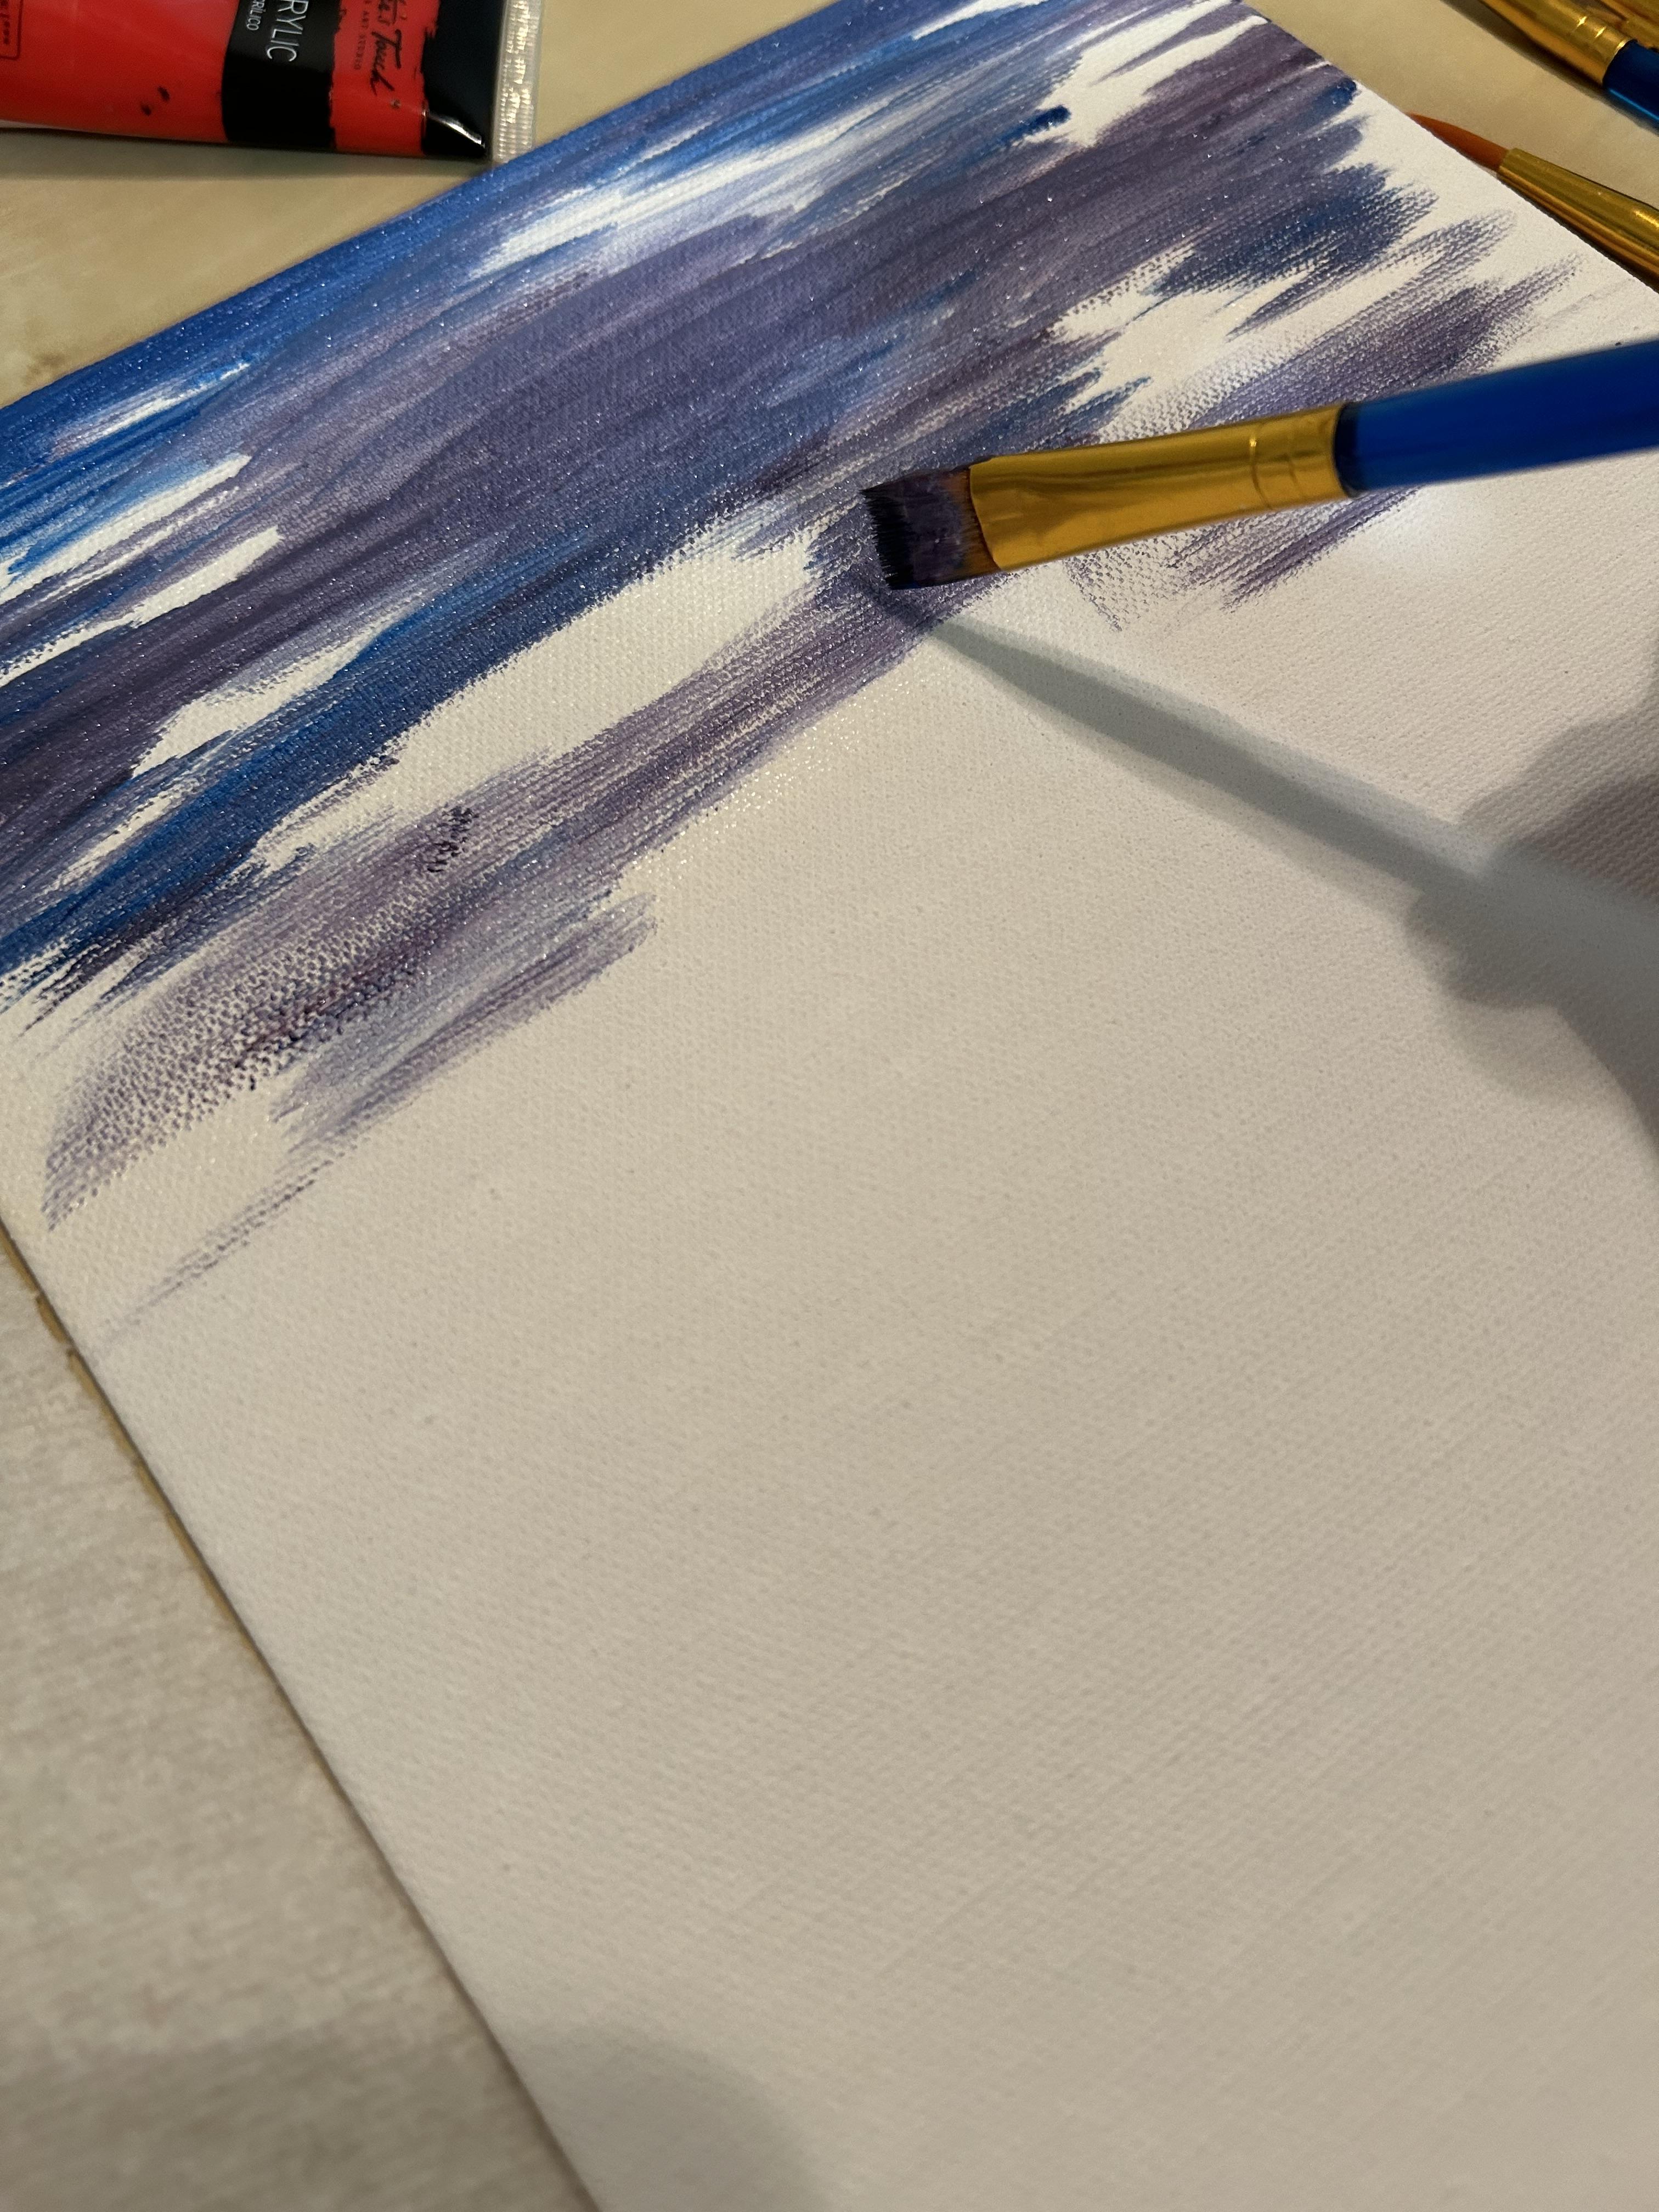
Once you're happy with your purple, slightly dip your brush in the water with the paint on it, then draw a line through the middle of the top portion using your purple. Then, dip your brush into your blue paint and add little spots of blue throughout the top portion. Use your brush to blend the paint together, starting with the purple and moving toward the blue dots. Leave some areas empty.
Tips
- Start with a small amount of color and build on it as you go.
- If your paint is drying too fast or your having a hard time blending, add some water by wetting your brush in between sections.
Adding Clouds

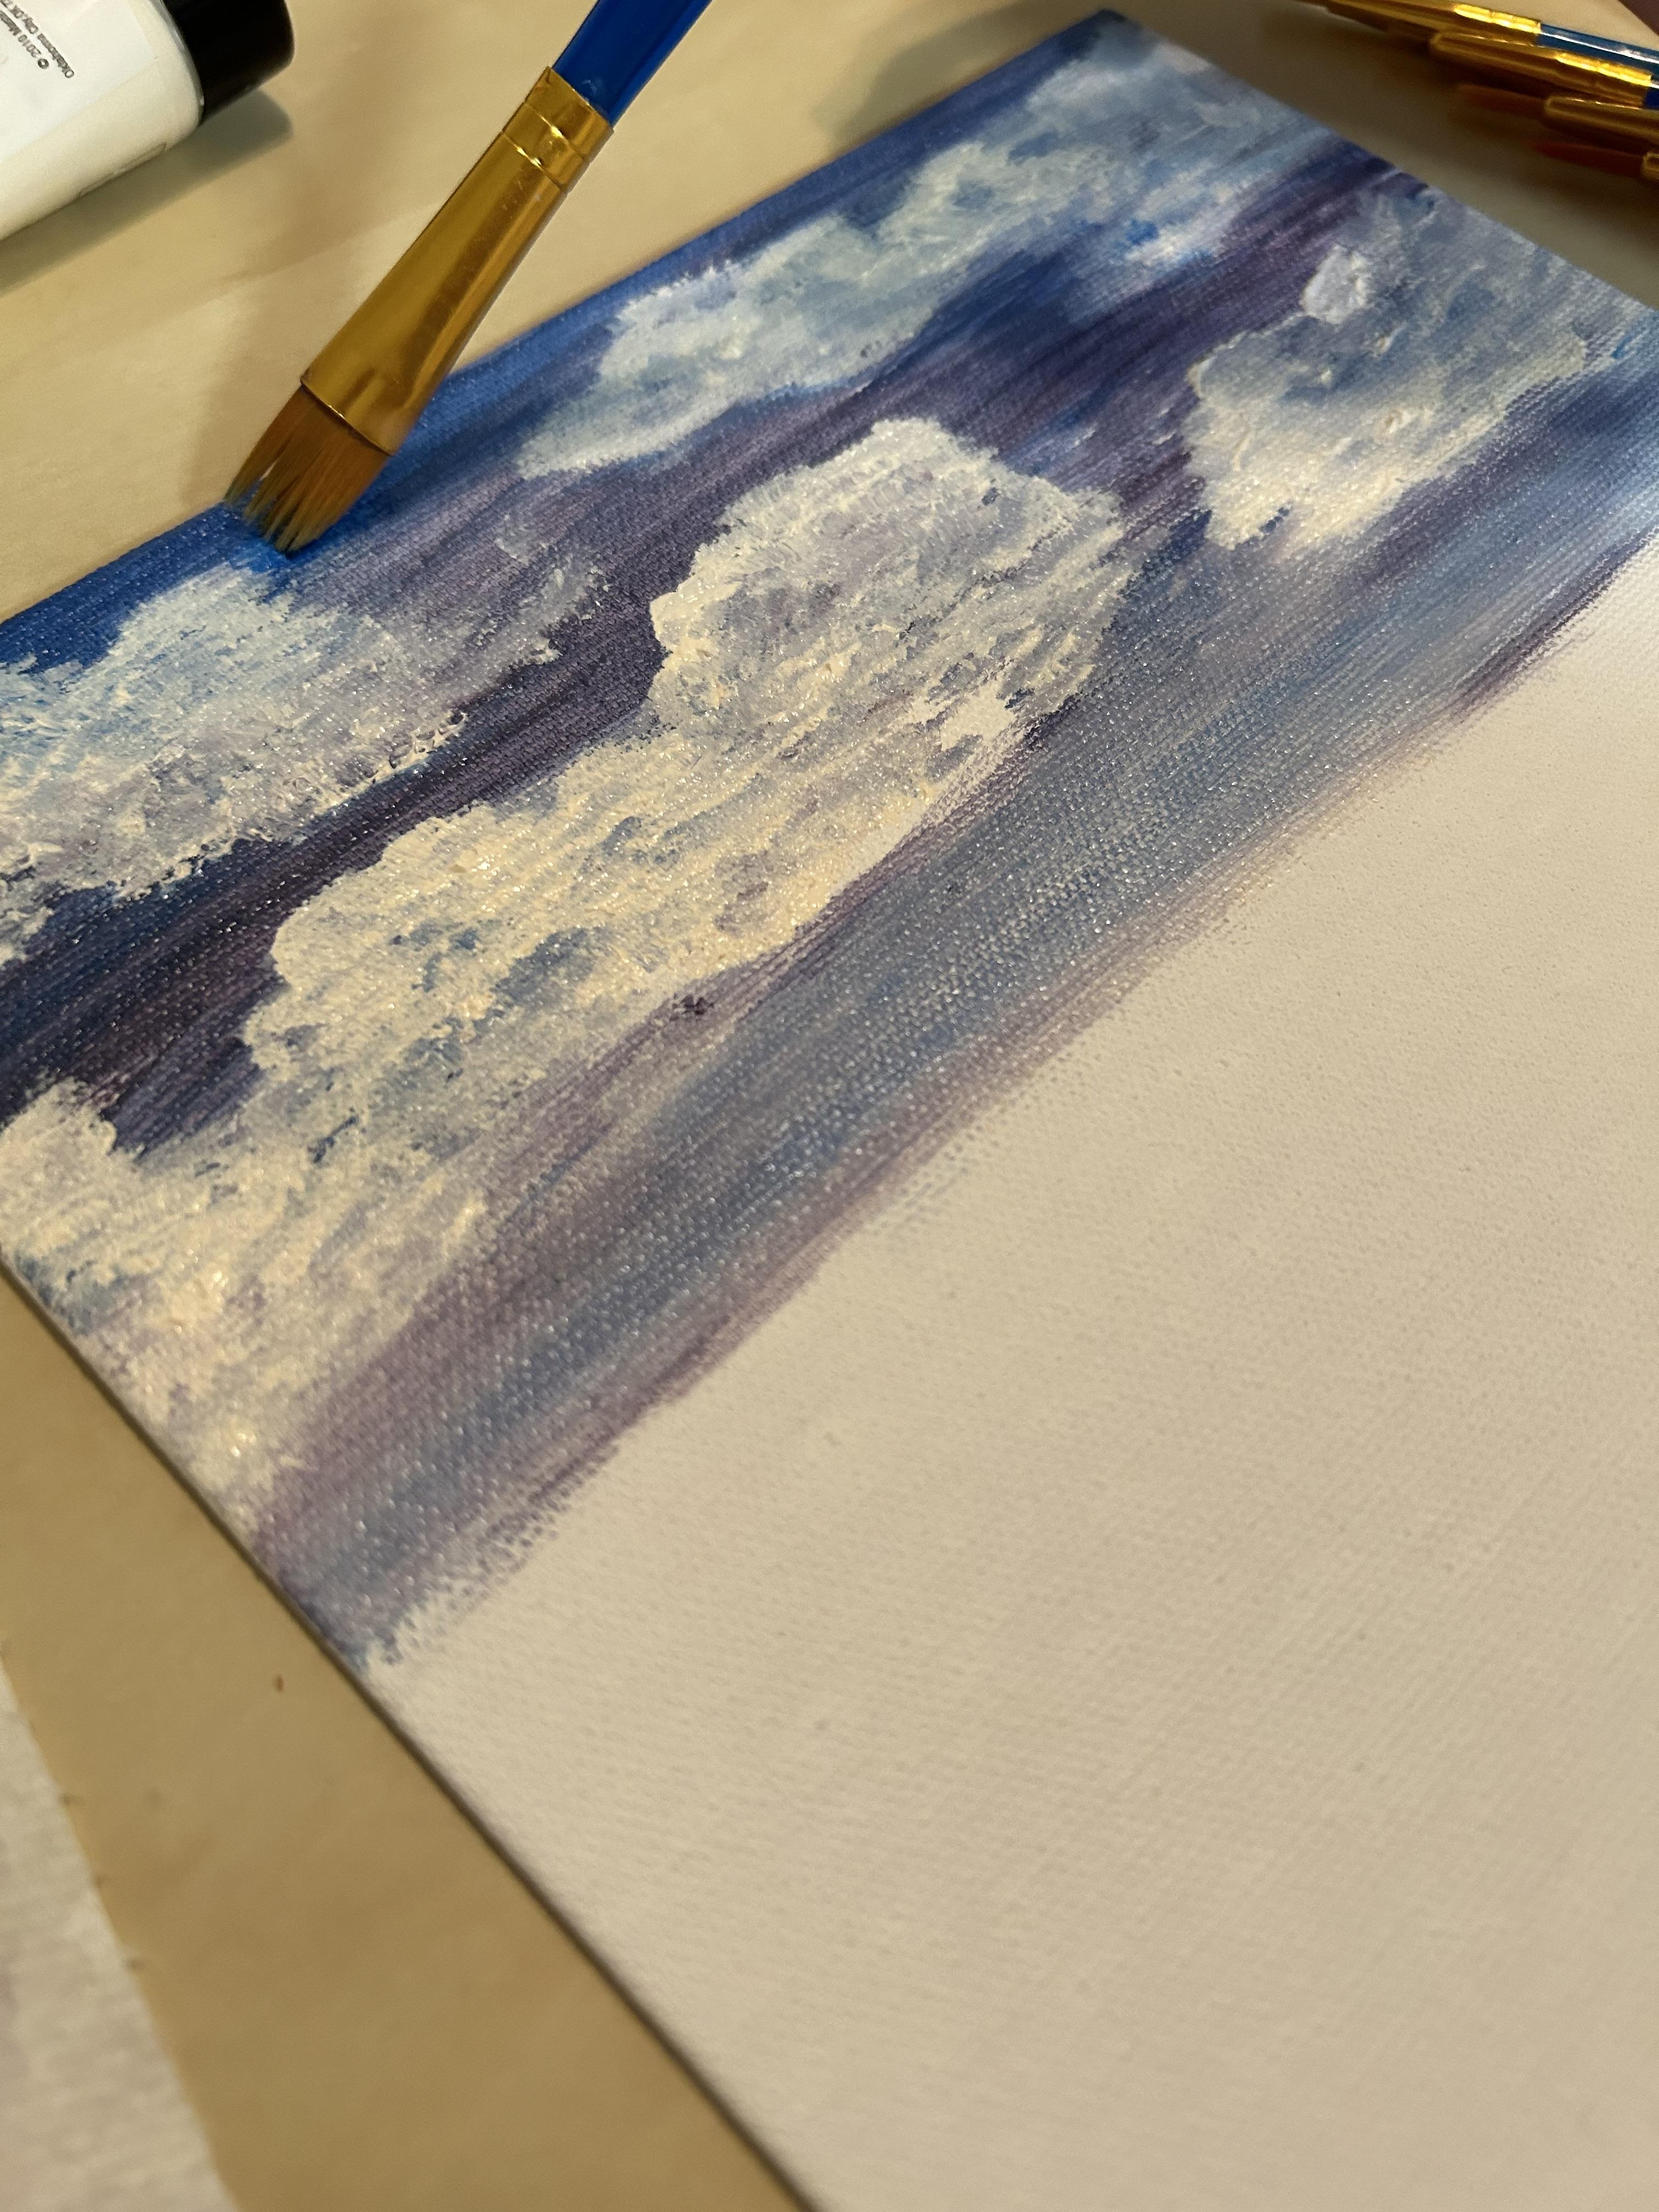
Clean off your brush with water. The brush should be mostly clean when you dry it on a paper tower, however, a small tint of blue or purple won't affect the painting. Using your white paint, pipe small blobs directly onto the empty spots in the sky. Then, using your brush, gentle dab the paint outward in various directions. Blend some of the white into some of the blue and purple already on your painting to create low areas.
Tips
- Add more blue or purple to give your clouds more depth, or to "erase" a cloud you don't like.
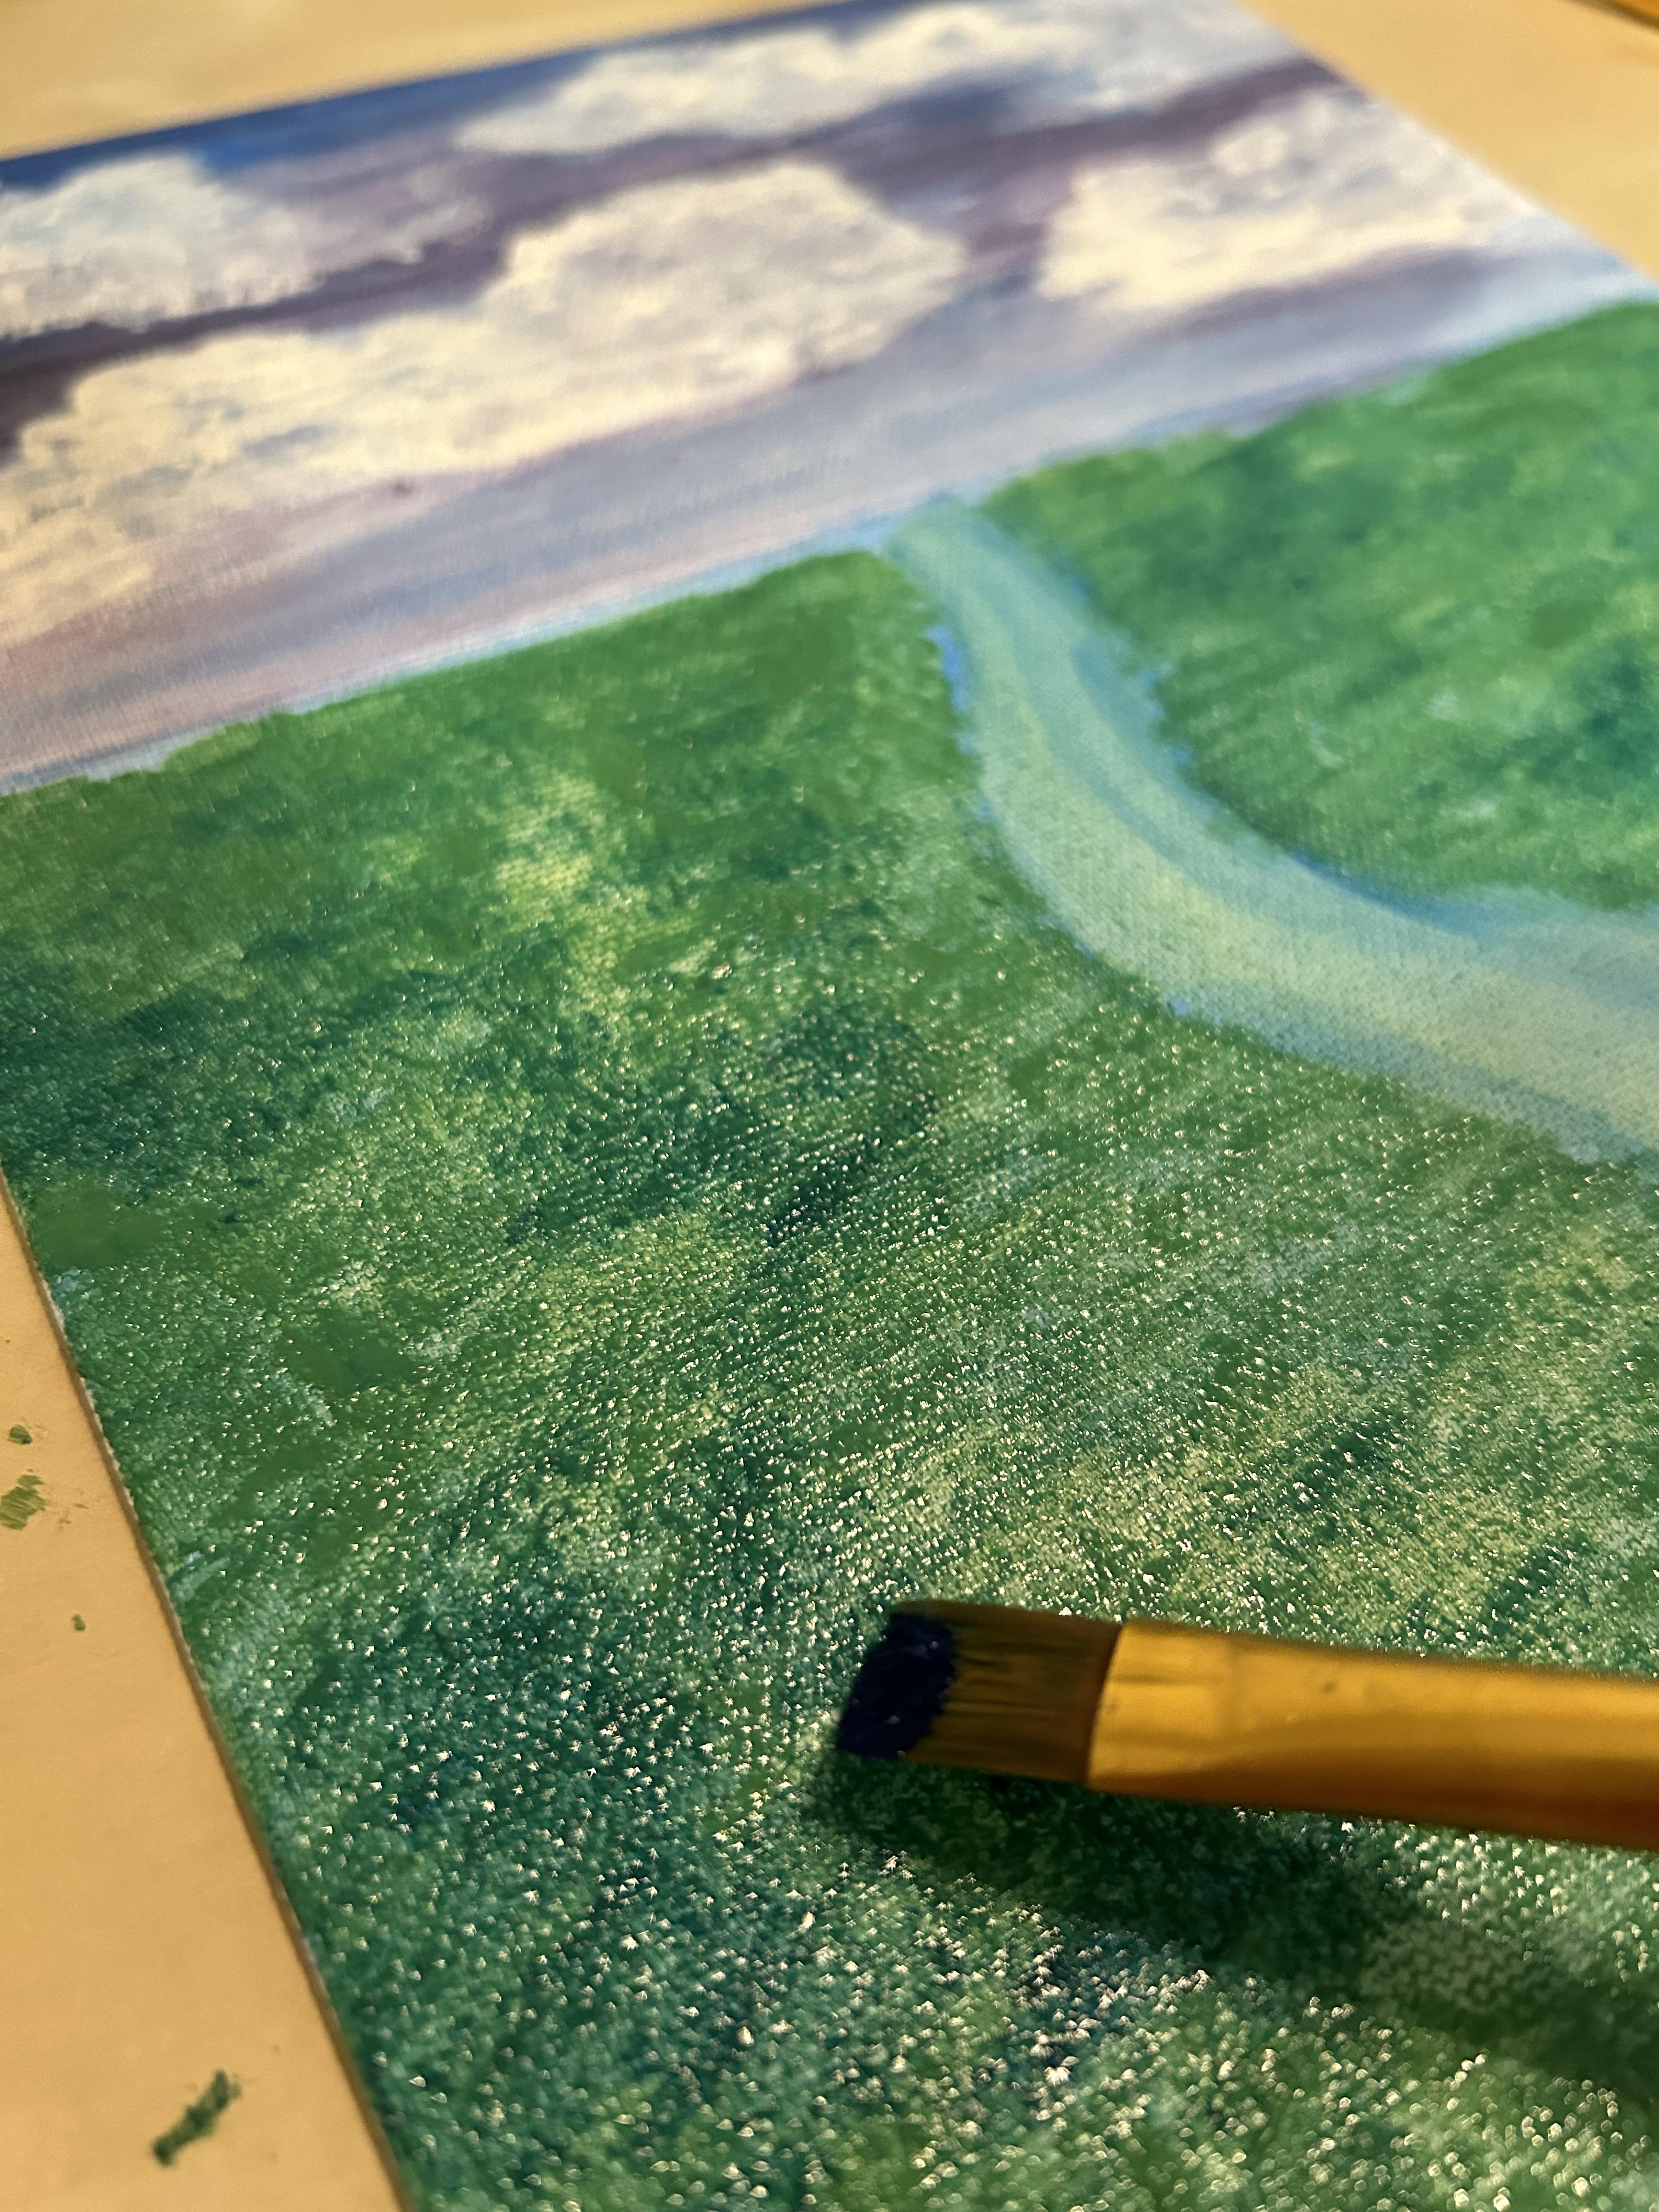
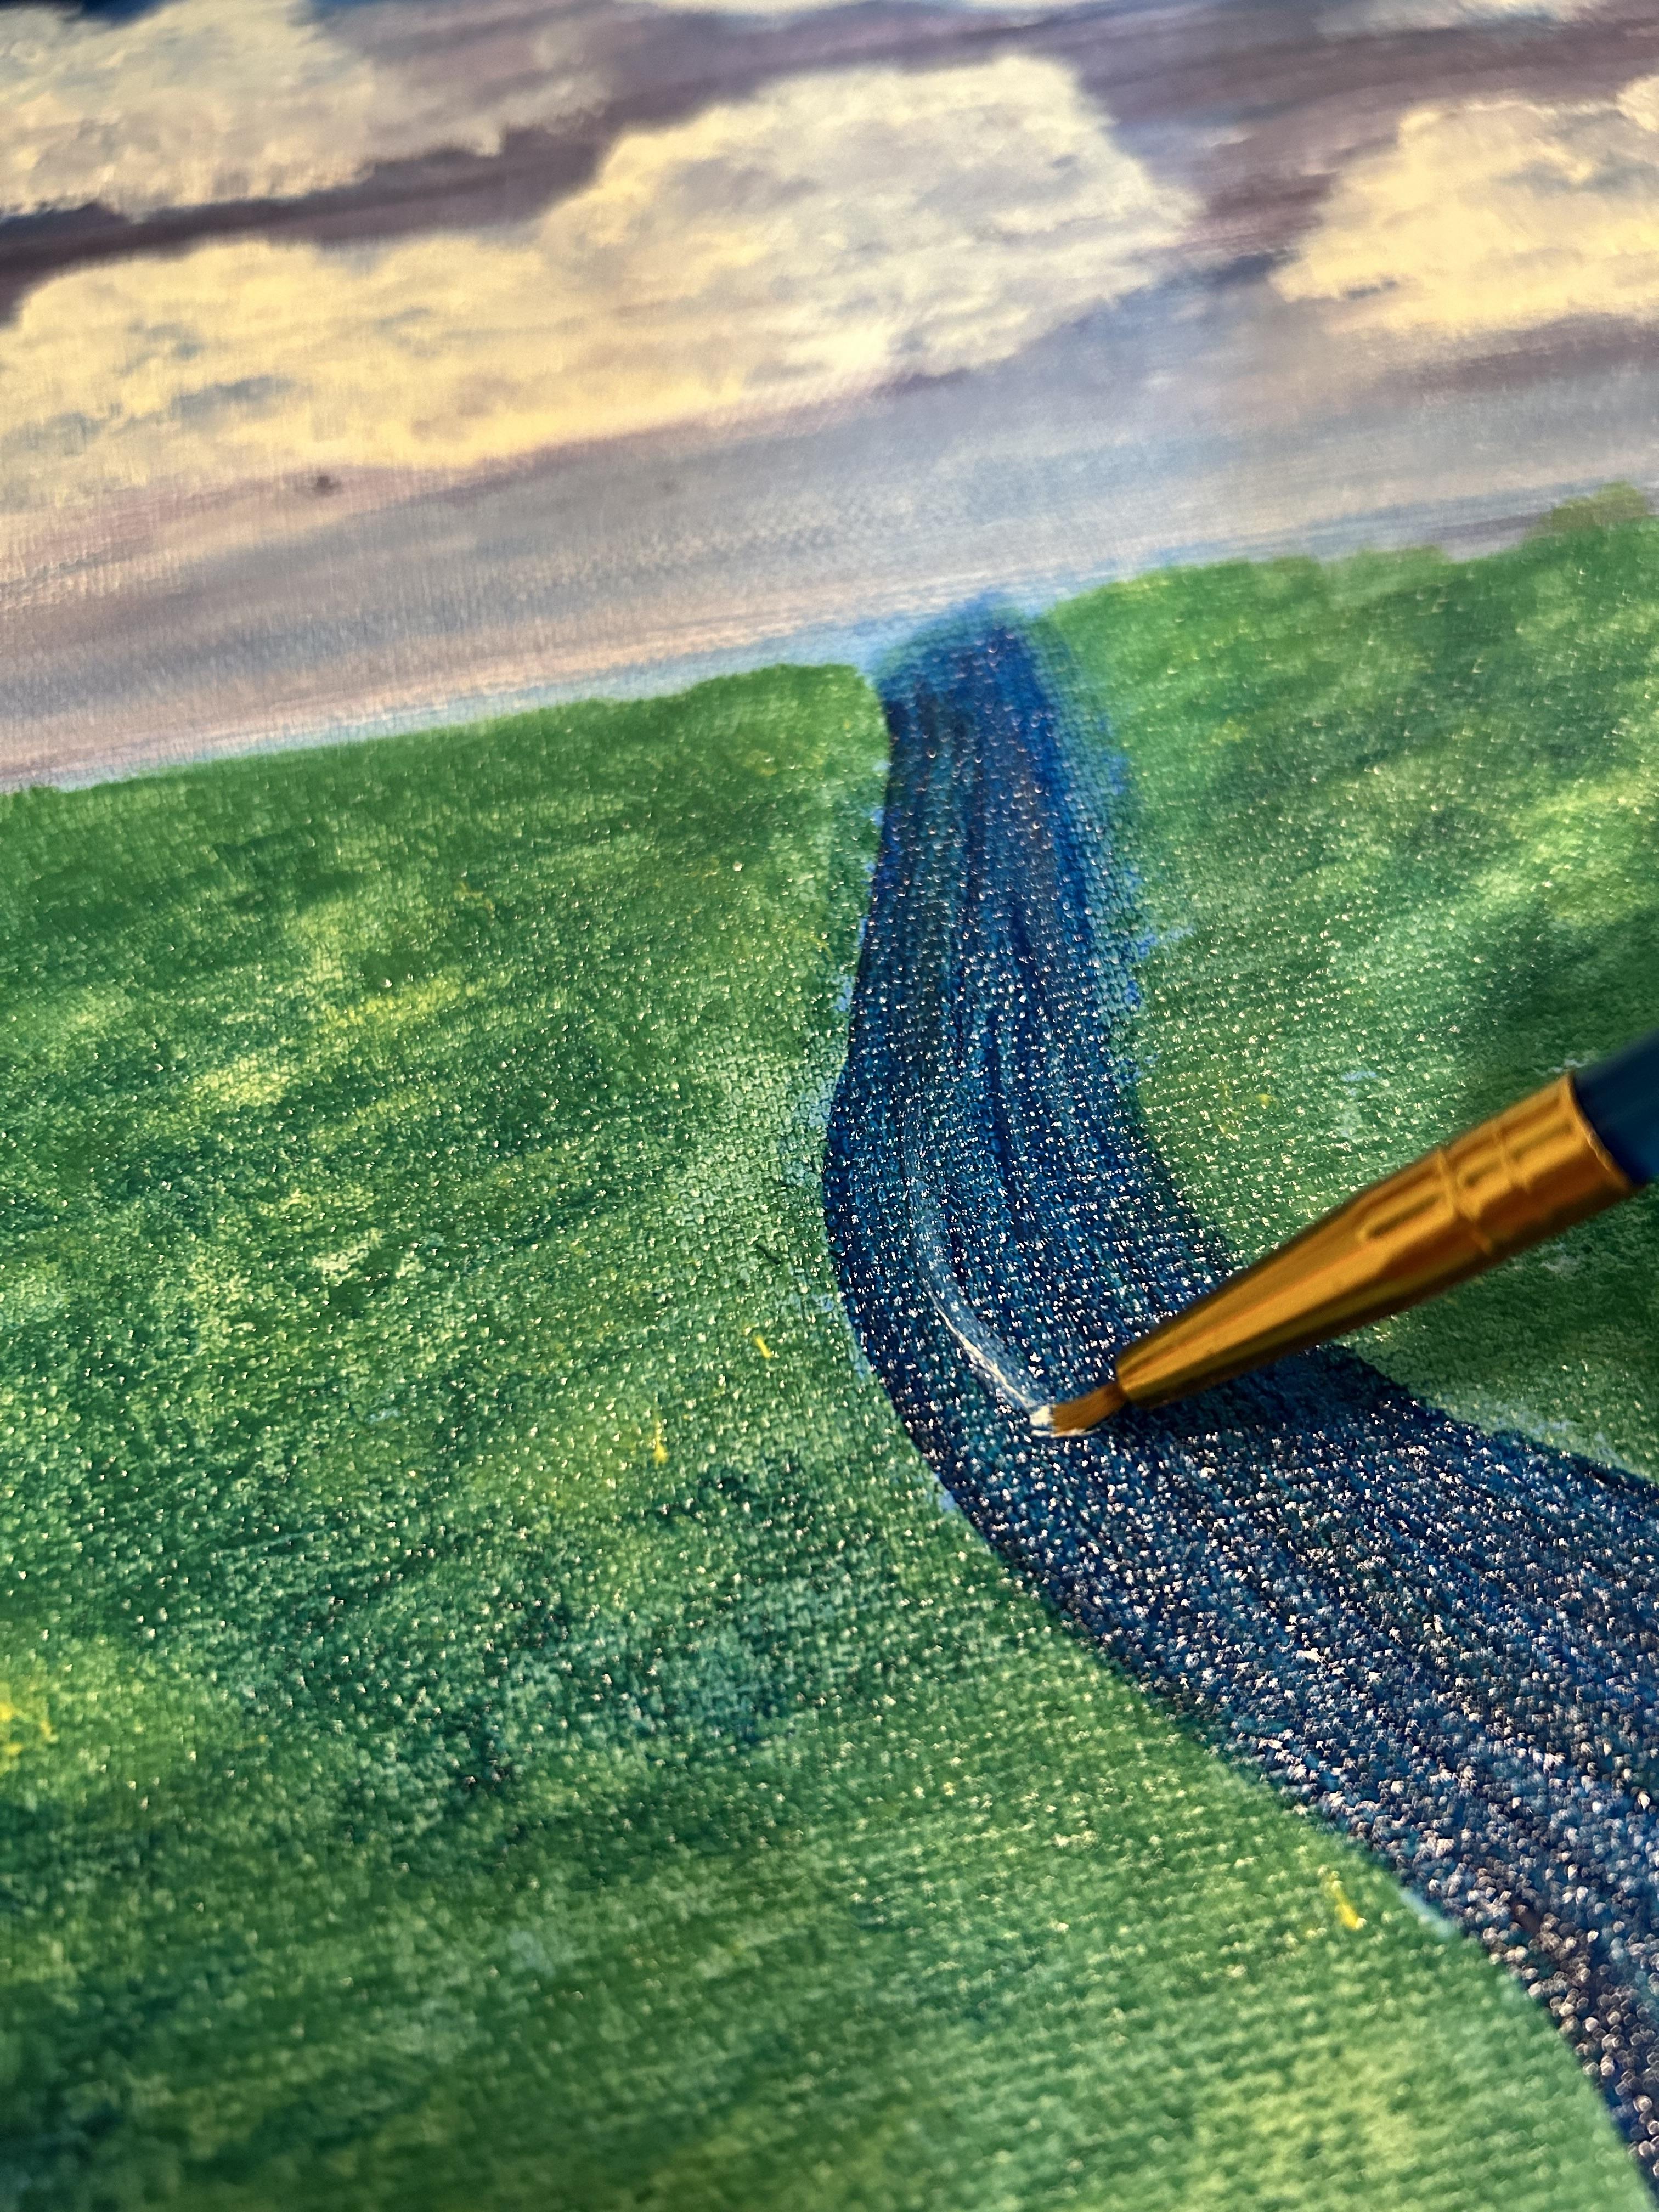
Adding the River and Priming the Ground

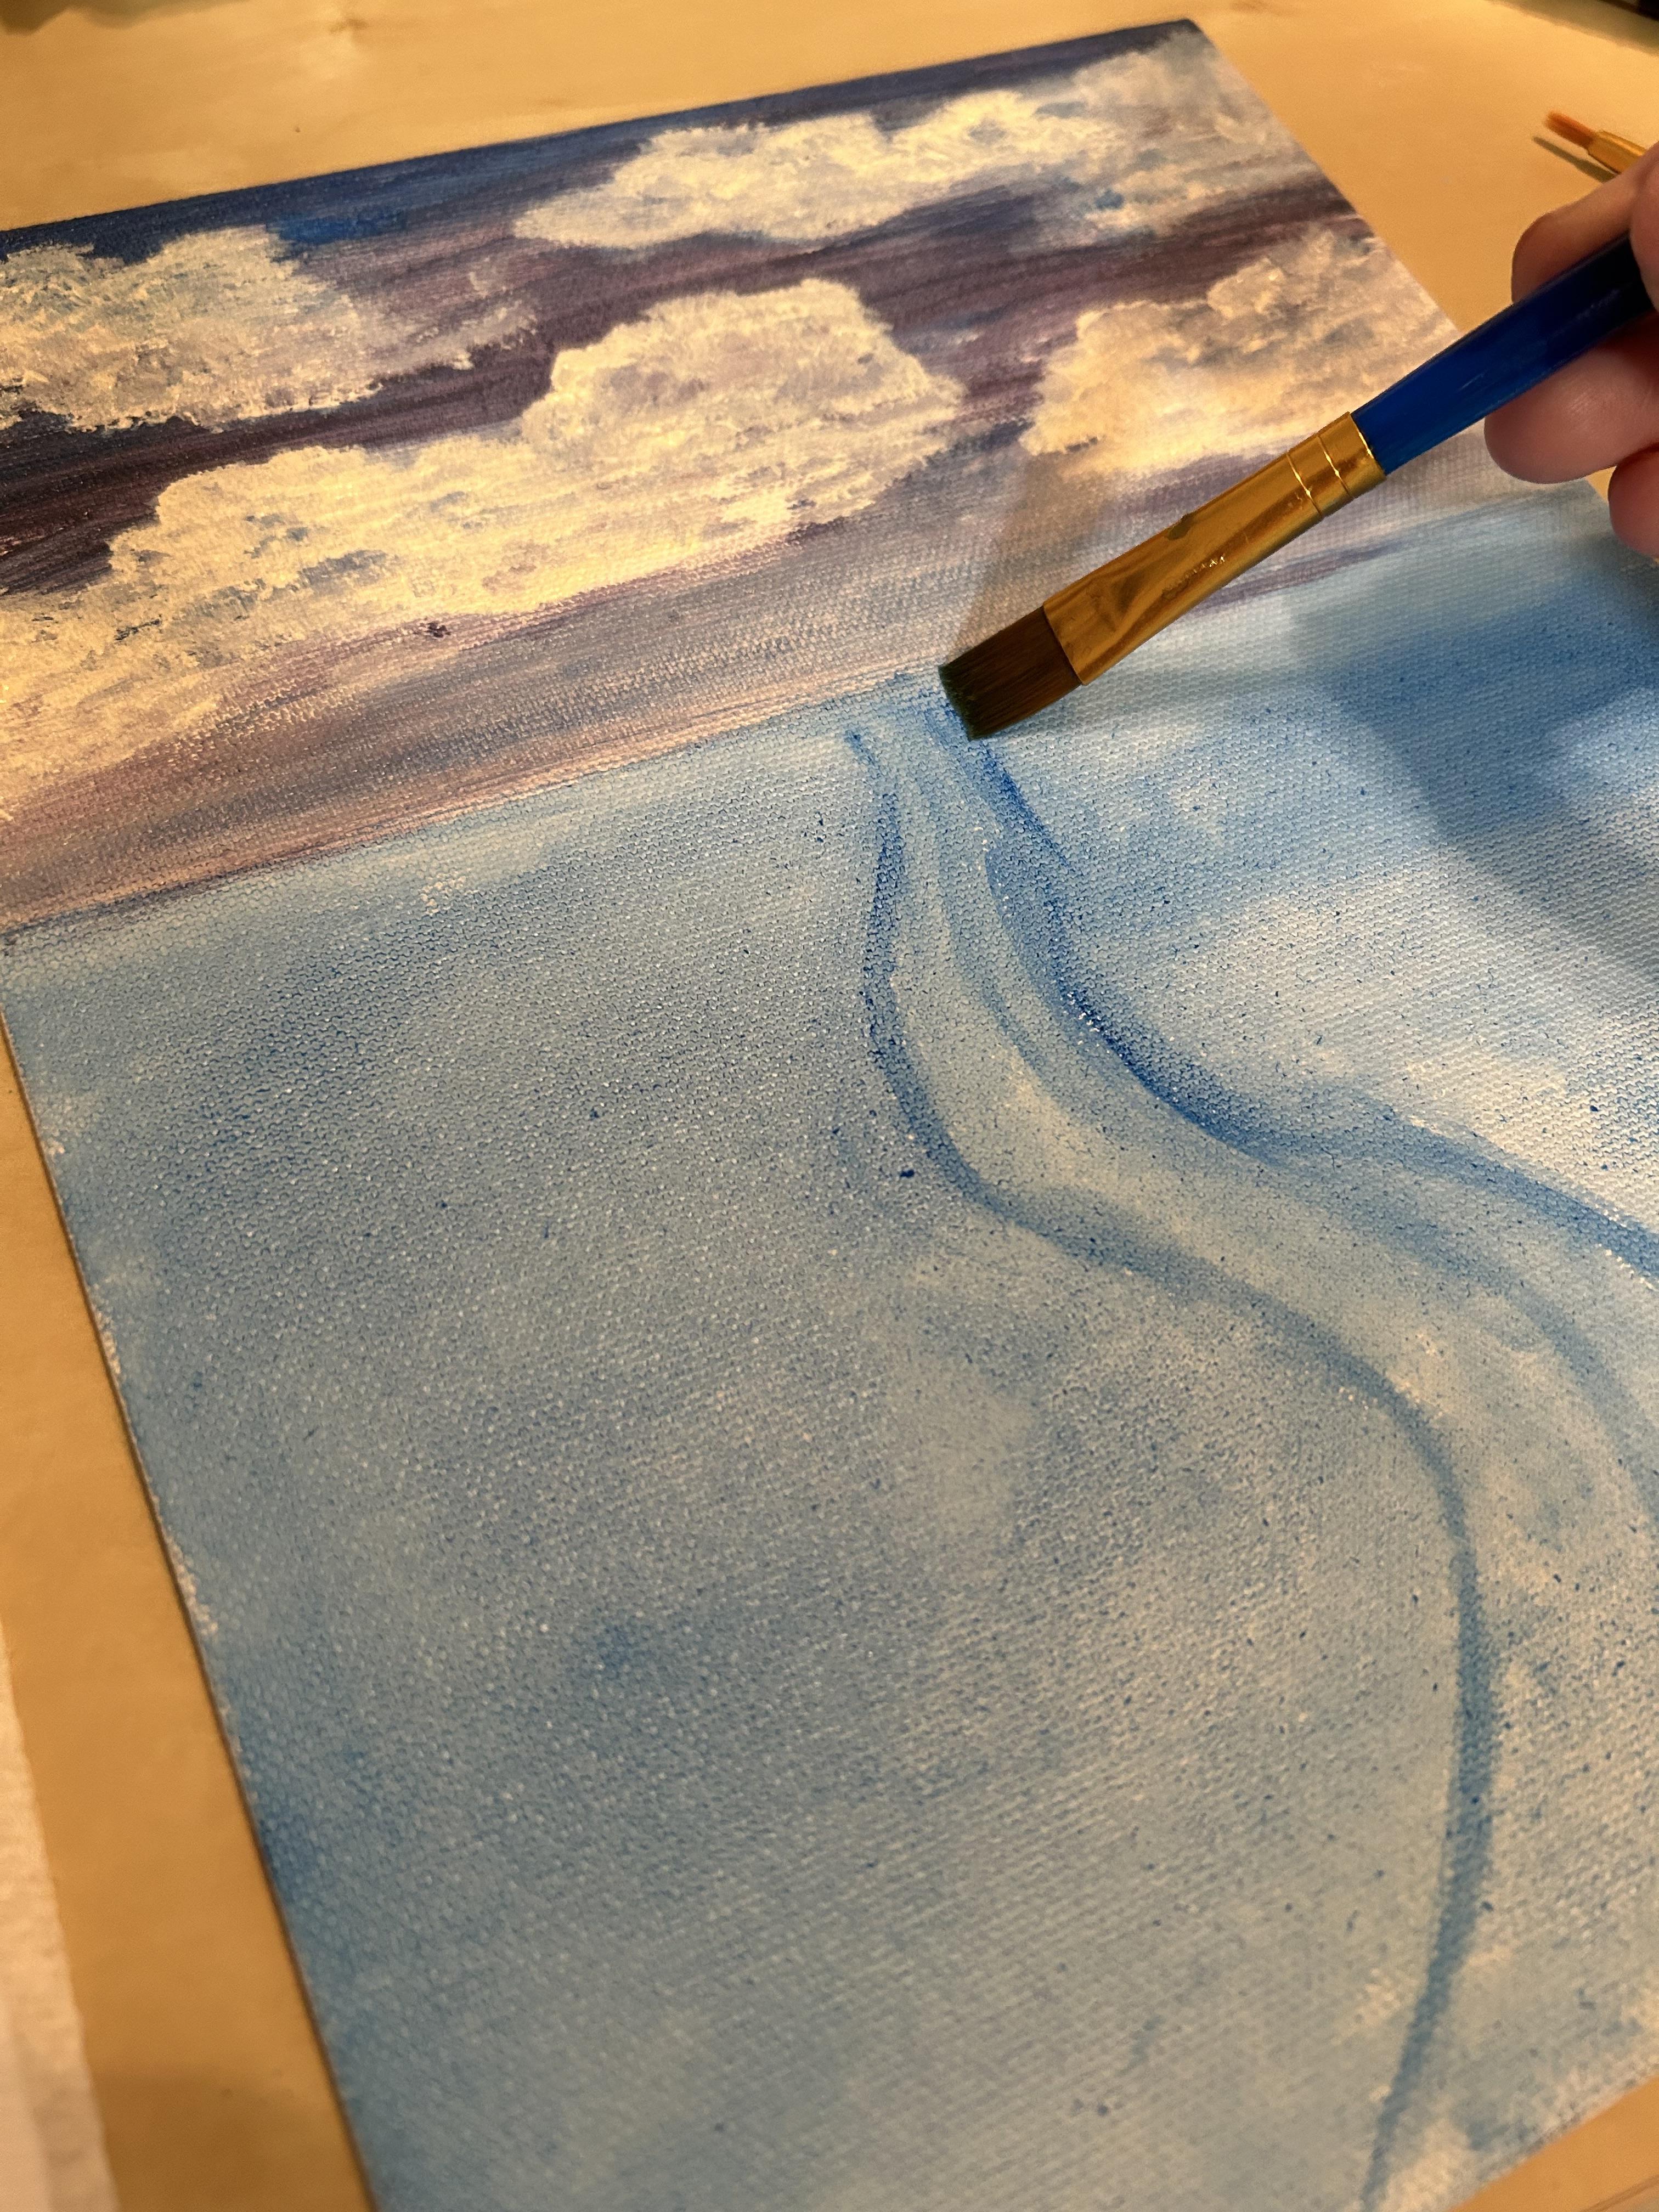
Using a small brush, dip your brush into your blue paint, and then into your water. Trace out where you want your river to be. Keep in mind that objects are smaller the further away they are, so make your river narrower the closer it gets to your horizon line. Switching to your large brush, cover the rest of your ground with a watered down blue, similar to what we did with the white. This will help create color depth in the grass.
Tip
- If you mess up or want to make the river bigger, simply redraw the lines. Mistakes can be covered up with more paint later on.
Creating Green Grass
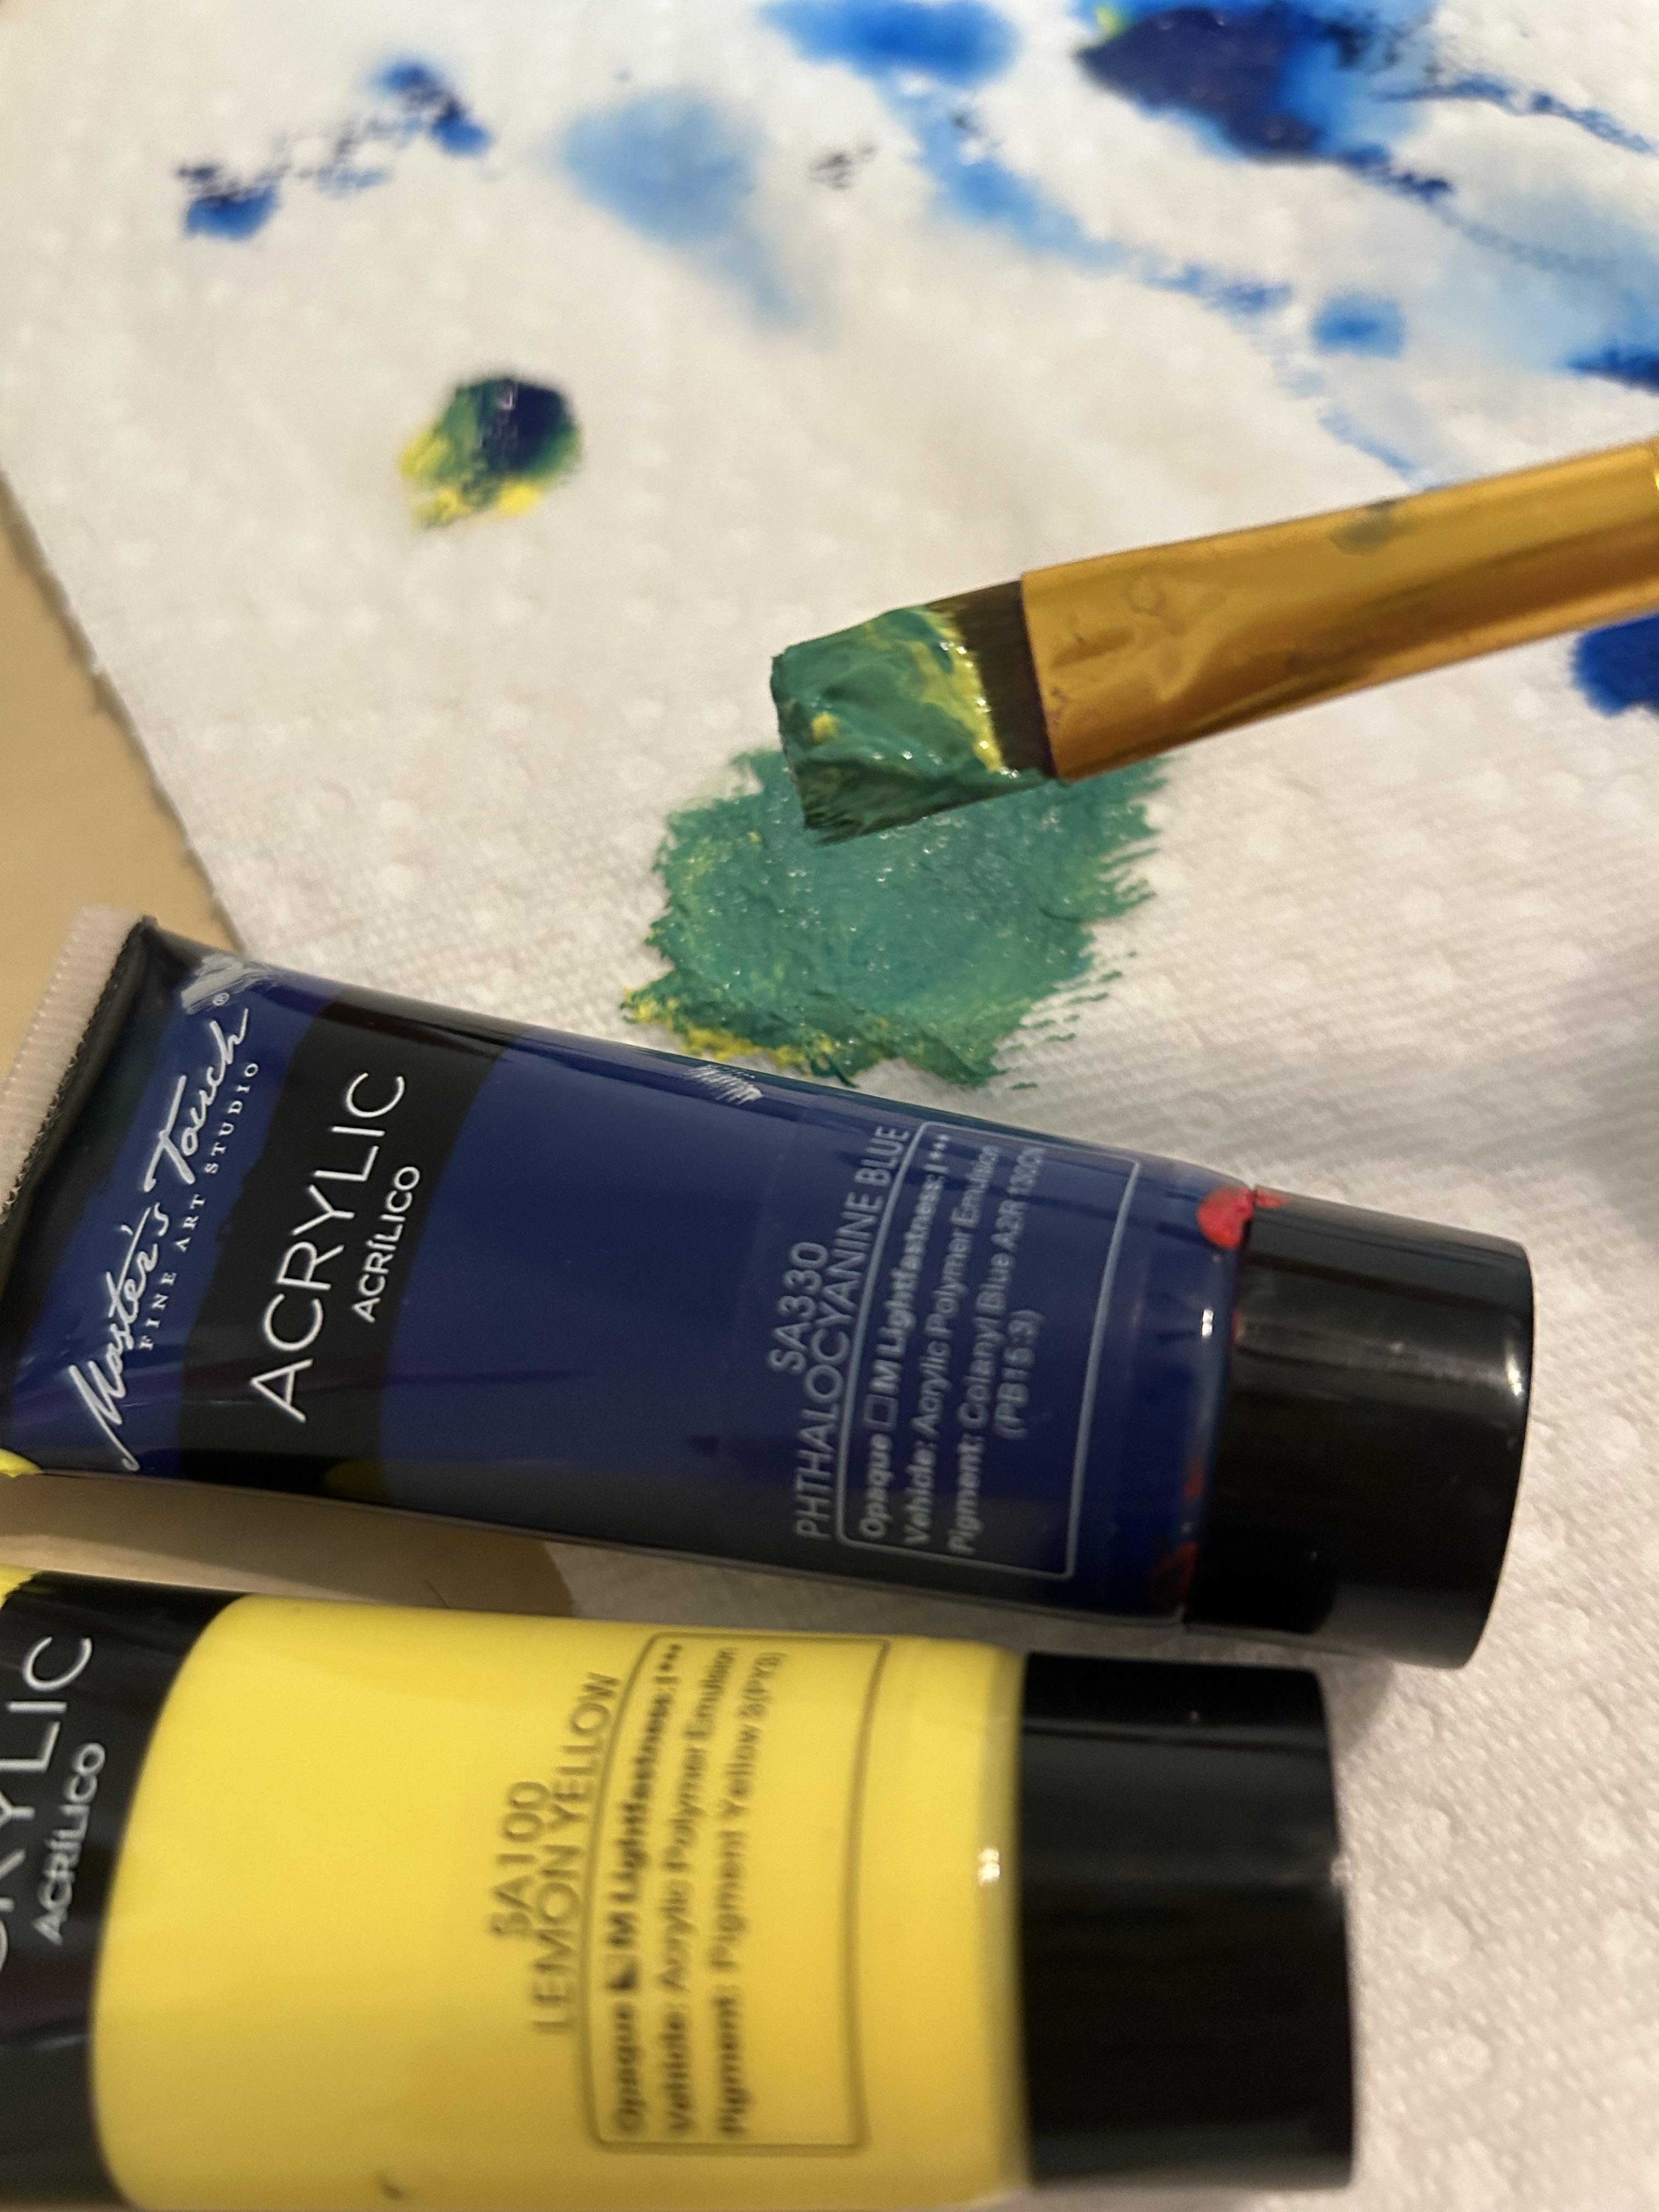
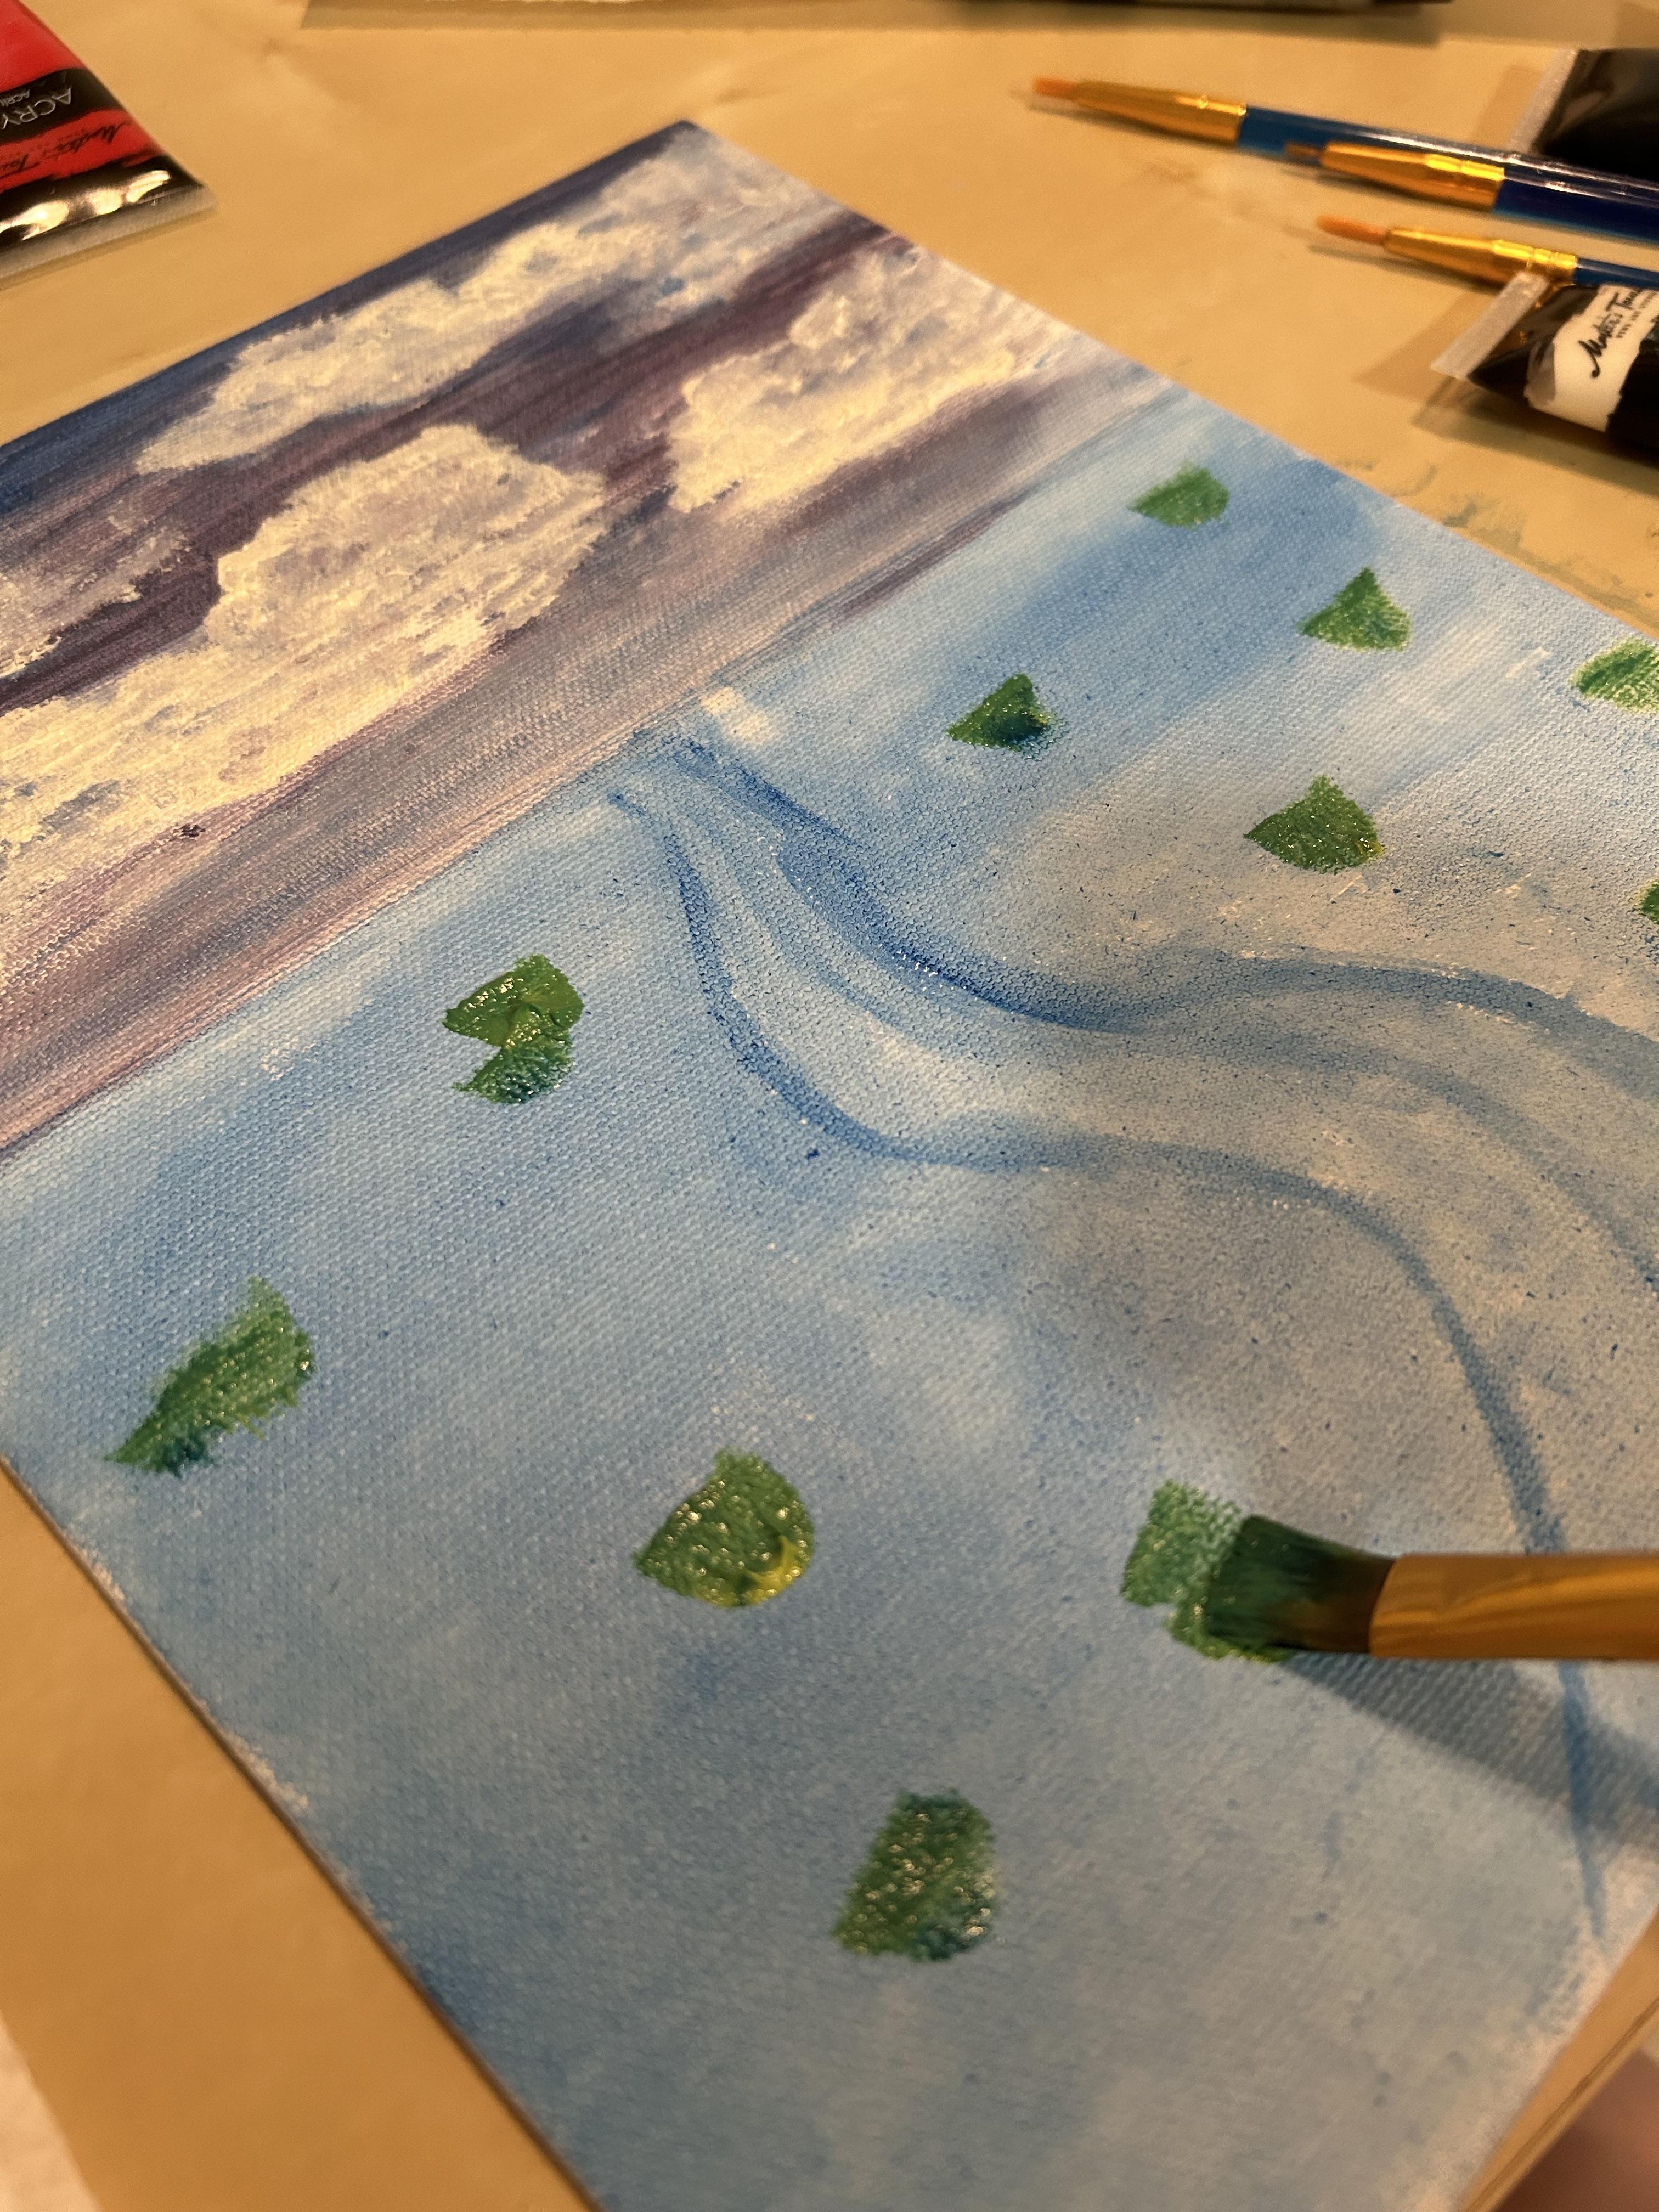
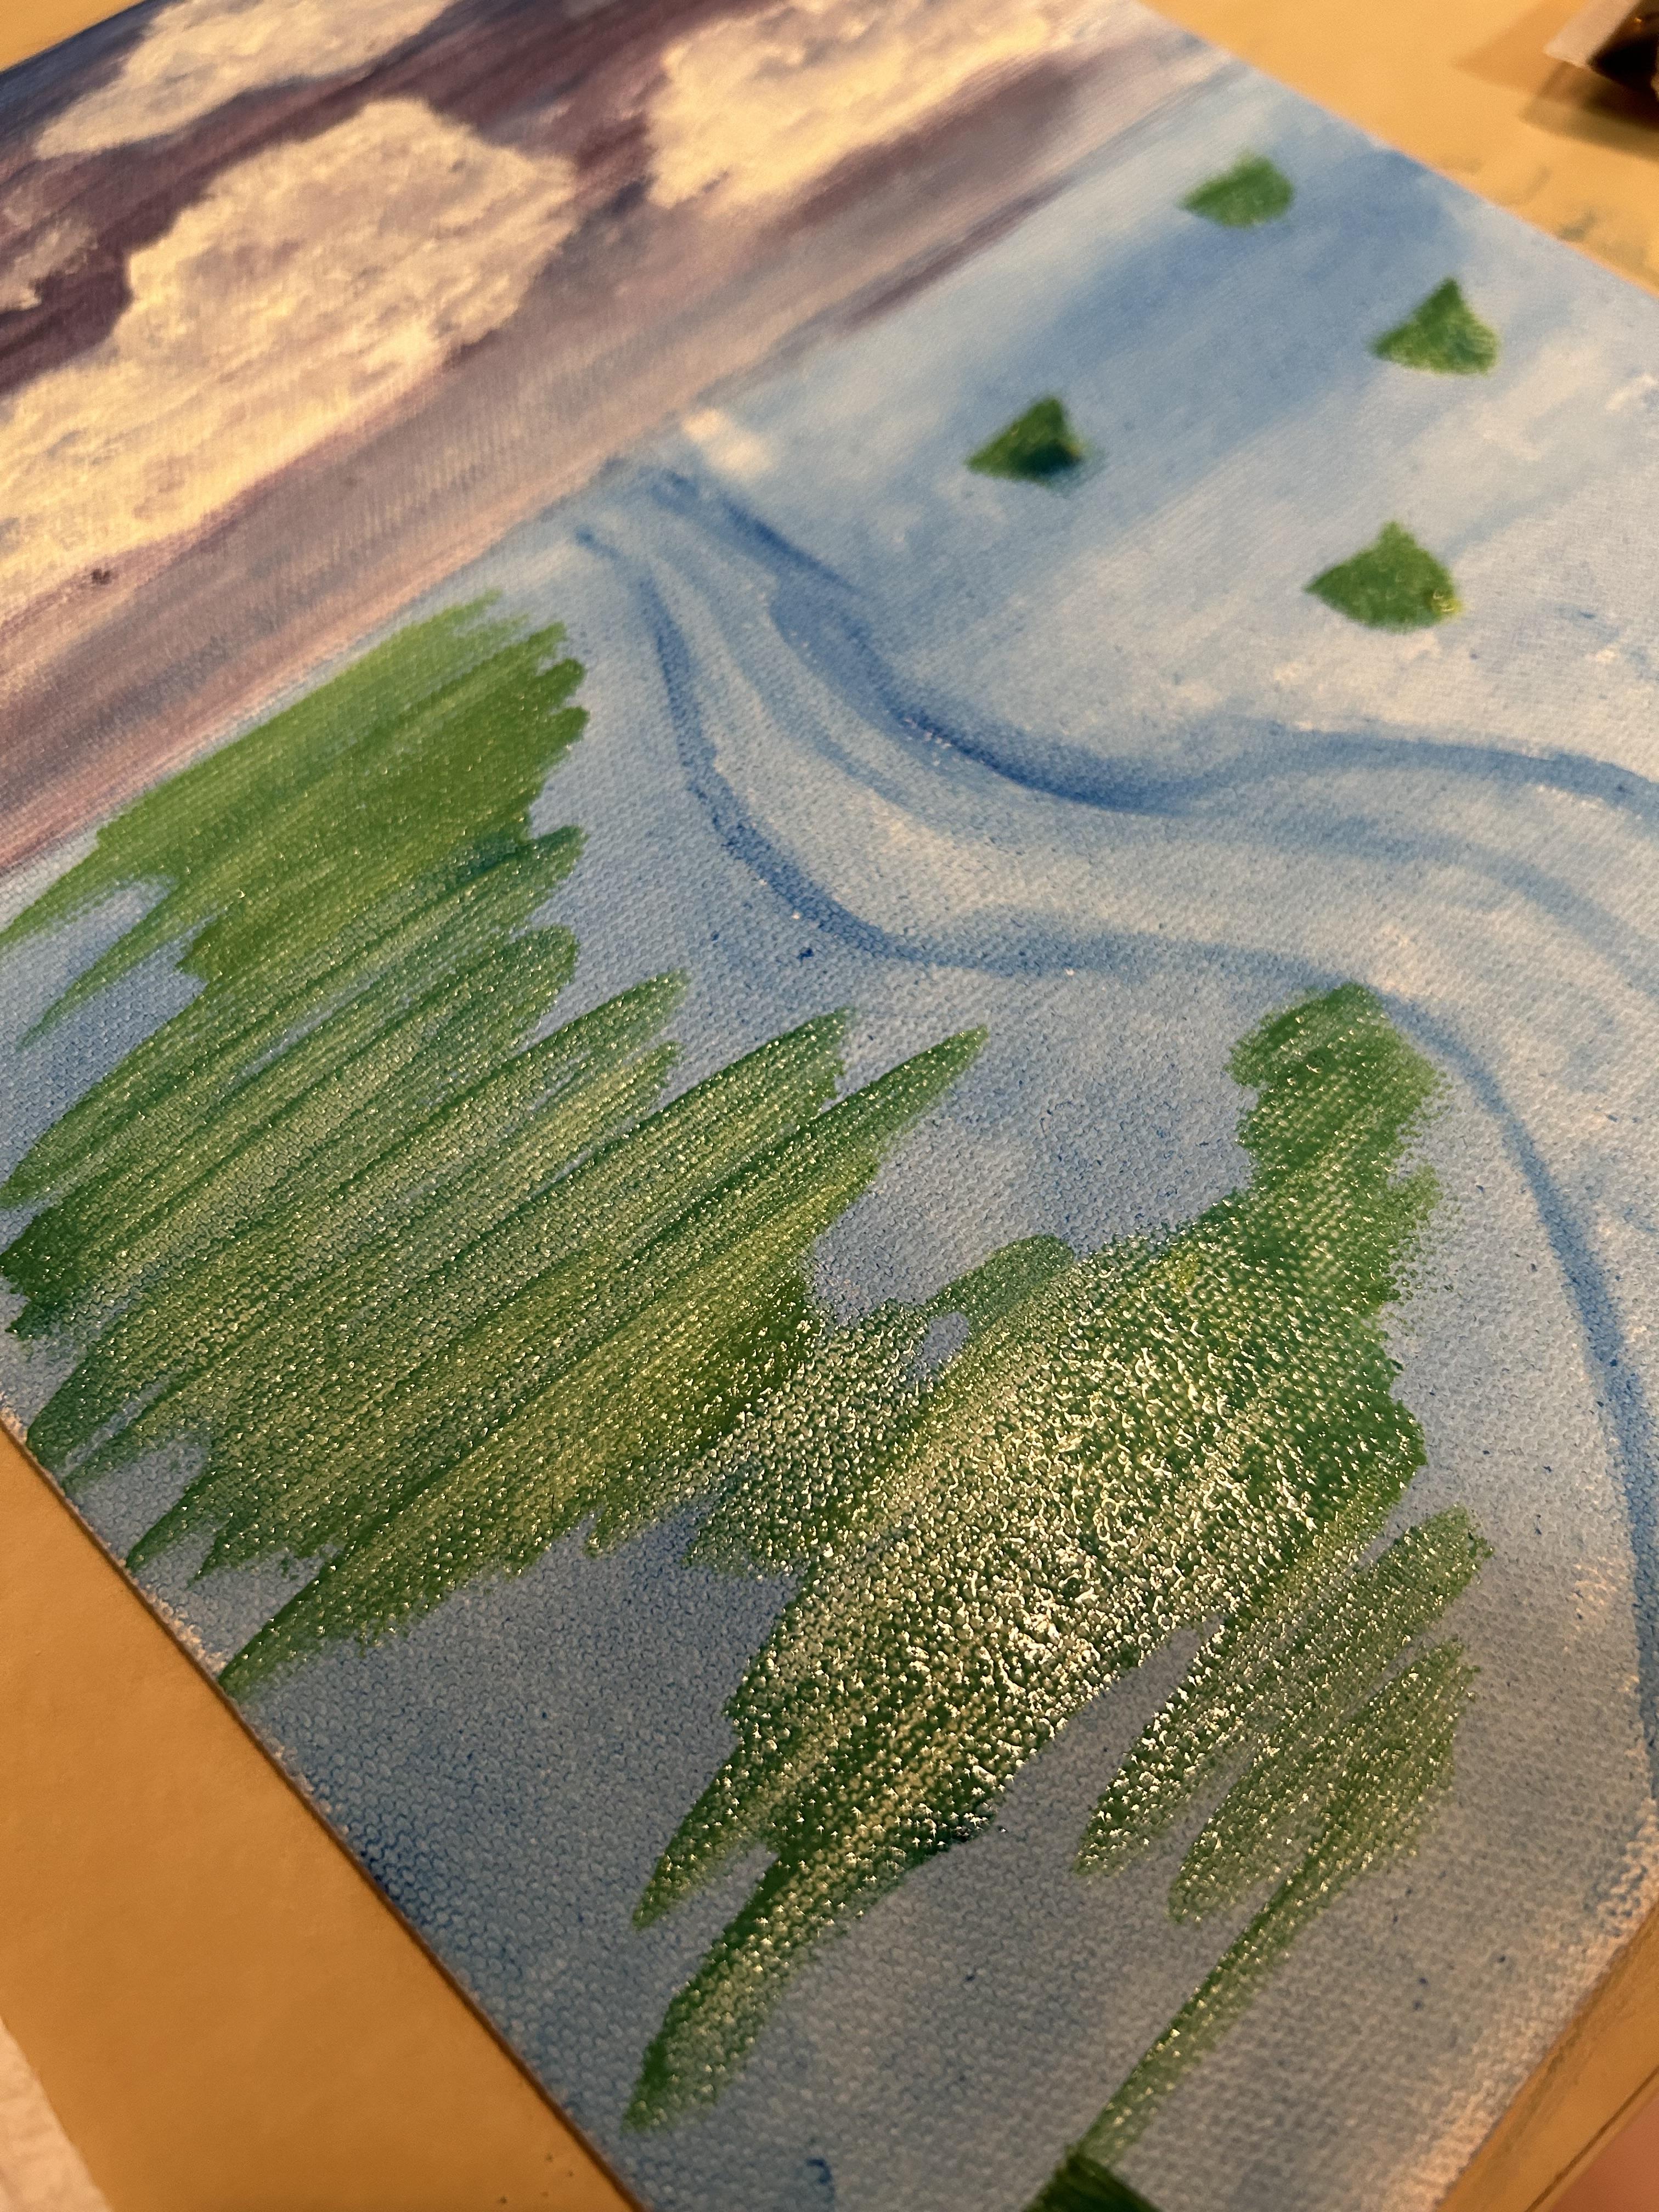
To create green, mix together yellow and blue paint on your paper towel or plate. More blue will give you a darker green, while more yellow will give you a lighter green. For this painting, I used about a 50/50 ratio. Once you have your desired green, add spots around the river. Blend the green into the blue, adding more paint as needed. After your ground is mostly covered with the green, dip your brush into your water and lightly paint over the river.
Adding Depth to Grass
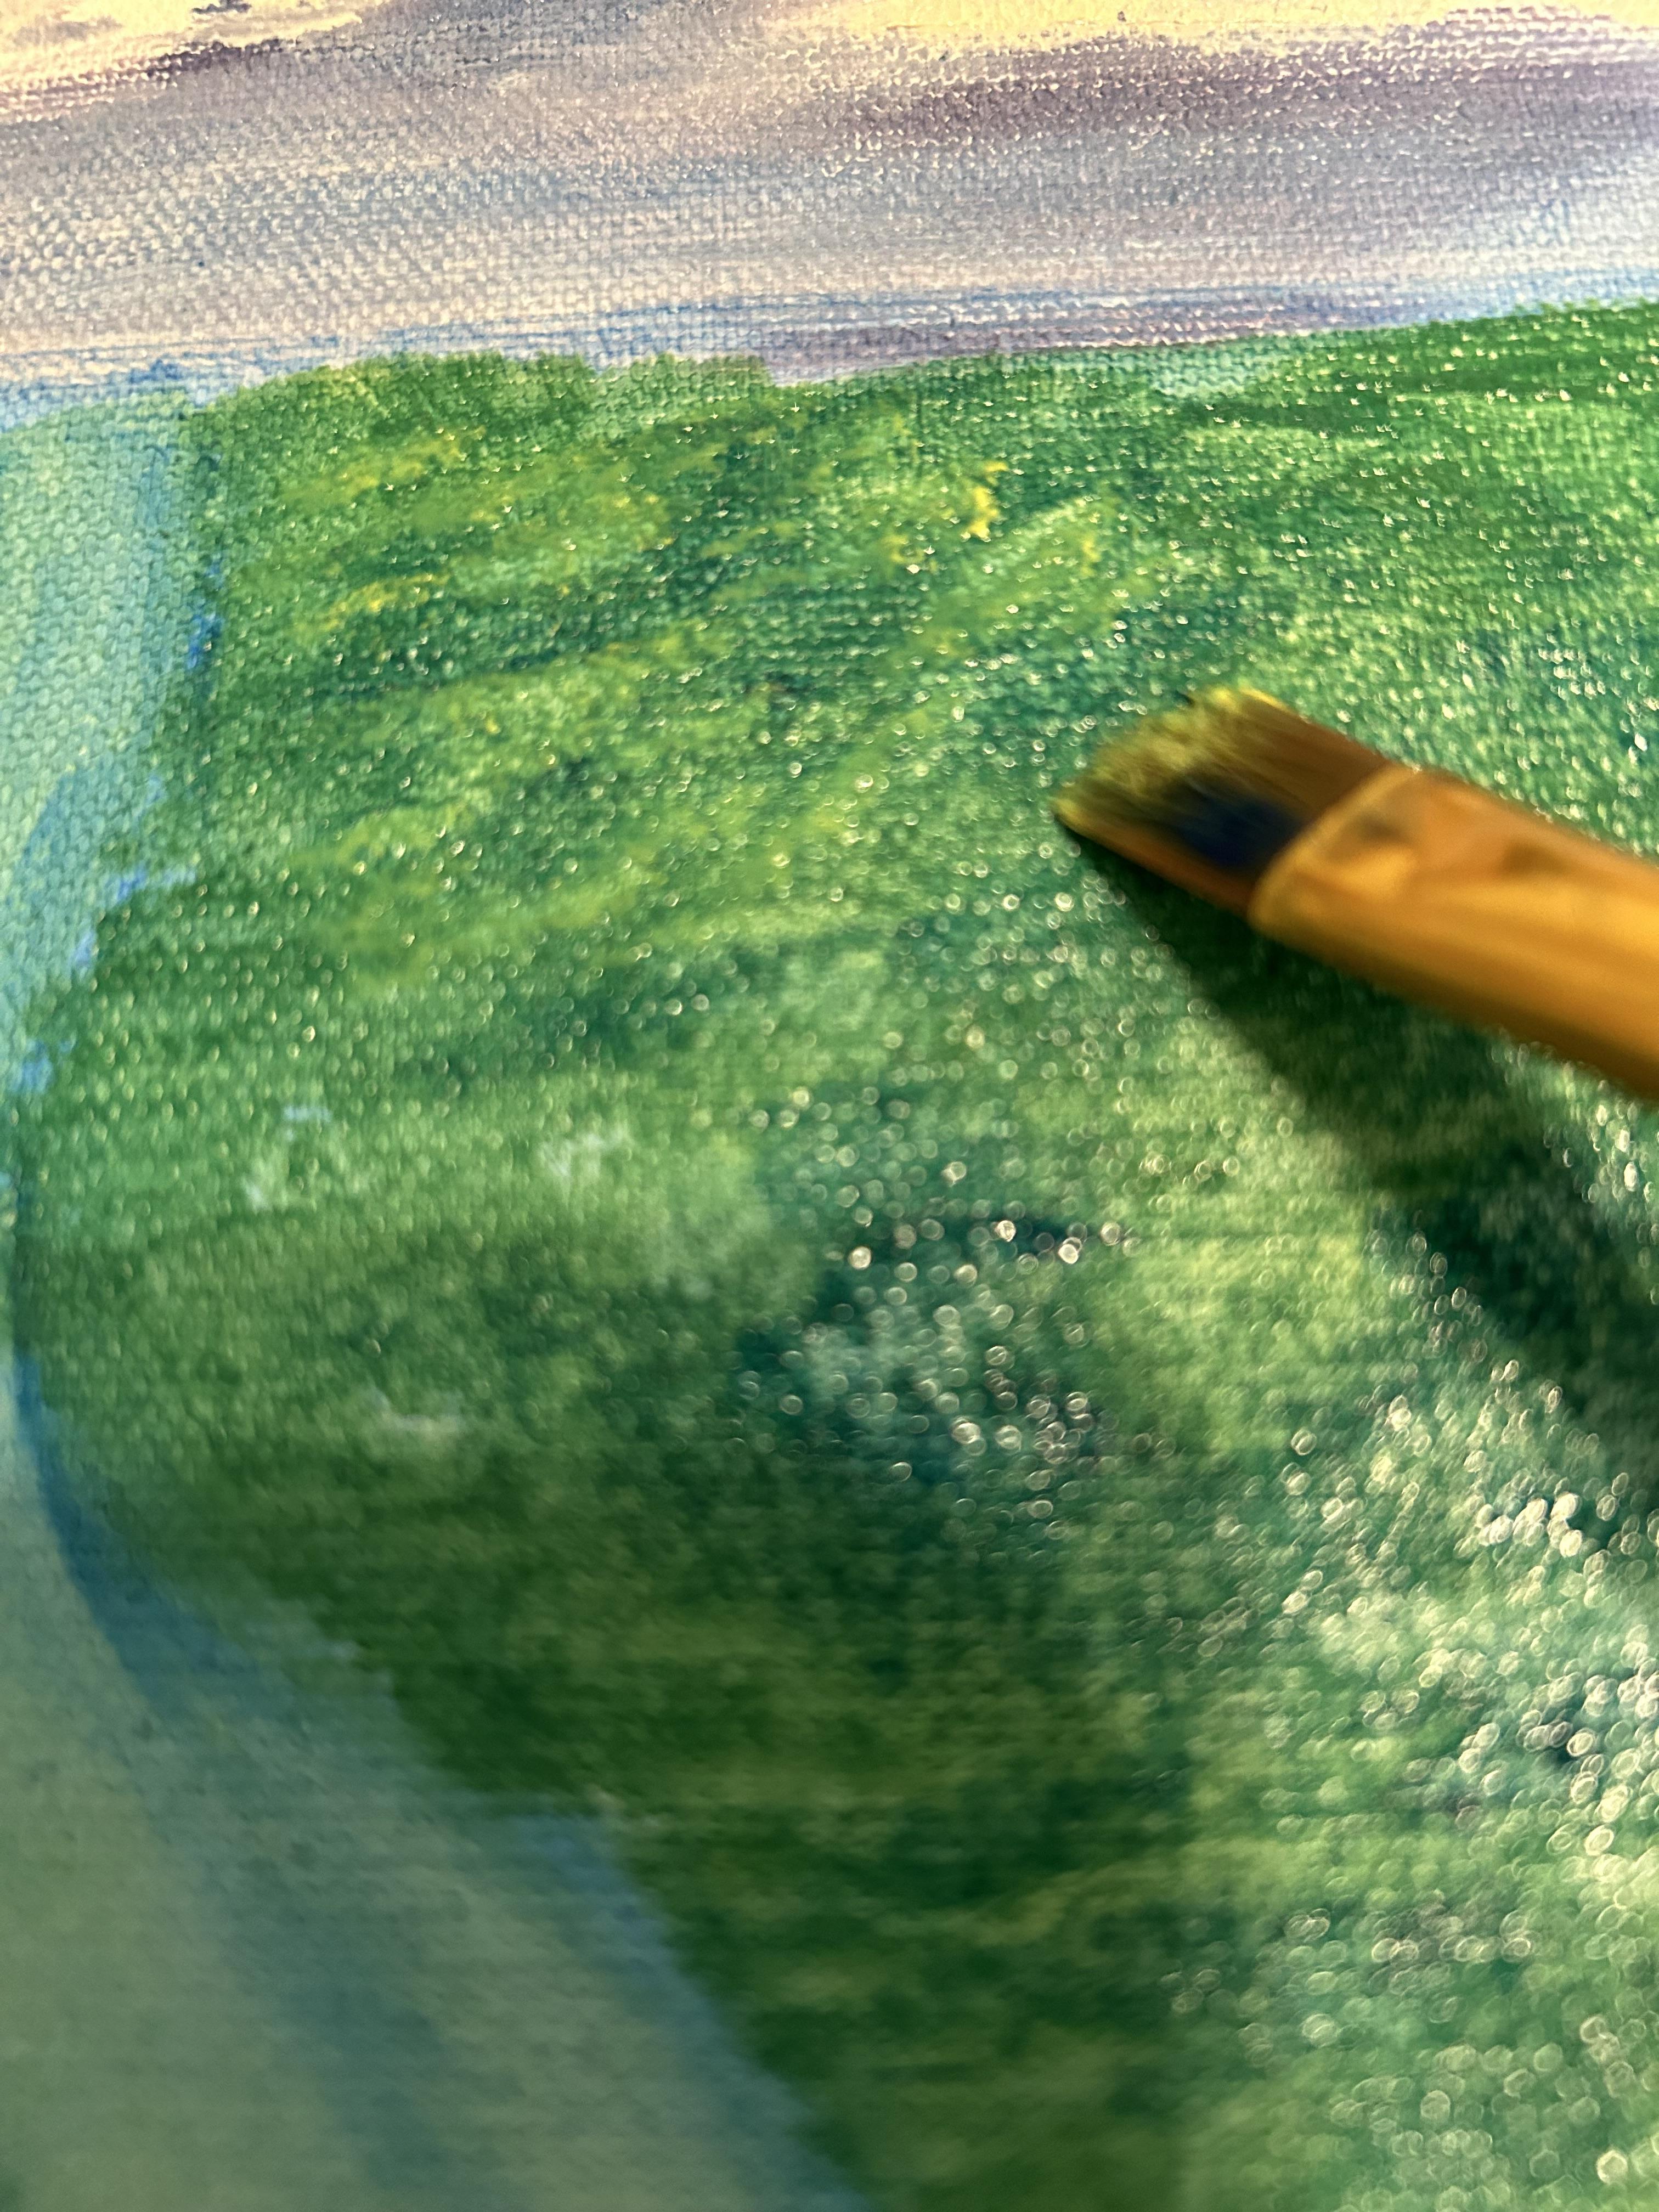
While your green paint is still wet, dip your brush as is into the water and then lightly into the blue paint. Gently dab bits of blue into the grass to create darker areas. If you made a mistake on the river that's still visible through the green, use this time to cover it up. Once your done, clean your brush and repeat this step with the yellow paint. This will help create light areas in your painting.
Tip
- When working with lighter colors, it's important to use a clean brush. In this case, the blue and green paint still on the brush will overpower the yellow and create more dark areas.
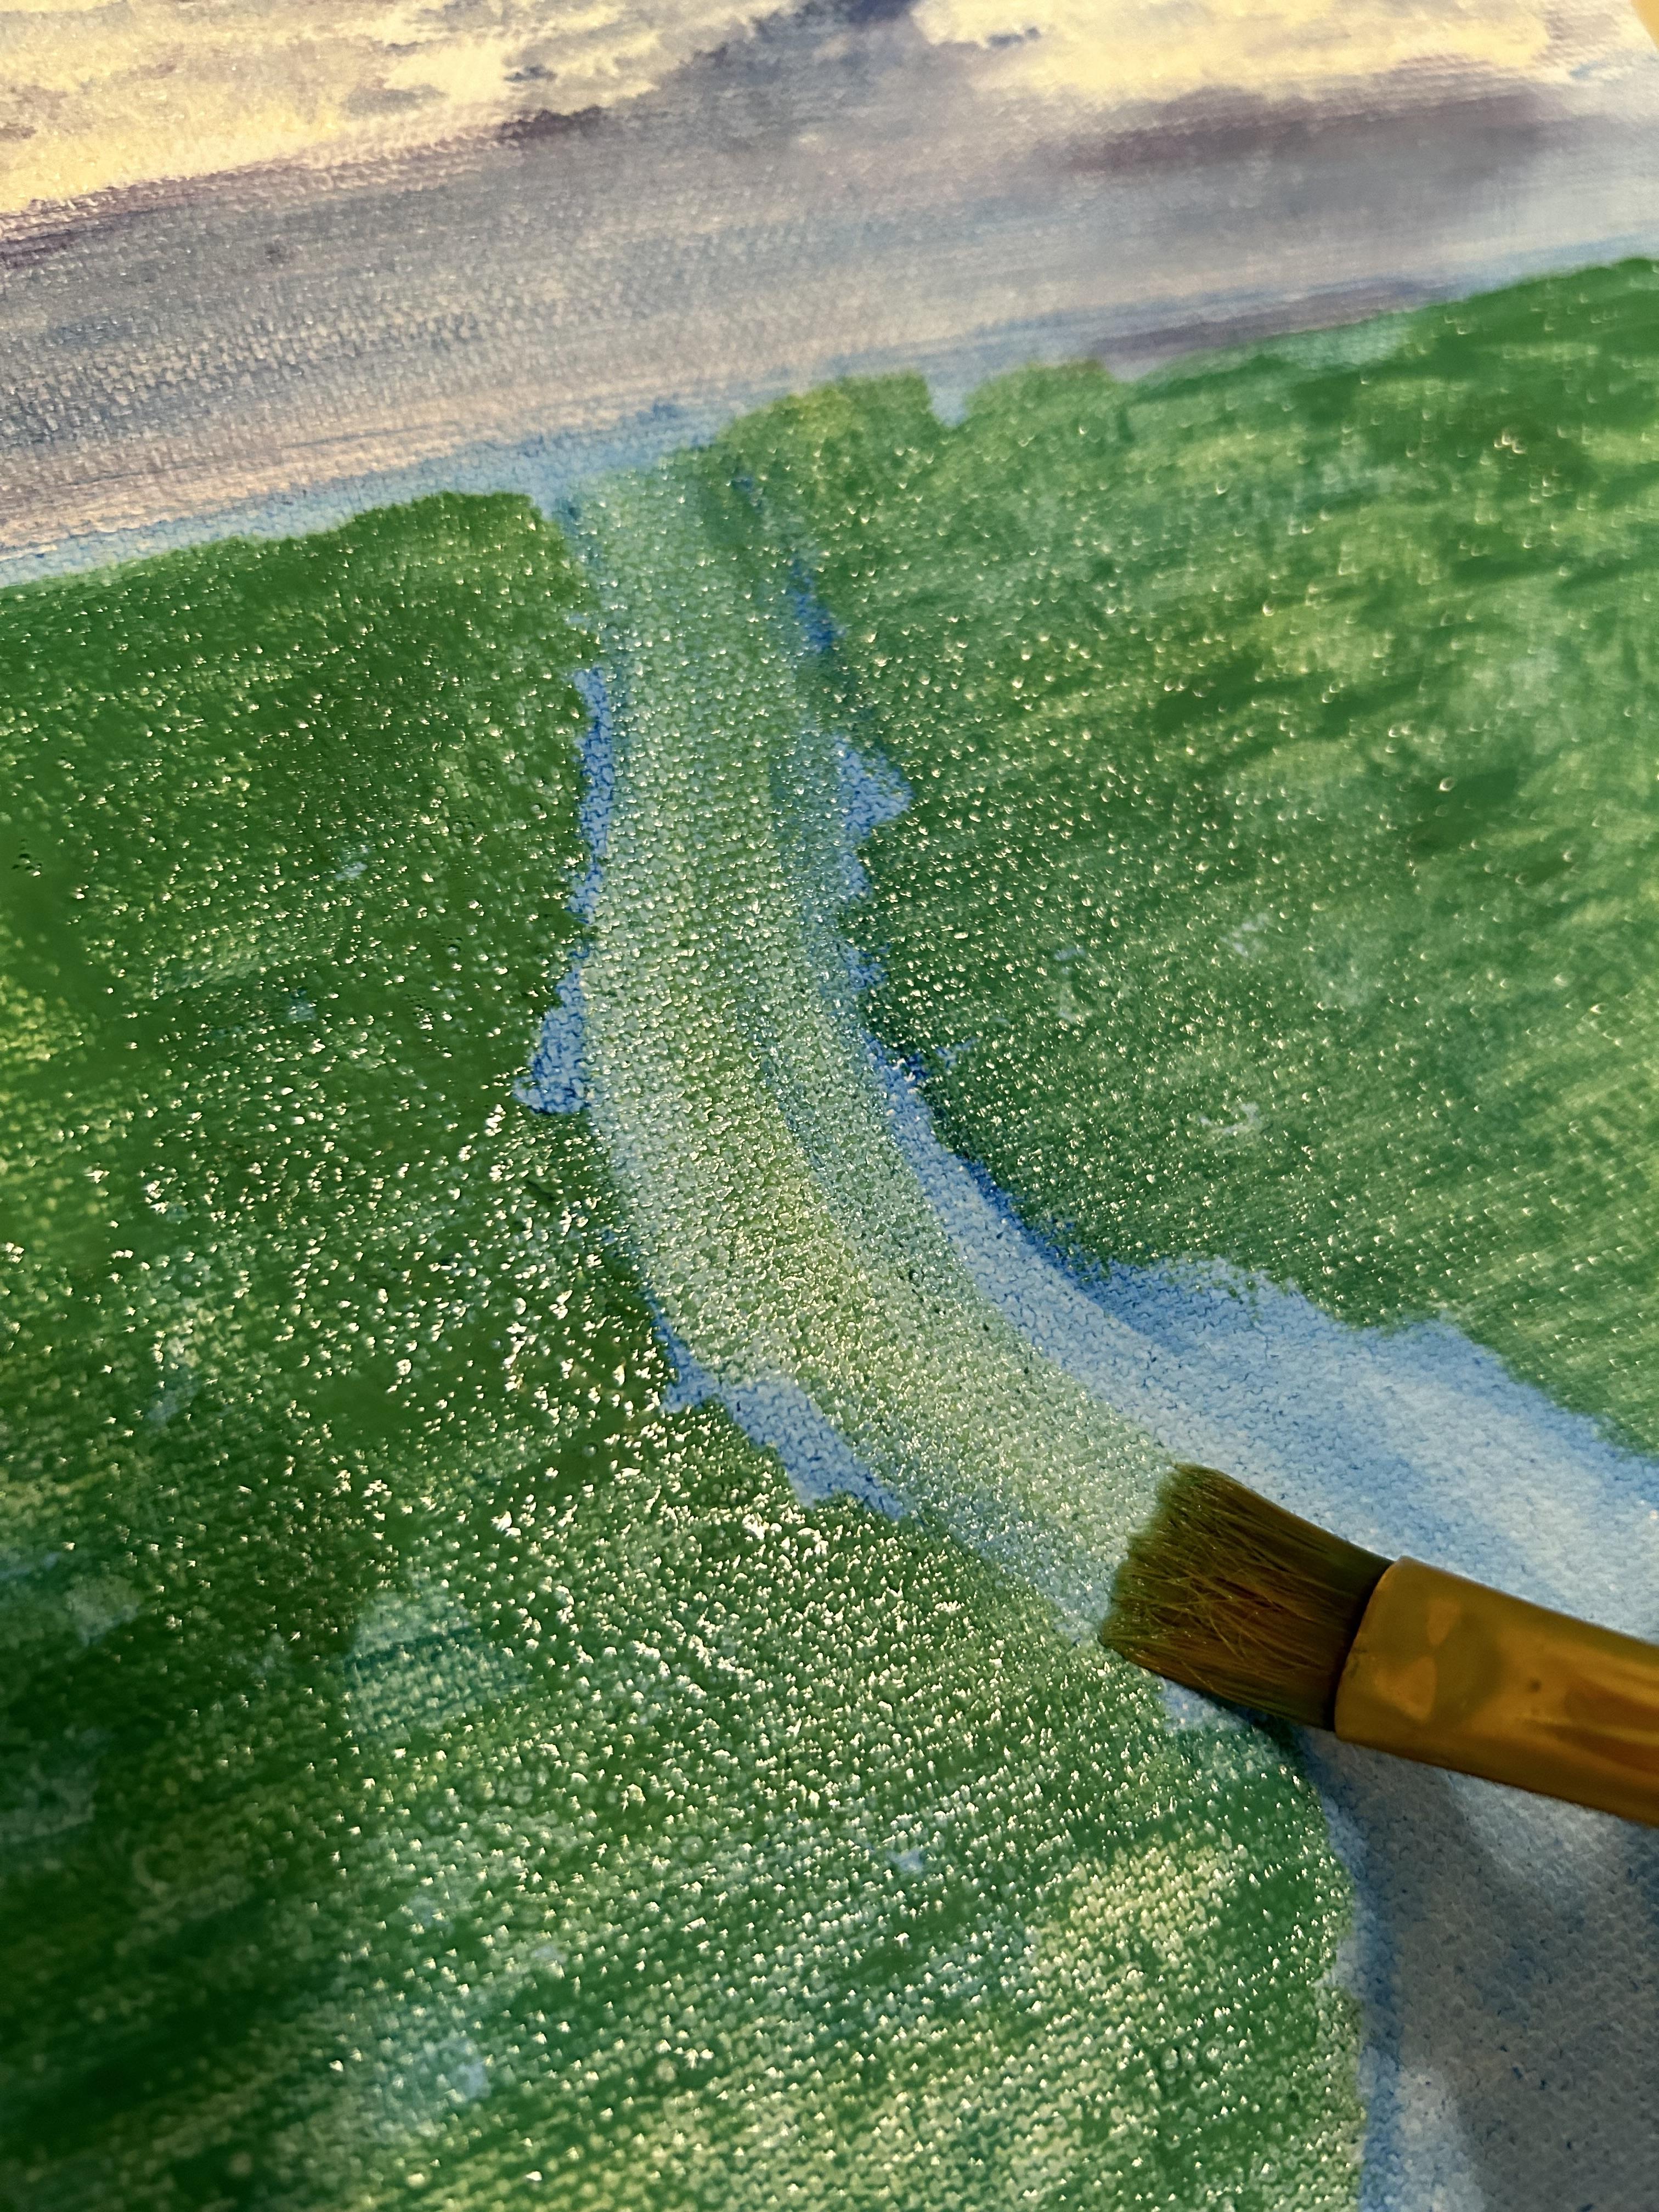
Finishing the River
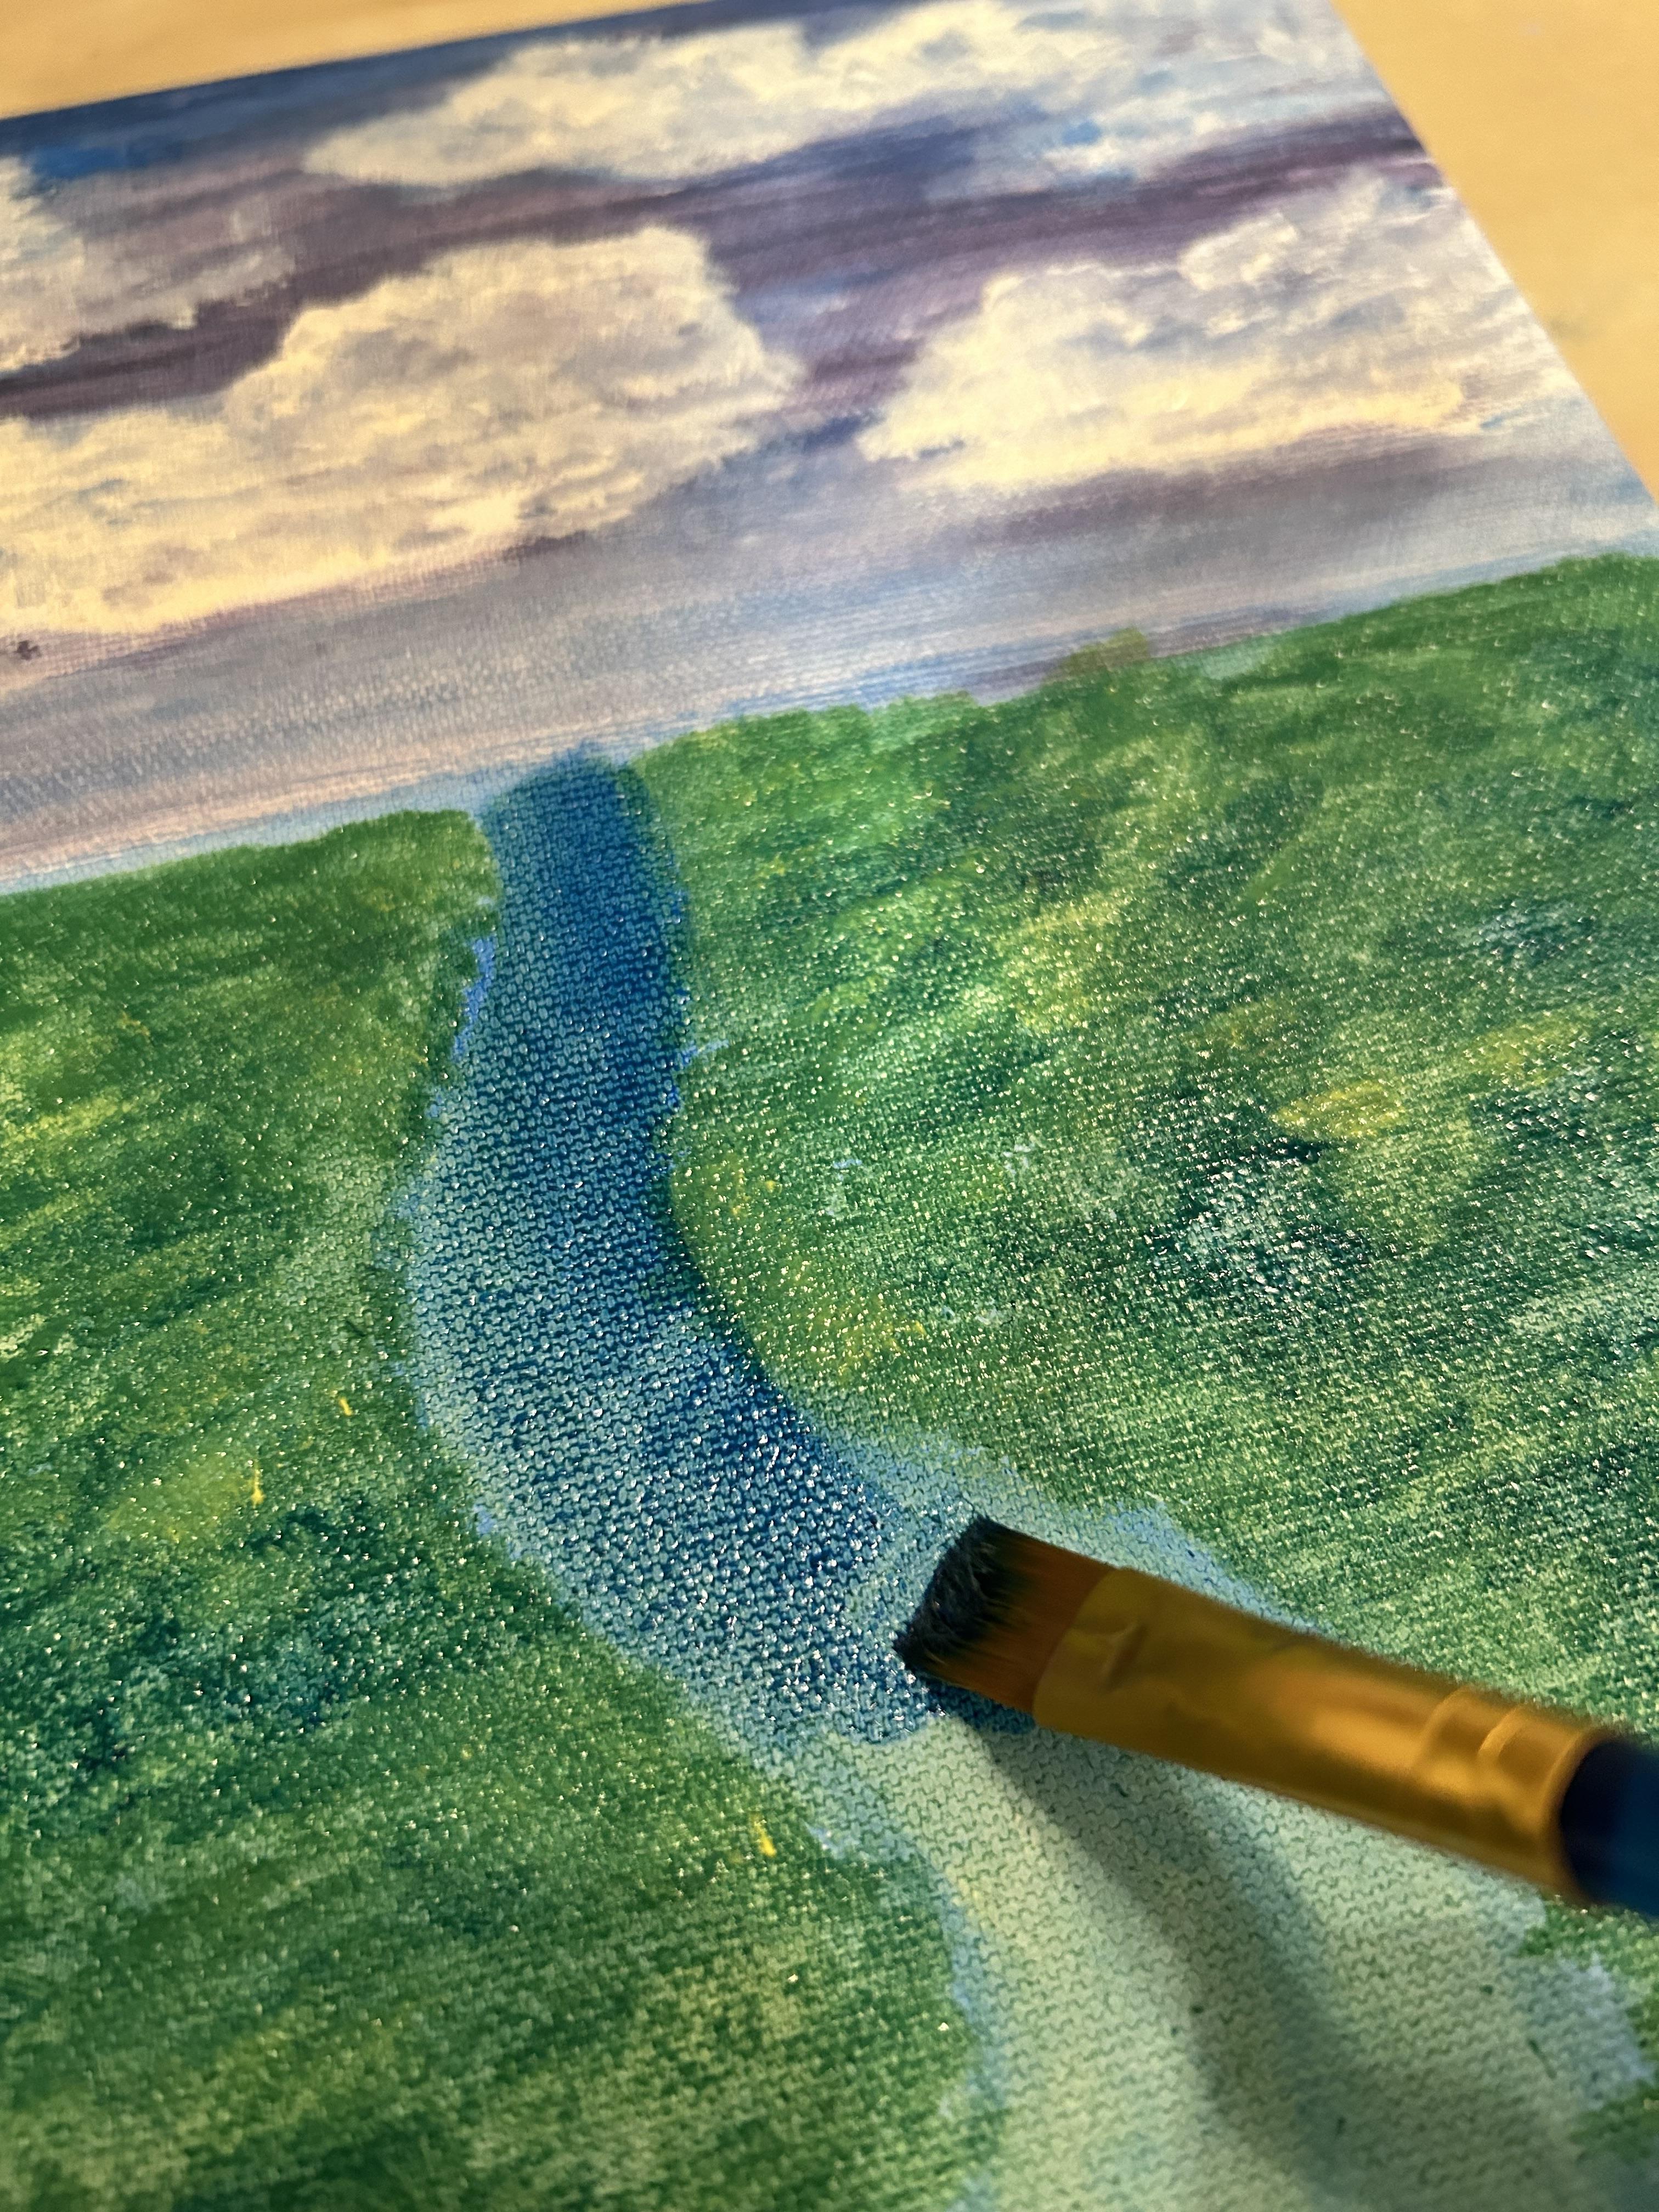
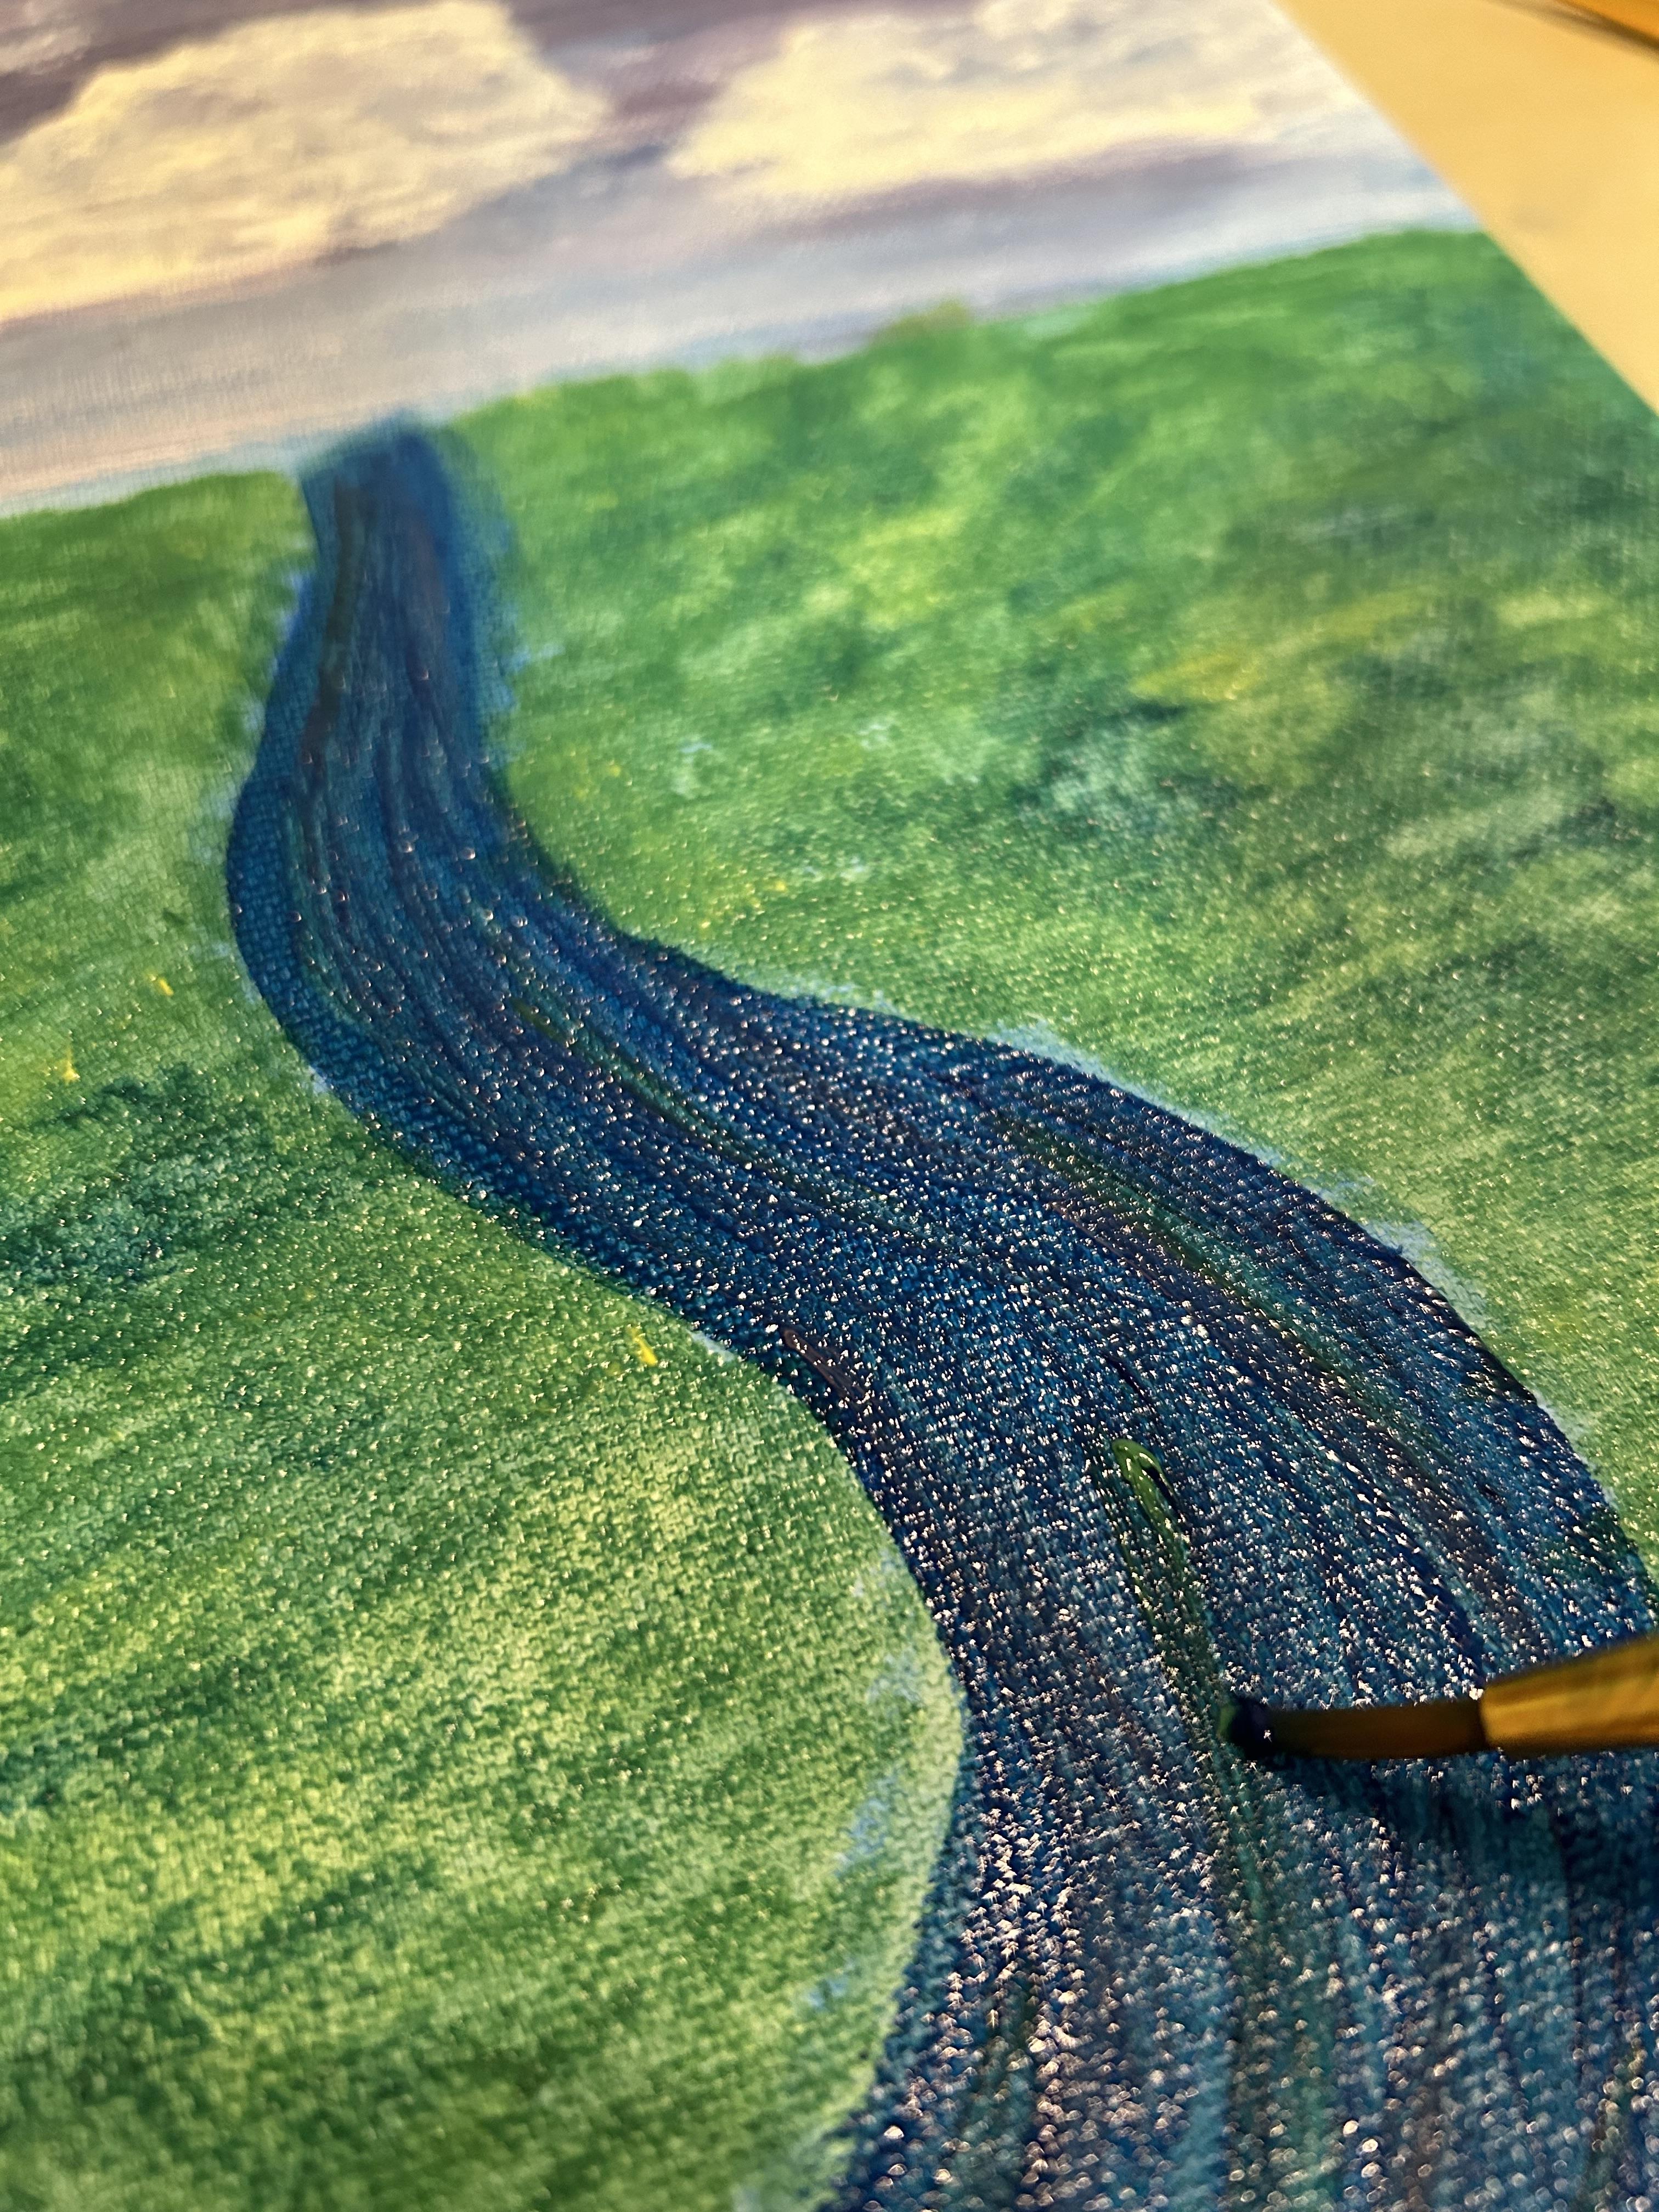
Using either your large or medium brush, go over the river again with a wet brush and the blue paint. Because we added the green layer earlier, it should create a green undertone. Repeat this step until your happy with the main color of the river. Once your happy with the color, use the small brush to add small green lines that follow the curve of your river. Repeat this step with the purple, white, and silver (optional). This will give the river motion or flow. Allow your painting to fully dry before continuing to the next step.
Tip
- Silver and white can be used to create the illusion of light reflecting off the water's surface.
Adding Trees
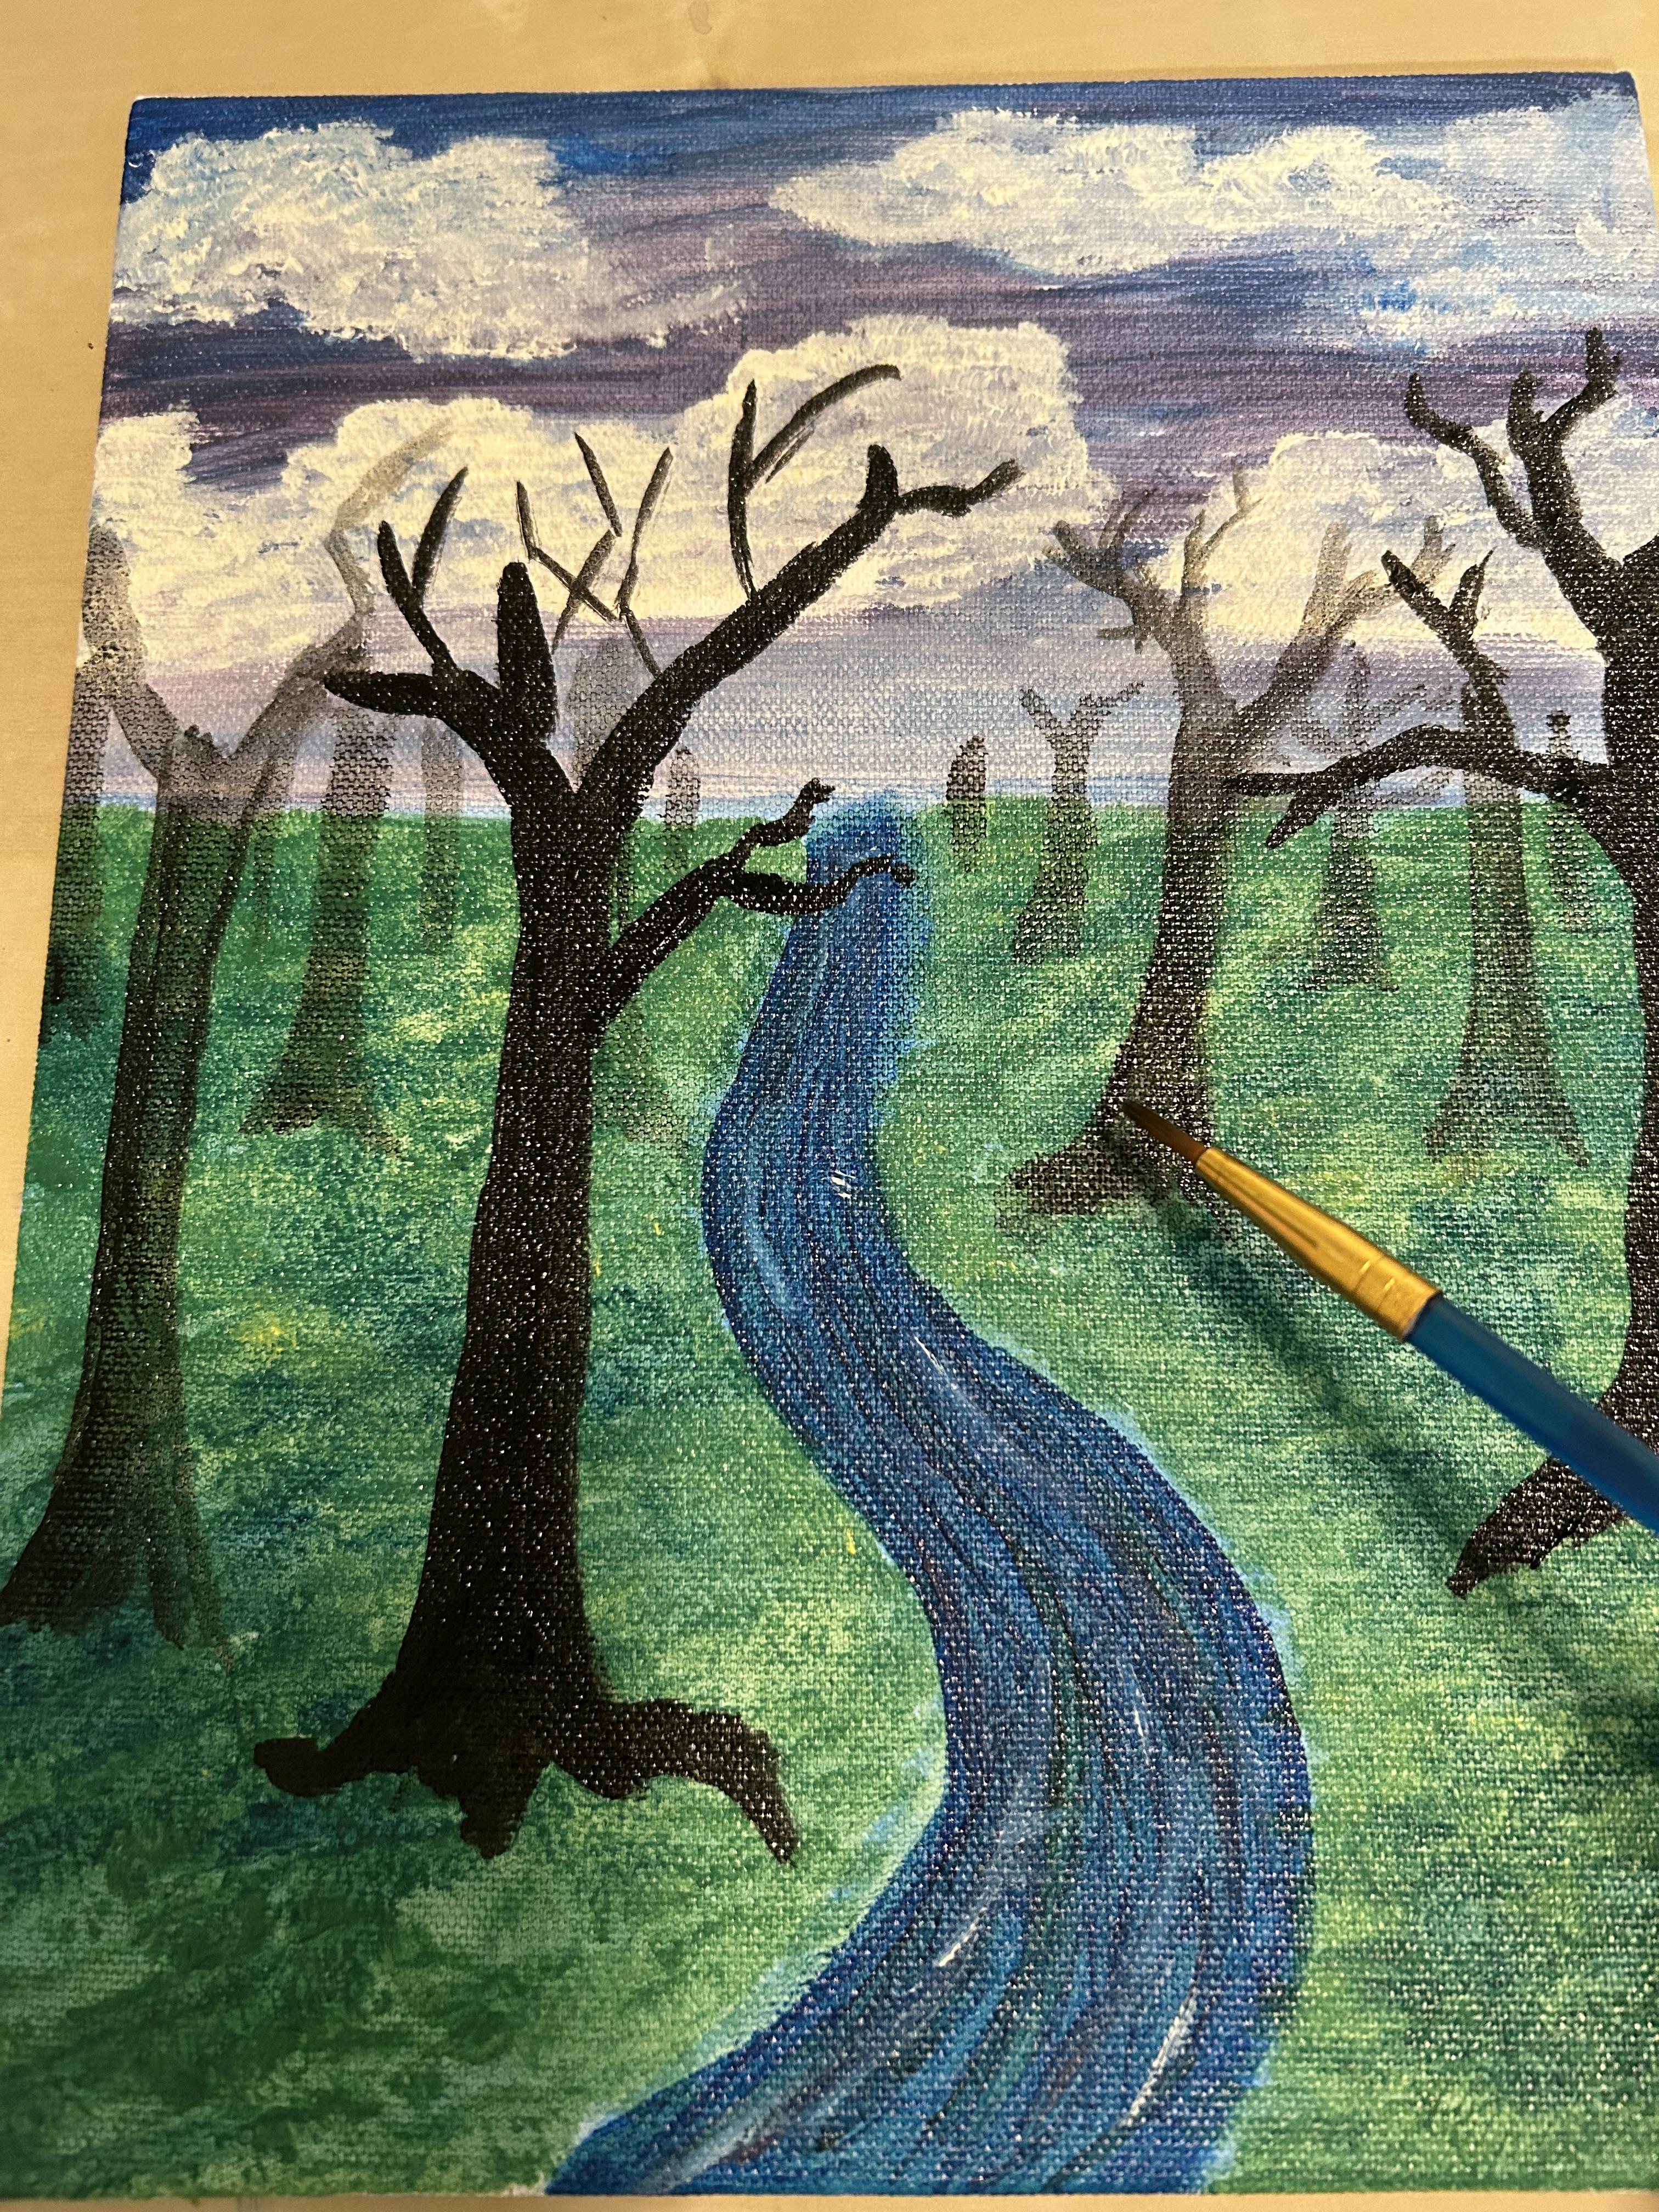
Once your painting is dry, begin adding trees. Using either a large or medium brush, add random vertical lines on the grass using a watered down black or brown. Once you're happy with your tree placement, fill in the closest trees with more paint and add some branches. Leave trees toward the back more transparent.
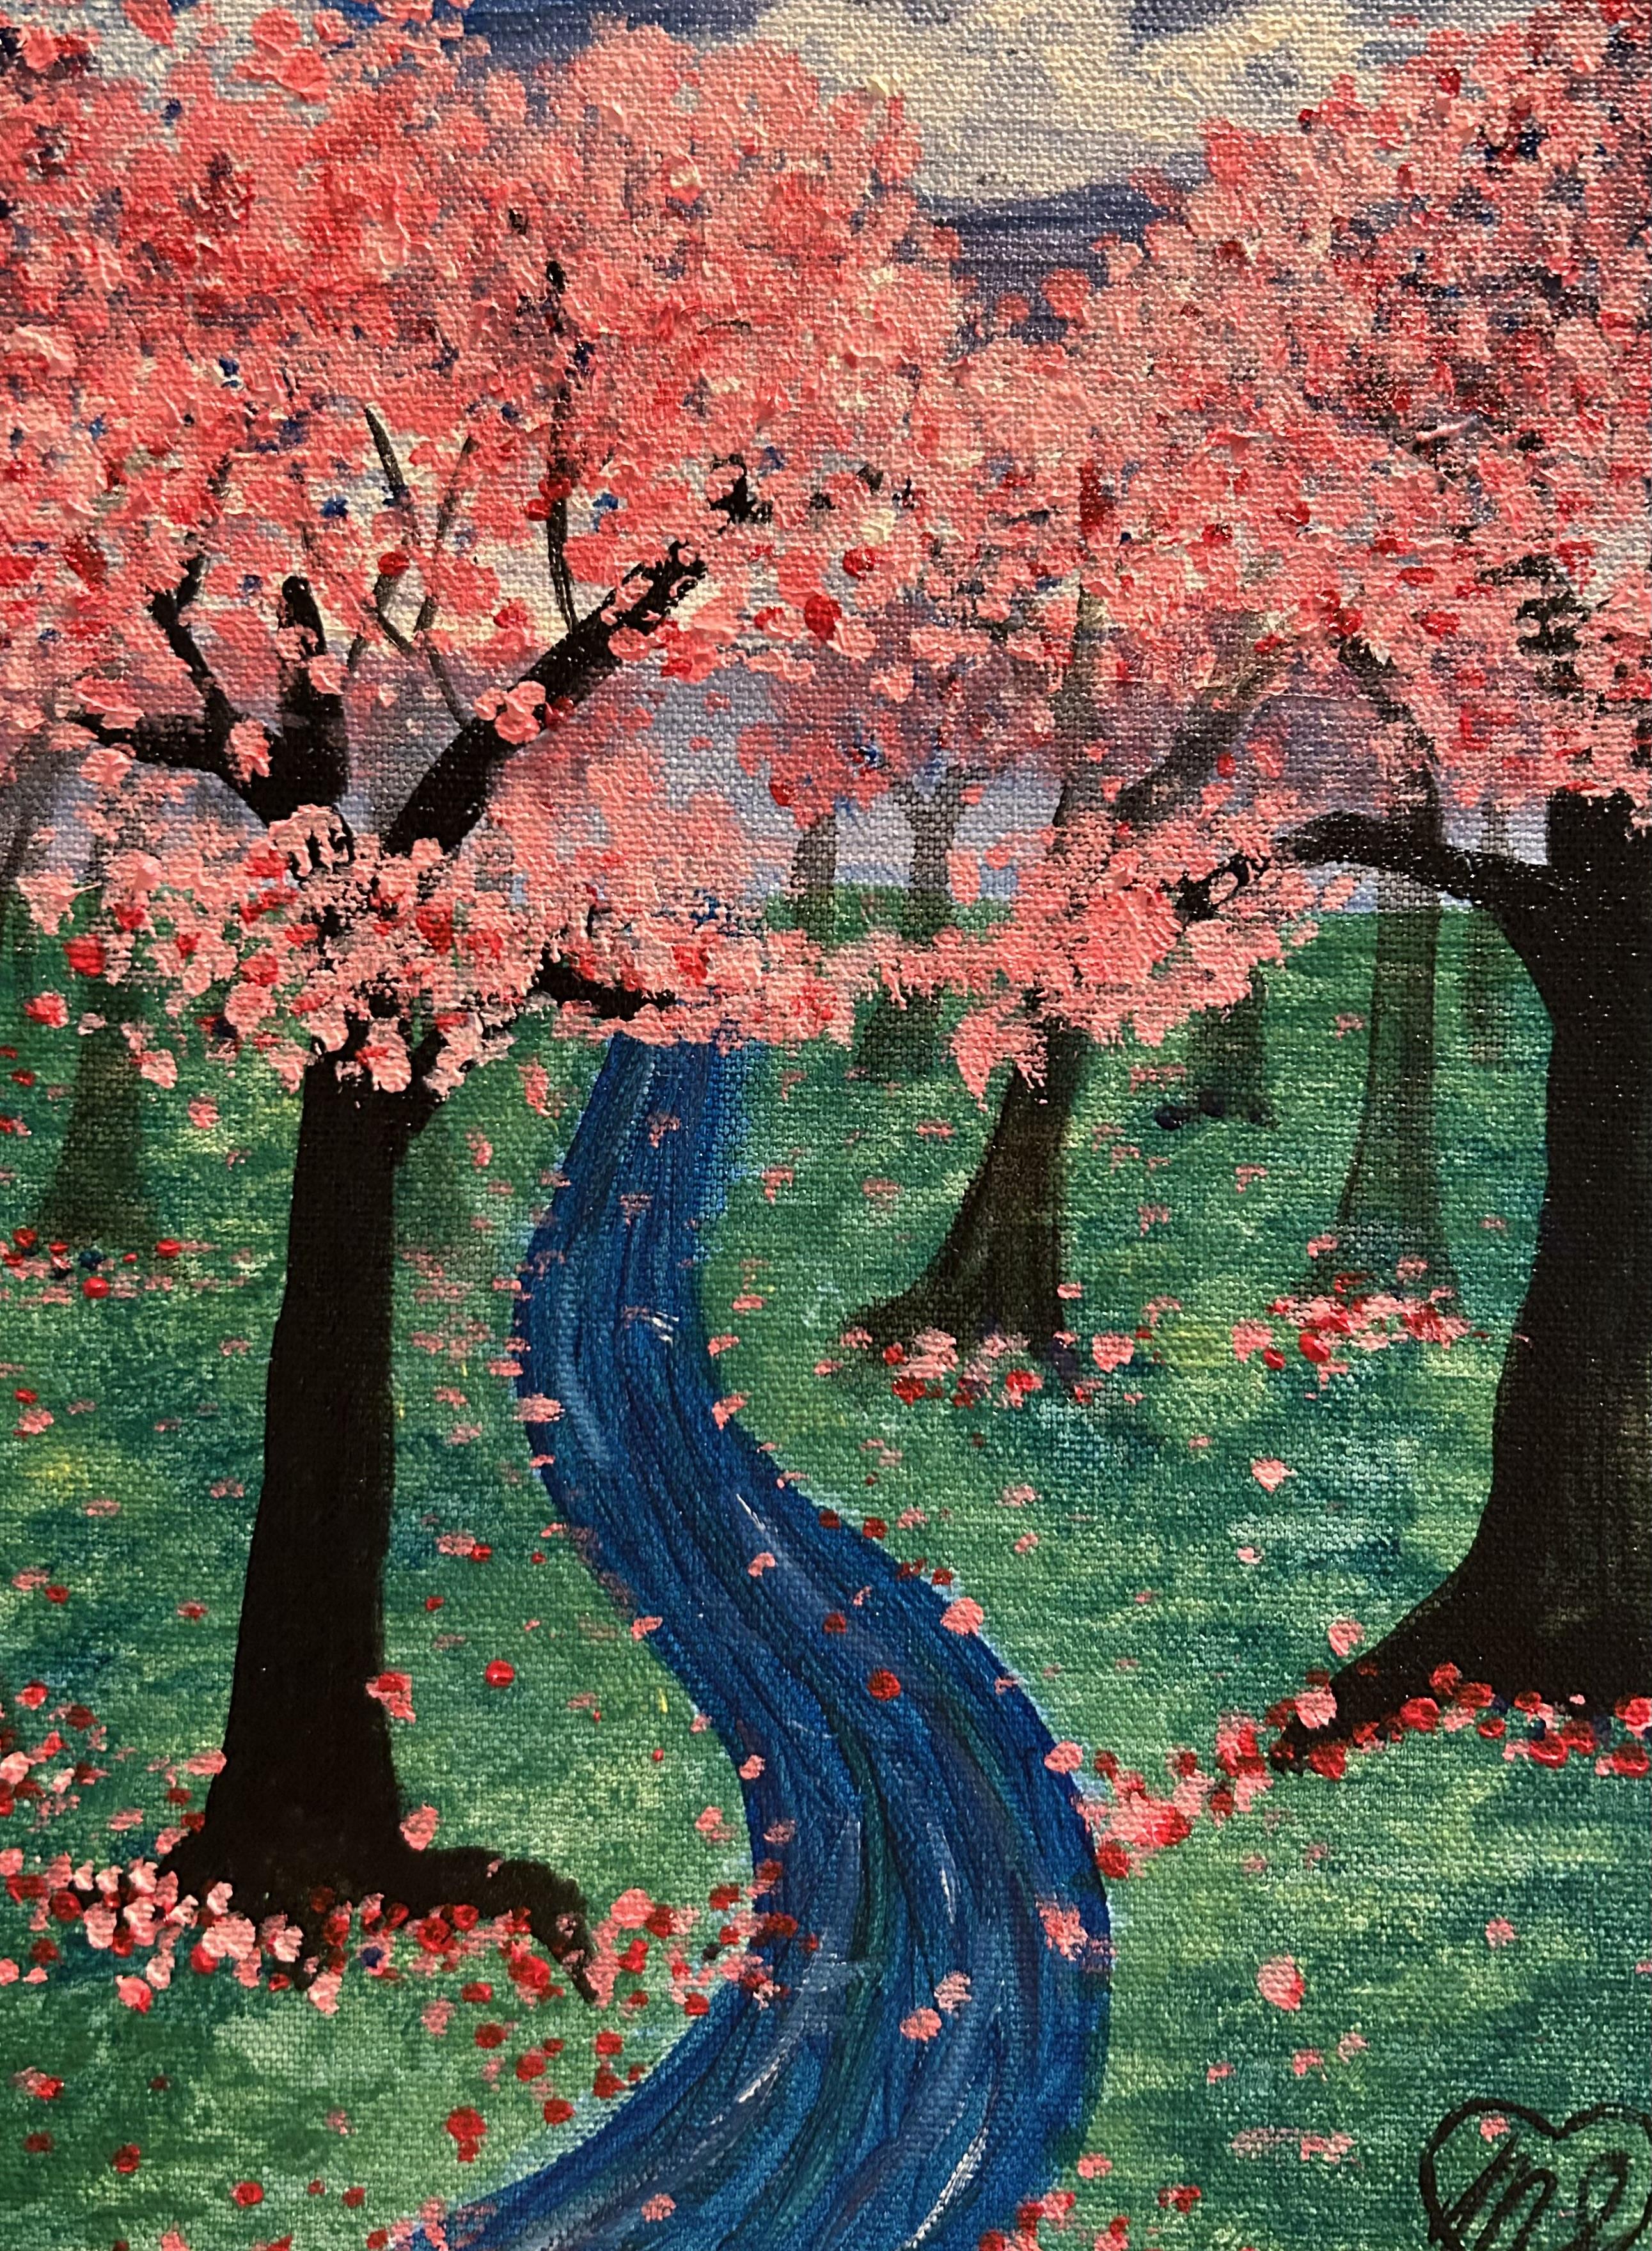
Adding Petals

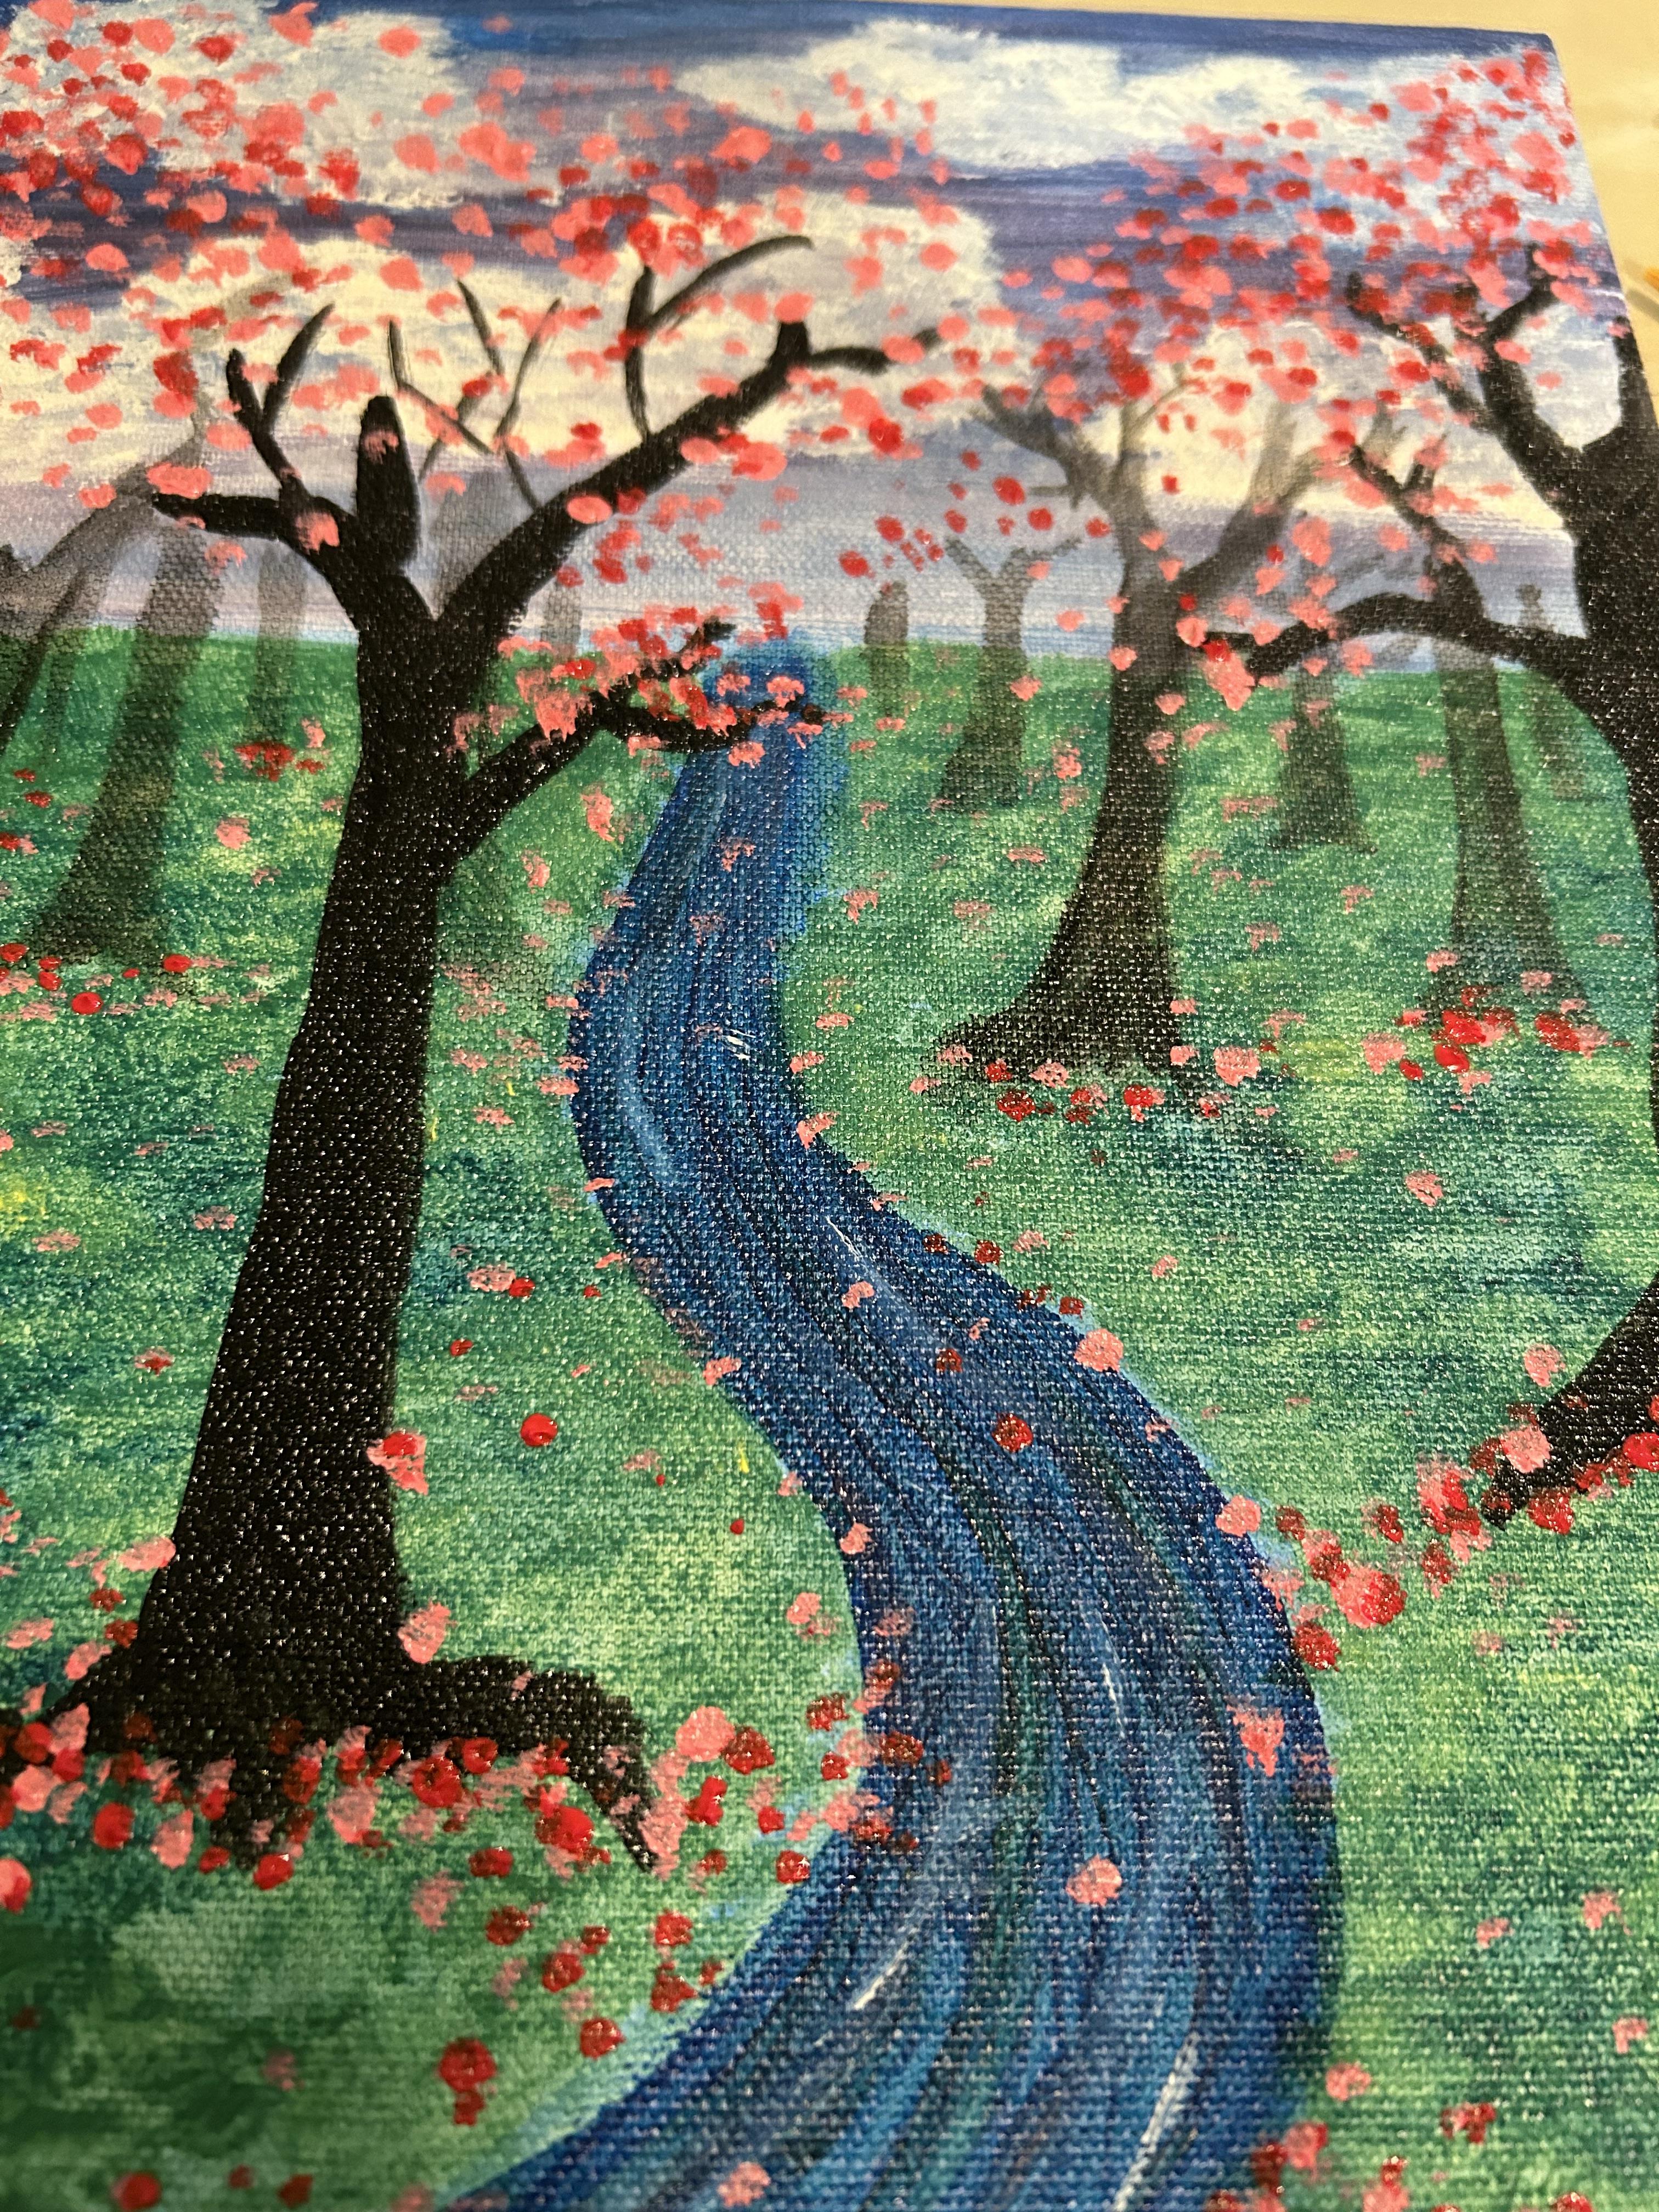
Create pink by mixing white and red paint together. Experiment with different shades by adding more white or red as you go. Alternating between small and medium brushes, add dots throughout the trees to create petals. Feel free to add some to the ground and river as well to simulate fallen petals. Repeat this step with different shades of pink, red, and purple. To add more depth, add blue in dark areas, and white in light areas.
Tip
- Alternate colors and brushes to create more depth. For example, start with pink, add more colors, then go back and add pink again.
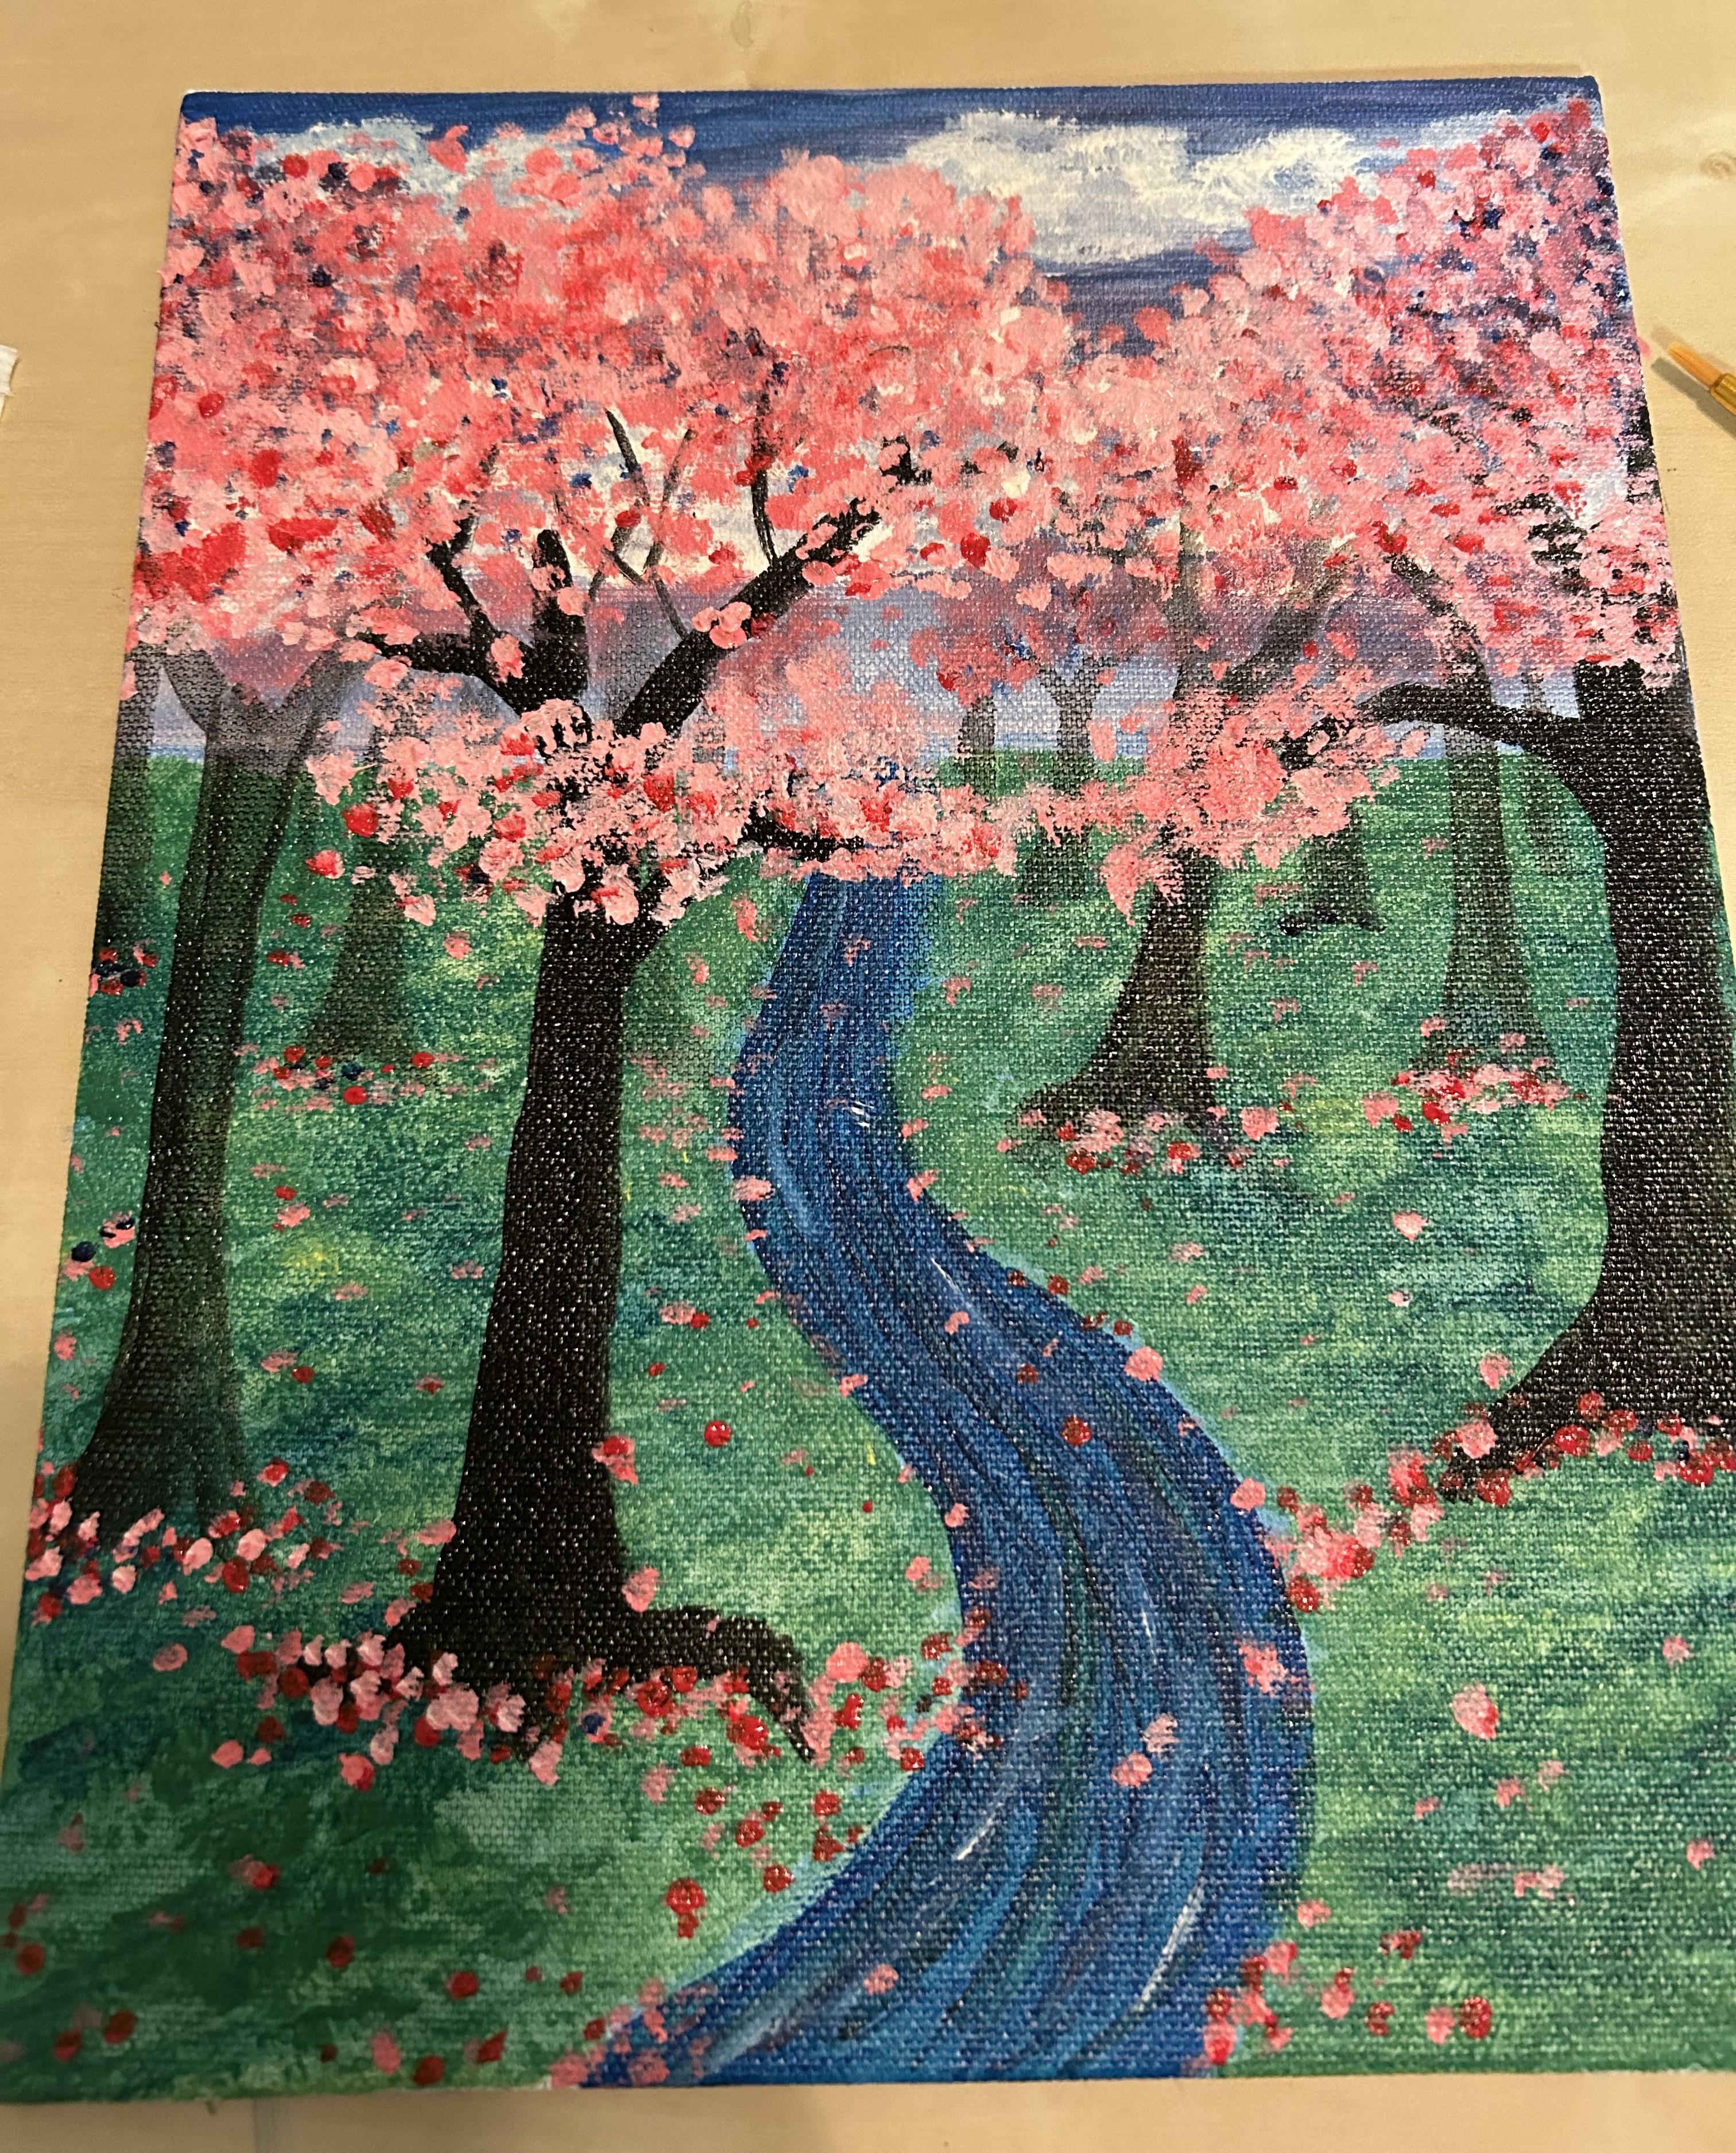
Sign Your Art
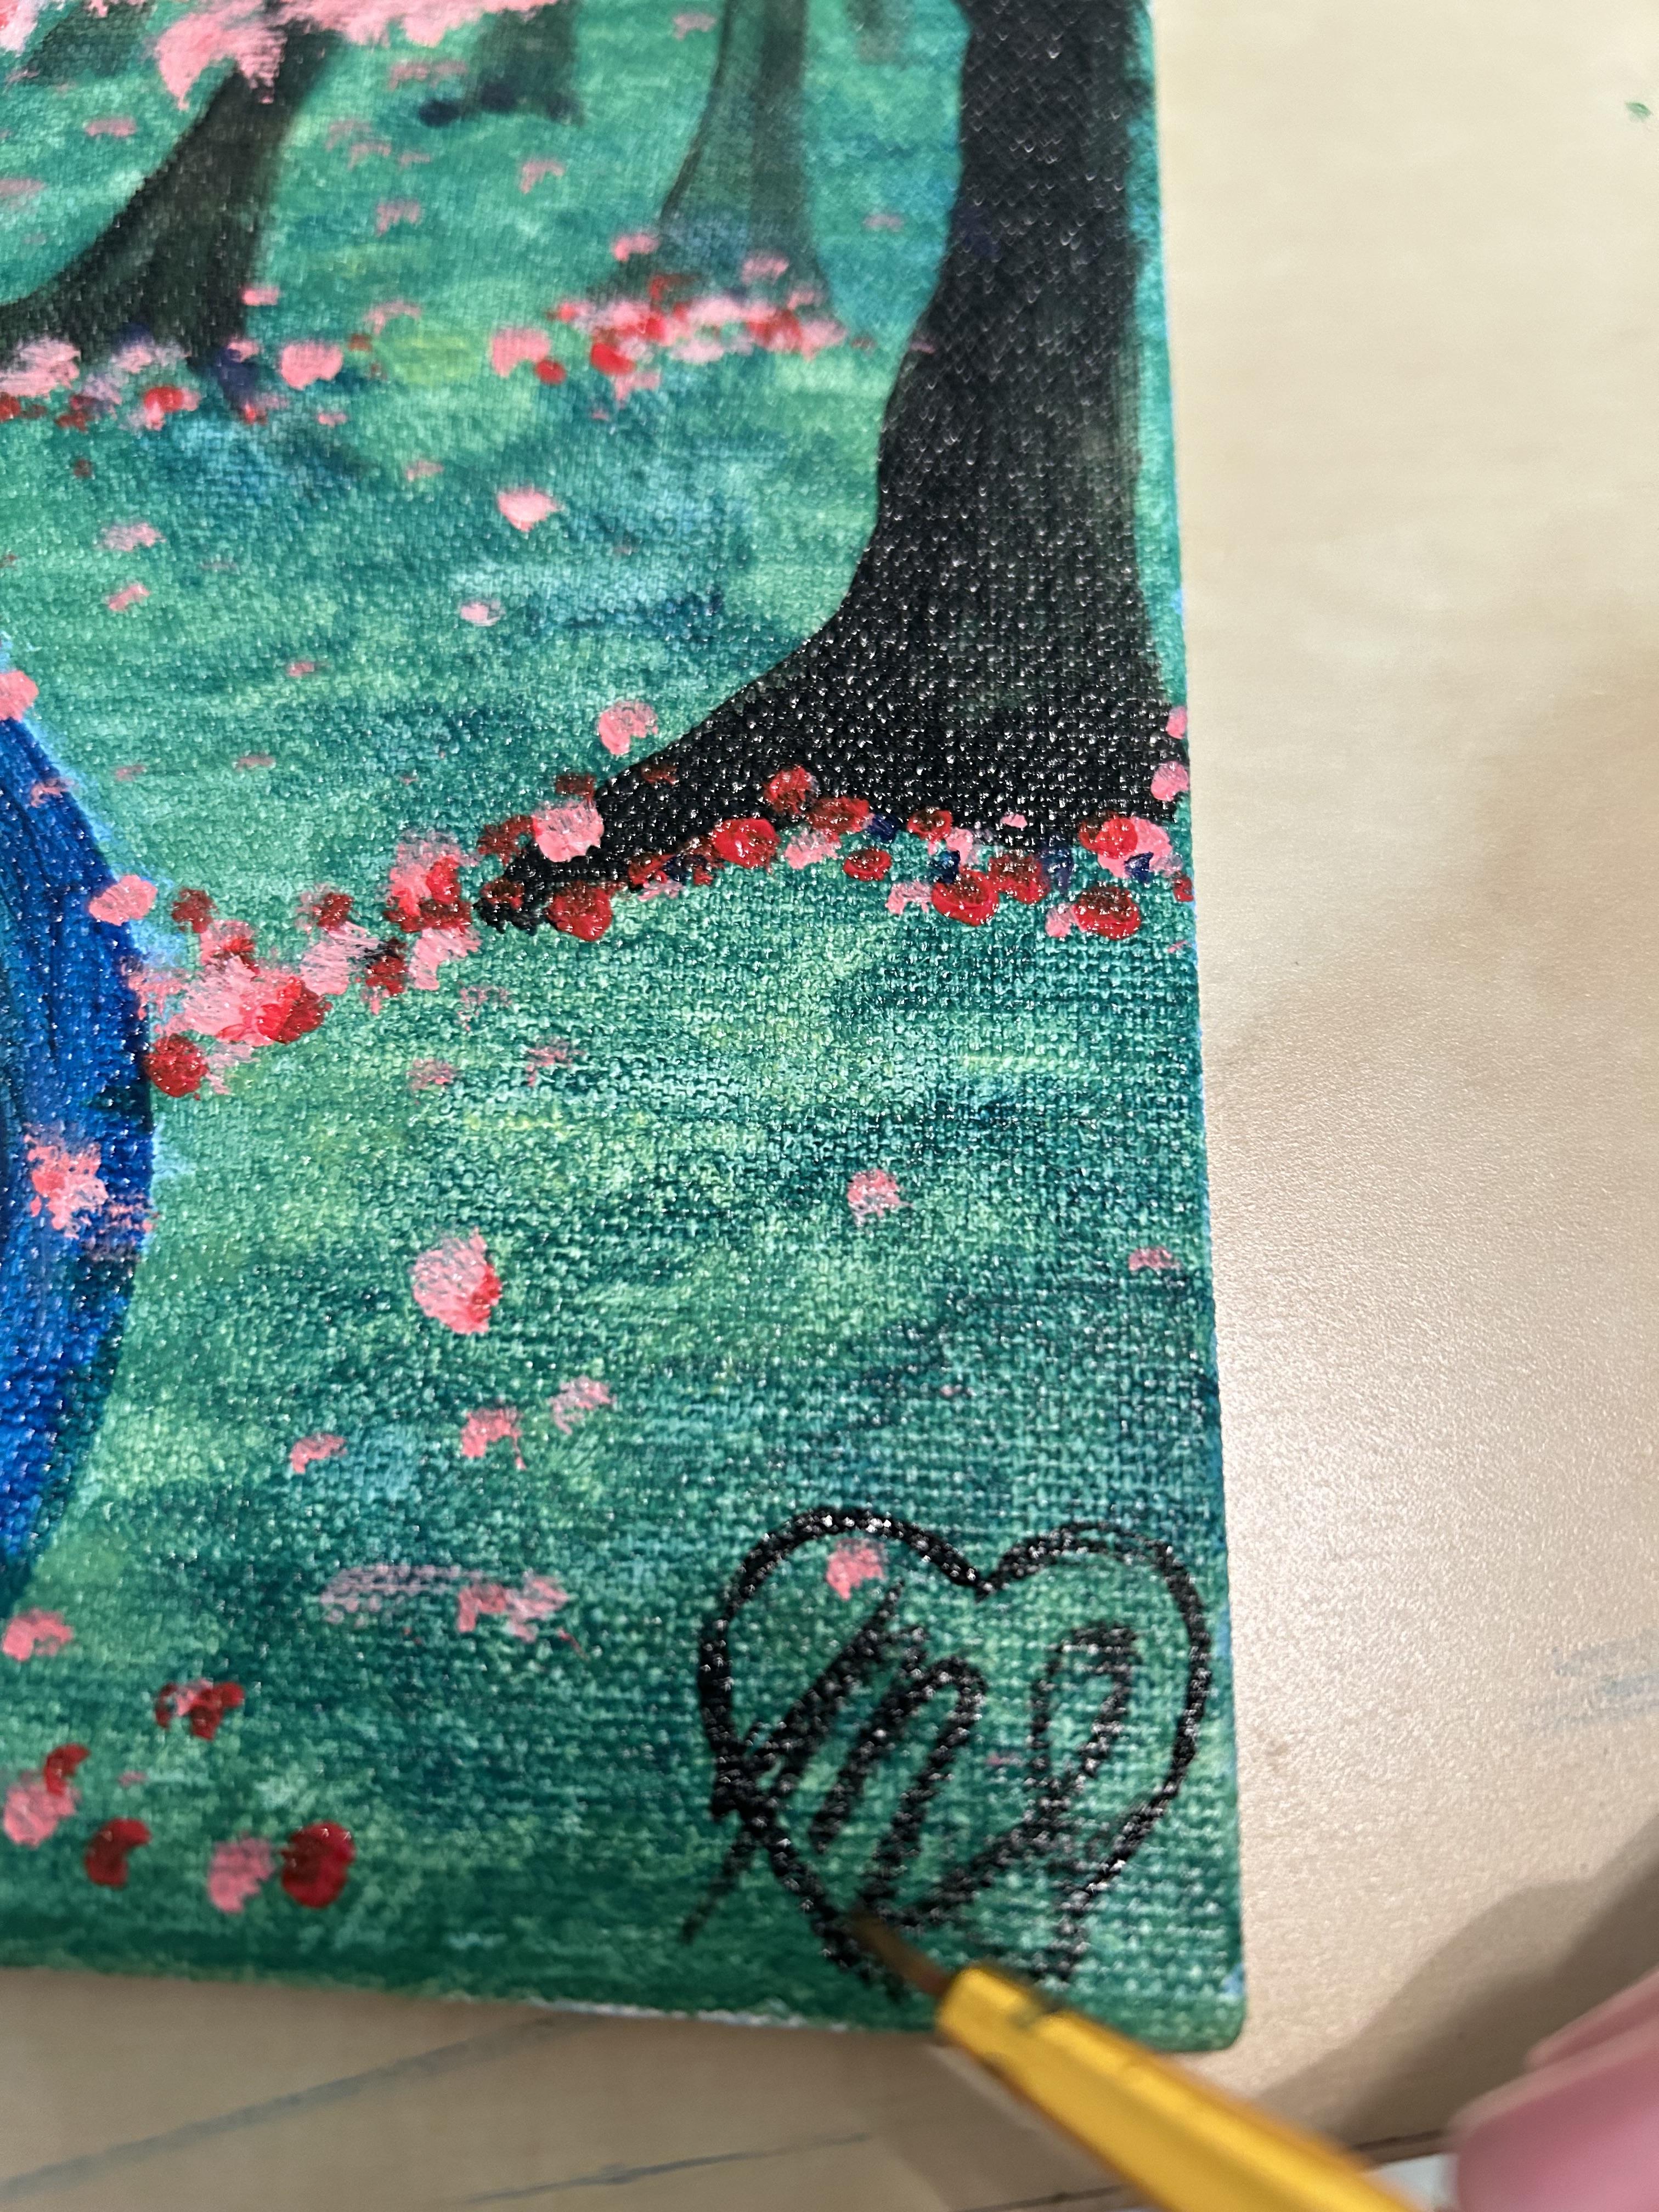
.jpg)
To complete your painting, use a small brush with black paint or a sharpie to sign your name in the bottom right hand corner. When your painting is completely dry, display it where ever you'd like.