Easy Build Motion Time Lapse Rail
by AlanH87 in Circuits > Cameras
2090 Views, 6 Favorites, 0 Comments
Easy Build Motion Time Lapse Rail


Moving on from my previous time lapse rails I realised that people may not have the skill or experience required to build one of my other time lapse rails. so working with Ustepper (mostly them) we created a kit that would allow anyone capable of building IKEA flat pack furniture an opportunity to build their own motion time lapse rail.
Ultimately my goal remains the same to create a motion time lapse rail that doesn't cost the earth but also offers quality results, I believe I have met all my goals with this time lapse rail ill let the example time lapse speak for the quality and as far as cost is concerned I calculated the cost of the purchased ebay items as £46 and with a quote for £7 for the printed parts and with the cost of the ustepper and egoshield the project comes in at around £130
so the above time lapse was created with the kit described in this instructable.
to create the time lapse rail will require you to buy a few parts and either 3D print or have a 3D print farm print some components.
- cheap video time lapse rail available on eBay etc longer rails are available with the same profile
- Nema 17 stepper motor if using a DSLR the bigger the better again eBay
- timing belt and pully GT2 5mm bore 6mm wide 2m long eBay
- Ustepper you could choose to get the Ustepper and stepper motor as a bundle
- Egoshield you will need it with the optocoupler unless using a go pro and i recommend the cover
- various screws 4 for the stepper motor mounting 1 as an idler pully axle and 1 to bolt both ends of the belt to the bed.
- 12-24v power supply, I have used this type in the past however I now have an adapted 18v power tool battery for longer life.
now for the custom parts.
this is the only tricky part for most people either 3d print your own or use the files to have a print farm to print them for you.
this is one option for having the parts 3D printed the quote i got for both parts was around £7 plus shipping i guess
https://www.3dhubs.com/3dprint
once you have collected all of the parts required then the first job iis to upload the code required to the ustepper and attach the Egoshield to do this.
Step 1: Assemble the Rail
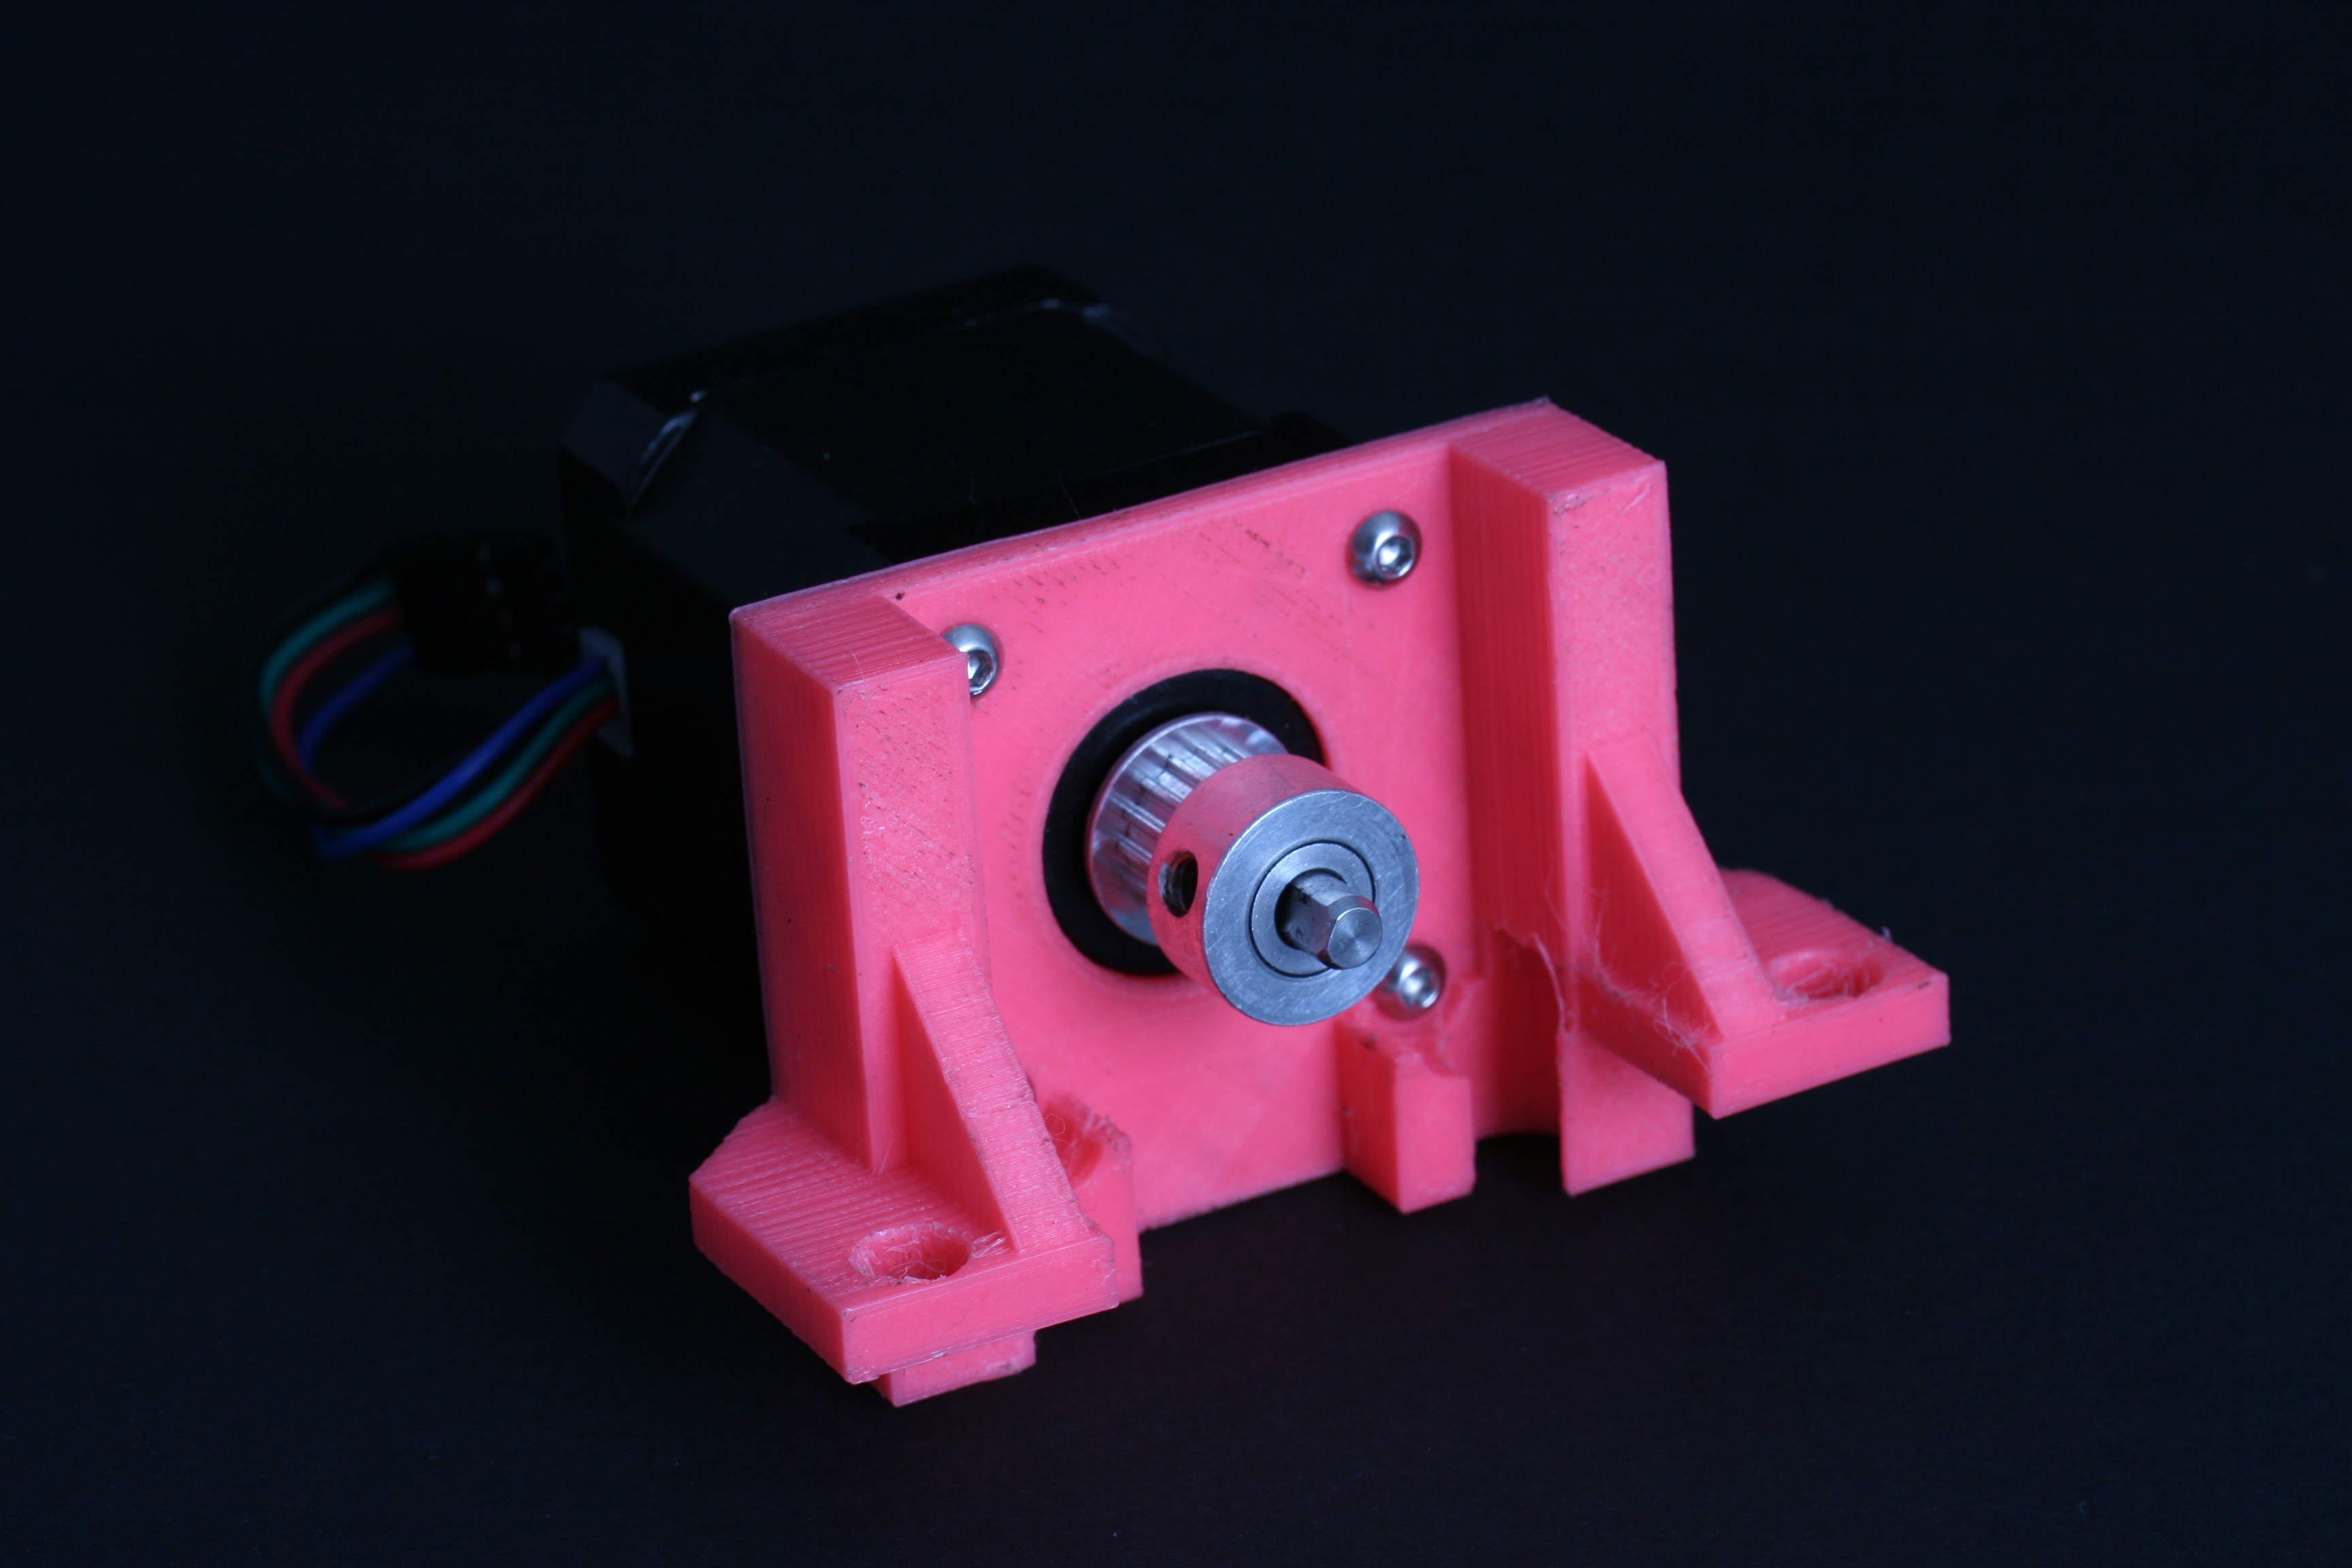
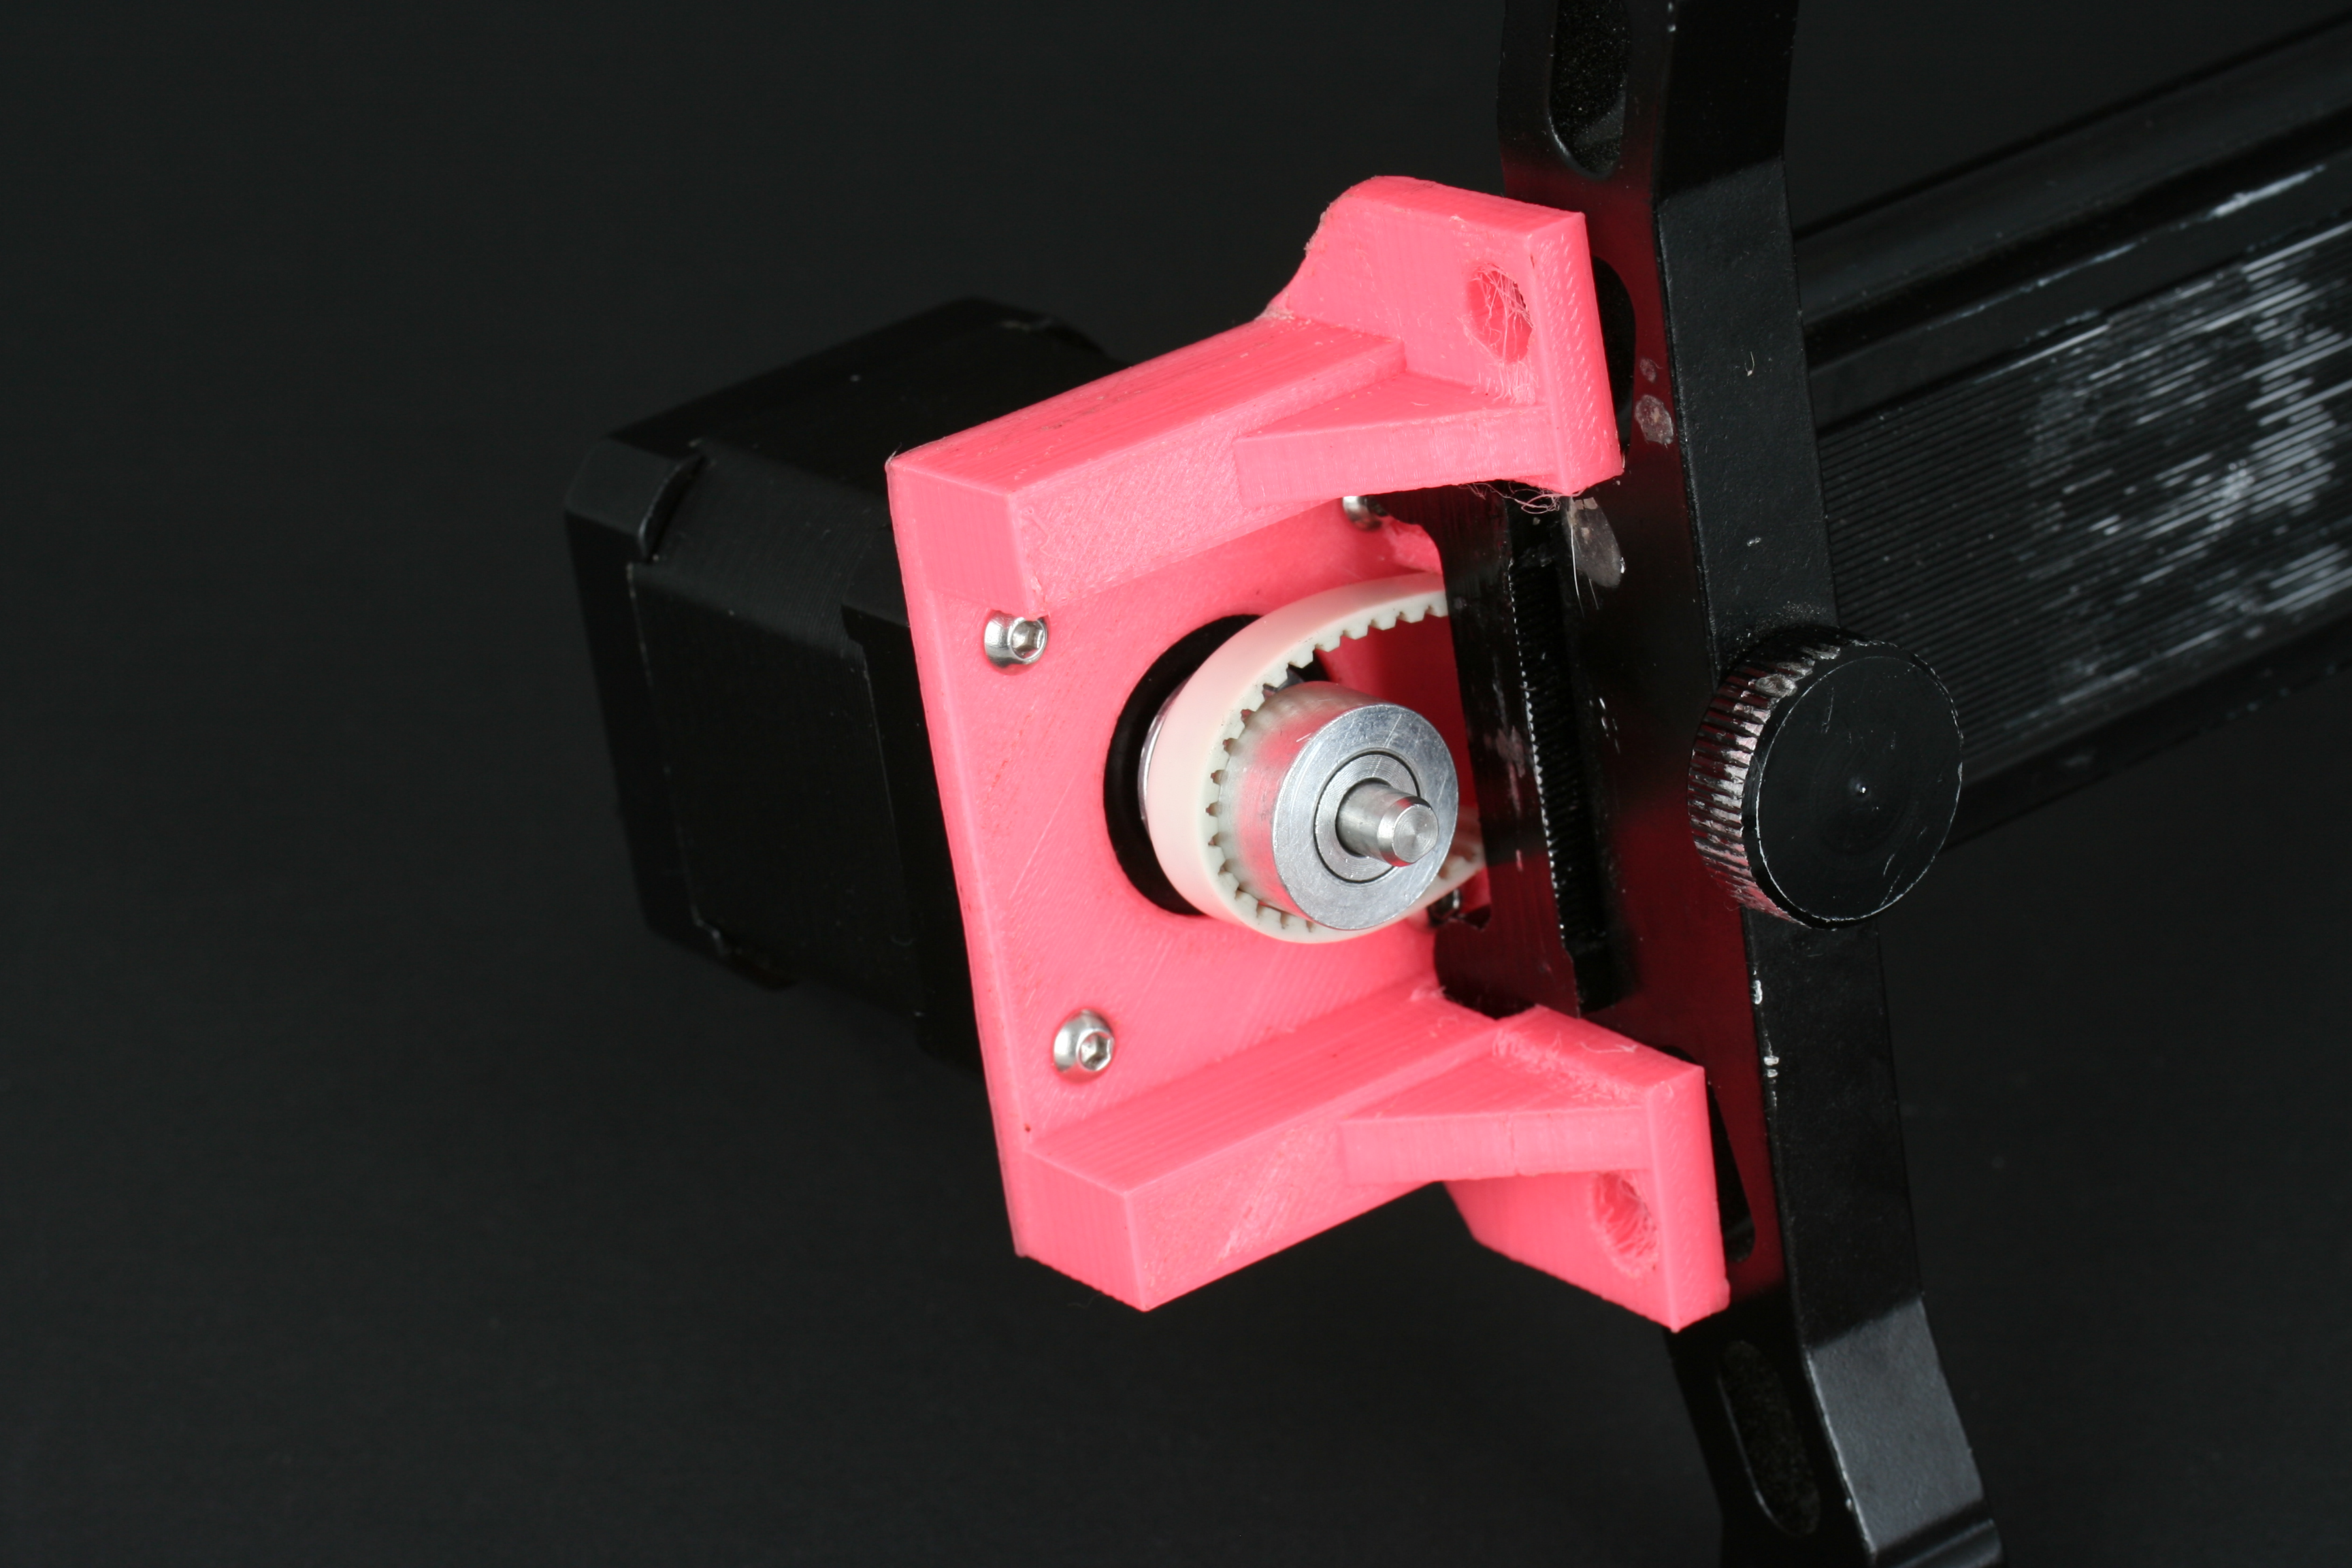
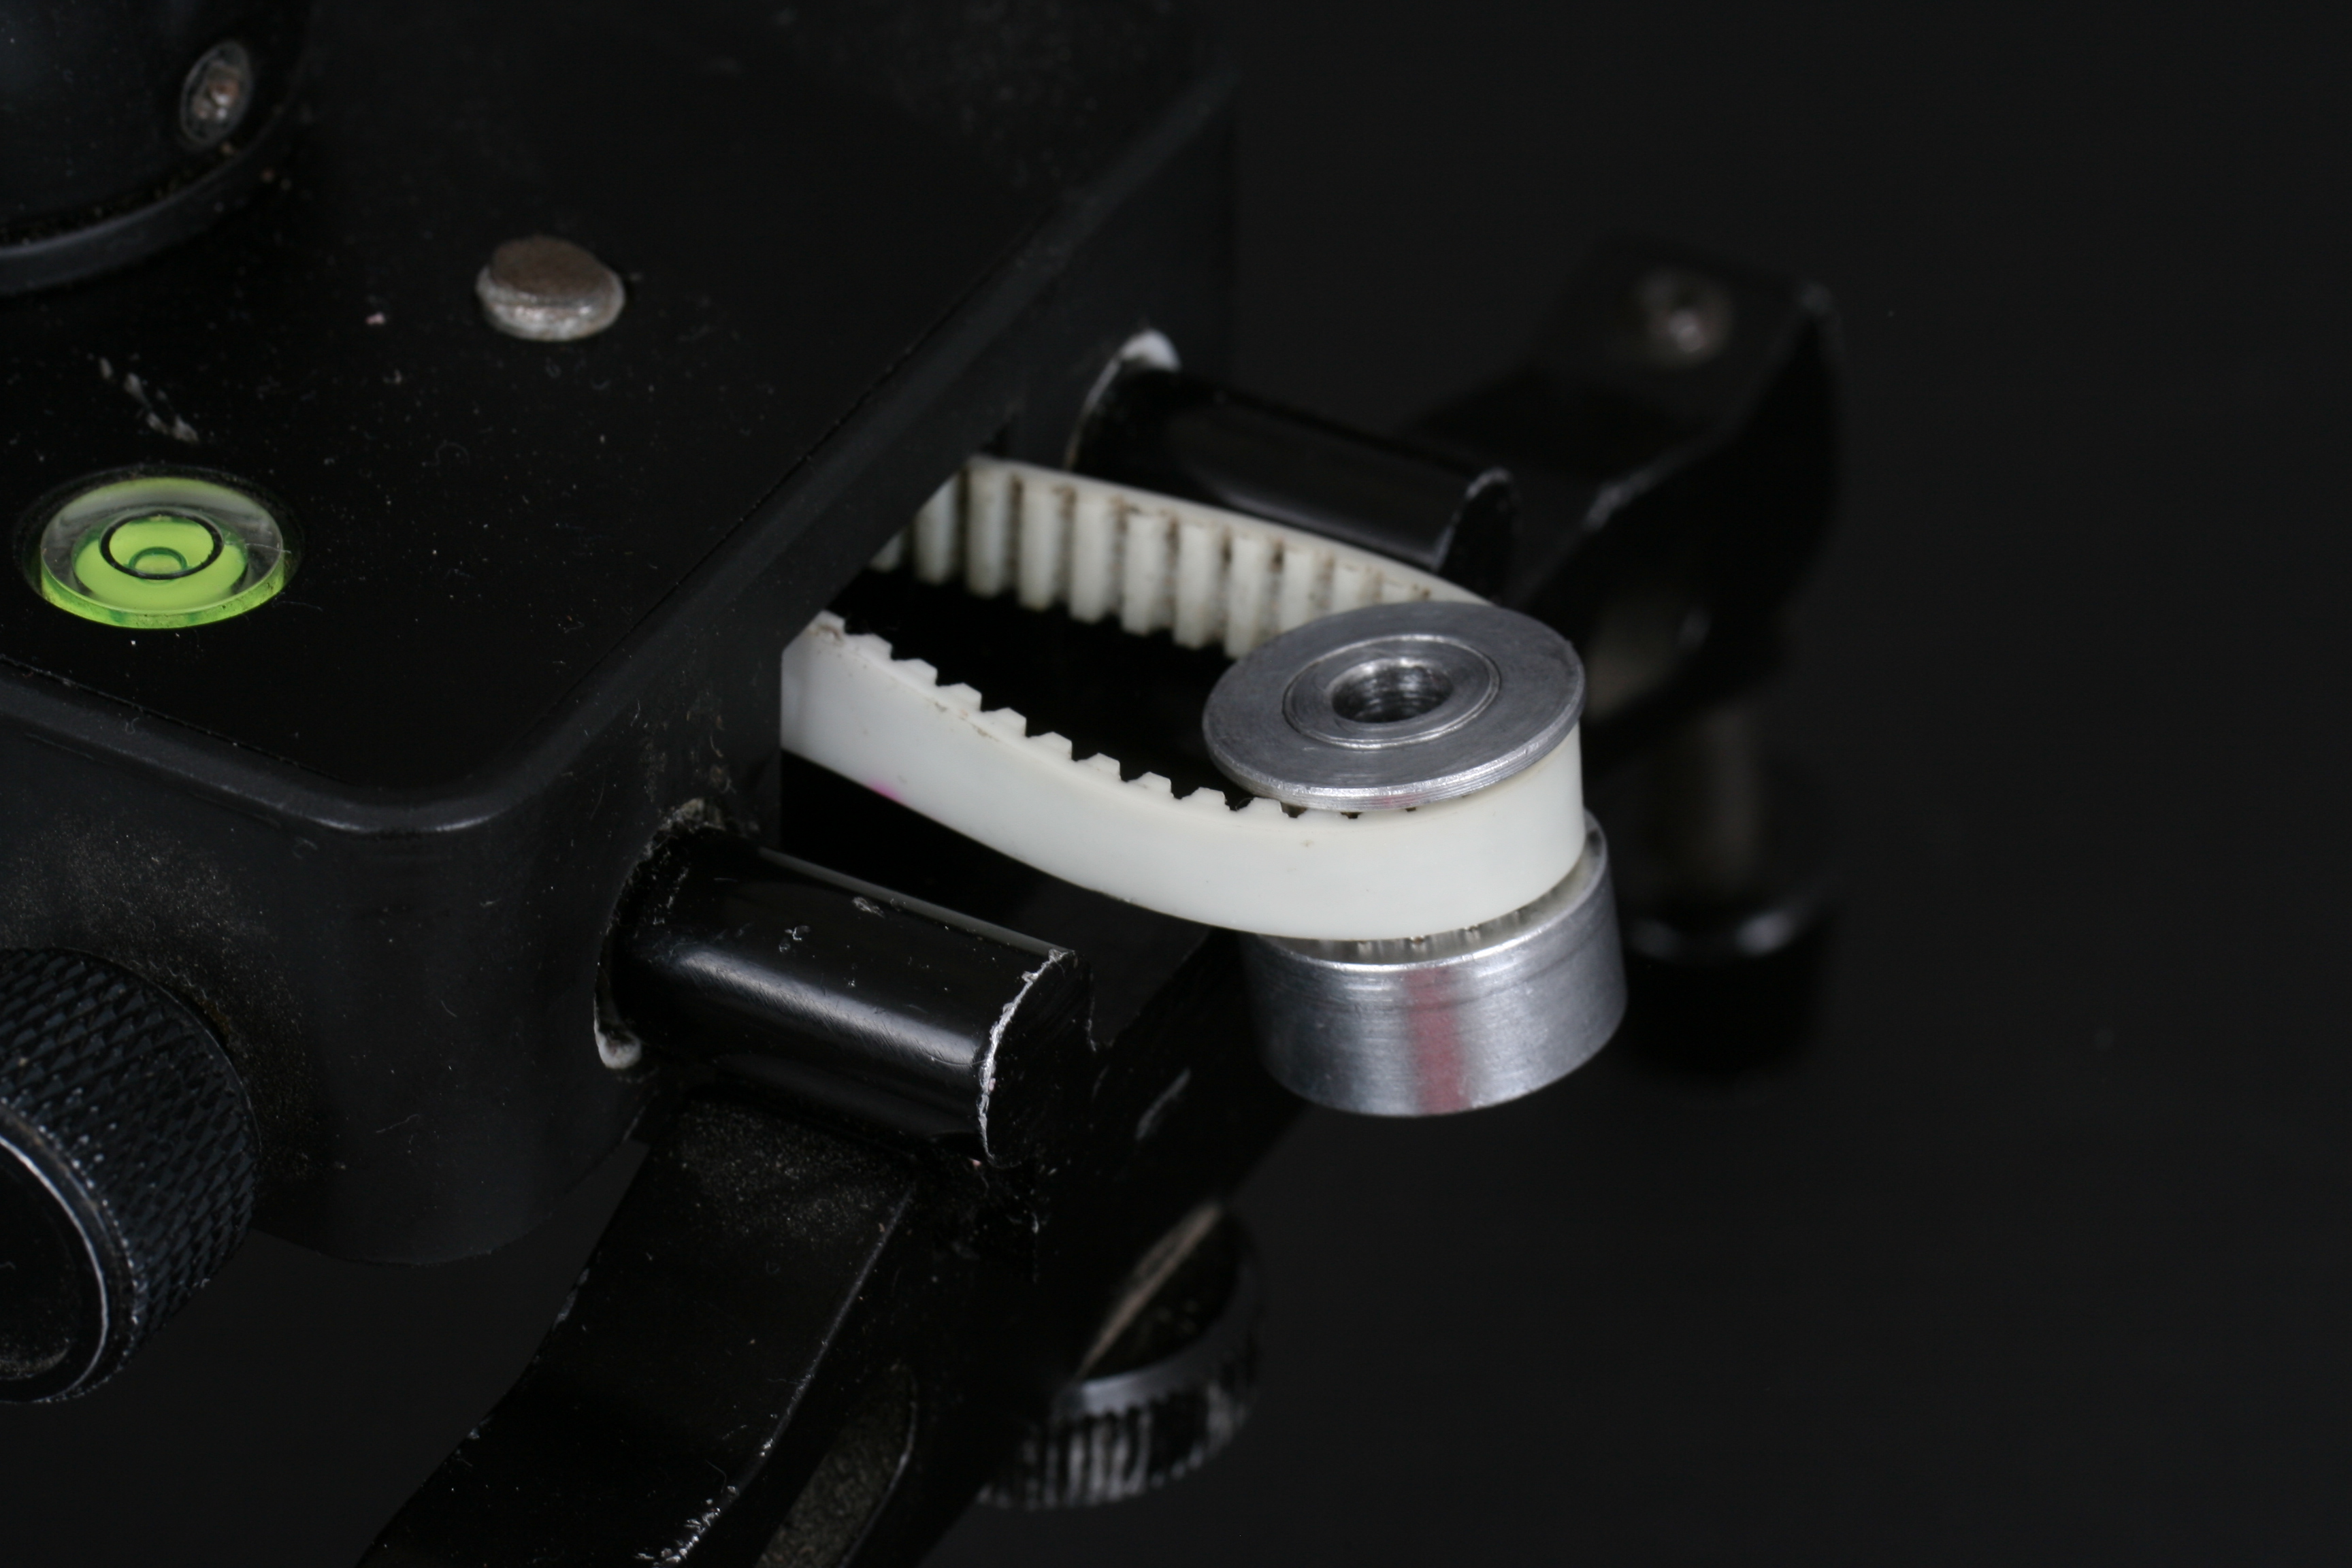
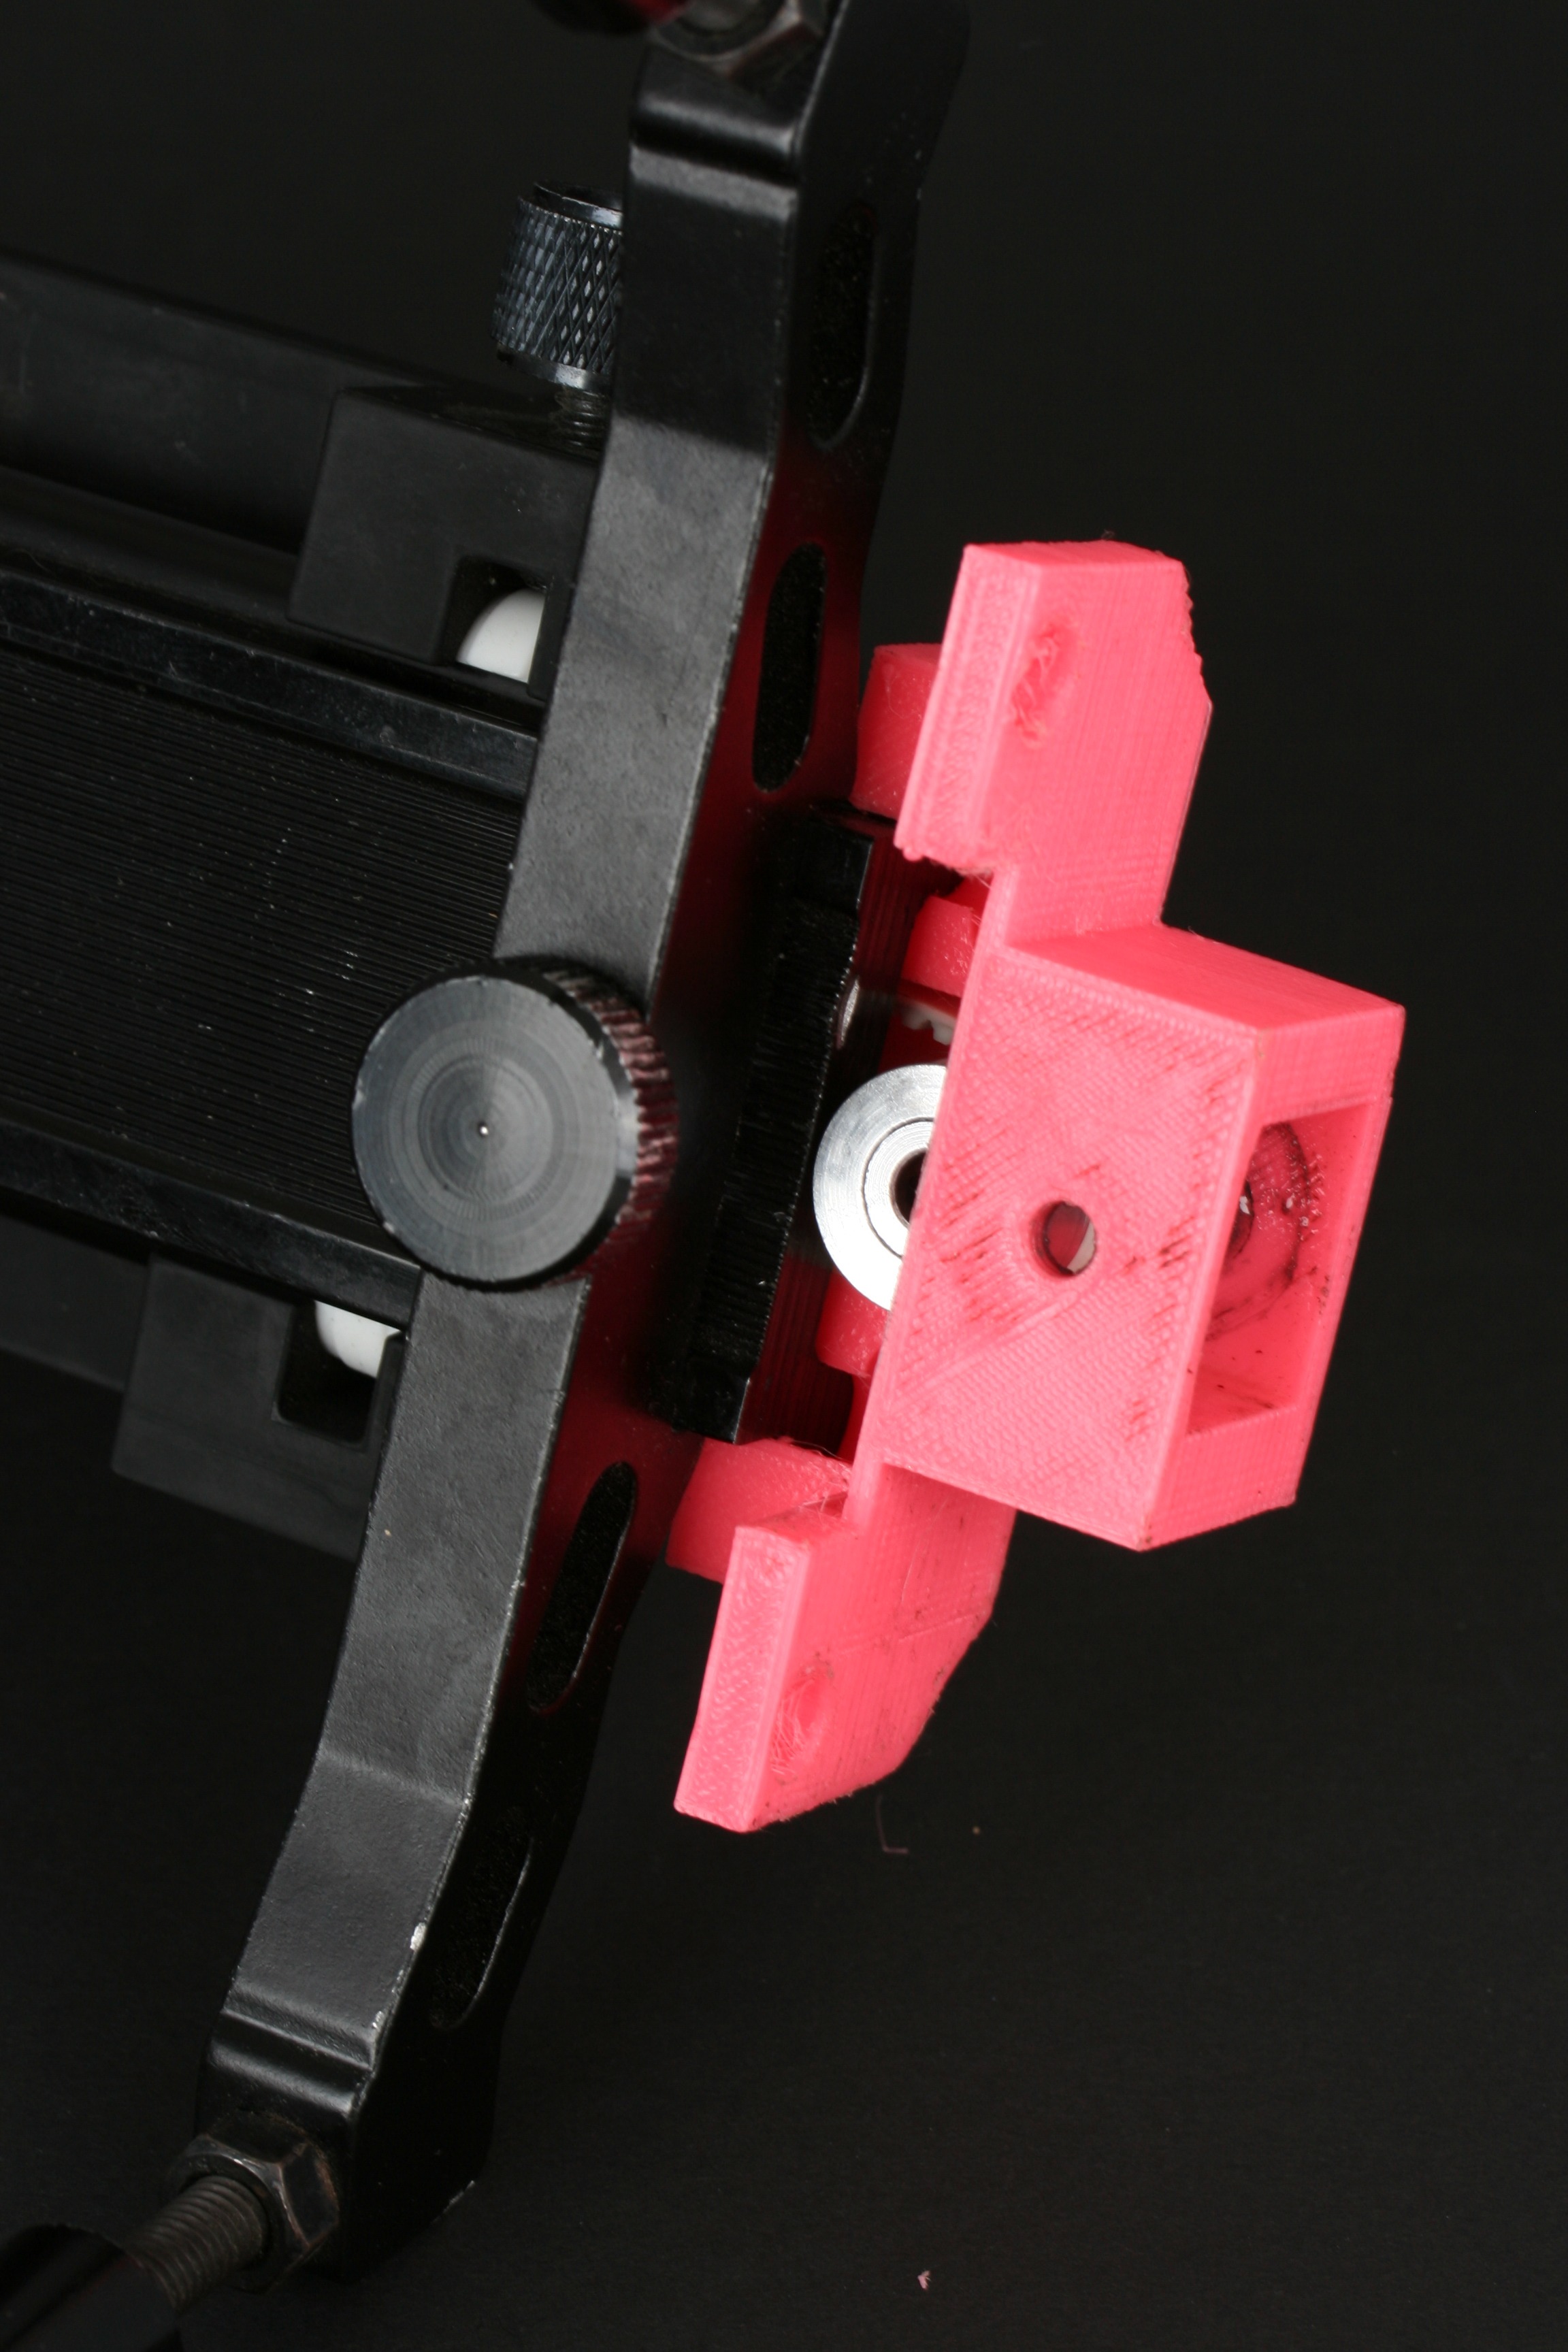
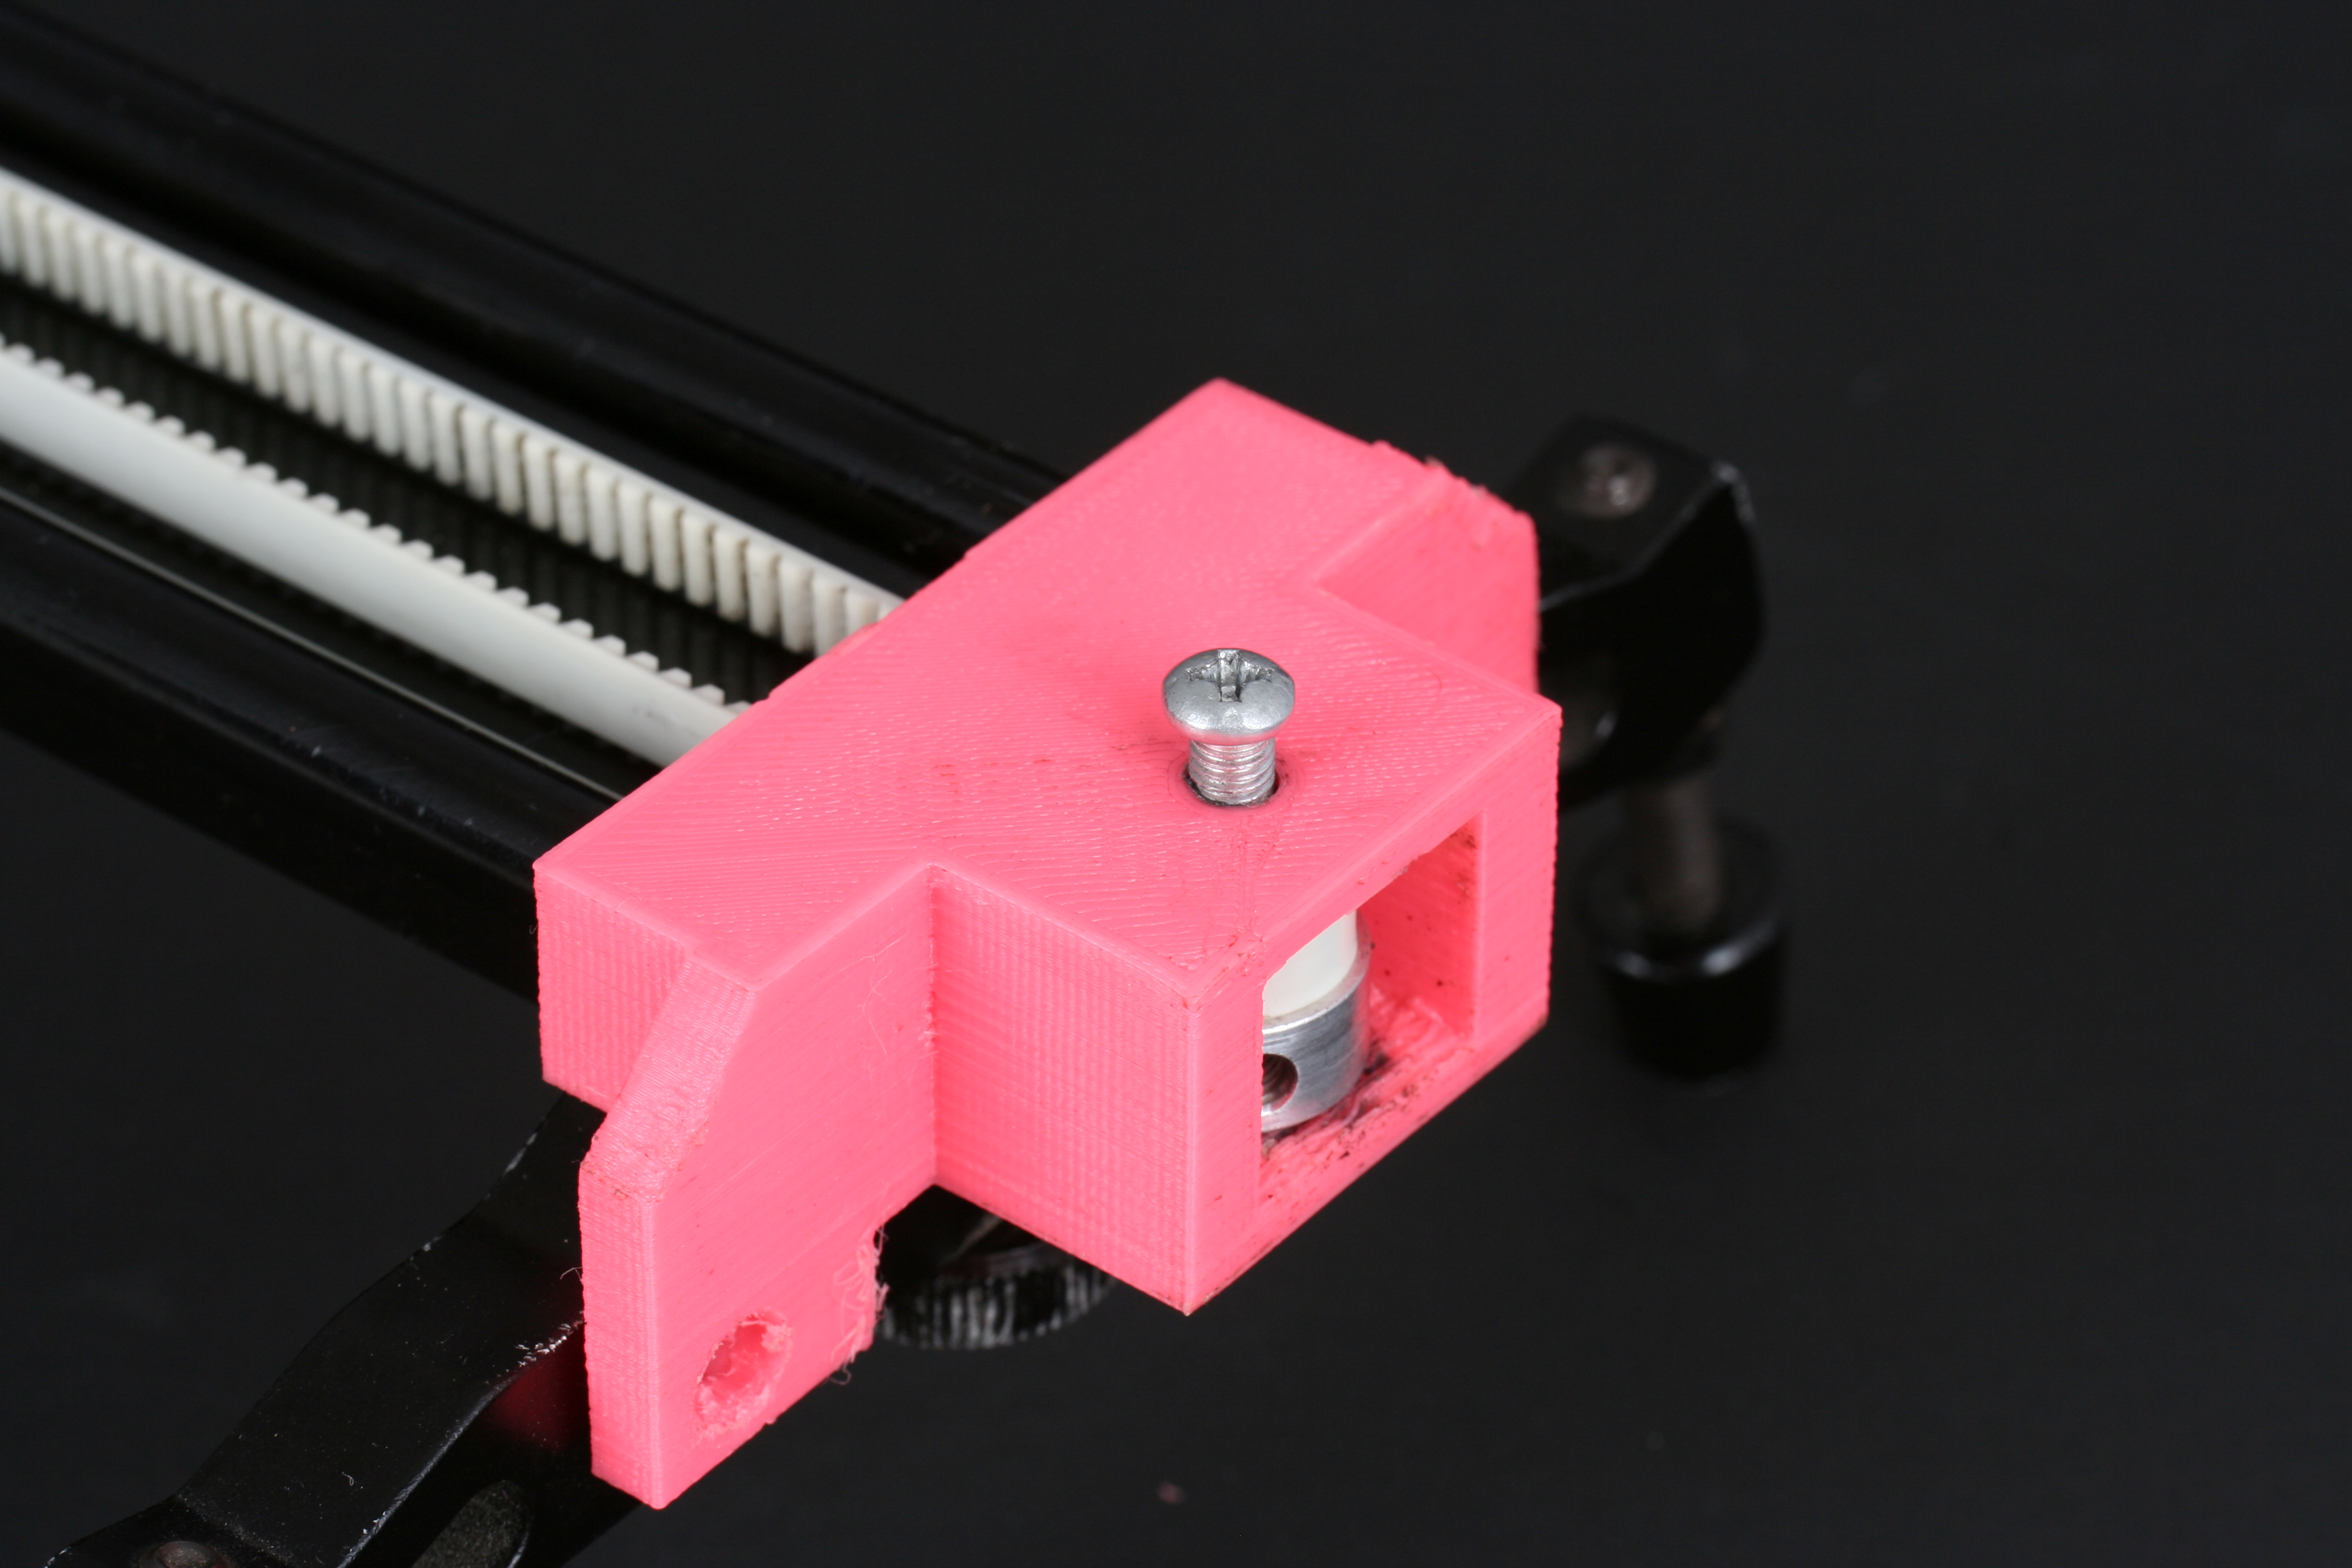
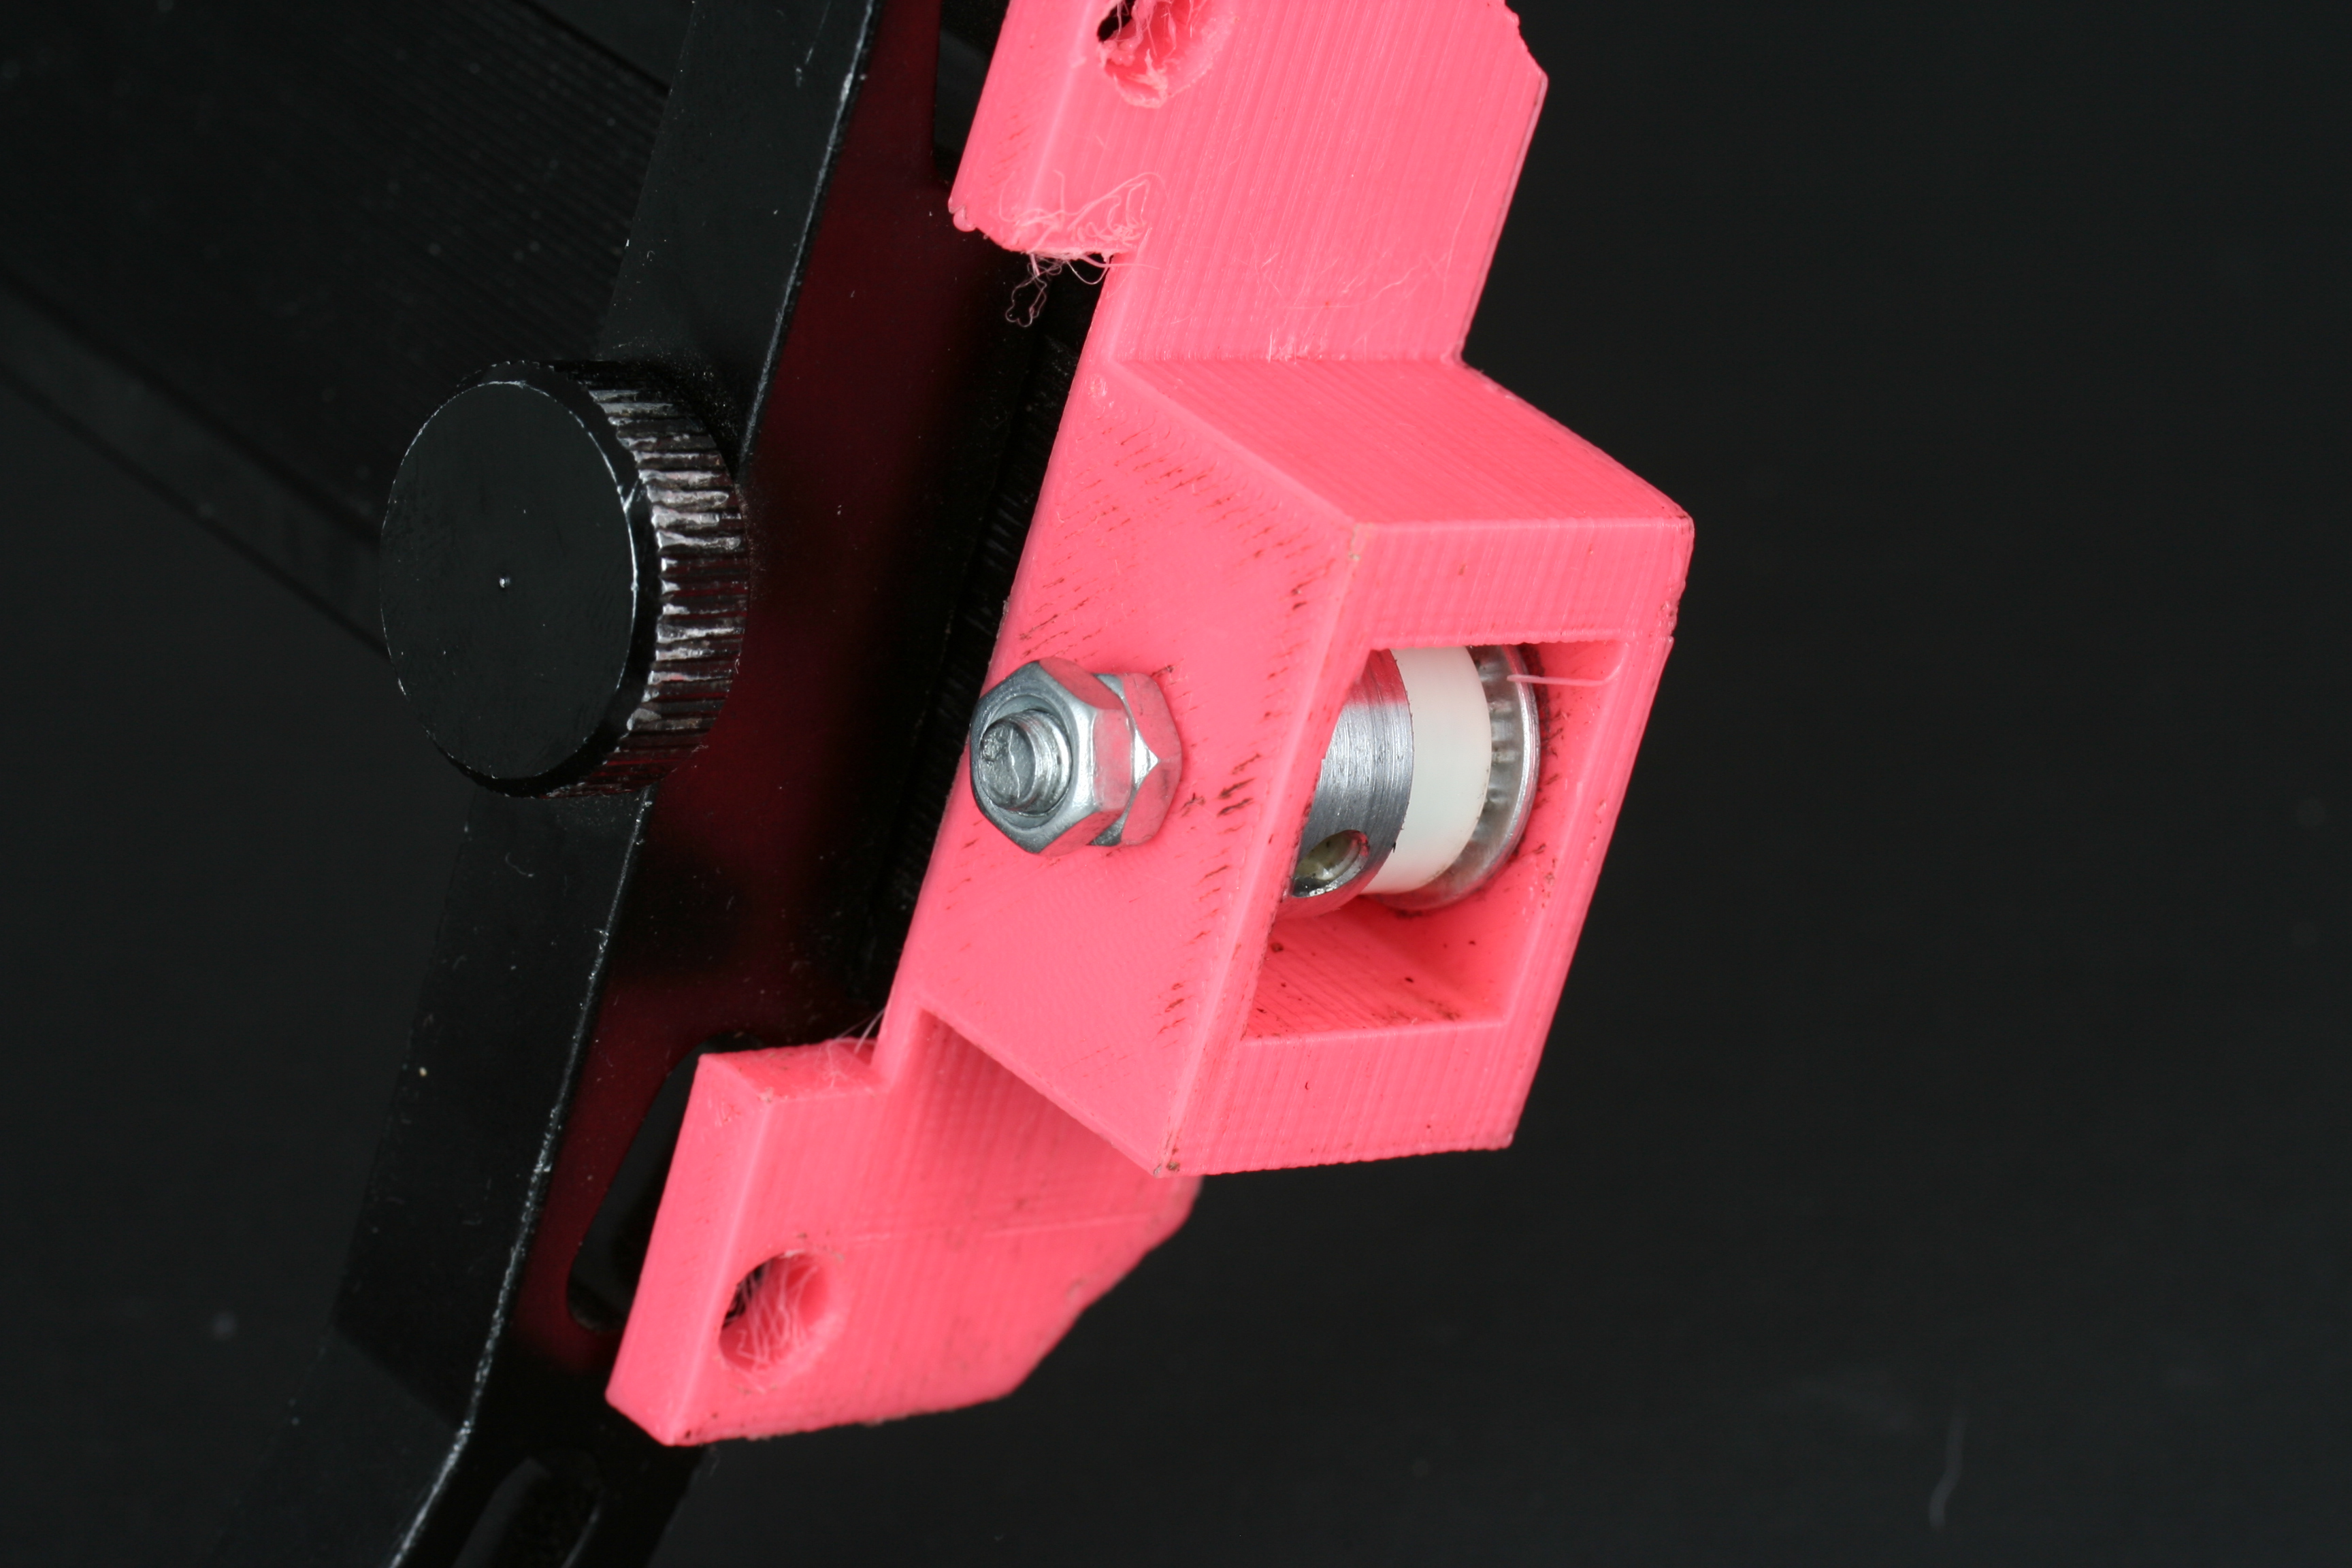
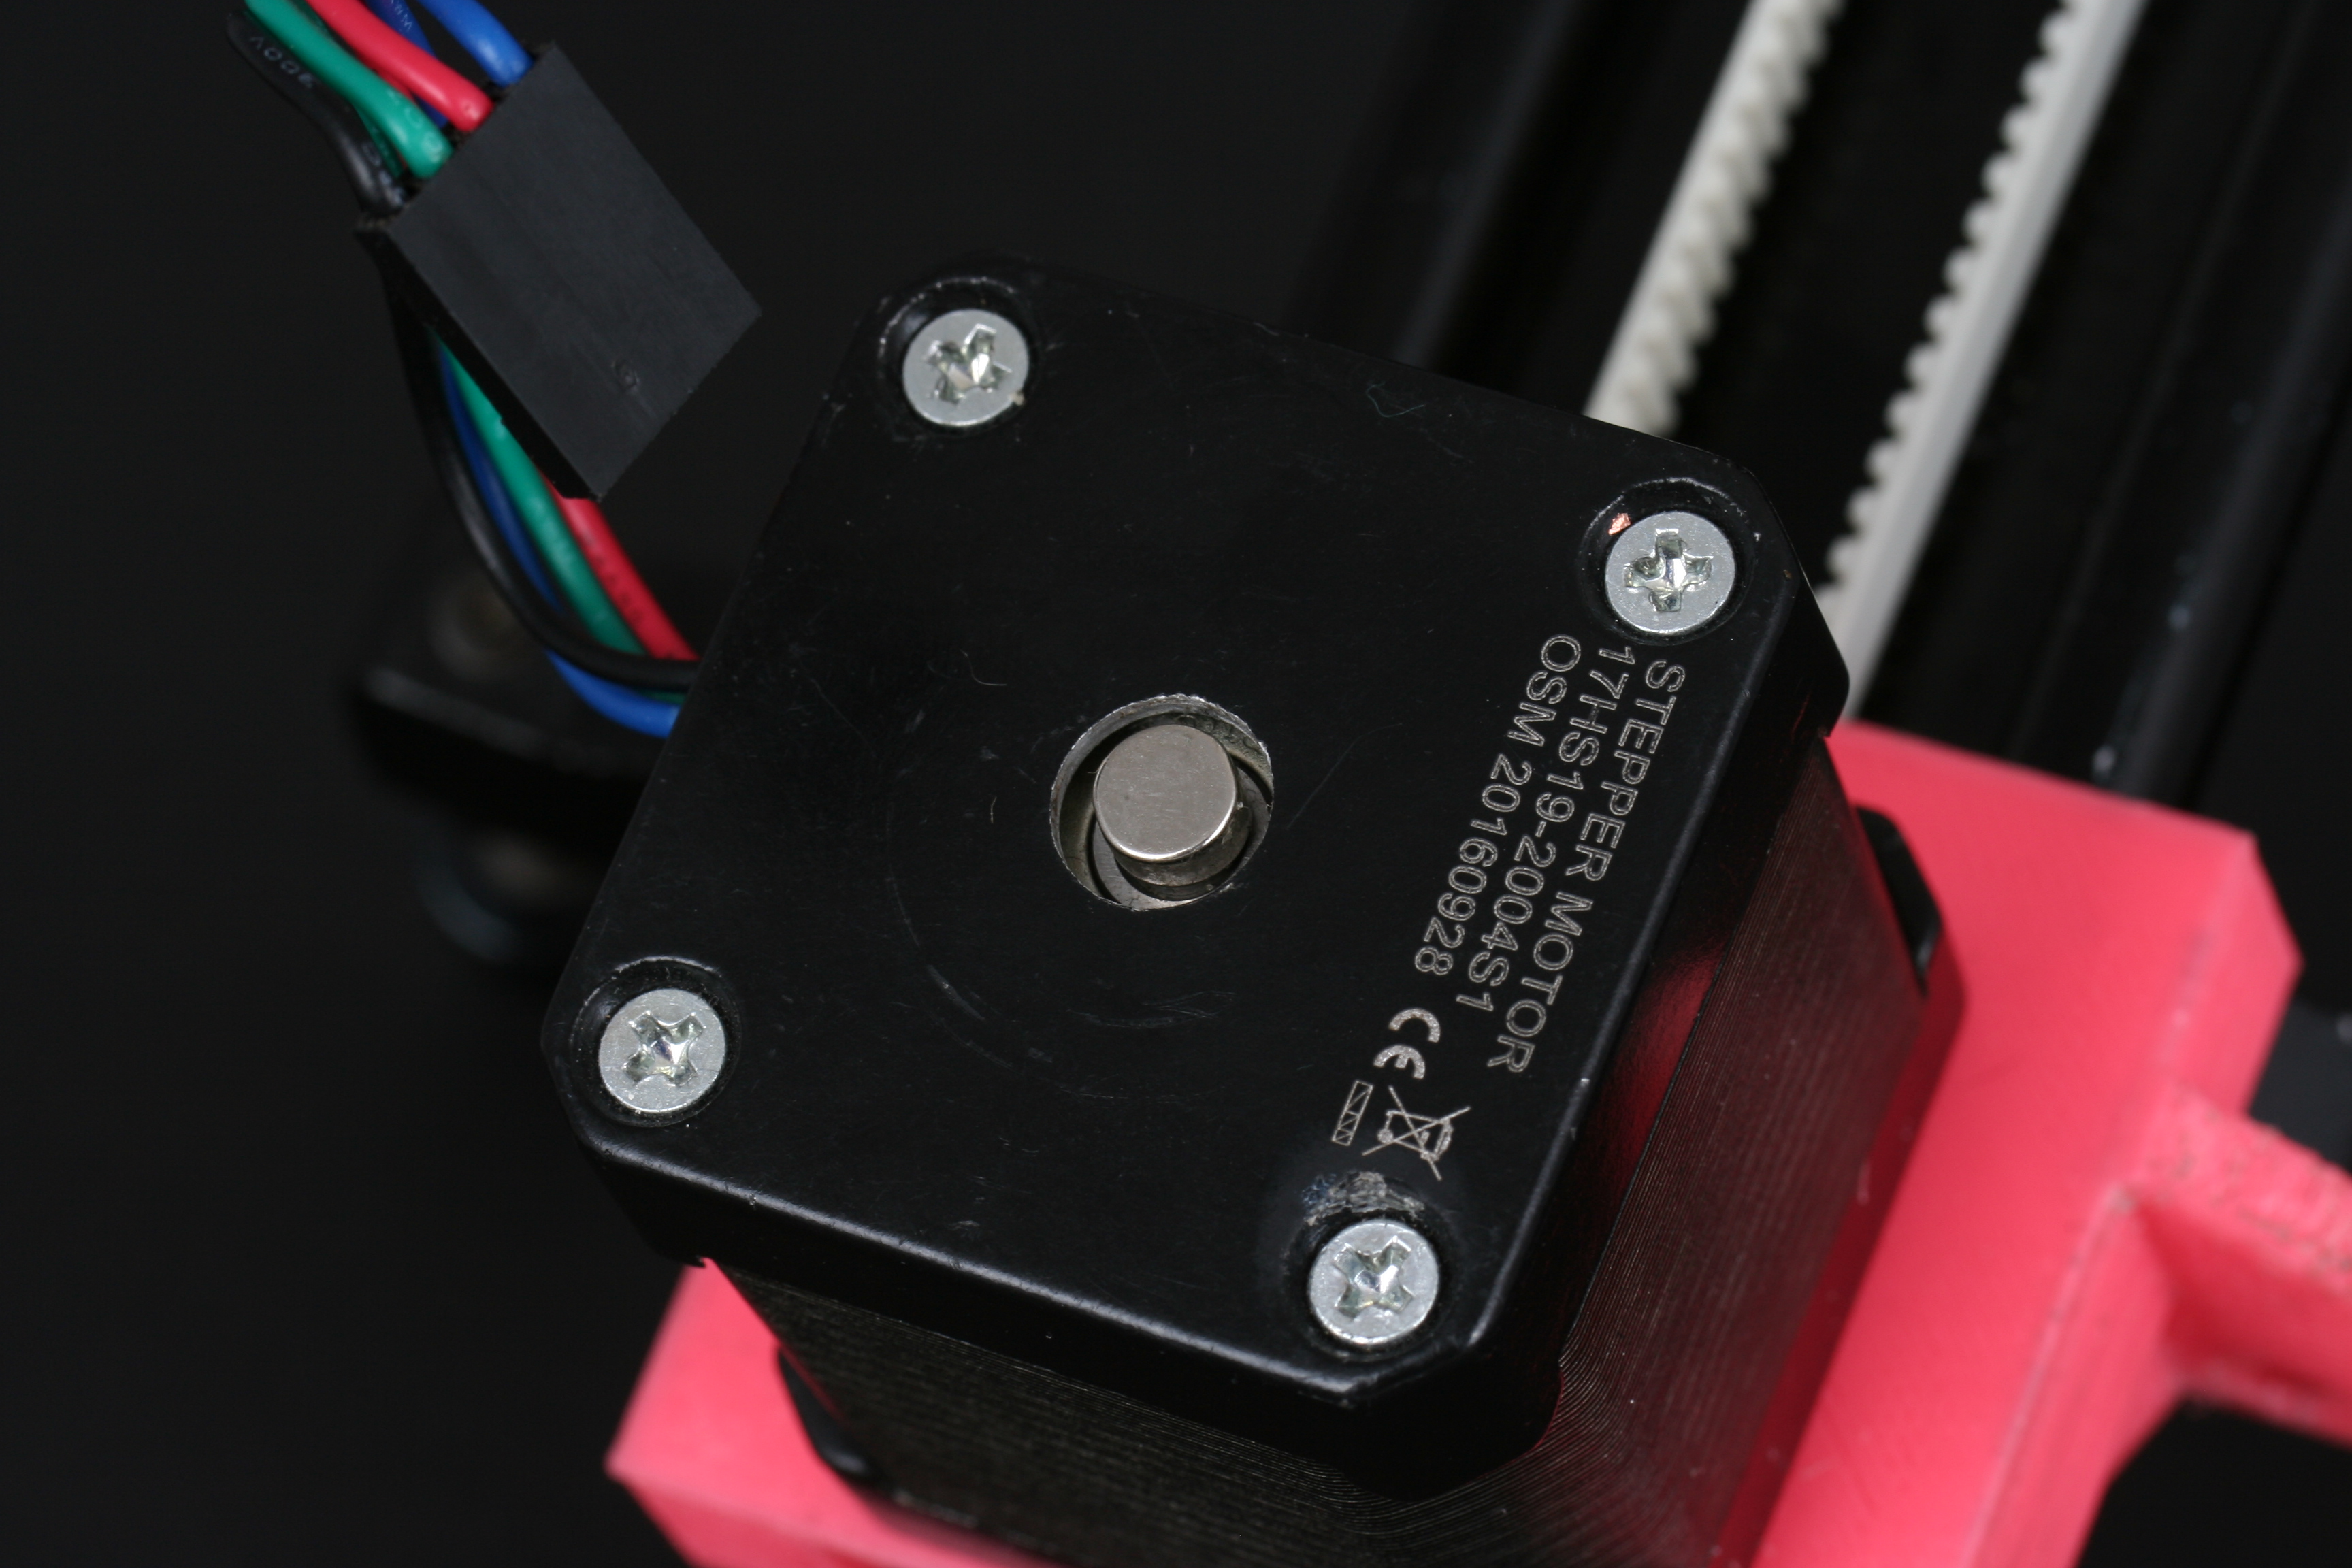
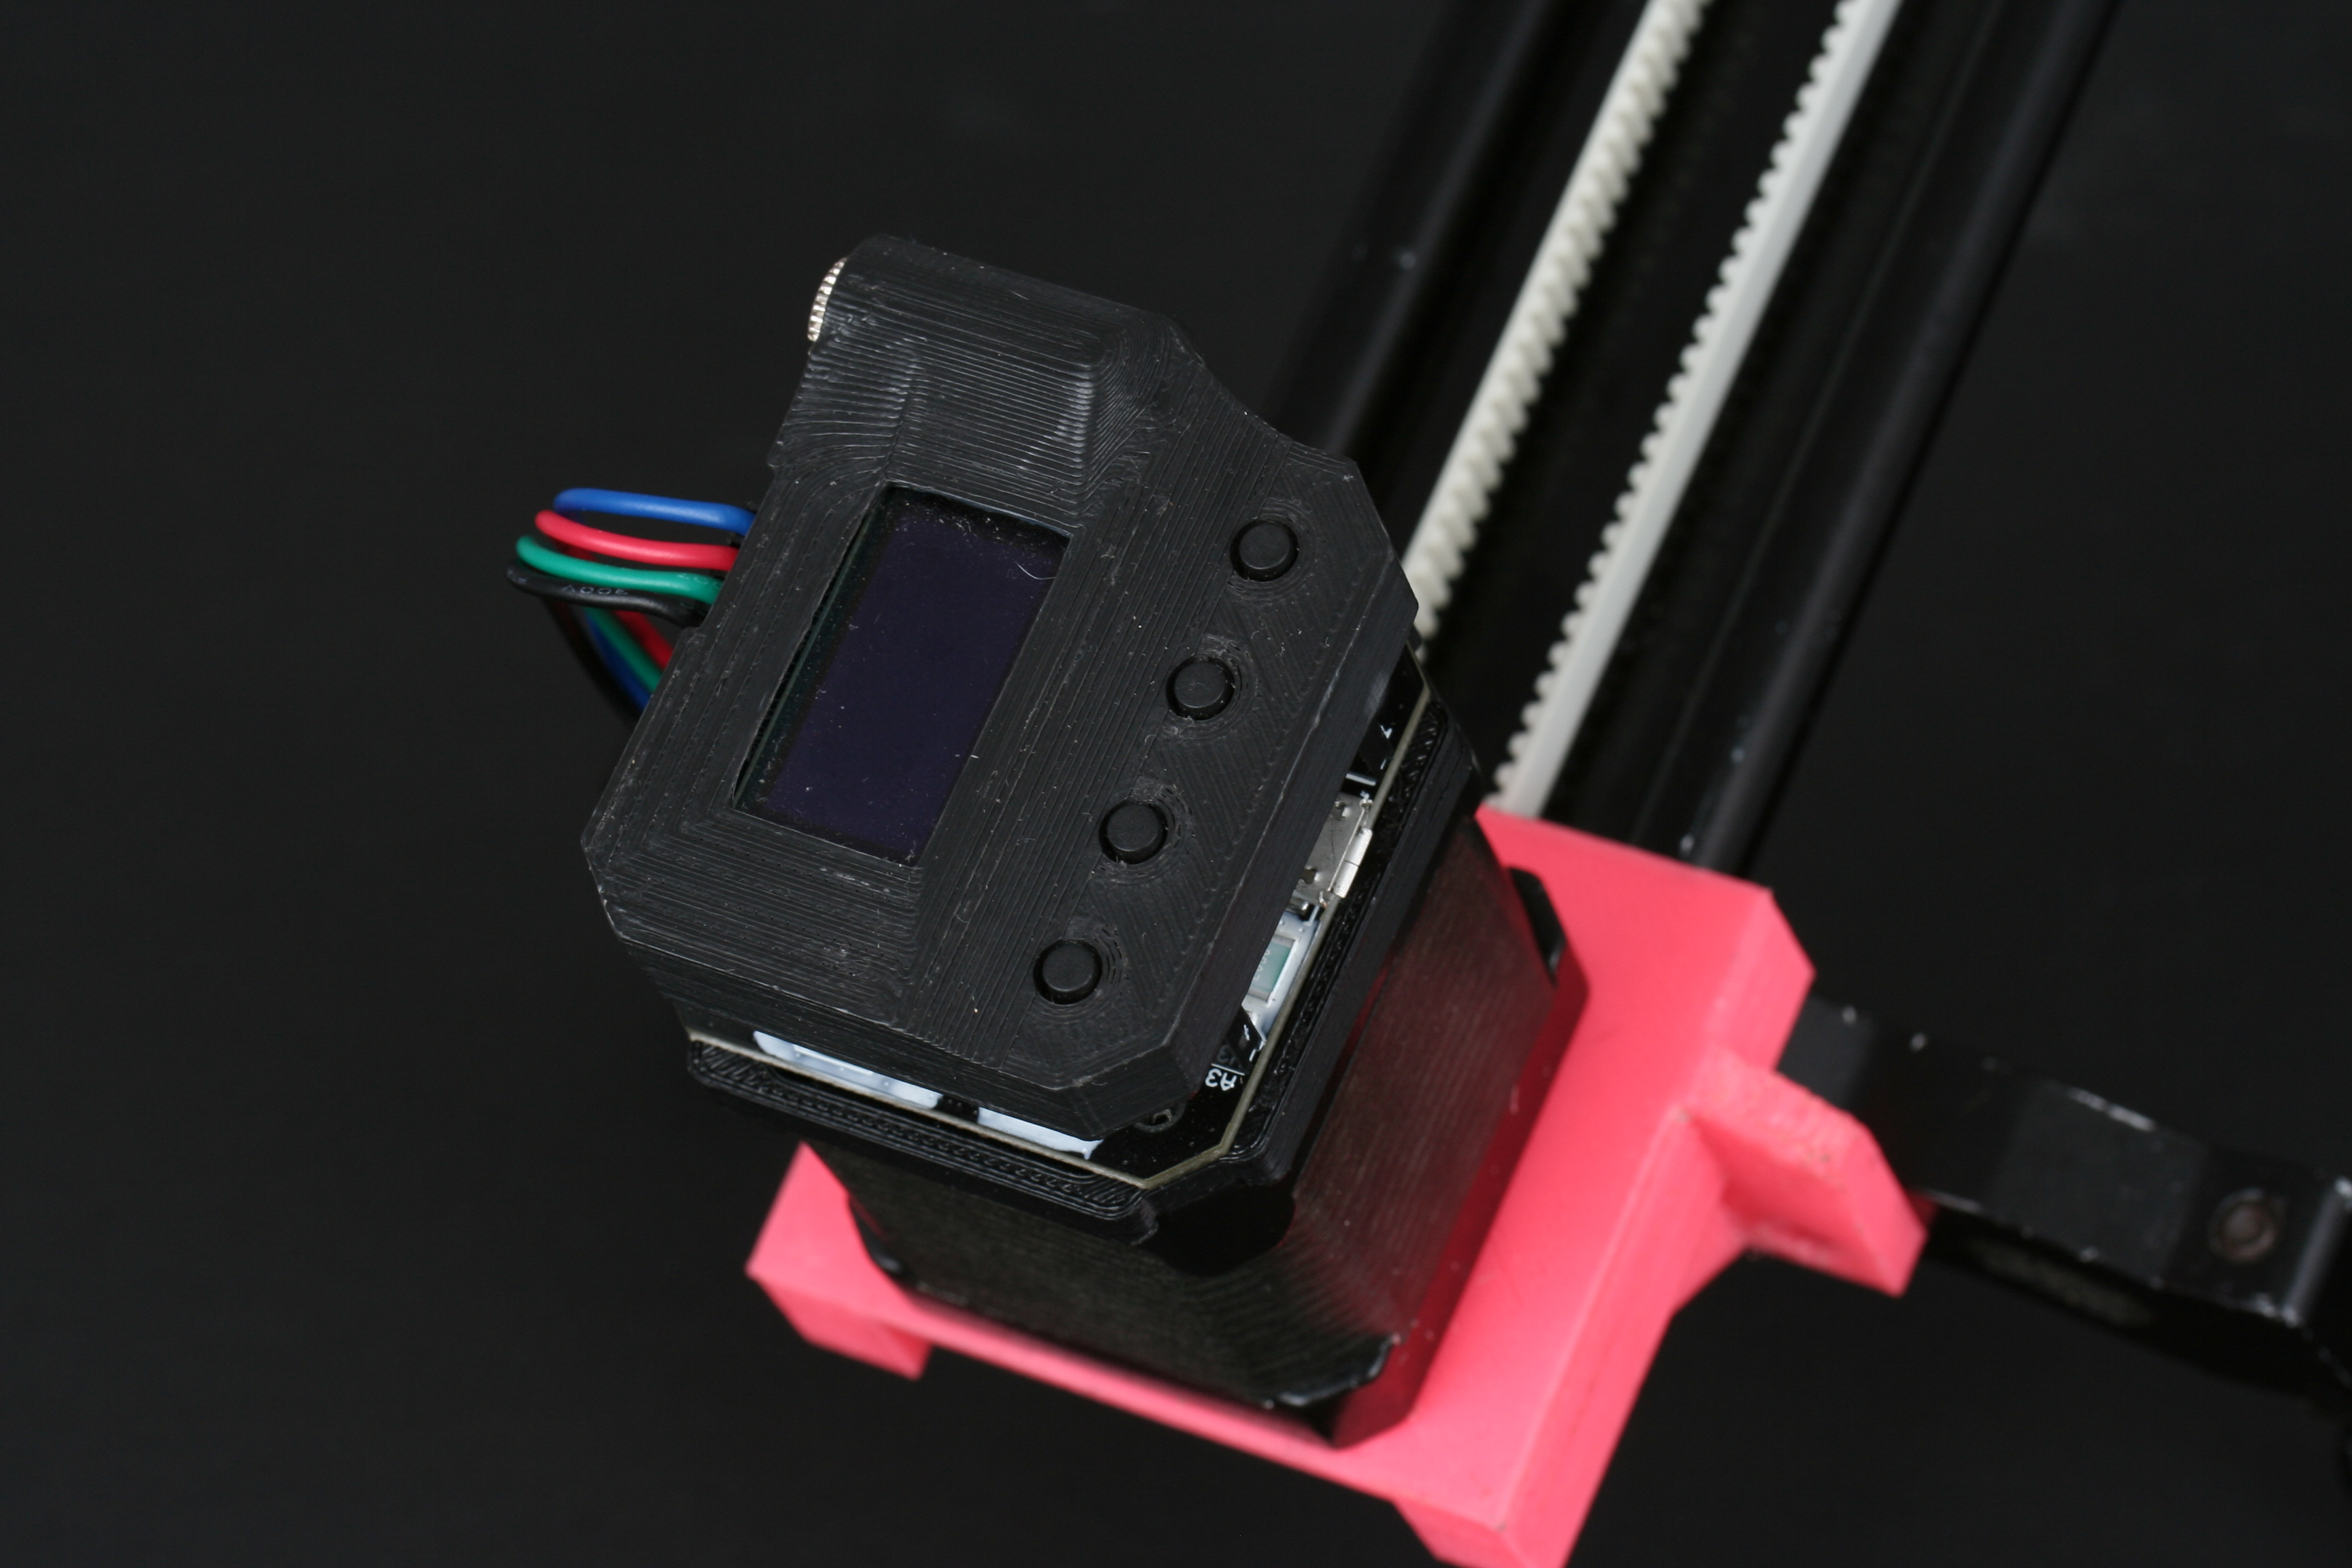
depending on the type of ball head you are using and how it attaches you may want to attach the head to the bed before proceeding further.
firstly attach the stepper motor and geared tooth to the nema stepper end of the time lapse rail using 4x3mm screws. Next push the plastic part onto the end of the extruded rail. Next remove the bed from the rail and attach one end of the belt to the bottom of the bed. Place the belt around the drive pully and then guage the length of the belt by placing the idler pully just past the end of the rail and wrapping the belt back round this pully and back to the bed (this may require some trial and error to get the correct tension) mark this off and attach the other end of the belt to the bed to create a loop. now slide the other idler end plastic part over the pully and belt and slip the bolt through the idler pully to create its axle.
thats the rail complete, now attach the magnet supplied with the ustepper with super glue to the end of the stepper motor shaft and clip the ustepper and ego shield to the time lapse rail and assembly is complete.
Step 2: Uploading the Required Code to the Ustepper
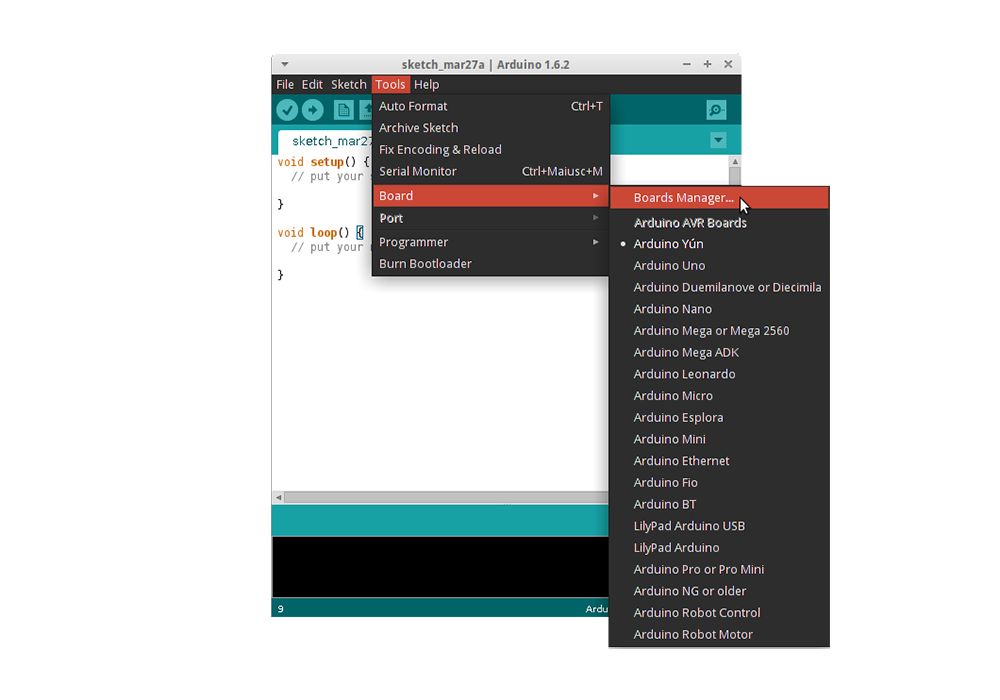
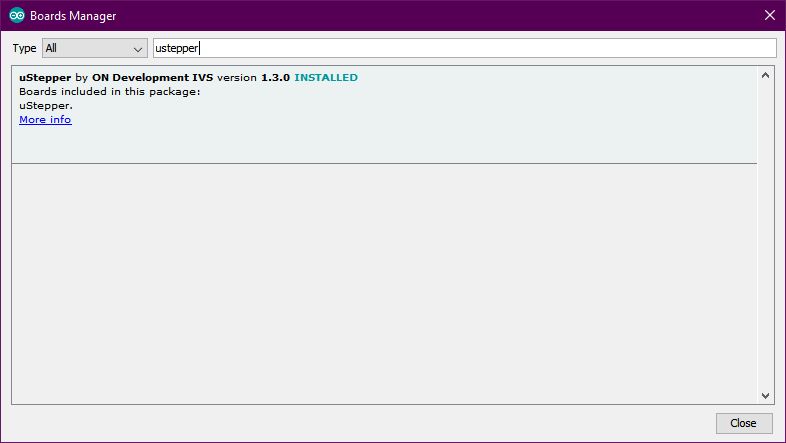
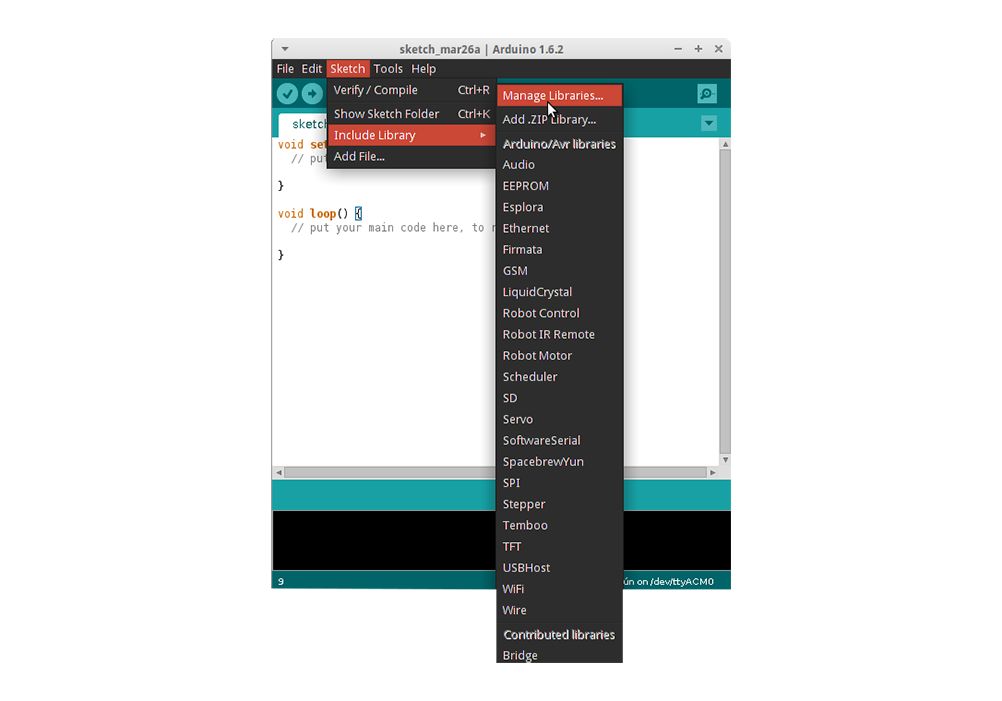
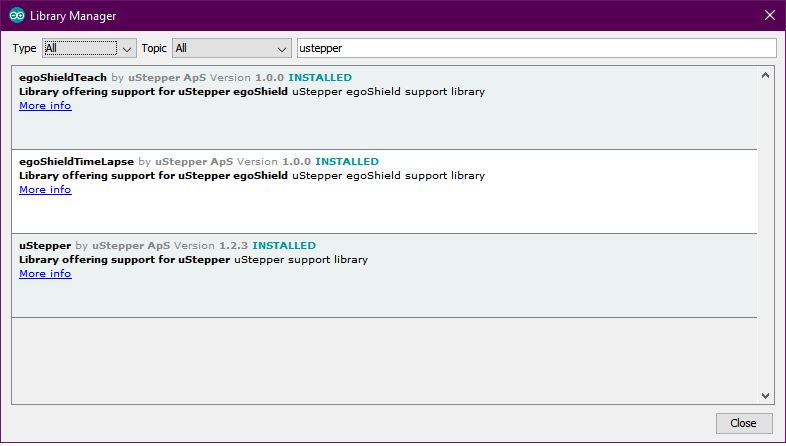
Before we can use the Ustepper to control the time lapse rail we will need to prepare it by uploading the code to it using a USB cable from you computer. to start you will need to download the Arduino IDE and install it once installed we need to add the Ustepper board and Egoshield libraries first of all open the Arduino IDE and click tools, Boards, Boards manager. search Ustepper and click the Ustepper board file and click install. once we have the ability to program your Ustepper we need the code to program it with to do this we need to add the Ustepper and Egoshield time lapse library so.. again with the Arduino IDE open click Sketch, Include library, Manage libraries, and search ustepper we want to install the ustepper and egoShieldTimeLapse library. now we just need to open the egoshield timelapse example so click File, Examples, and scroll down to egoshieldtimelapse, examples, timelapse this should open a new arduino window. before uploading check the board type is set to Usepper and that the com port is set correctly in the tools menu. now click the upload button. Add TipAsk QuestionCommentDownload Step 3: Controlling the Camera
The guys at ustepper have included an option to allow the ustepper to safely control the camera's shutter but given the number of different trigger connectors for all the many brands and models of cameras you will need to source a lead from eBay etc specifically for your camera. It needs to have a 2.5mm plug at one end and the correct plug at the other end to suit your camera. to help with this I did a quick eBay search however its not exhaustive and you may need to refine it to get results specific to your camera but give me a poke and ill help as much as i can here. once your connected its time to get out and take some epic motion time lapses. all operations are performed using the 4 button interface. Using the record button to open the time lapse menu you then use the left and right buttons to set the step distance and interval hitting record to confirm each setting and when you are ready hit play. I have included the full PDF instruction manual for the time lapse function from ustepper as it goes into a little more detail on how to operate the controller.