Easy Aluminum Solder Stencil
by JouleTime in Circuits > Soldering
5347 Views, 35 Favorites, 0 Comments
Easy Aluminum Solder Stencil
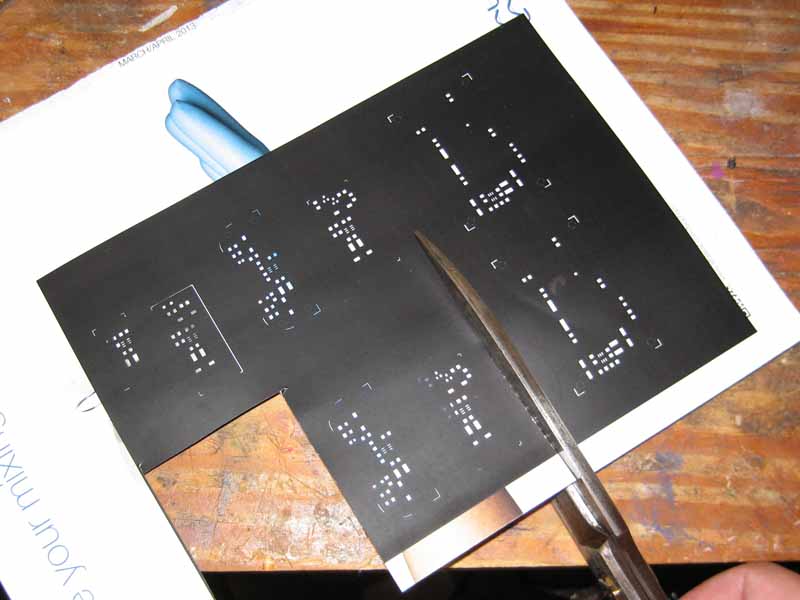
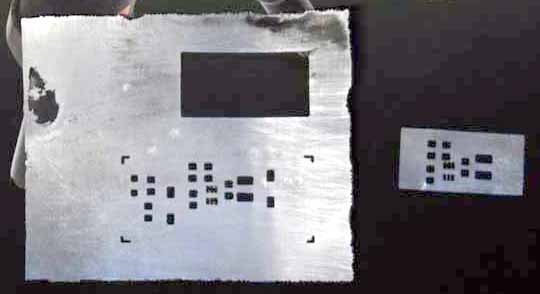

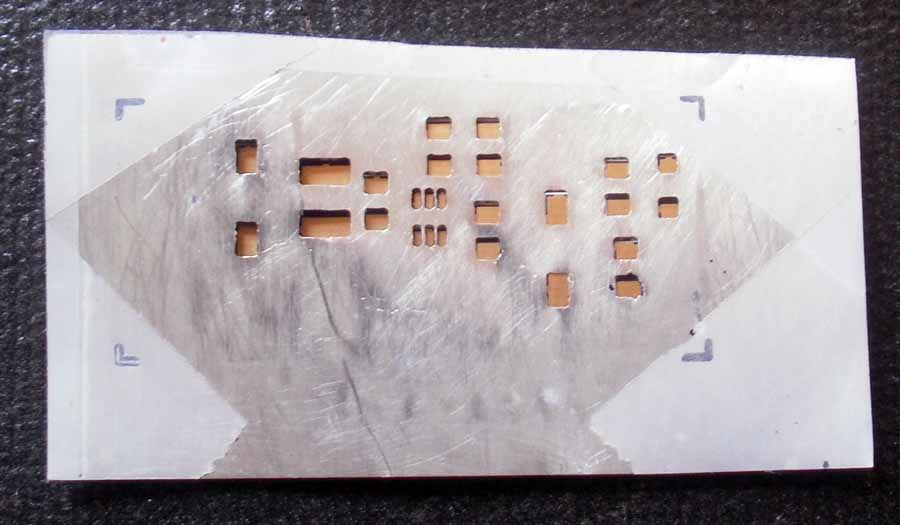
Today we are going to show how to make a solder mask using scrap aluminum from a soda can.
Step 1. Cut apart a soda can. I used tin snips to cut completely around the top. Then I cut down the length. Next cut off the bottom. Finally cut the edges clean and straight. You now have a curled up piece of aluminum. Flatten by reverse rolling up the sheet. Be careful because the edges are sharp.
Step 2. Clean off the coating on one side. Both the inside and outside of a soda can is coated. The outside is painted with the product name and image. The inside has a clear corrosion resistance coating. I usually sand away the clear inside coating. I start with a 220 grit and then I finish with a 300 grit. The metal should be uniformly shiny with no dull spots. Try very hard to keep everything flat and smooth while you are sanding.
You could buy flat sheet from some company like McMaster Carr, if you don’t want to waste your time cutting apart soda cans. The metal thickness should be about 0.004”.
Step 3. Print a negative of you solder pads using a laserjet printer. It has to be a laserjet and not inkject. If you are using Eagle Softcad, simply turn off all layers except the tCream or bCream layer. I also leave on the dimension layer so I get an idea of how big is the board. Edit the color to be black and the fill style to be solid. These are set under the Display menu.
I like to reduce the solder mask size slightly. You do this by opening the Design Rules menu. Then select the Masks tab. I change the cream to be 0mil minimum, 100 %, and 4 or 5 mil maximum. Hit ok to make the changes take effect.
In the Print menu, you print as a pdf at 1 scale factor. Then open the image in photo editing software. I like to pick a 400 – 500 pixel density when opening the pdf to give the mask a lot of detail.
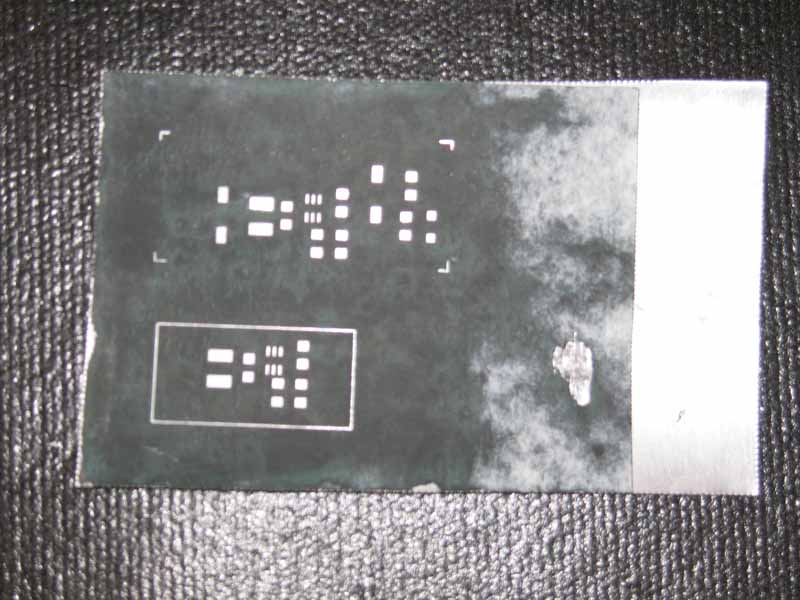
Invert the image so that black and white switch. If you left on the dimension layer, you should have a boarder around your circuit. You should color in part of the line, maybe leave just the corners for reference. If you do not then the etching step will etch through and leave you with a mask that is the same size as your board. I prefer to have it a little bigger so I can tape the mask down without affecting the solder.
You want to print on a glossy paper that will hold the ink but not soak into the paper. My favorite choice is to use the covers of magazines, the glossier and thicker the paper the better. Manually feed these through when you print the image.
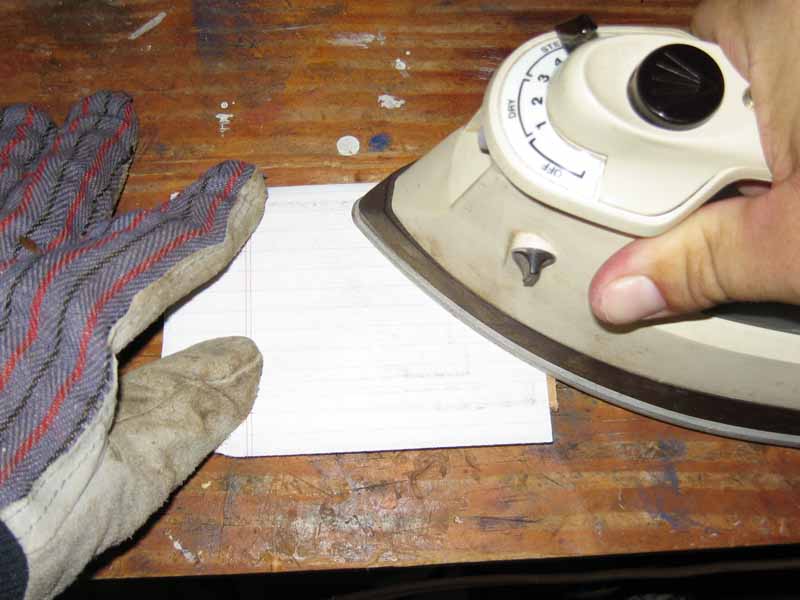
Step 4. Now you have a clean sheet of aluminum and a laserjet printed image. You combine these by ironing the laser jet image onto the aluminum sheet.
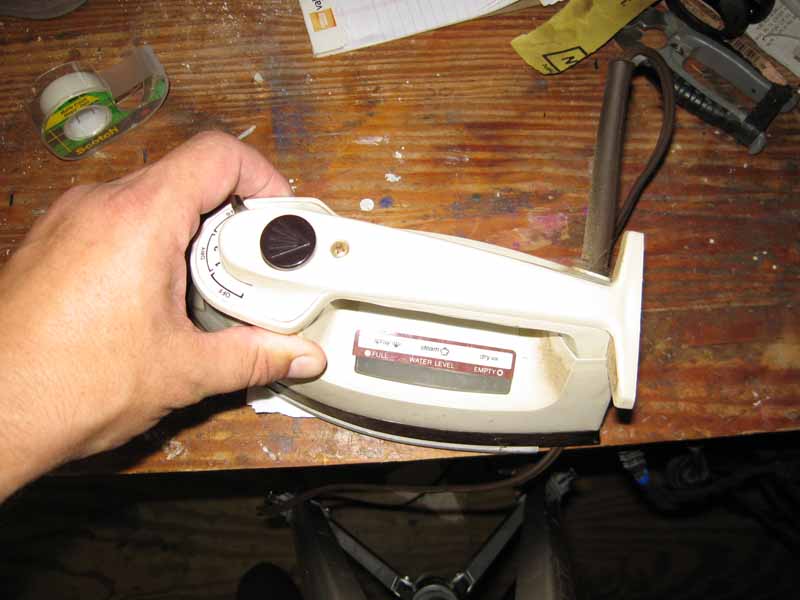
I use an old iron that my wife was going to throw away. I set the temperature to the second highest heat. You may need to experiment around on temperature. The key is to get the ink hot enough to stick to the aluminum without flowing and smearing. You want a sharp and even transfer.
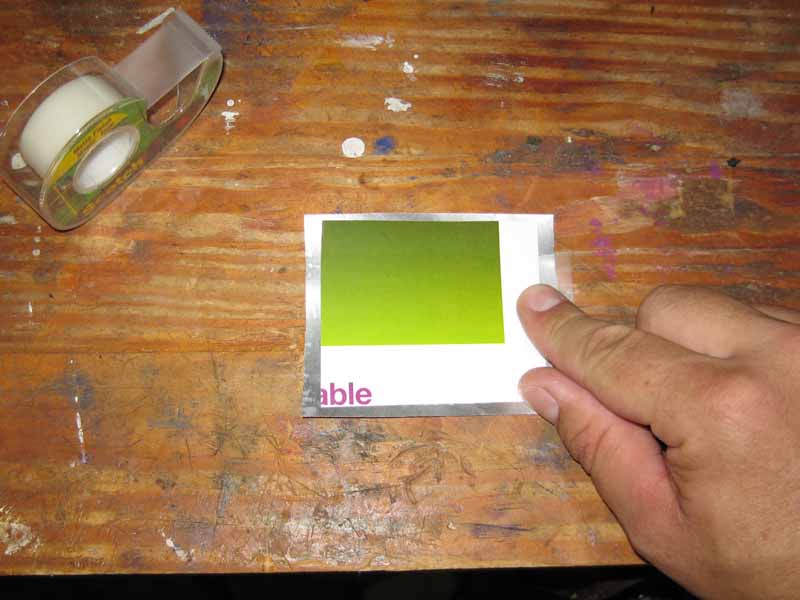
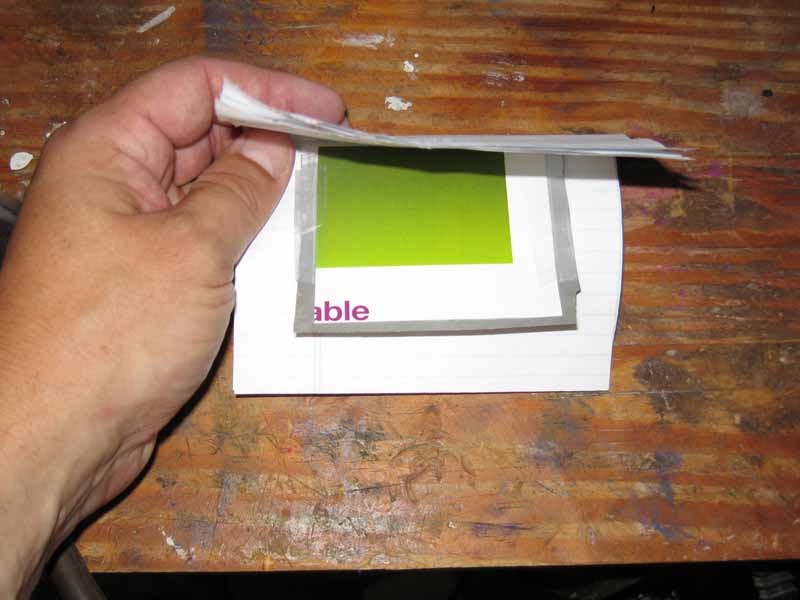
I use clear tape to hold the image down on the aluminum. I then stick it between several sheets of paper to even out the heat. Then I place the iron on top for 4 minutes without applying pressure. The goal is to heat everything up to temperature.
Then for 1-3 minutes ( depending on the size) I use the tip of the iron the press down and rub all over the surface. This is to make sure the image has made good contact with the aluminum and will stick.
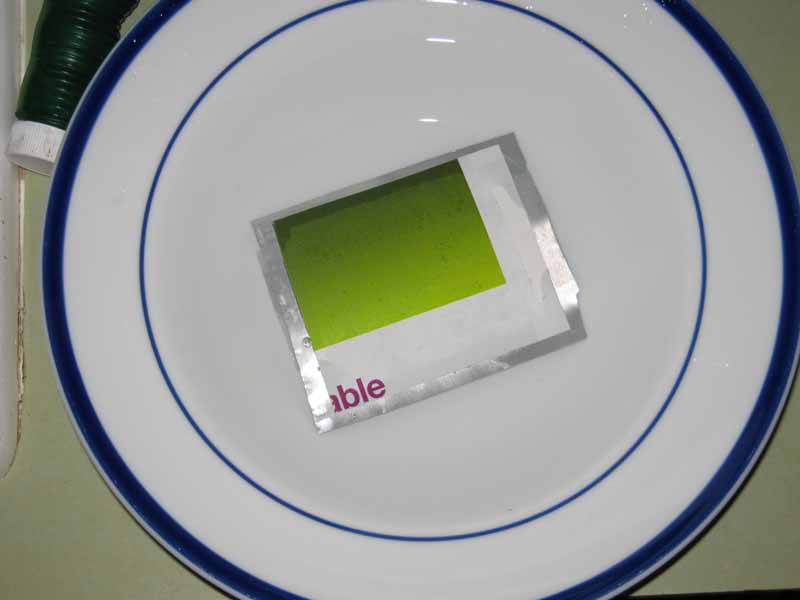
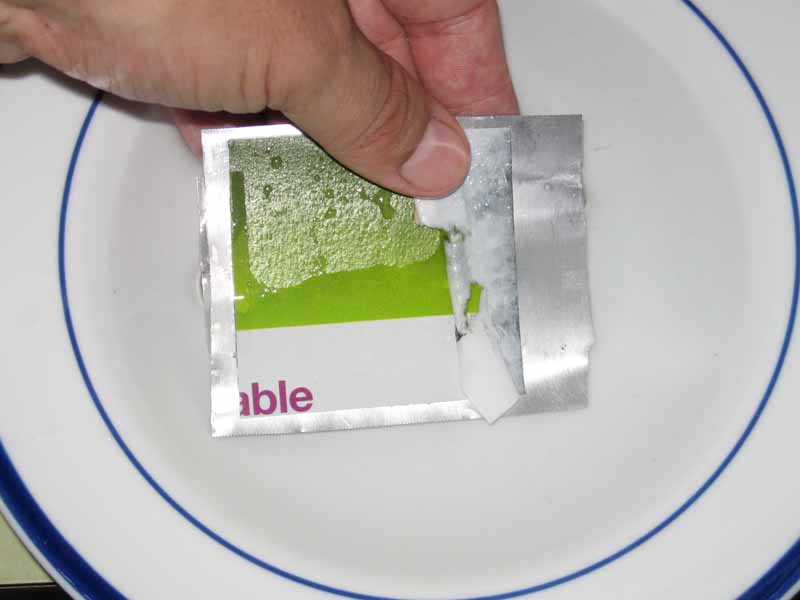
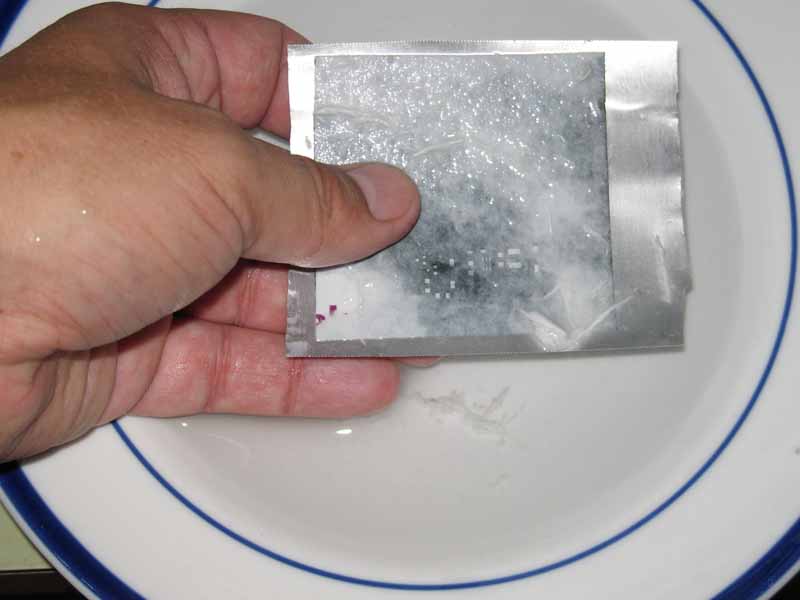
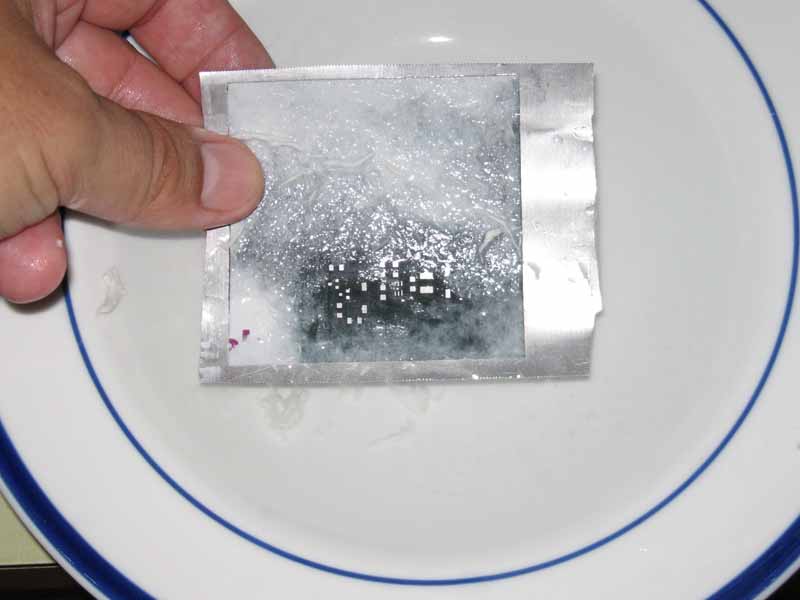
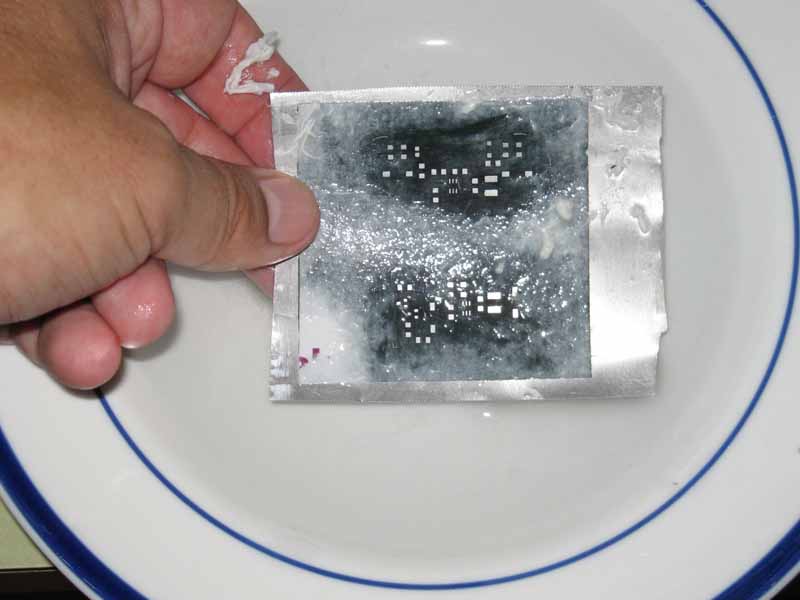
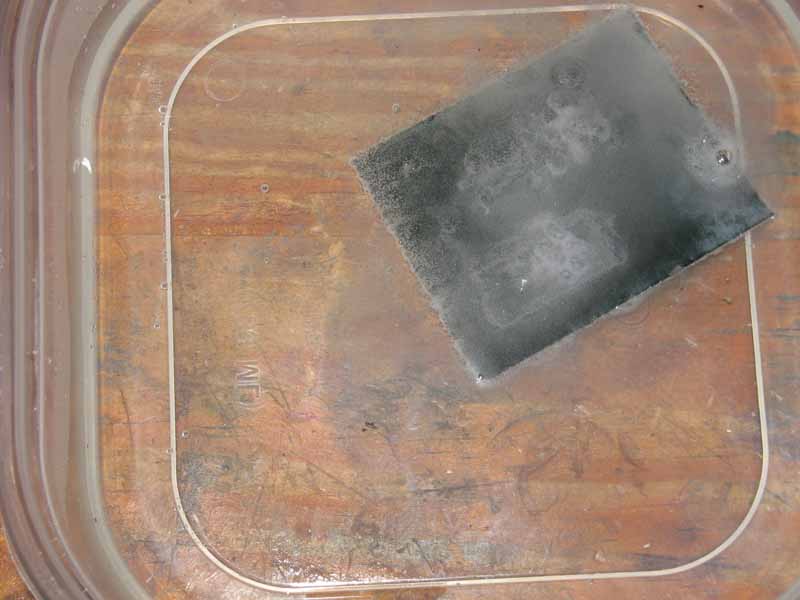
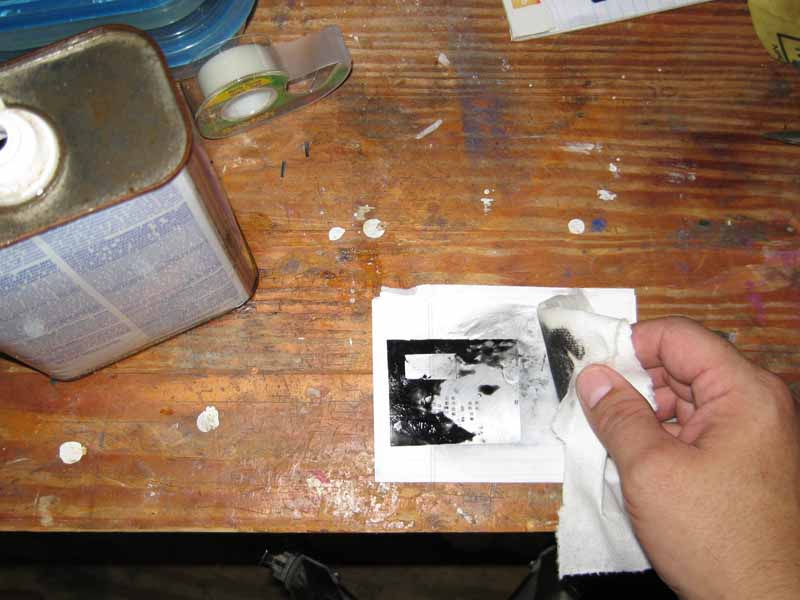
Turn off the iron, and transfer the image/aluminum to a bowl of water. You soak the paper for several minutes and then peel it off, removing the tape in the process. You also gently rub the remaining paper with your thumb until a black image is left with no paper.
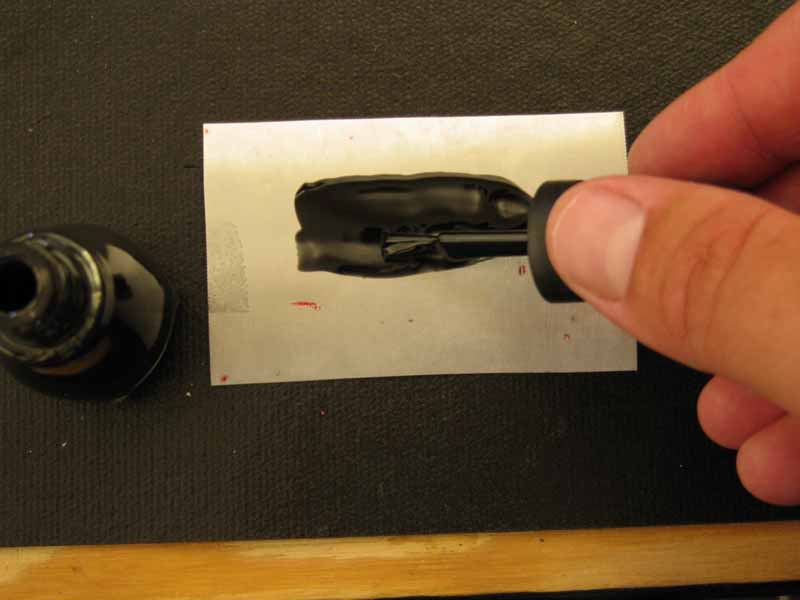
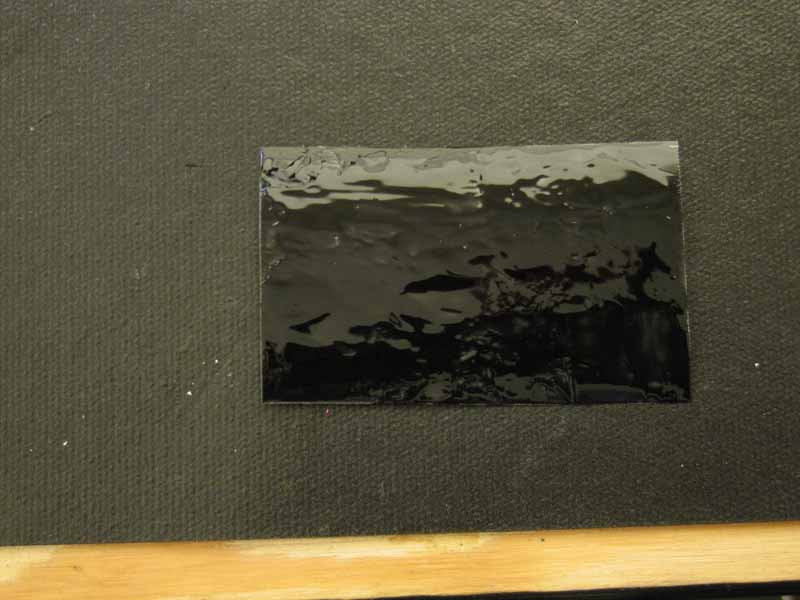
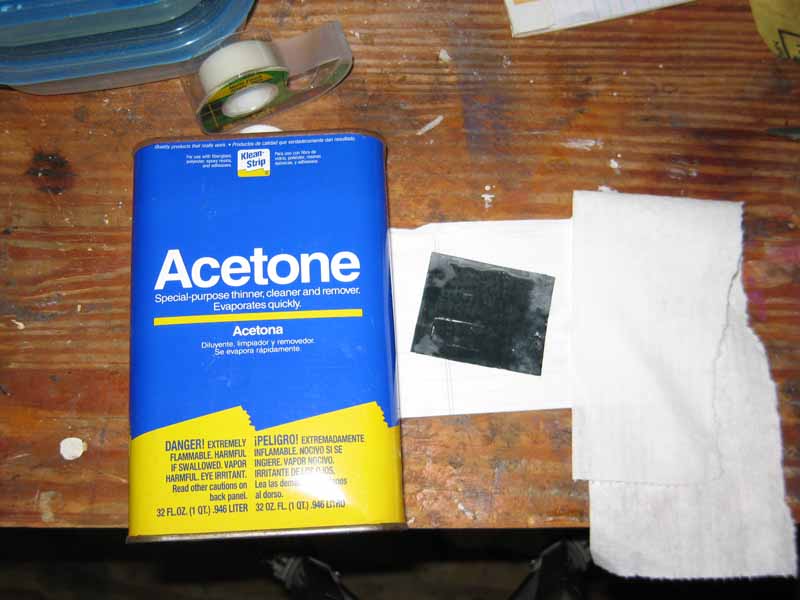
Step 5. You can cover up any missing areas and the back side of the aluminum with nail polish. Nail polish is easy to remove and it blocks the acid from etching.
Step 6. Caution this step requires the use of a strong acid. Follow all warning instructions on the bottle. Do not touch the mask while it is in the acid with your hands, Wear safety glasses. If it gets on you rinse with a lot of water. Do not pour this down your drain unless you want to corrode your pipes.
I do all of this work in my garage with the door open.
I use muratic acid from Home Depot. It is sold as a concrete cleaner. This will eat through aluminum fast, 1-2 minutes. I keep a small amount stored in a plastic container with a lid. This way I can reuse it multiple times. It will evaporate if you leave the lid off thereby making the concentration stronger. I do not recommend doing that.
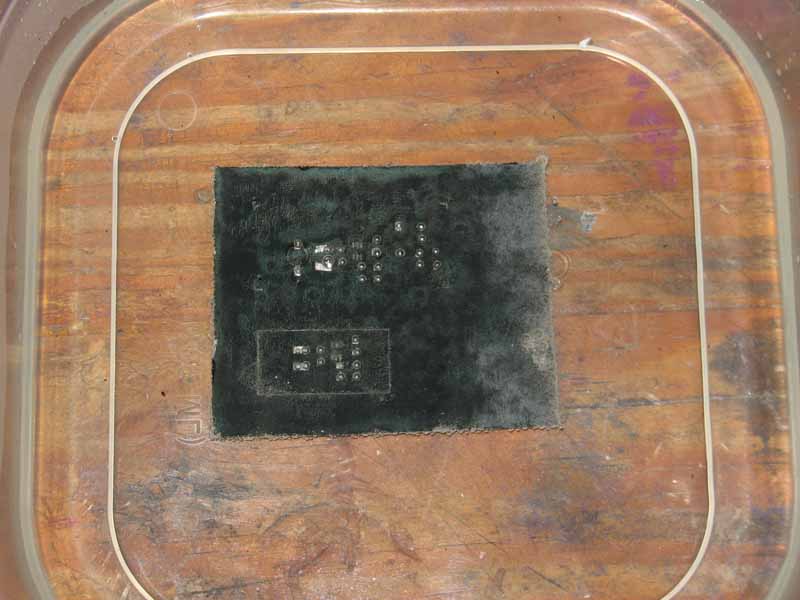
Once you have all the areas you do not want etched covered in nail polish, you can place your mask in the plastic container. The acid by take a minute to start reacting. Little bubbles will form on the exposed metal. This will turn into fizzing. It will be hard to see when all the exposed metal is gone. I have generally timed this to be 2 minutes.
I remove the mask using chop sticks, but other not metal tools could work. I place it on the plastic lid and then rinse with the garden hose, using lots of water. After it is rinsed you can then pick it up with your hands.
All the shiny aluminum should be gone, if not put it back in the acid for a few more seconds. Try not to over etch.
Cover your plastic container of acid and place in a safe area until you need it again.
7. Kickstarter special. For those who supported my Kickstarter project here is the solder mask for all the boards. Warnings, after printing make sure they are the right size to match the board. You measure the printed image and compare to the matching board. I made a set that looked ok, but the image was shrunk slightly and the finished masks were scrap. Do not let this happen to you.
http://www.kickstarter.com/projects/1257390142/boostmini-power-supply-and-voltage-converter
If you missed the Kickstarter, here is a sample board for sale on Tindie.
https://www.tindie.com/products/JouleTime/boostminiusb-power-supply-voltage-booster/