Easy 3D Printed Earhoops in Any Shape
by Helixivy in Craft > Jewelry
1429 Views, 19 Favorites, 0 Comments
Easy 3D Printed Earhoops in Any Shape
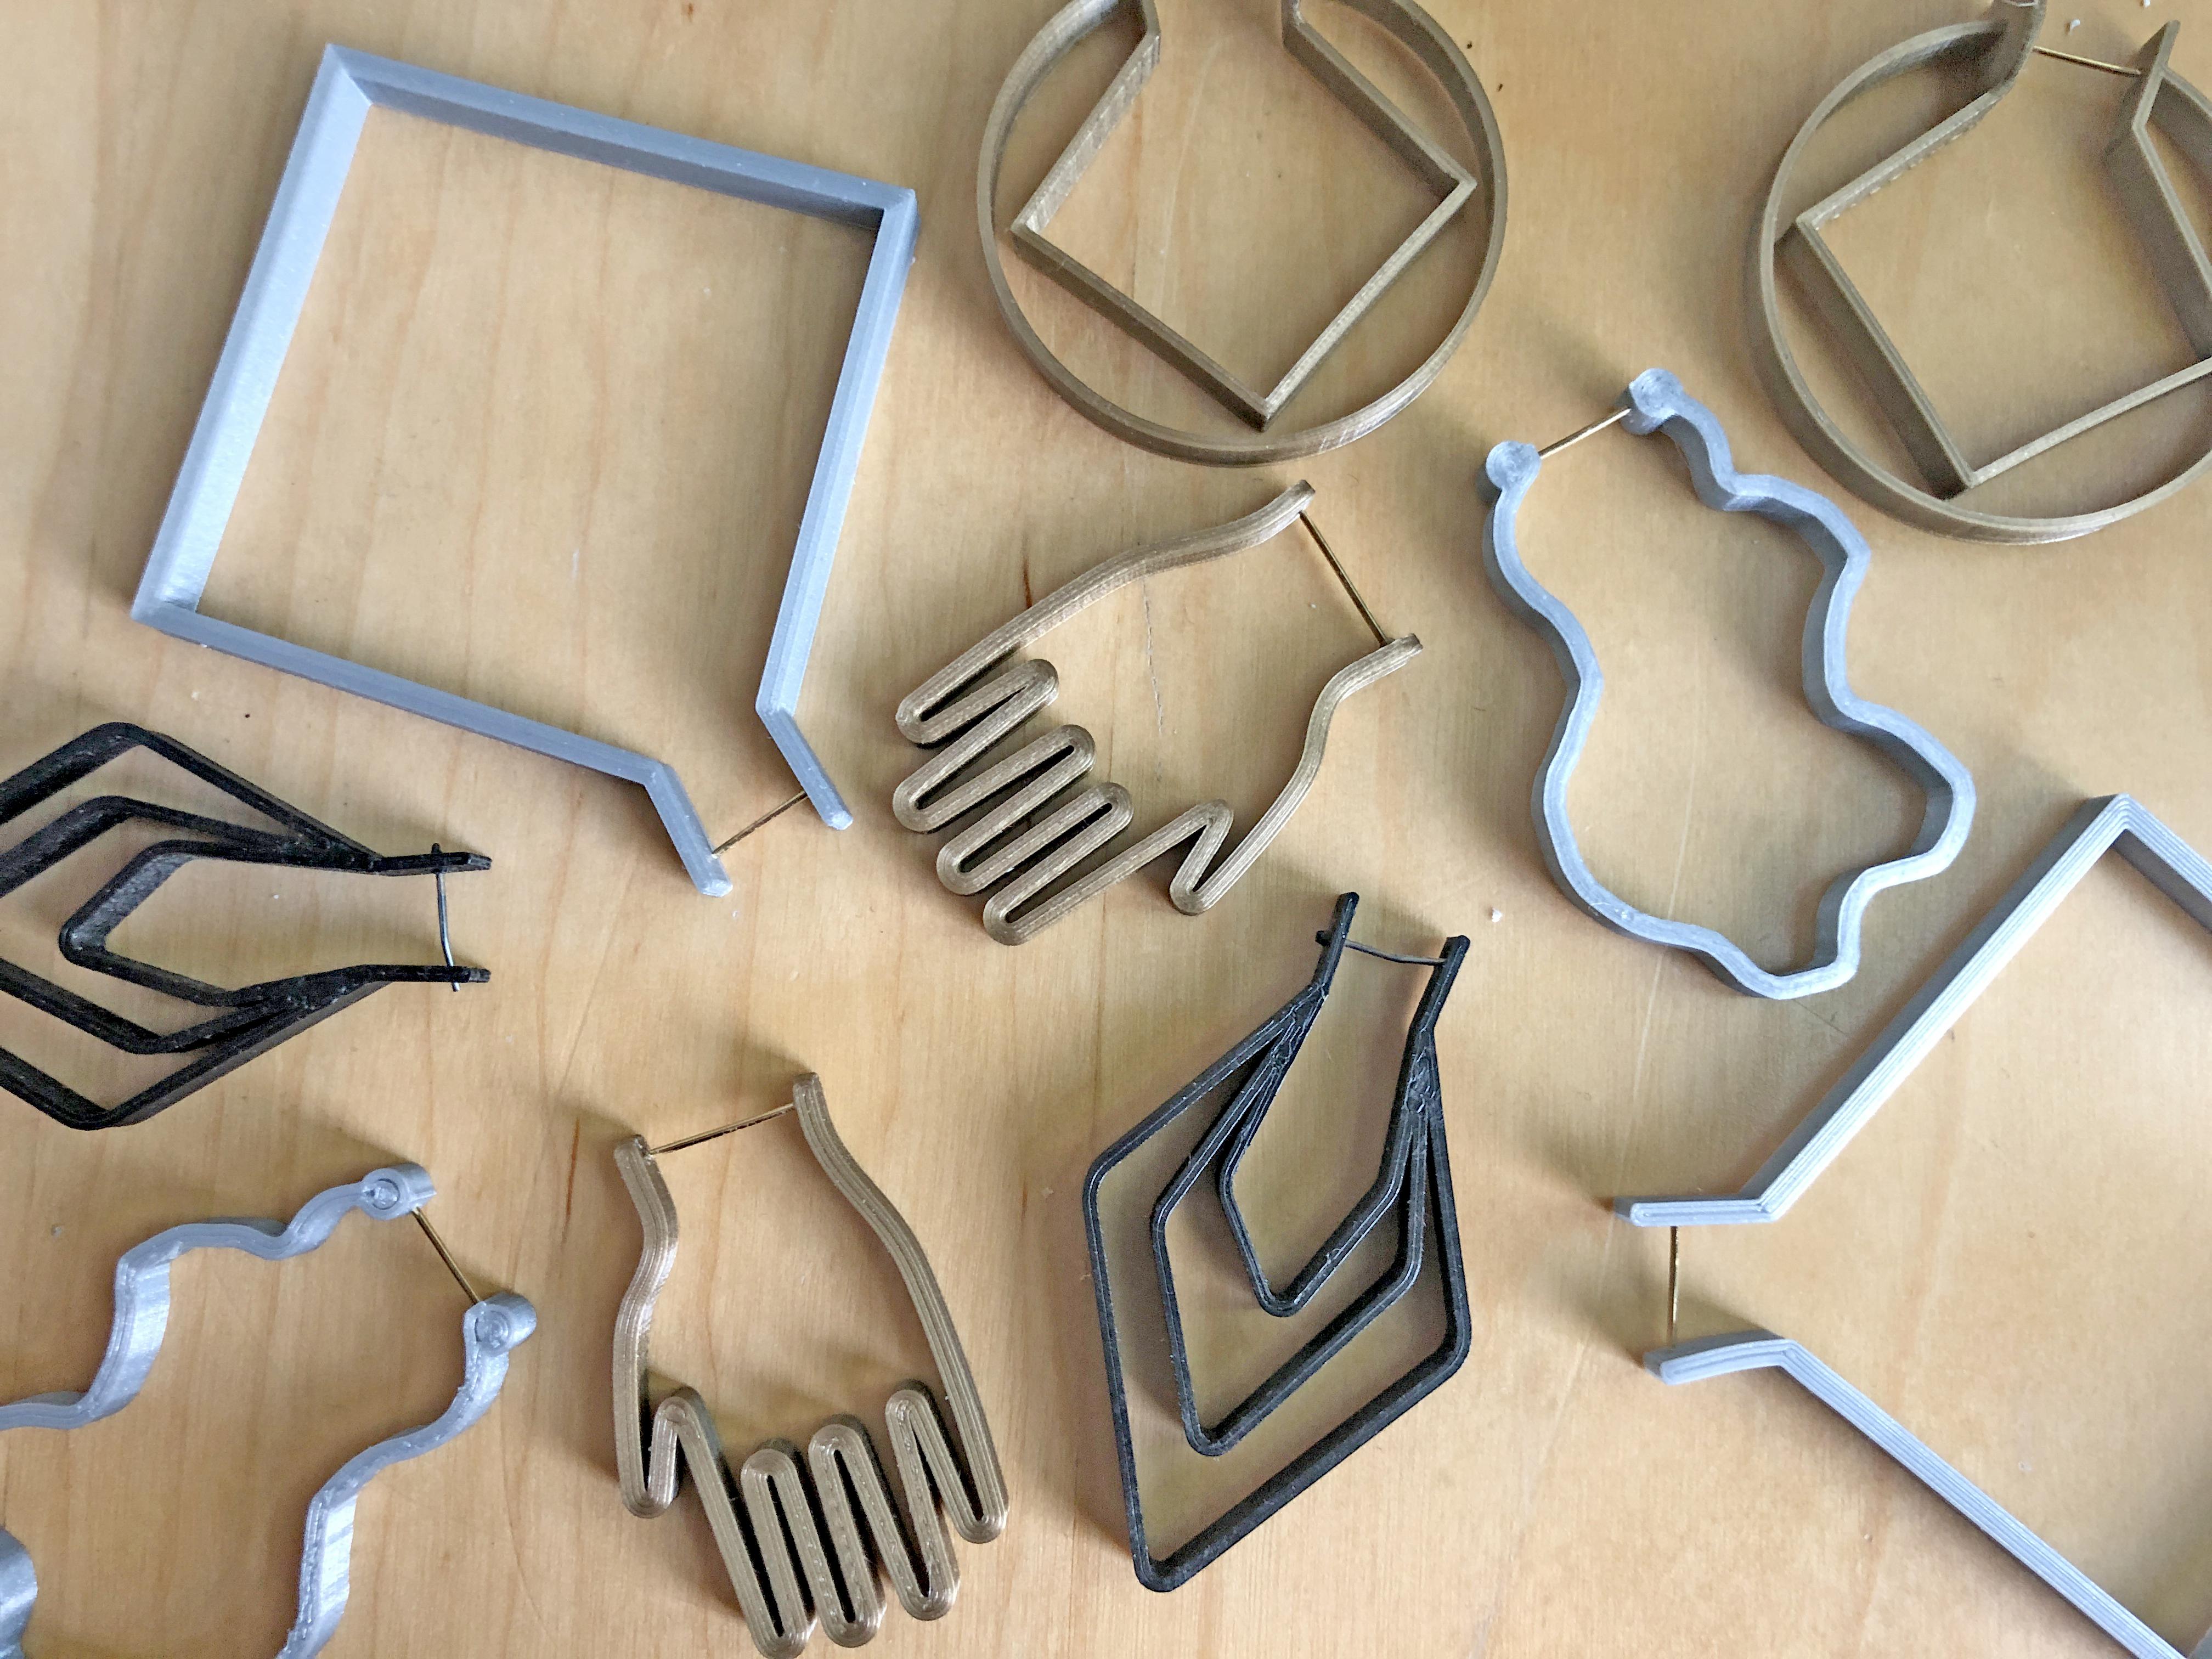
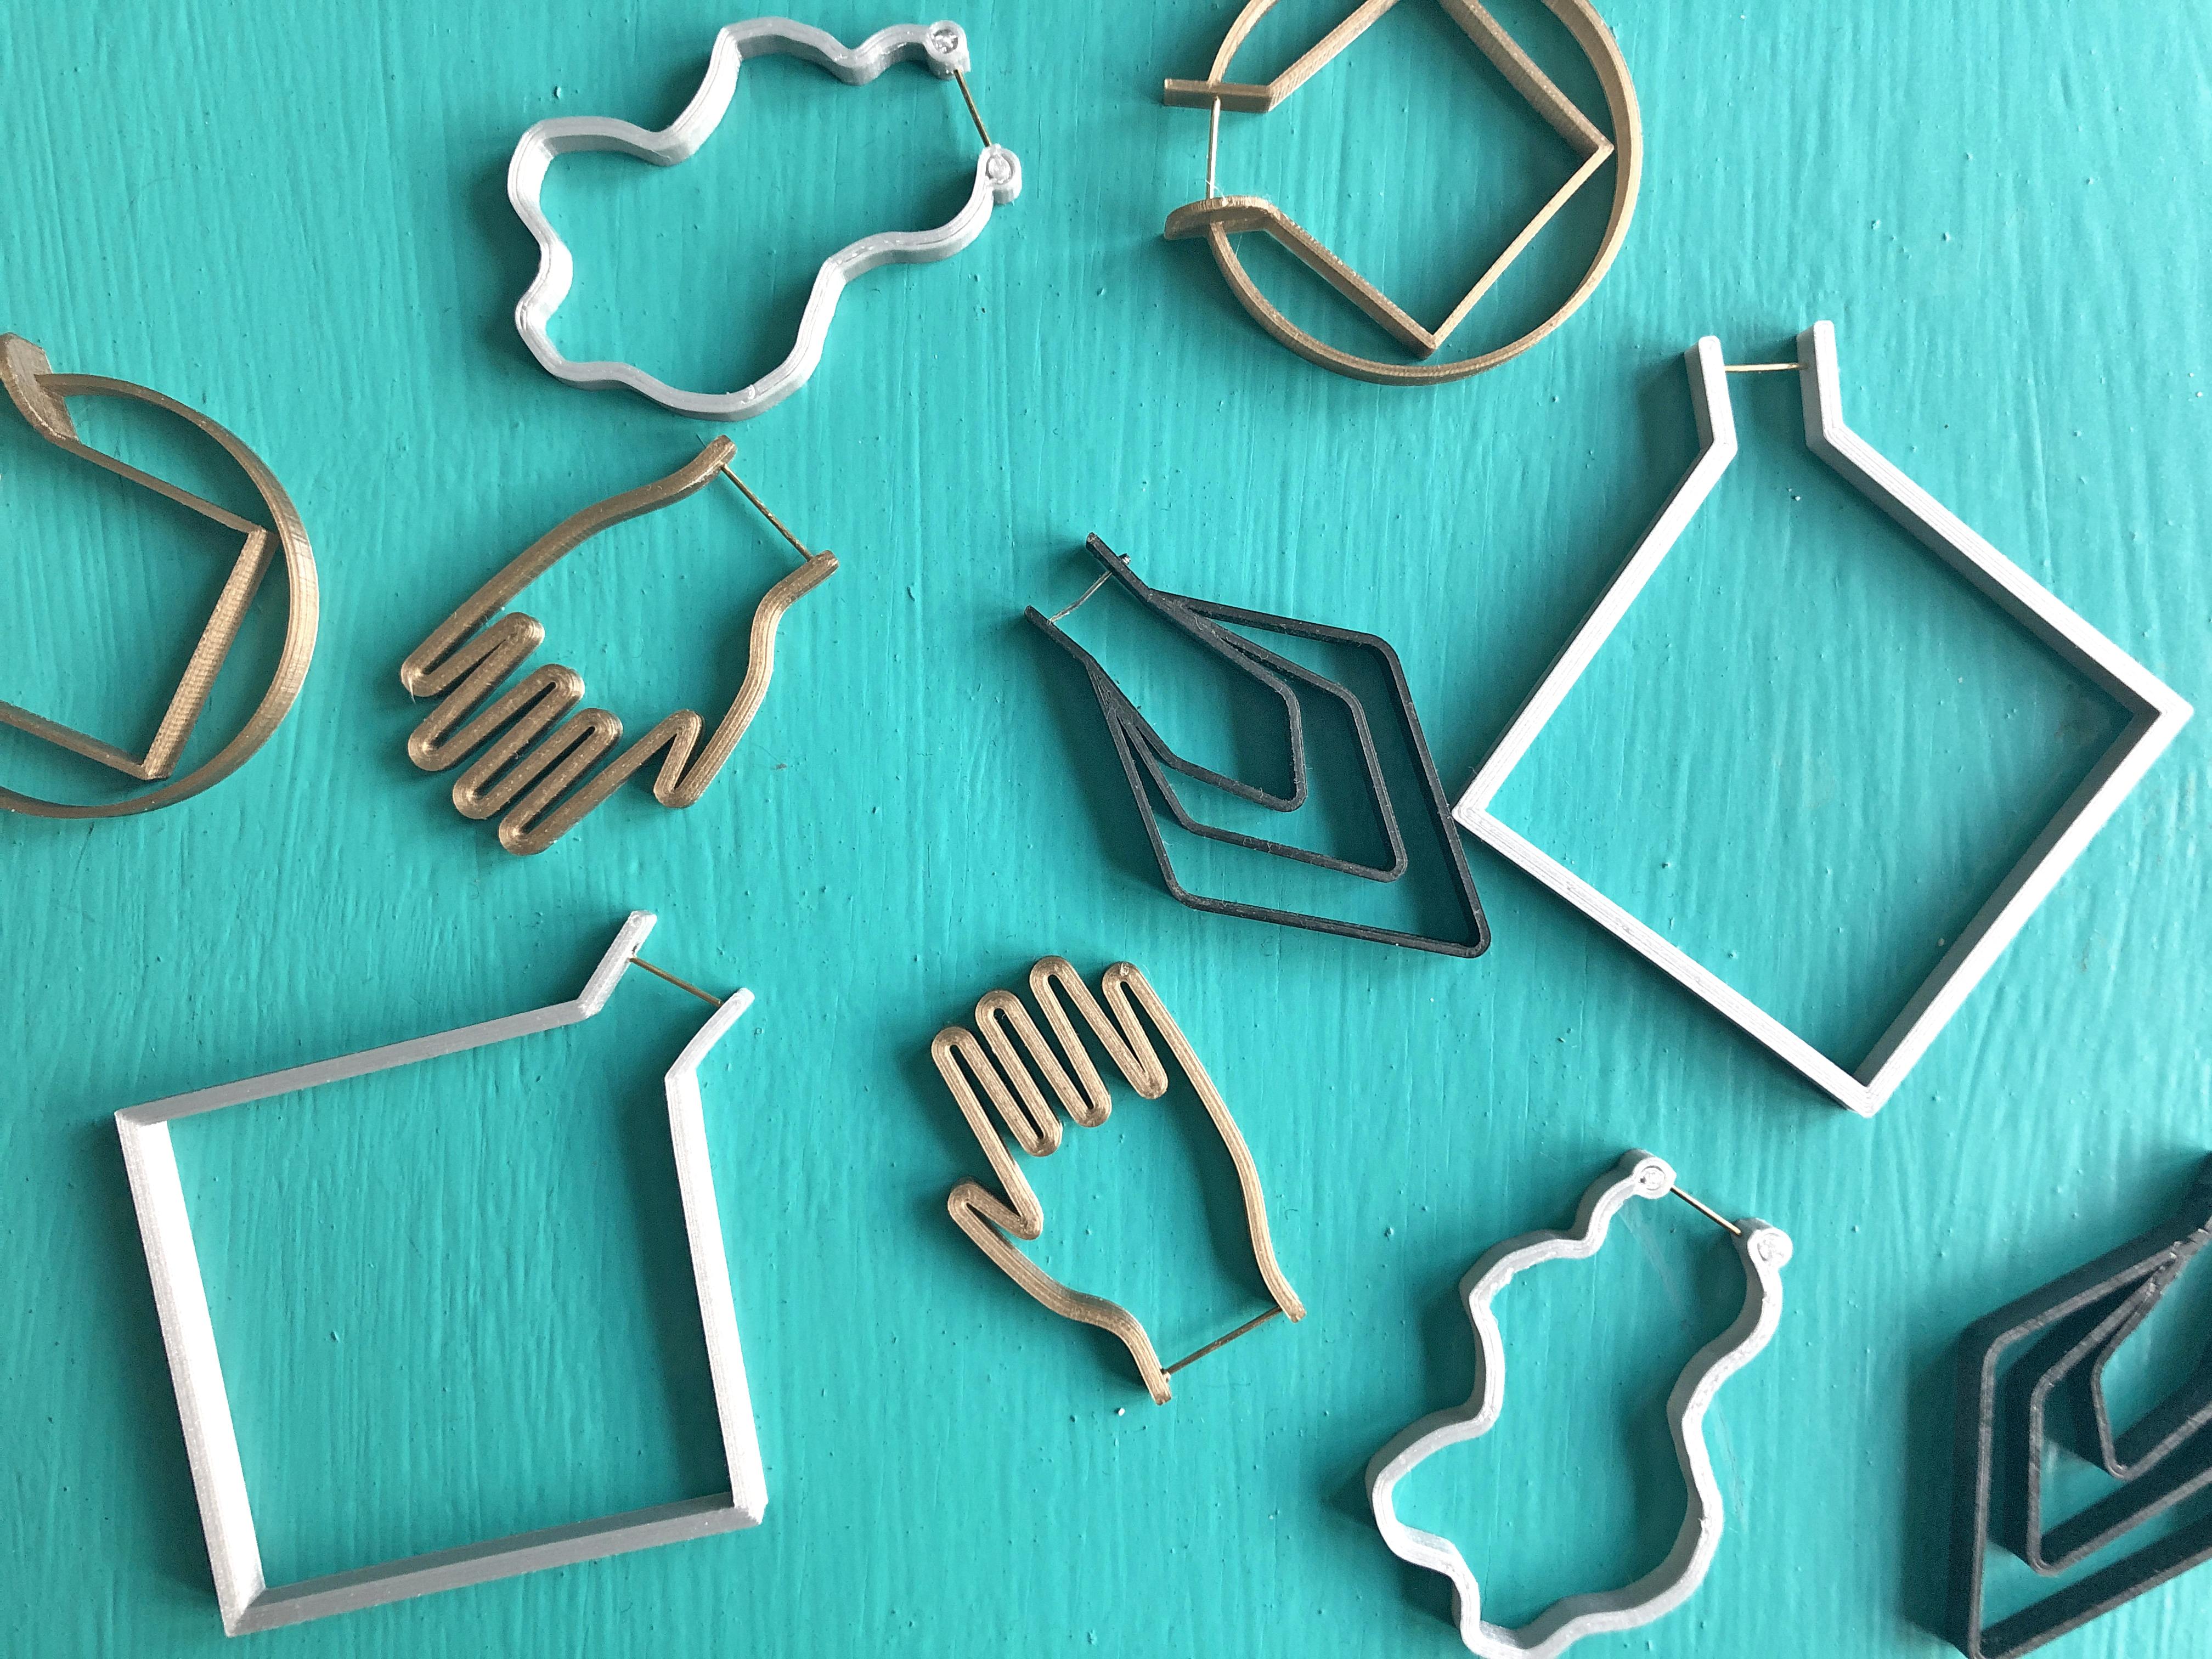
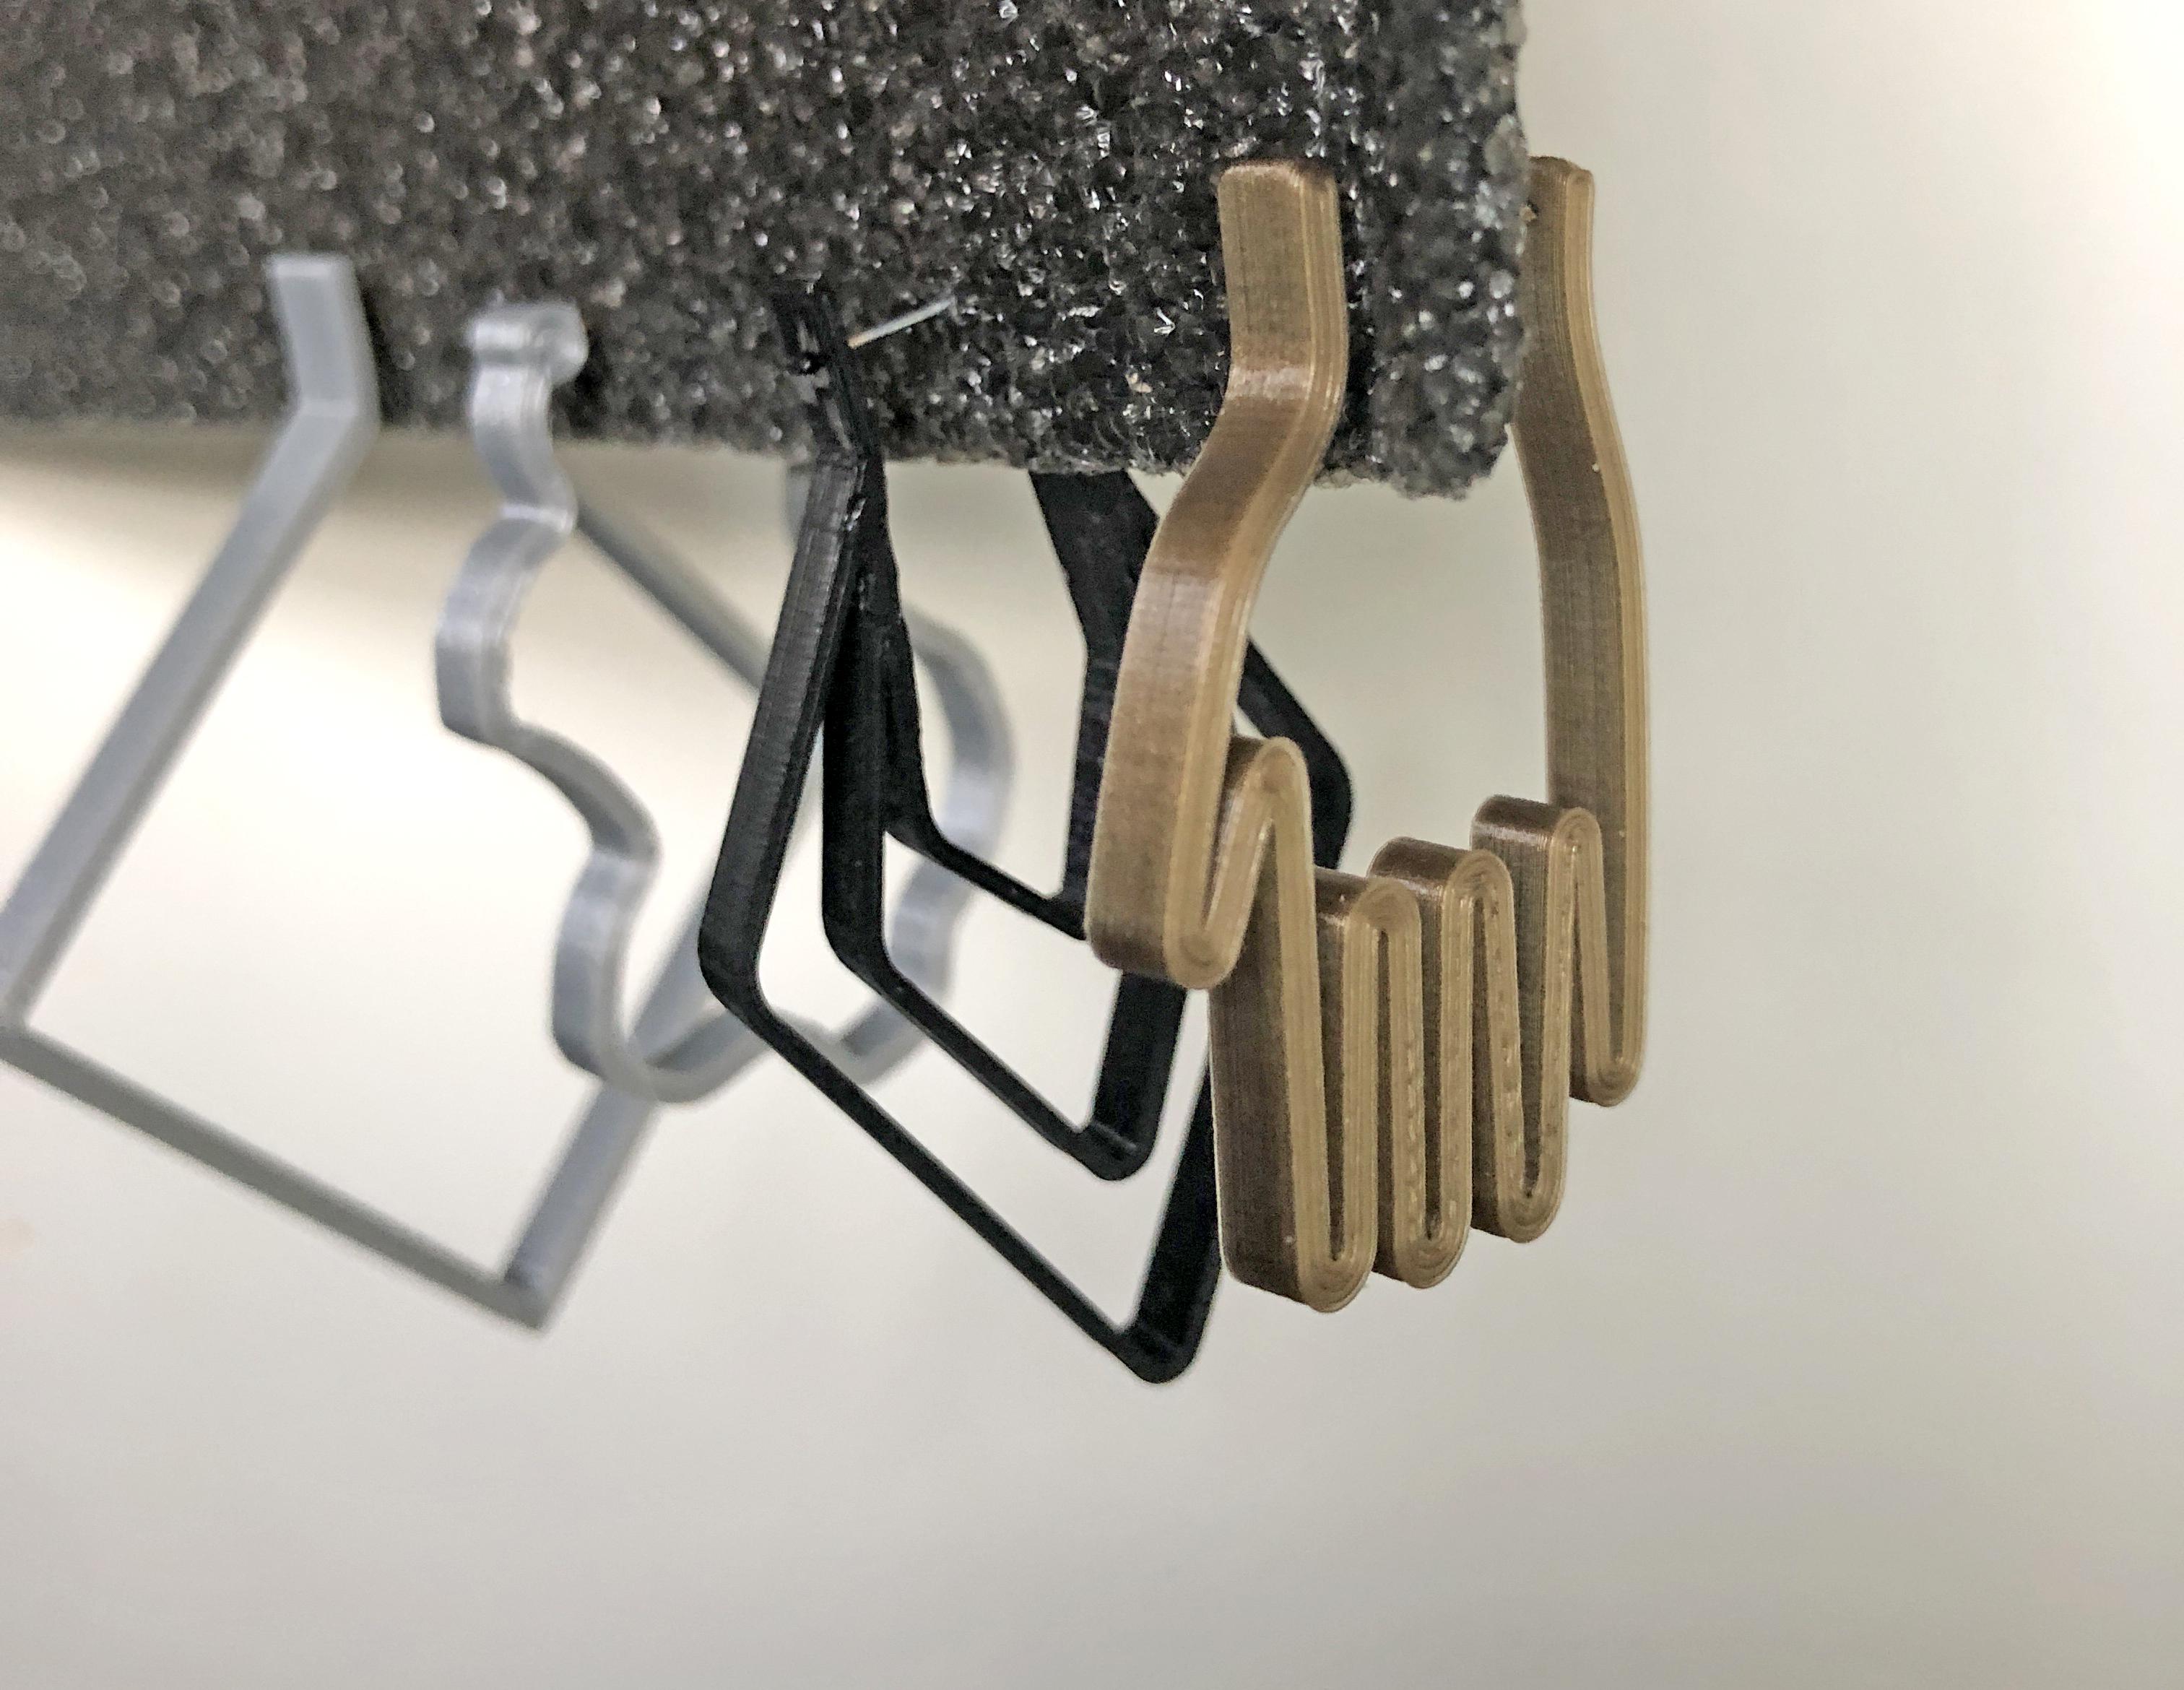
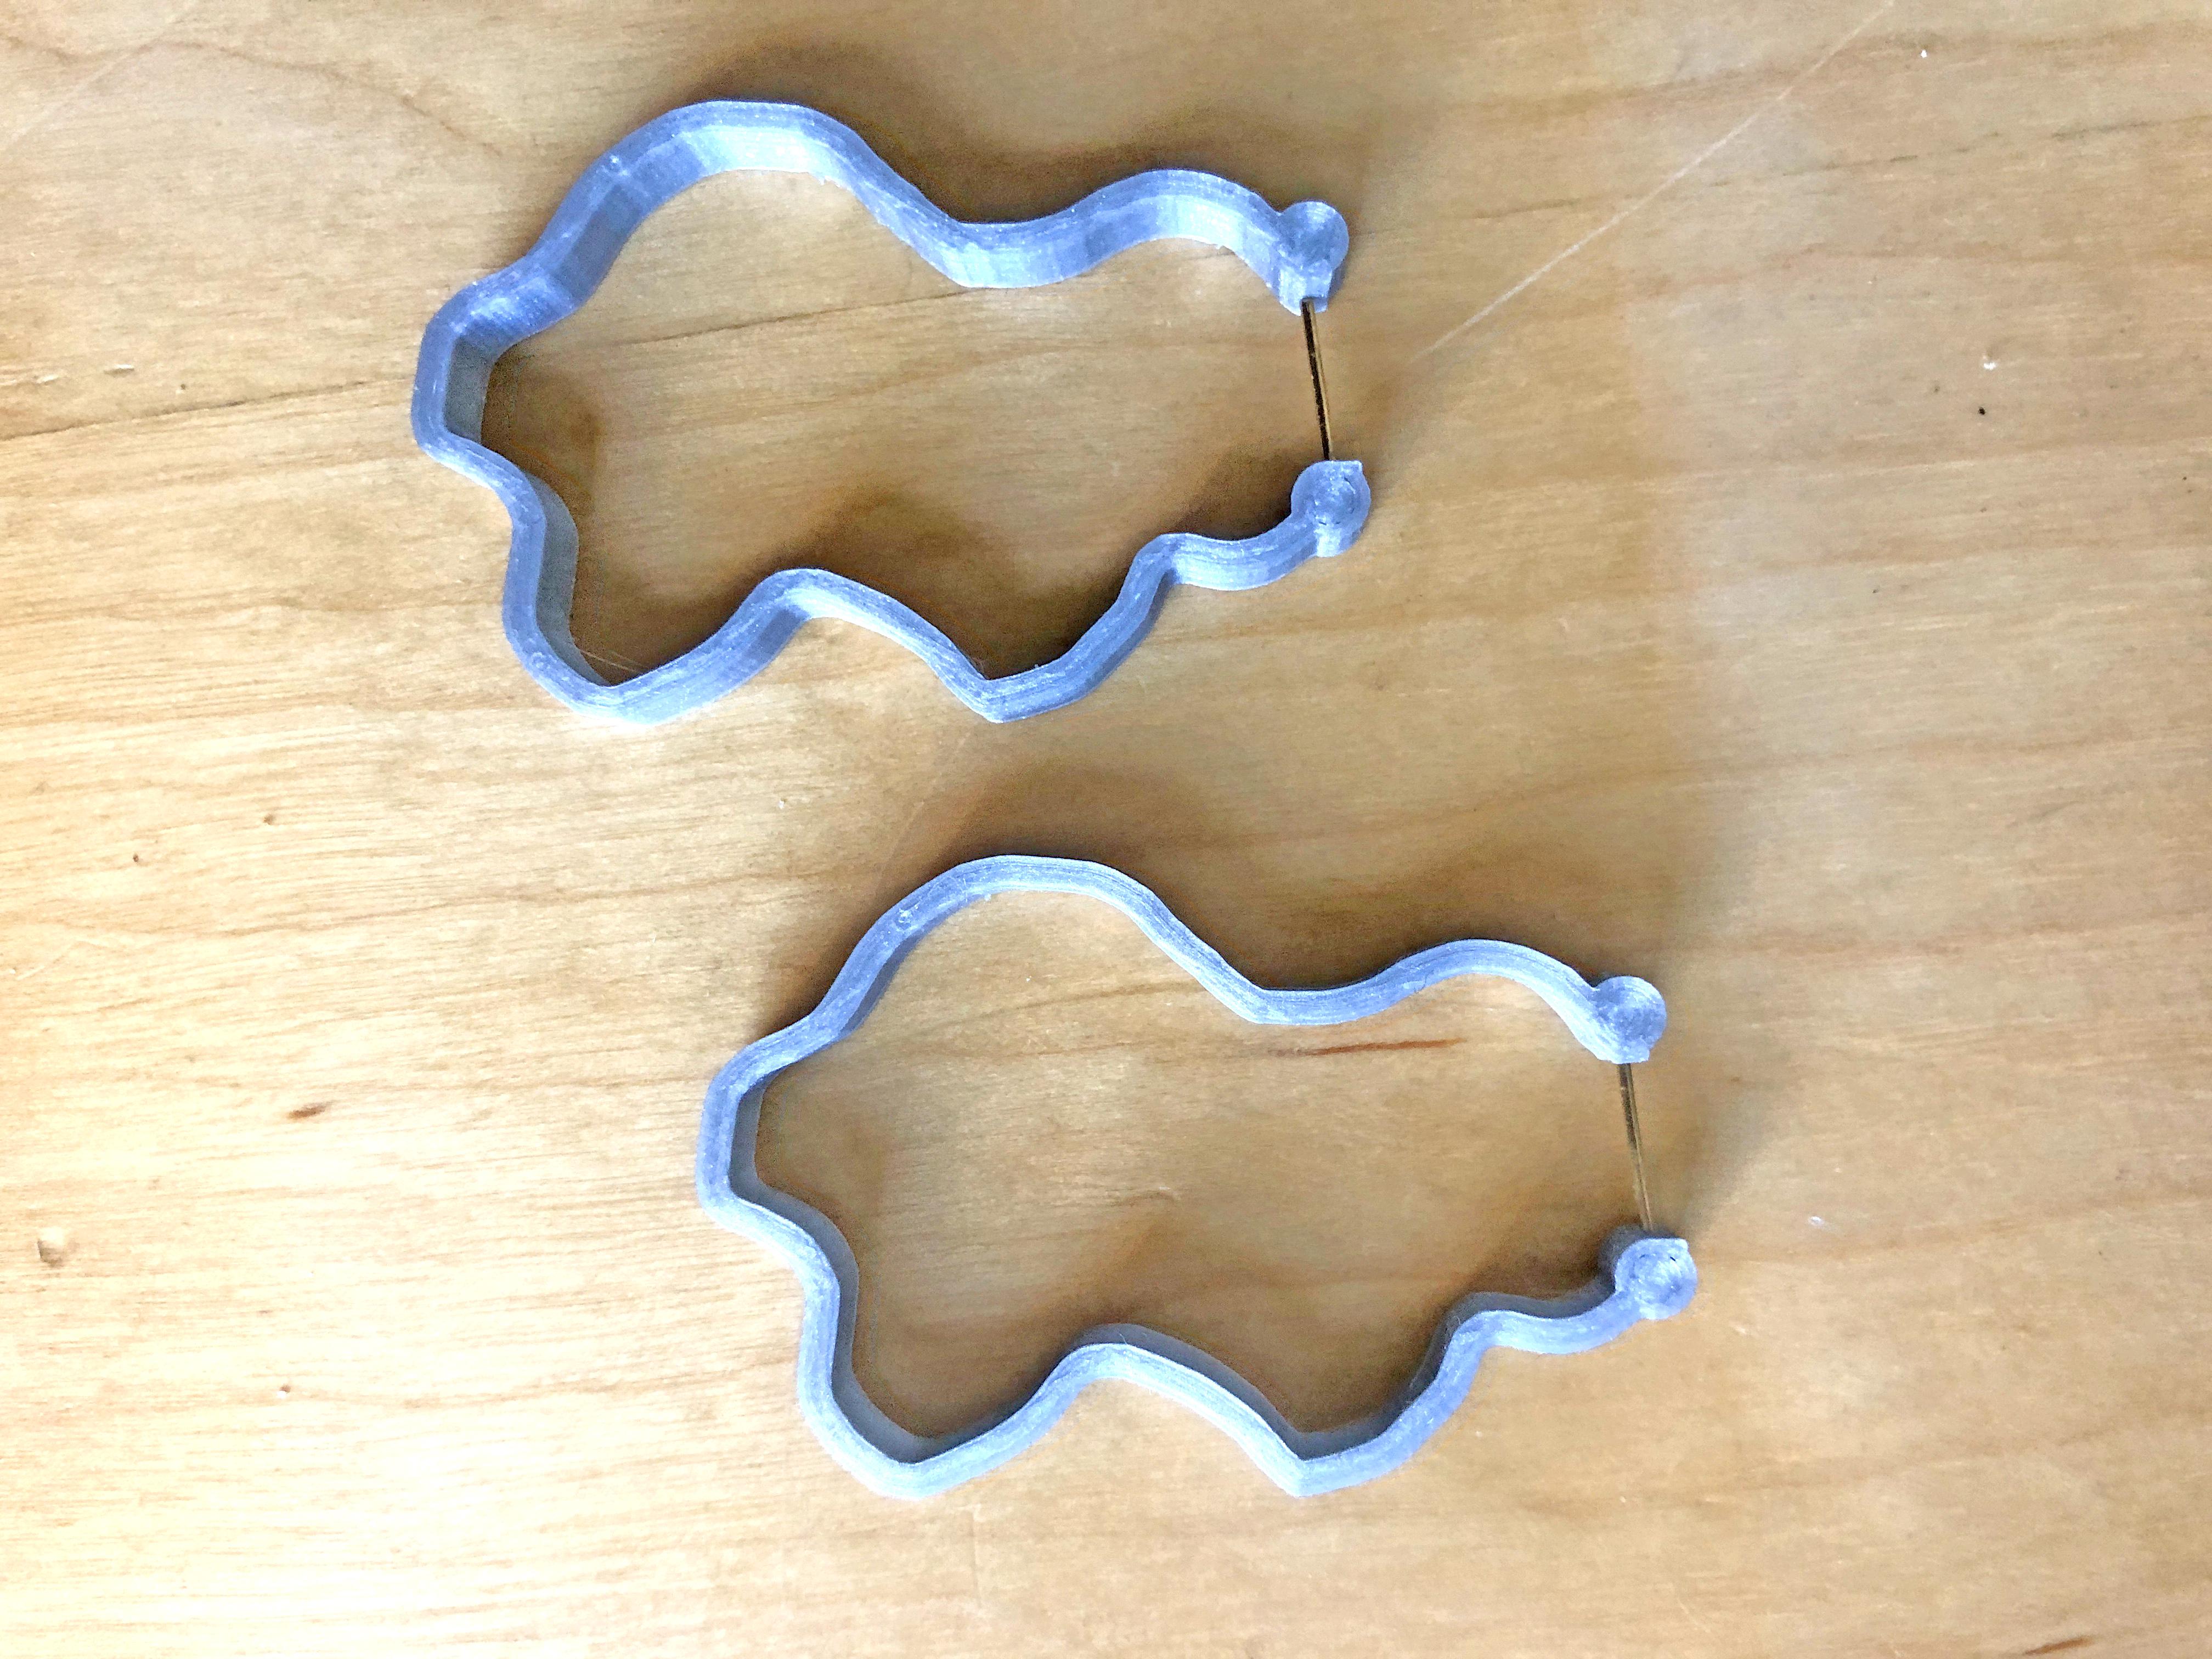
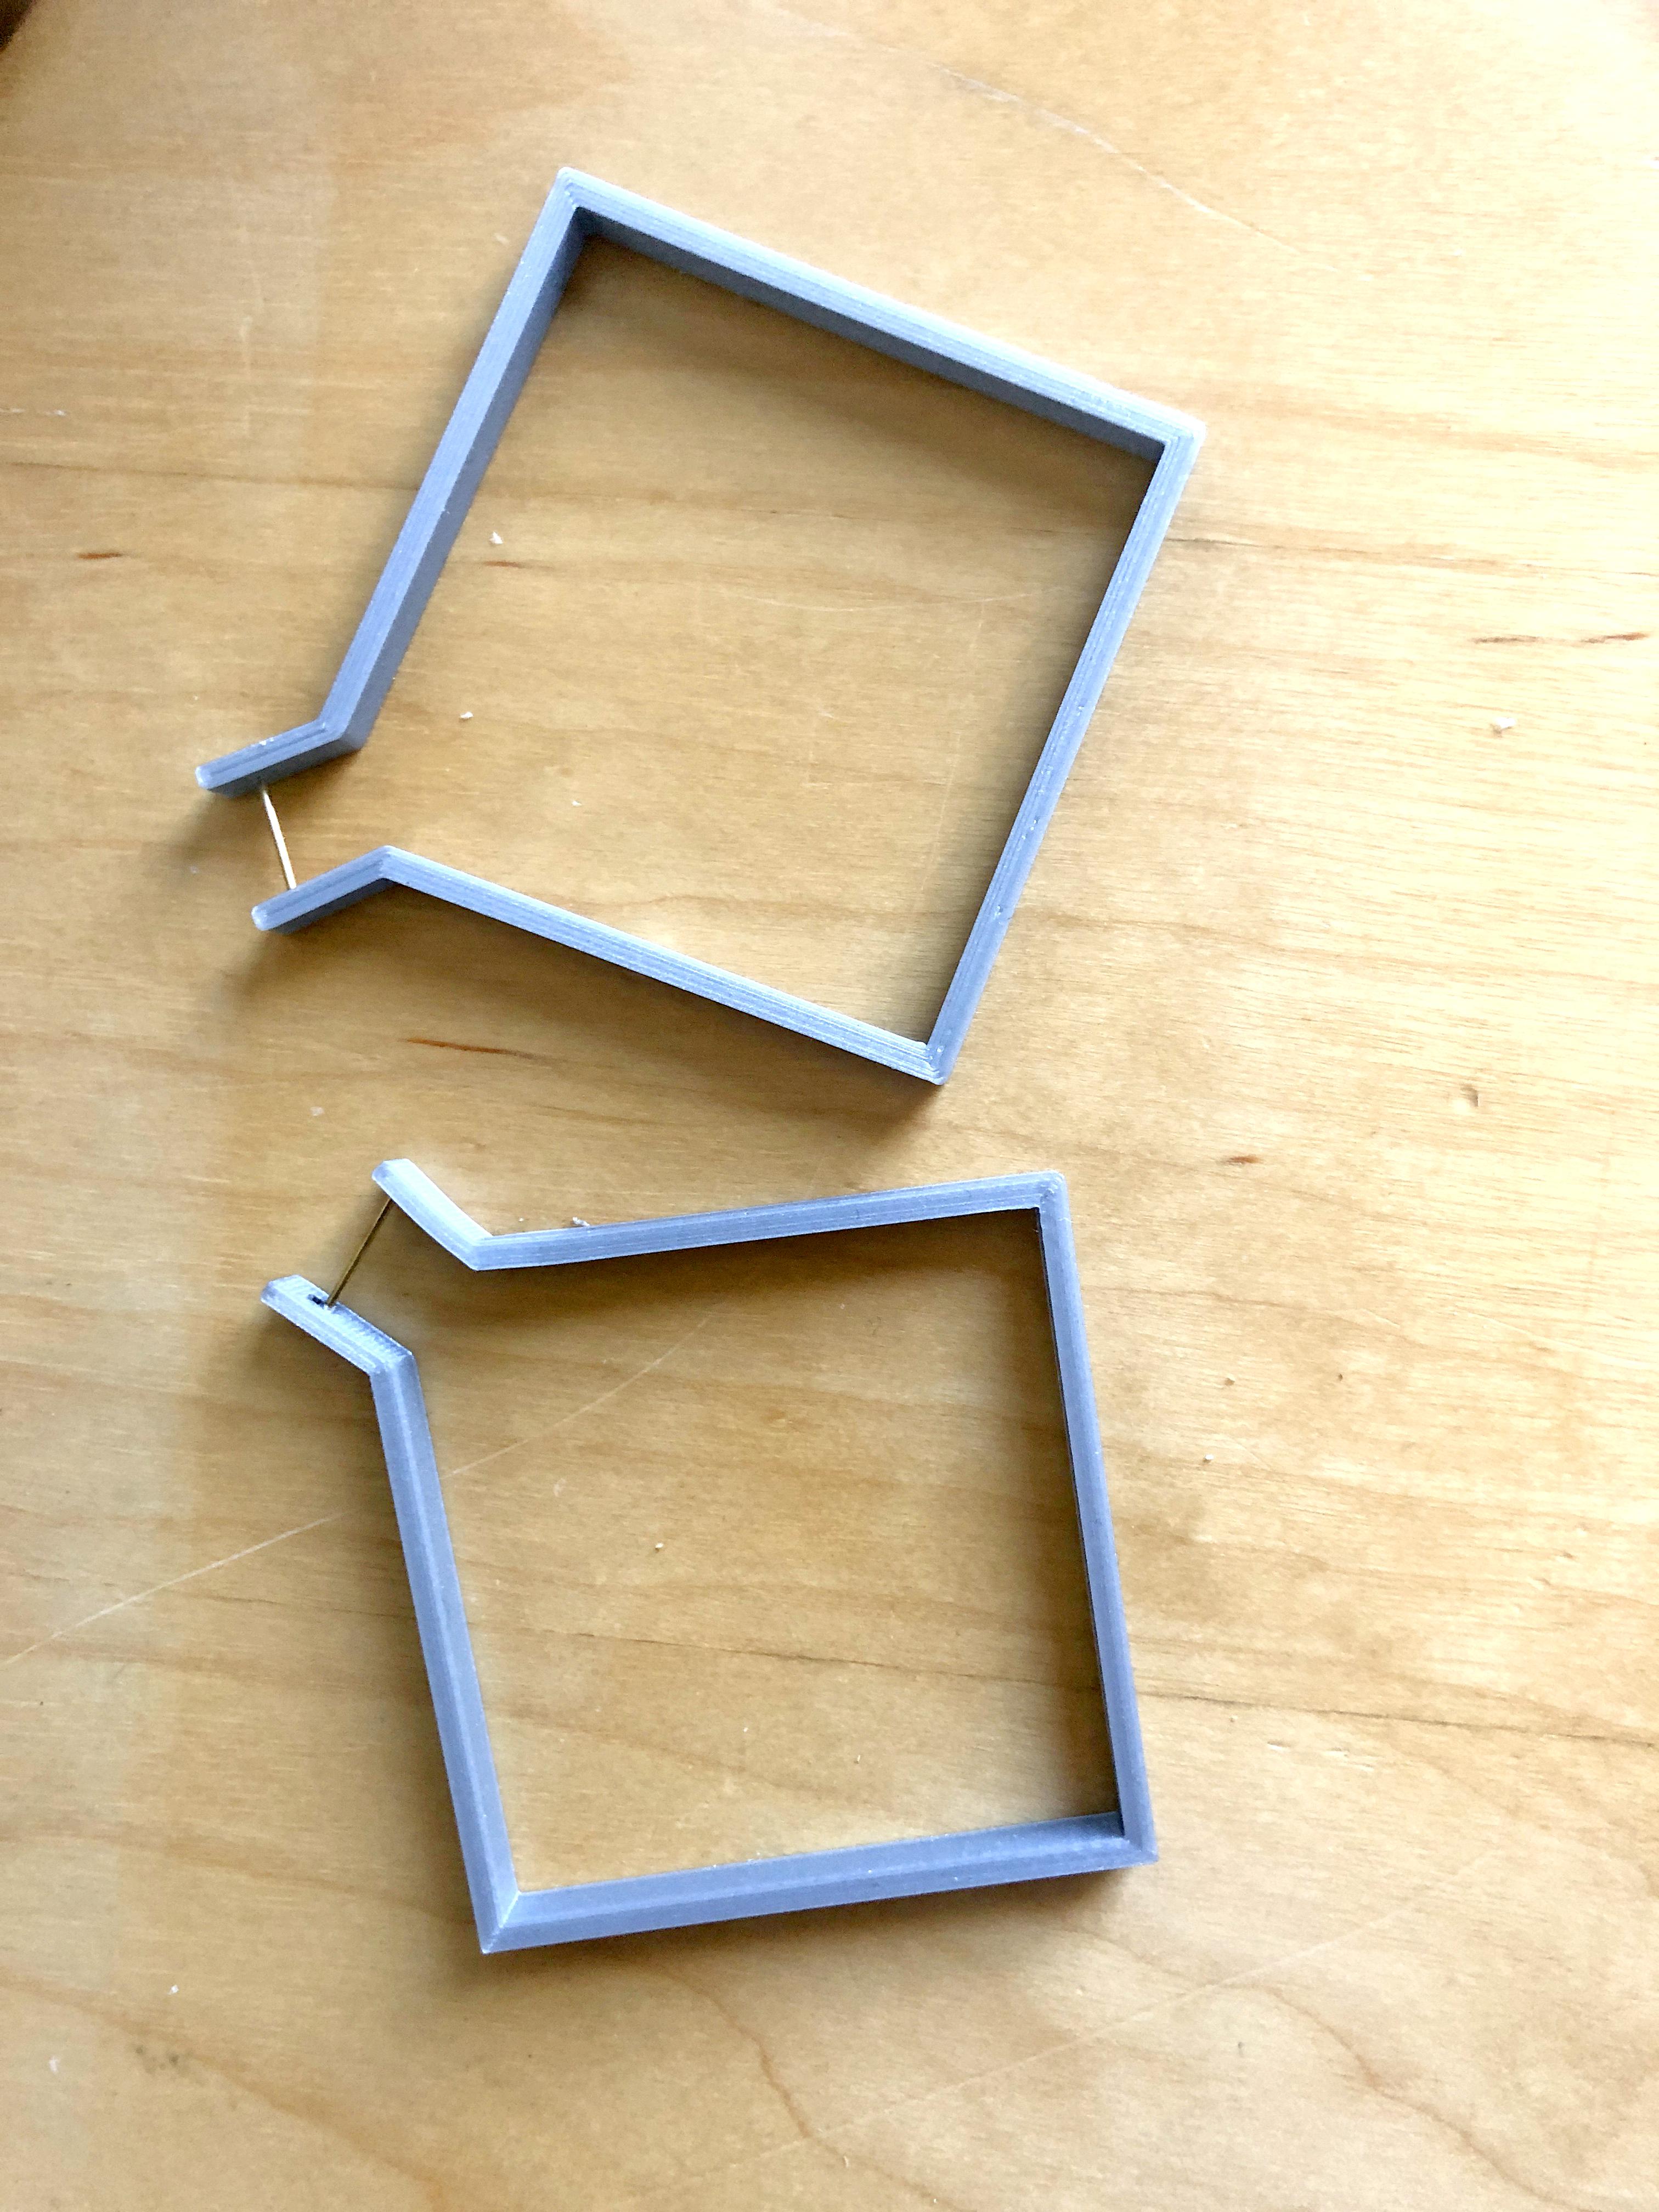
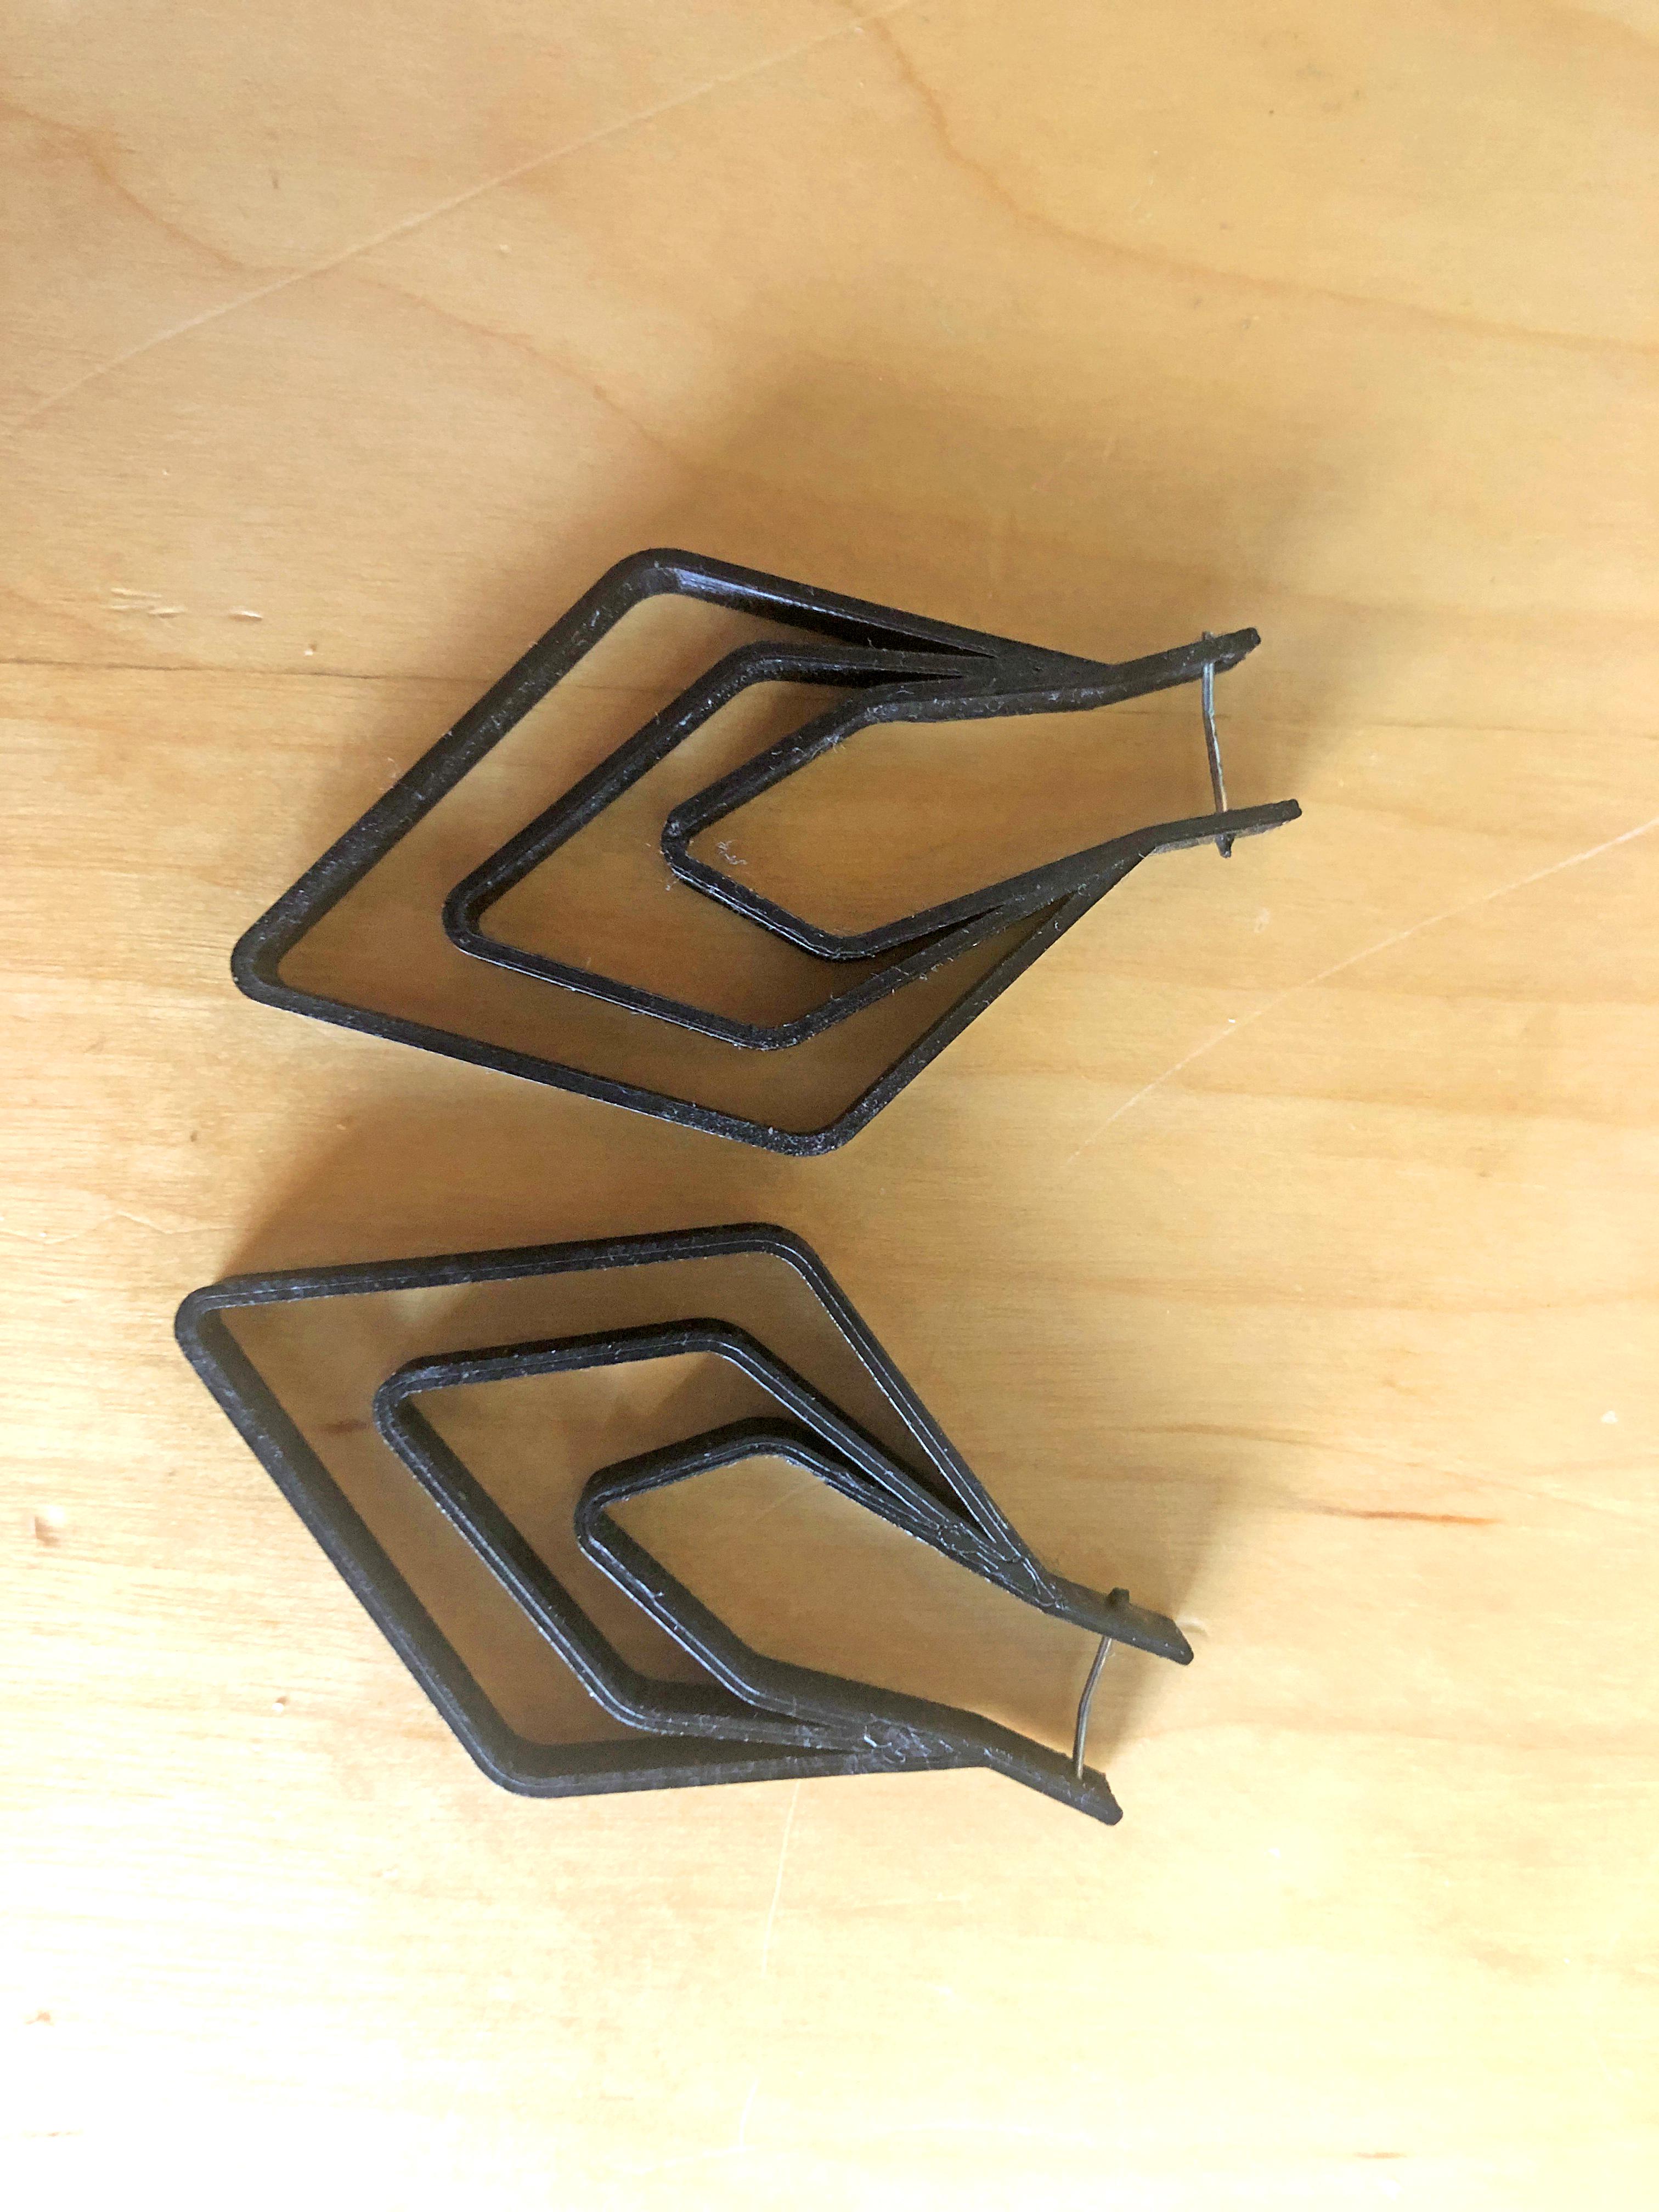
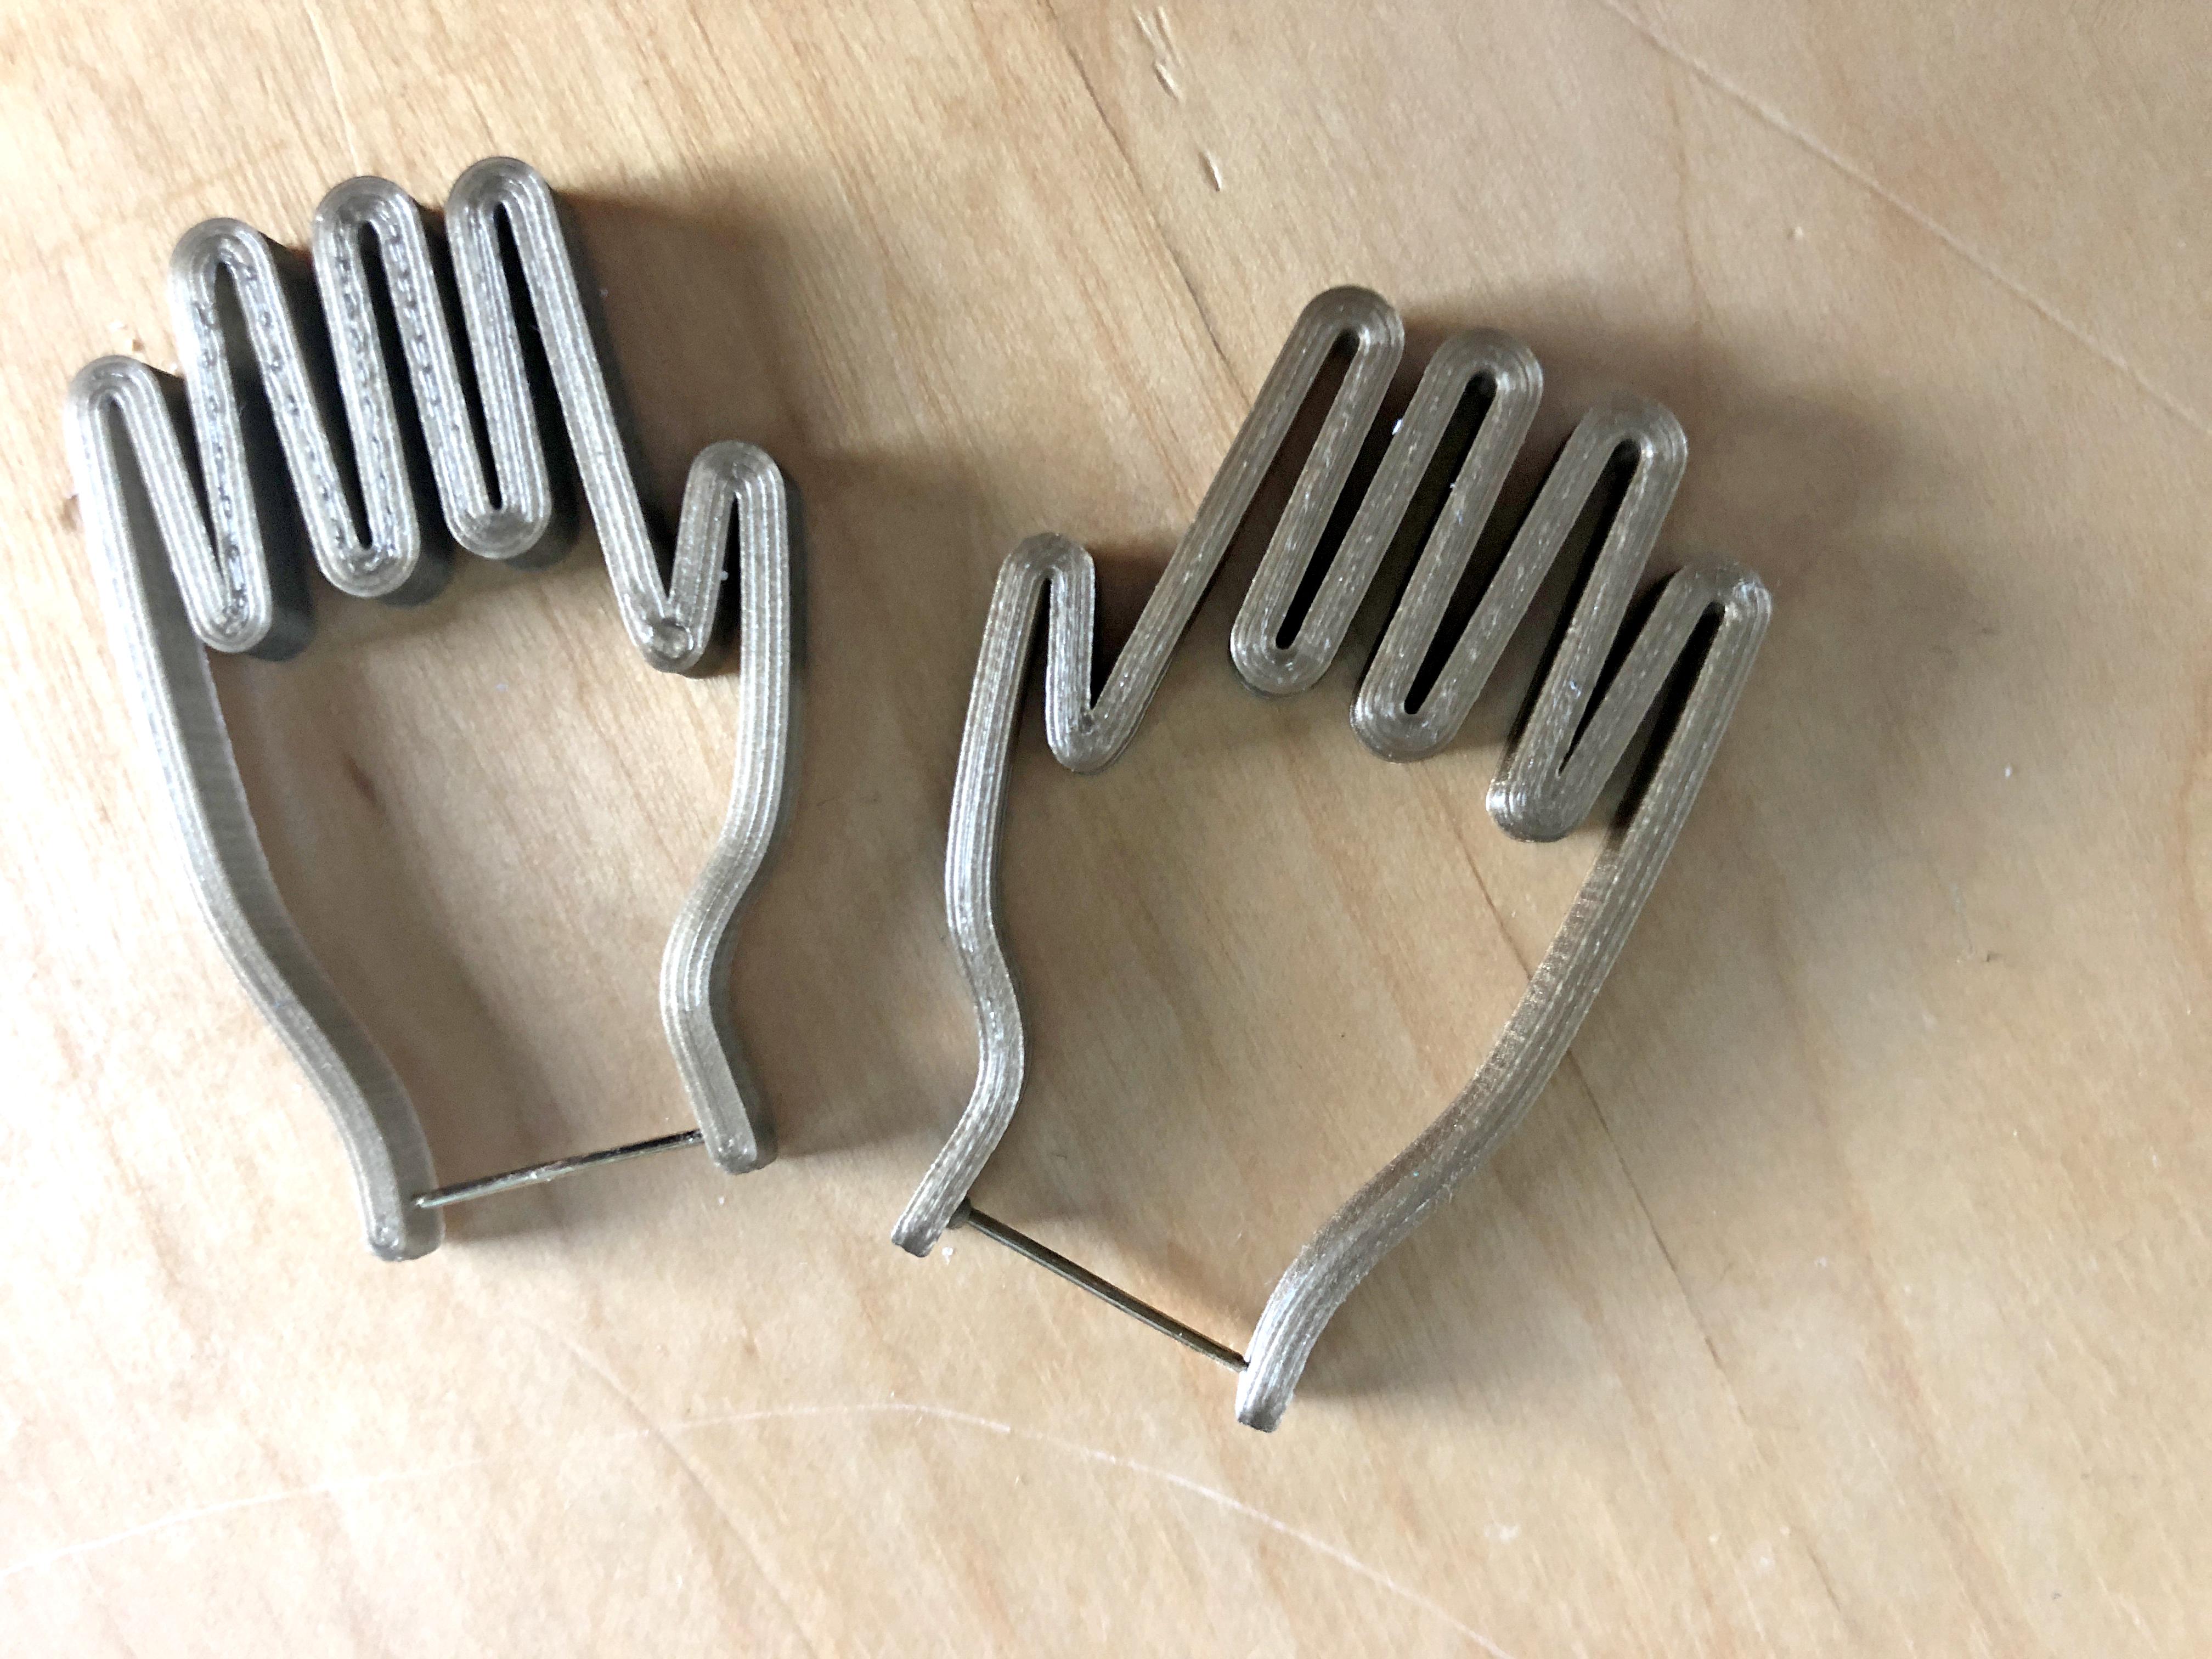
In this Instructable I will show an easy way to make cool, custom 3D printed ear hoops with Tinkercad, in any shape you can imagine!
These ear hoops work because they make use of the flexibility of the material. By creating a line drawing of the shape that we want, the material acts like a "spring" that can be opened and closed. These ear hoops can be placed in the ear in a similar way as metal ear hoops, by pulling them open and inserting the earring wire in the ear. Because they act like a spring, they clamp themselves closed again and remain fixed (they are NOT clamped on the earlobe itself, like earring clasp, in this case they rest on the end of the wire).
For these hoops I use PLA filament, because it has a low melting temperature. This helps to attach the earring stud: they can be easily pressed into the material after heating them up for a bit.
You will need:
- PLA filament and a 3D printer
- jewelry wire or earring hooks
- pliers
- a candle
Choose a Shape and Create an Outline
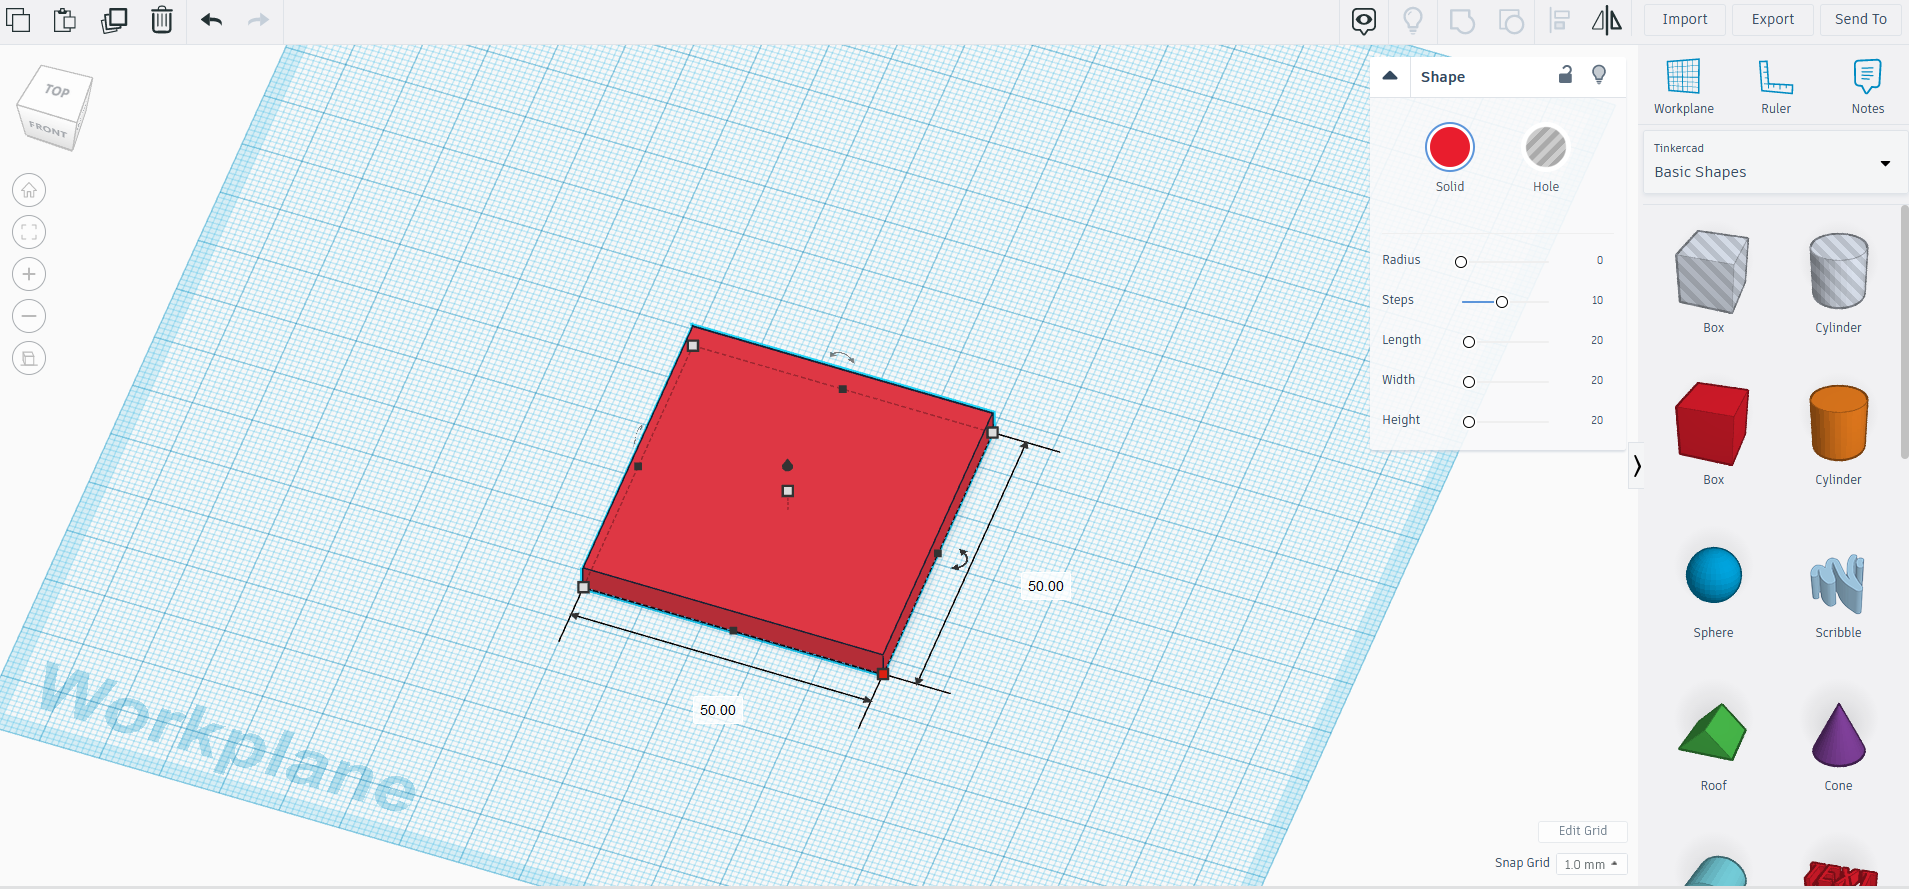
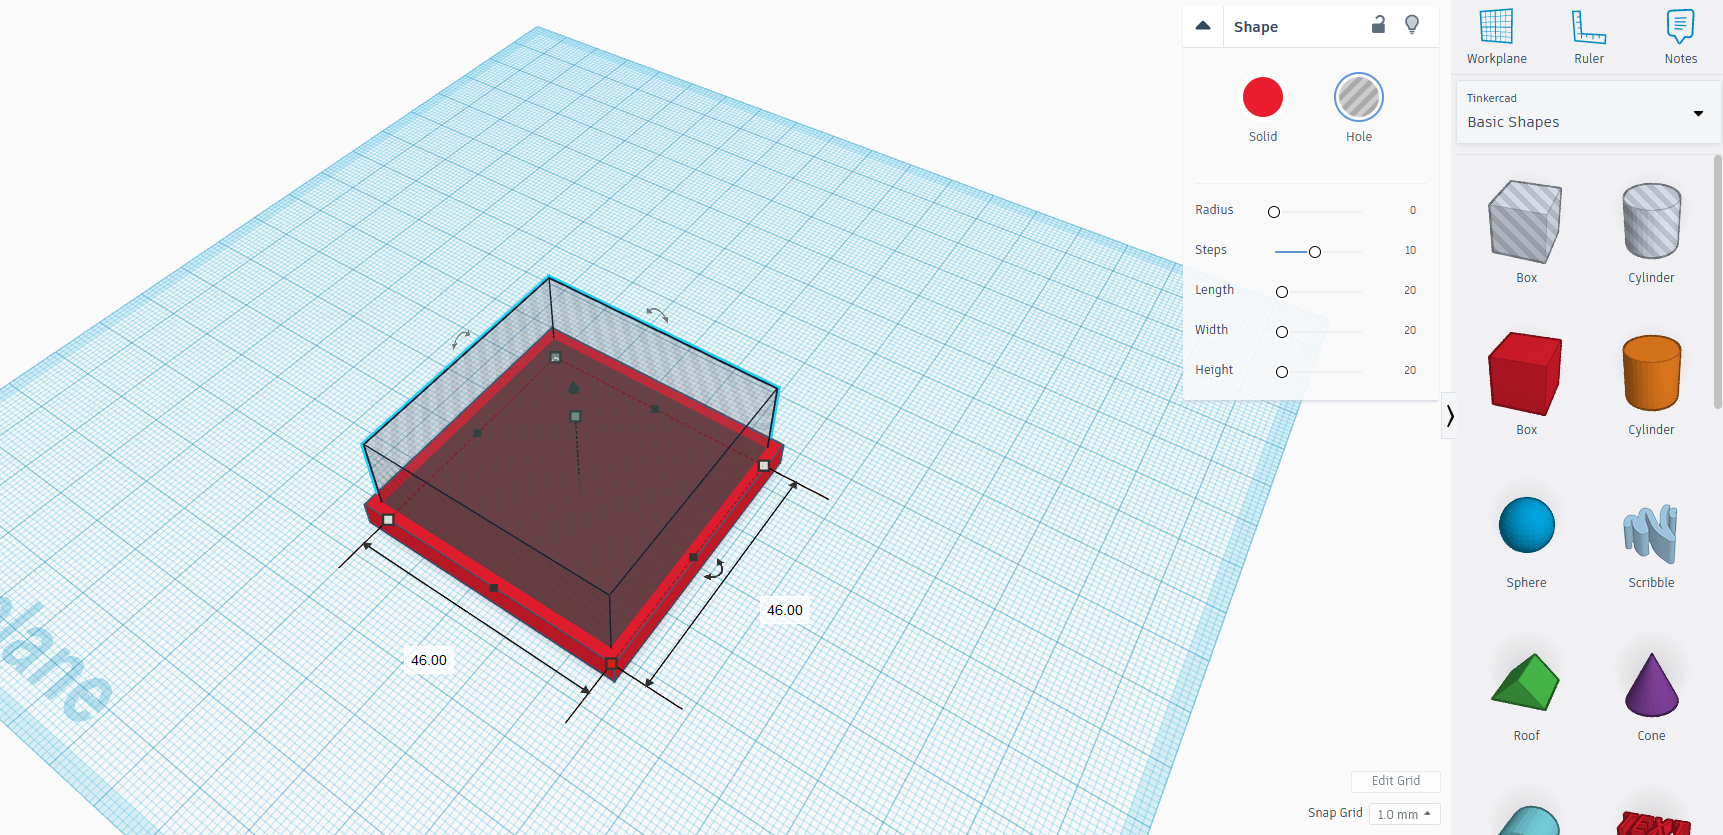
Any shape outline will work for these ear hoops, but I will show the step by step to make square ear hoops. Tinkercad has a basic shape gallery, so in this case drag a box onto the build area. Give it the dimensions you want the final ear hoop to be, in this case I used 5 cm by 5 cm. Don't make it too small, or it will be too stiff to put in your ears. Give the box a height of 0.5 cm.
Now we are going to make the outline: drag another box onto the build area. This we will use as a hole, to cut away the center of the square. We want to get an outline that is about 2 mm thick on each side. So give the new box a size of 5 cm - 2 mm - 2 mm = 4.6 cm by 4.6 cm. Use the align tool to align the centers of both boxes.This is the main earring shape!
Create the Earring Pieces
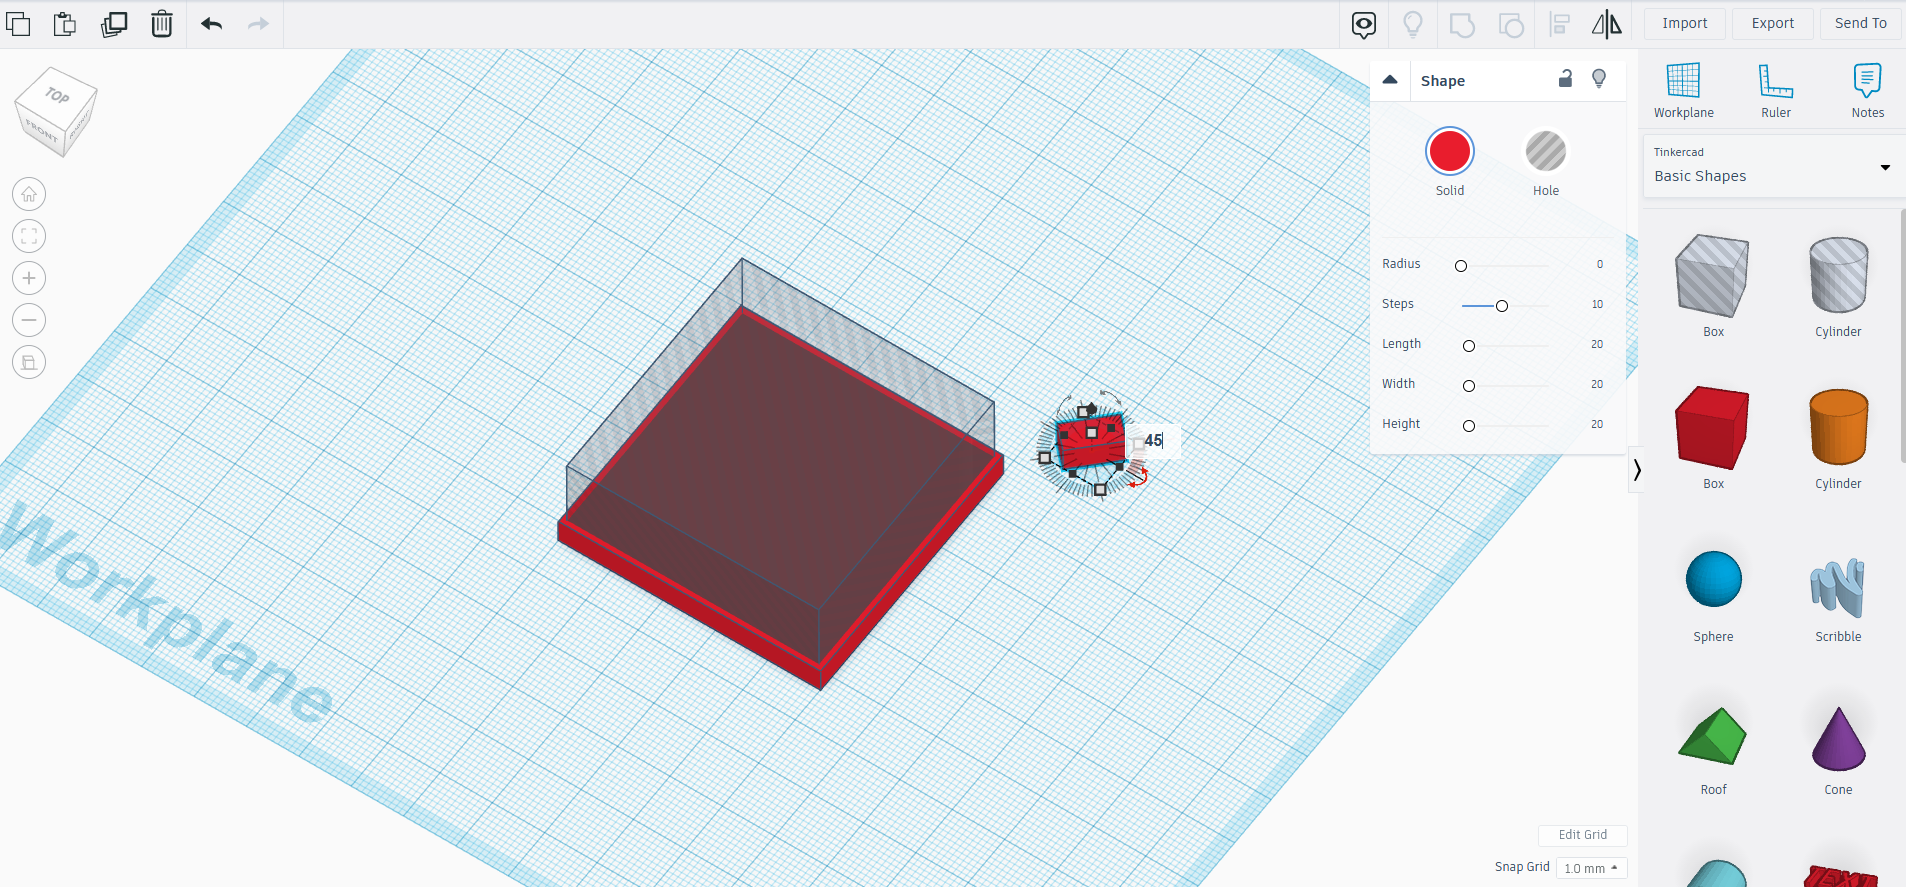
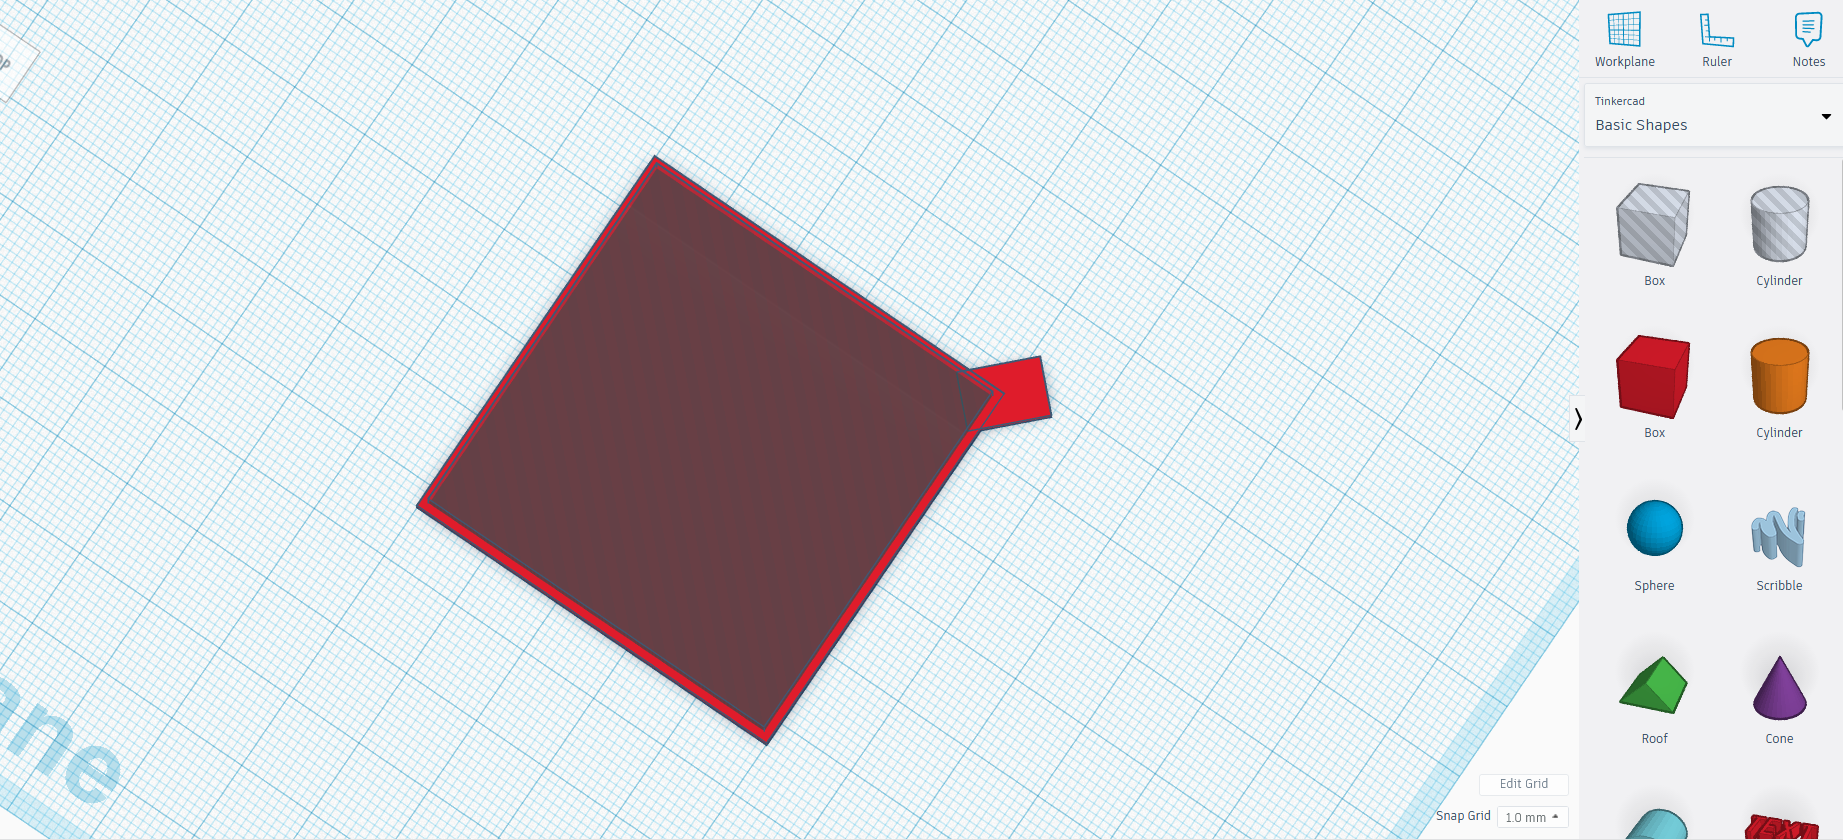
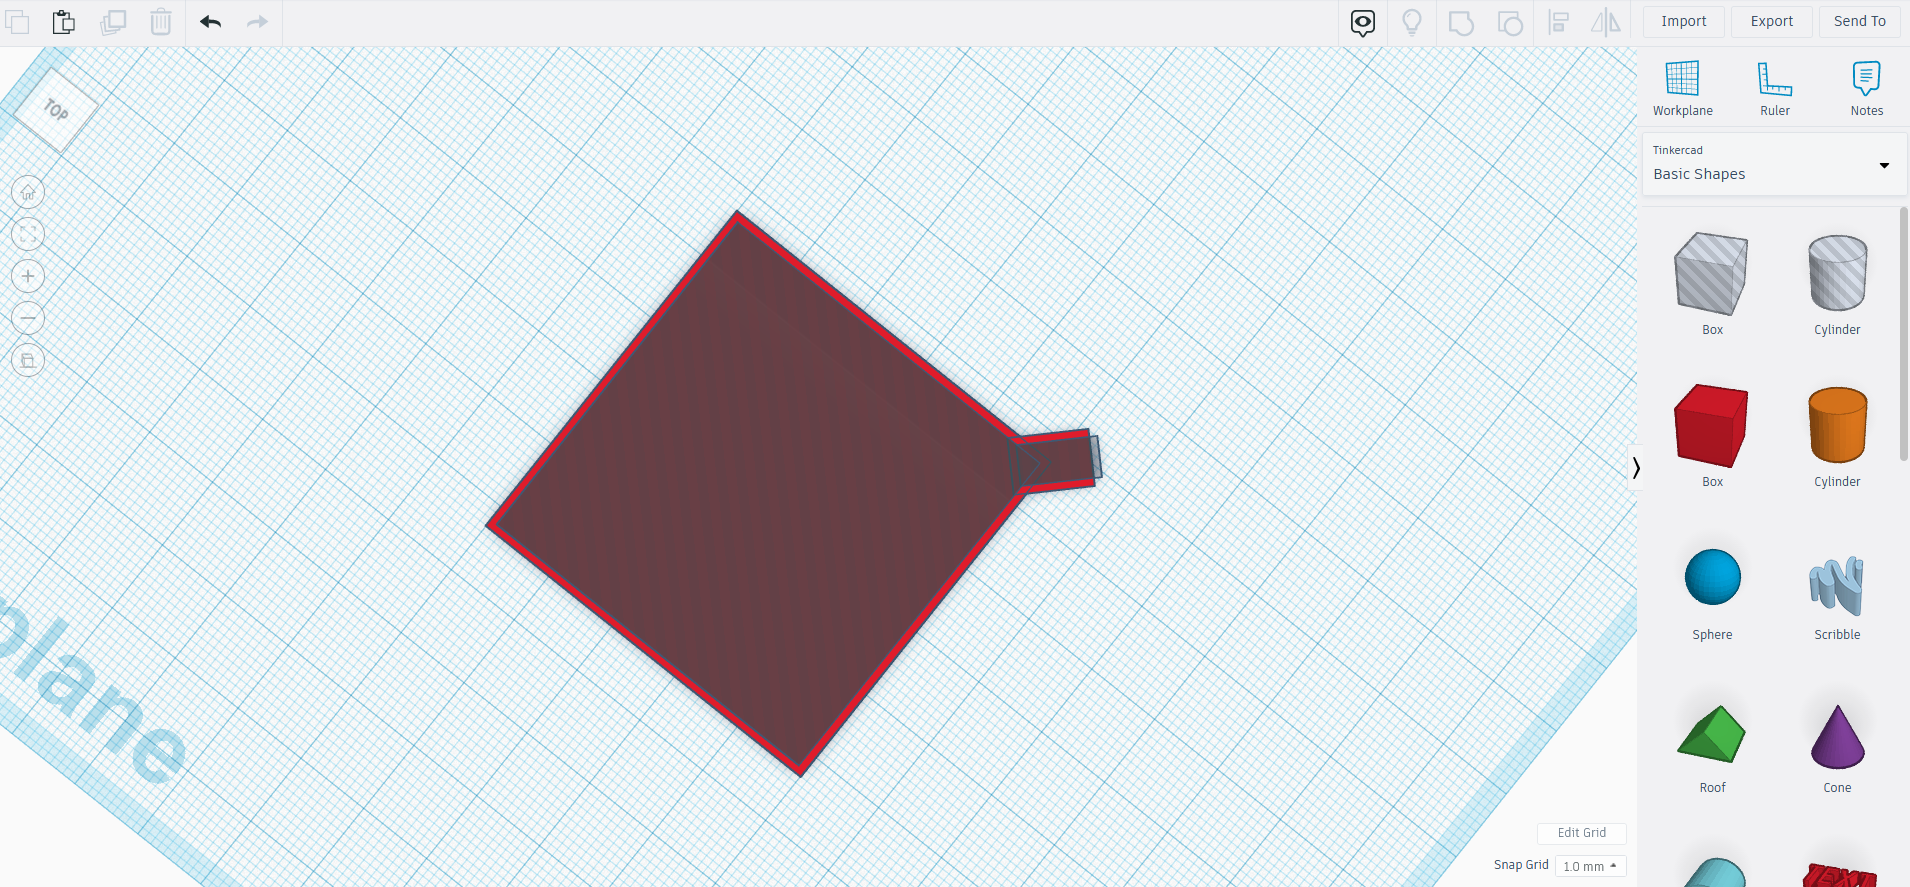
Now that the main outline is complete, we want to add some pieces that we can attach an earring stud too, these will be placed around the earlobe.
Again, drag a box onto the build area. Give it a size of 1 cm by 1 cm, and the same height as the rest of the ear hoop, in this case 5 mm. Rotate the box by 45 degrees, so that it is in line with the corner of the main earring (see the images). We will perform the same trick to create an outline: drag in another box to use as a hole. Give it a size that leaves 2 mm material on both sides, so 10 mm - 2 mm - 2 mm = 6 mm.
In this case, we want the top of the box to be open as well, so the length of this box should be at least 1 cm too. Rotate the box 45 degrees, and place it in line with the other box. You should end up with one continuous outline with an opening at the top. That's it, now we are ready to export the file.
Export and Print
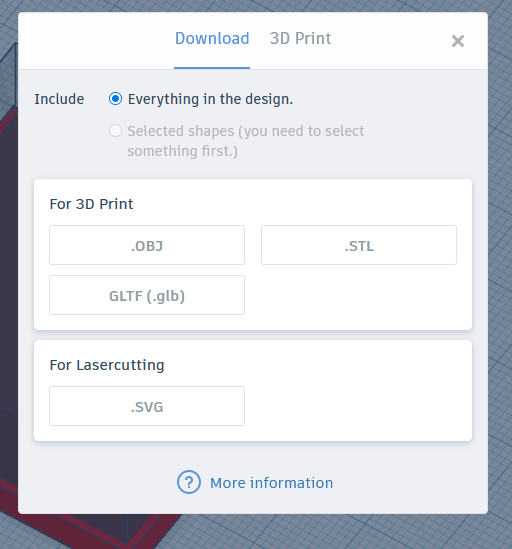
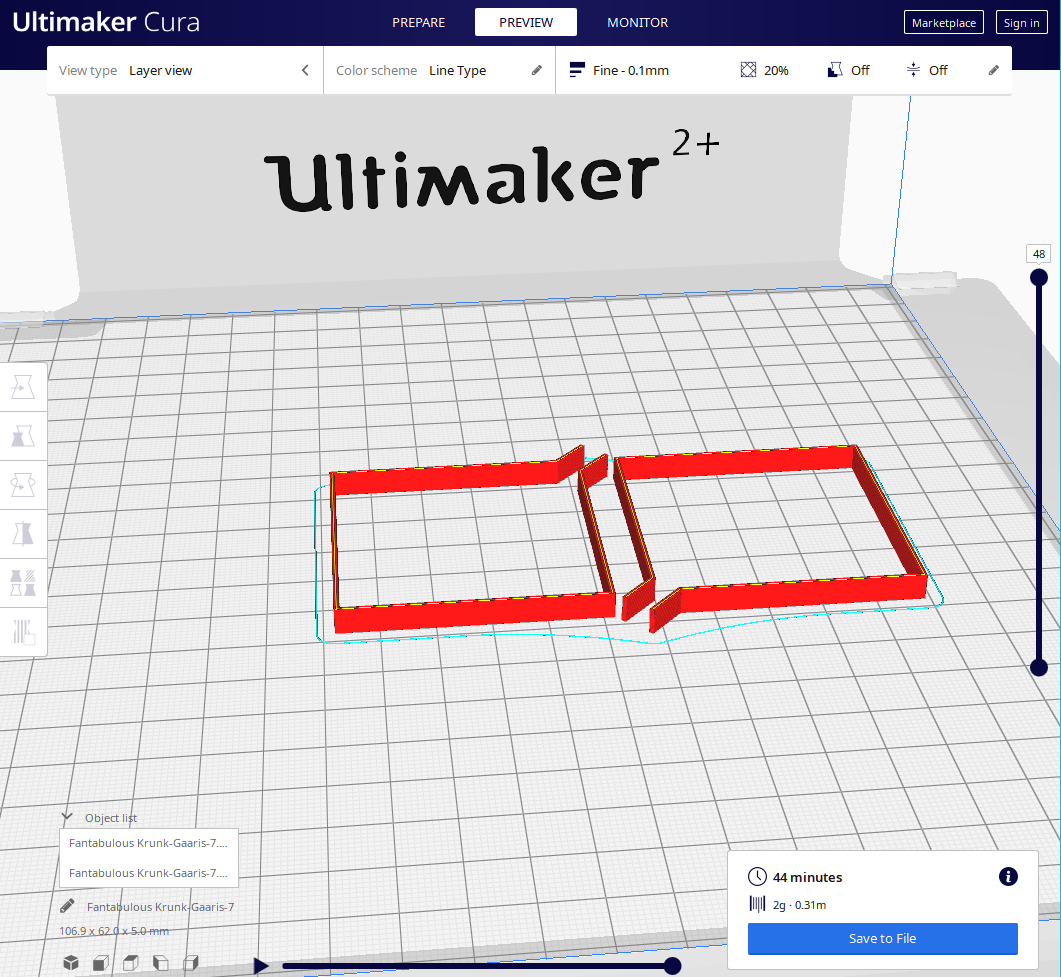
In Tinkercad, press the export button. Make sure that "Include: everything in the design is clicked", and export the file as .stl. This is a very easy file to 3D print, I used Ultimaker Cura, but any slicer will work. There are no specific settings needed, just make sure to turn off any brim or raft. And don't forget to print two of them!
I recommend only using PLA for printing, because of the next steps of attaching the earring stud. This is a great way to use up all those small bits of filament!
Attach the Earring Stud
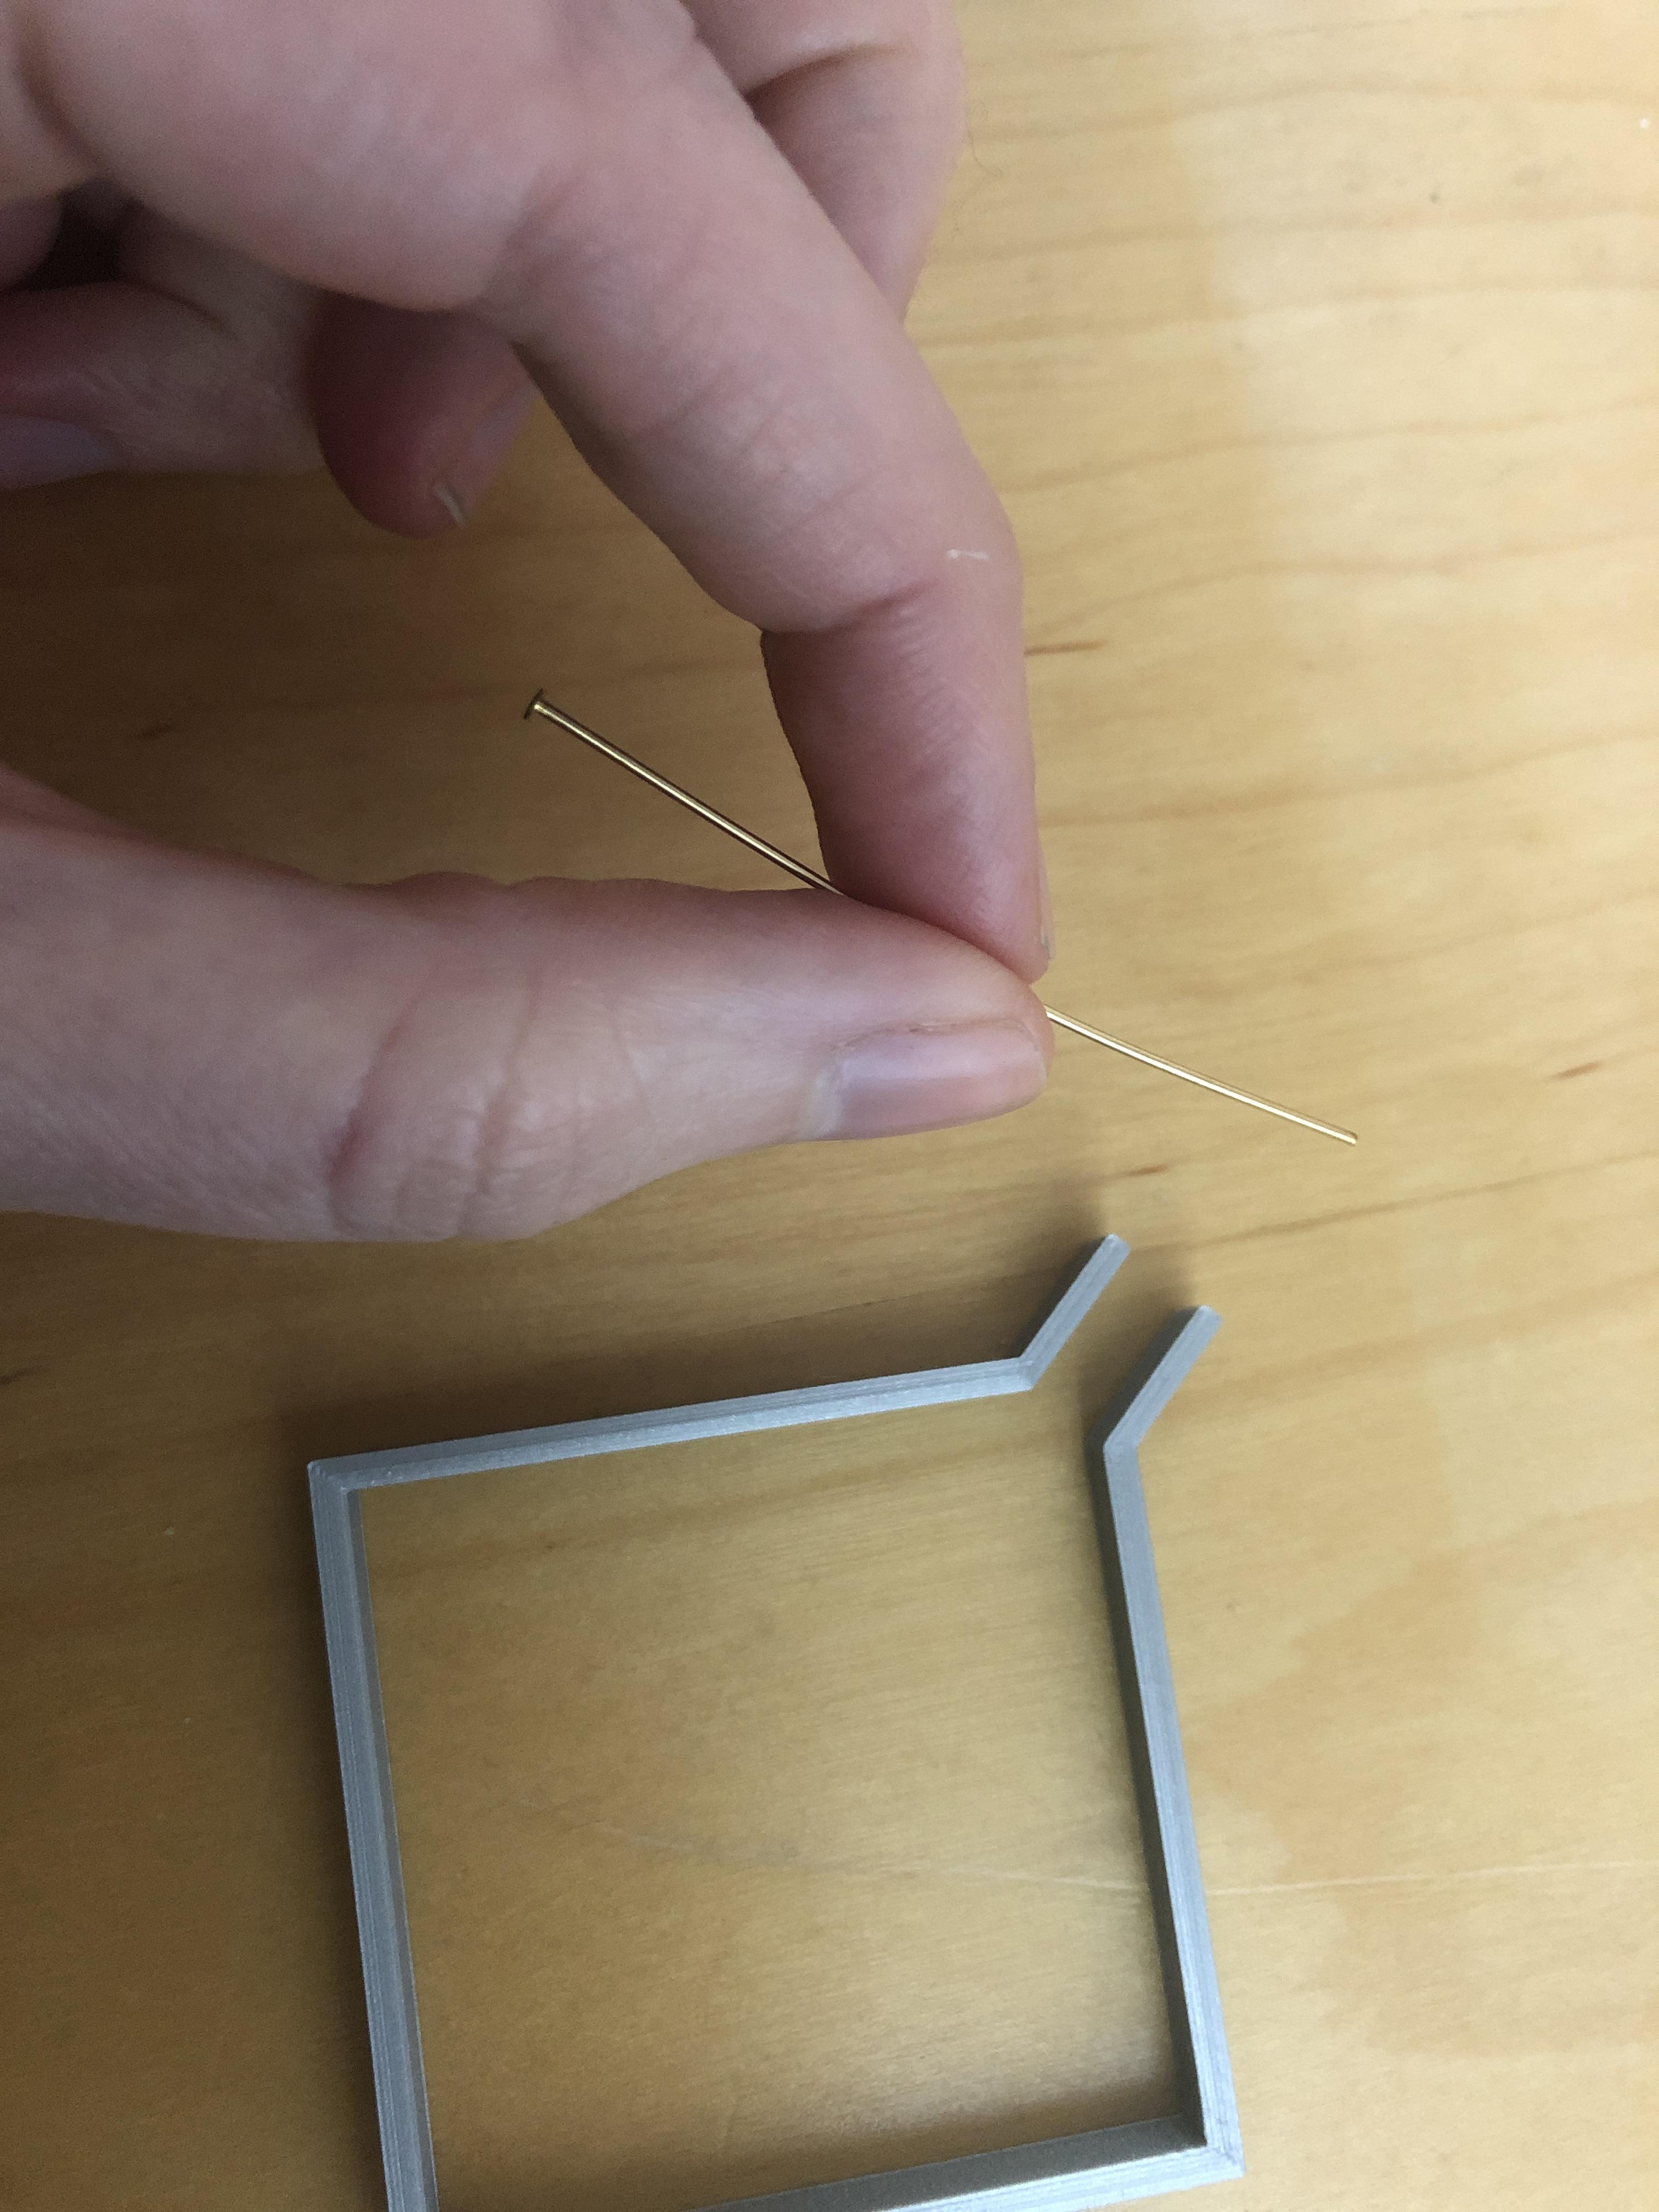
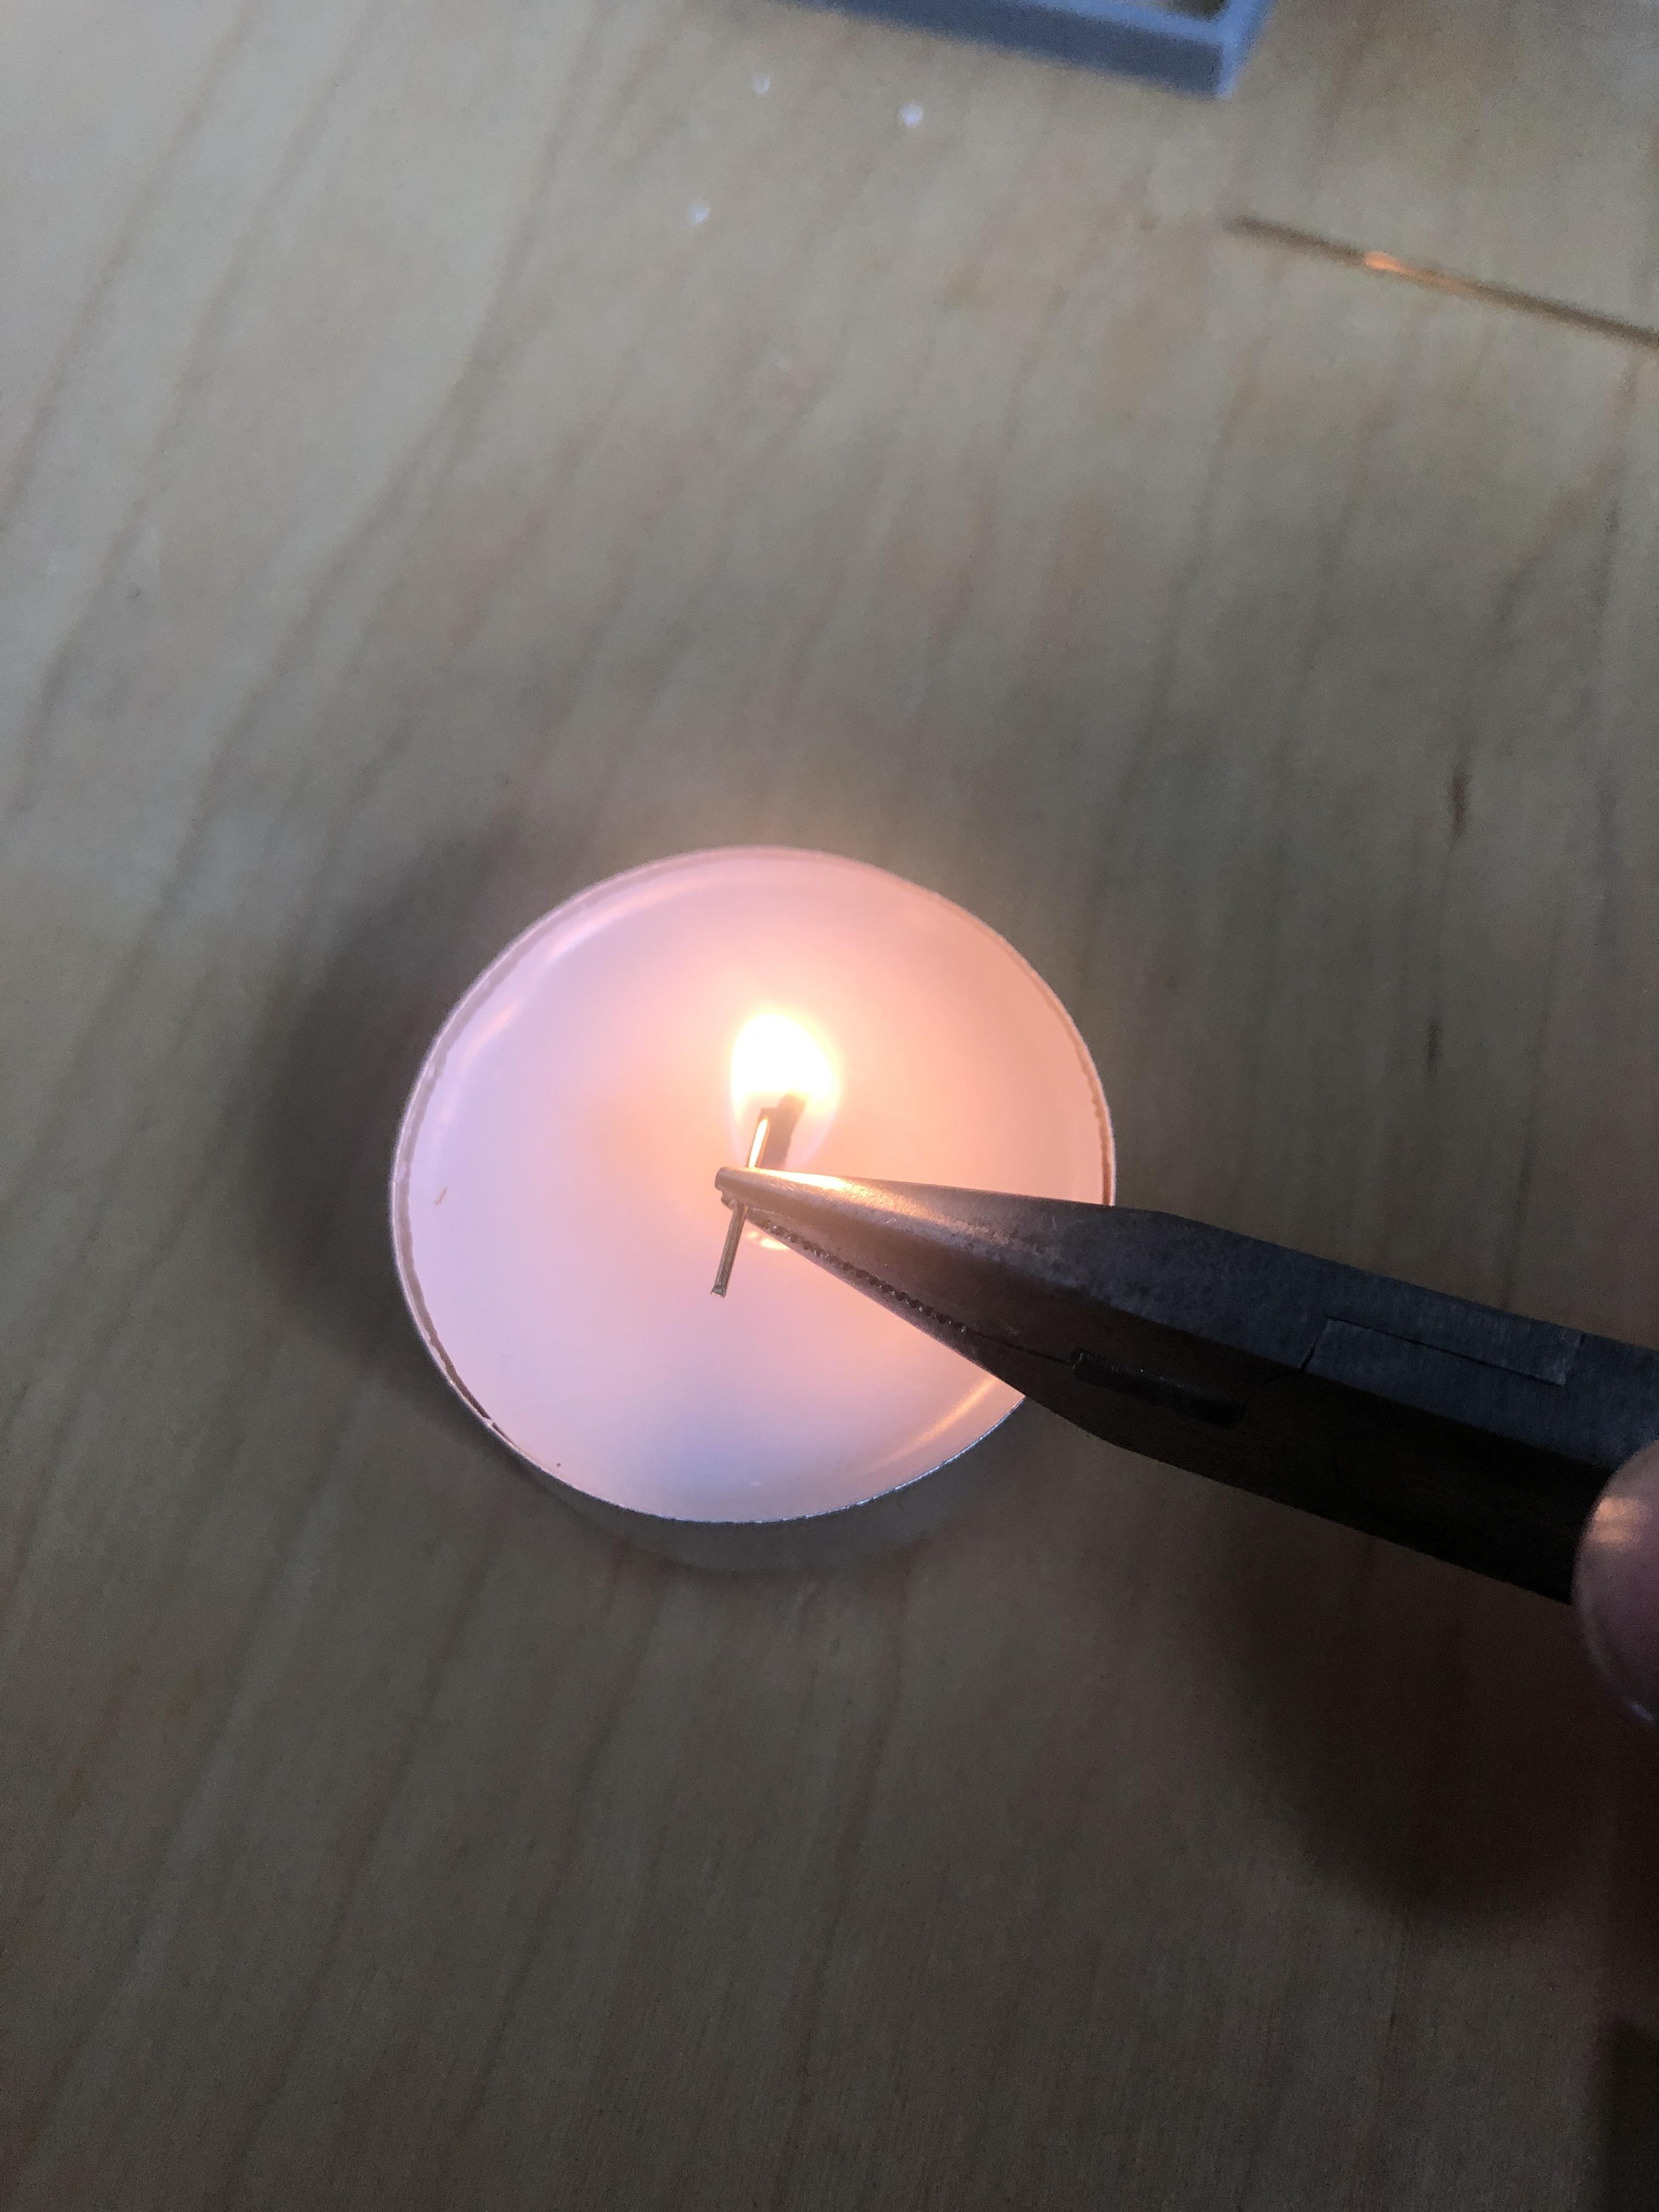
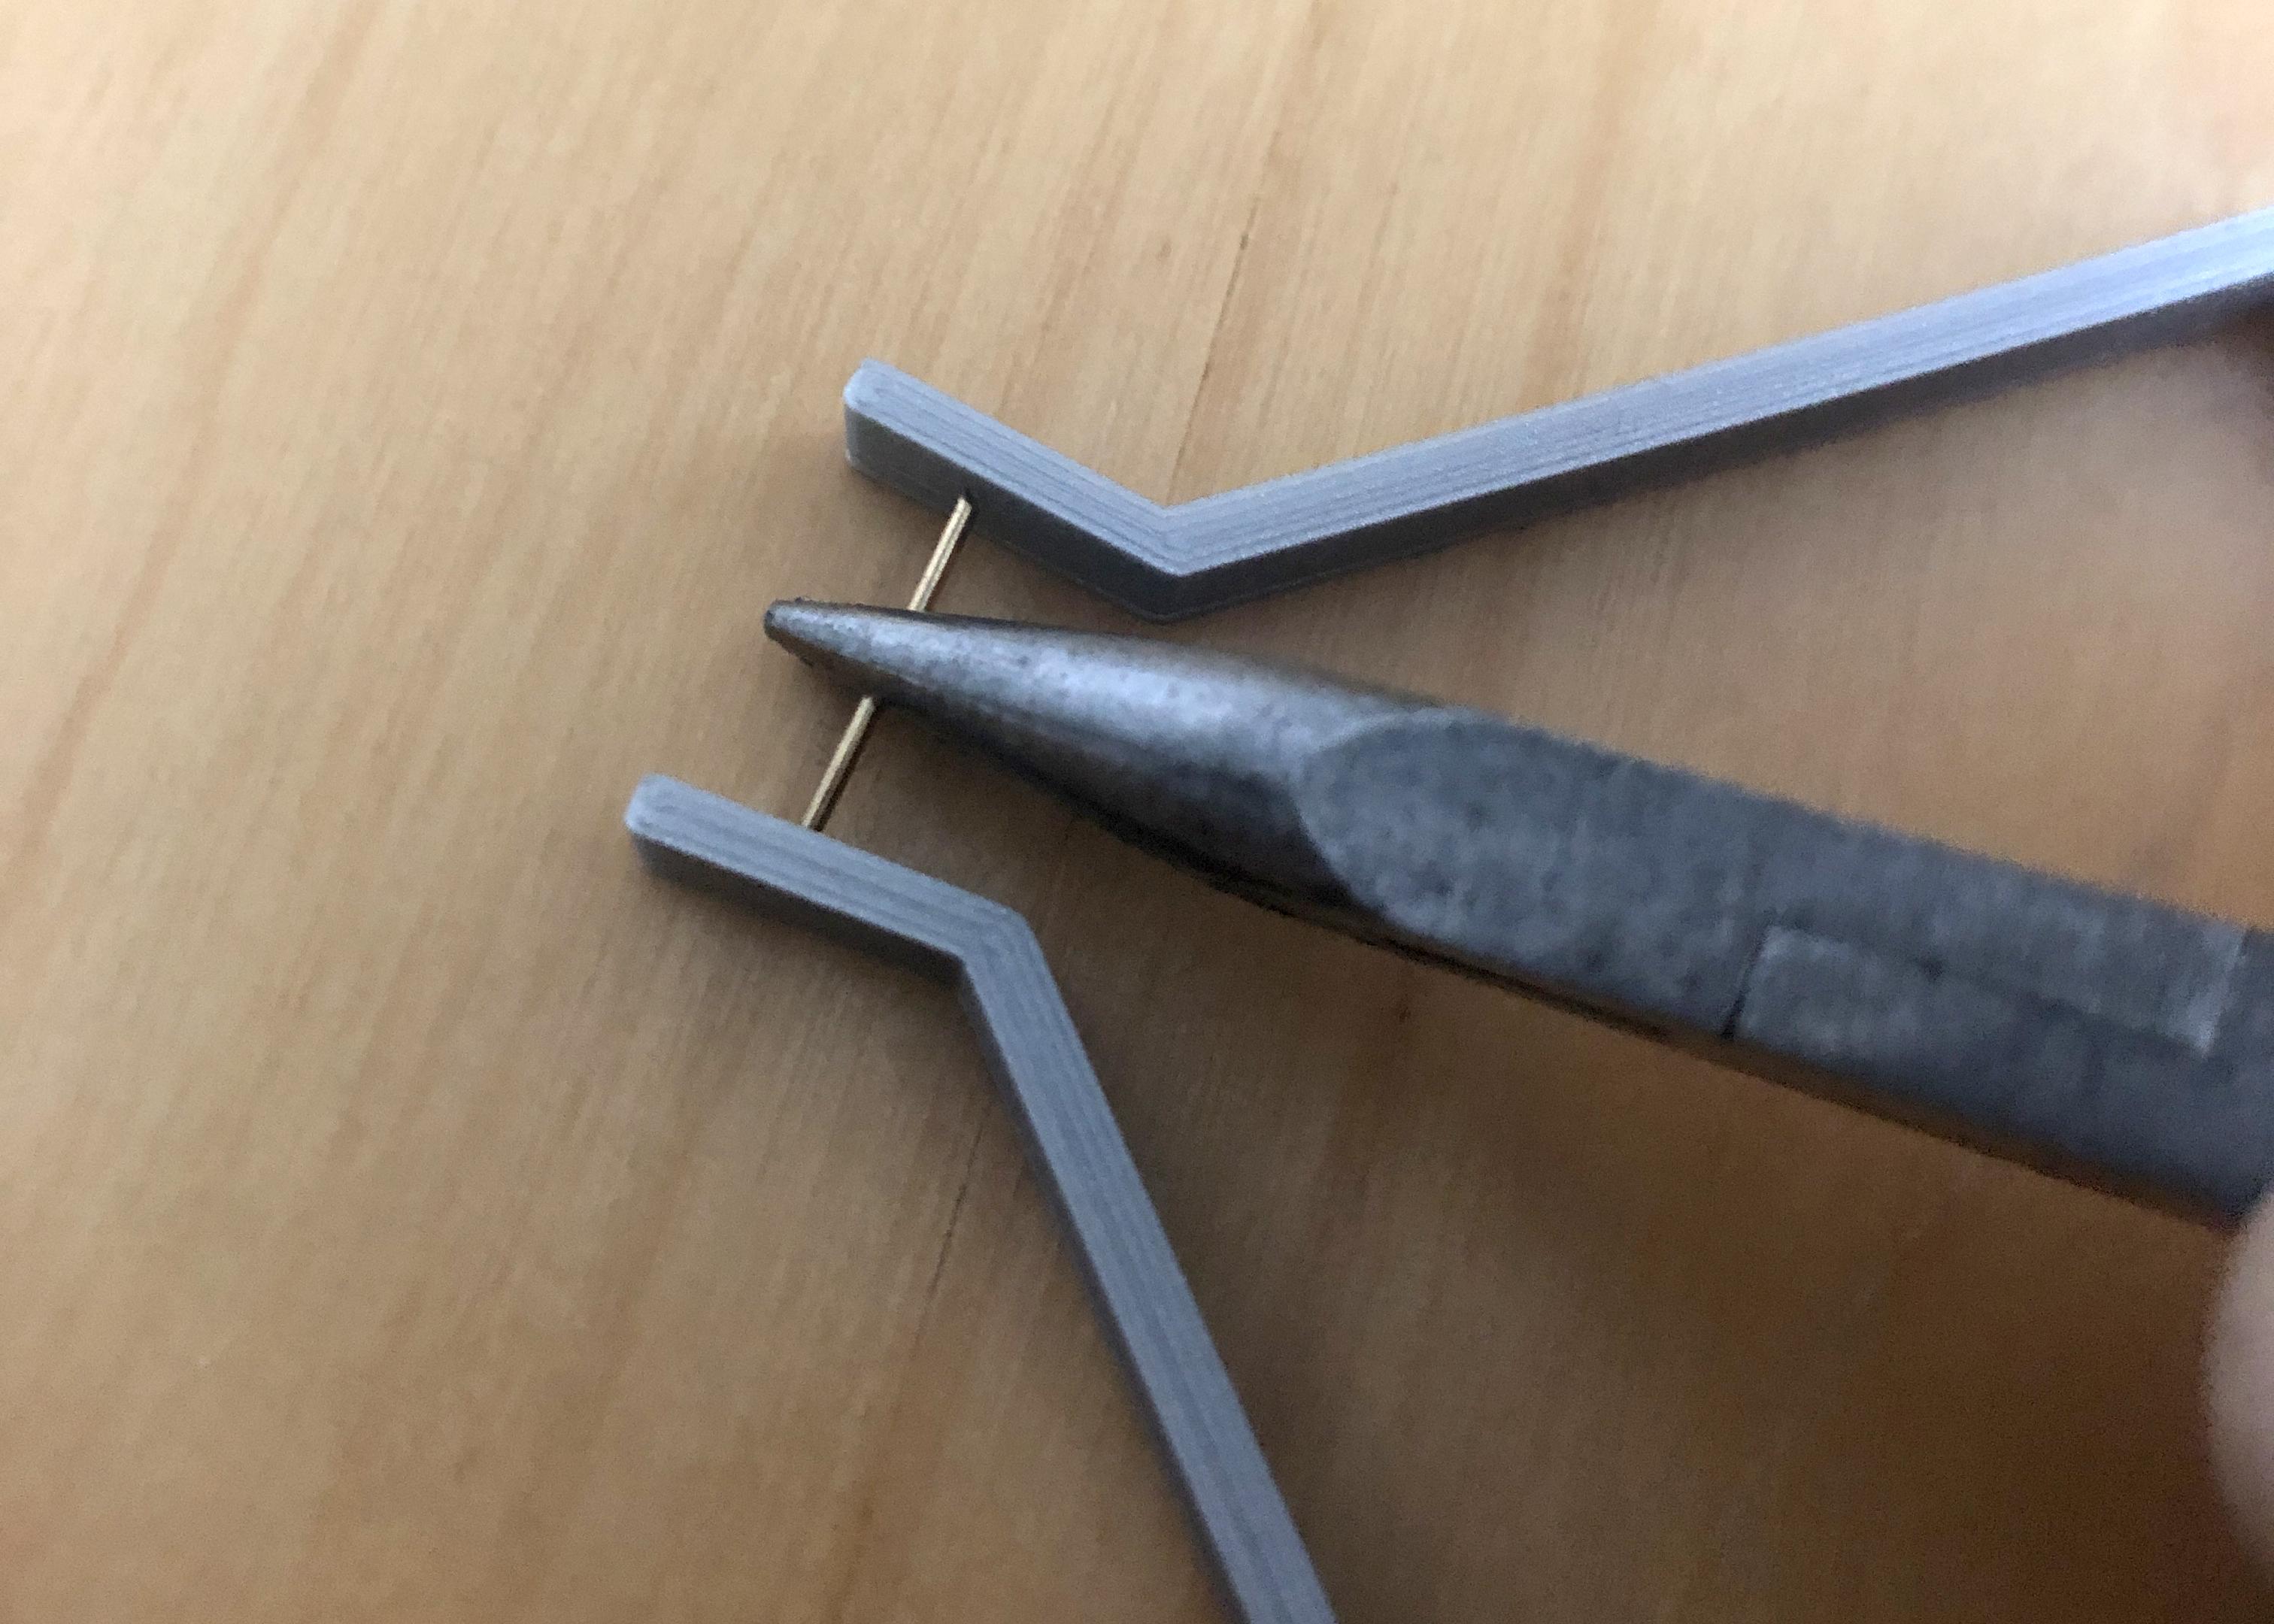
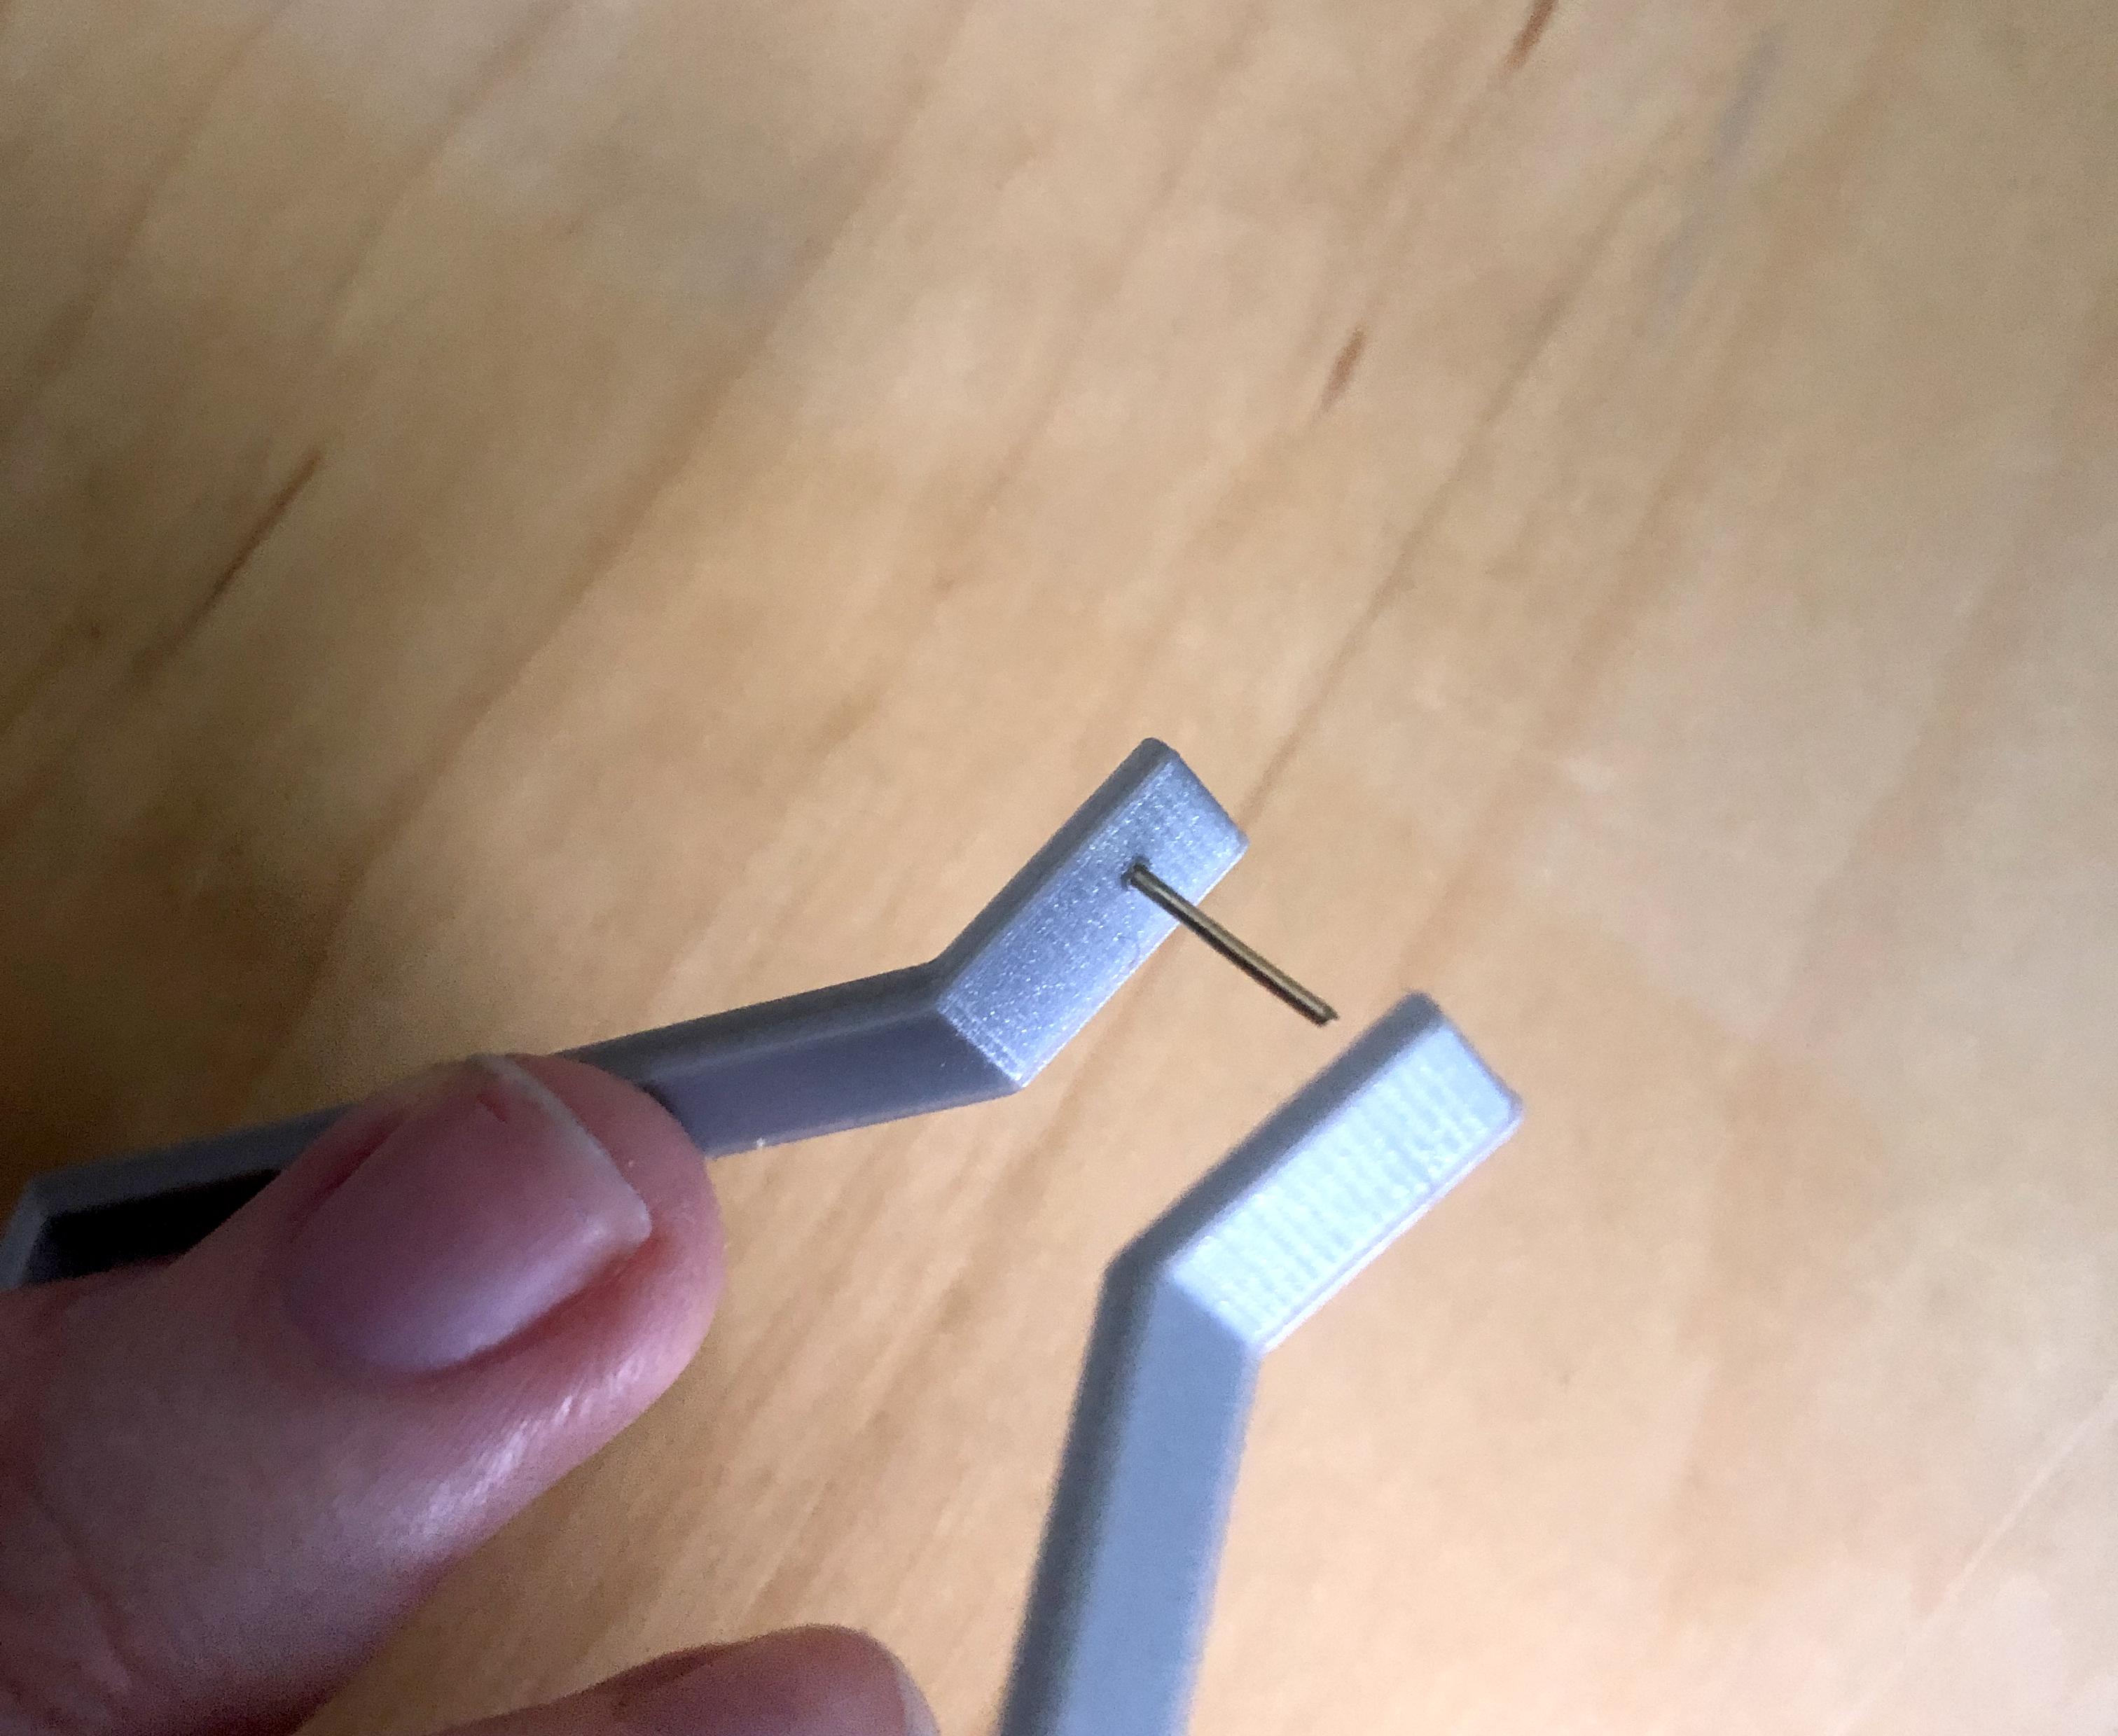
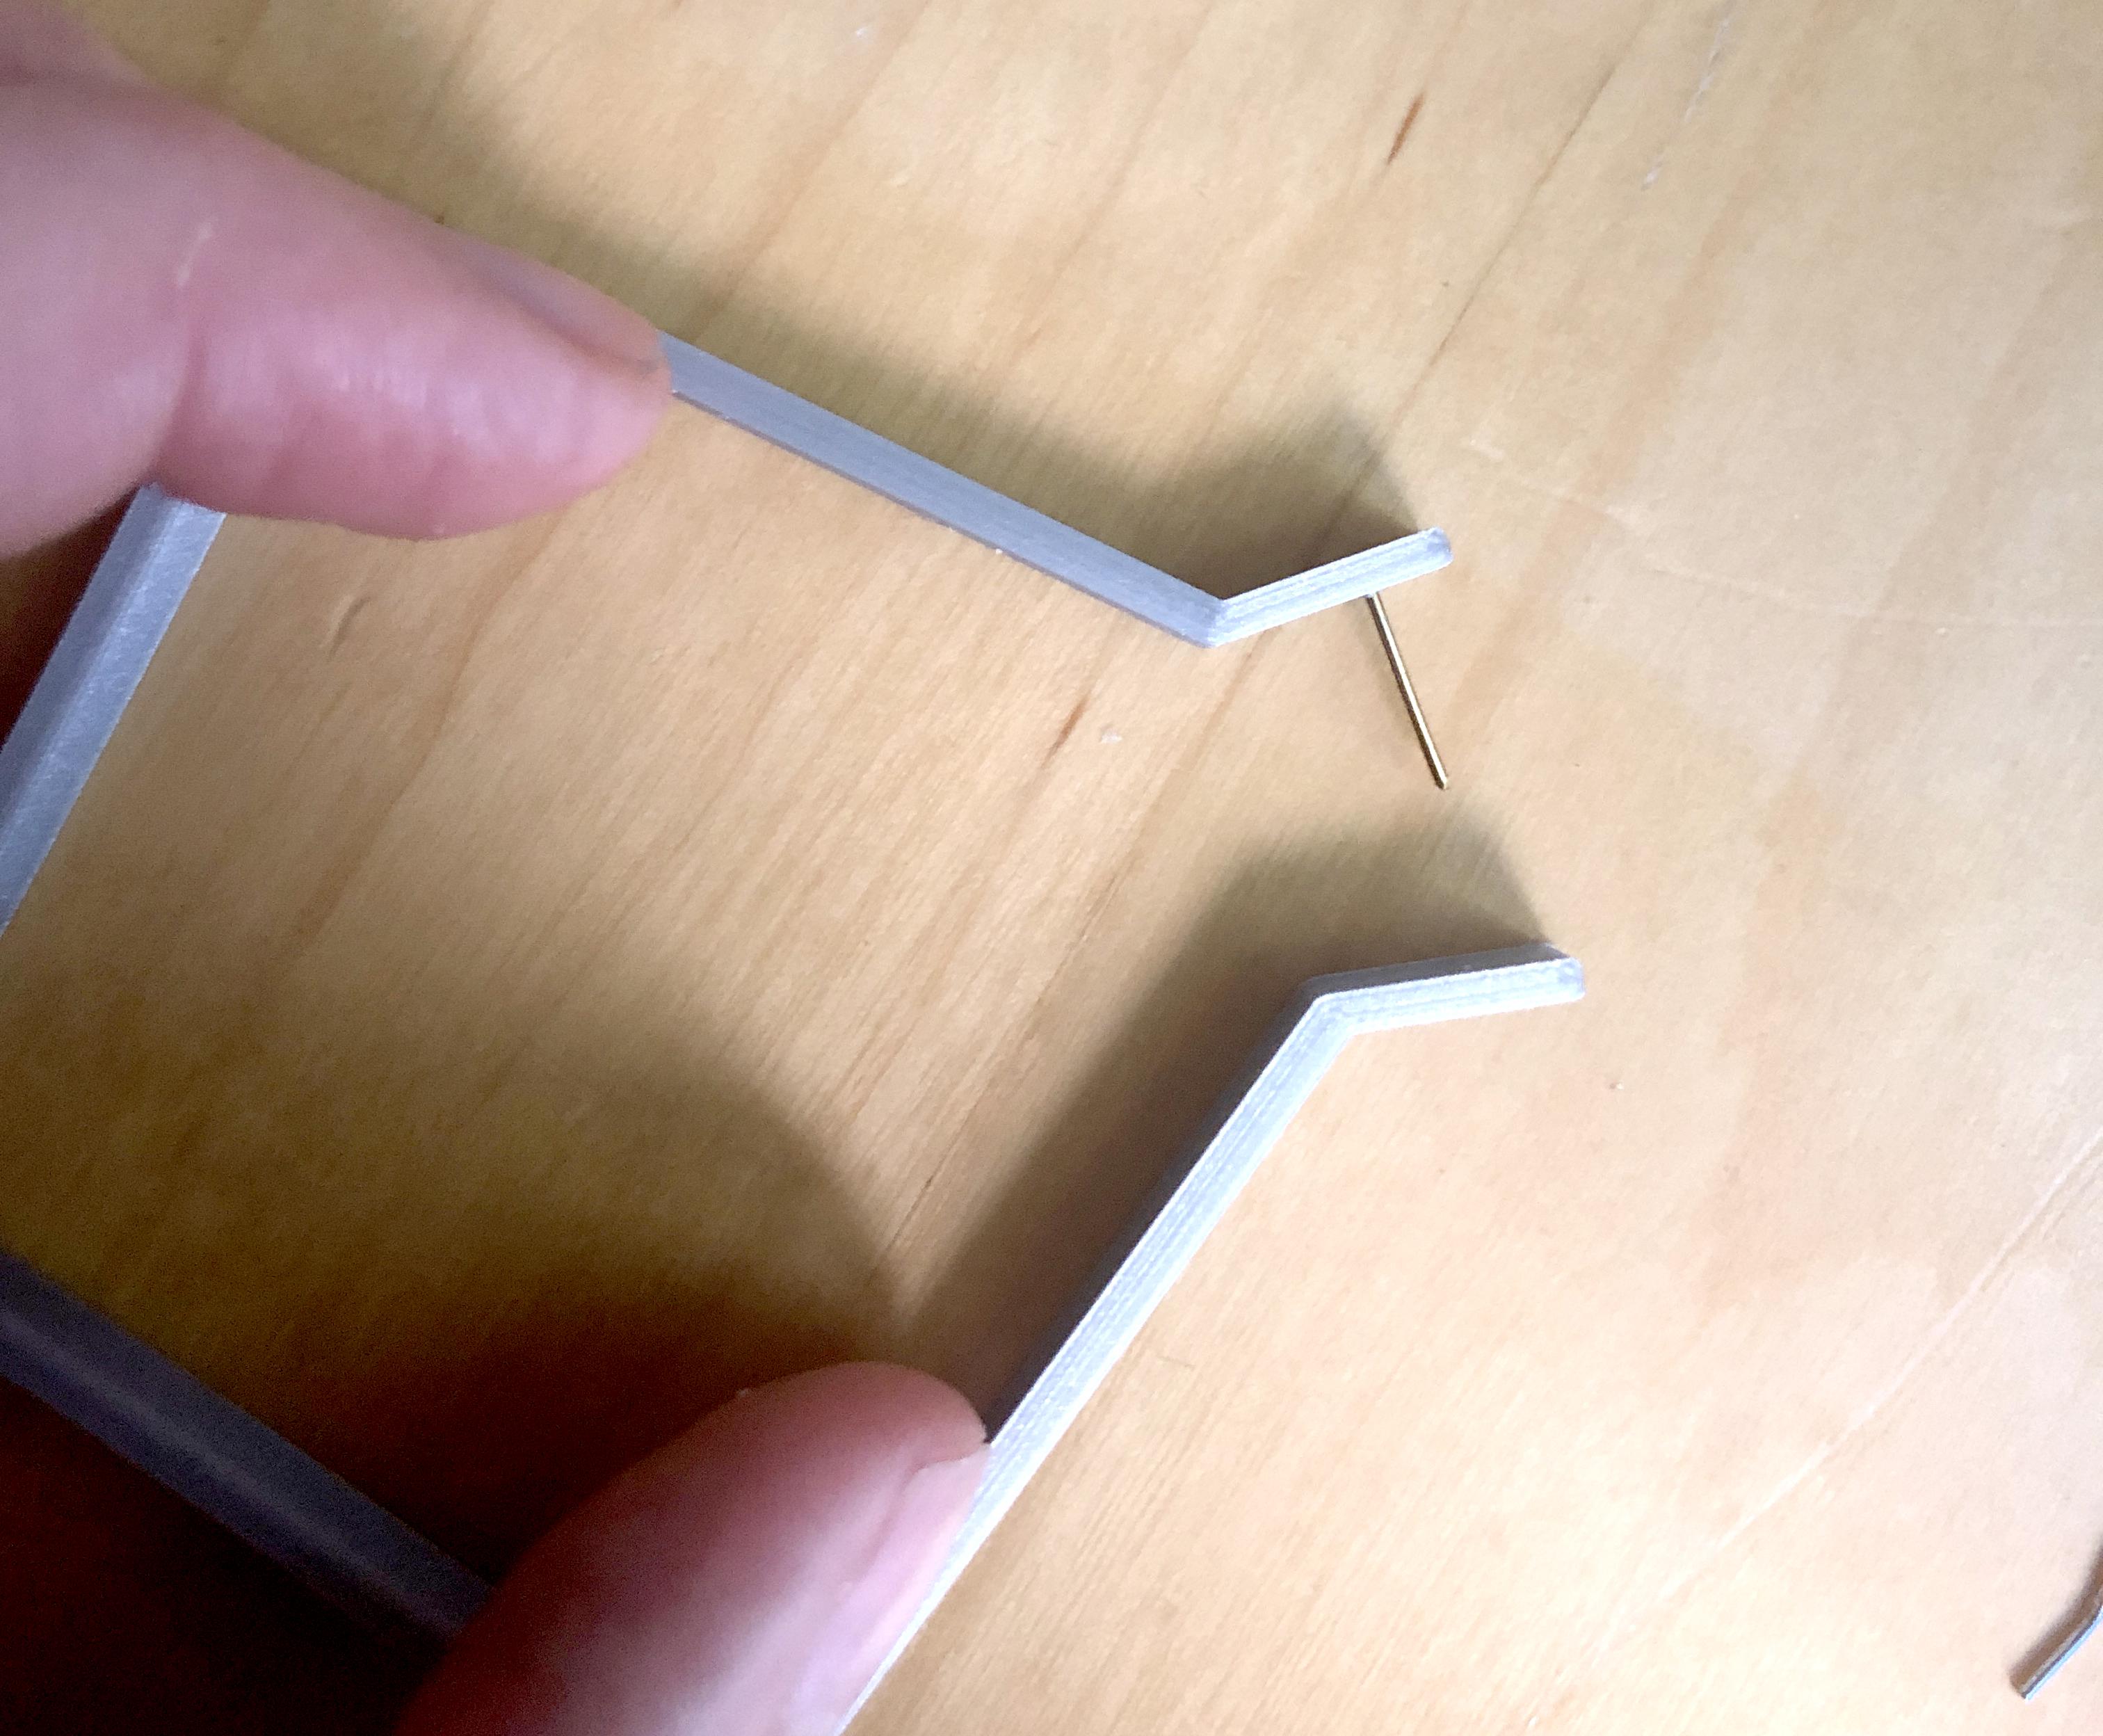
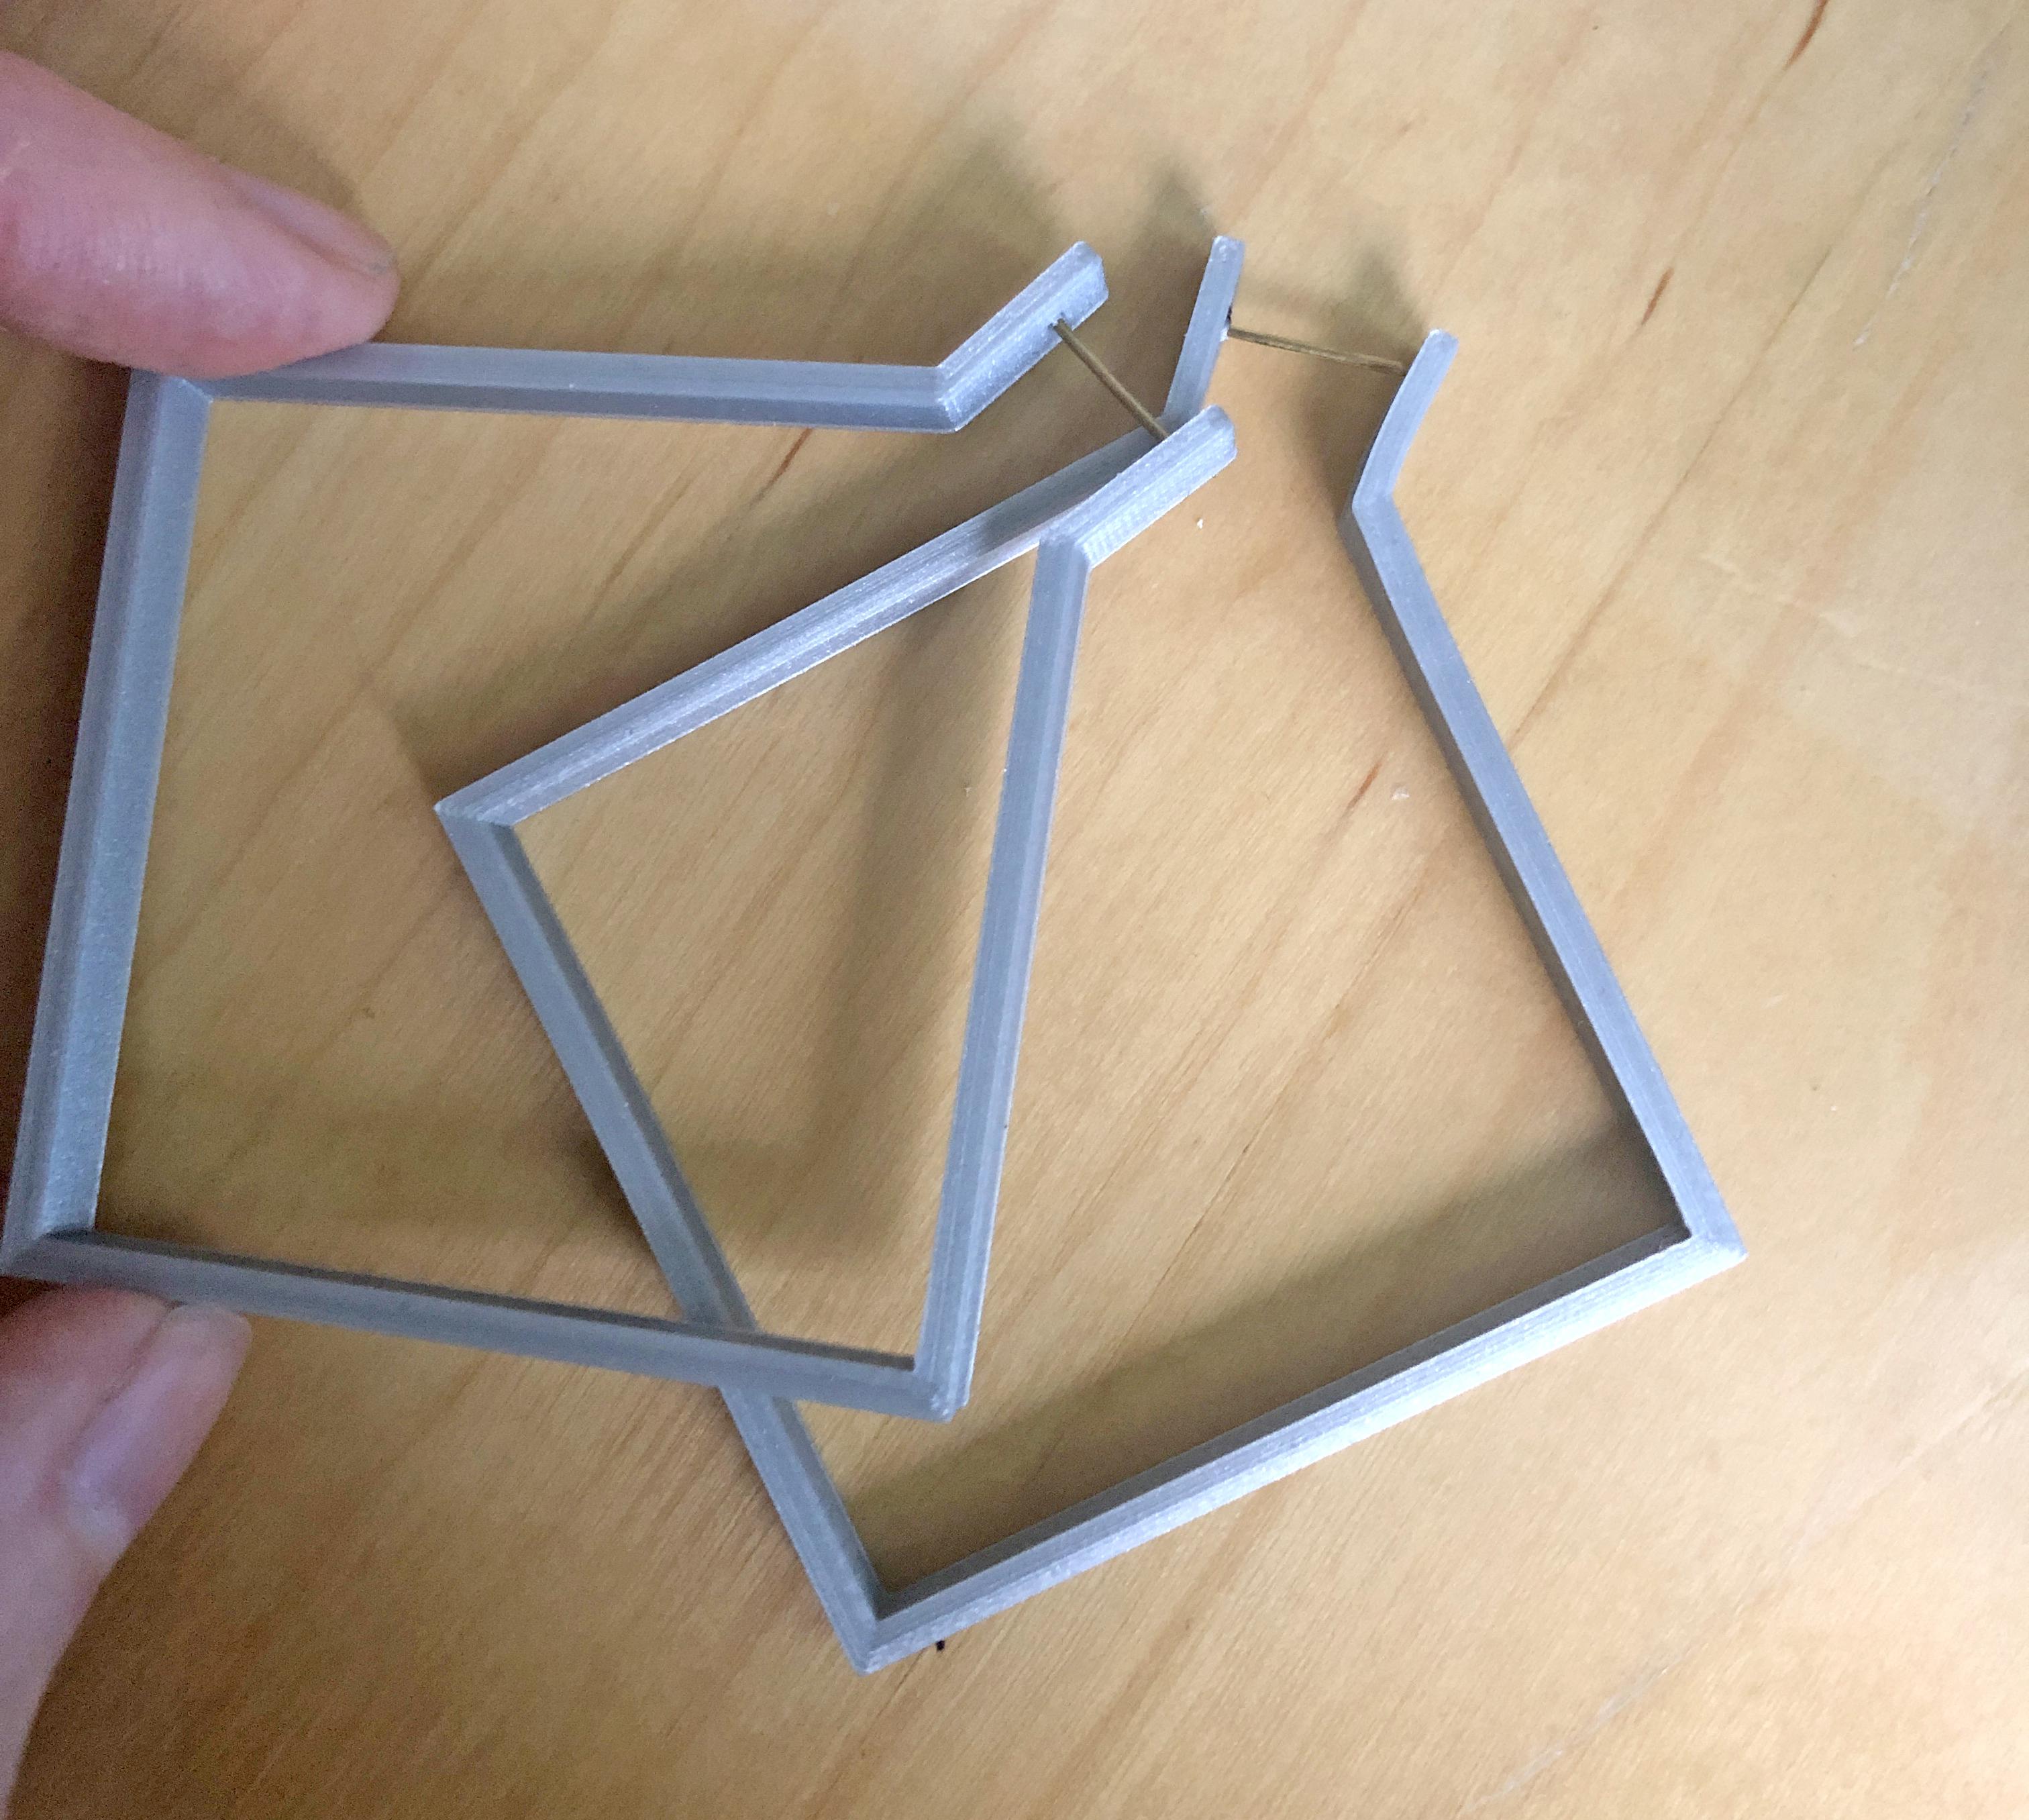
Now that the hoops are printed, they are almost done! We just need something to attach them to the ear.
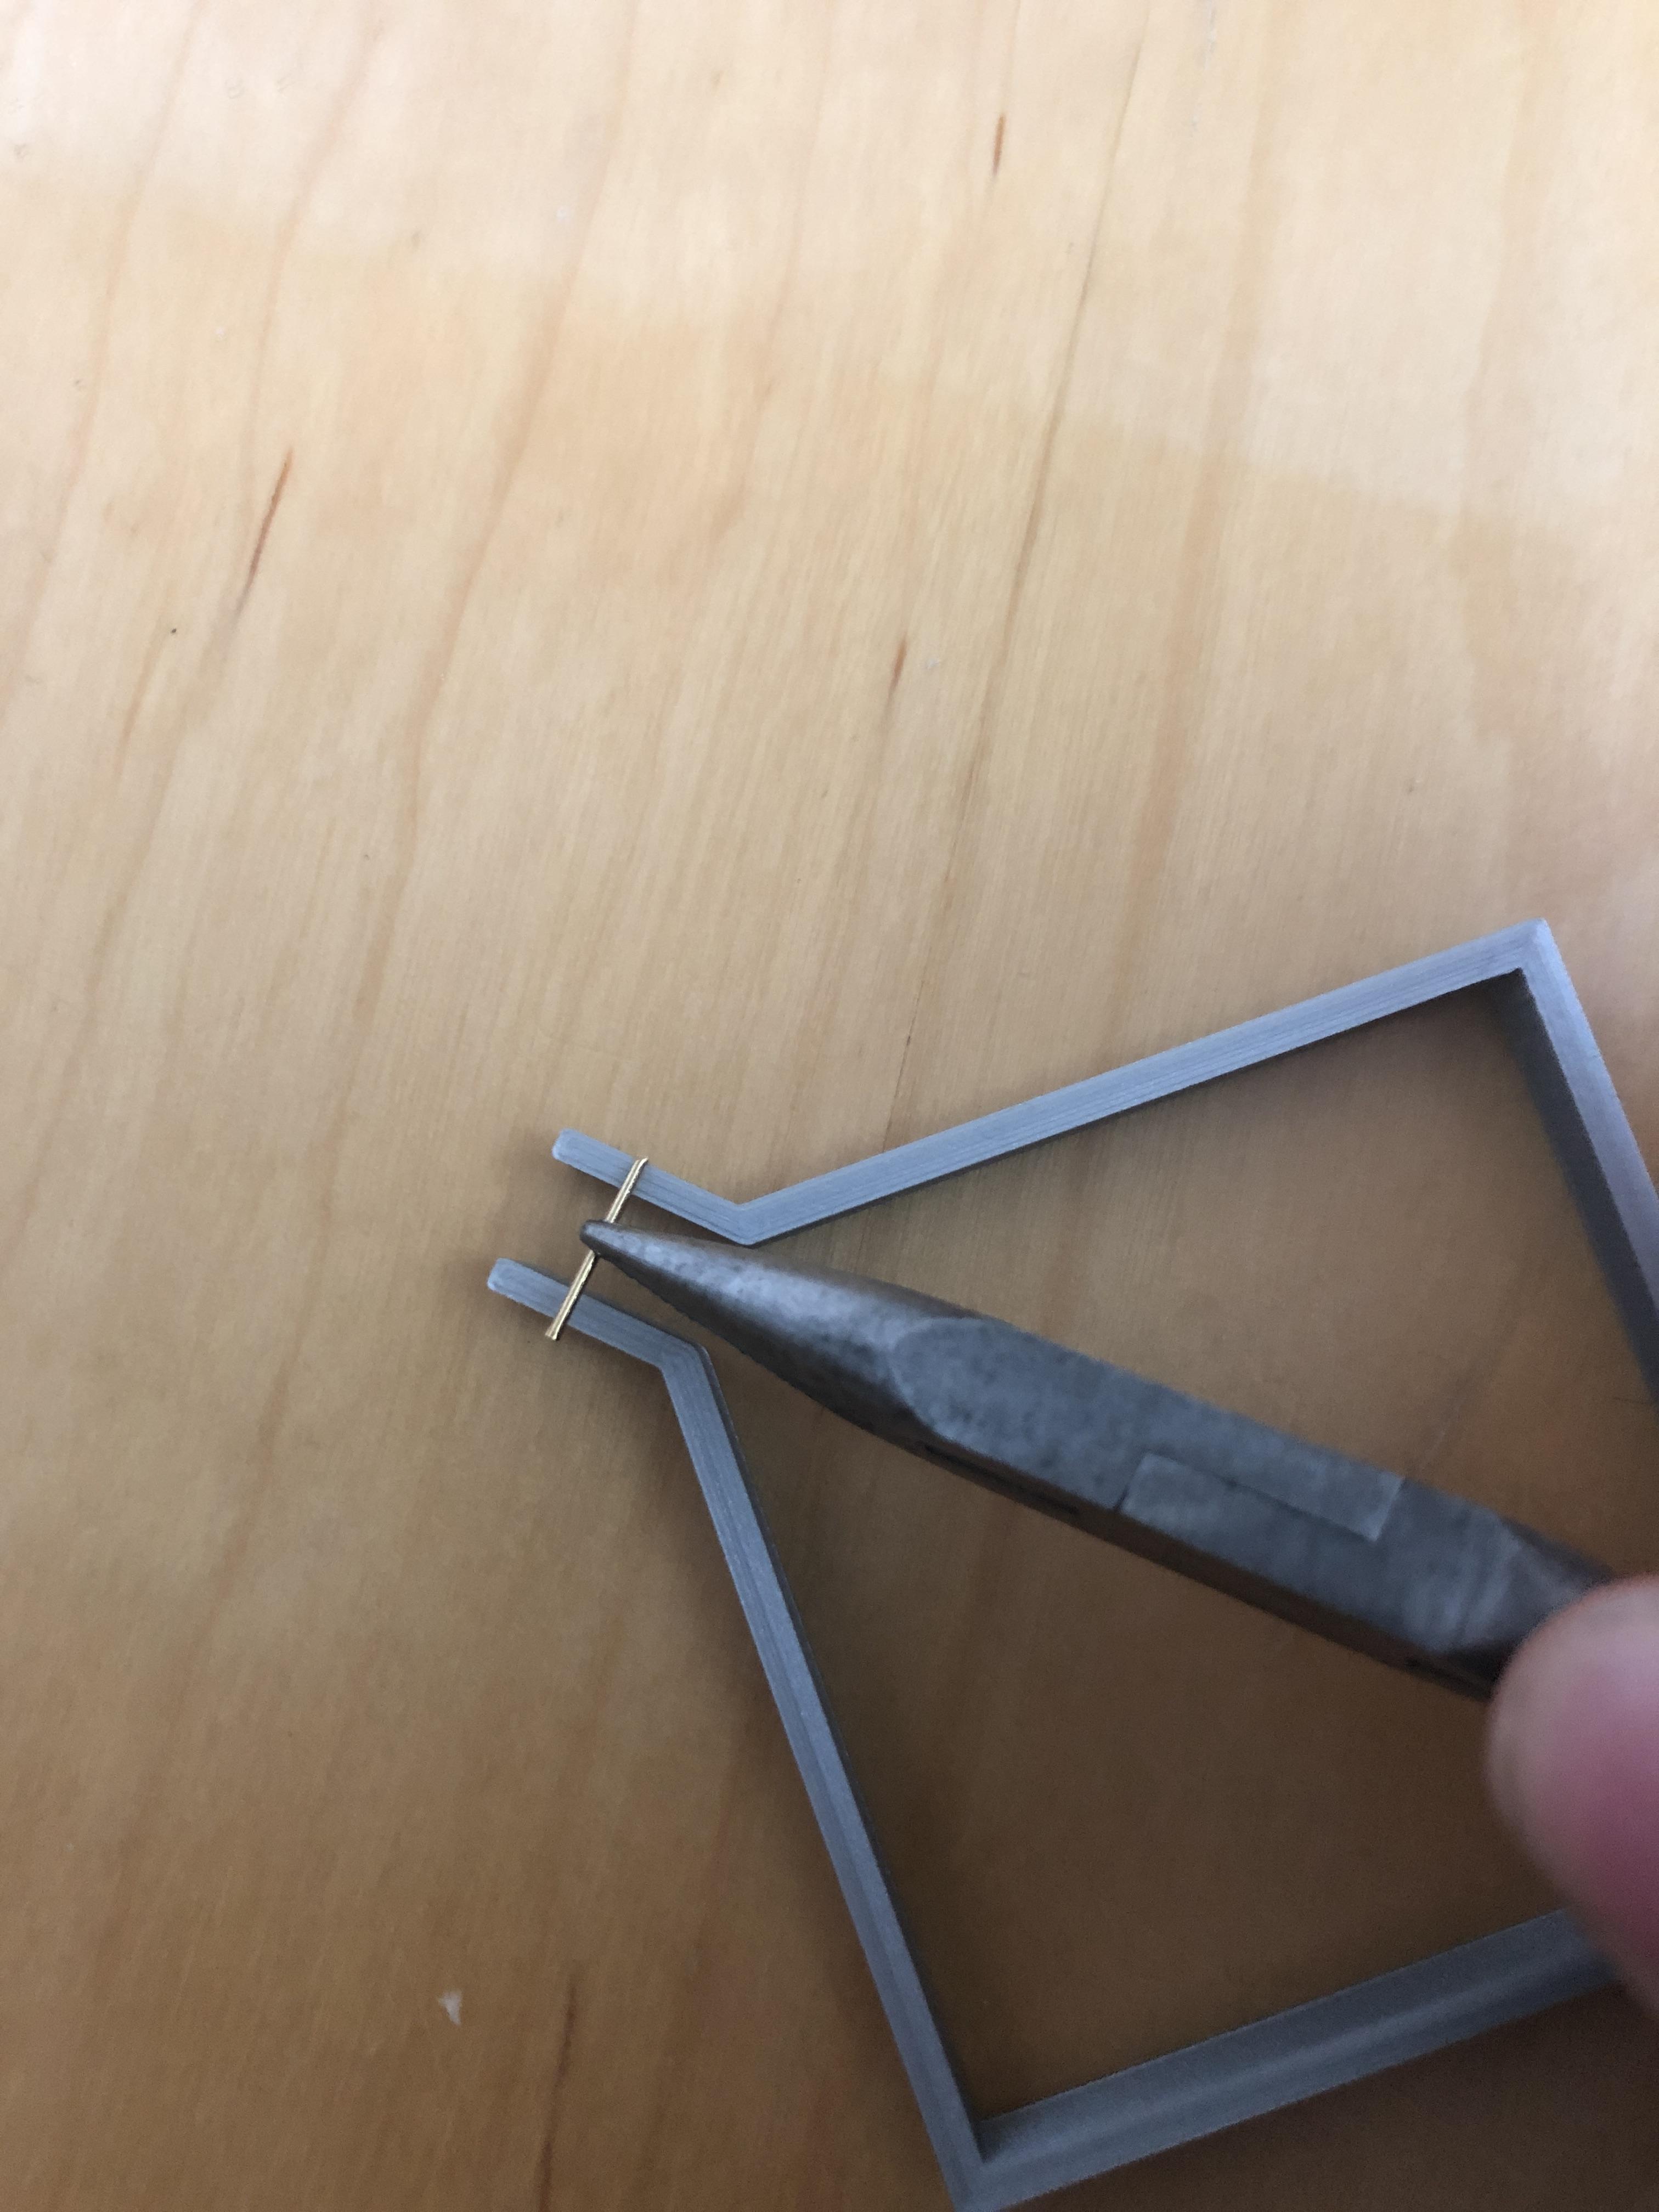
Use a bit of jewelry wire, jewelry pins or earring hooks, and cut off a piece of a bit more than 1 cm using pliers. The exact length will depend on the thickness of your earlobe and how flexible the final shape has become. You should be able to place the length of wire between the earpieces, and it should remain in place.
While holding the piece of wire with pliers, hold one end in the flame of a candle (or the stove) to heat it up. Then take you hoop and quickly press the pin on the inside of one of the earpieces. It may help if you use something to carefully keep them open. If it doesn't go in in the first try, it needs to heat up a bit more. PLA becomes pliable at approximately 90 degrees, so the wire needs to be warmer than that. After pressing it in, it will be quite stuck!
Repeat for the other one, and that's it! You can put them in by bending the hoop open and inserting the wire in your ear, then when releasing they will clamp themselves shut! If you would like a bit more security, it is possible to design a hole on the backside of the ear piece, so the wire can stick through it, but in my experience that should not be necessary for normal use.
Print All the Shapes
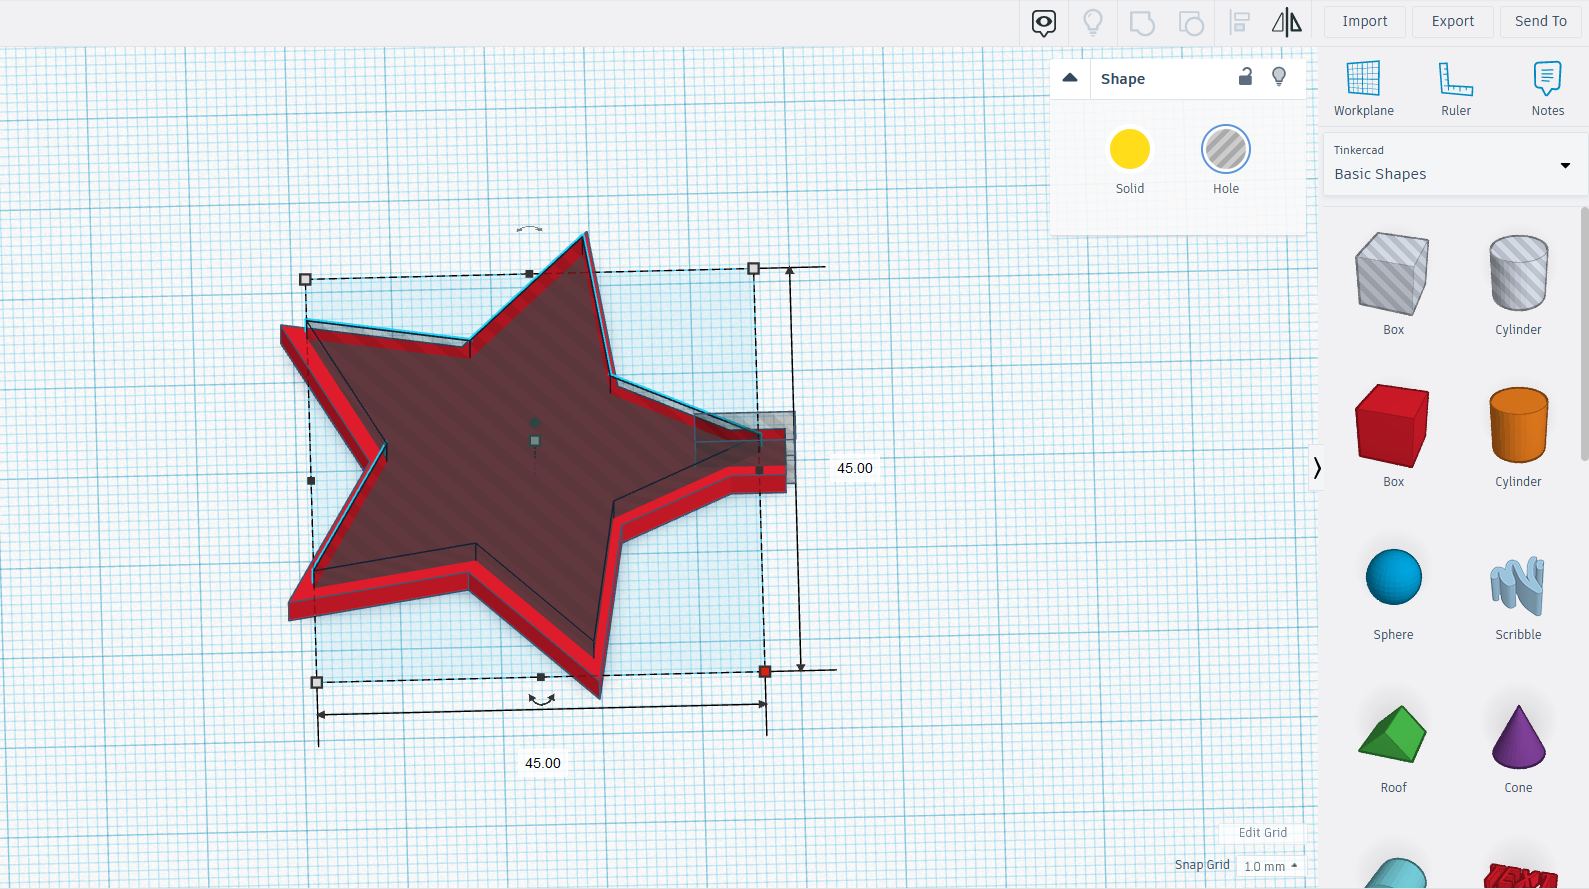
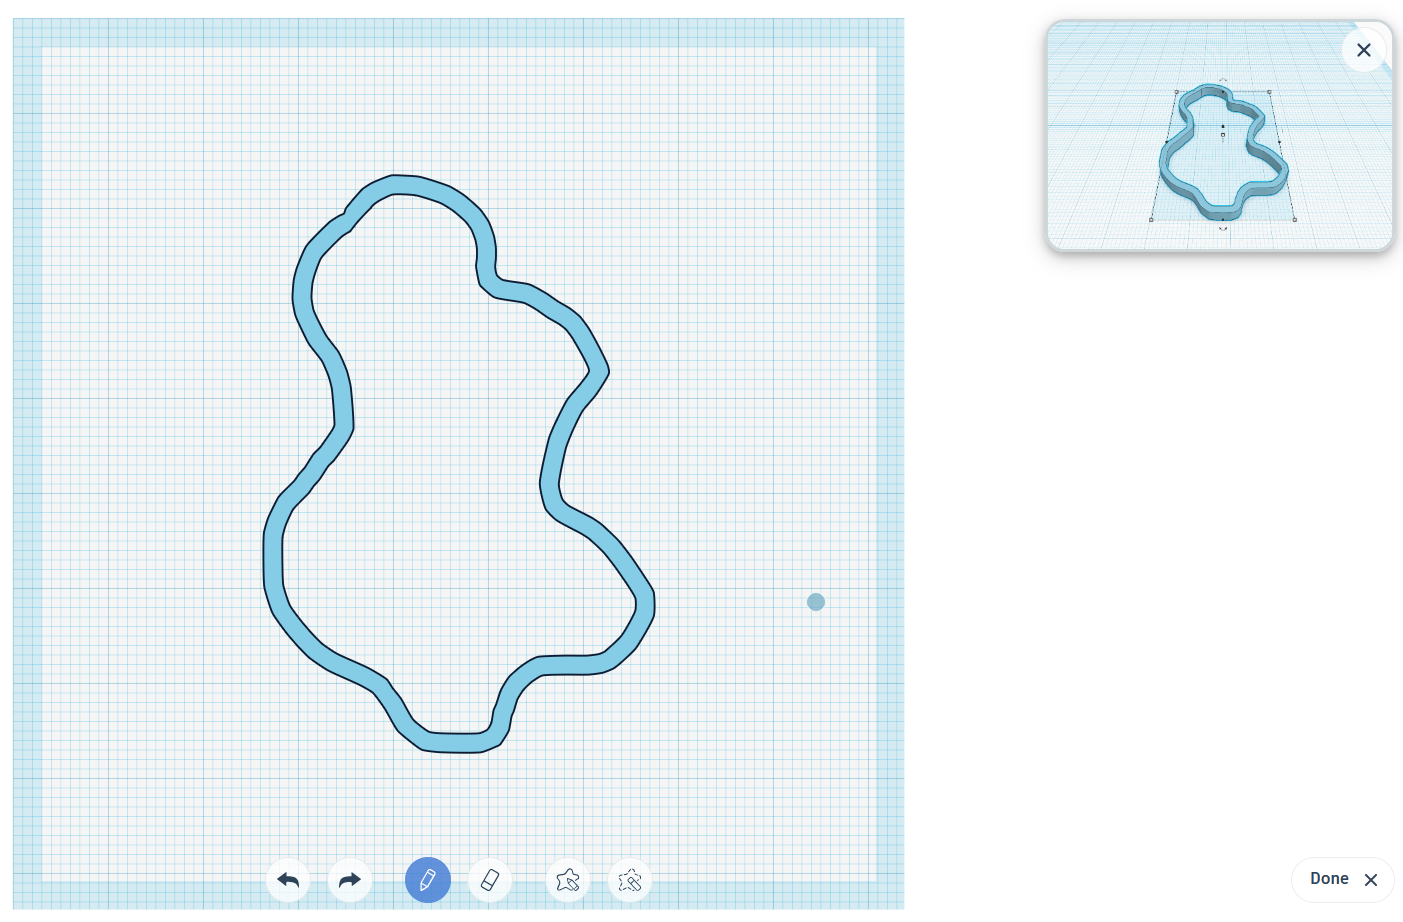
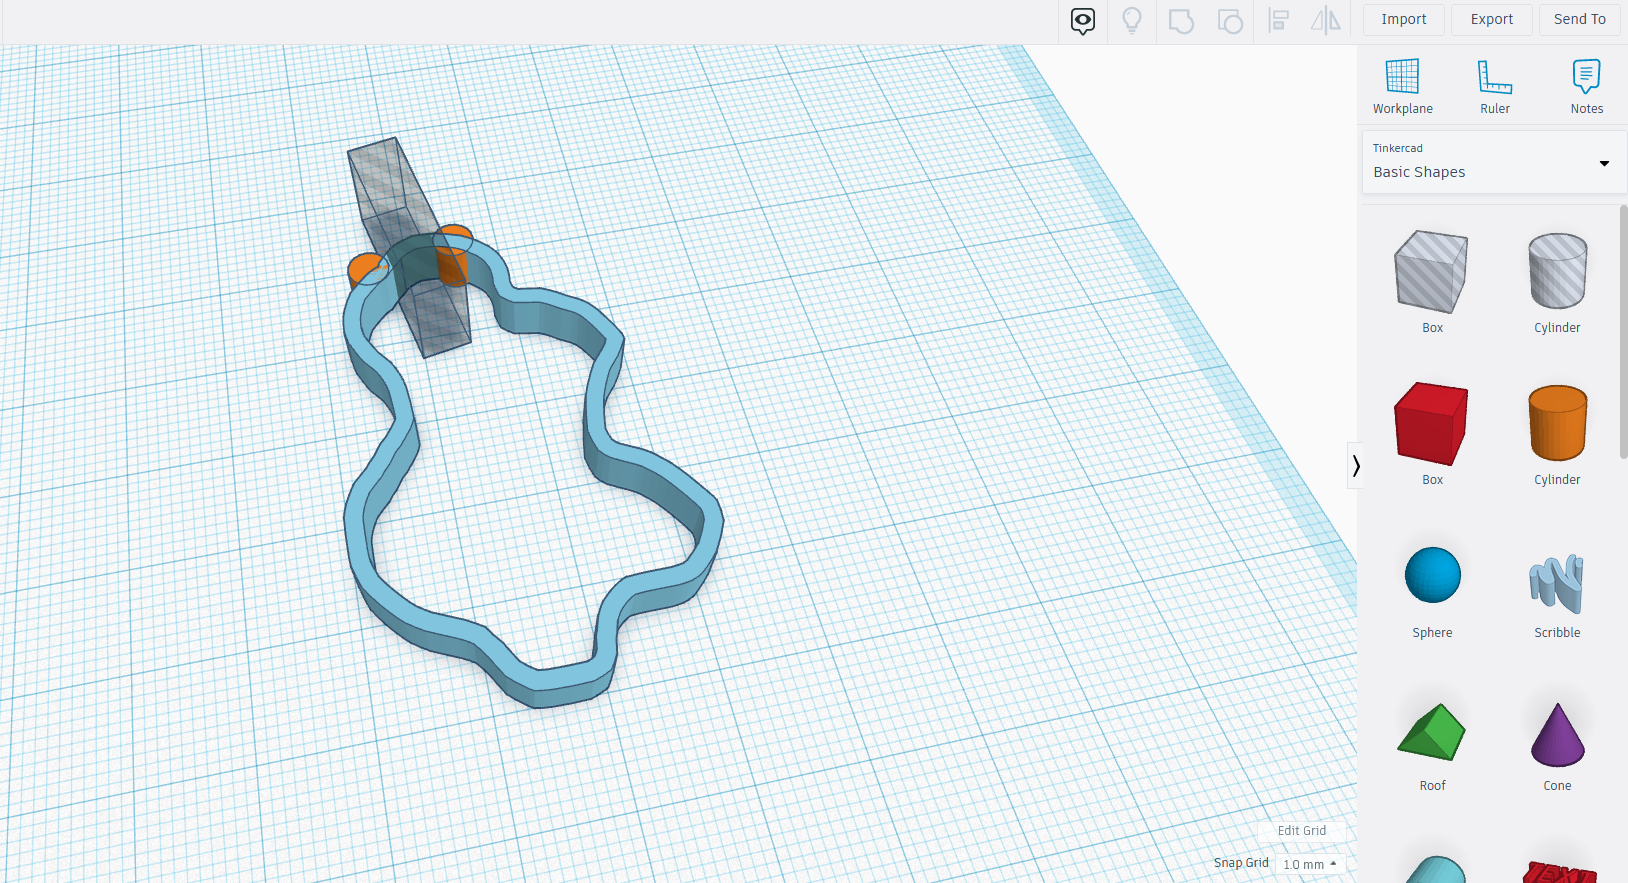
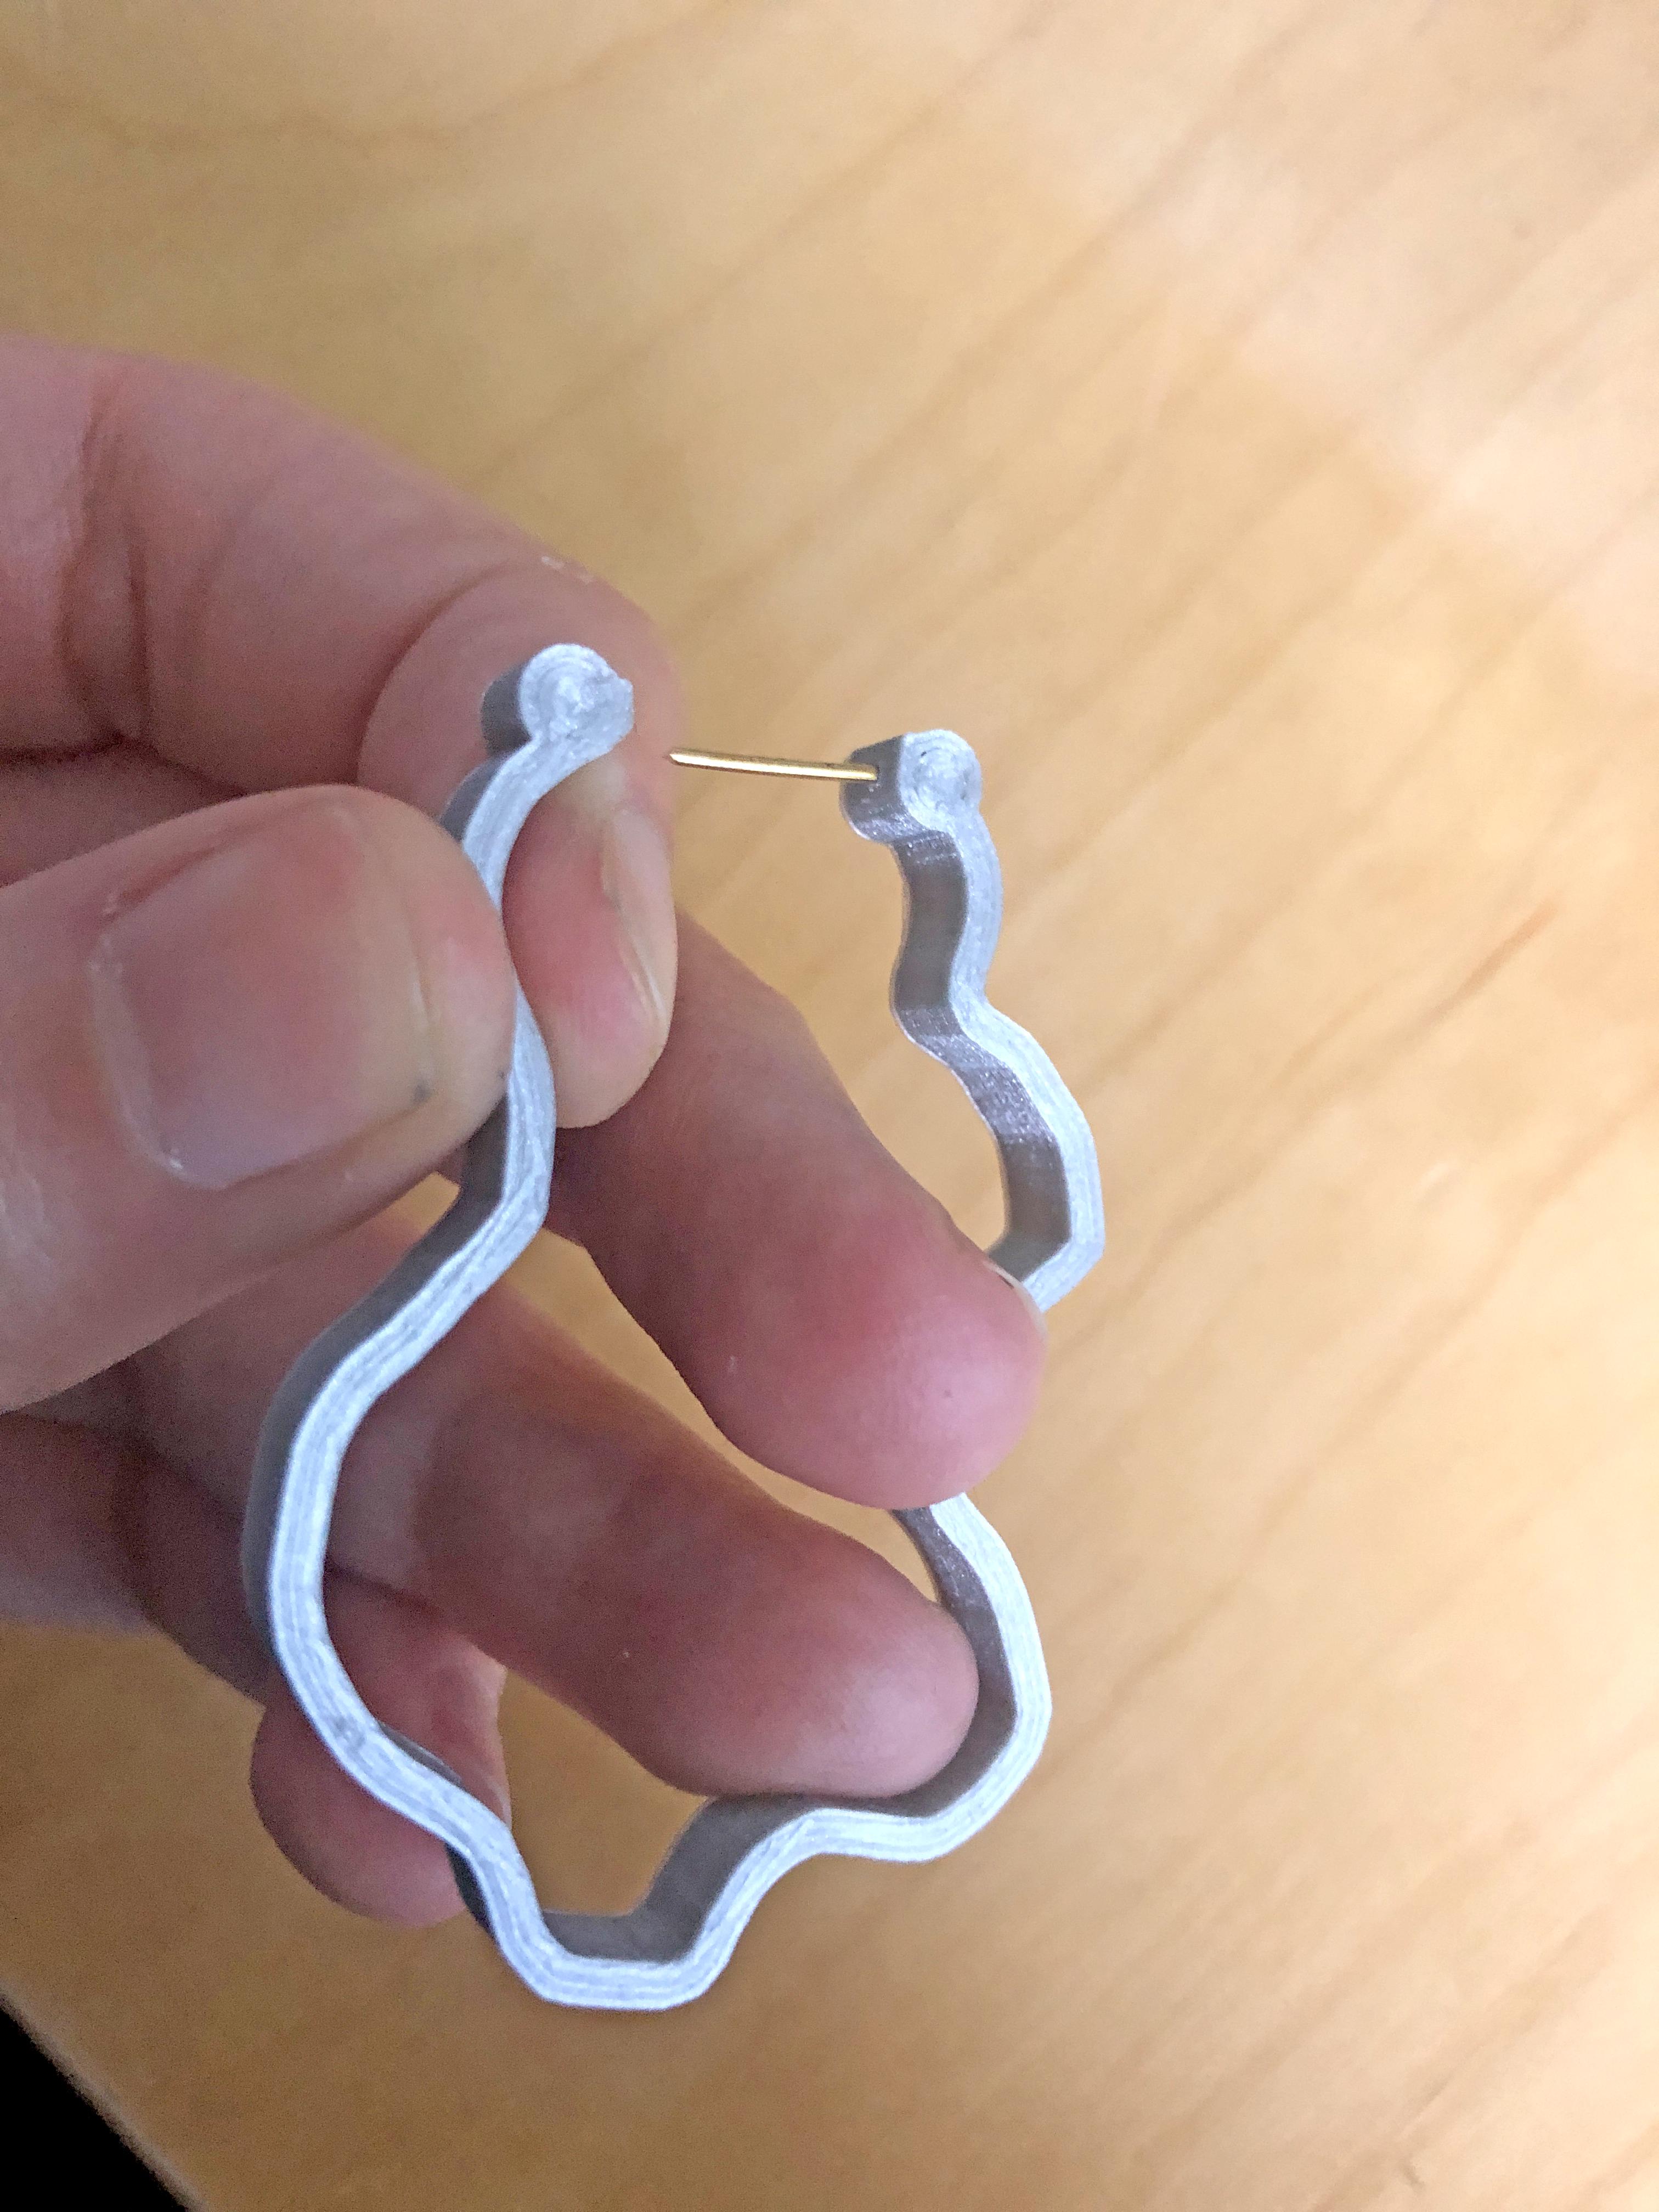
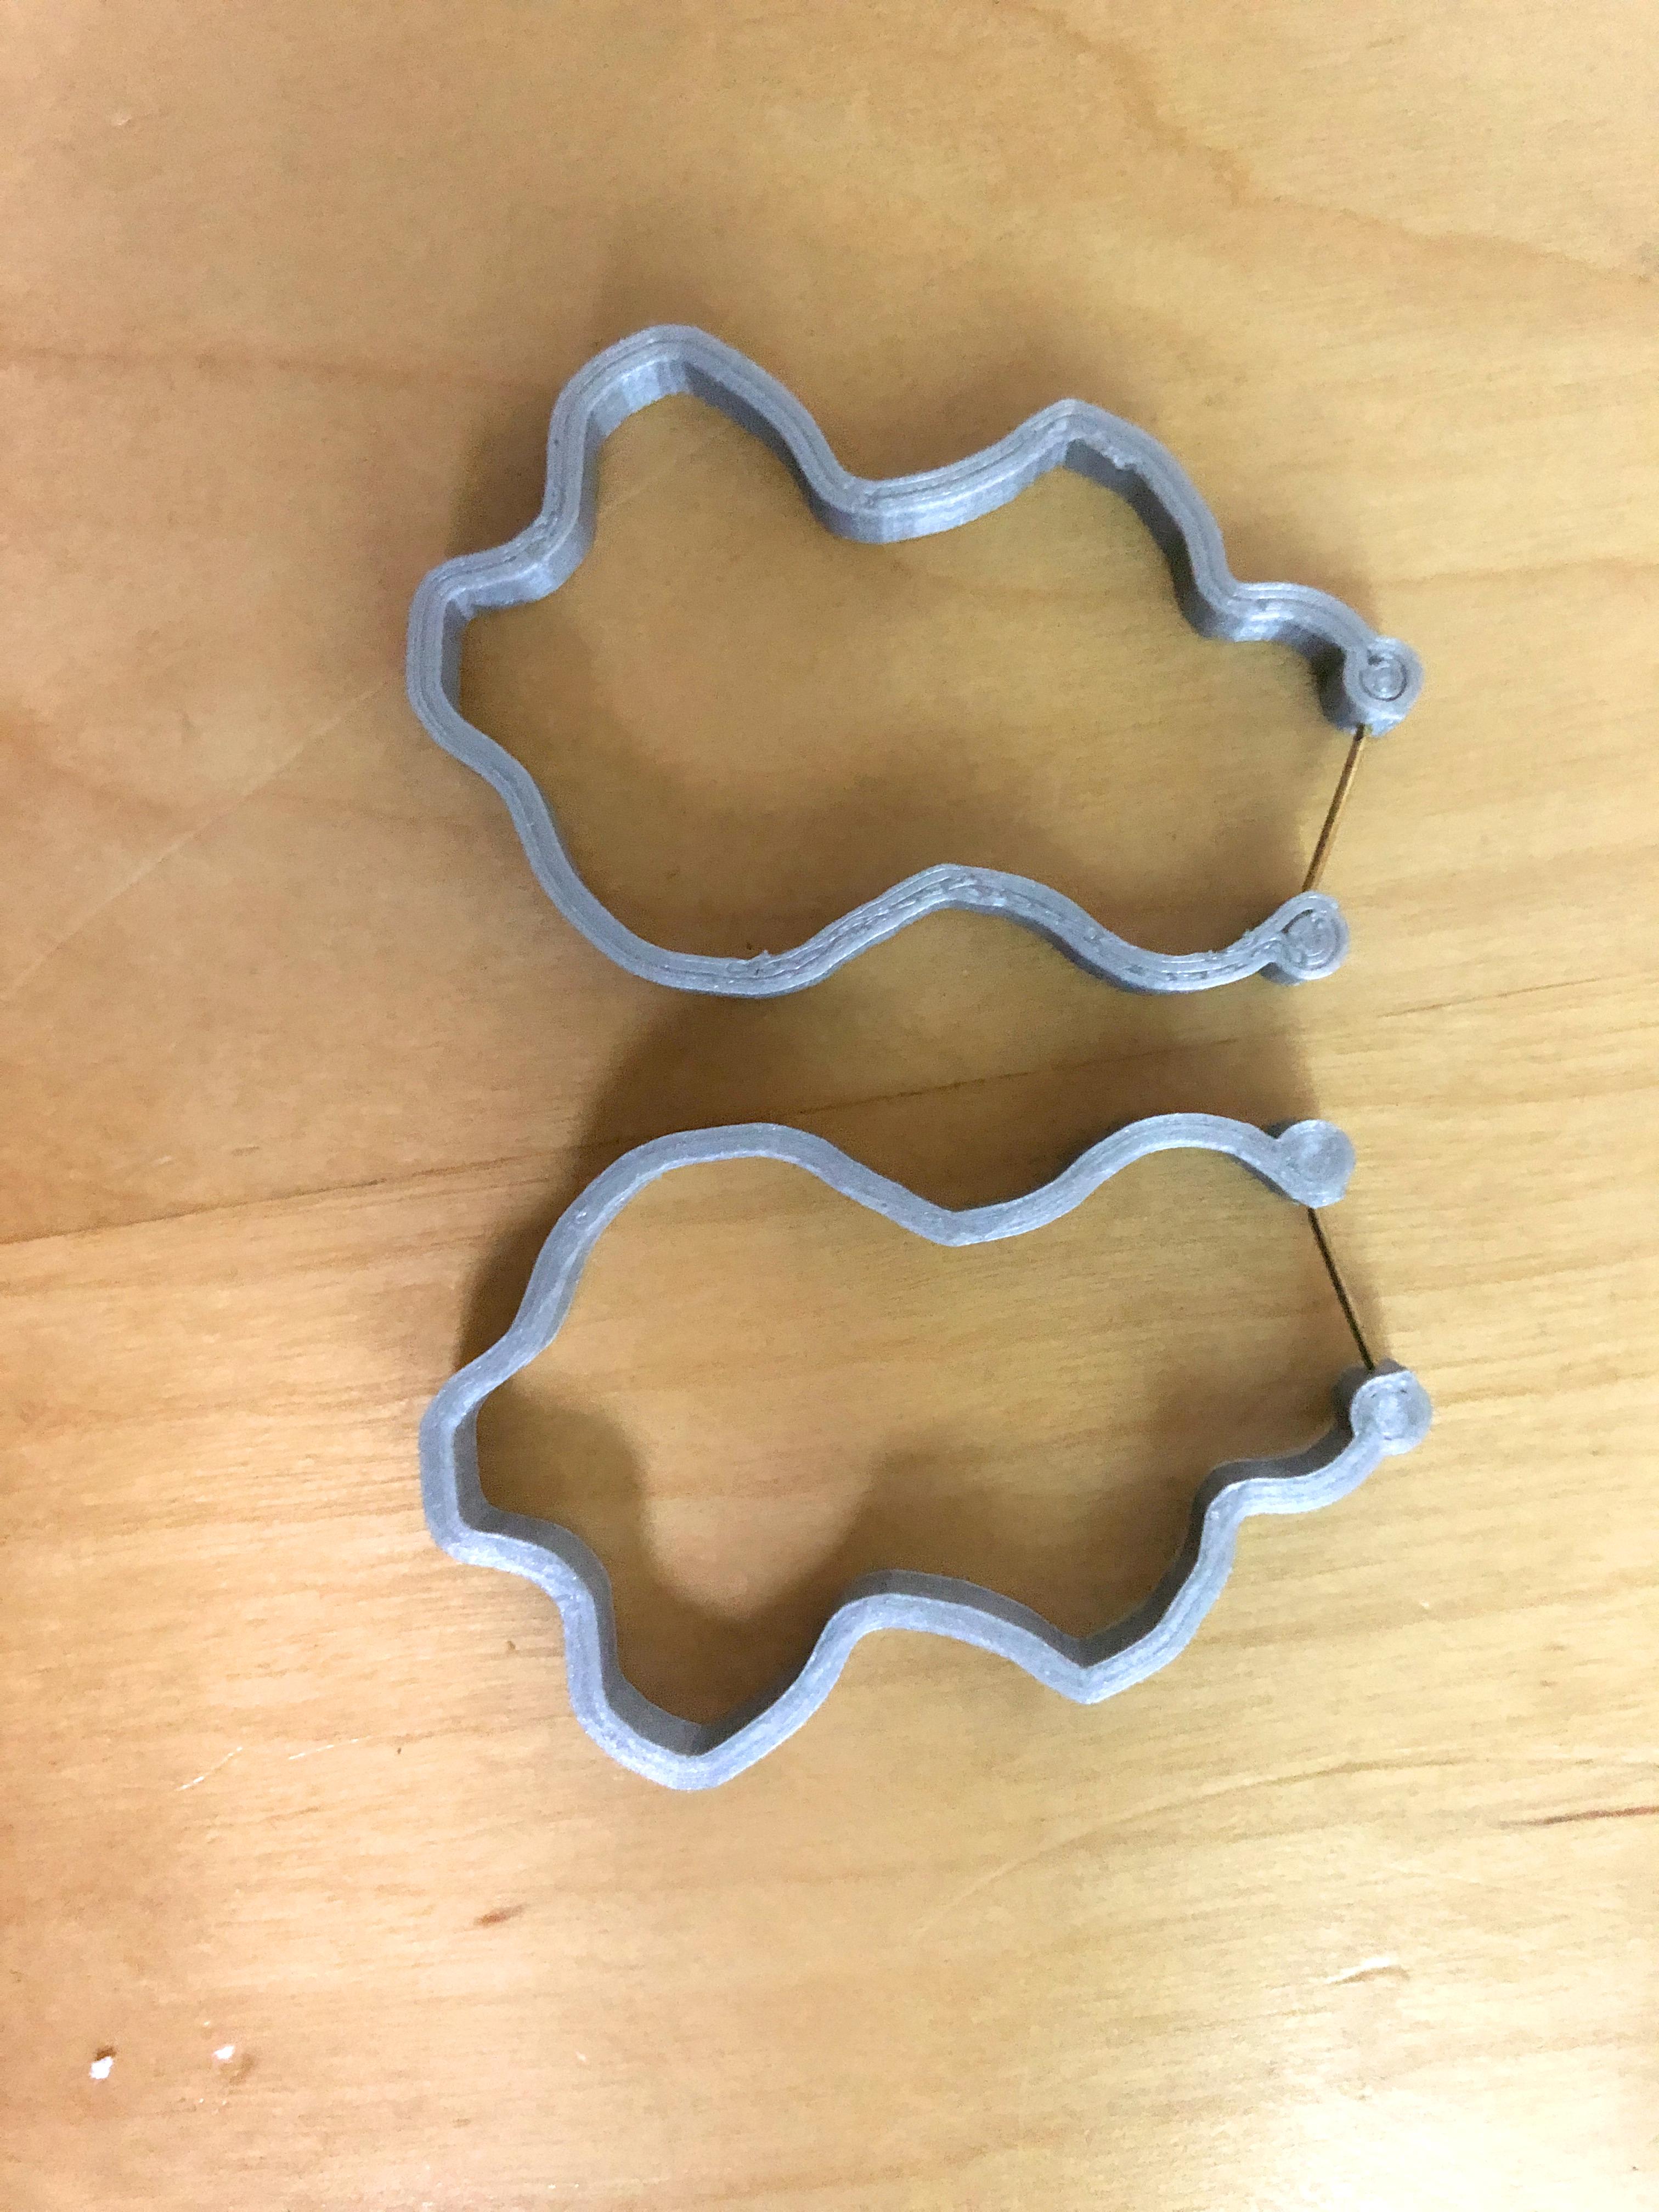
There are so many shapes that would be really cool as ear hoops, so go crazy and try them all! Tinkercad has many basic shapes that you can use in exactly the same way, such as a star shape for instance.
Or why not try the 'scribble' tool and freehand draw a design. I especially like the look of these hand-drawn hoops. To use the scribble tool, draw a line shape in the drawing area that is much bigger than you would want your final earring to be. We do this because the scribble line will be to thick as an outline otherwise. Go back to the main work plane and scale it down by dragging the corner of the rectangle. Hold shift to prevent it from changing ratios. Use the grid to estimate when the thickness of the scribble is between 2 and 3 mm. Add a box as hole to make a gap, and in this case I used cylinders as ear pieces.
I'm sure there are many more really cool ideas out there, it's a lot of fun to experiment with and quite addictive! There are no rules, just make sure the ratio of the length of the outline to the thickness provides a bit of flexibility, but not too much. If the ear hoops feel too 'flimsy', make the outline thicker or the main size smaller. If they are too stiff and cannot be opened, enlarge the shape or make the outlines thinner. I'd love to see pictures of what you come up with!