Easily Secure Stock to CNC
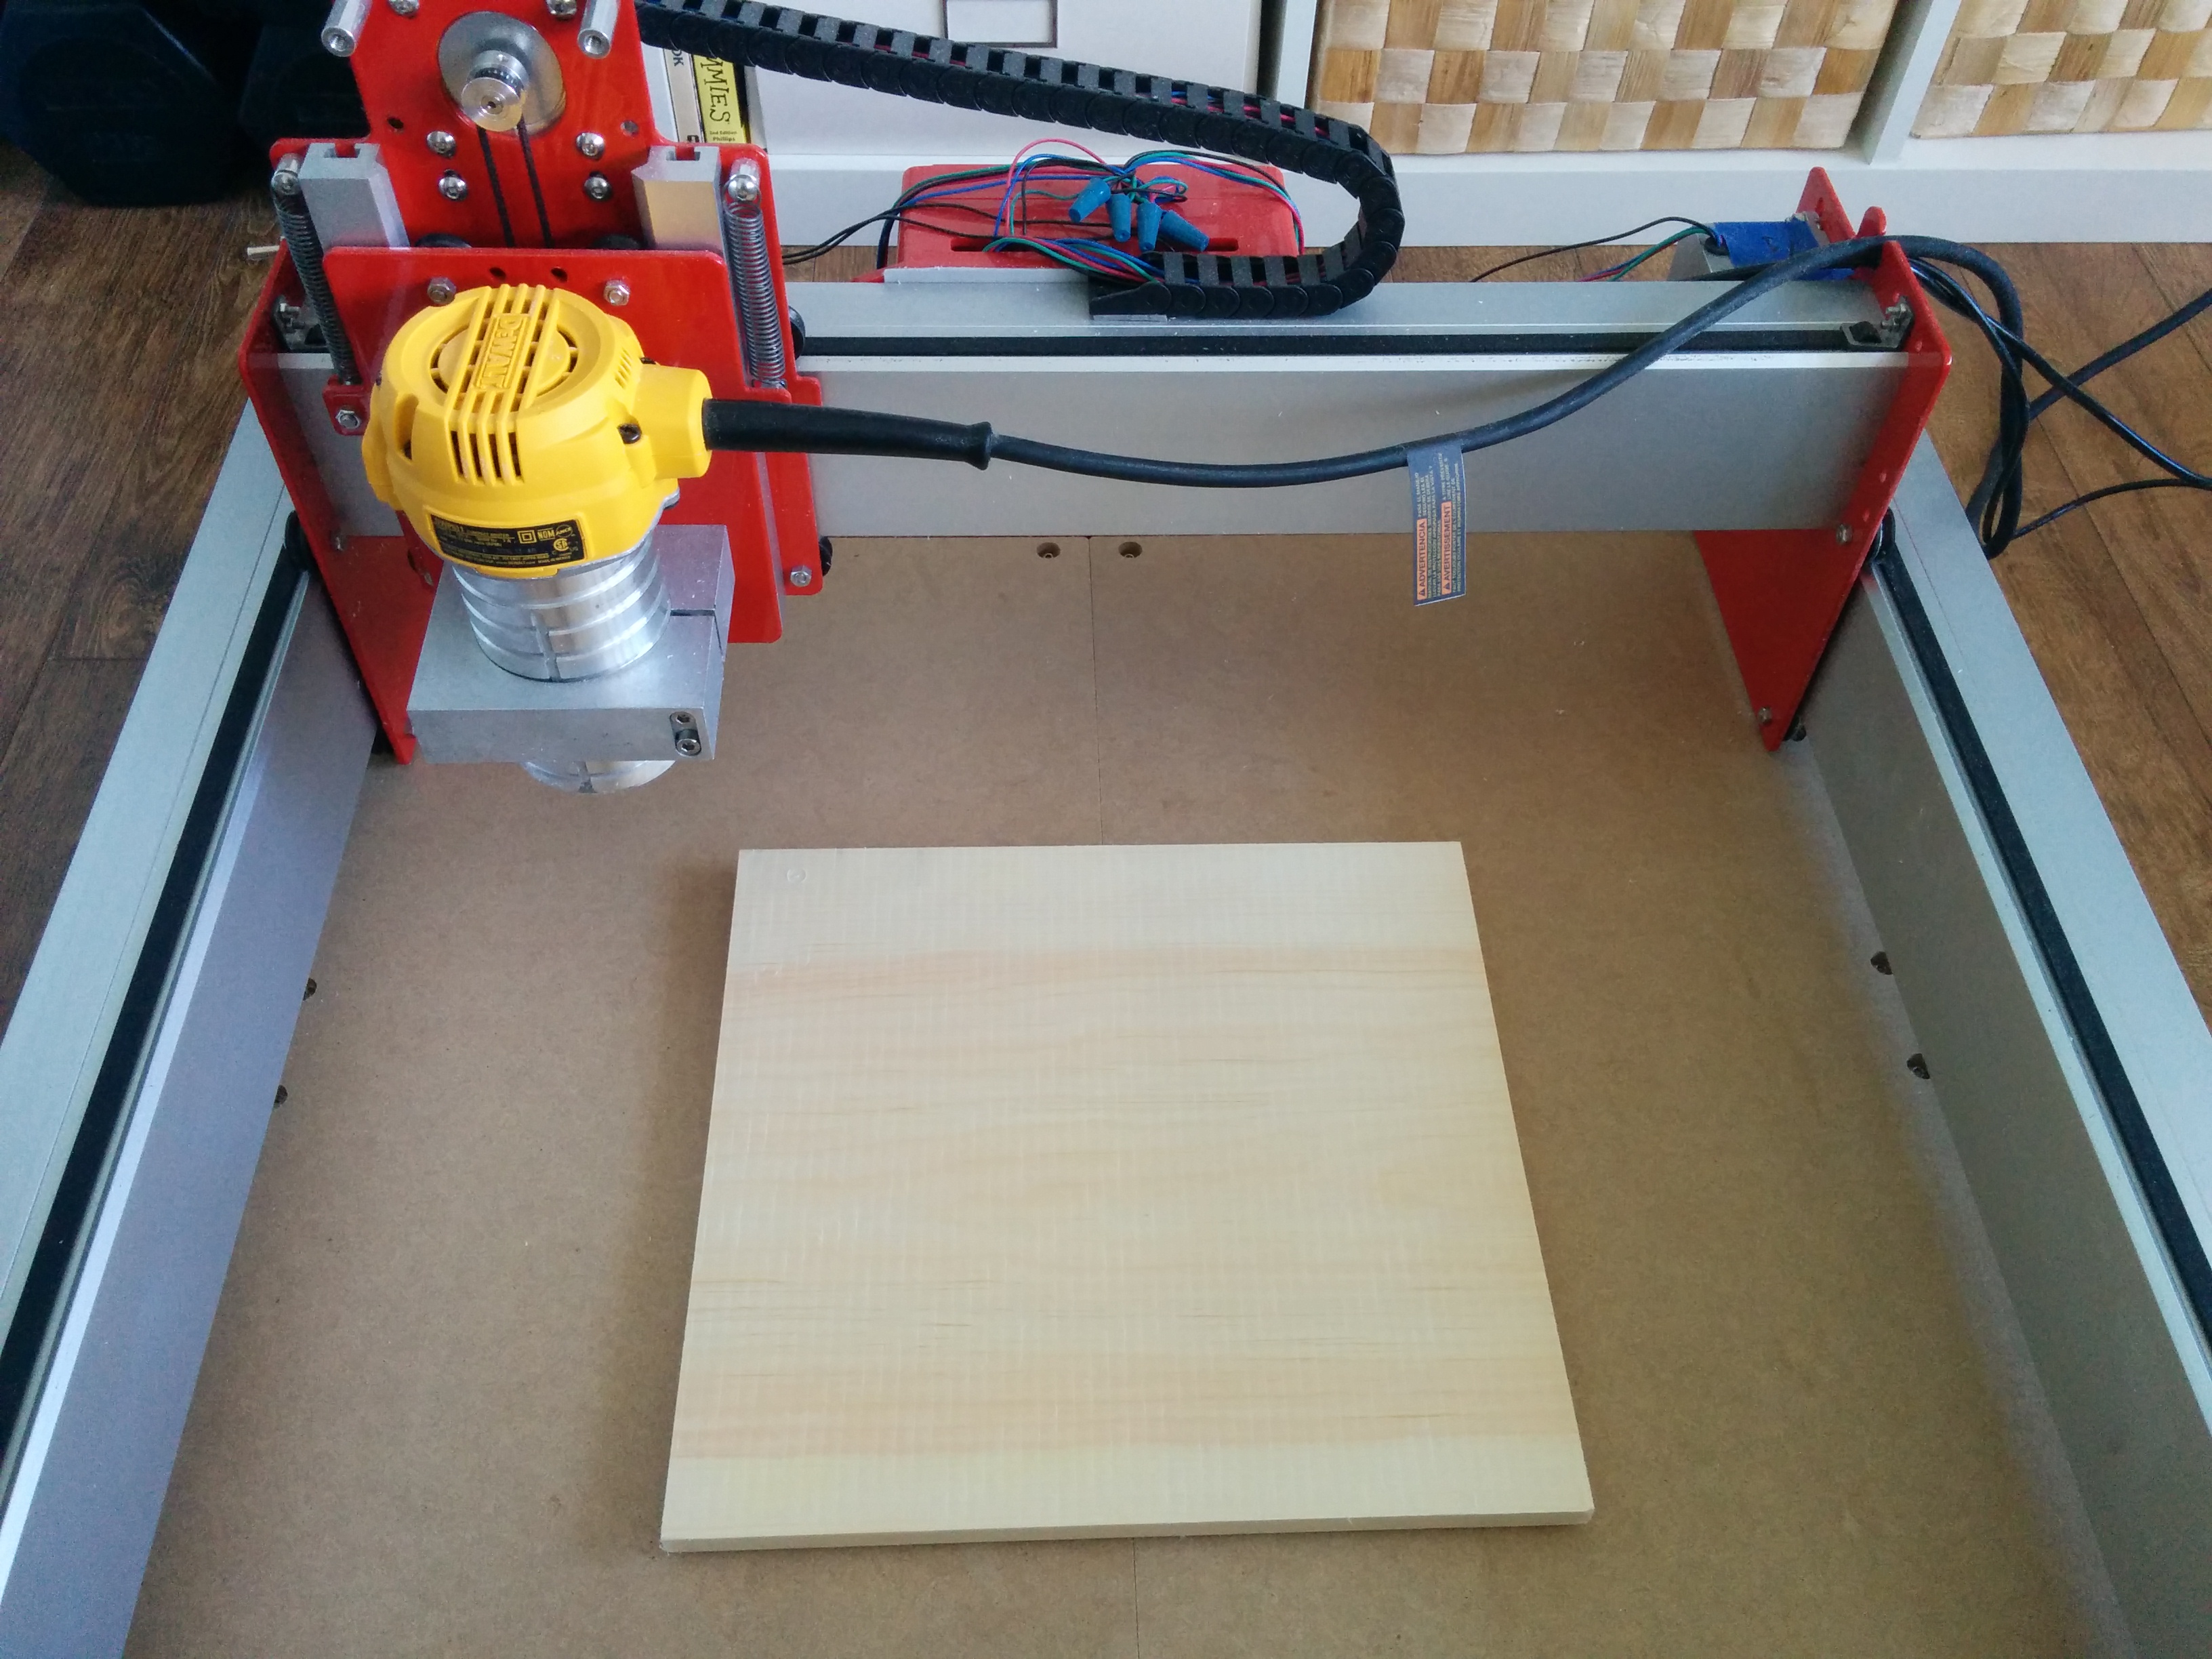
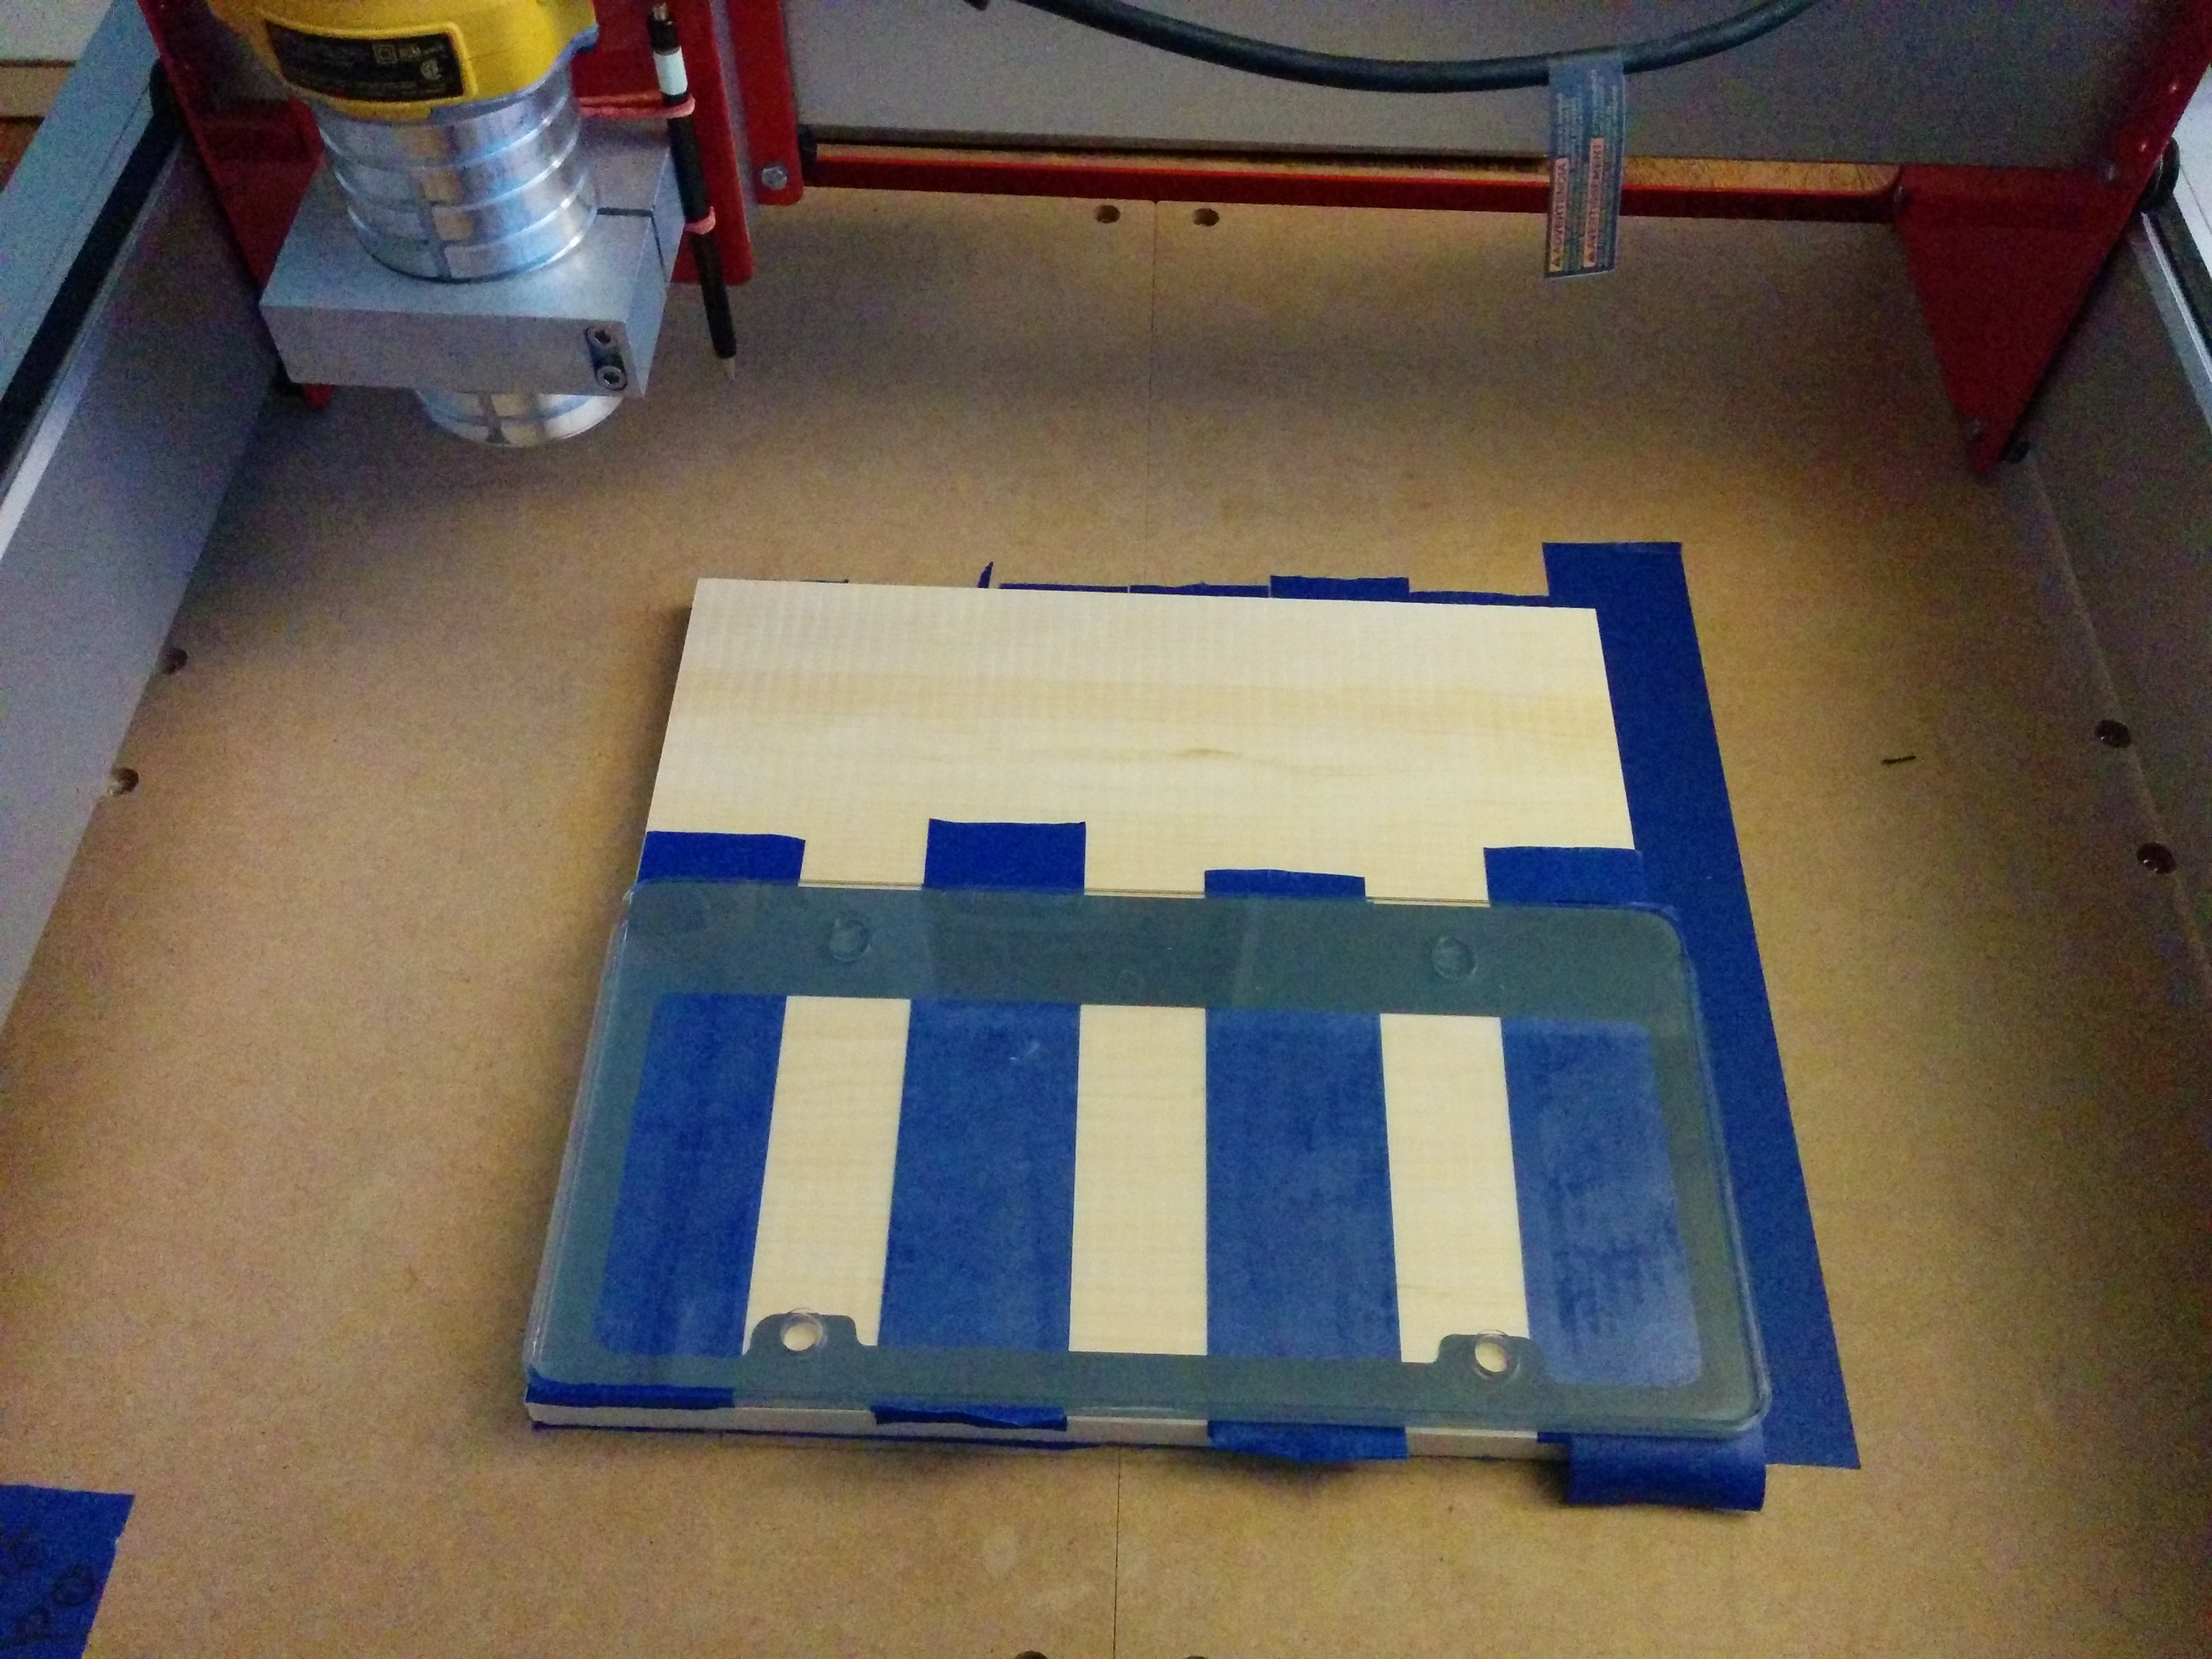
Securing a piece of stock (material you want to cut) to the wasteboard of your CNC can involve a lot of thought and work. The simplest way that I have found to do so, is to sandwich 2 pieces of painters tape with superglue in the middle.
I've read a lot of peoples woes with double sided carpet tape, which is relatively expensive and can be a real pain to remove from the wasteboard.The method I've outlined here, however, is less expensive and is surprisingly strong. Additionally, the stock can be removed when you pull up on a bottom corner of it or when a wedge is forced between it and your wasteboard. Using this method, I've had success cutting wood, acrylic and even aluminum.I should mention that I used fairly shallow cutting depths with aluminum (0.1-0.25mm). Also, I'm only using endmill bits made from carbide (I haven't tried anything else).
Things you'll need:
CNC router
piece of stock (or 2 if you'd like to make a secondary wasteboard to protect the one attached to your machine)
some painters tape (or masking tape)
superglue
Things I'd recommend:
pencil
rubber bands or zip-ties
medium grit sandpaper
Make a Squared Guide
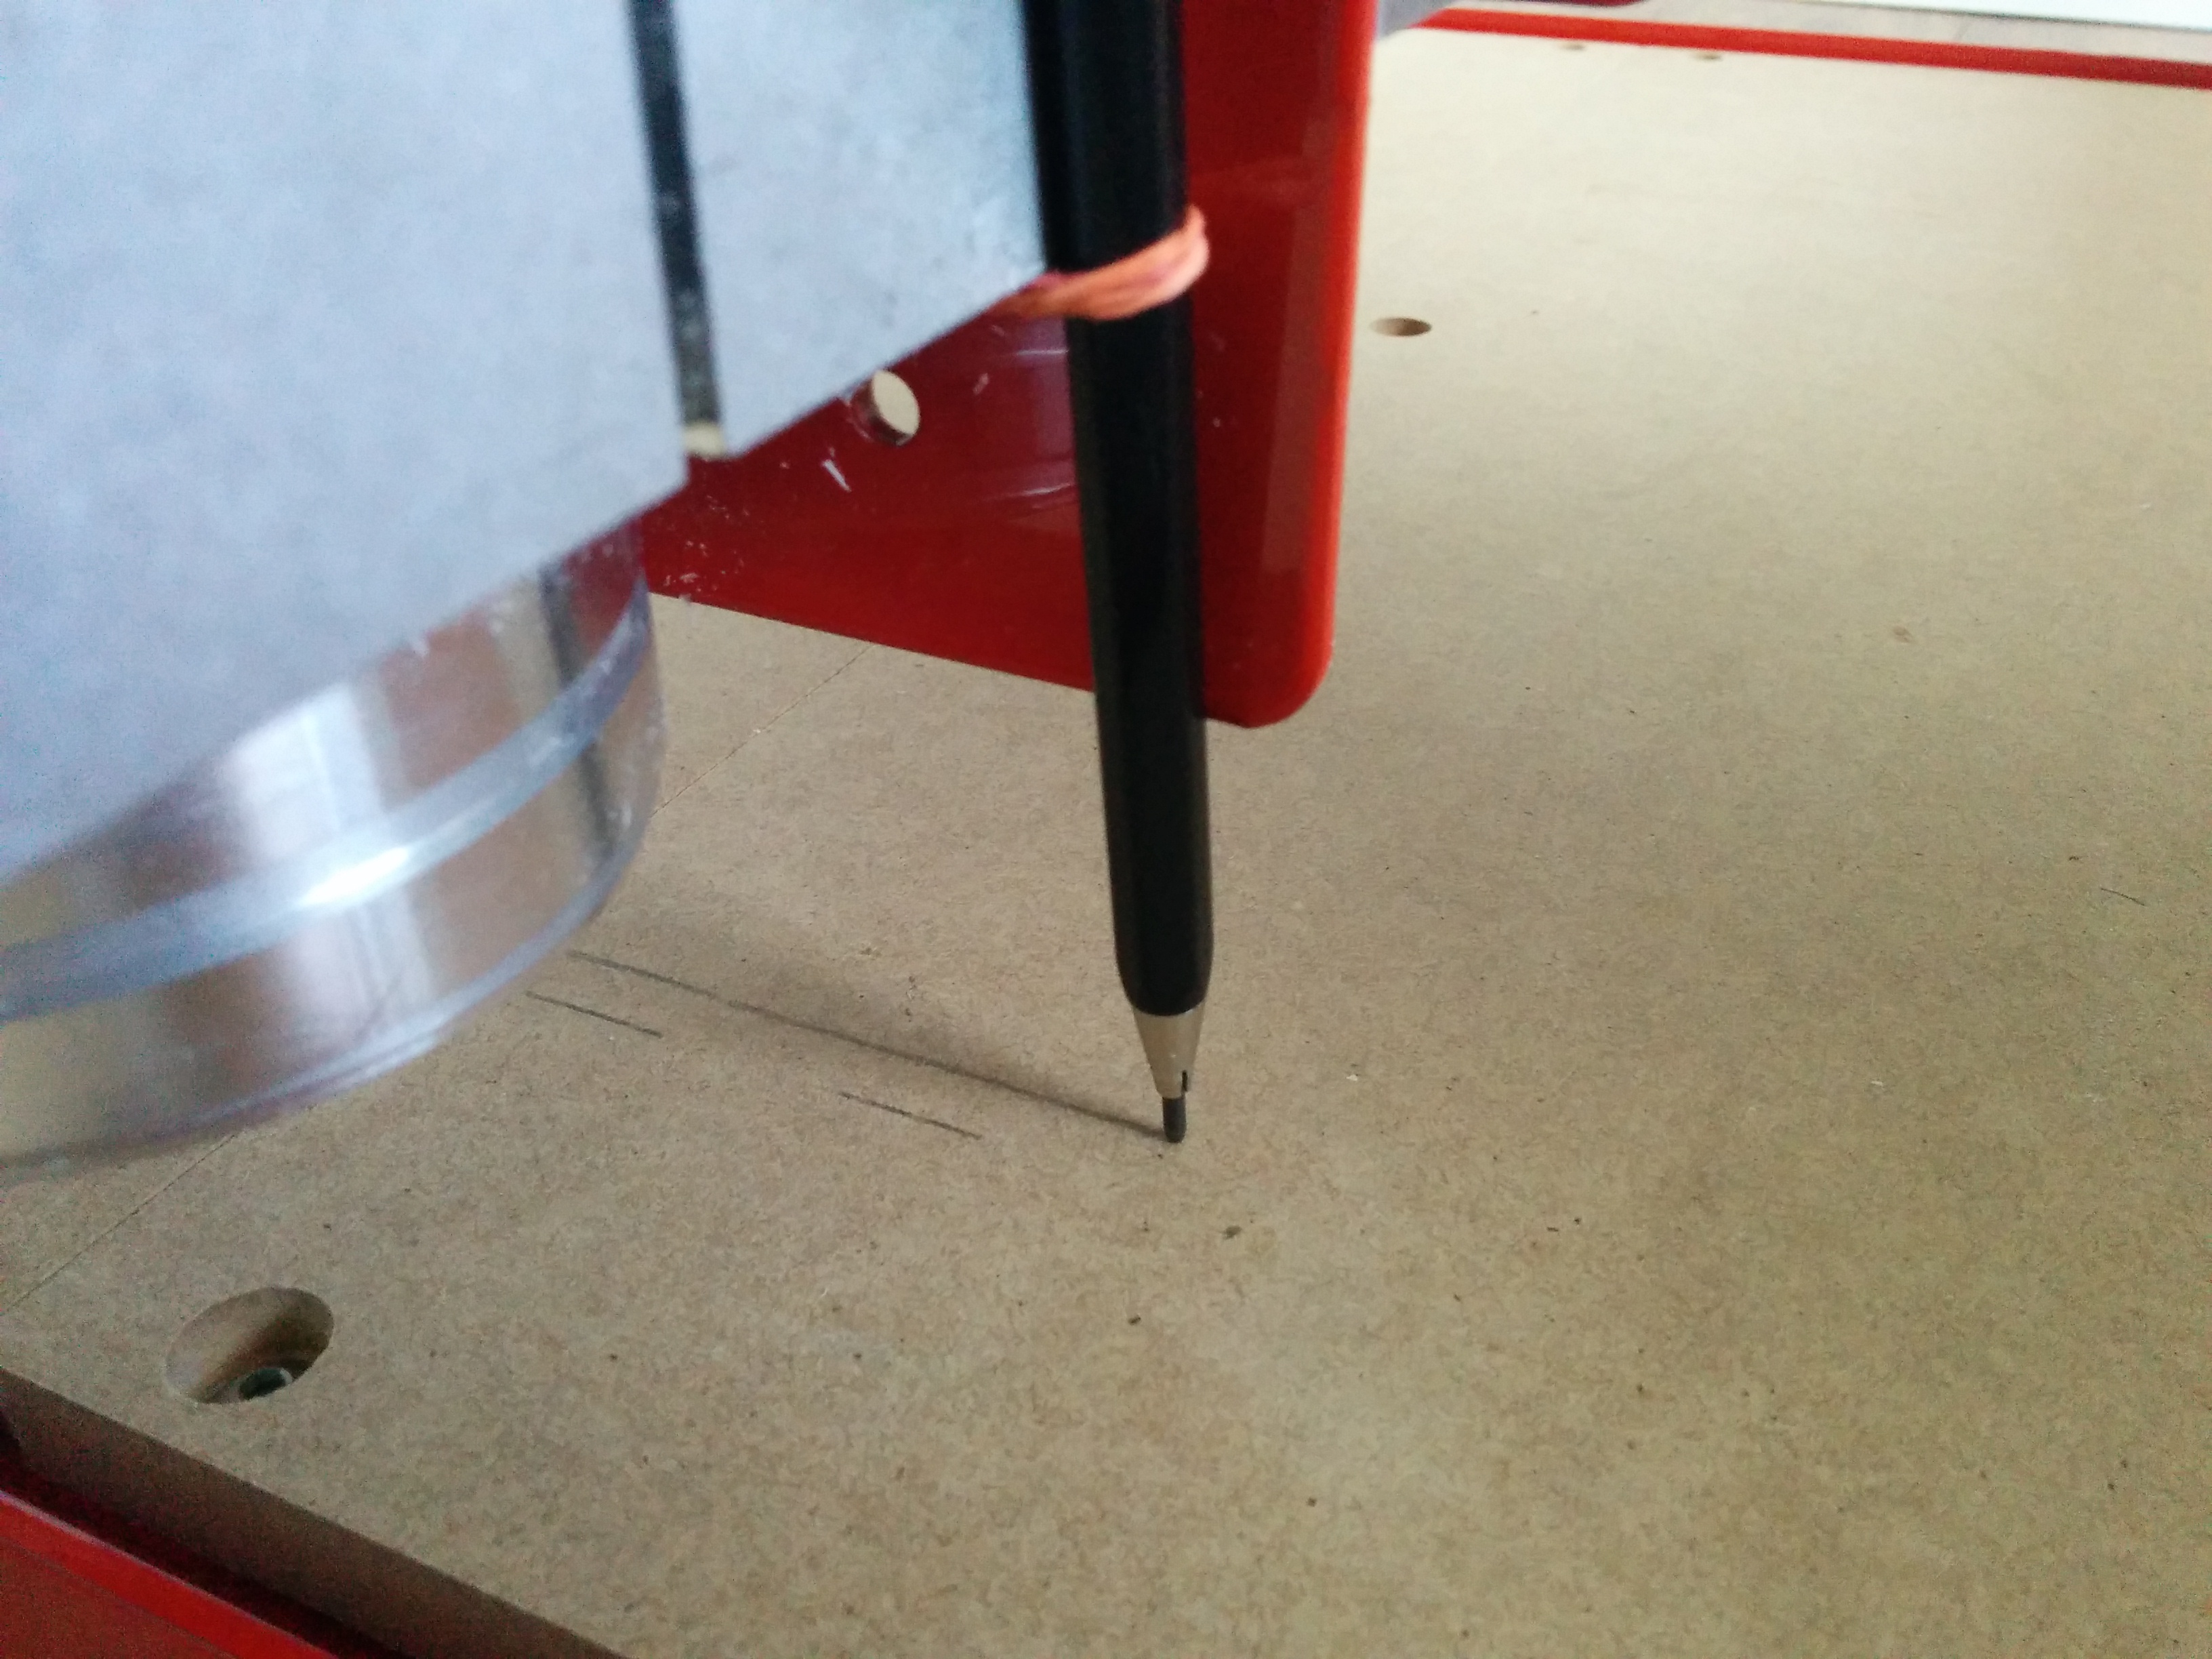
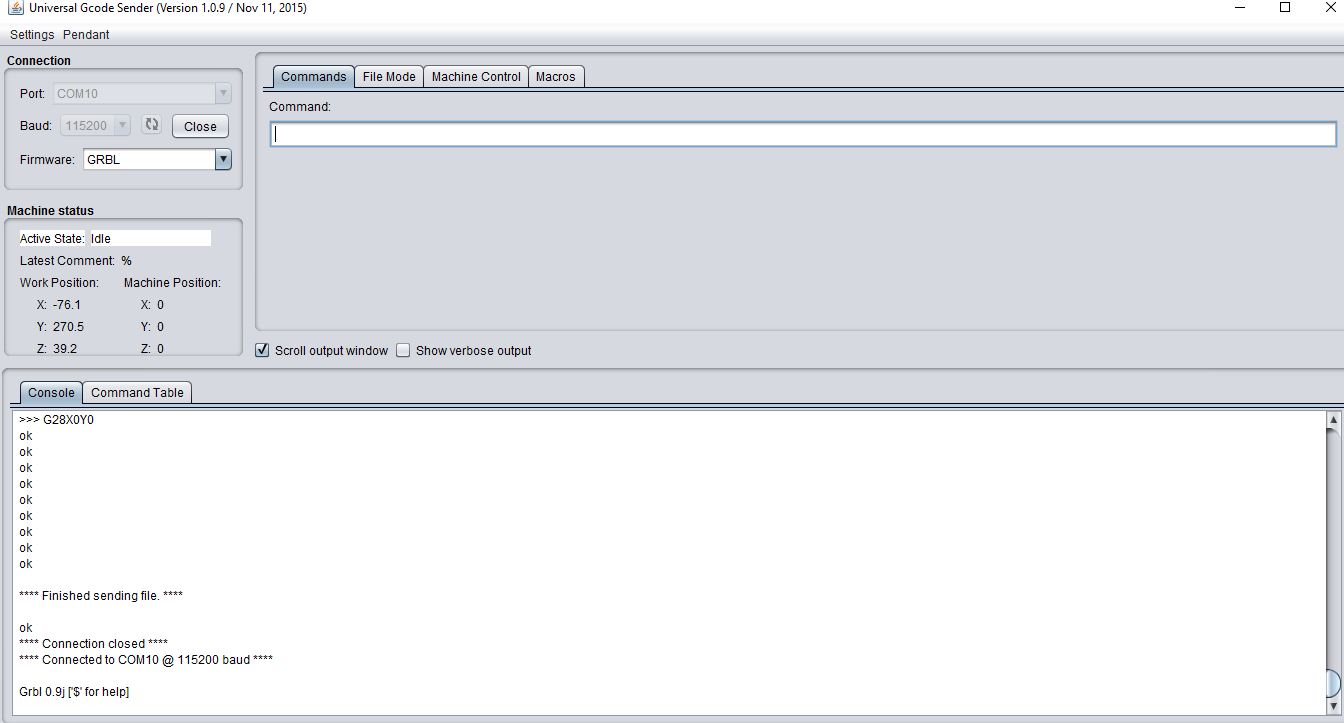
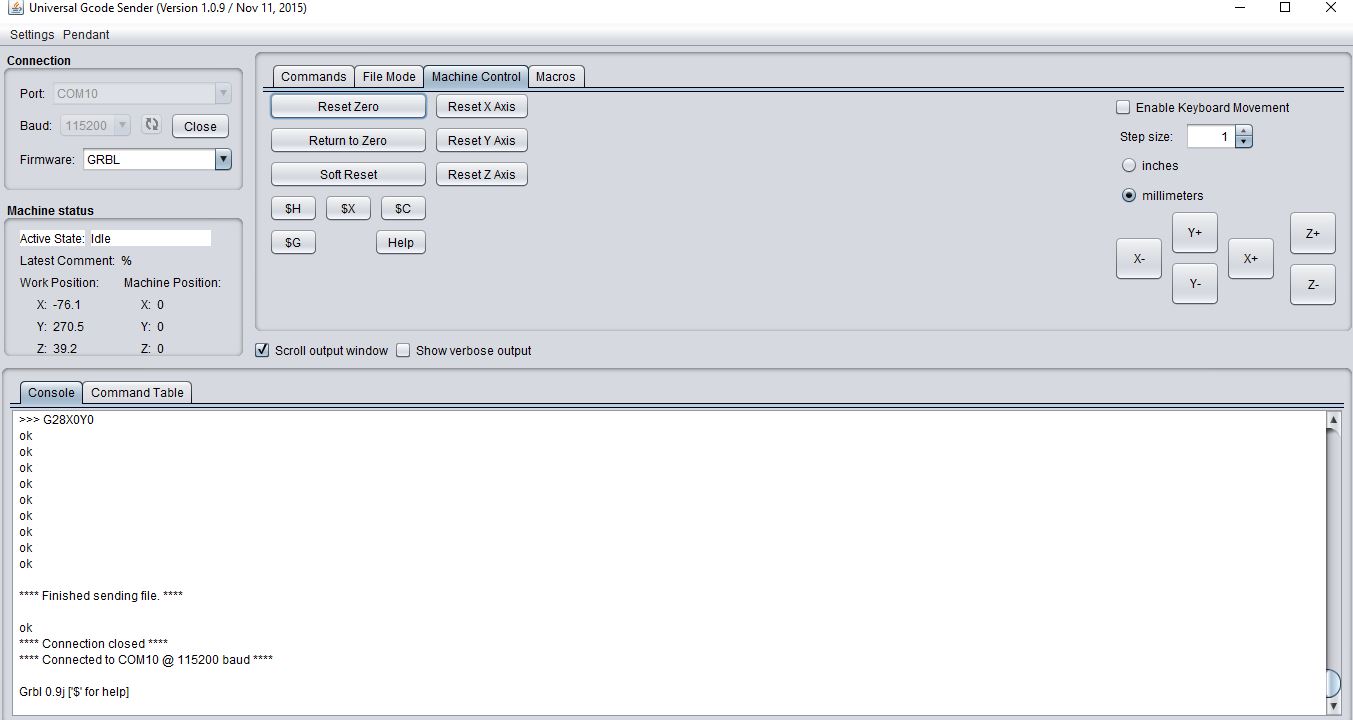
If you care about making sure your stock is lined up squarely with your machine, I recommend doing this.
photo1: fix a pencil to your CNC router. You can use a rubber band or zipties for this. For a rubber band, put your pencil through the band, then loop the band around the router/spindle mount and put your pencil through it a second time.
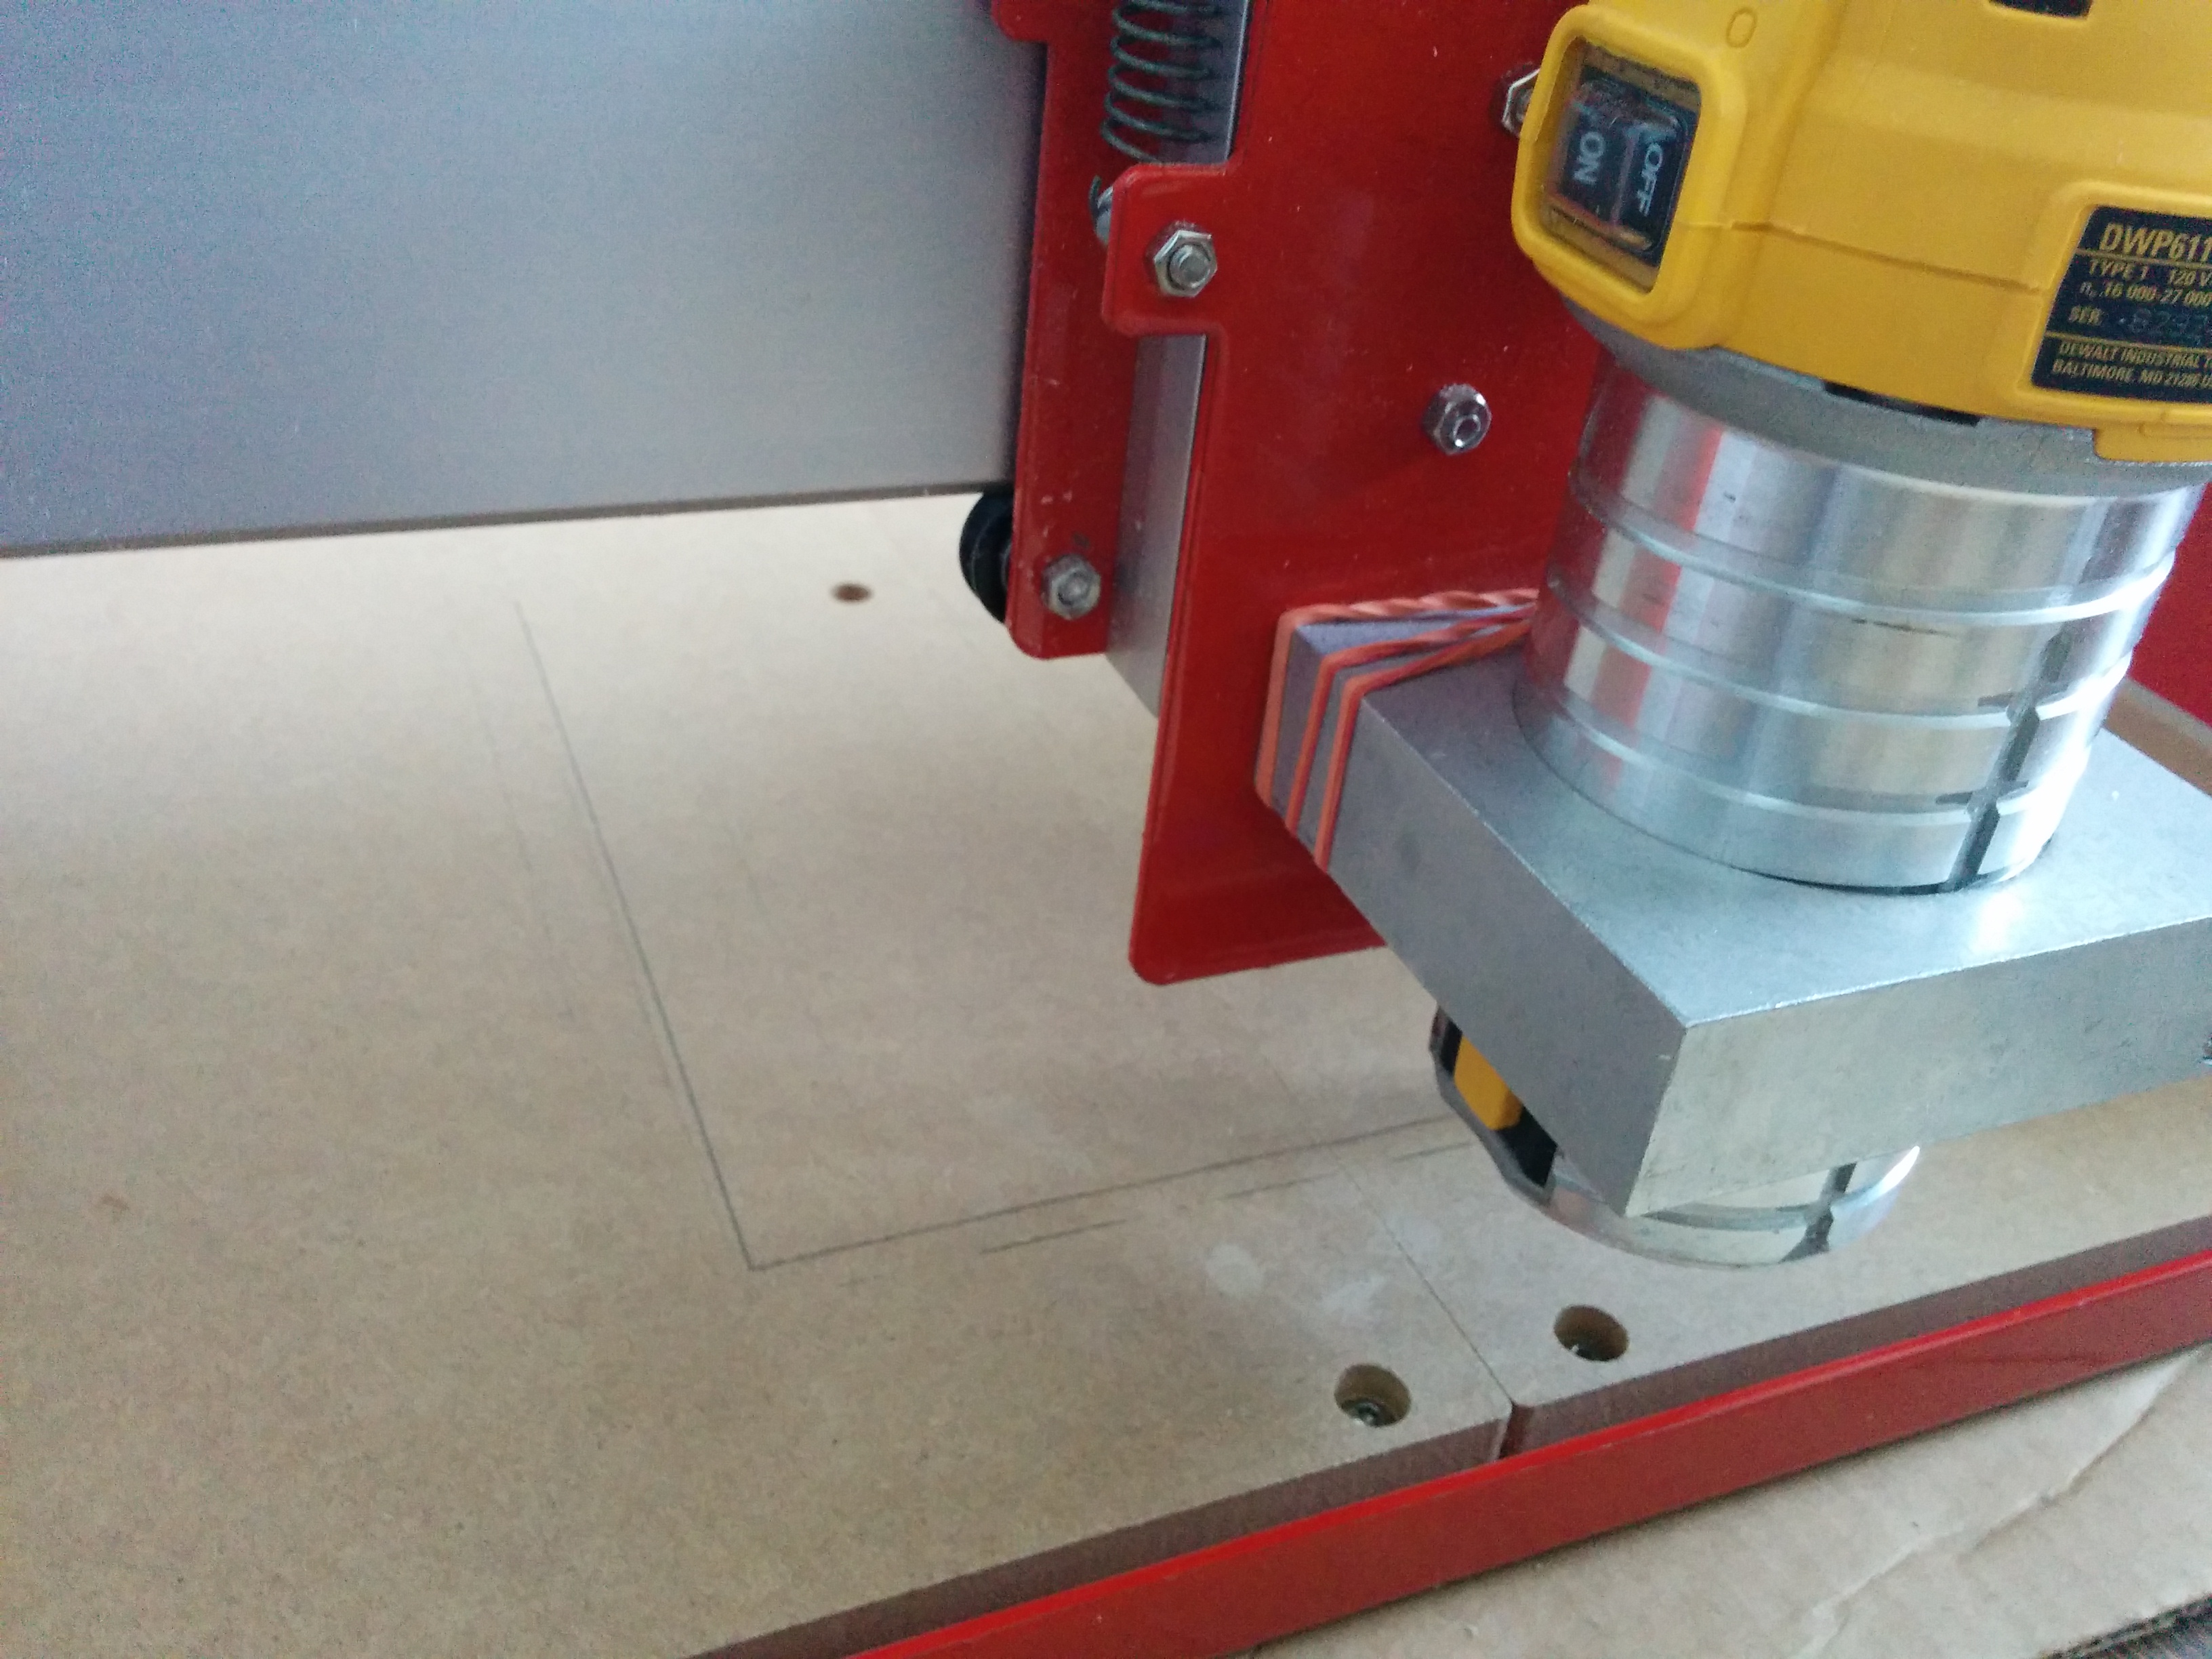
Photo2: load up 'Universal Gcode Sender' and connect your CNC. go to the manual control tab.
Photo3: lower your CNC (pencil) until it touches the wasteboad with the Z- command, making sure not to overshoot it too far. By clicking on the X and Y axis buttons you'll now be able to draw lines on your wasteboard.
Photo4: move your CNC so that it presses up against the Z mount and the router mount (otherwise the pencil might bounce around a bit when drawing the lines).
Securing Your Stock to the Wasteboard
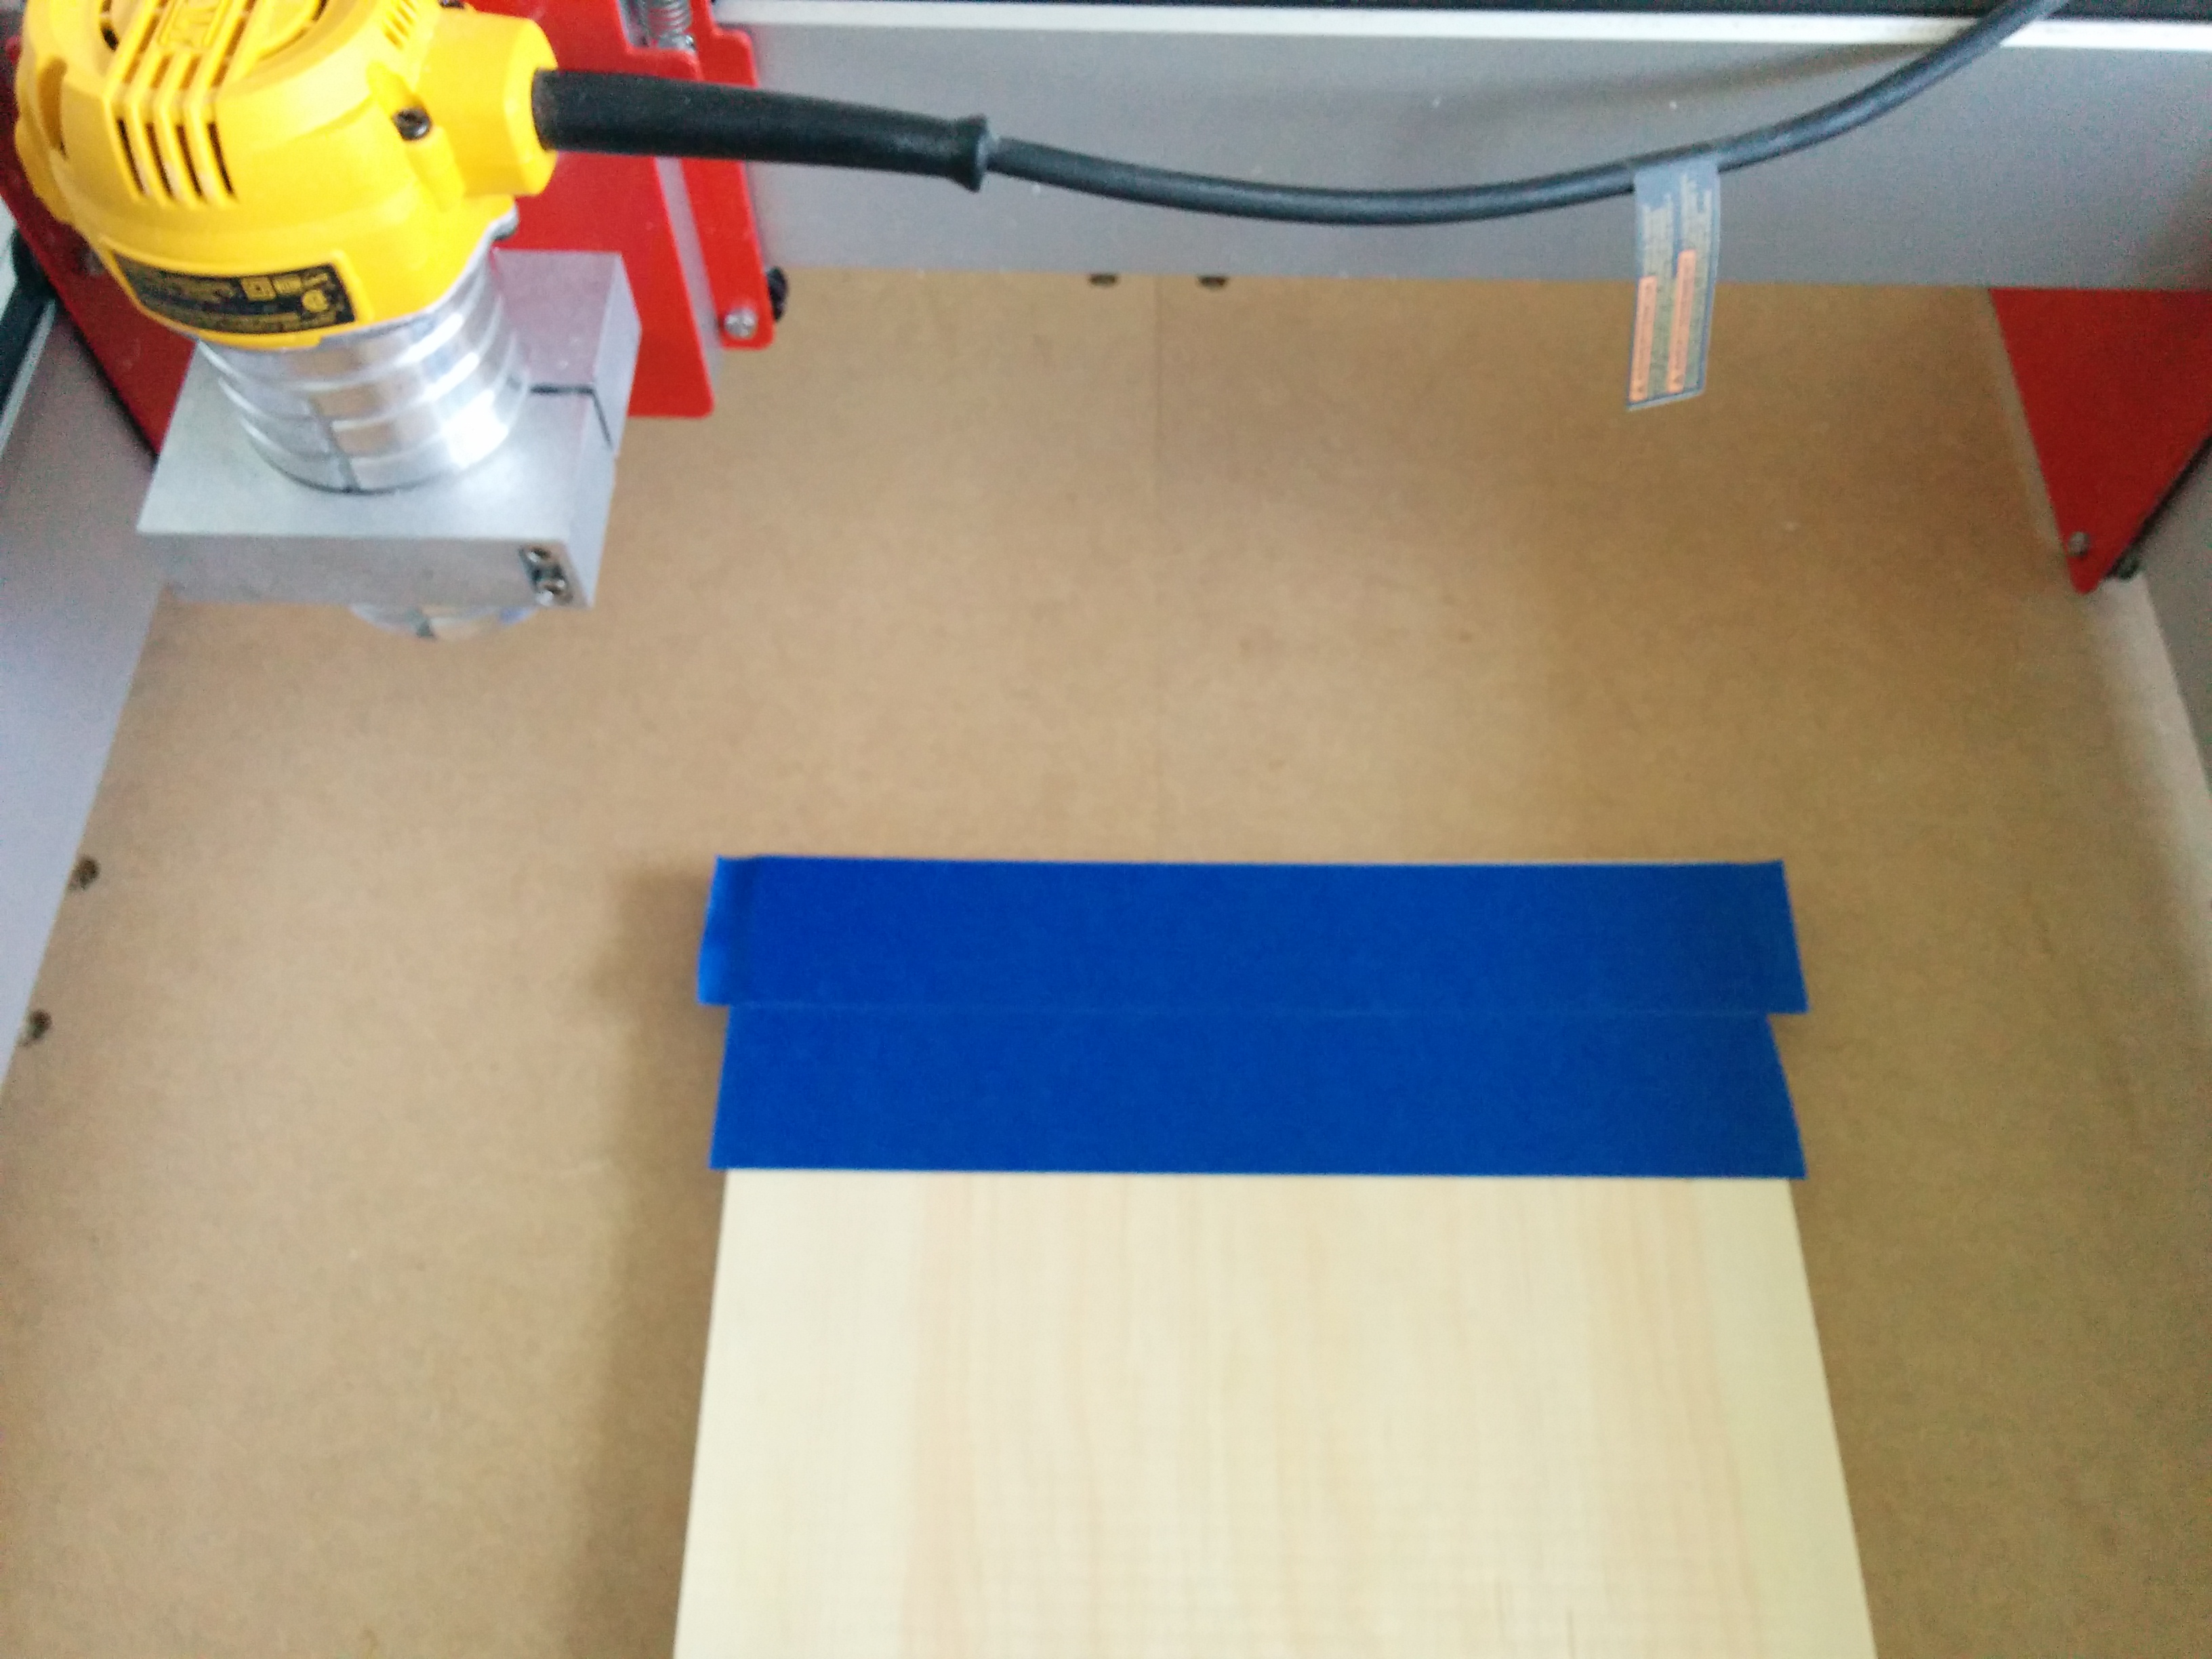

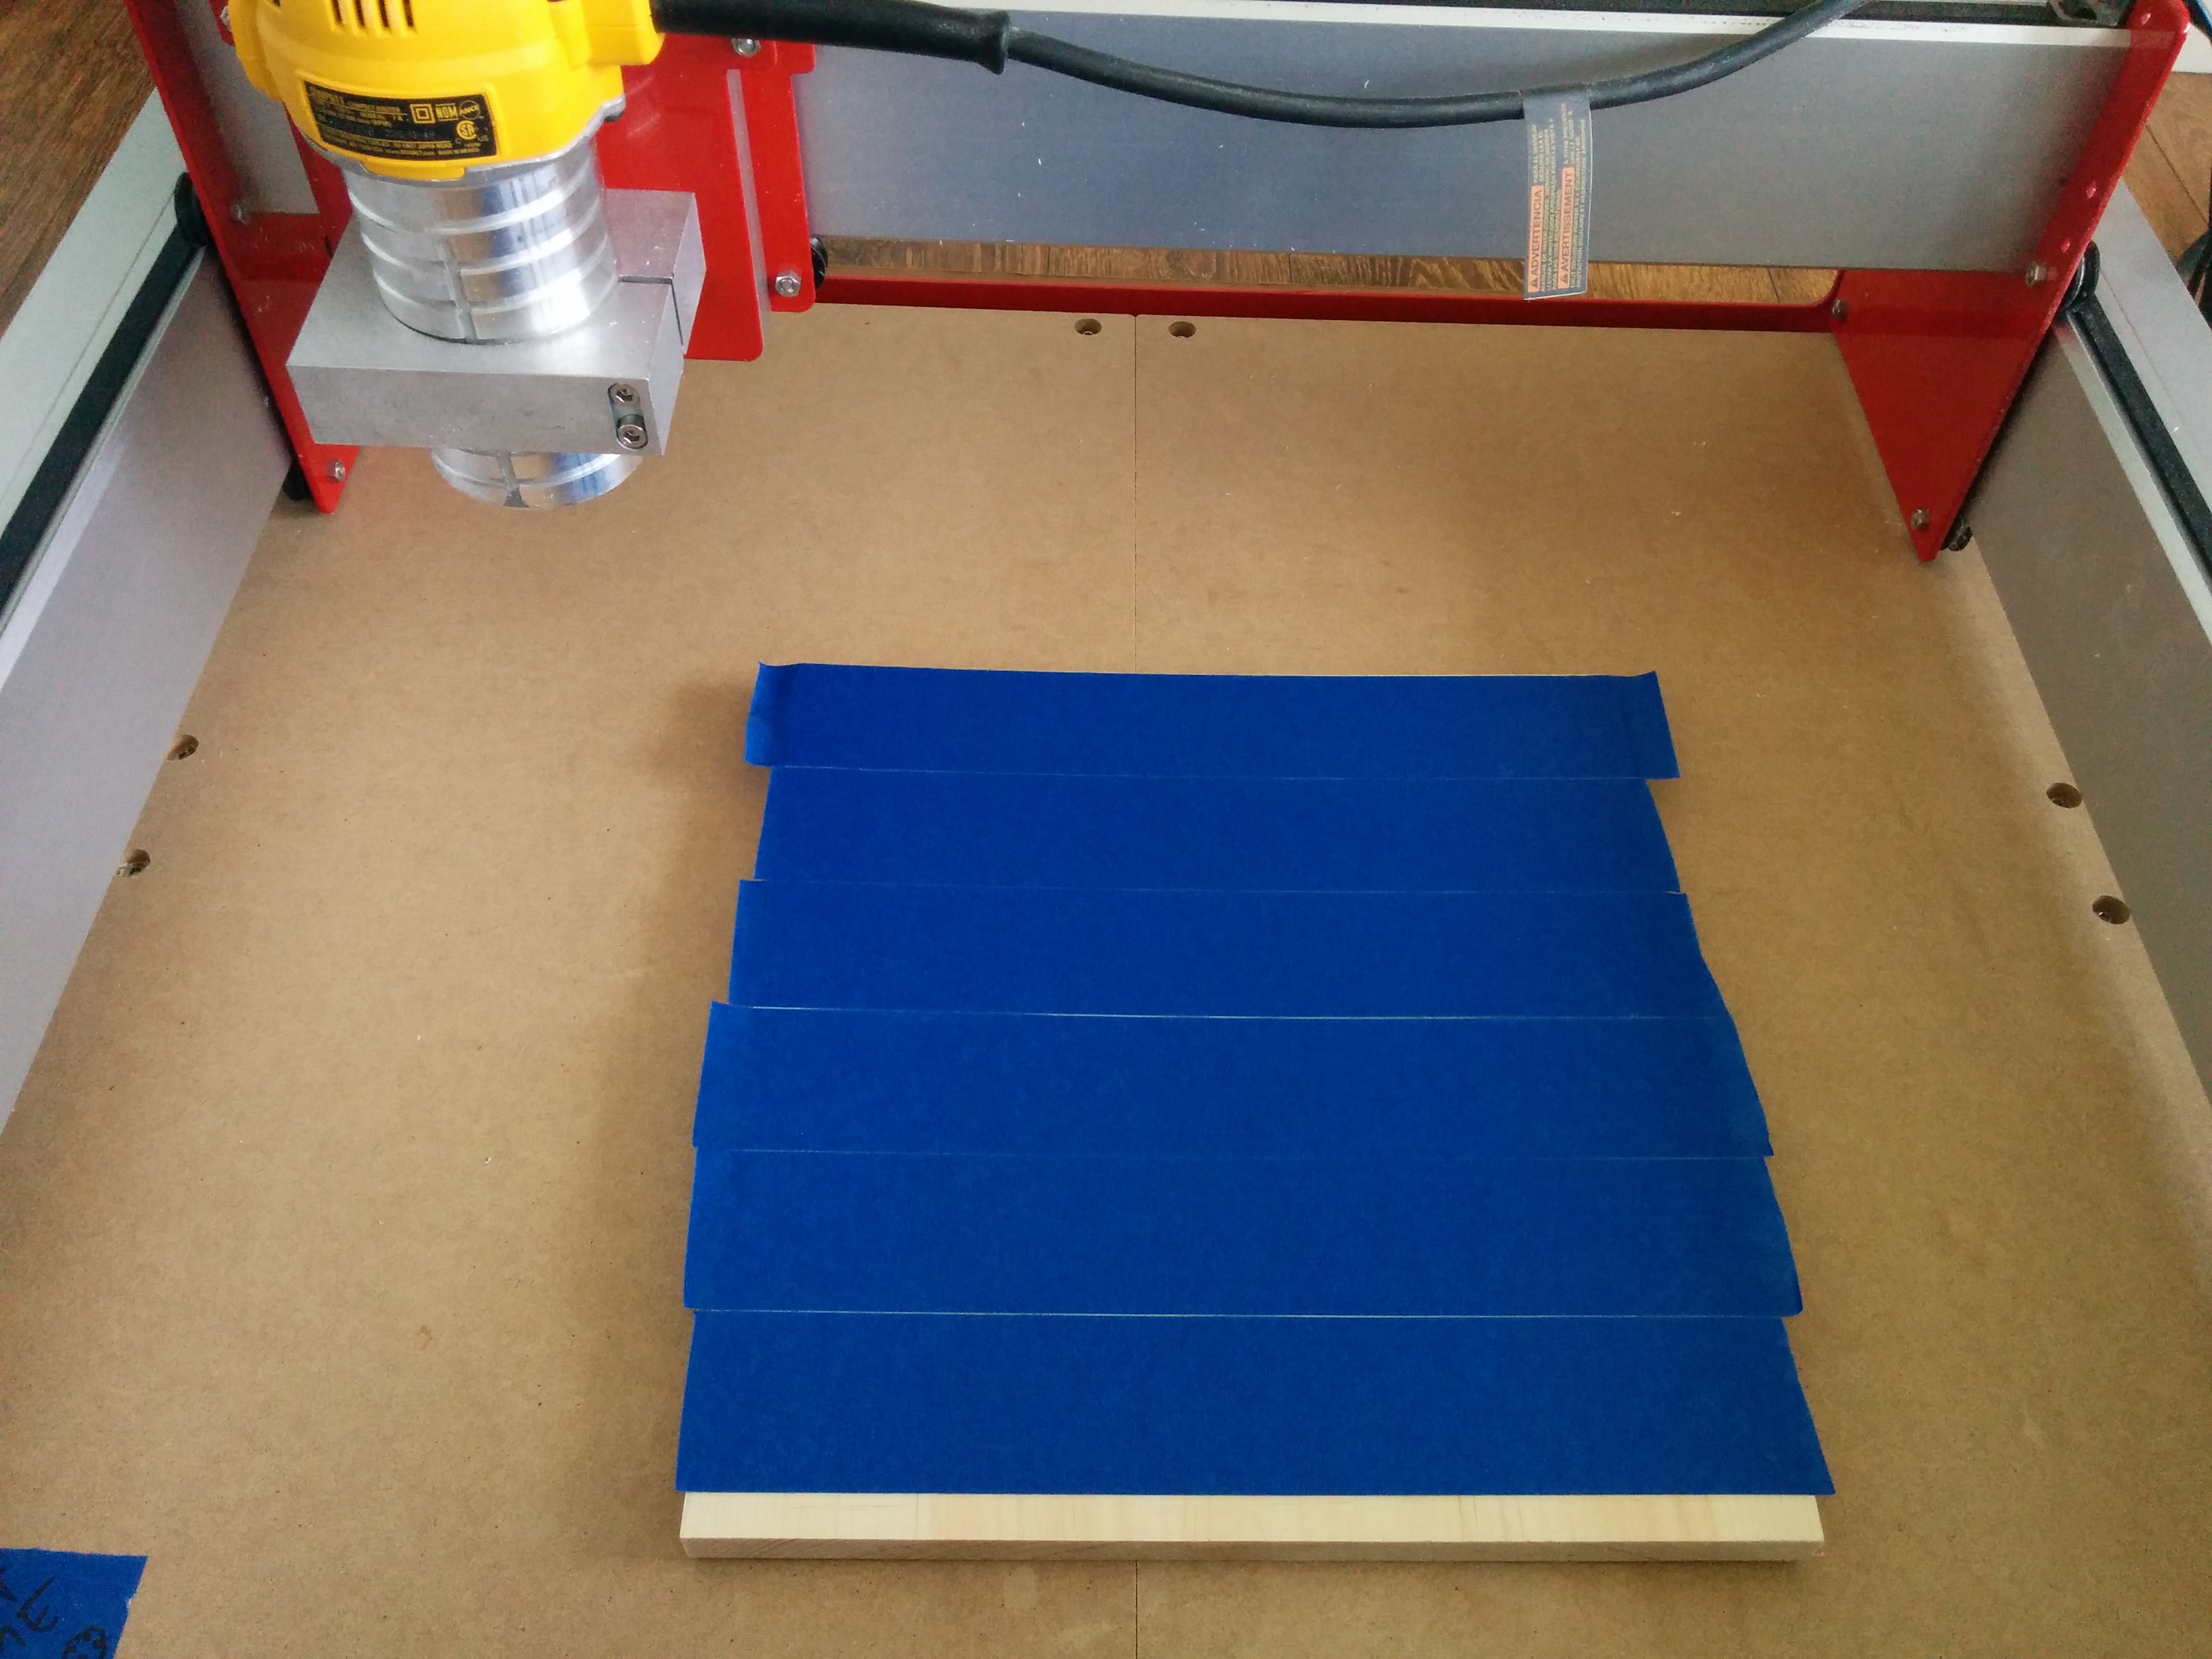
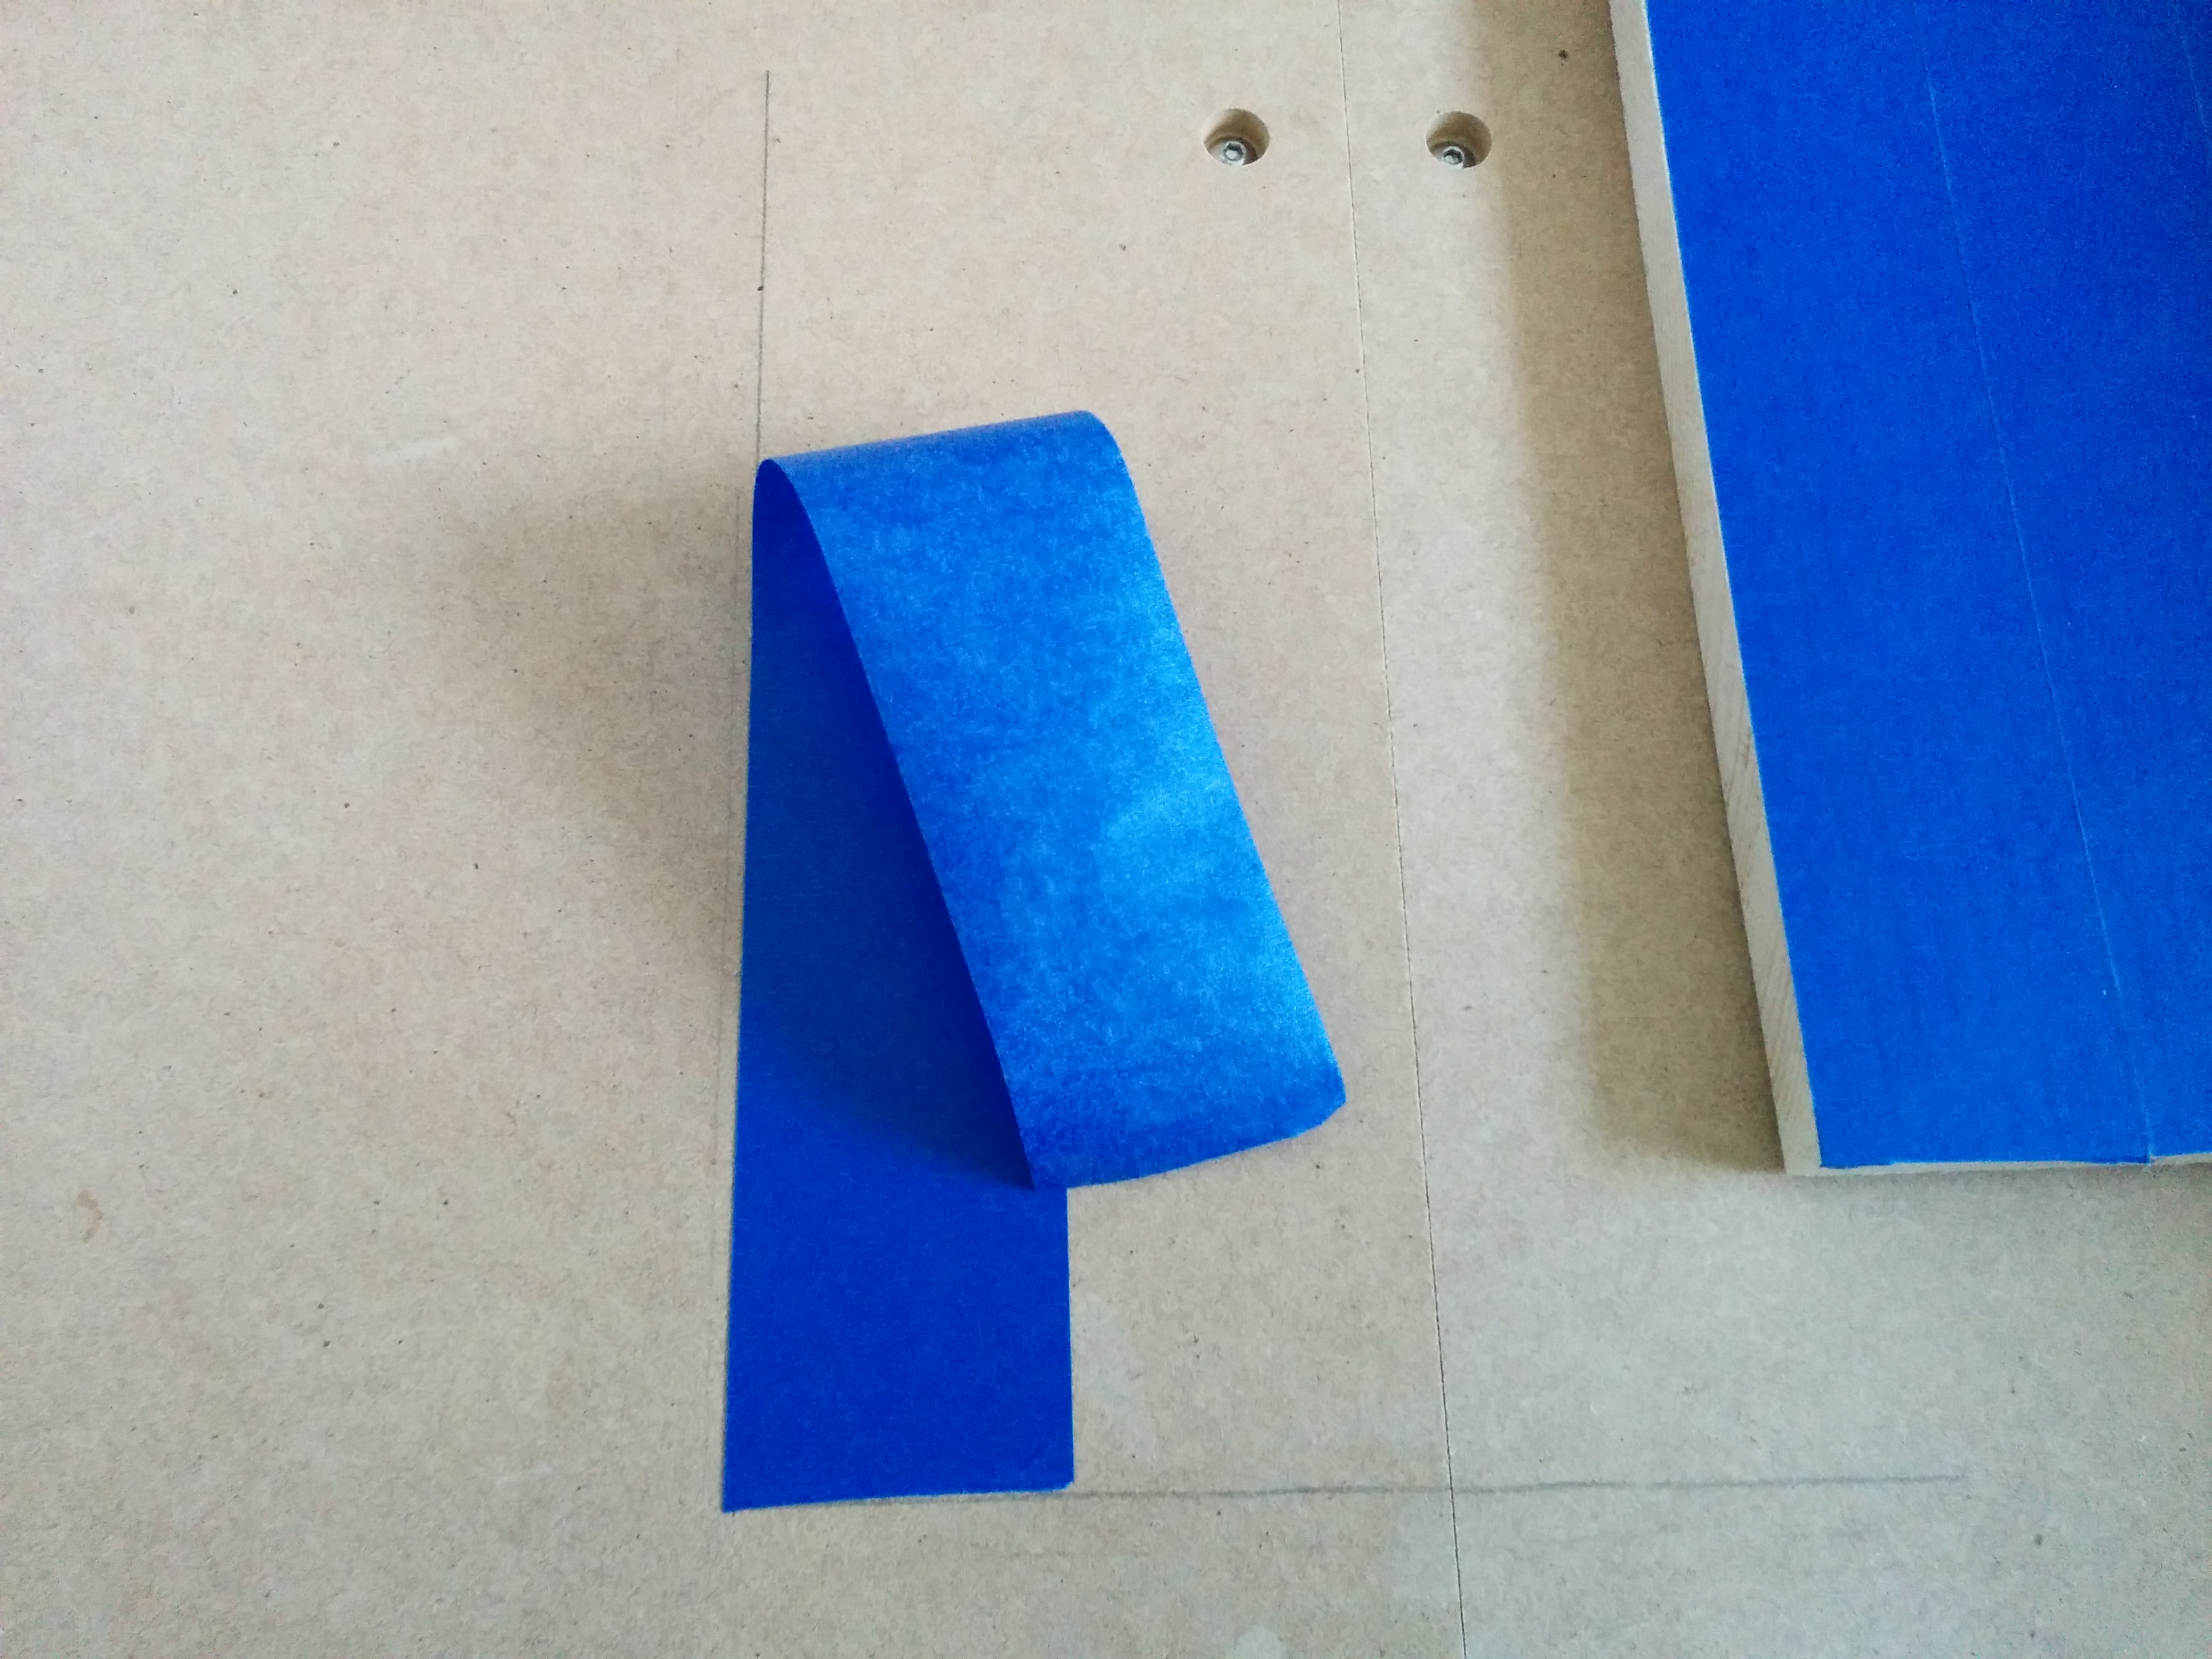
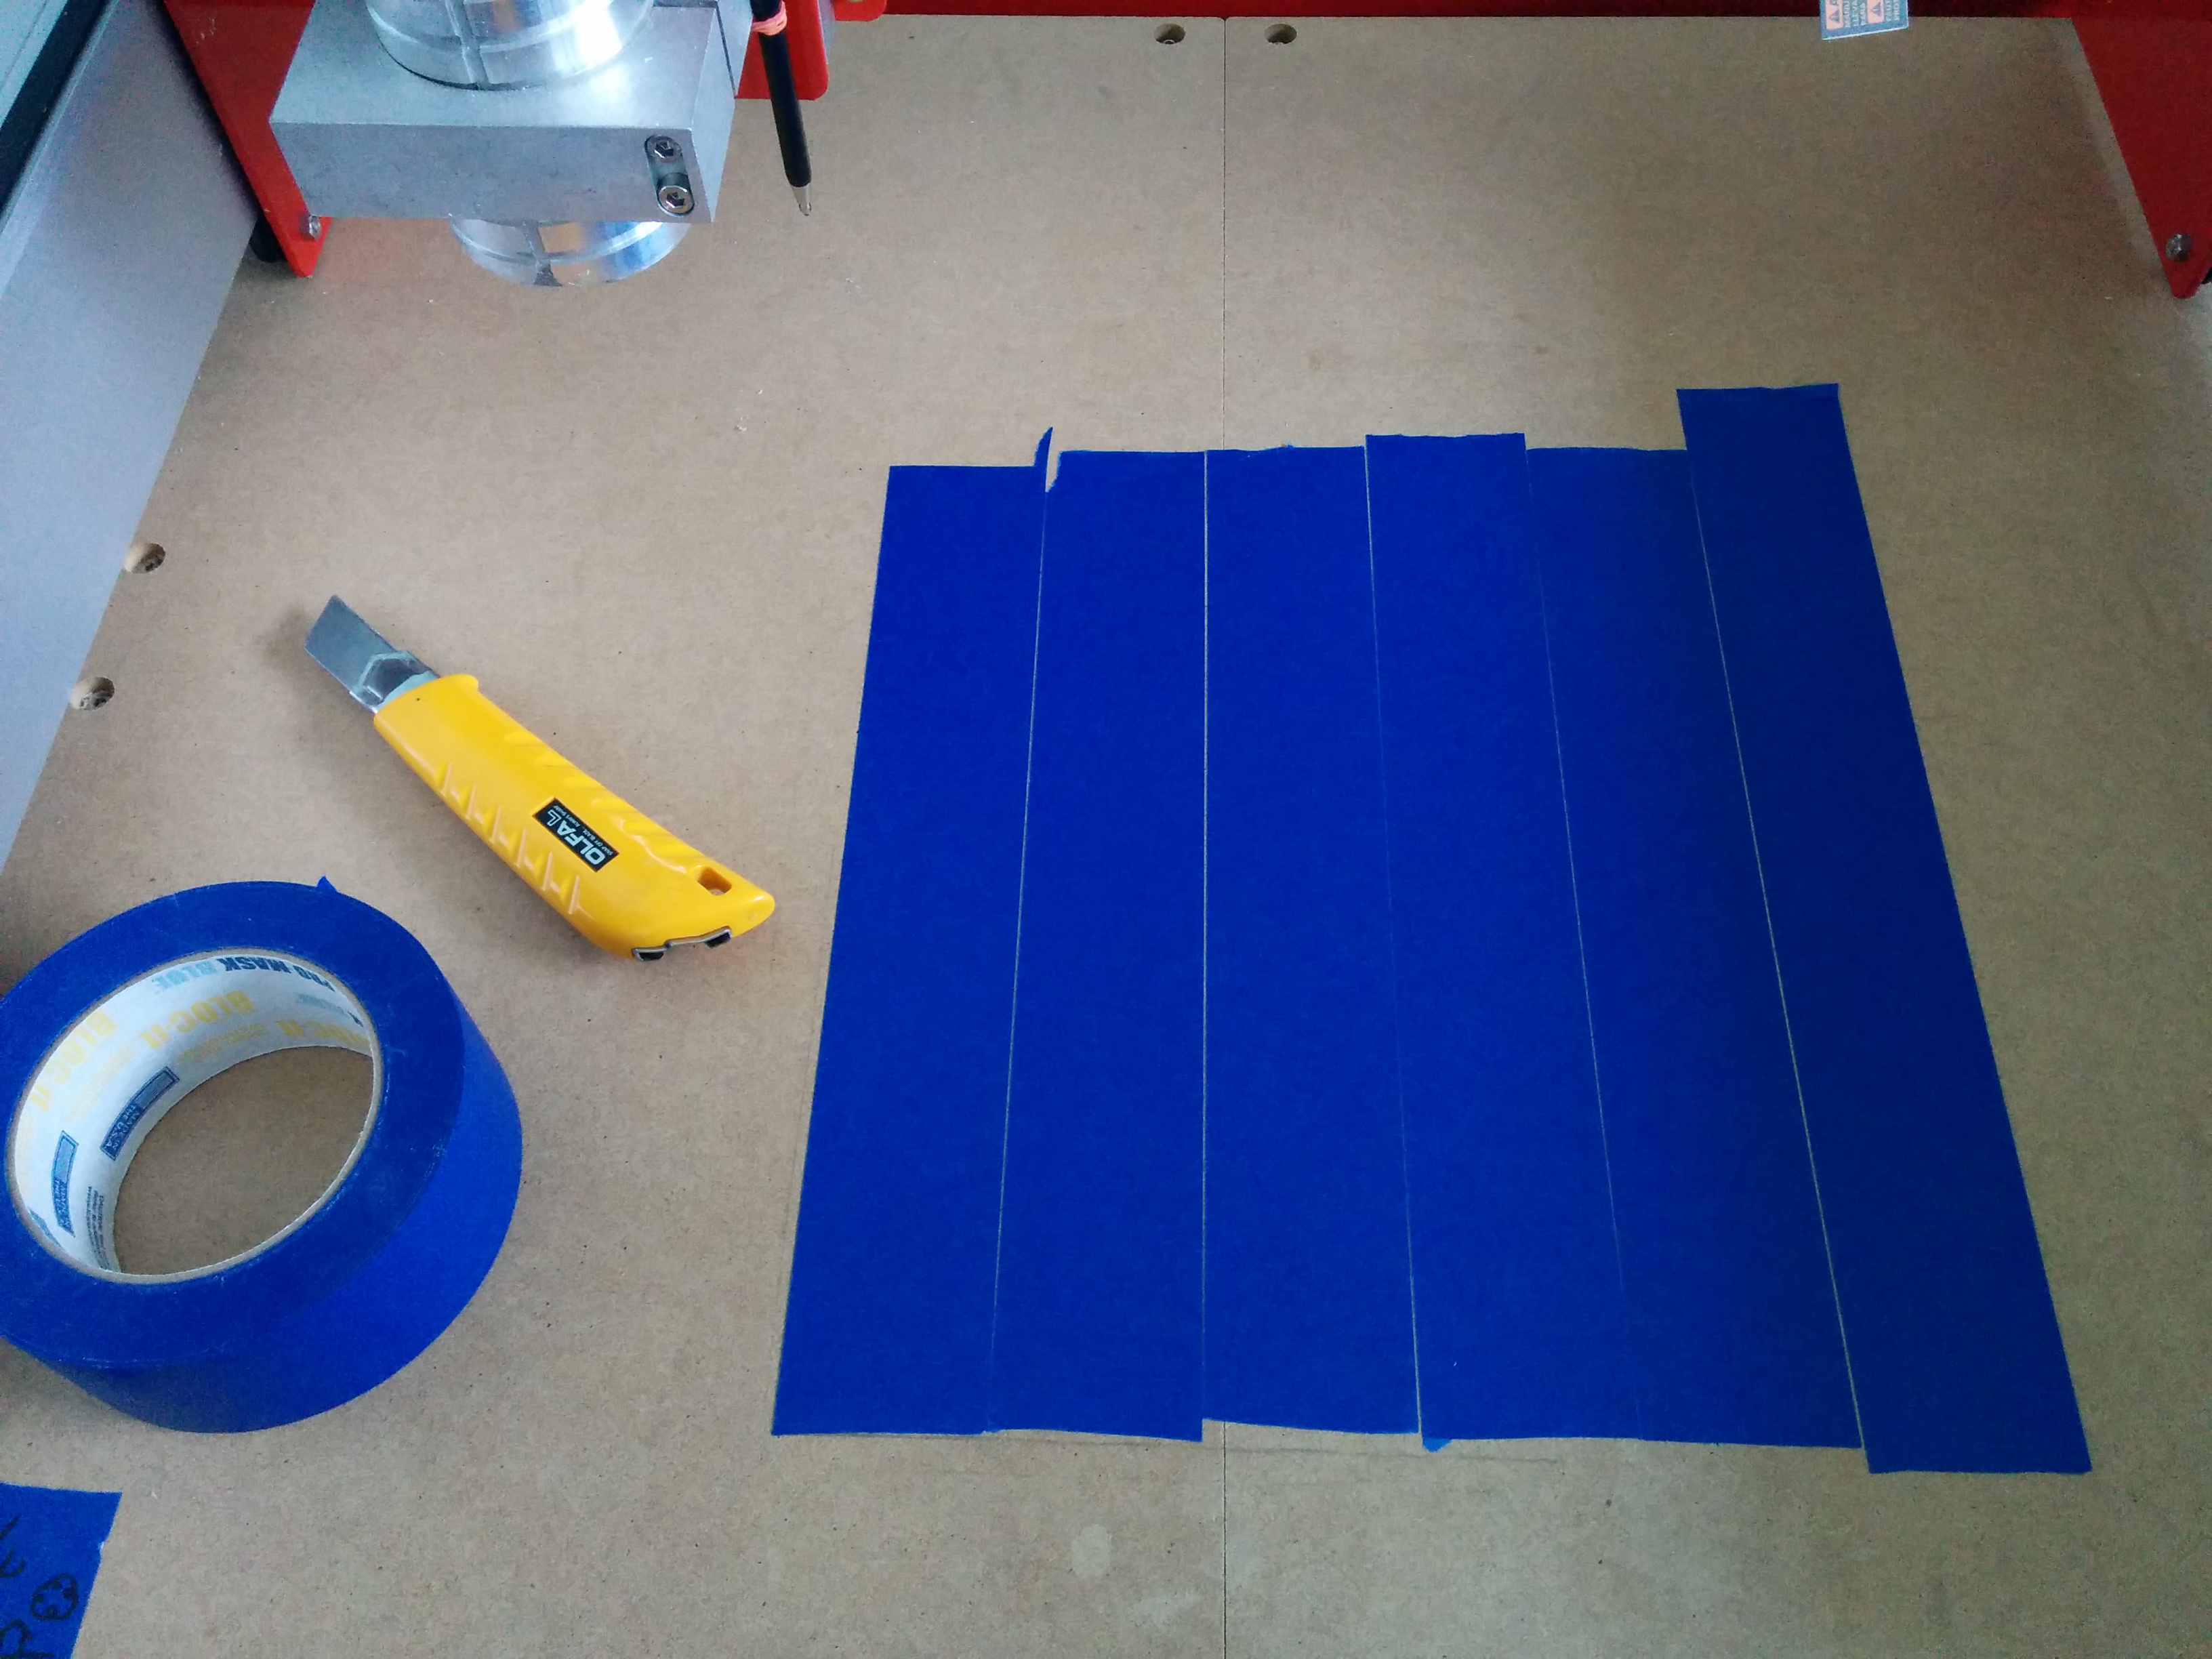
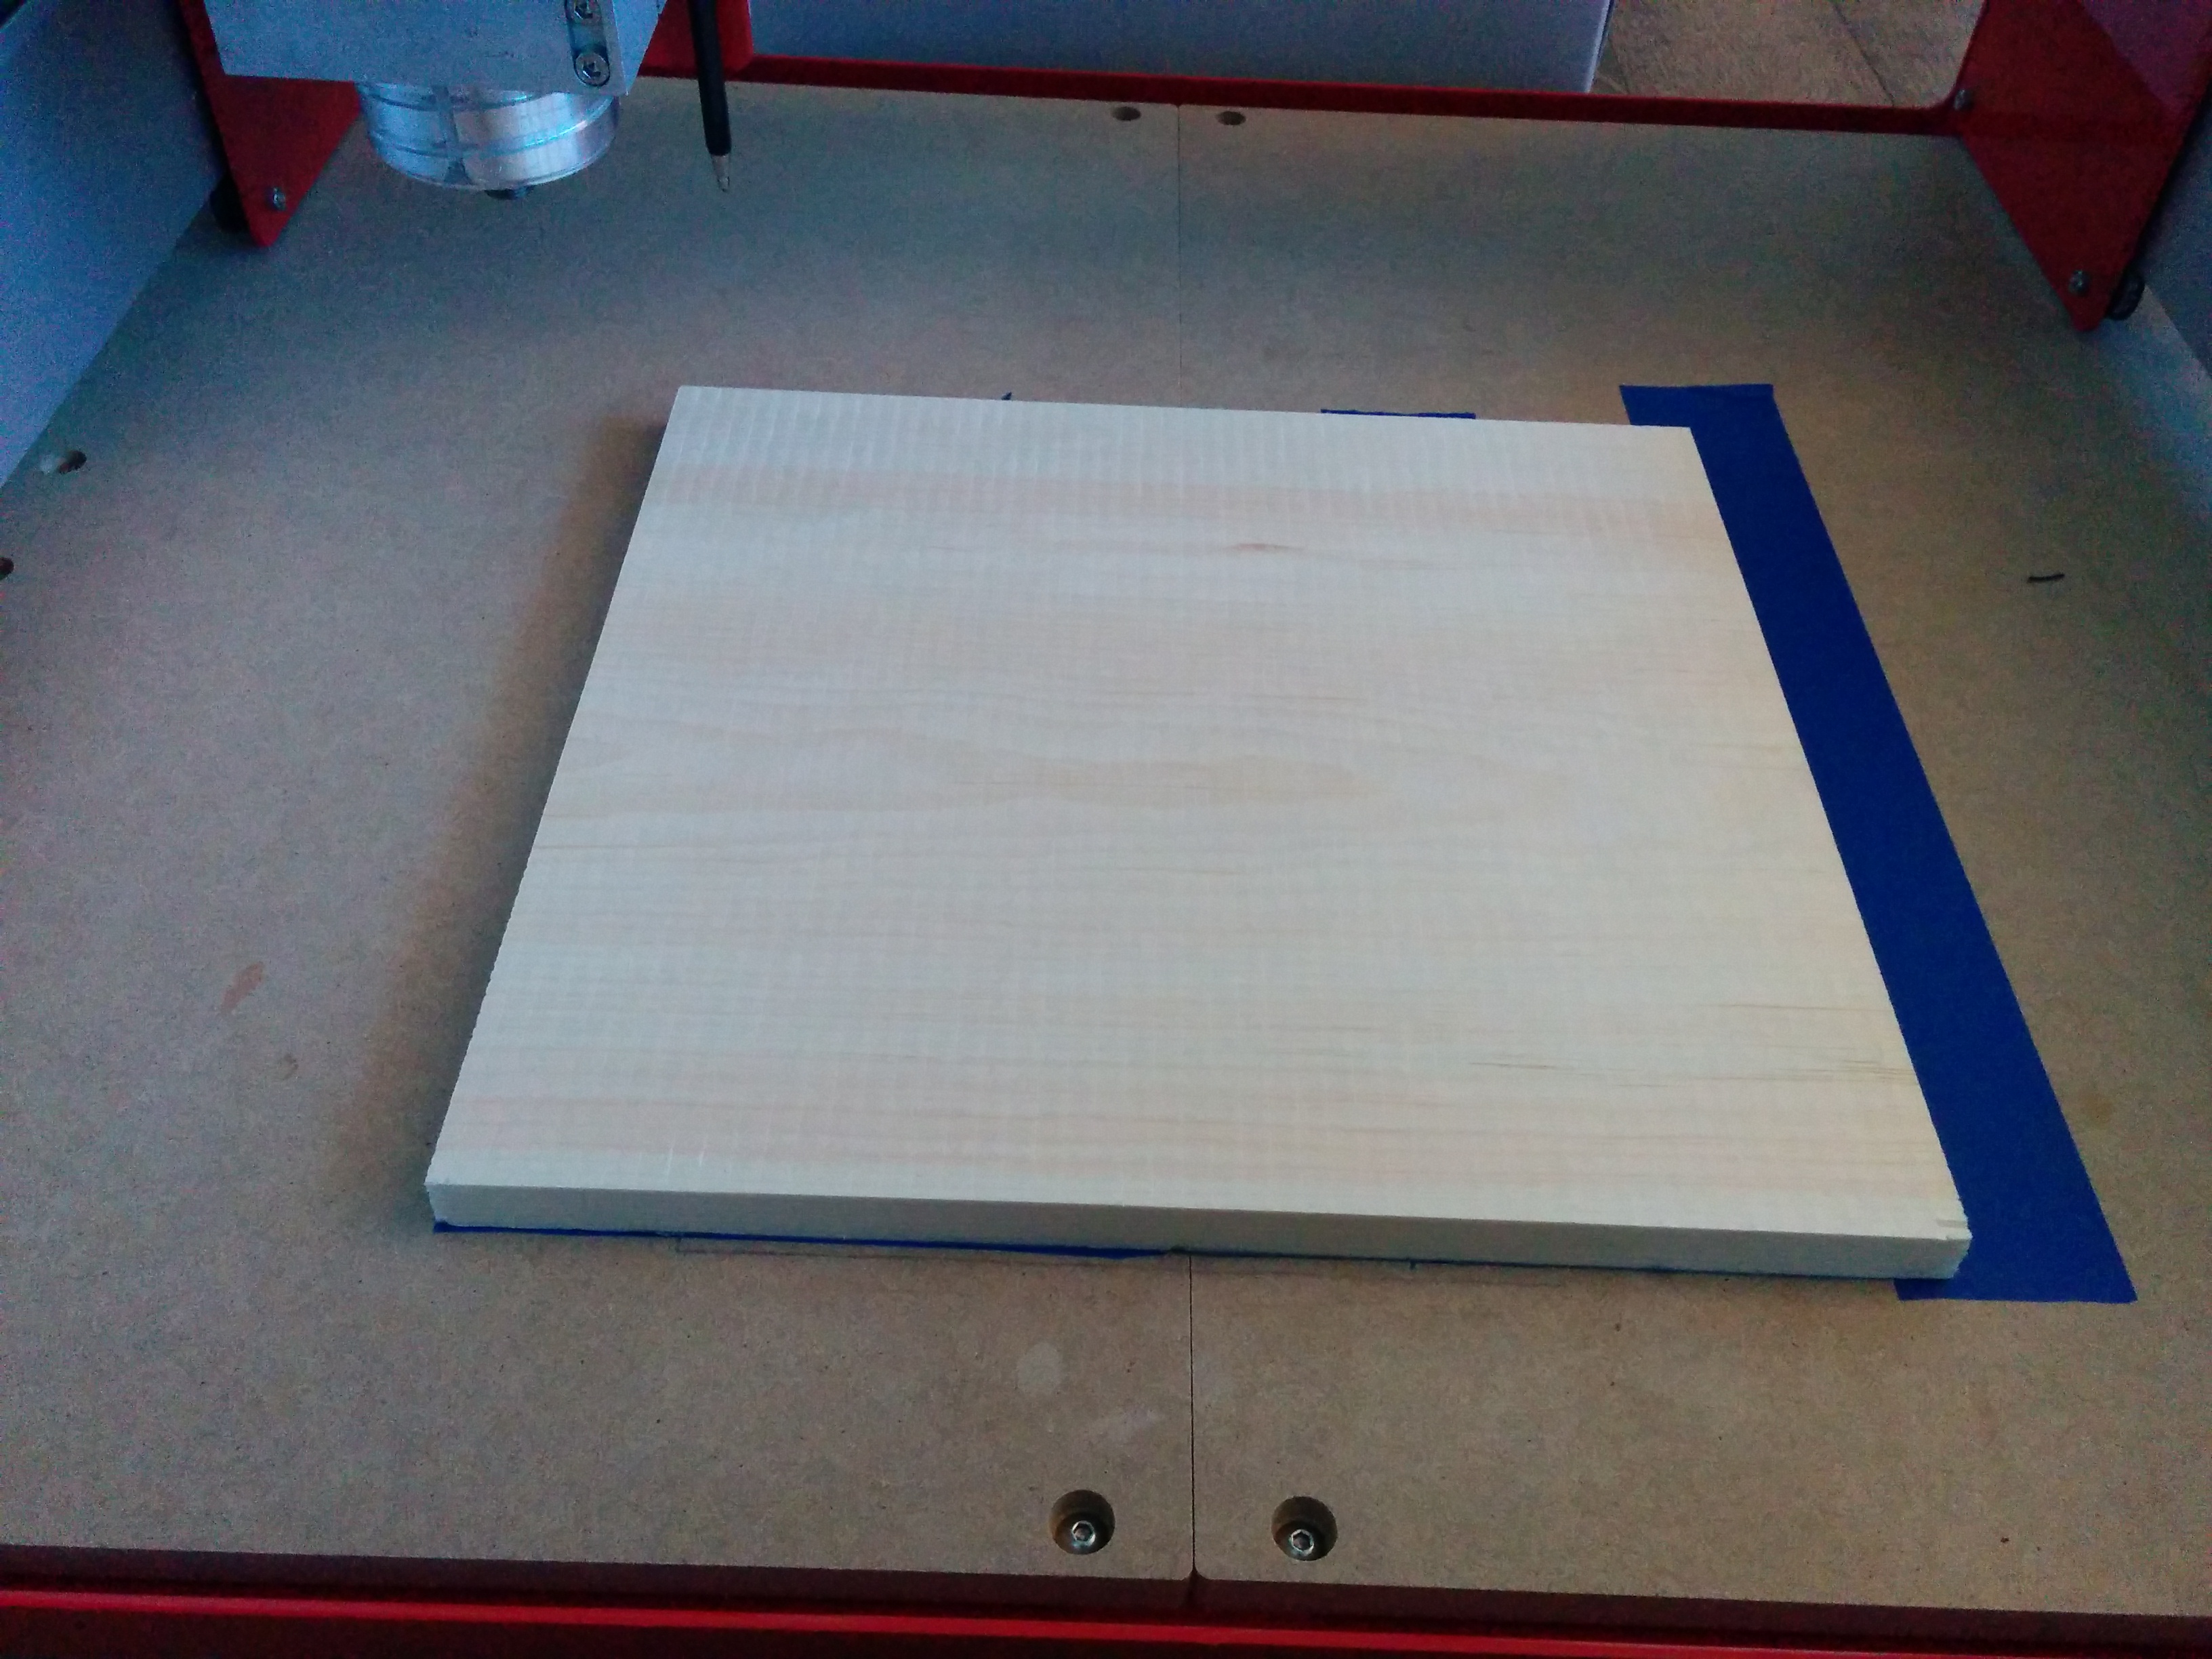
Now we'll secure our stock to the CNCs wasteboard.
Pictures 1-3: Add tape to bottom of stock - you can improve hold by roughing up tape with a bit of sandpaper
pictures4-6: Add tape to wasteboard, lining it up with the pencil marks you made in the last step - again you can improve hold by roughing up tape with a bit of sandpaper
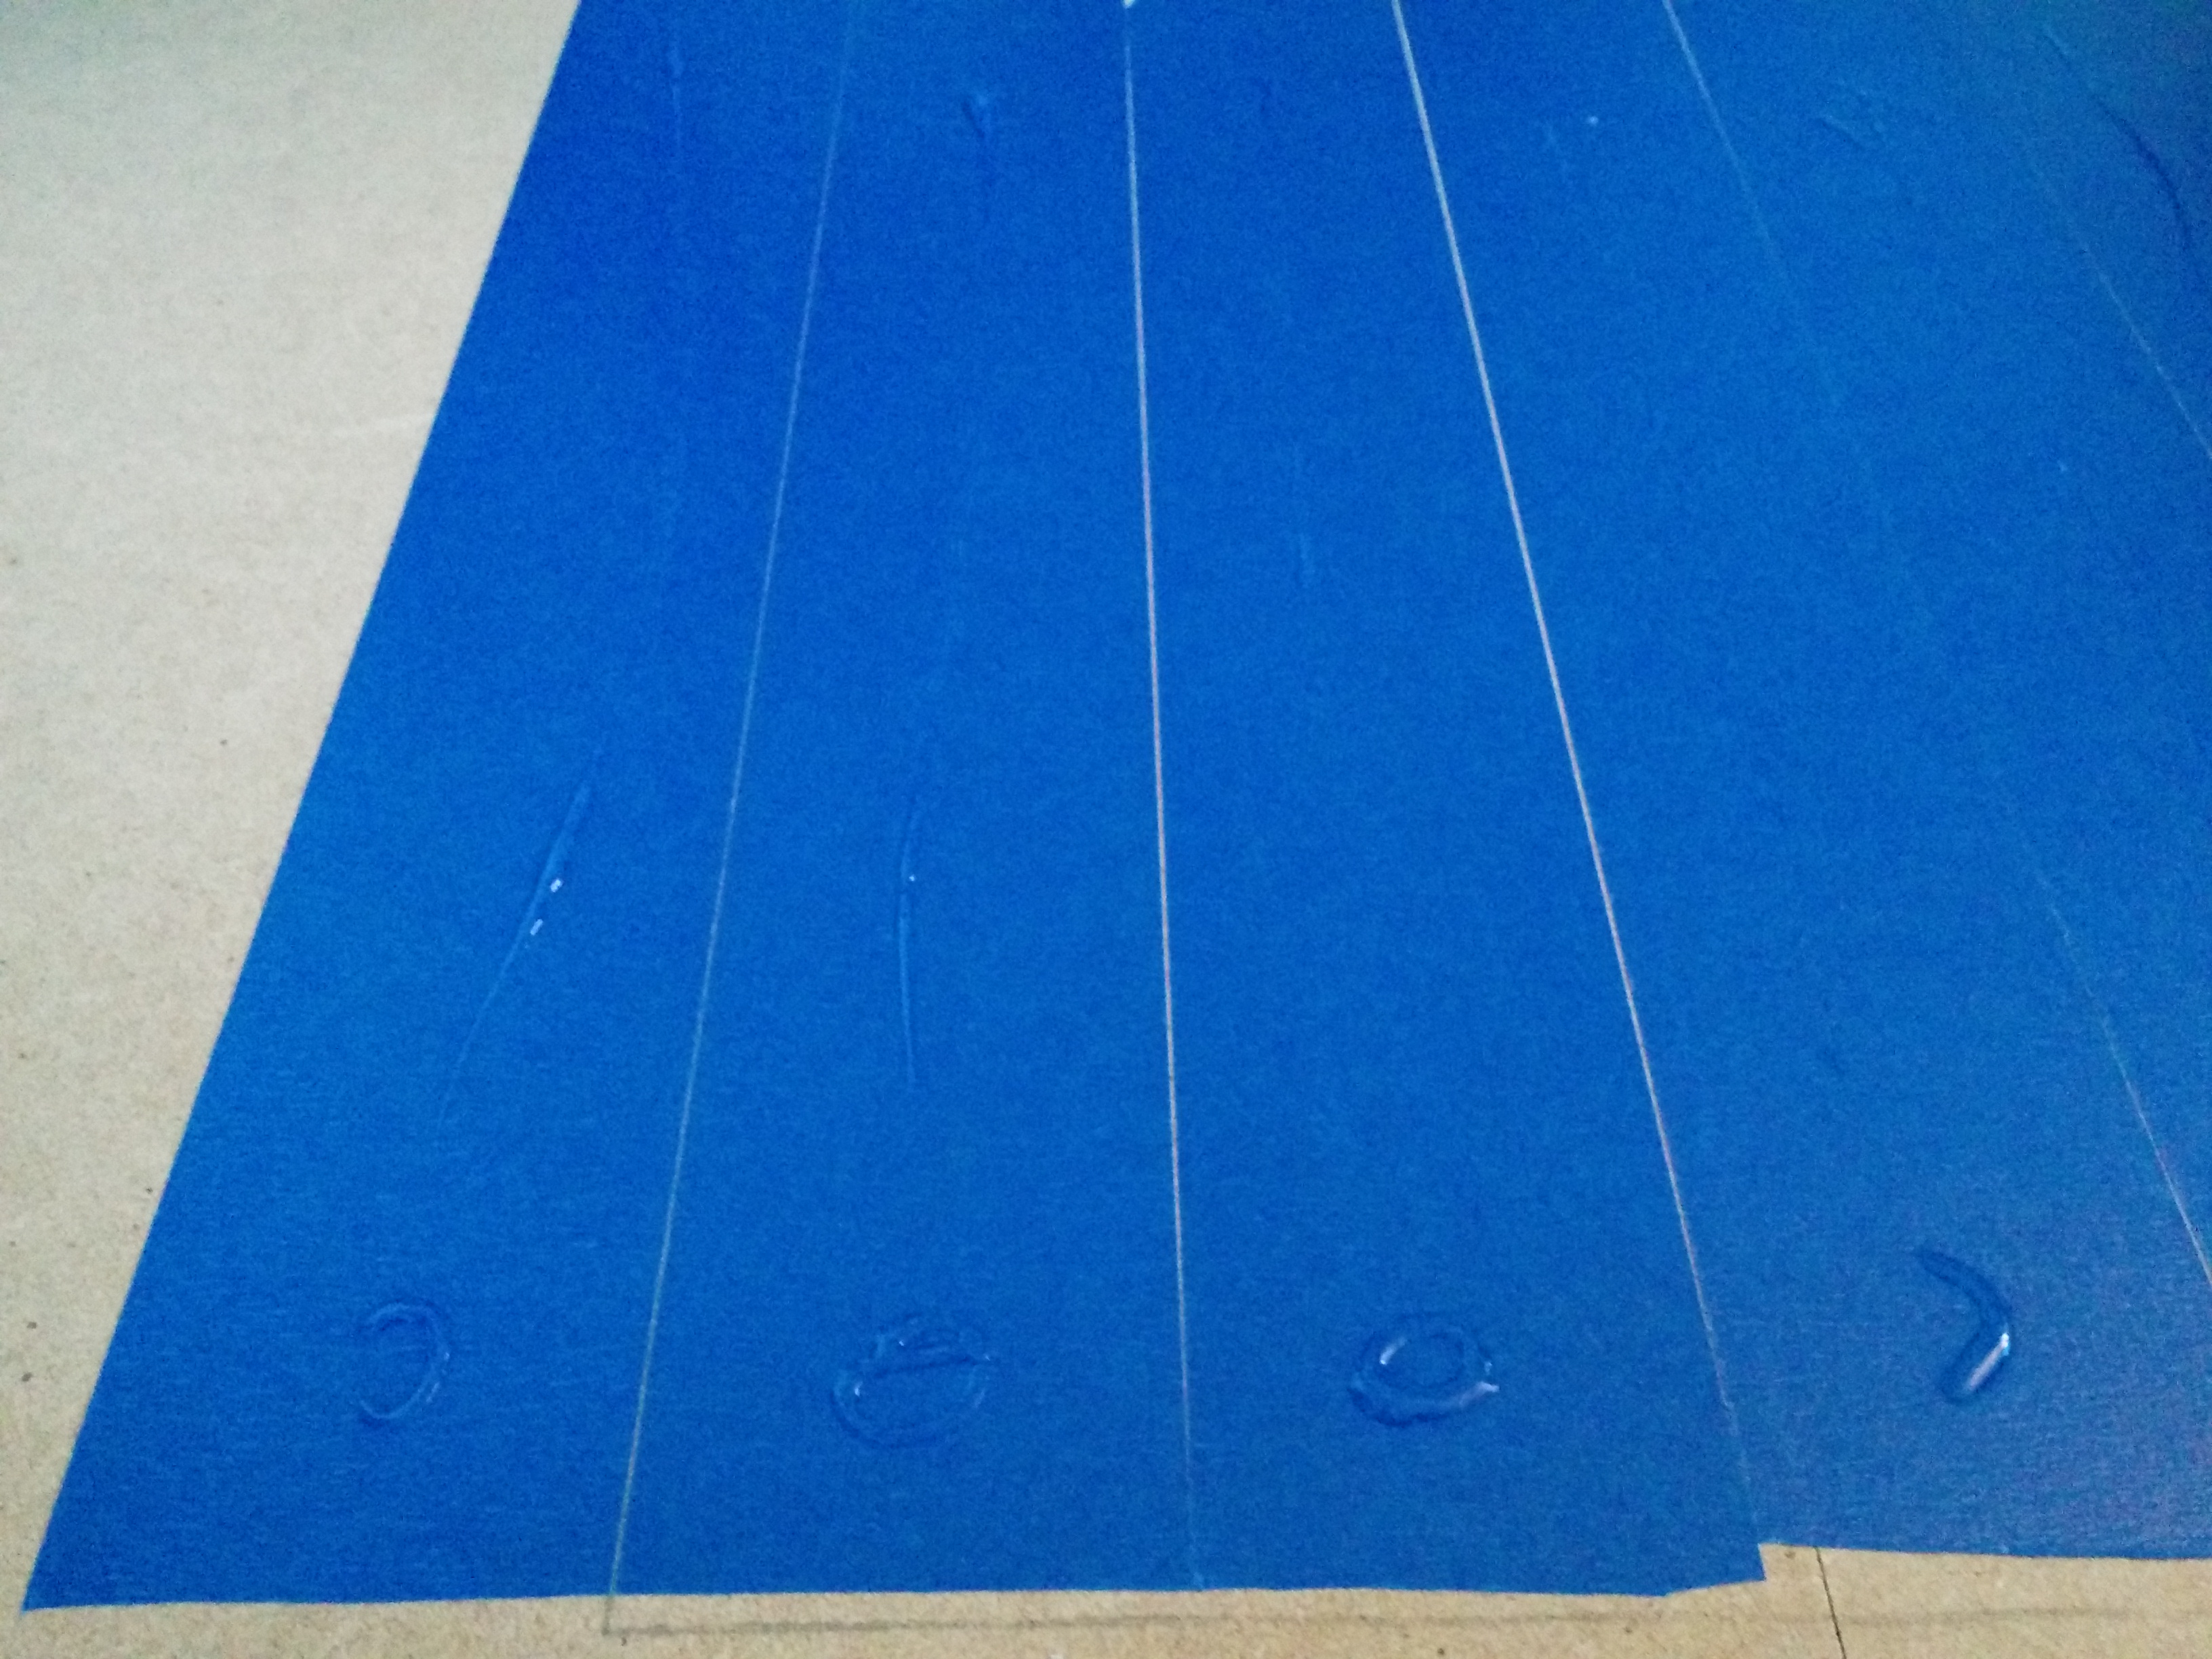
pictures7-8: Add glue to tape on wasteboard - zigzag or 'S' patterns are better
picture 9: Line up tape on stock to tape on wasteboard. apply even pressure down on stock. If you didn't do a perfect job lining it up, you can use the router to cut it square if you like.
I'd recommend, if your stock is at all bowed or warped, to do a facing job with your CNC. I won't go into too much detail here, but I do this in Fusion360, and follow this workflow: create a rectangle with the same dimensions as your stock and then go into the CAM section and set up a 2D facing job. If you would like to have a more detailed explanation on how to do this, leave a comment and I'll either make a new Instructable or find a link for a good tutorial.
If you don't care about getting you wasteboard cutup a bit, you can start cutting your stock now. If you'd prefer to use this stock as a secondary wasetboard, and don't mind losing a bit of Z-height, you can repeat the process again with another piece of stock on top of your first. We'll do that in the next step...
Repeat the Process With Another Piece of Stock
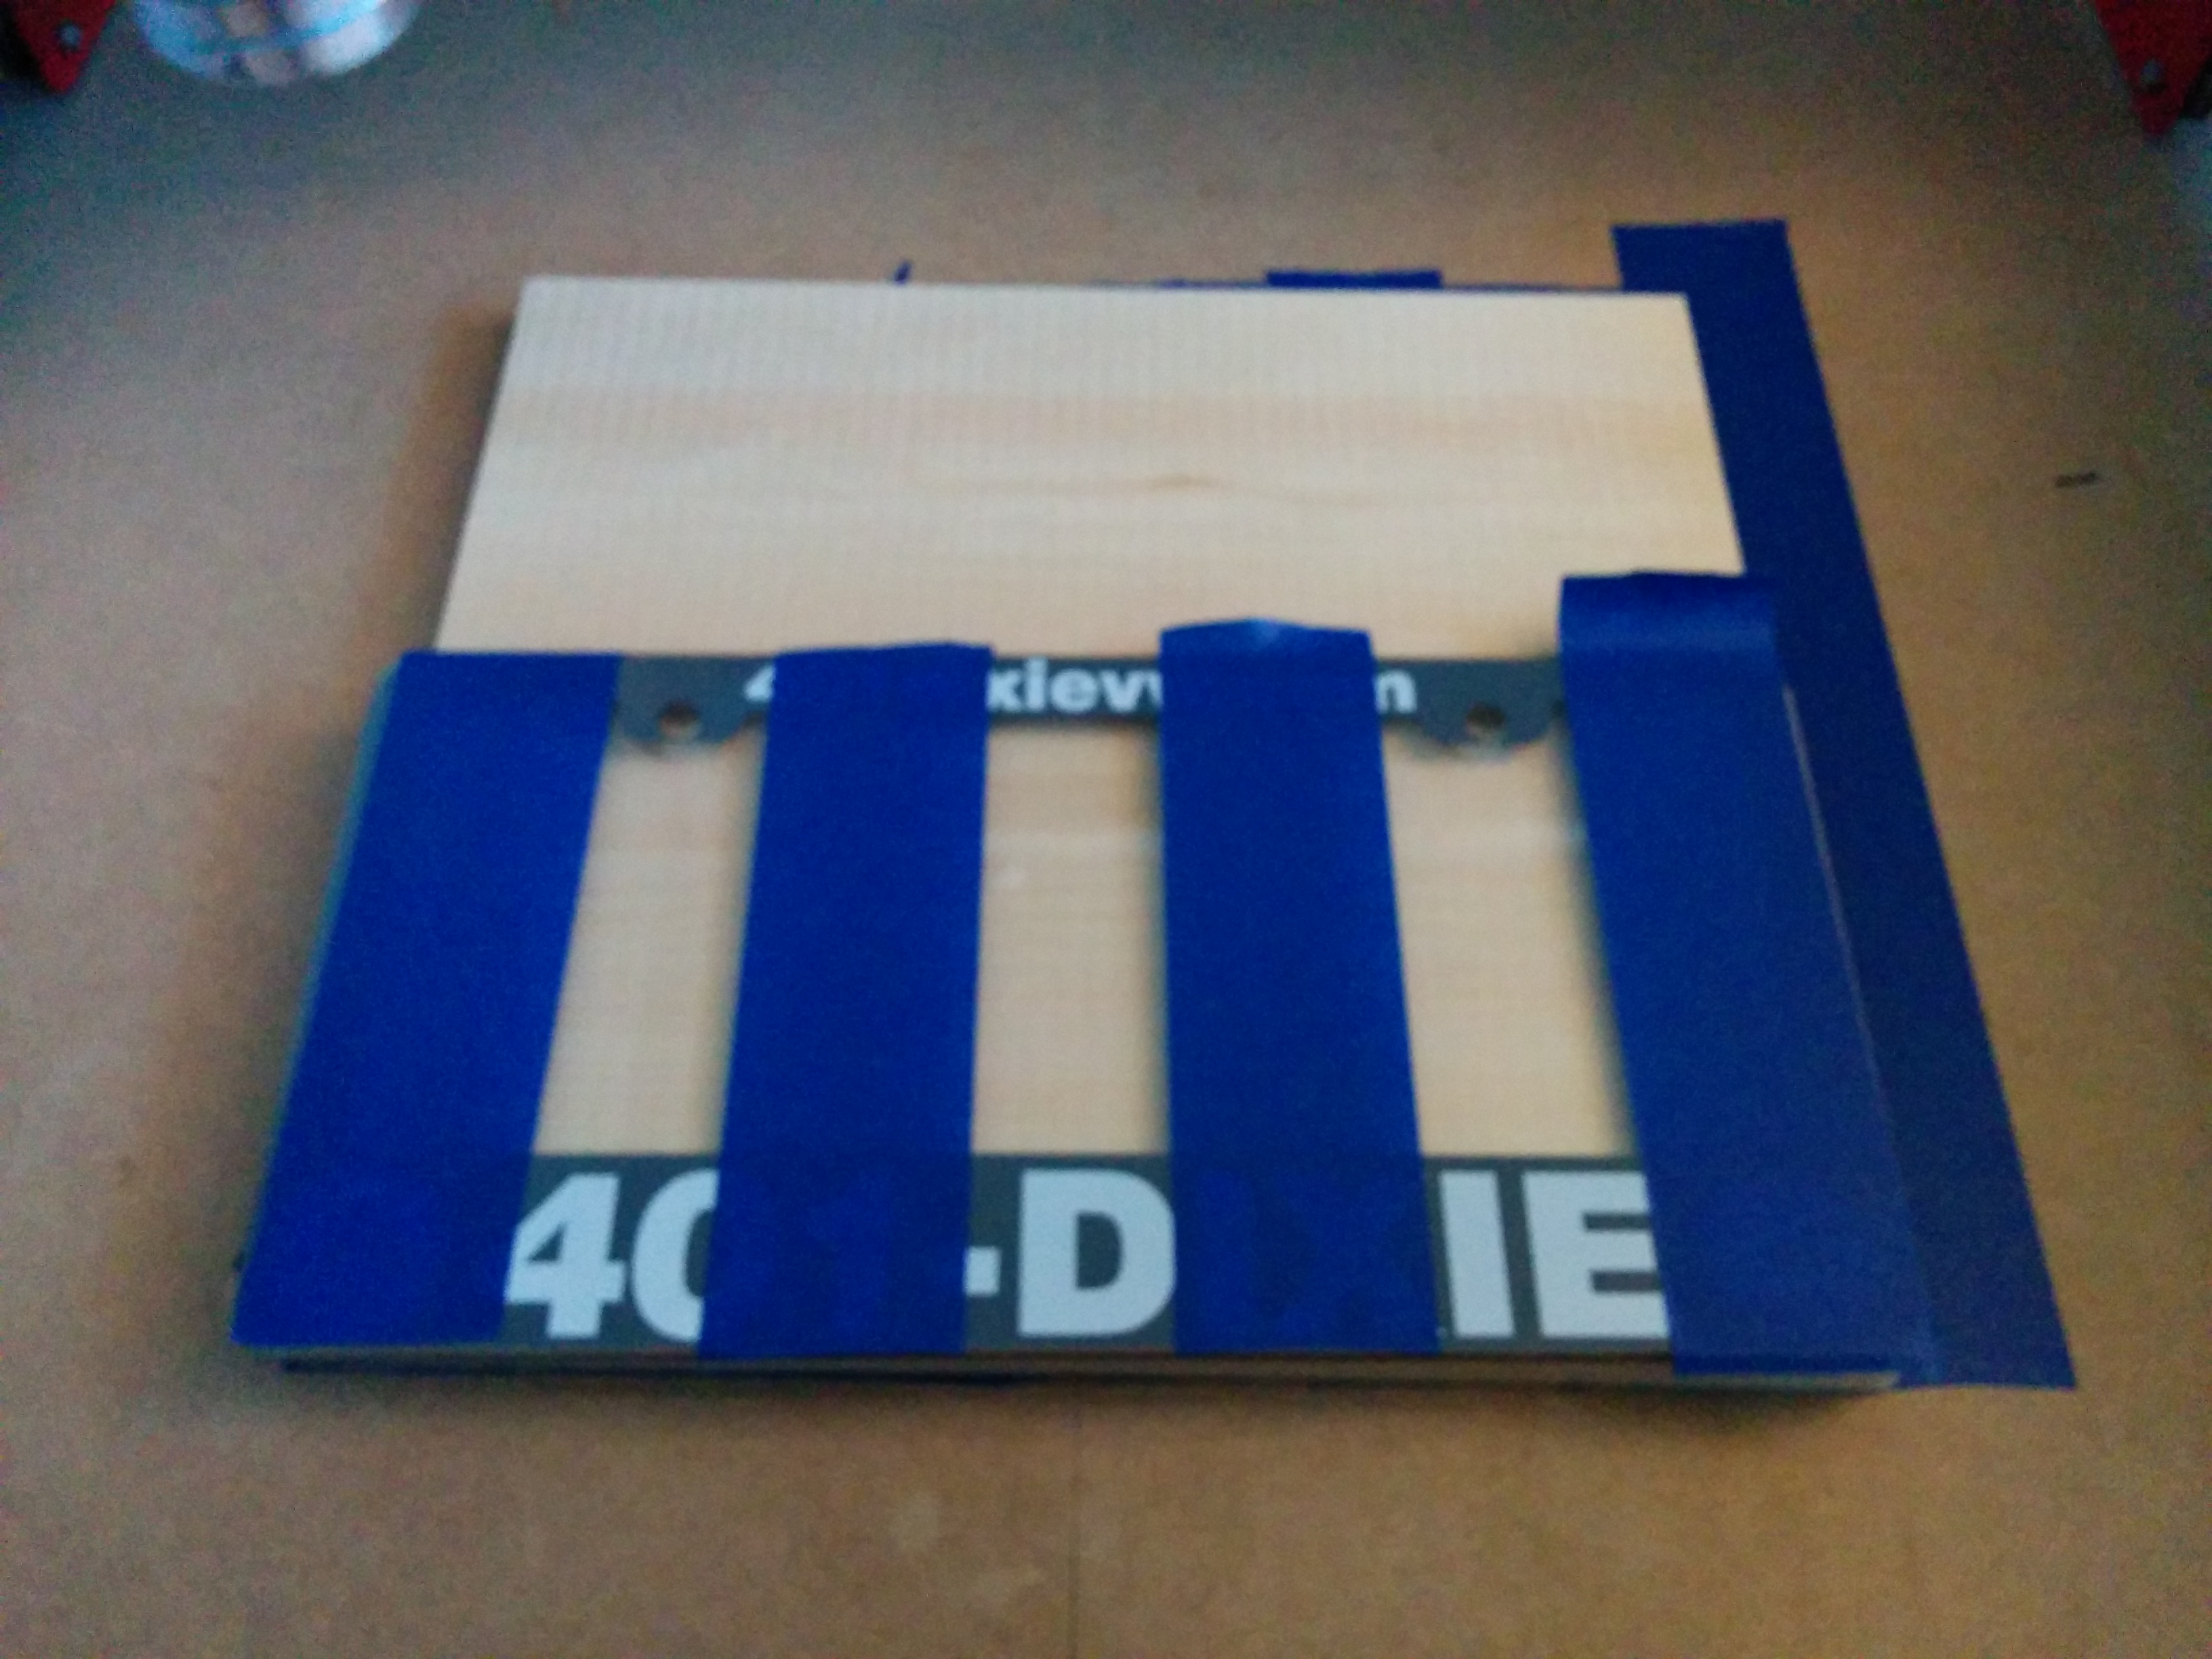
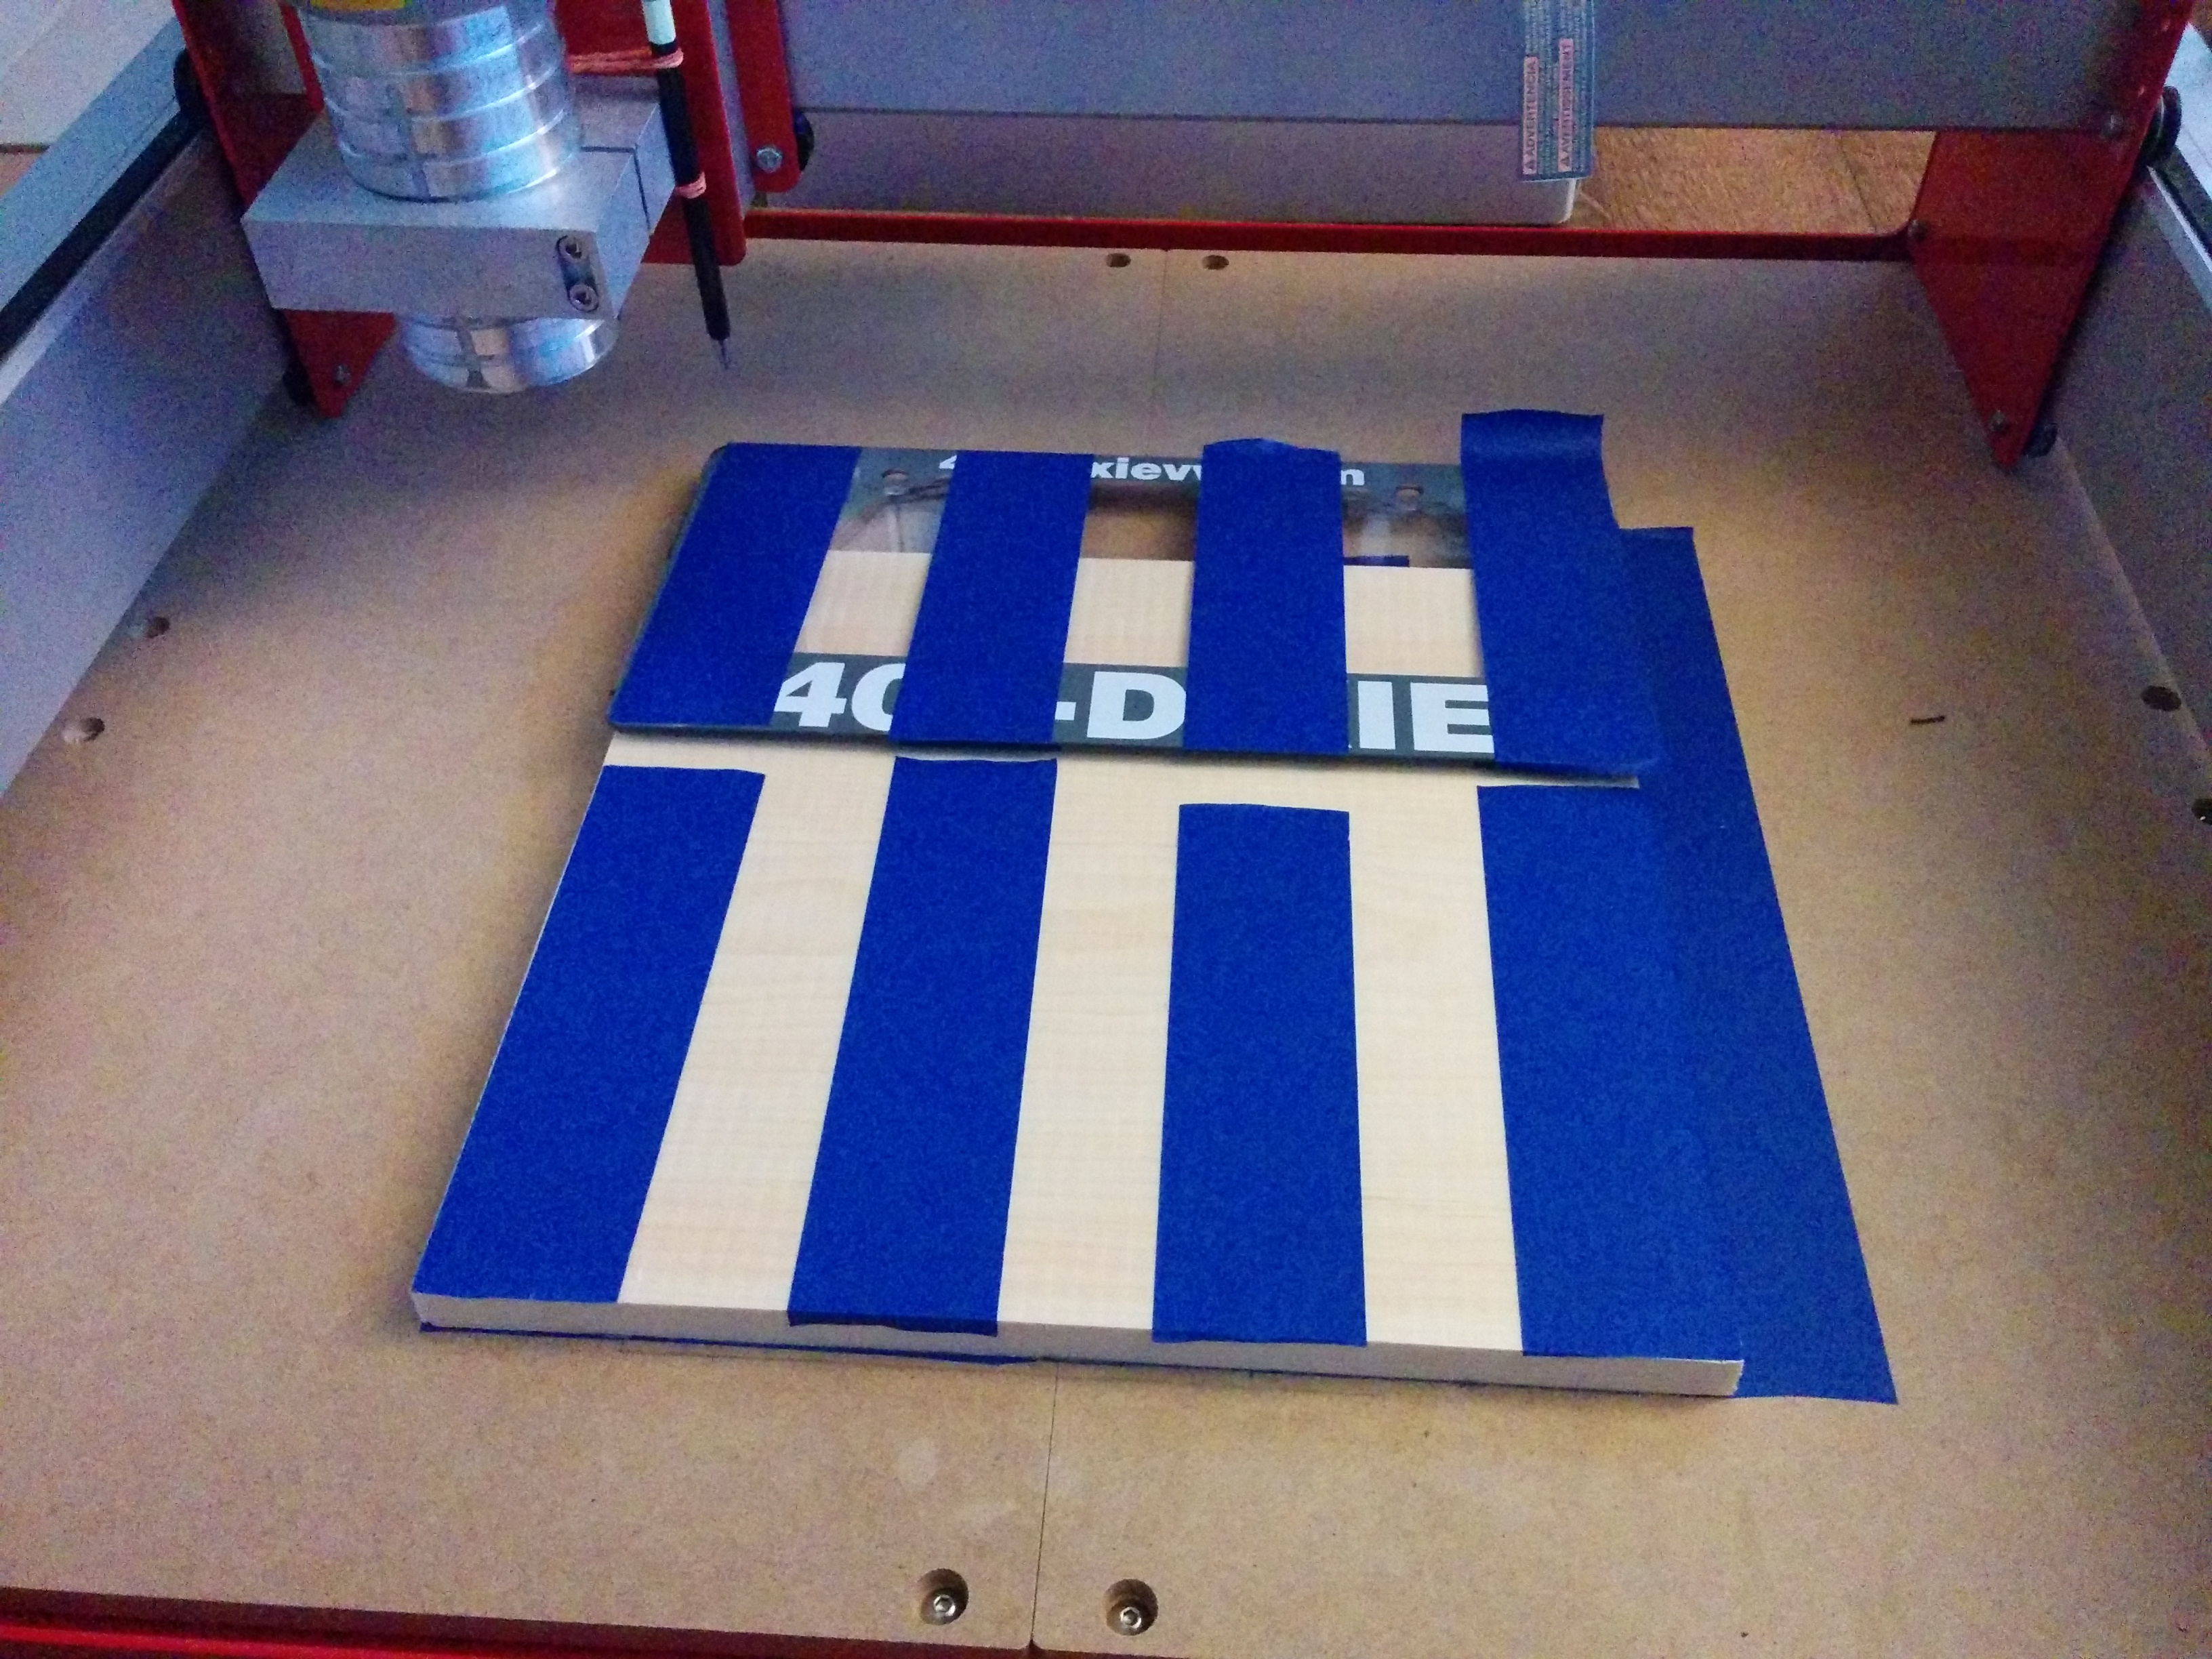
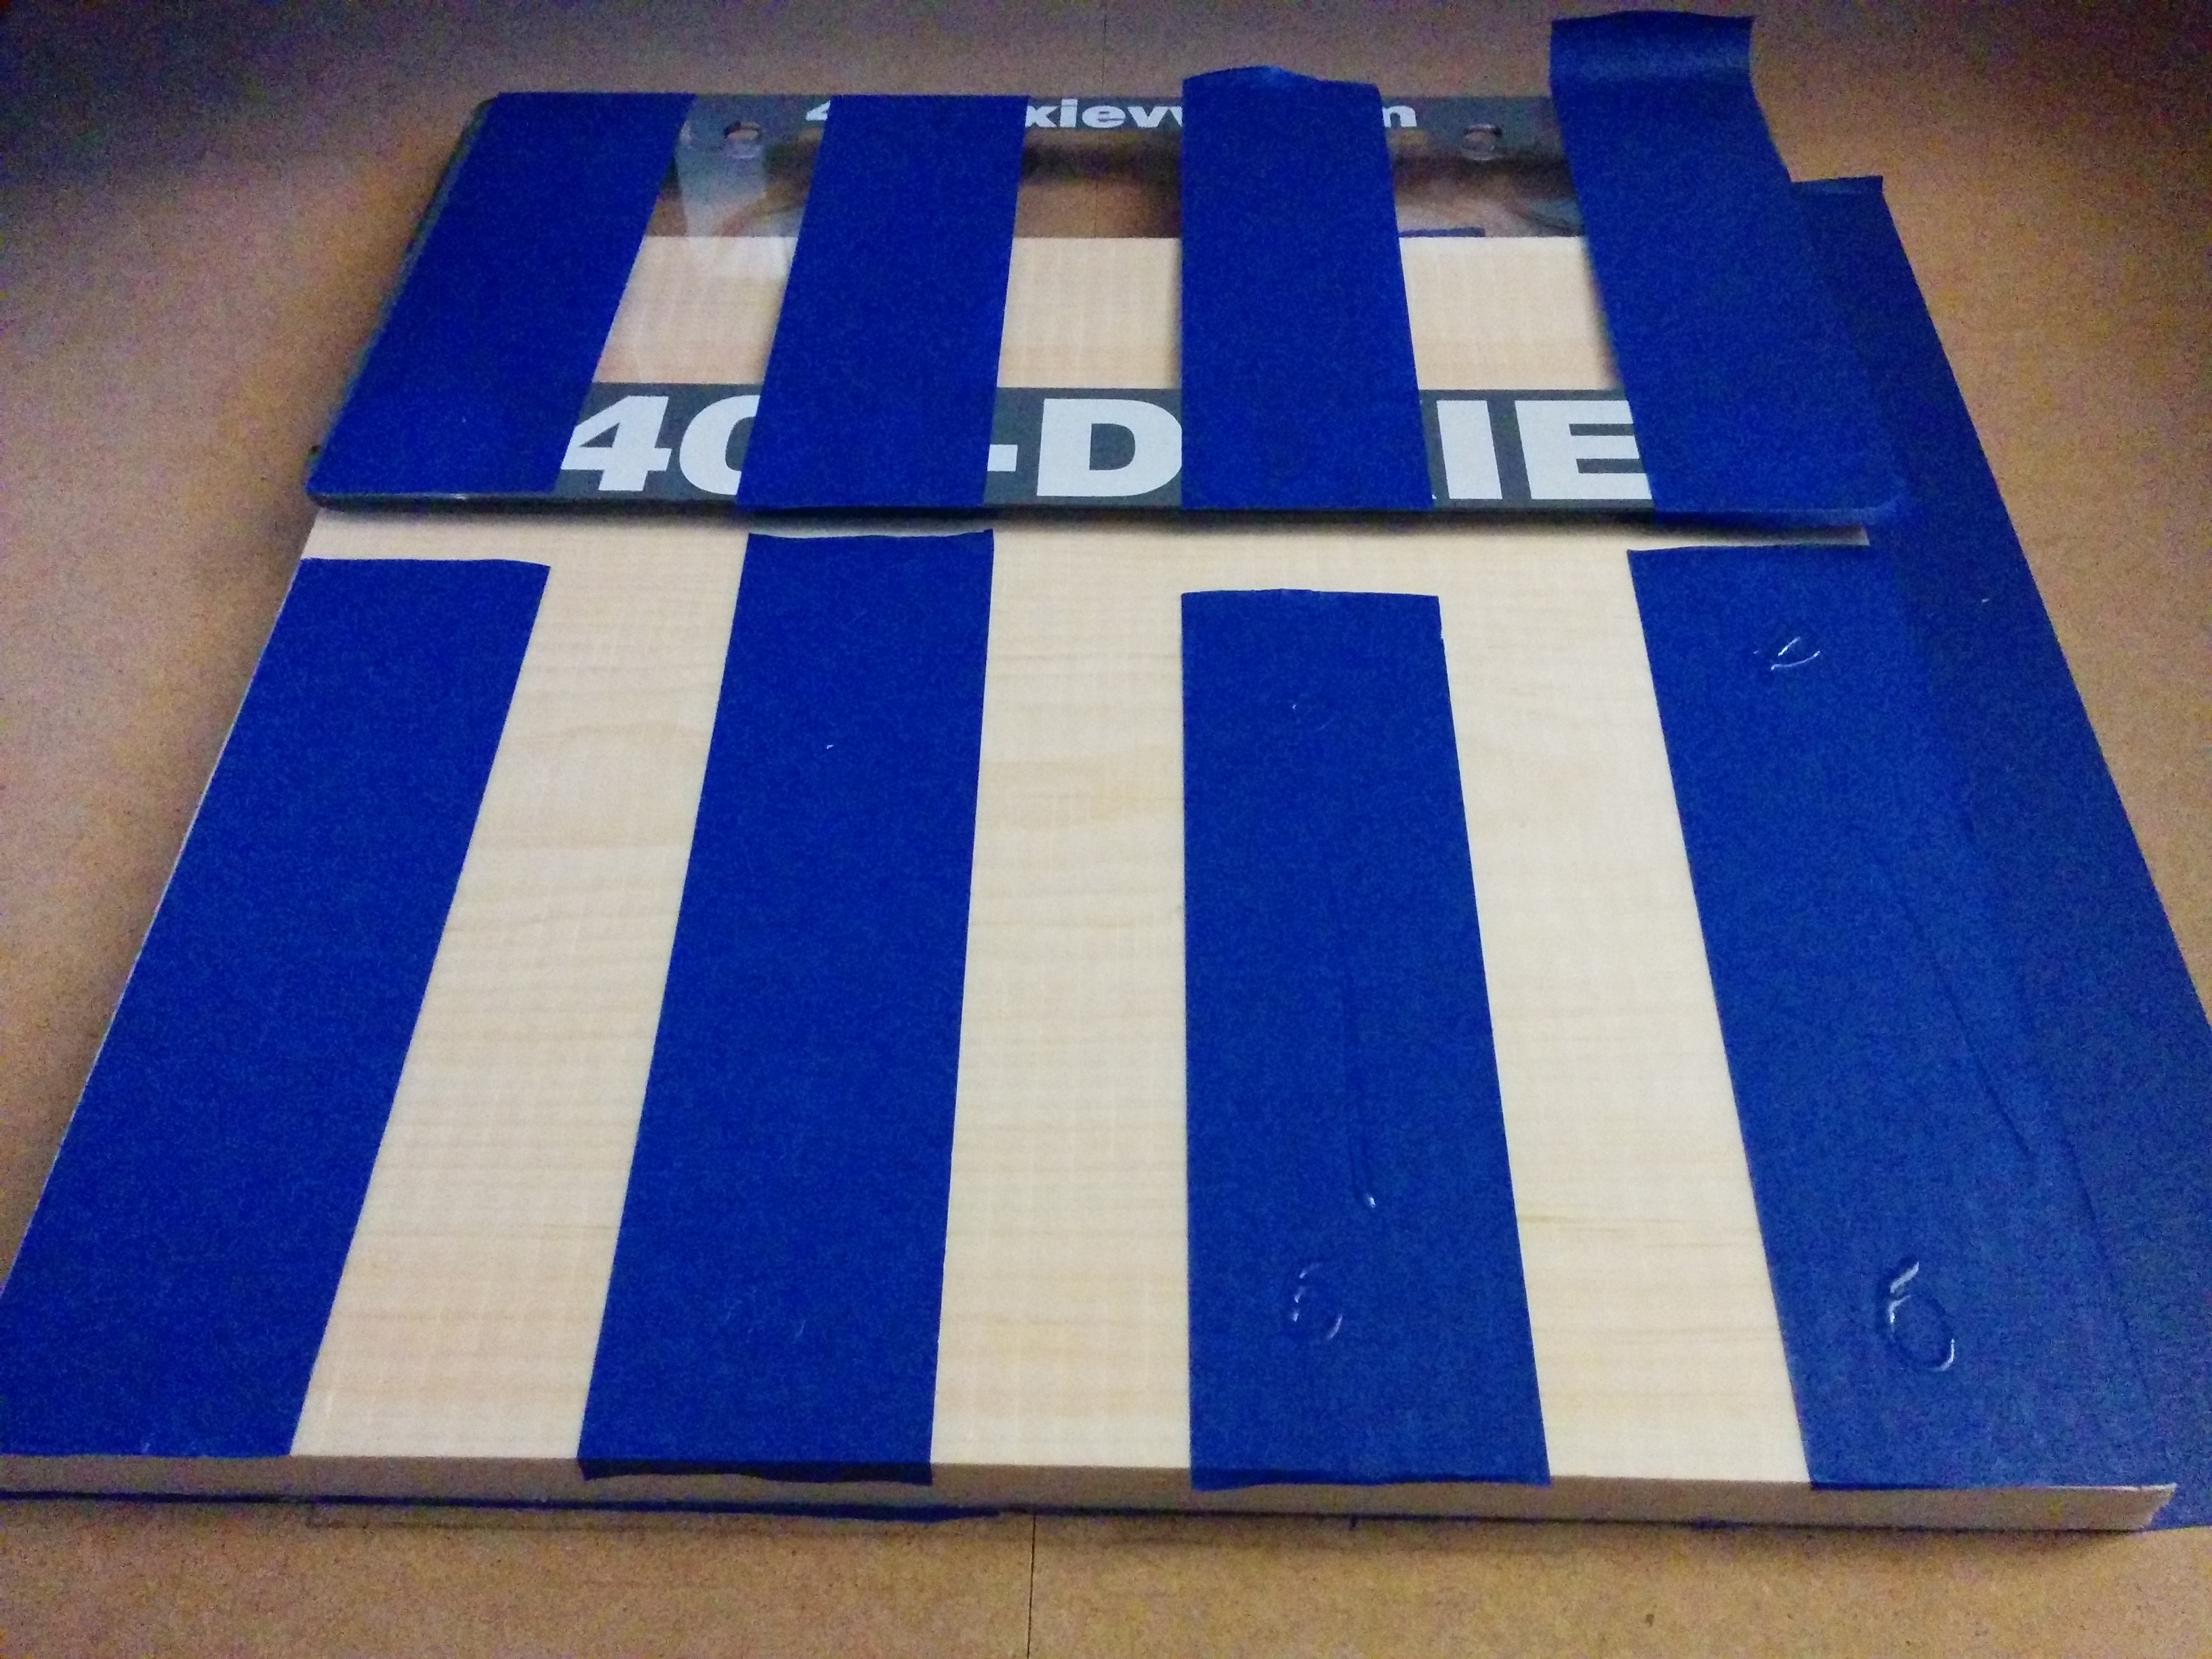

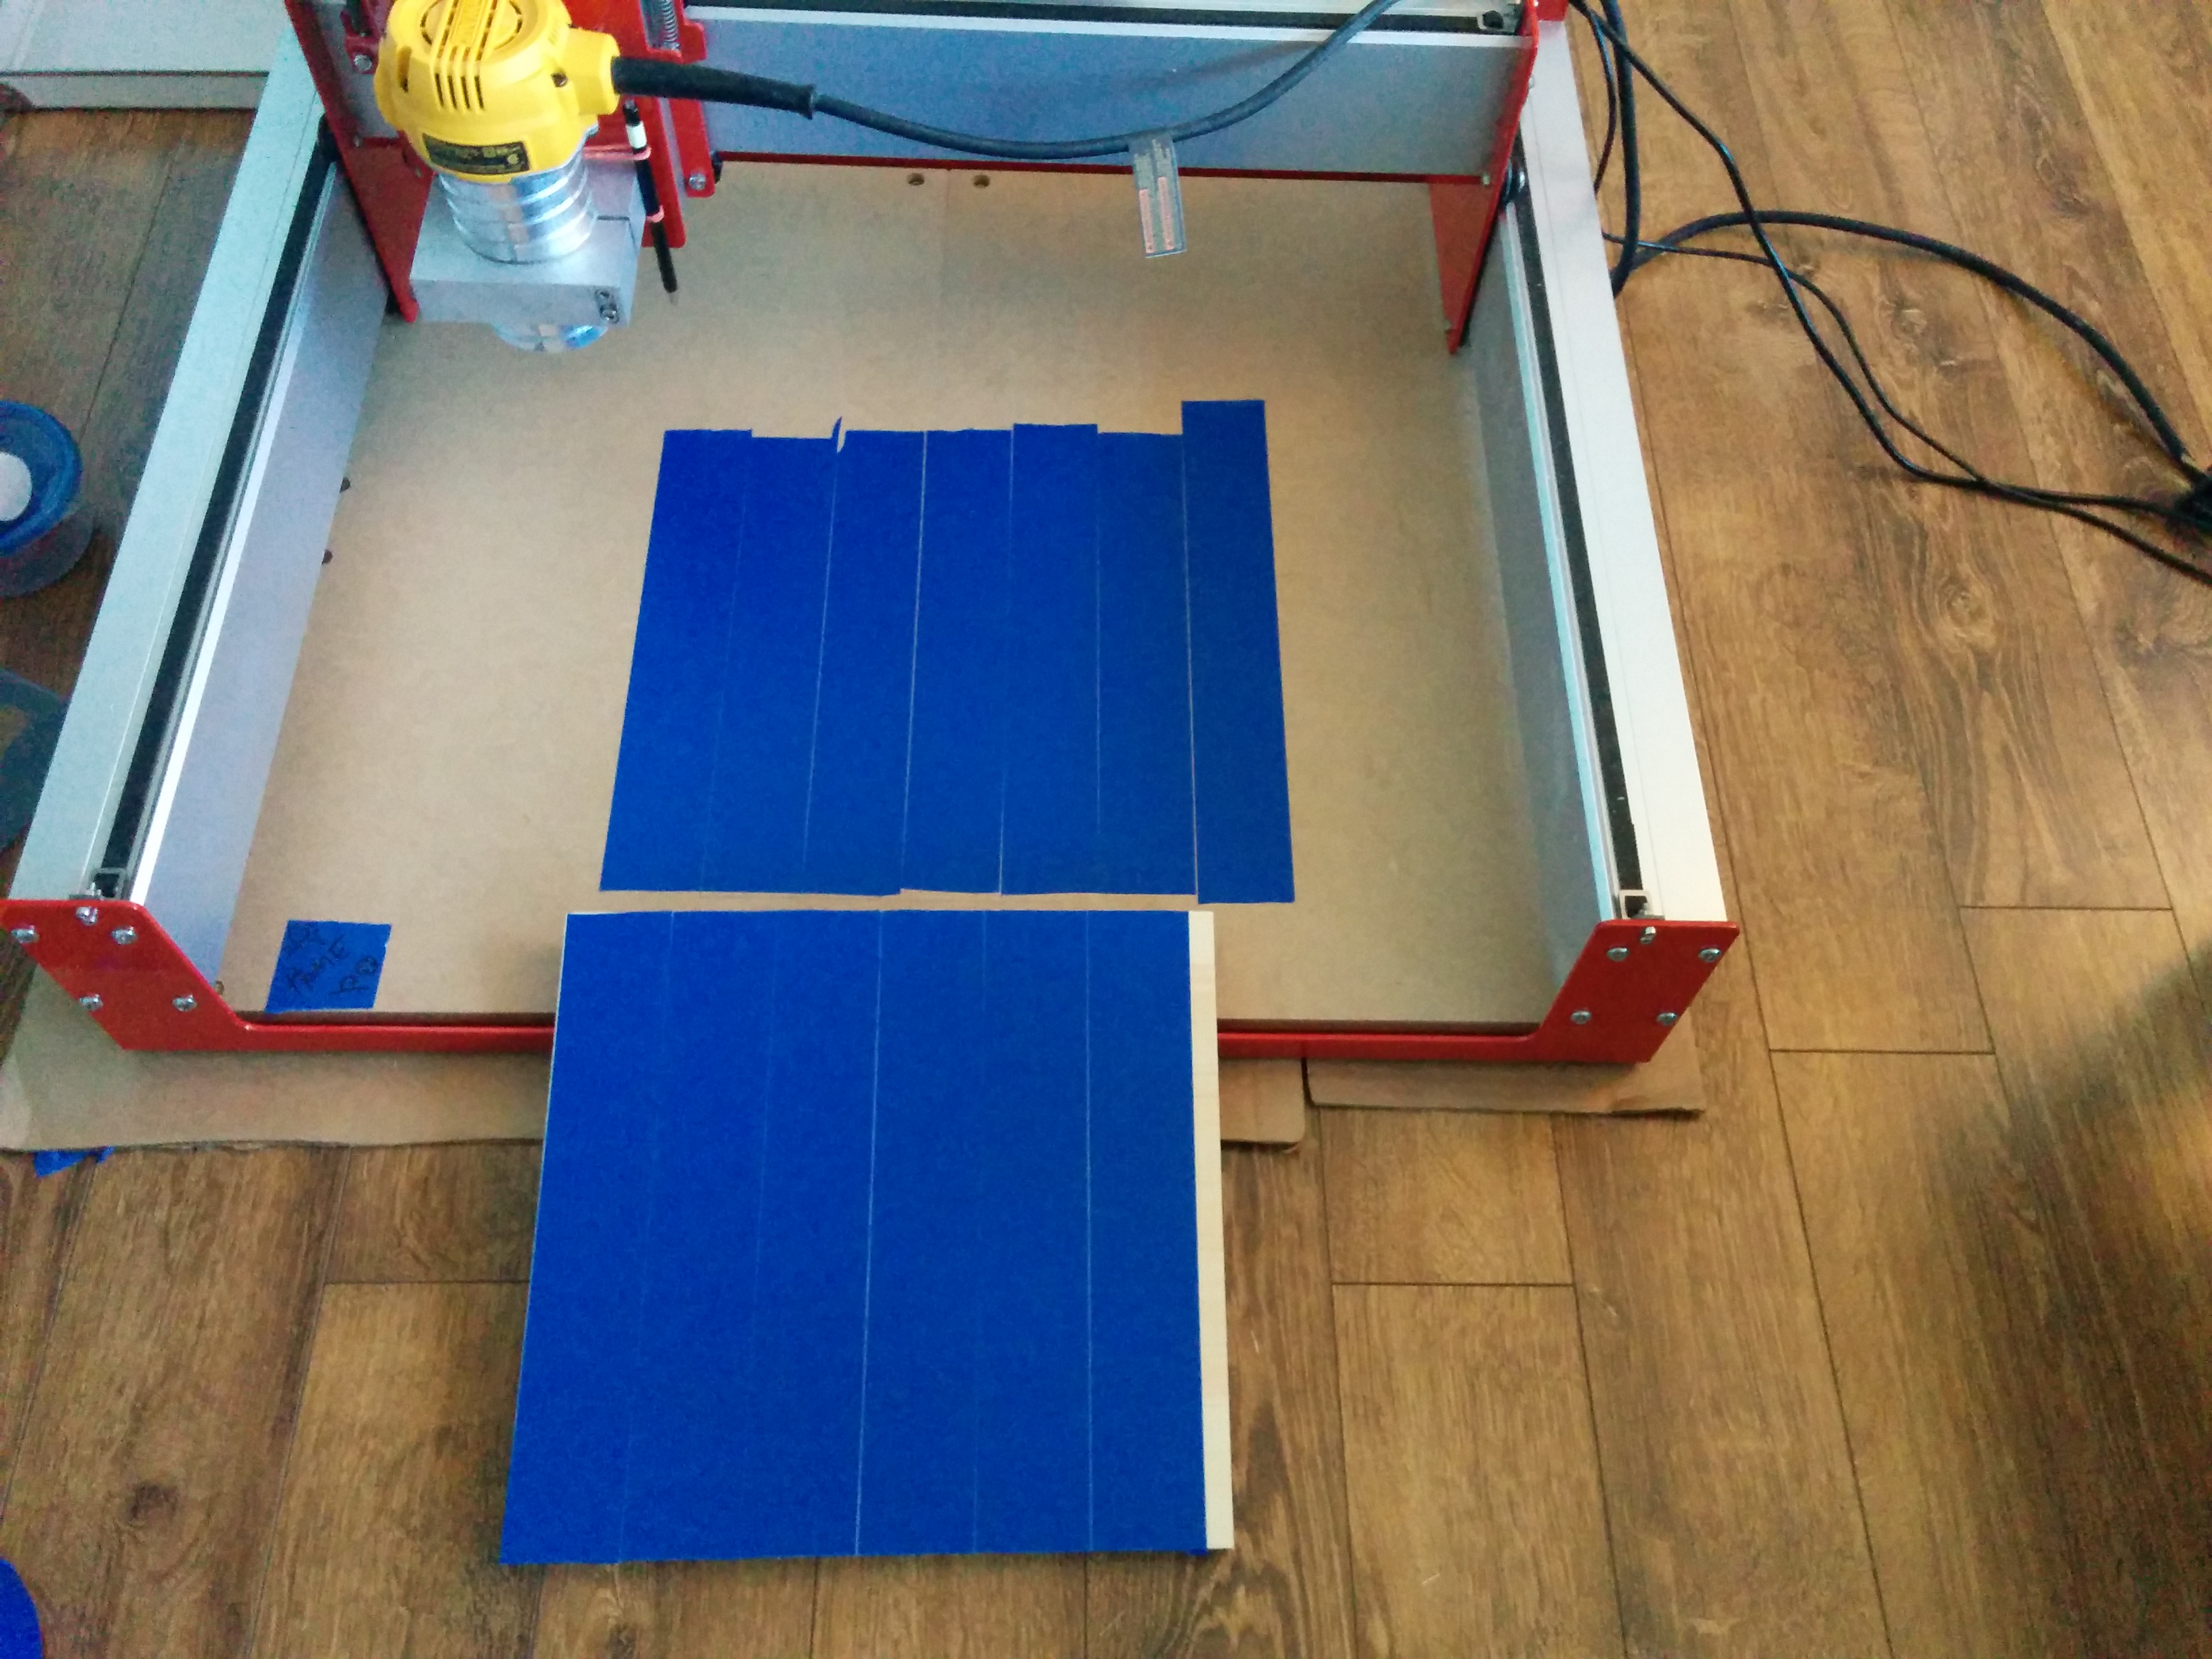
picture 1: Add tape to bottom of stock - rough up tape a little with sandpaper
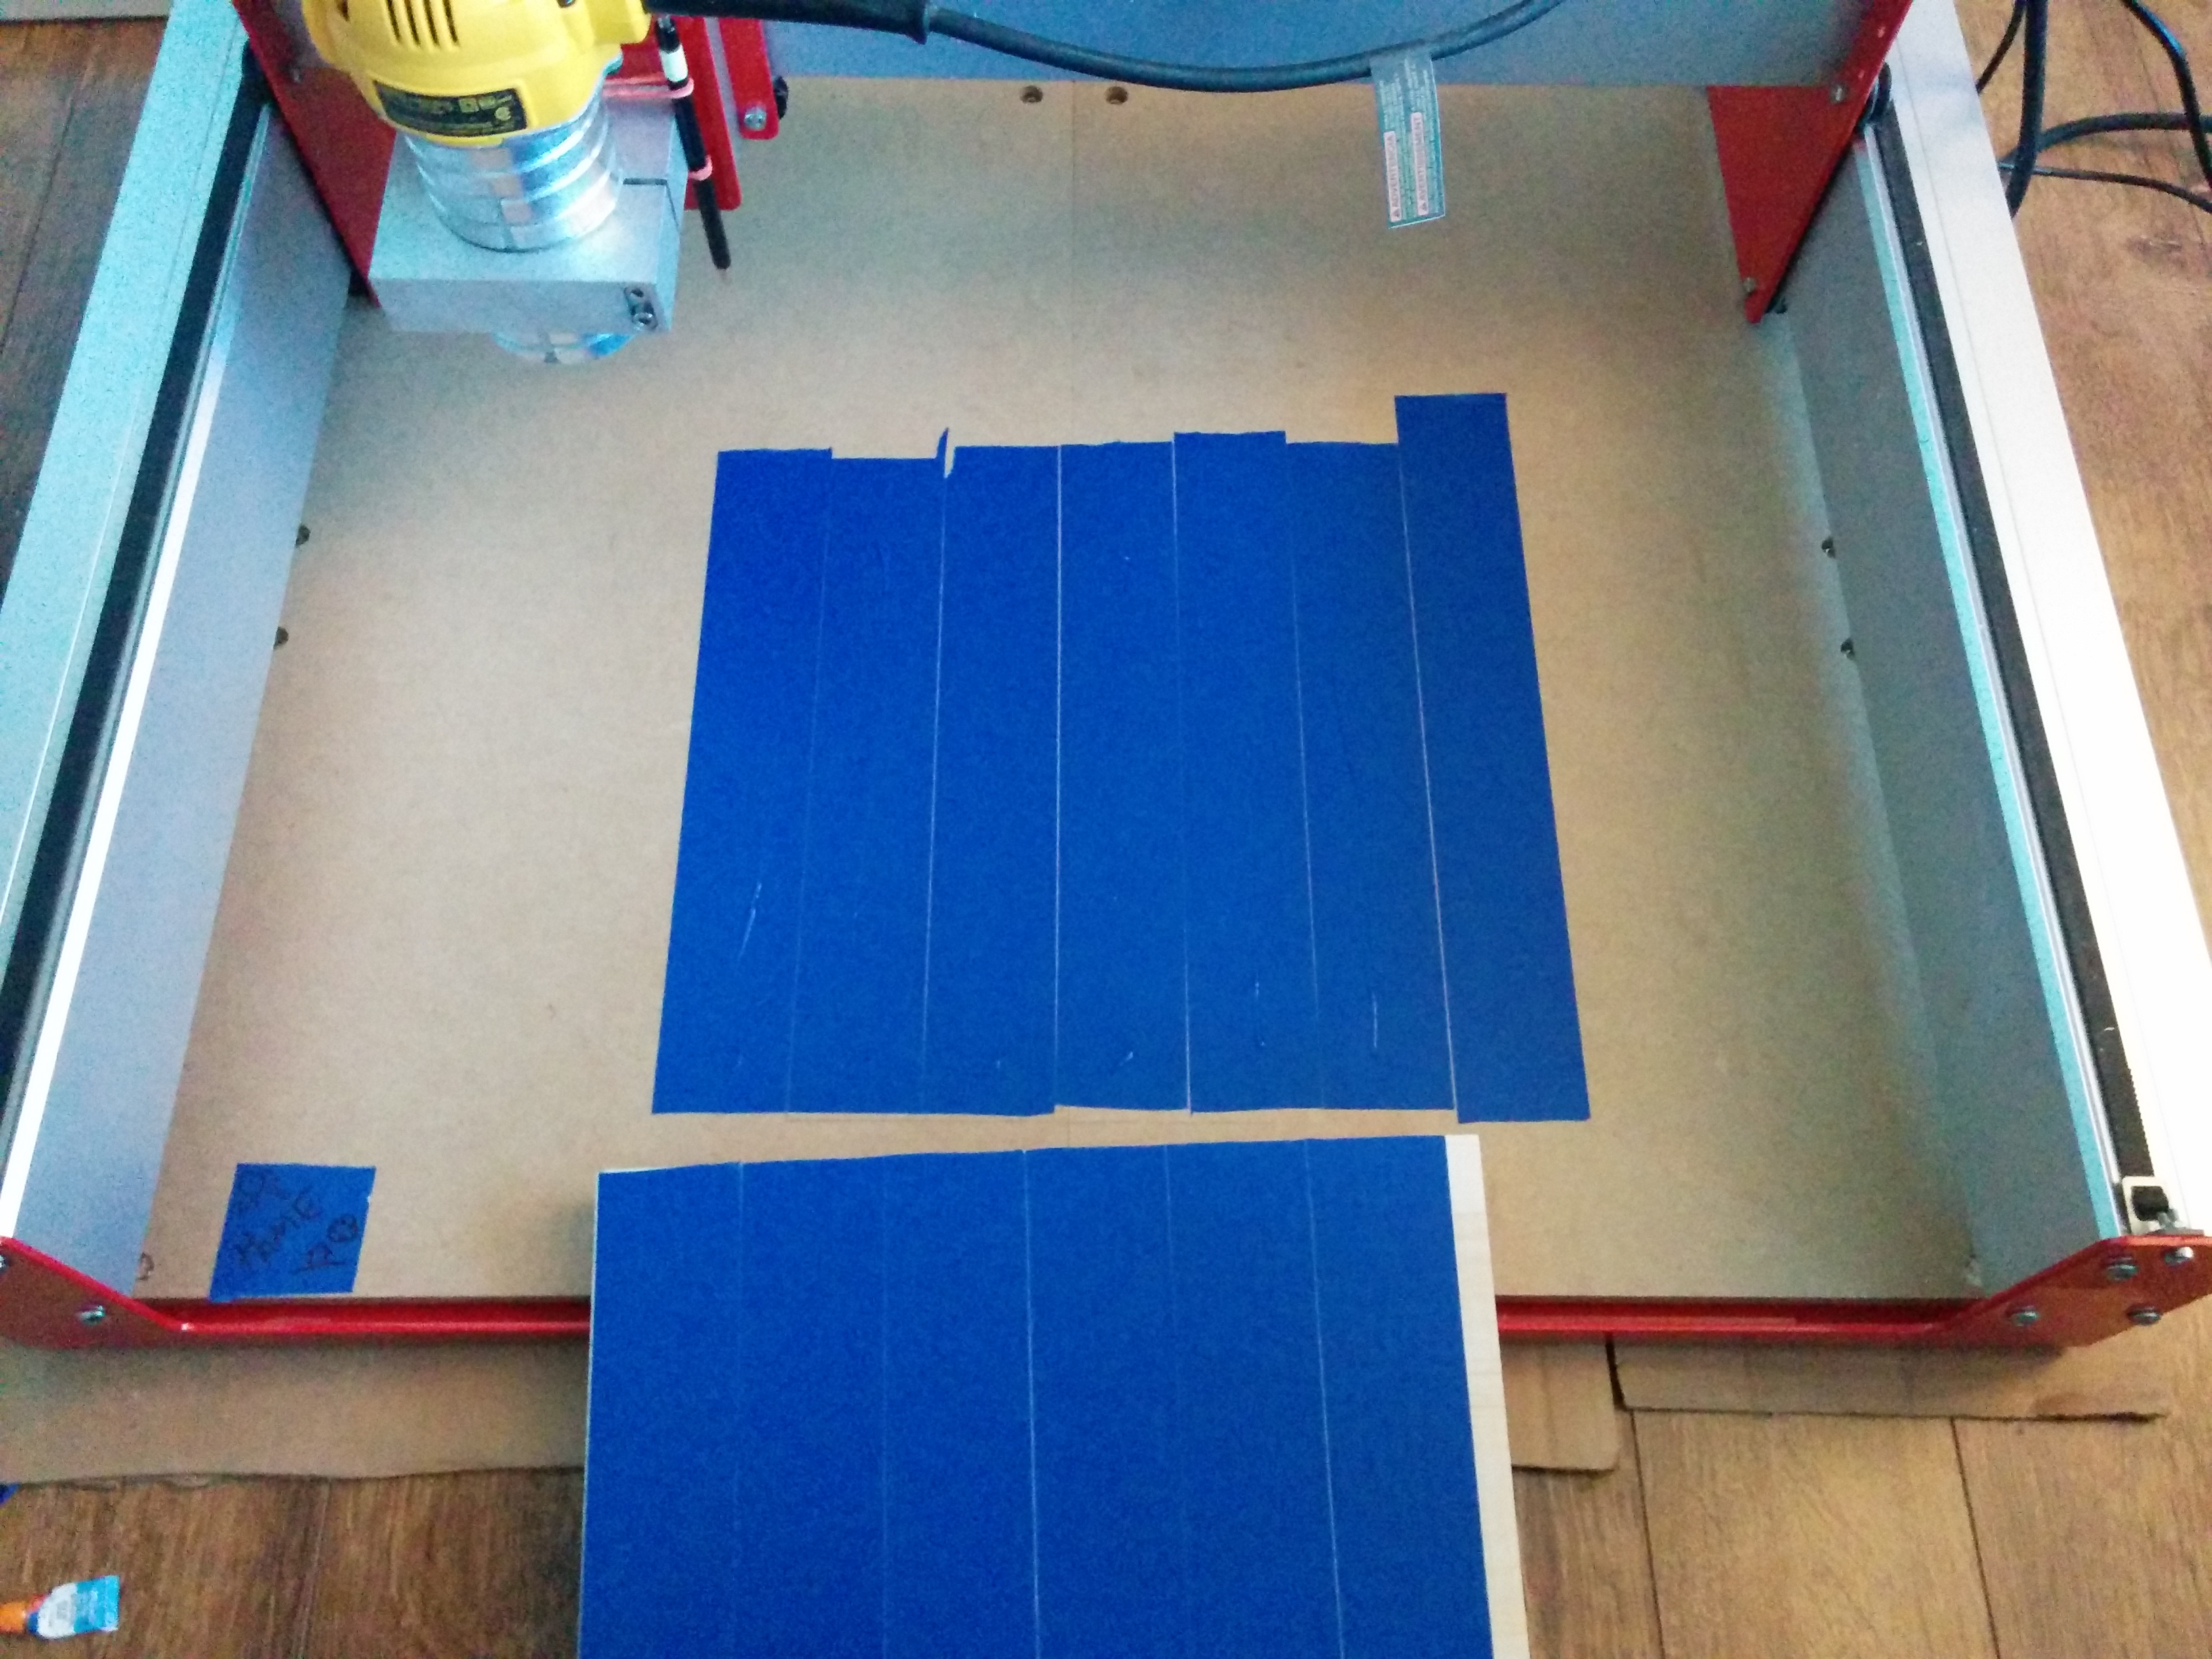
picture2: Flip stock over so you can see where your tape needs to go to have it line-up. Then add tape to your secondary wasteboard and rough up the tape with sandpaper
picture 3: Add glue to tape on wasteboard (curvy 'S' or zigzag patterns usually work best)
picture4: Line-up and then apply even pressure over stock.
Now your ready to start cutting!
Going further - One thing I'd like to try, is to cut a grid of holes in a piece of stock (wood) and add threaded inserts (or a thick piece of acrylic with tapped holes) . This way I'd be able to use clamps with the secondary wasteboard.