Easily Modify Android Tab Battery With 18650 LiPo Battery
by shababmf in Circuits > Electronics
1783 Views, 2 Favorites, 0 Comments
Easily Modify Android Tab Battery With 18650 LiPo Battery
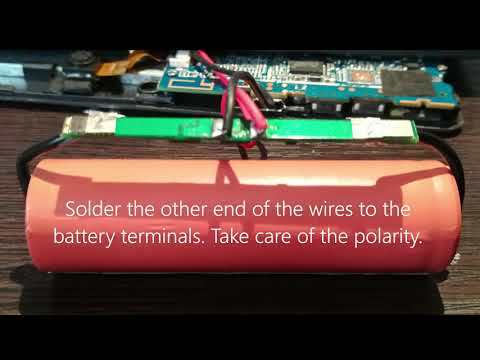
In this instructable we will see how to modify an old Android Tab whose battery was dead with 18650 LiPo battery.
Disclaimer: The LiPo (Lithium Polymer) batteries are notorious for burning/explosions if proper care is not taken. Working with Lithium Polymer (LiPo) batteries can be dangerous. Do it at your own risk.
Material and Tools
1. Cheap Android tab
- I used an old Tab whose battery had no charge.
2. 18650 LiPo battery
- I used 18650 LiPo battery which i extracted from old laptop battery packs.
3. Flat head screw driver
4. Cutter
5. Plier
6. Soldering Iron
7. Hot Glue Gun
8. Small hand drill
Removing the Back Cover + Detaching the Old Battery
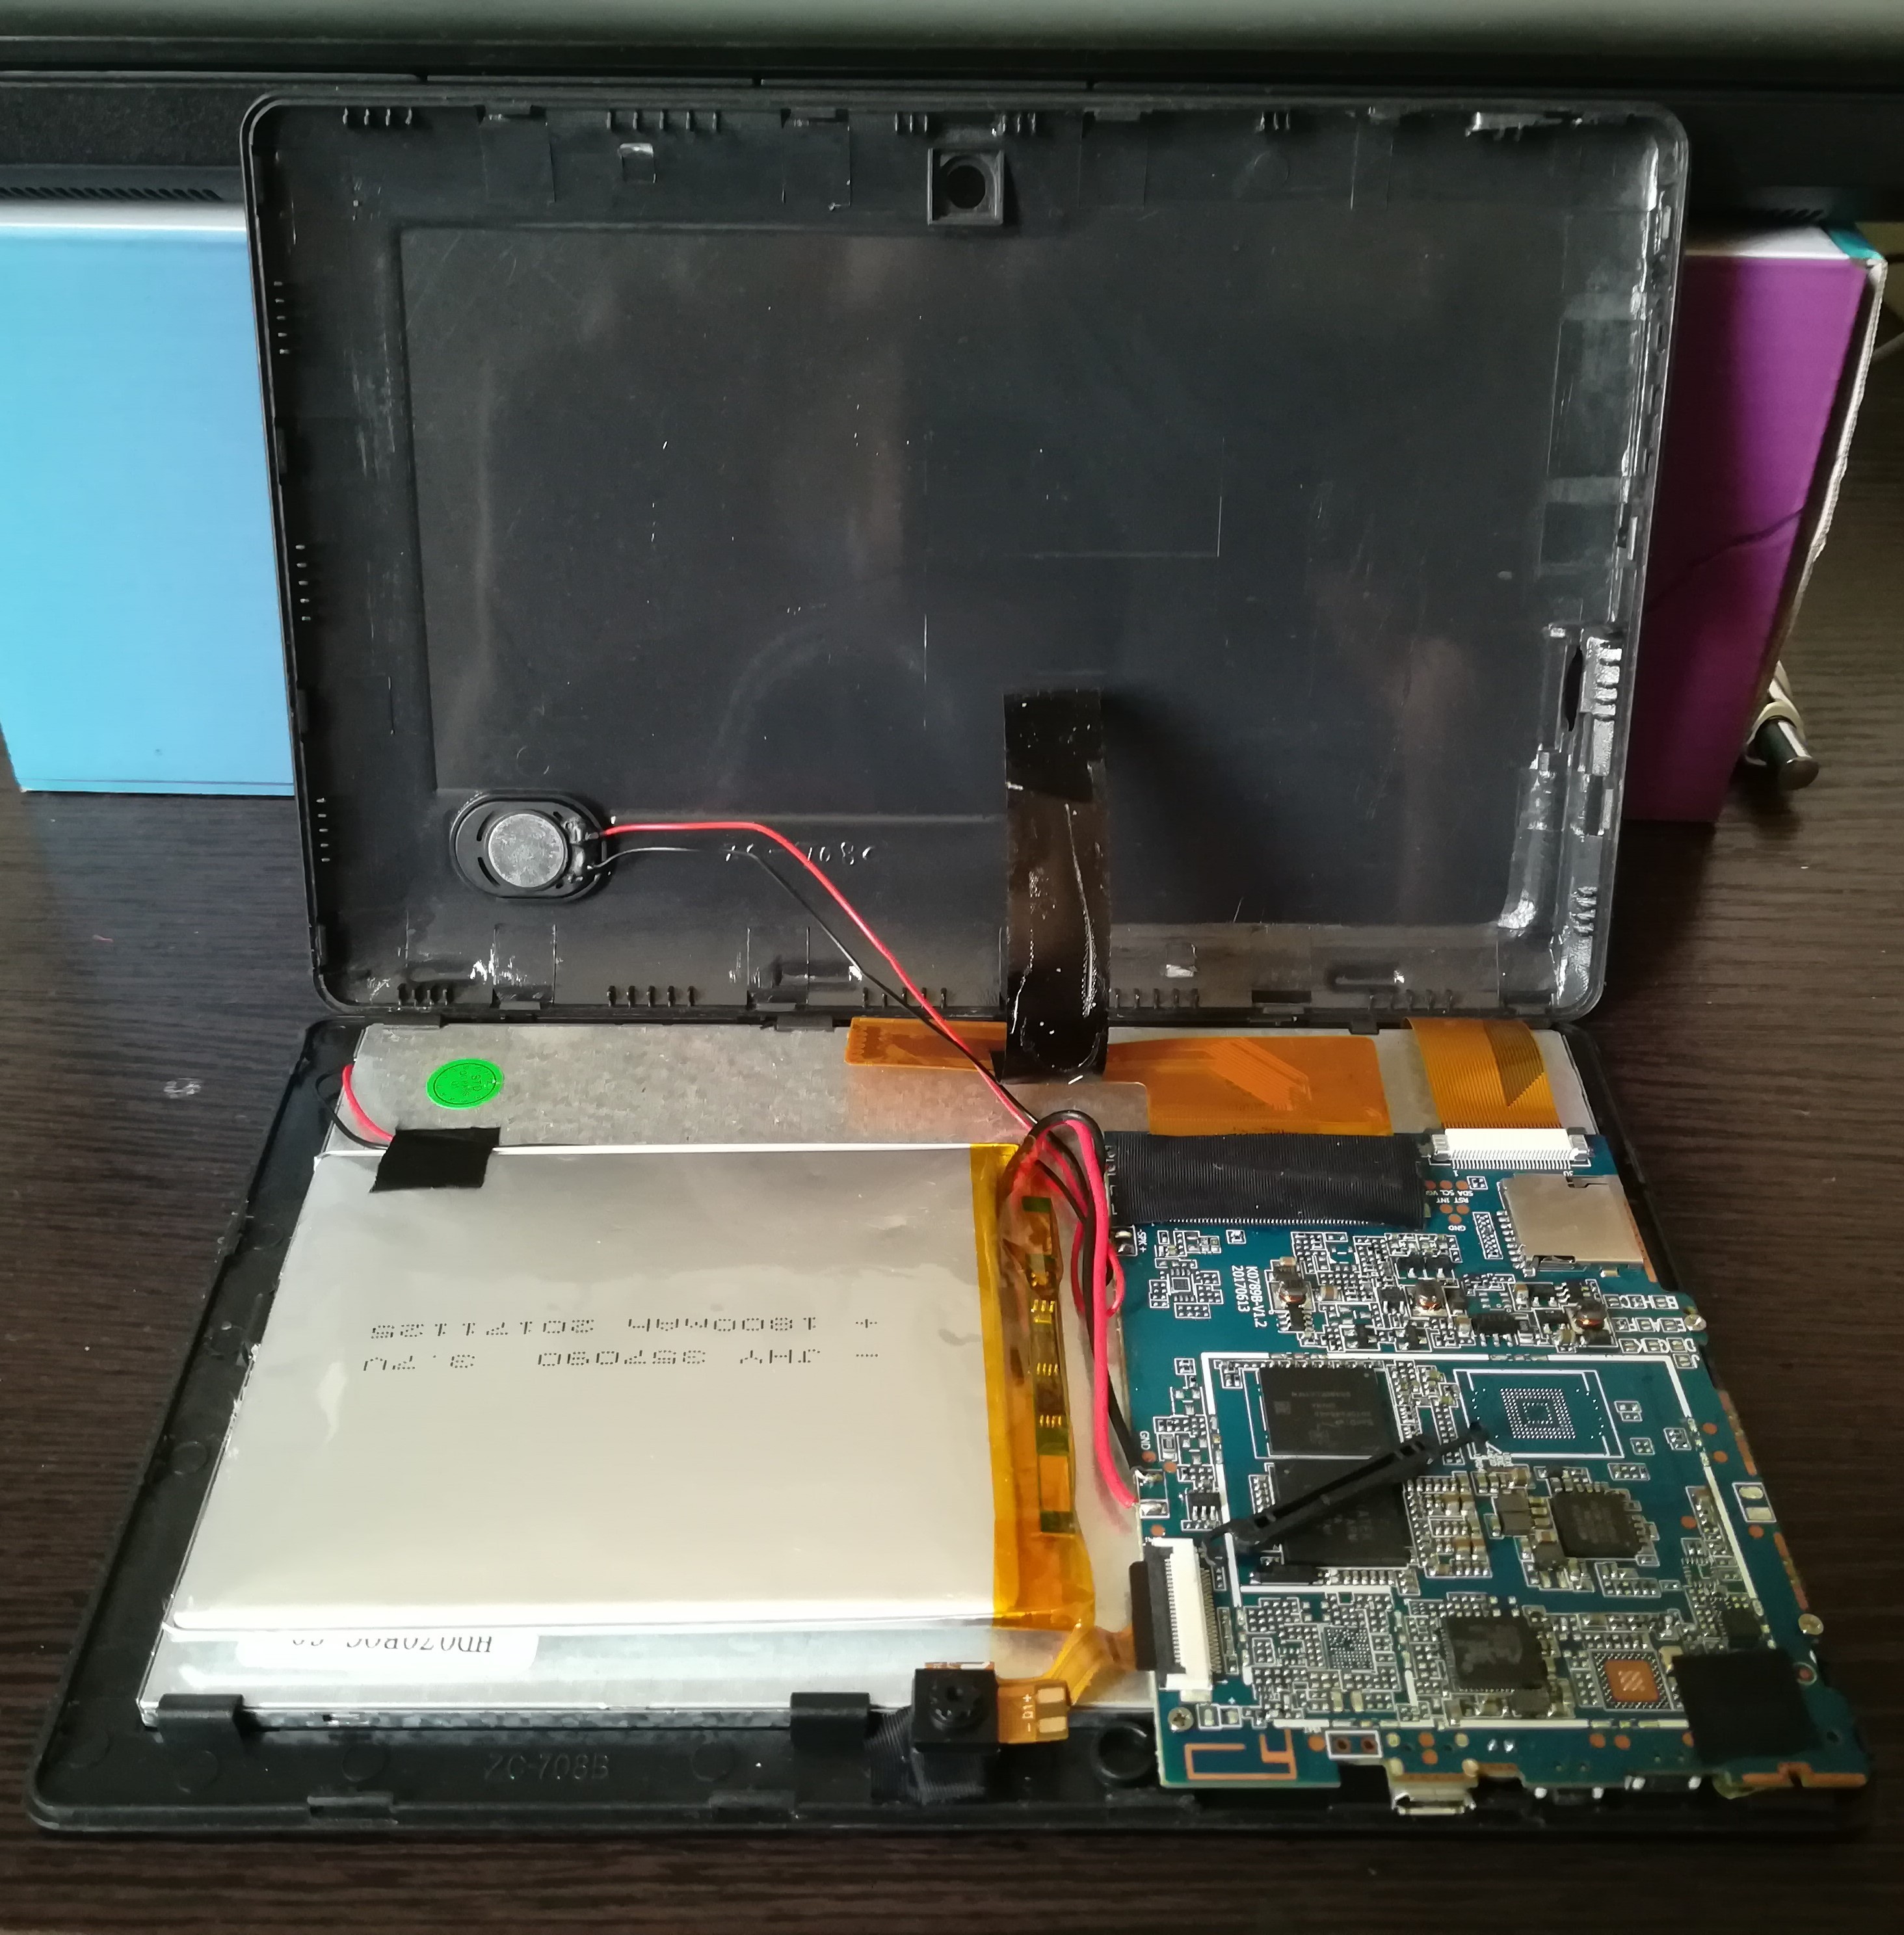
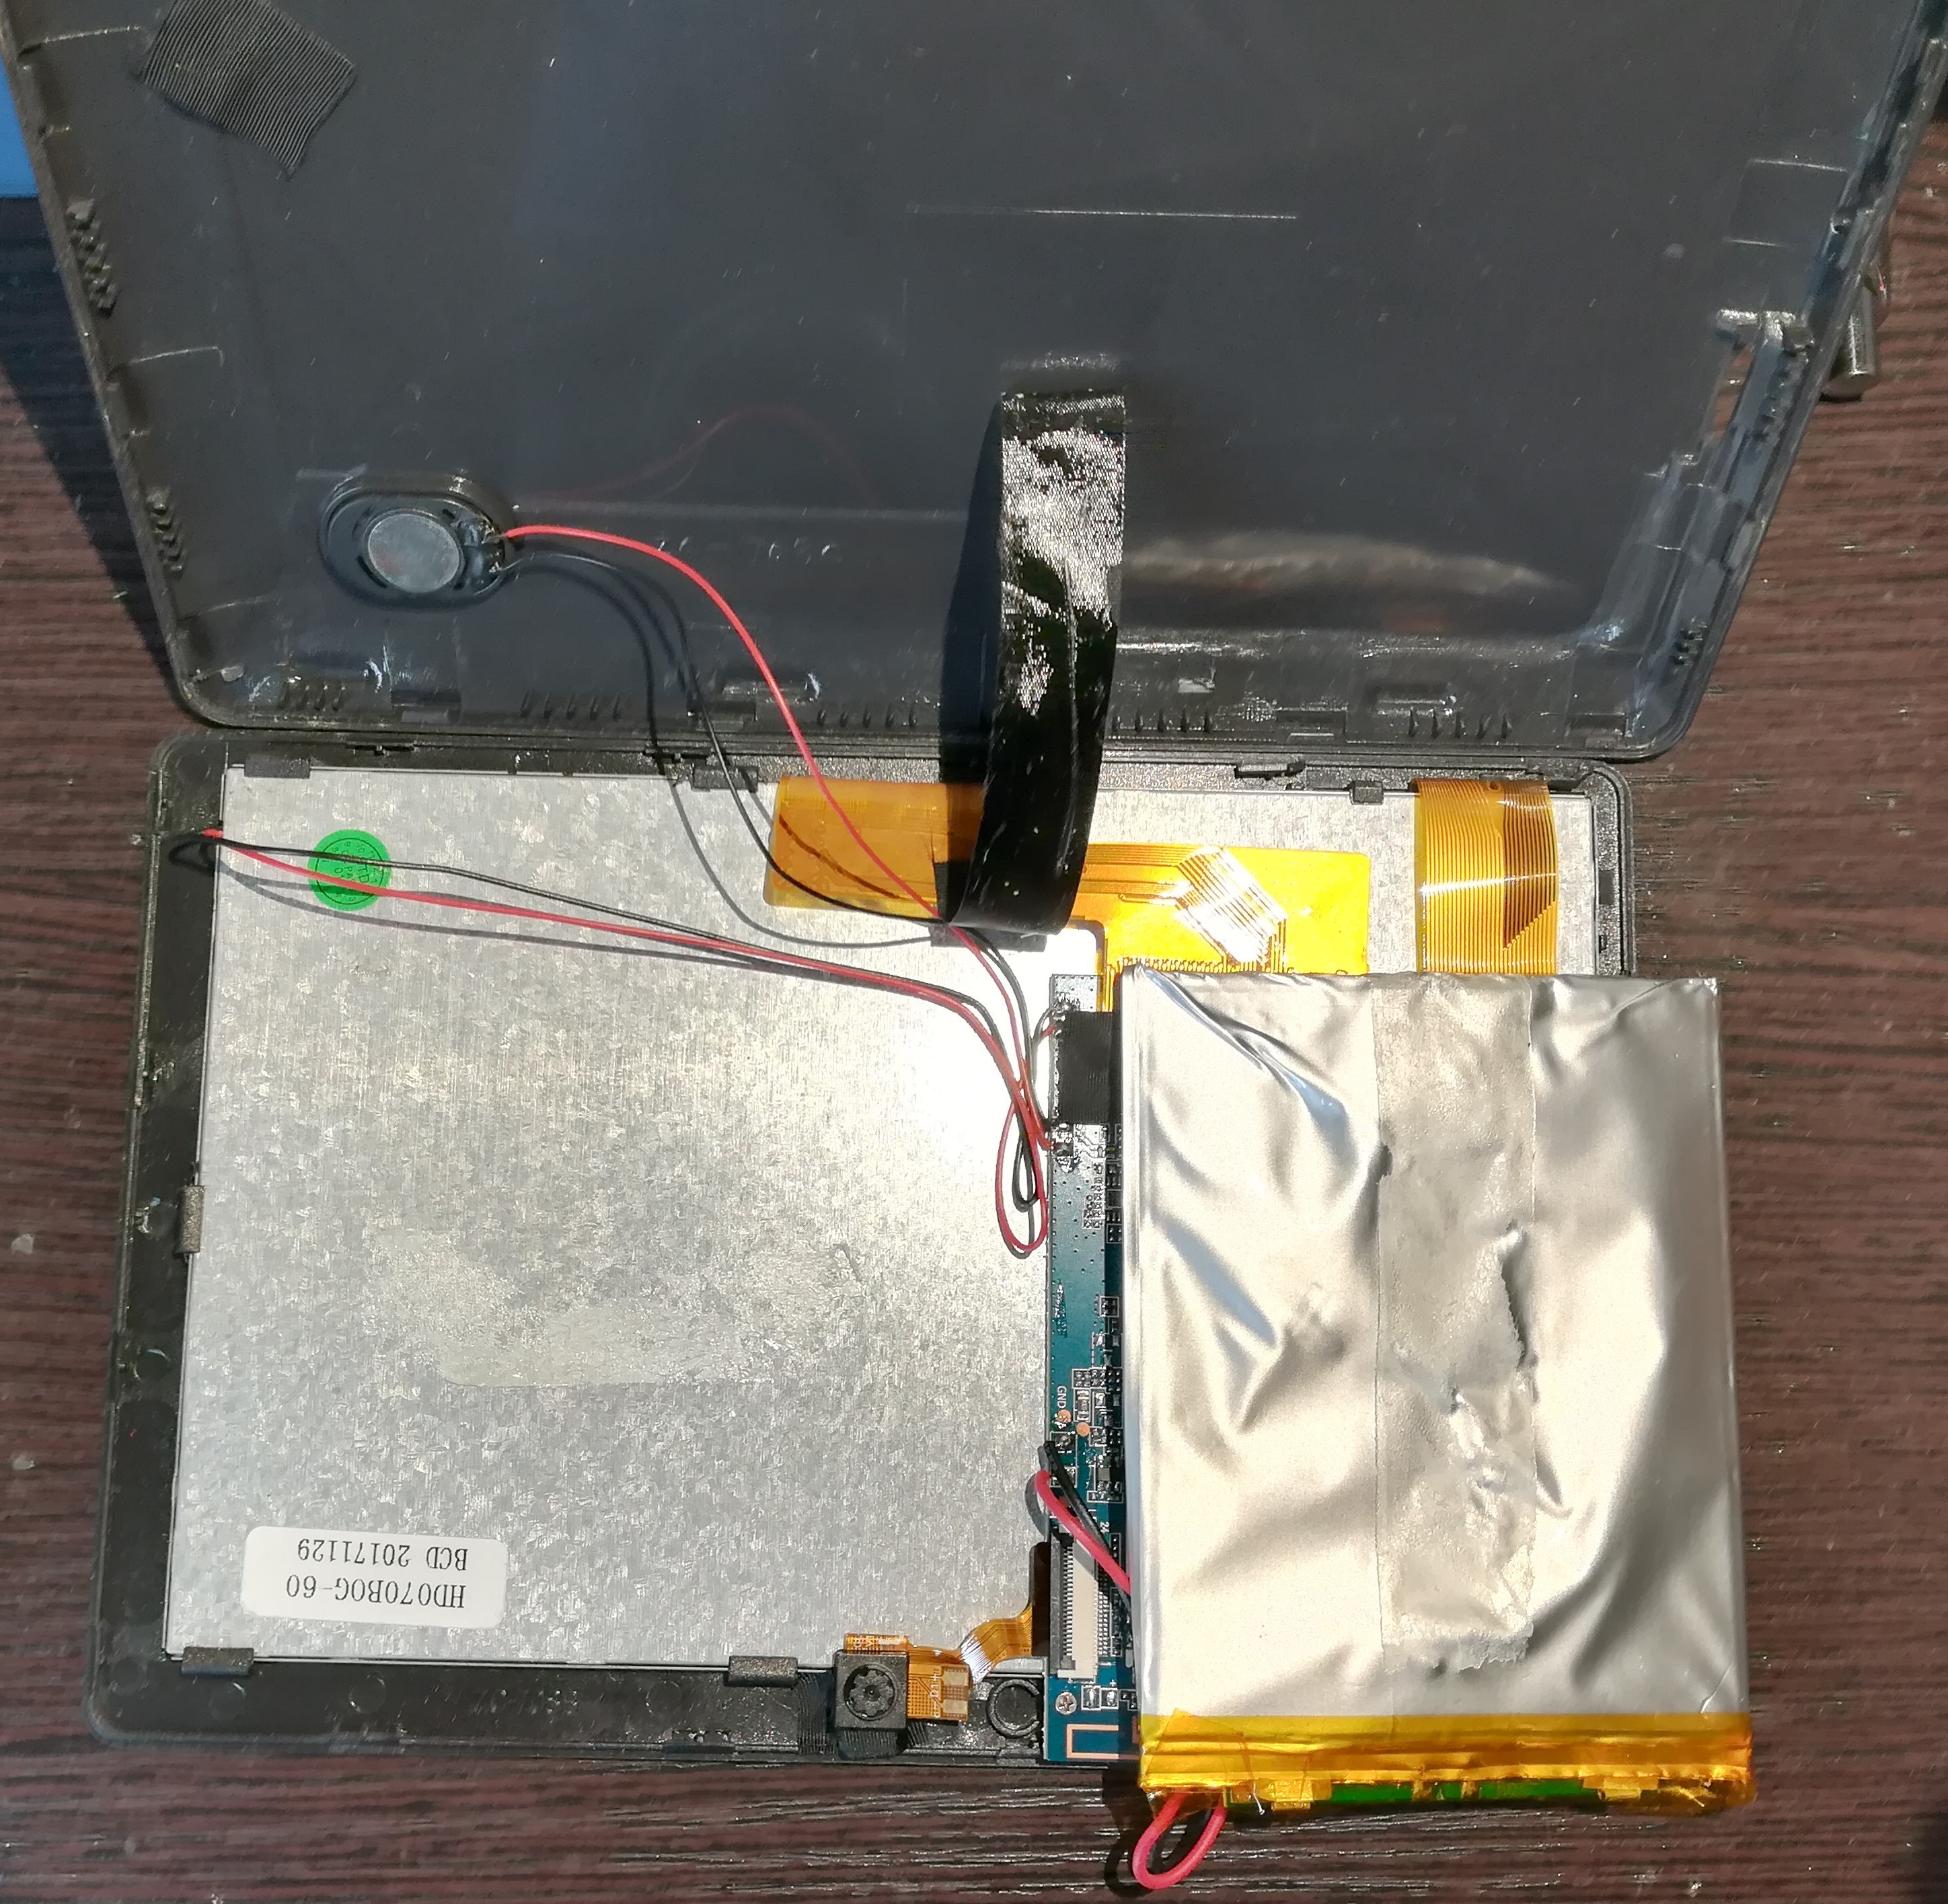
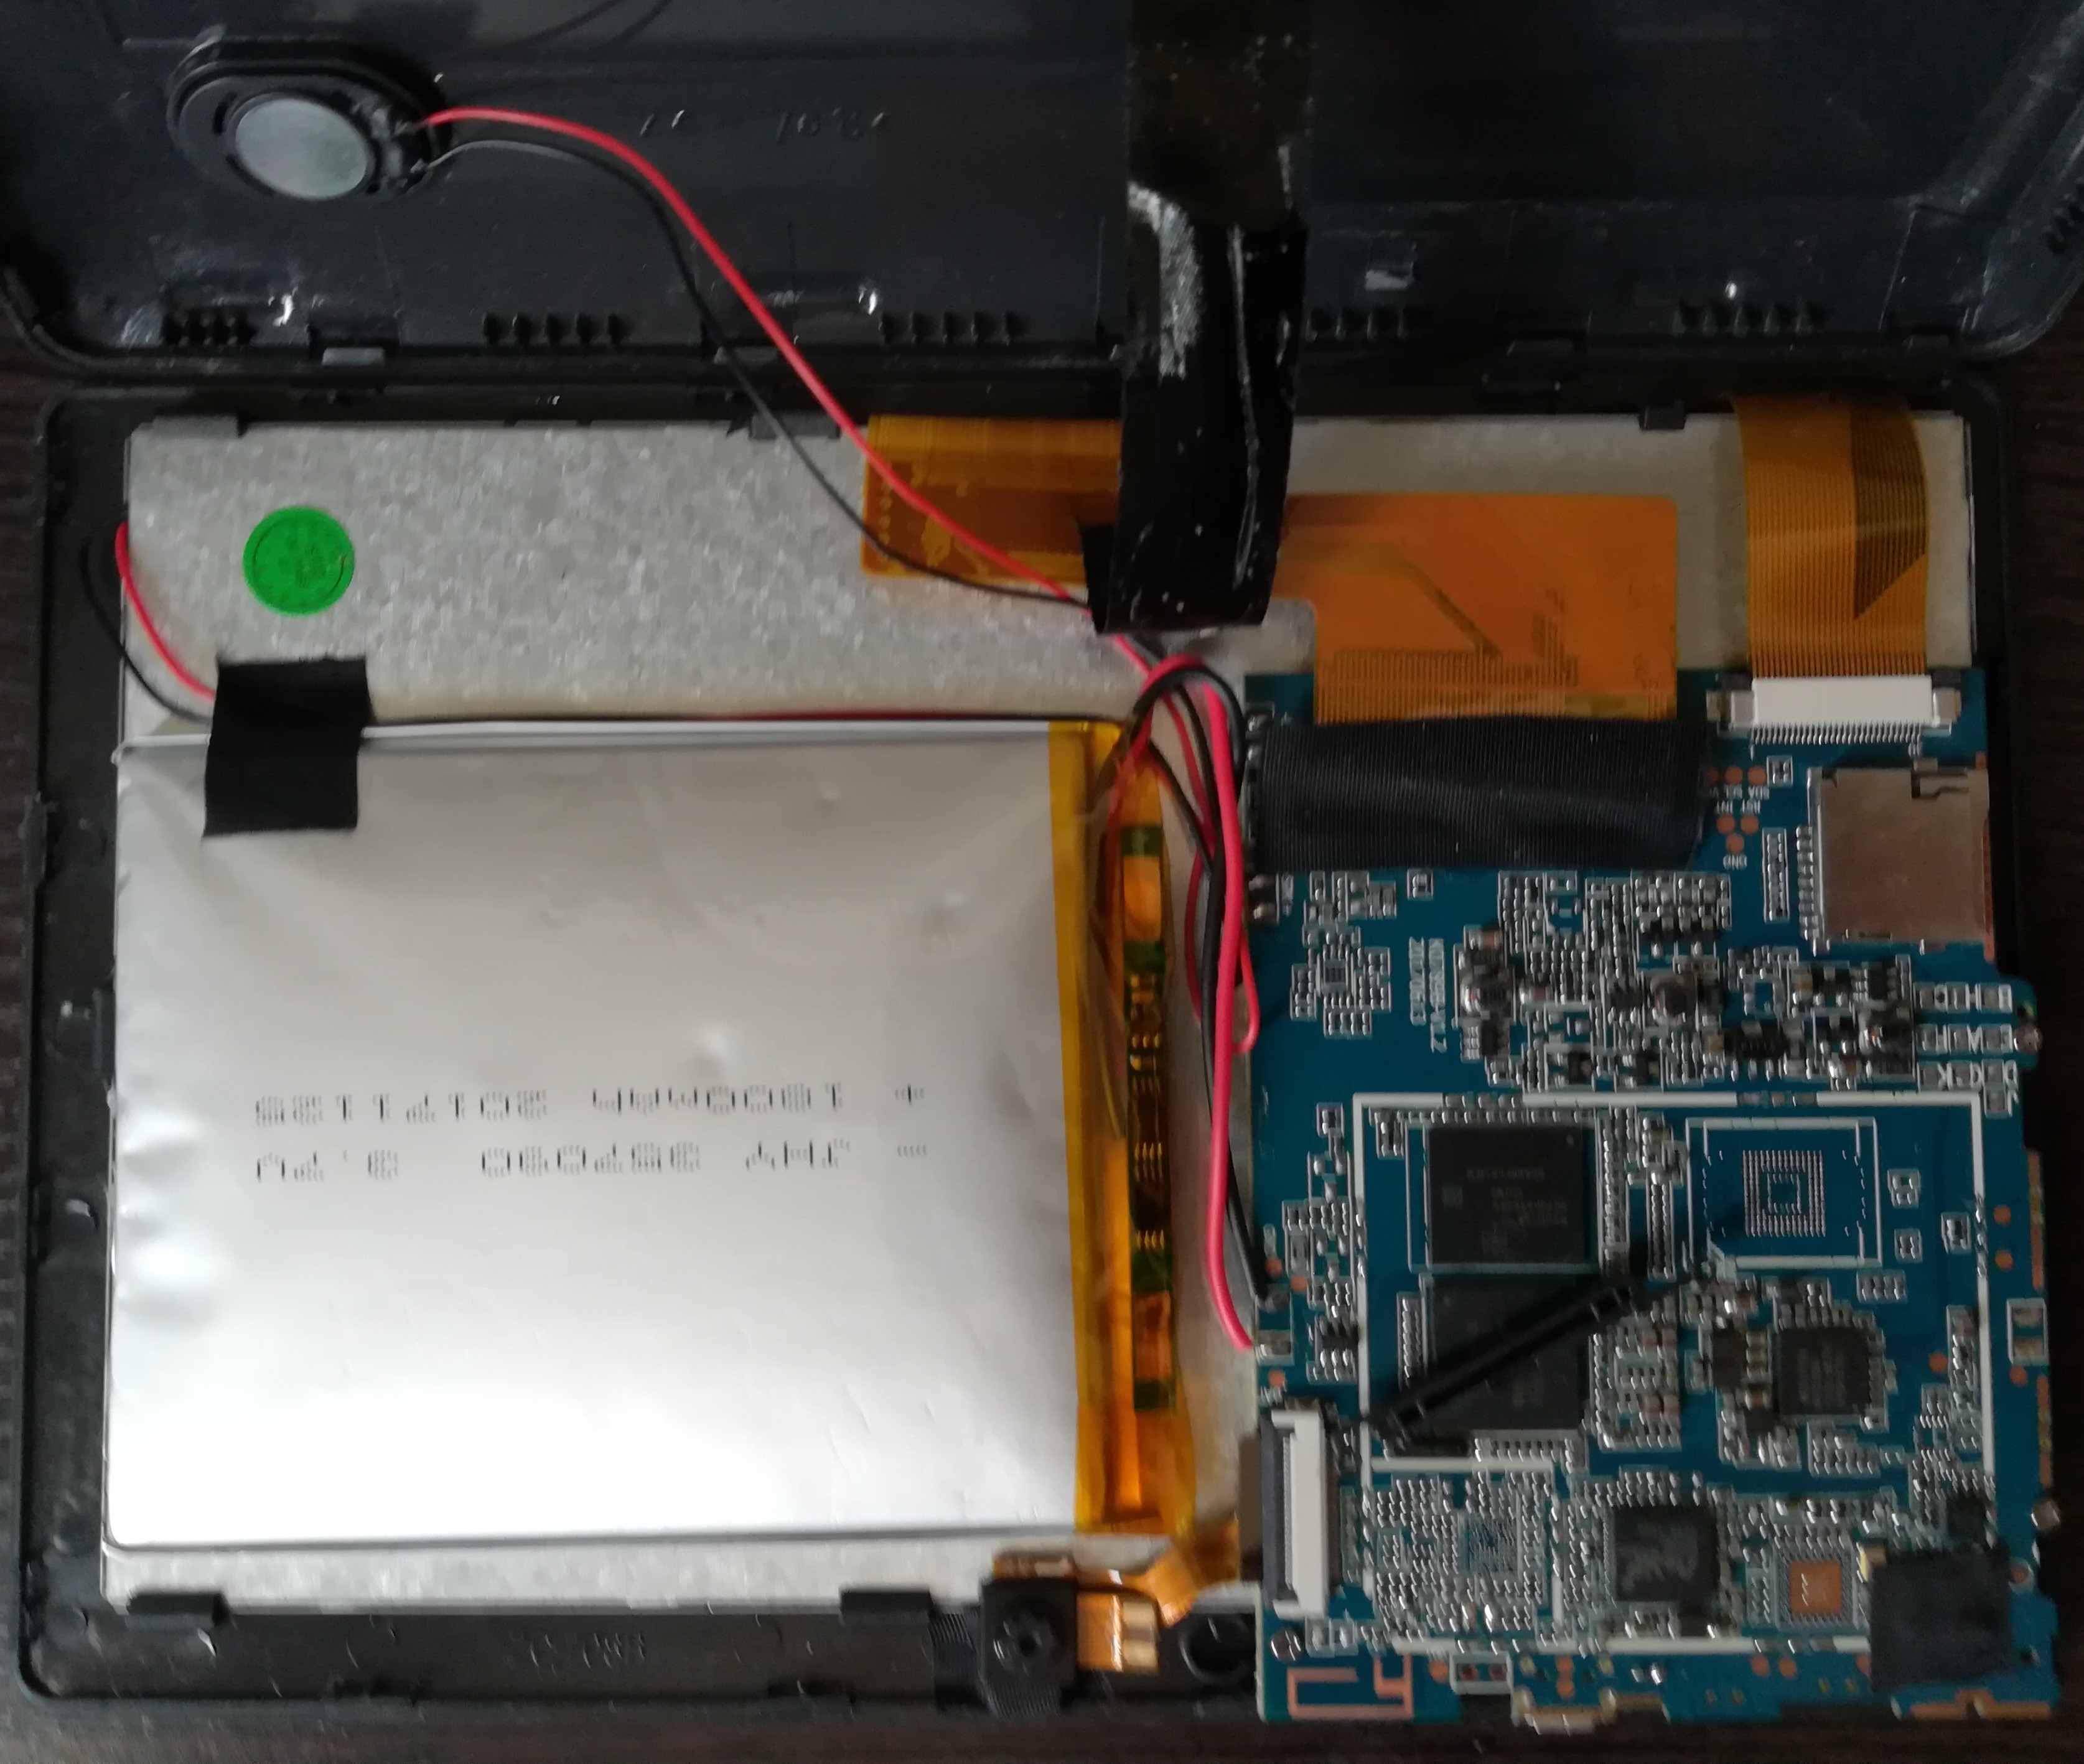
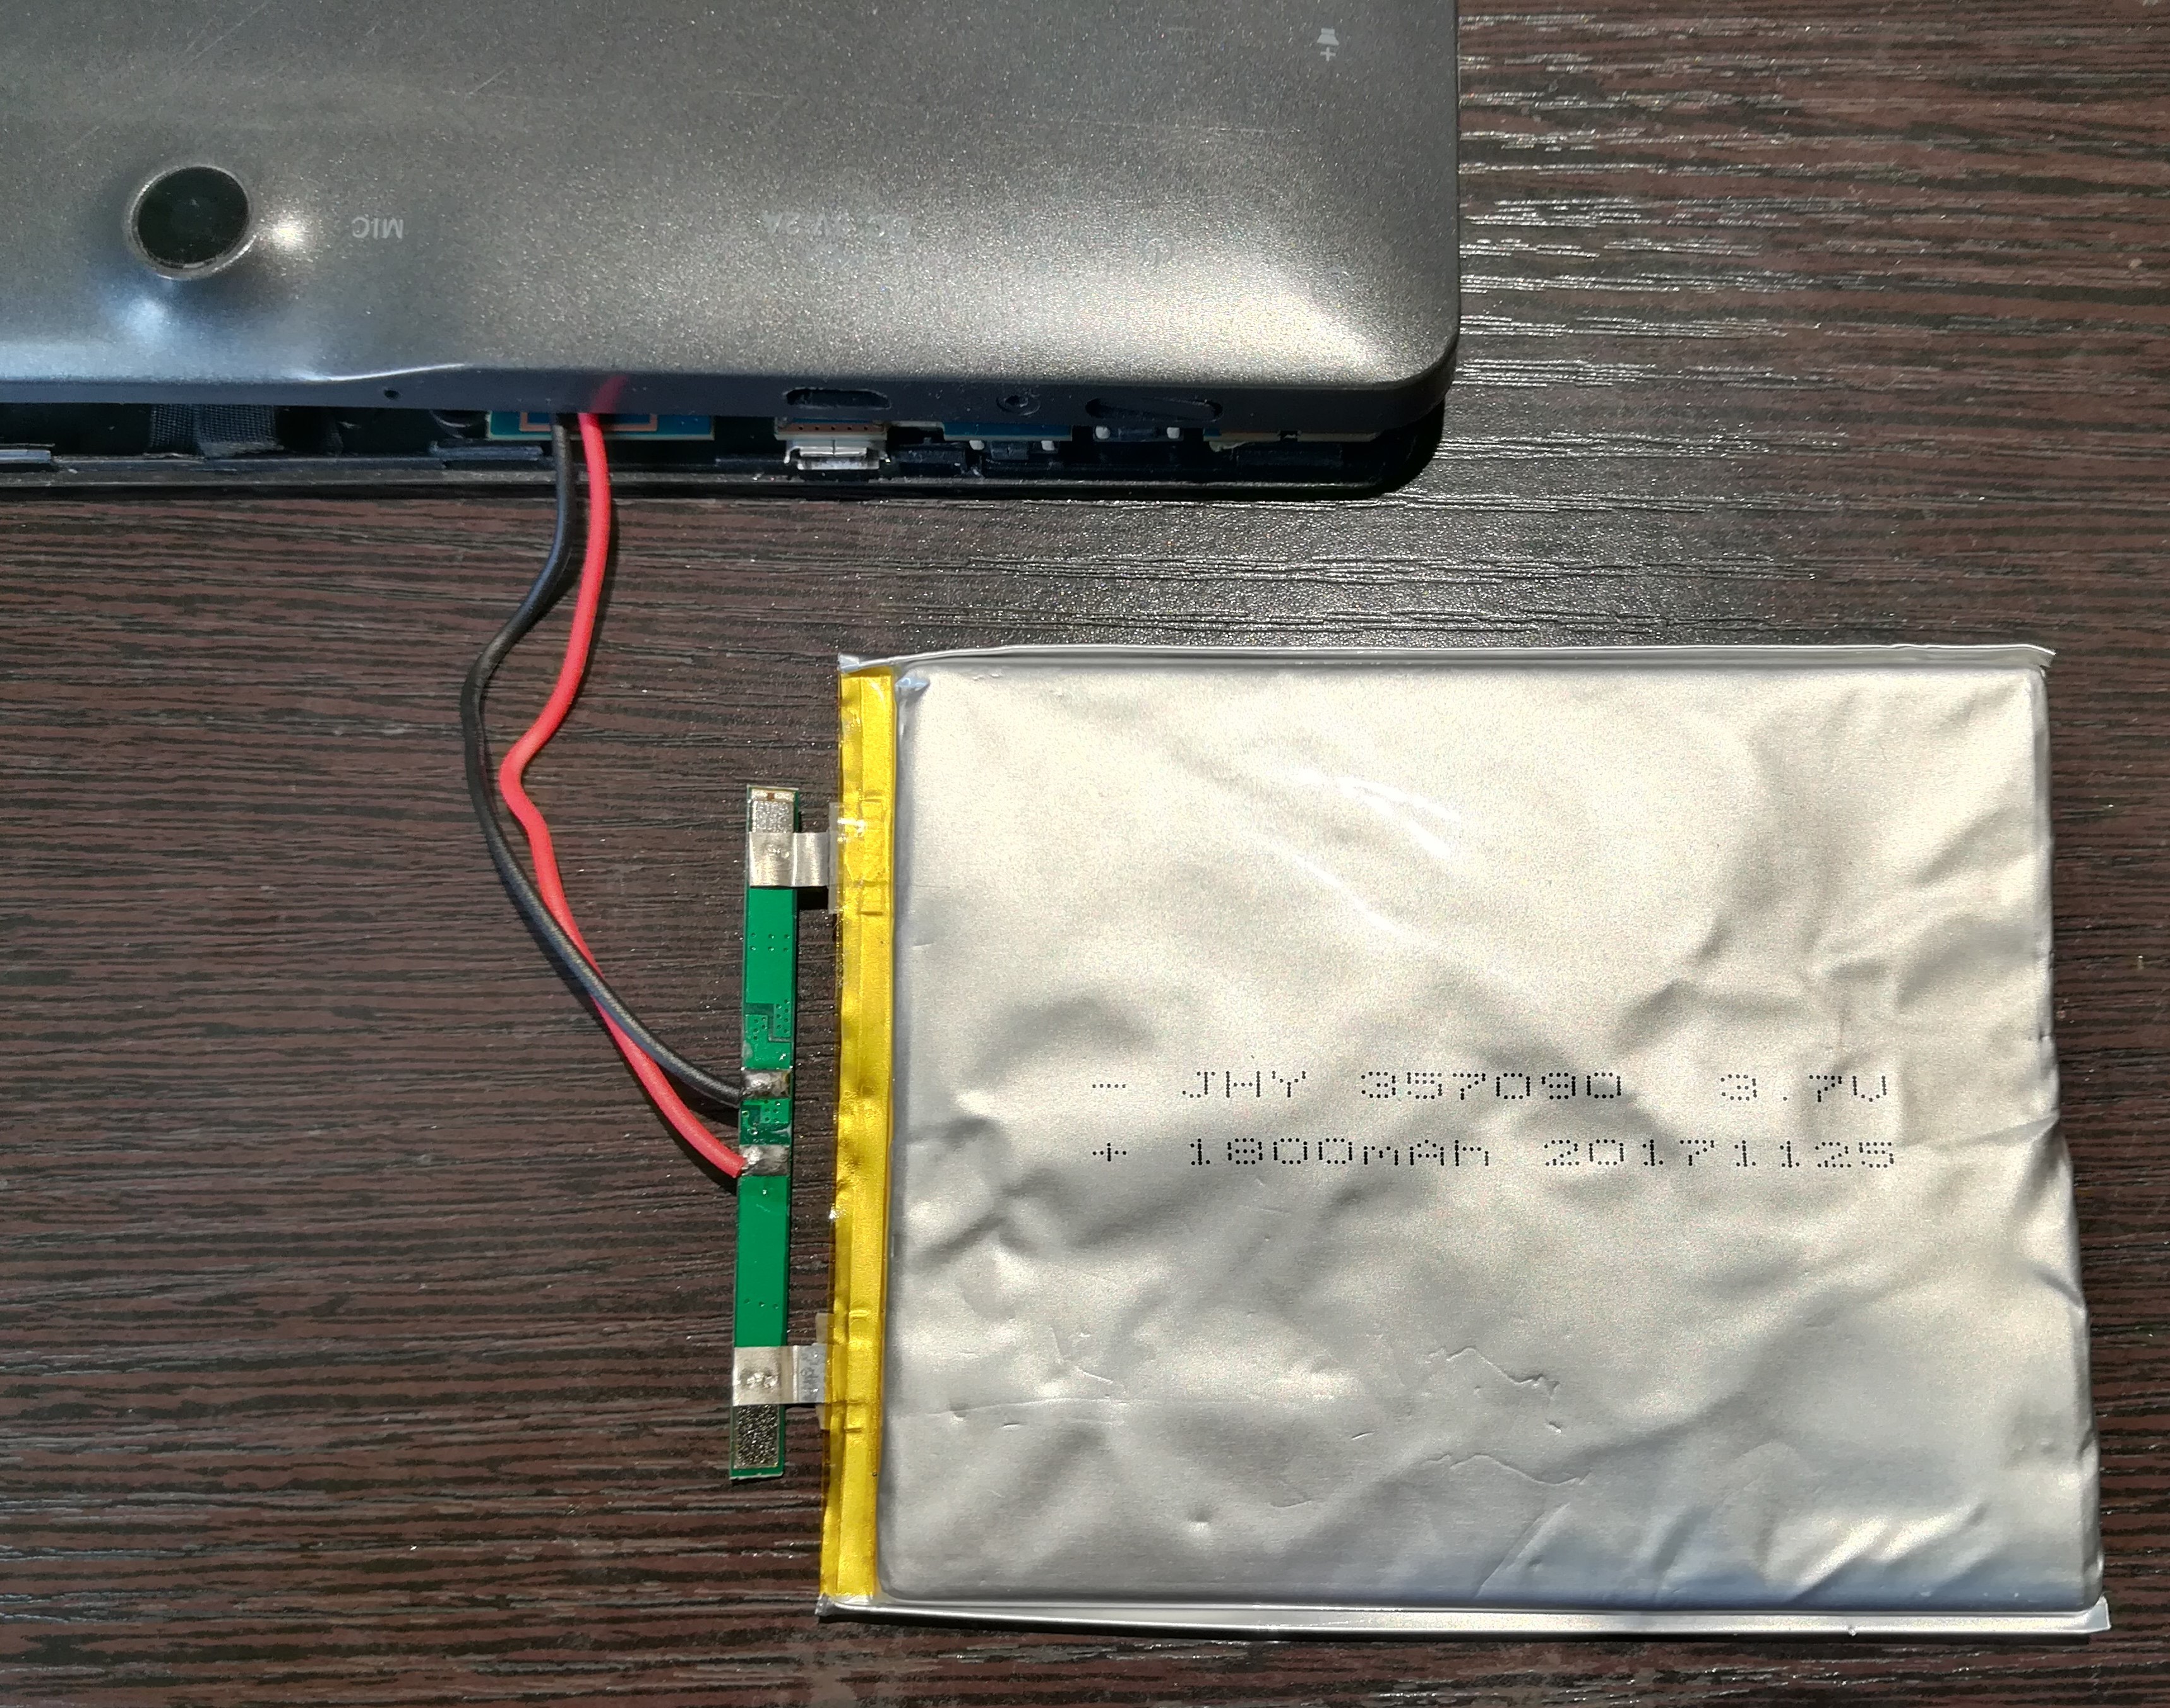
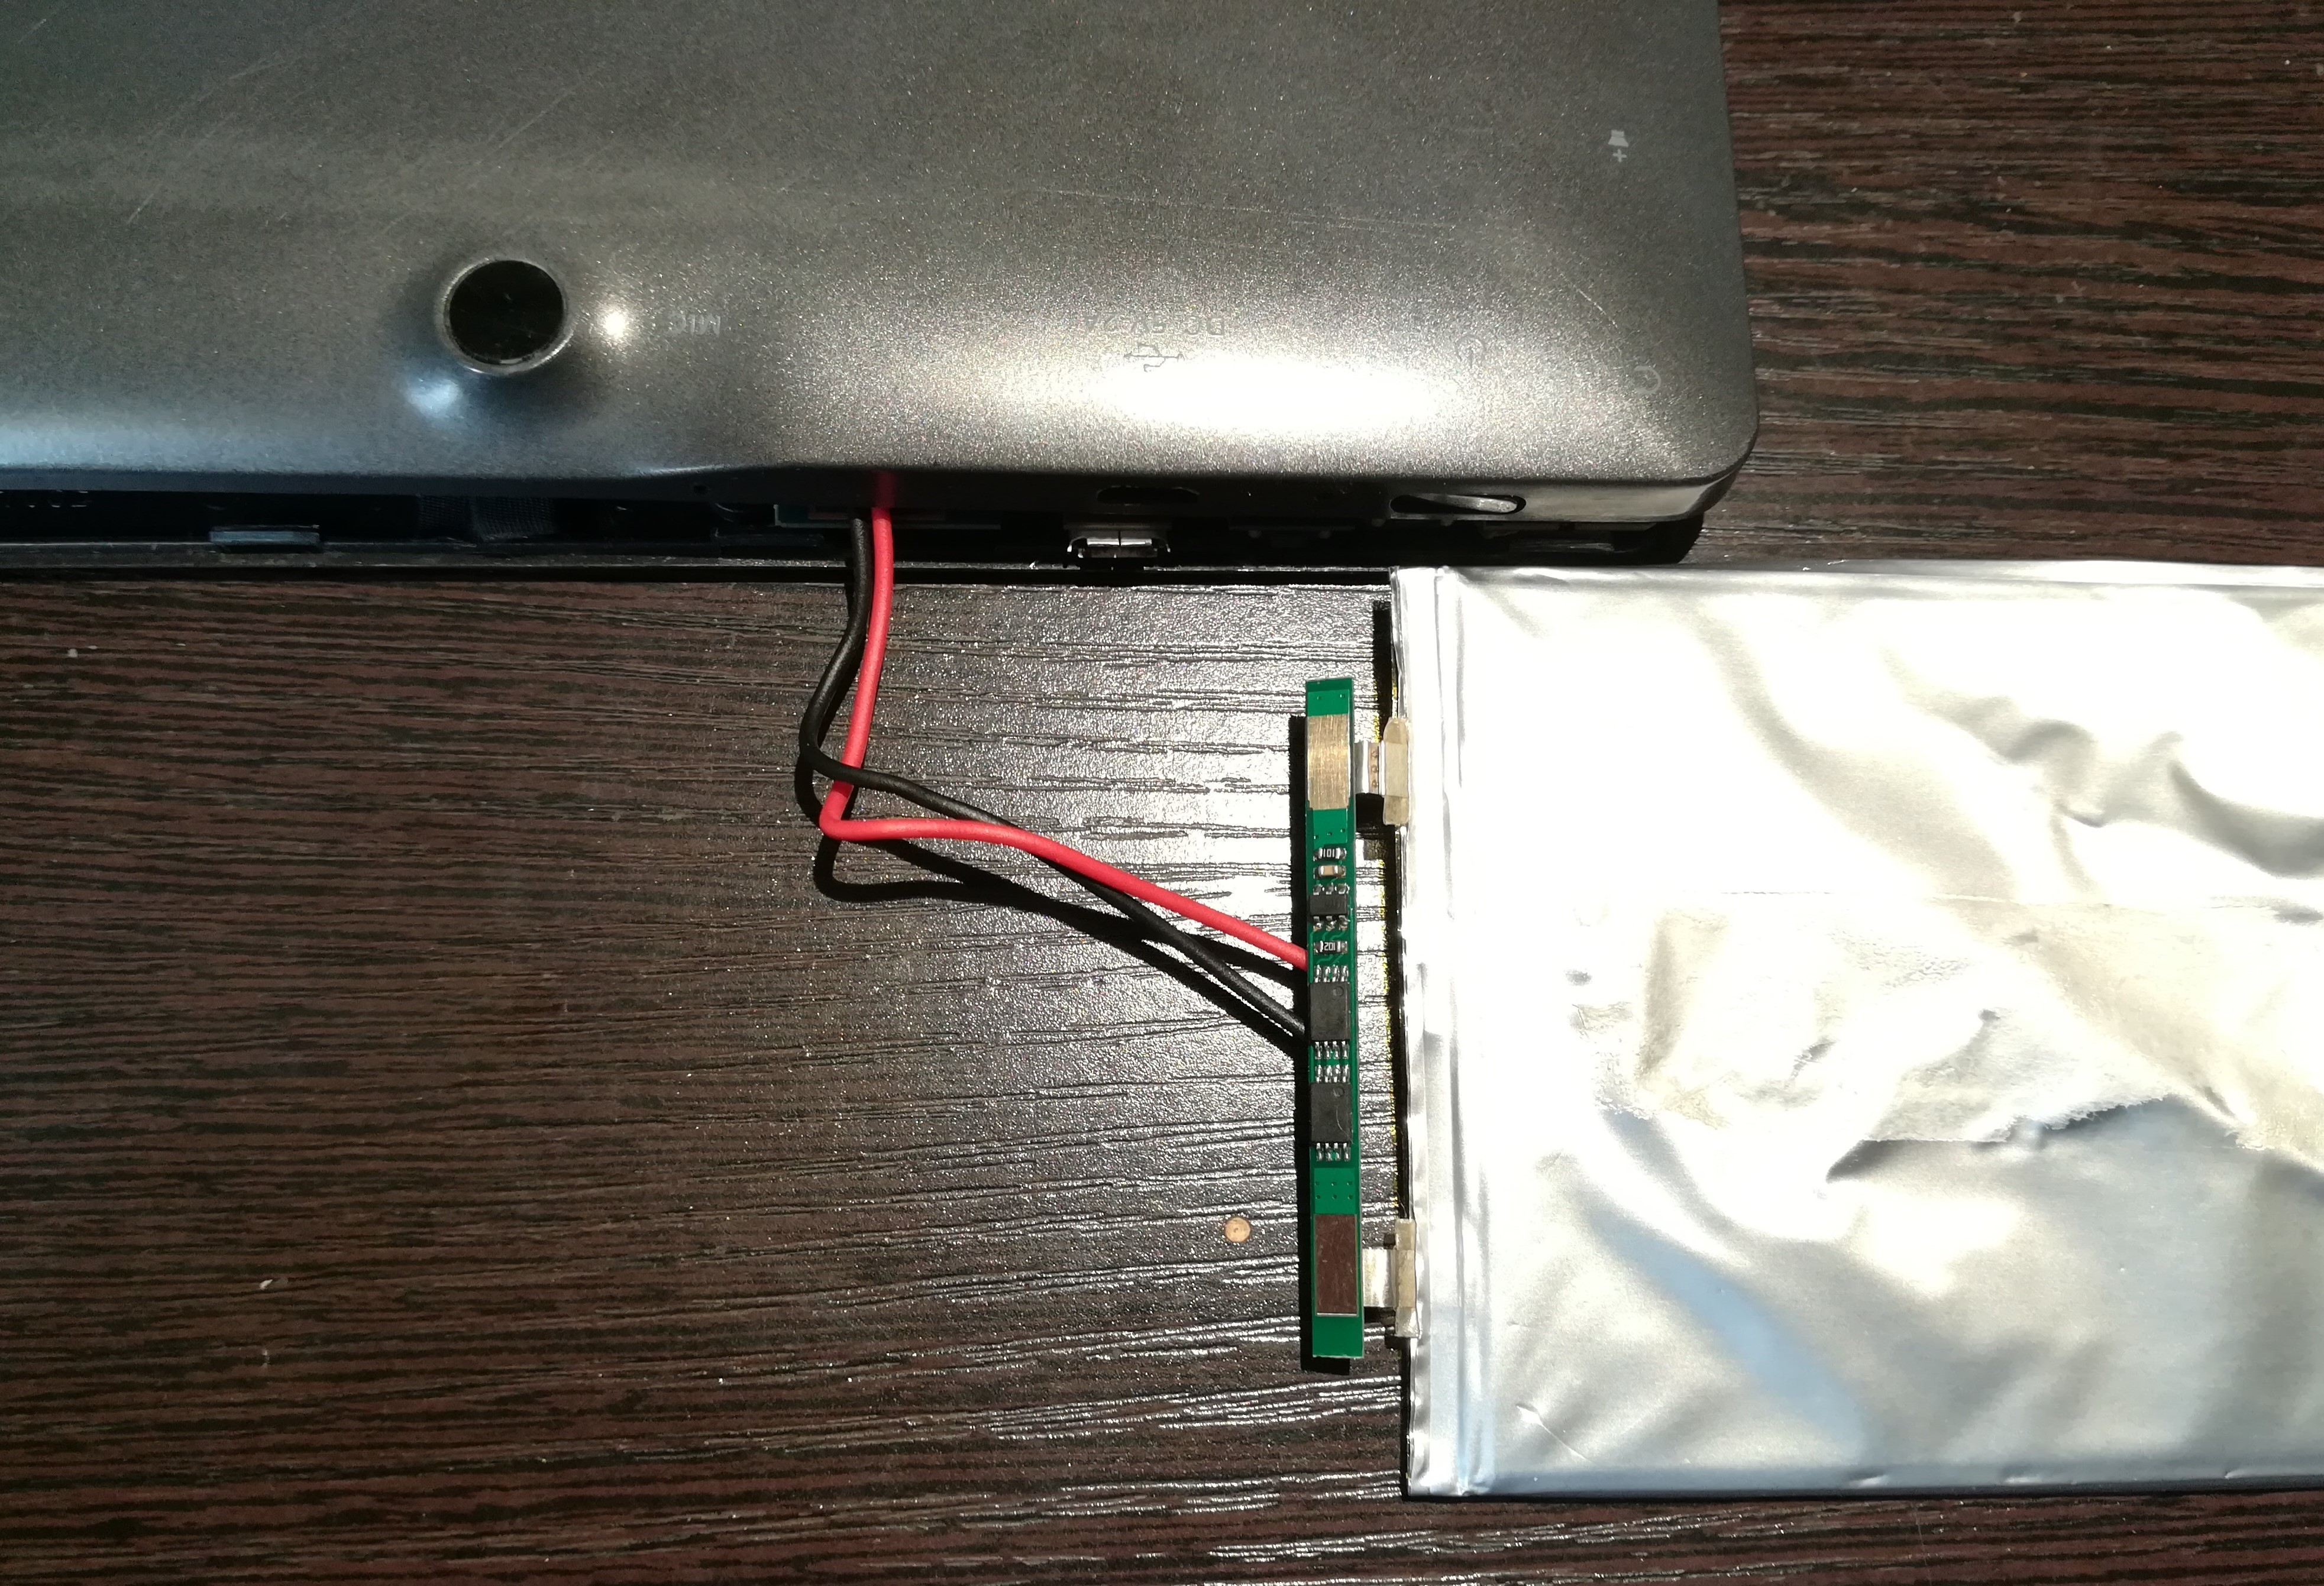
1. Carefully remove the back cover using the flat head screw driver. Be sure not to damage any parts
2. Remove the black tapes to expose the battery wires.
3. Take out the existing battery. The battery will be fixed to the display panel with strong glue. So be careful not to damage the display while removing.
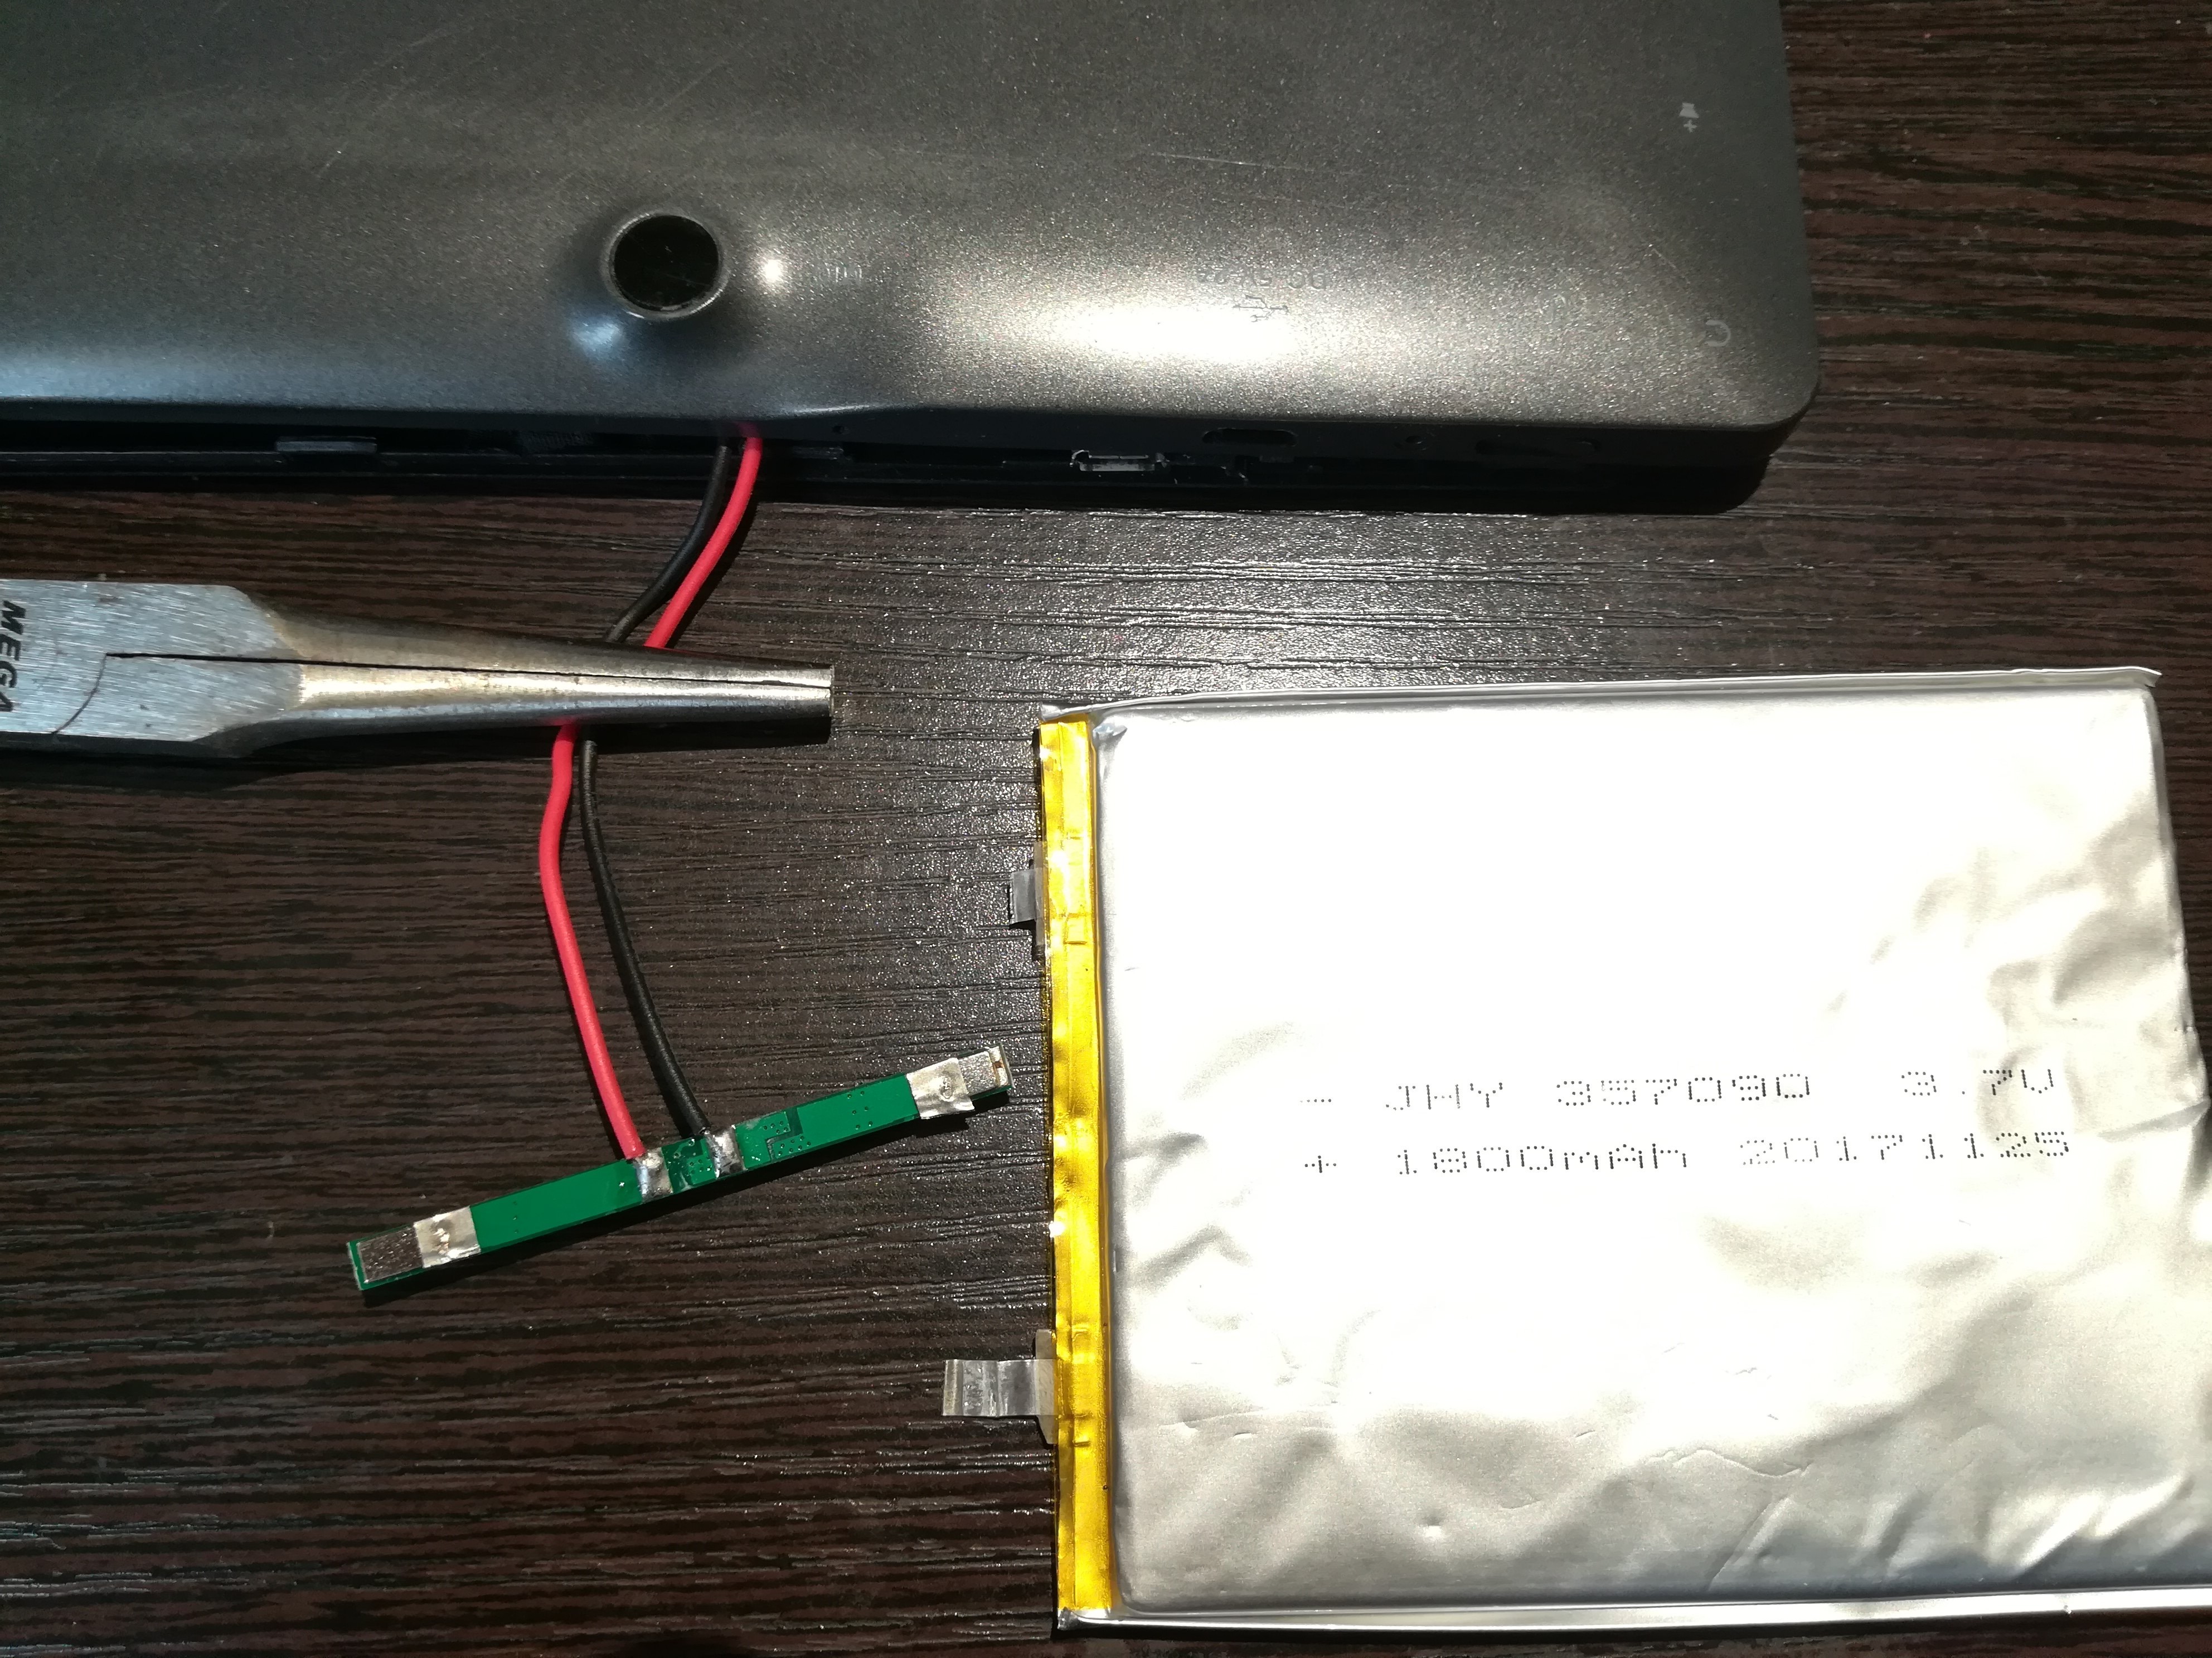
4. Once the battery is out, separate the Battery Management System (BMS) board. Take note of the positive and negative terminals of the BMS board.
5. The connections will be spot welded, so you will have to cut the connecting metal using the cutter.
6. Discard the battery carefully.
Connecting the 18650 LiPo Battery
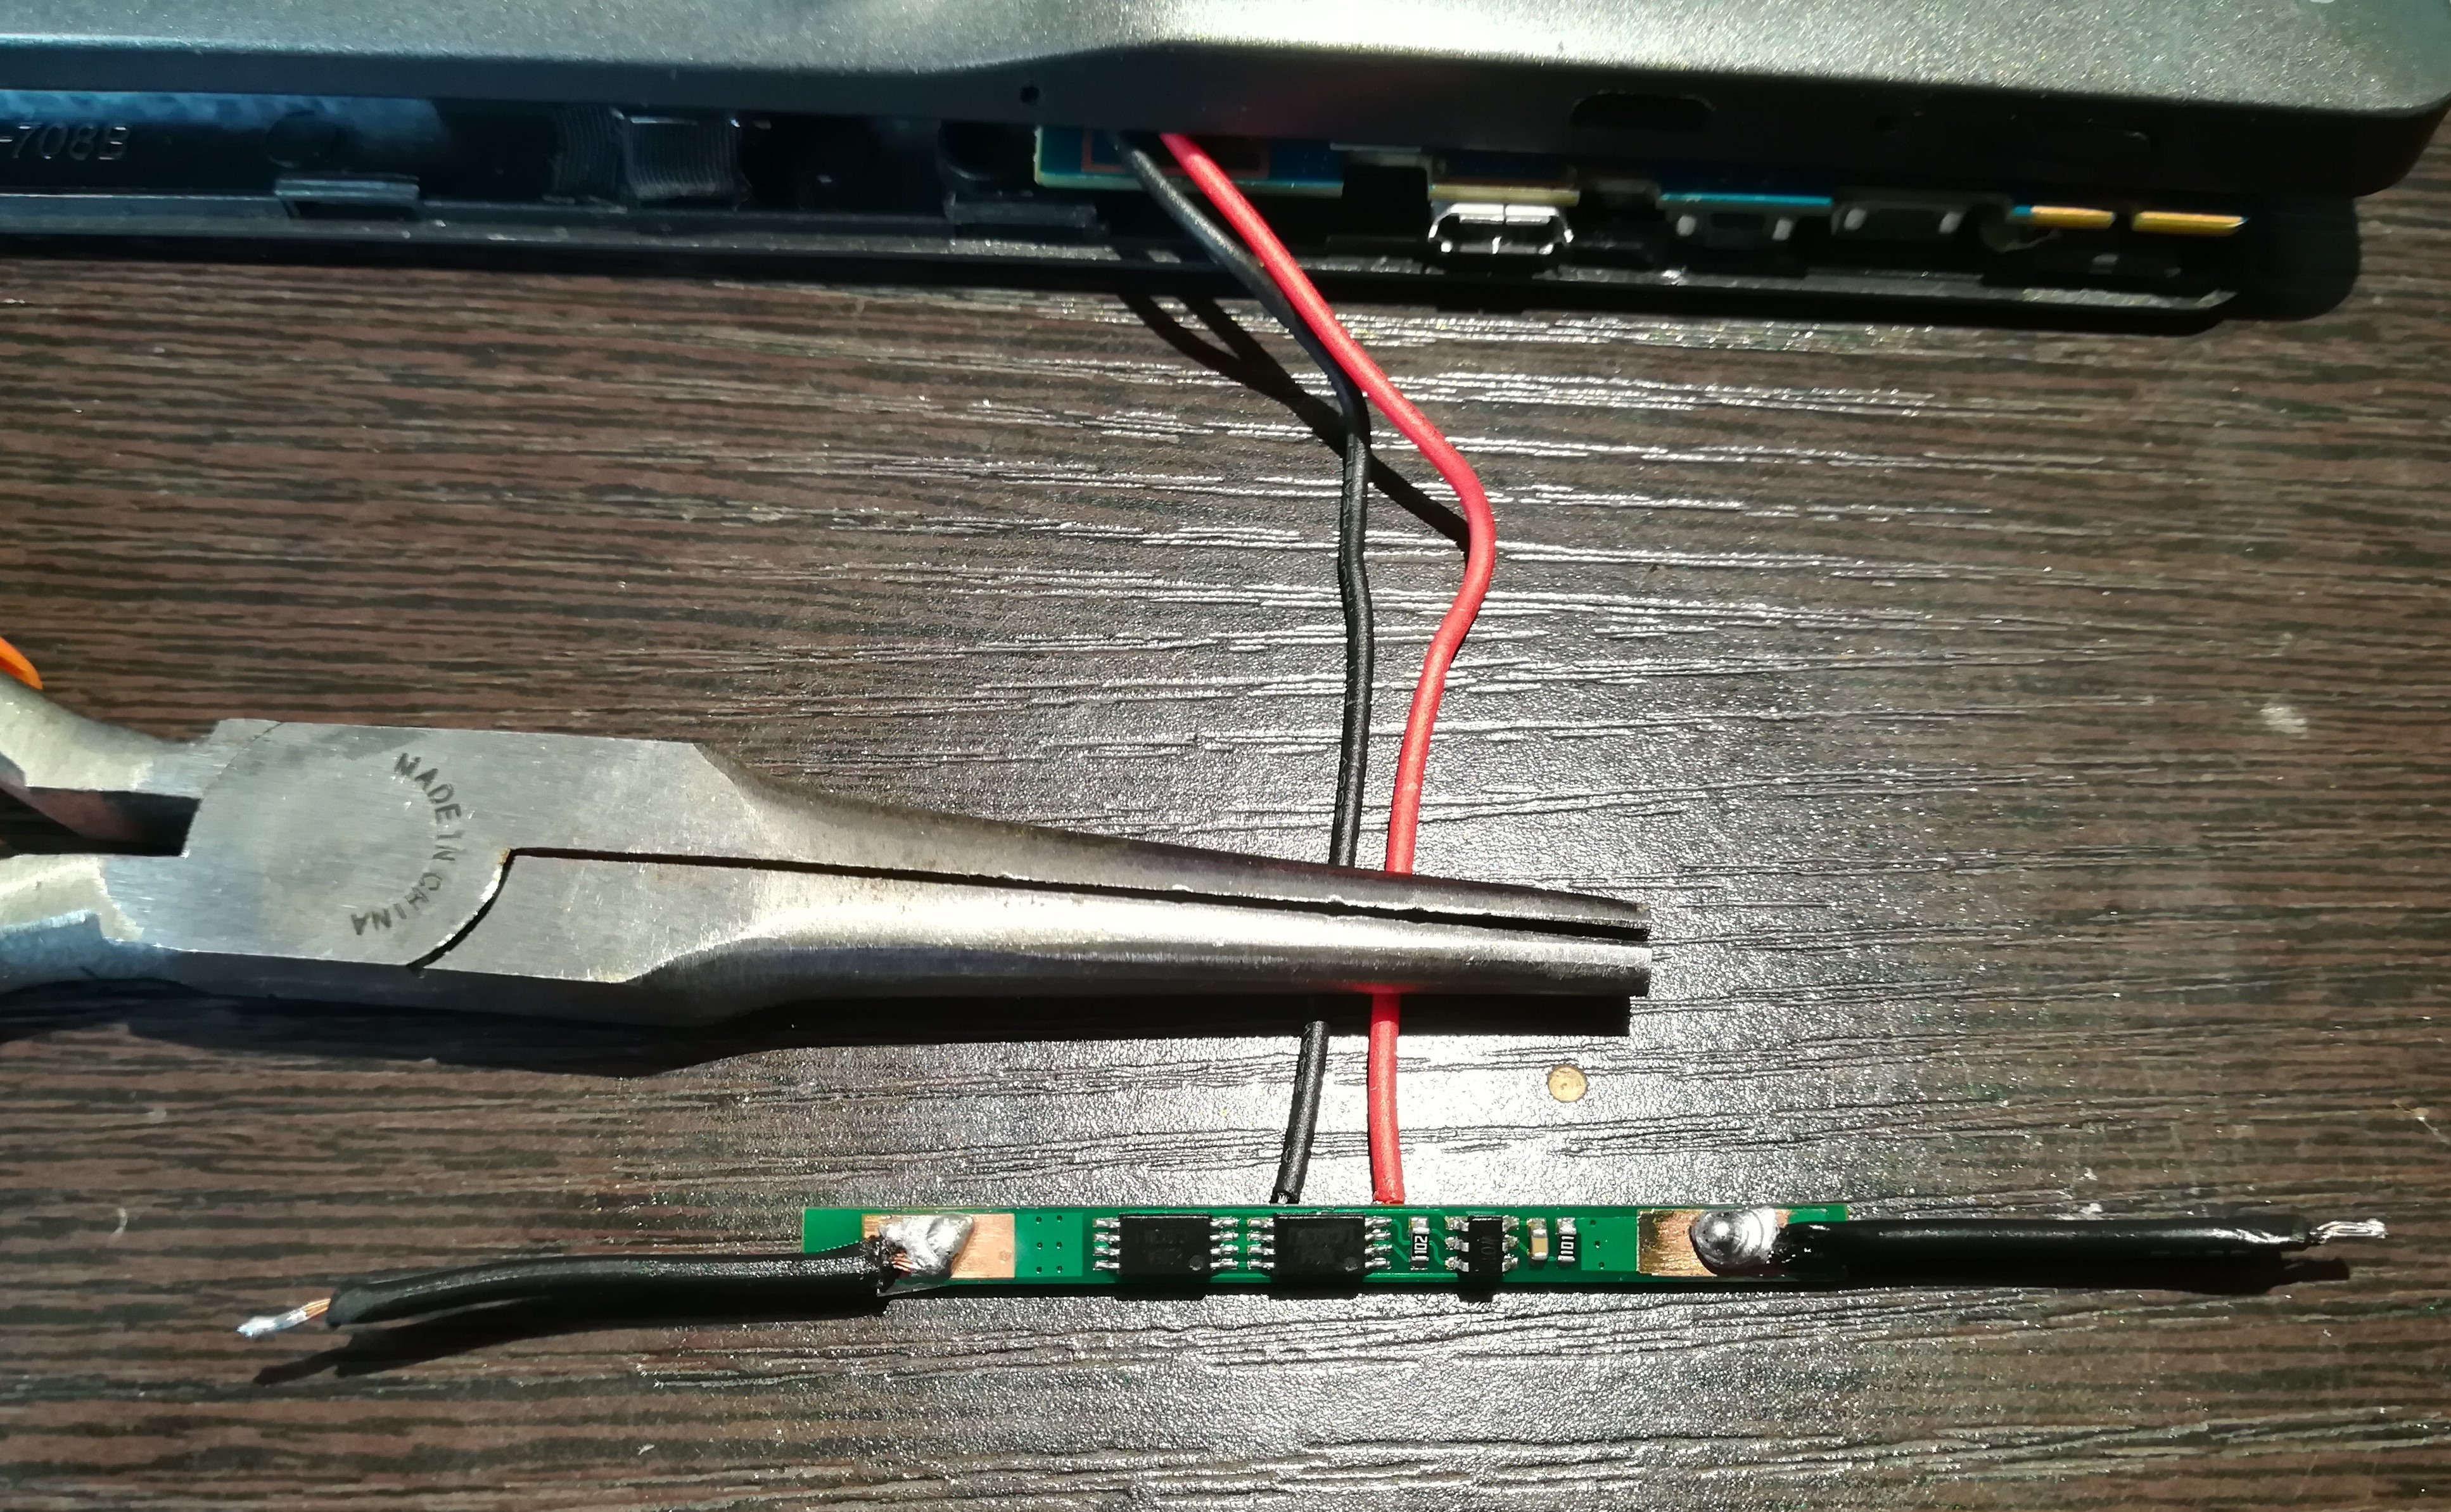
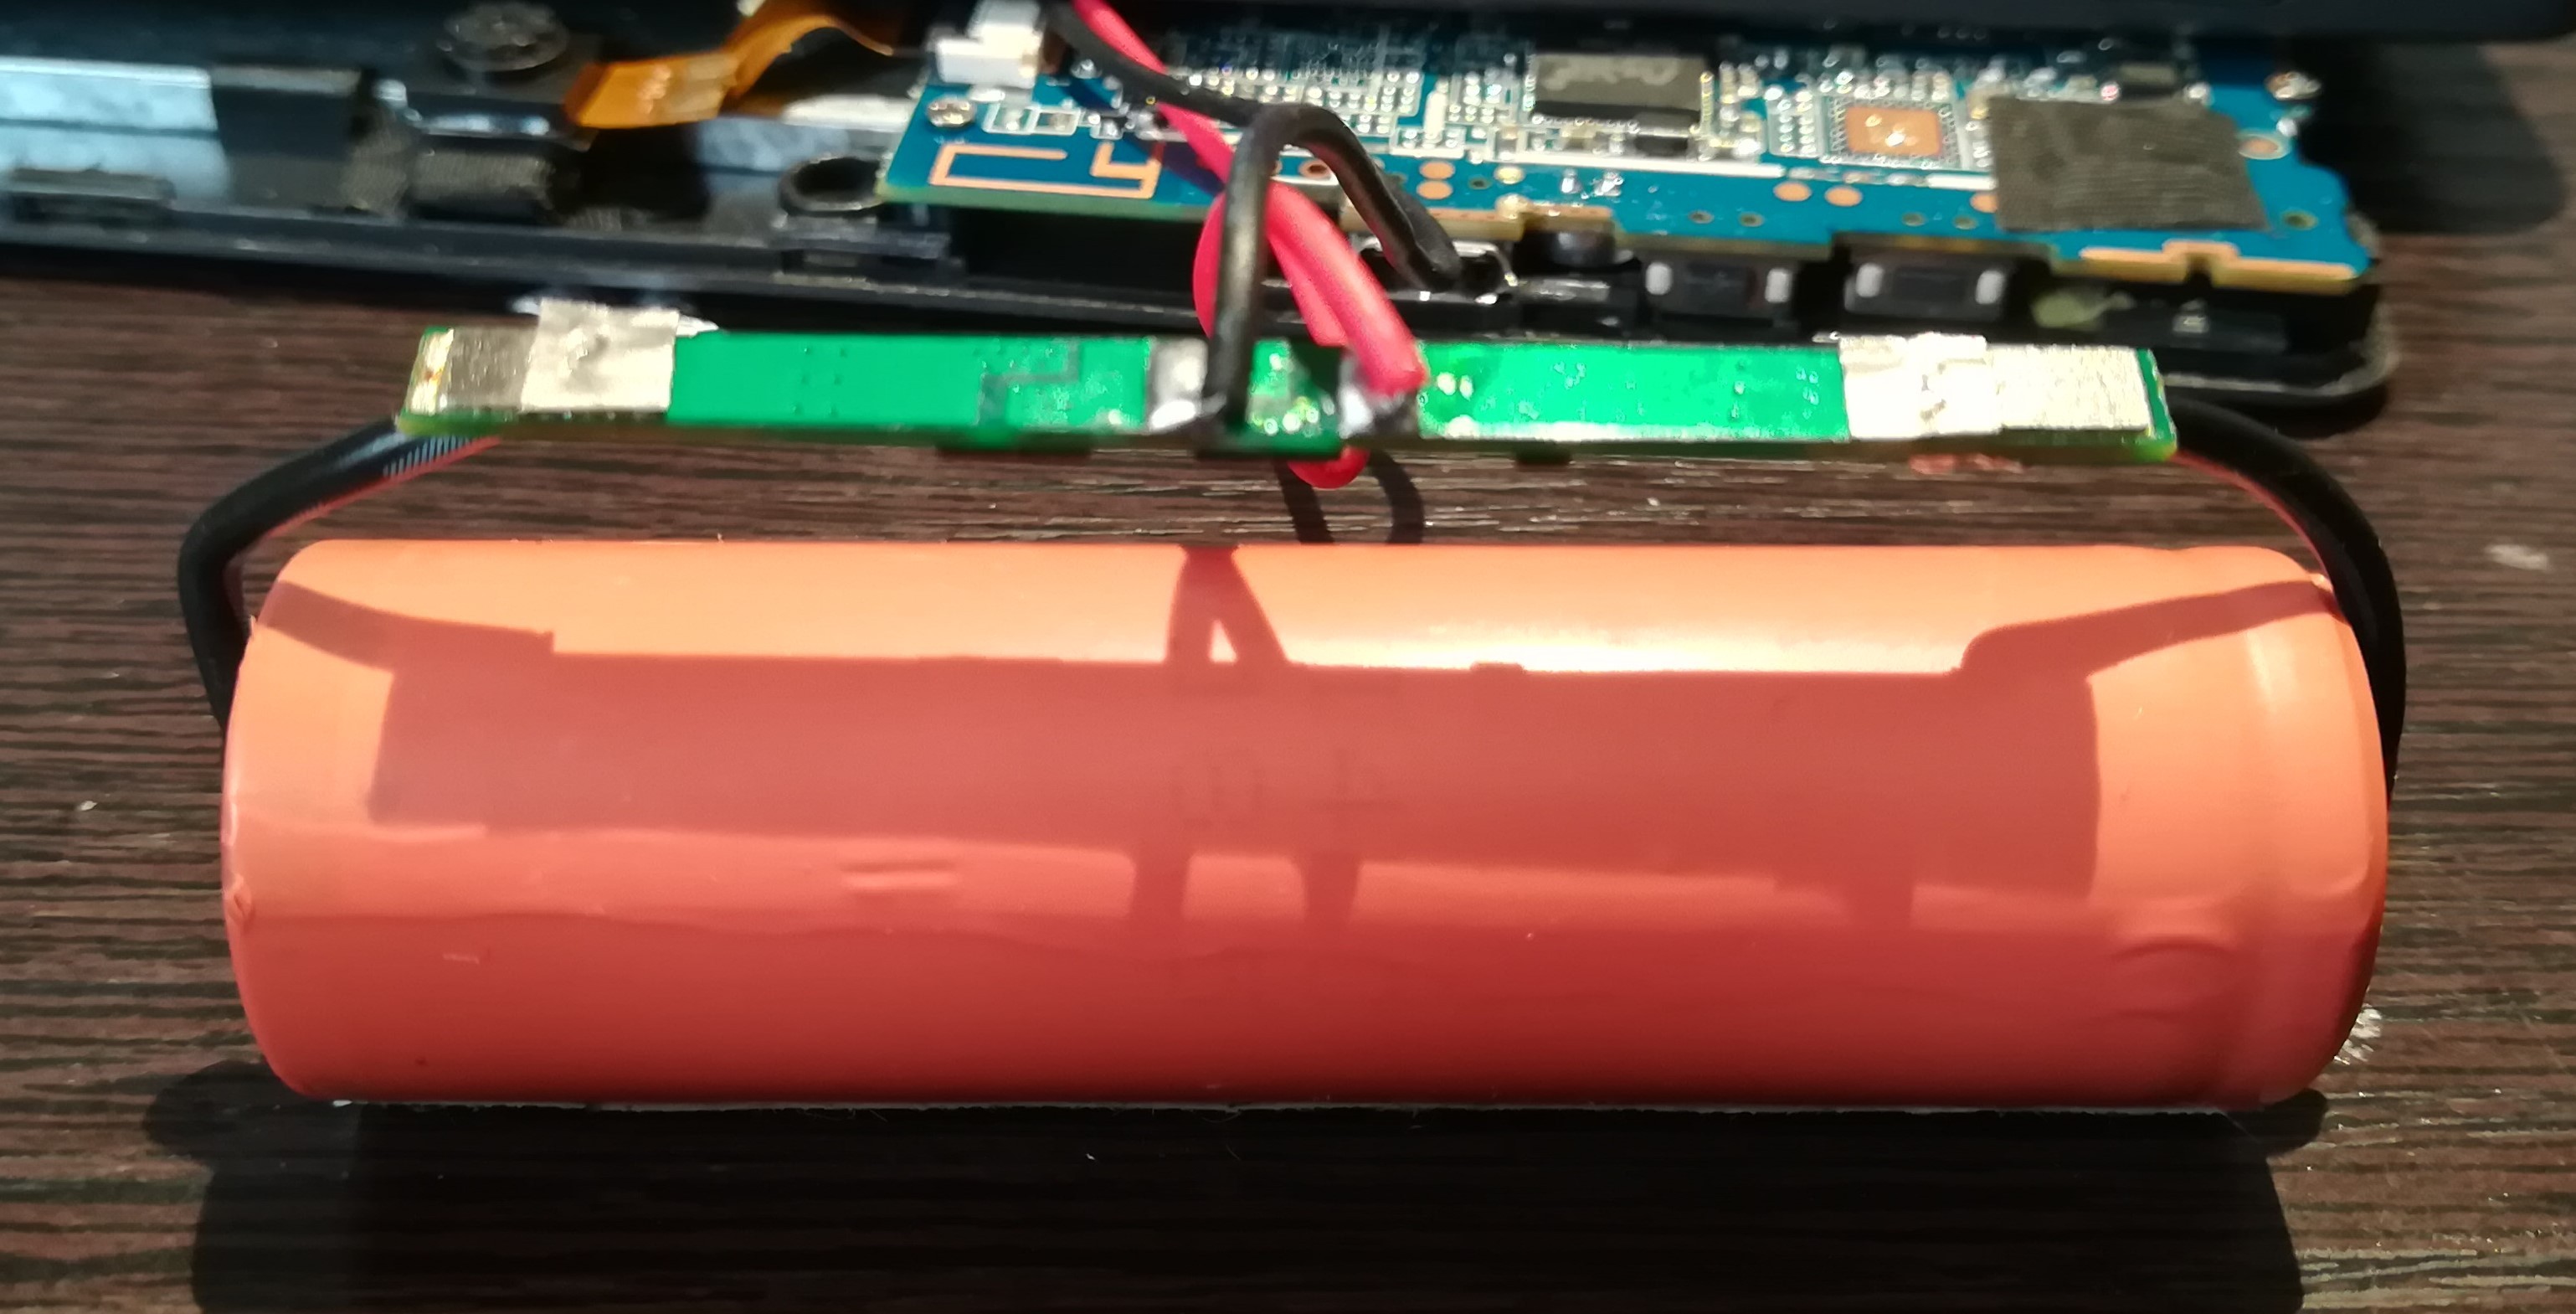
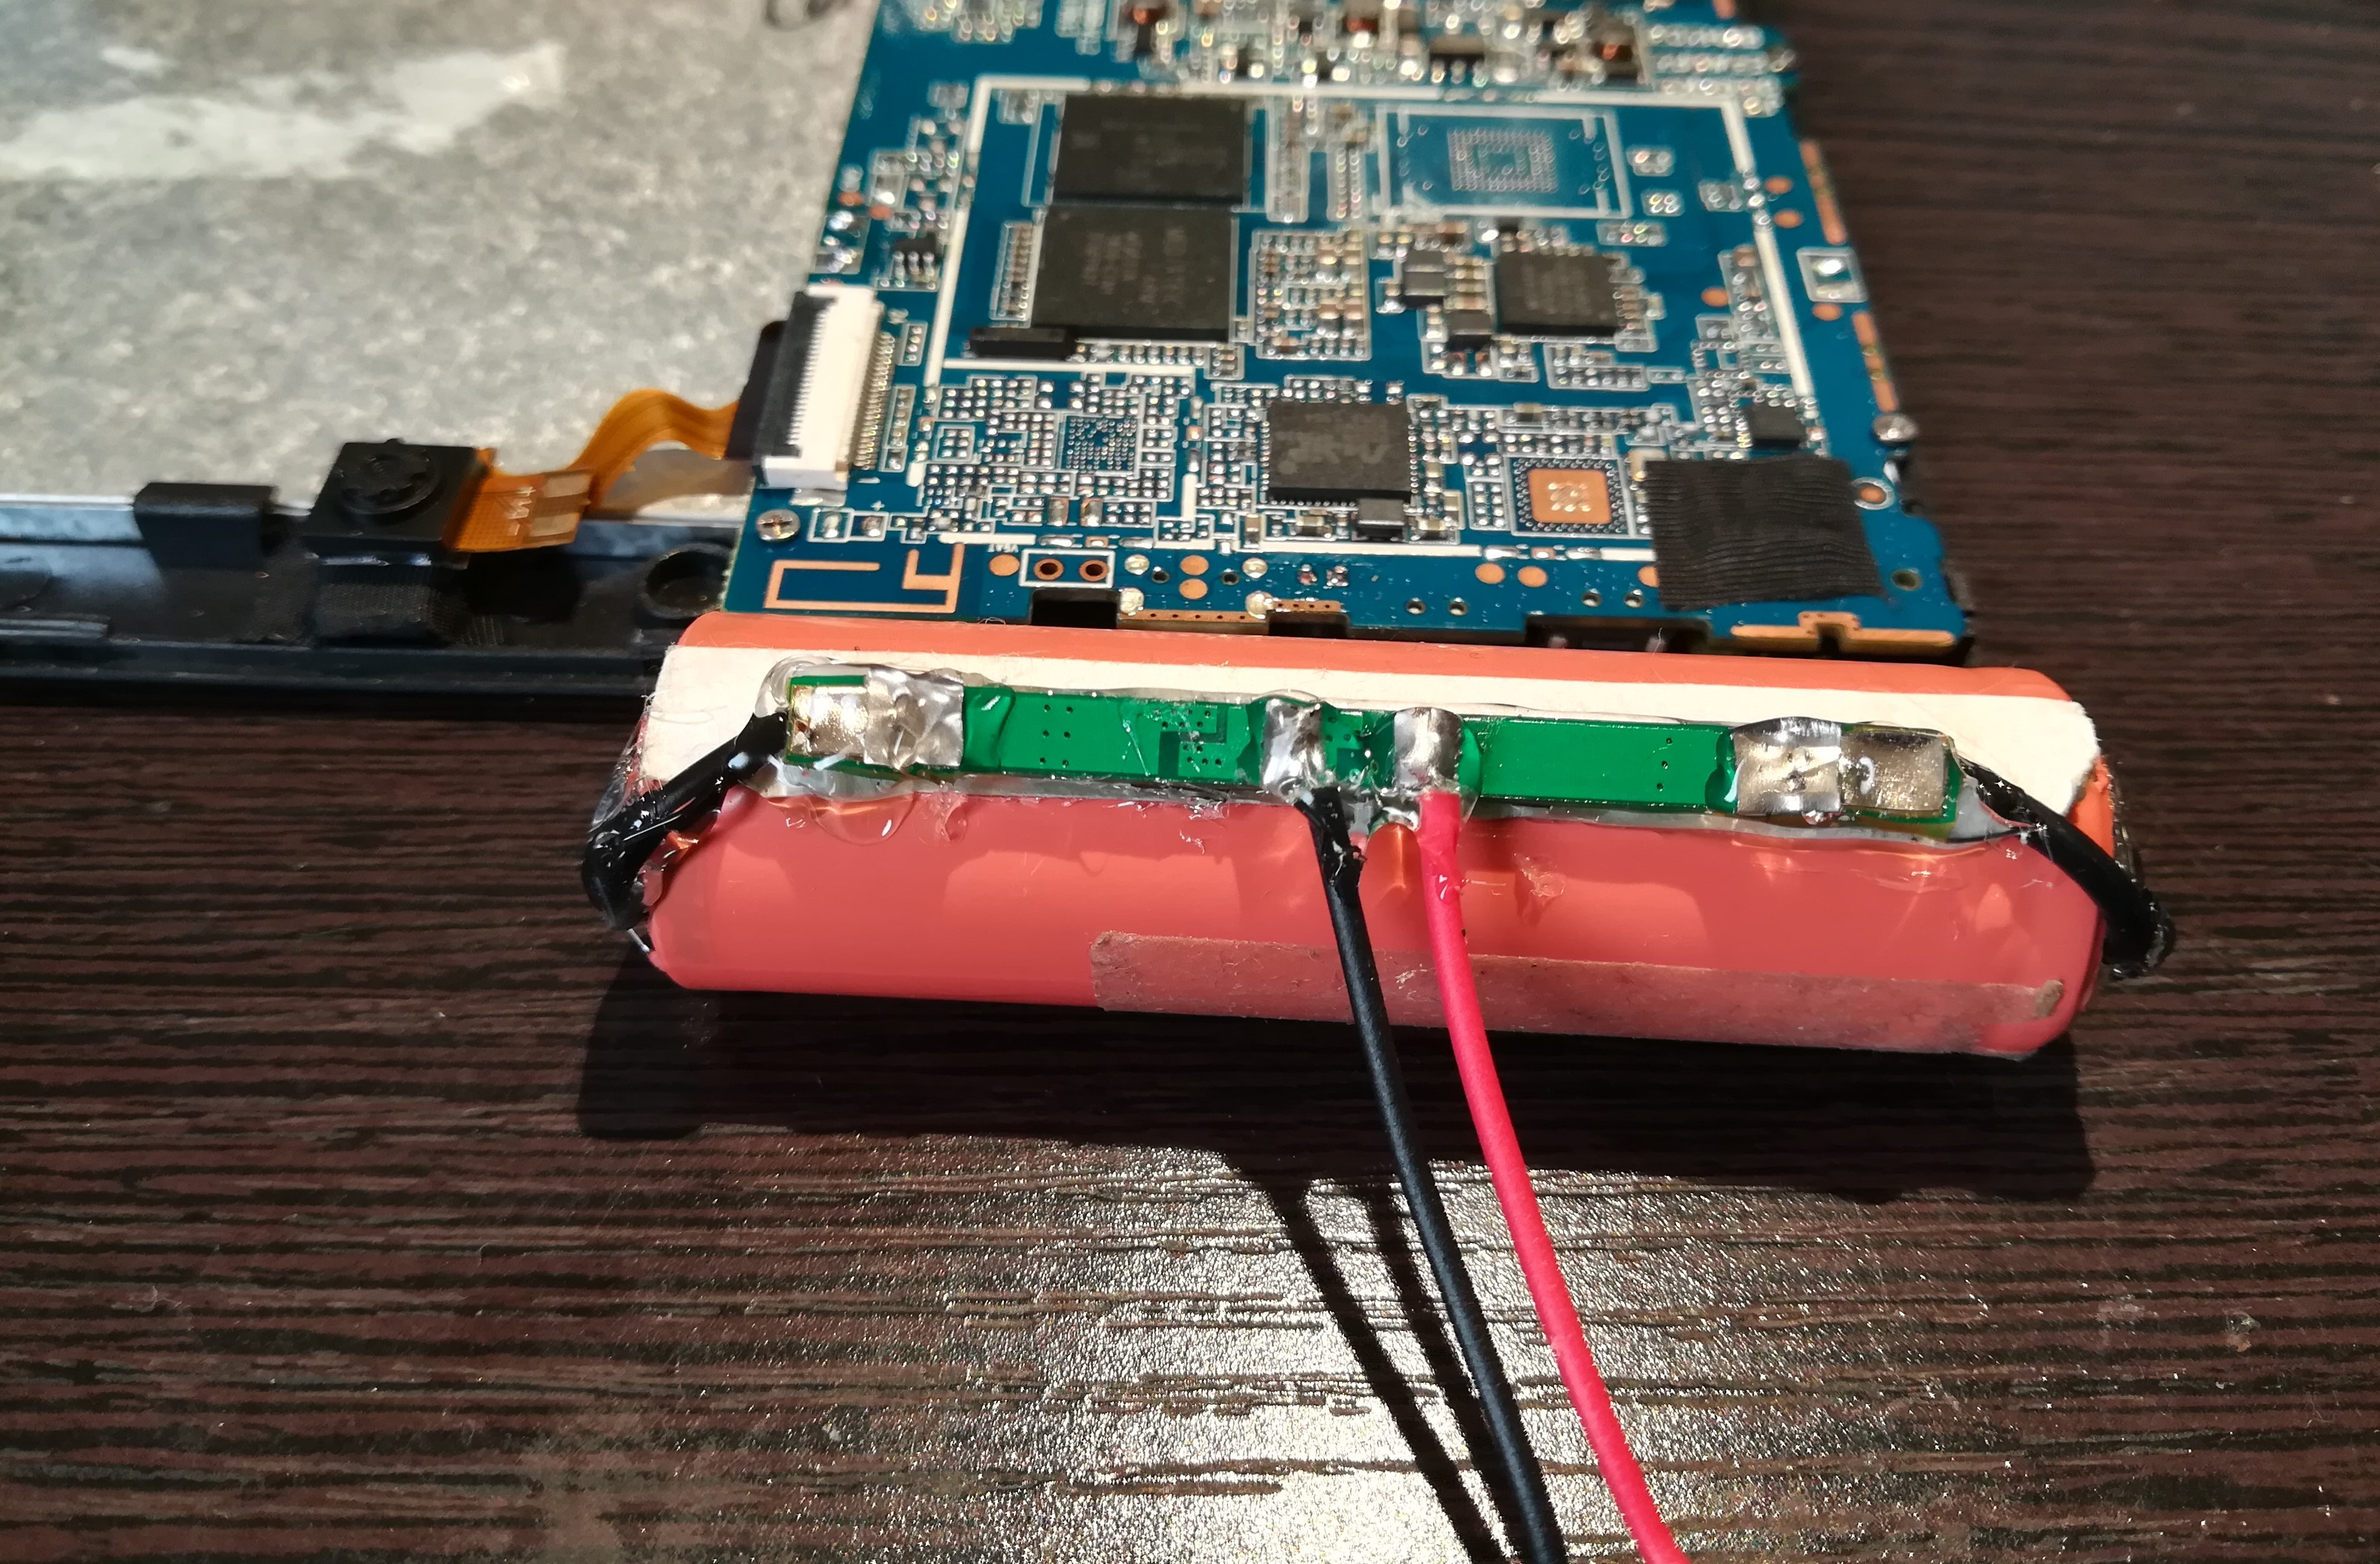
1. Solder small pieces of wires to the positive and negative terminals of the BMS board.
2. Solder the other ends of the wires to the 18650 LiPo battery. Take care of the polarity of the connections. Extreme care should be taken at this step as soldering to the LiPo is a bit difficult and over heating the LiPo might cause it to explode. Use extreme caution.
3. Once the wires are soldered, use hot glue to fix the BMS board onto the 18650 LiPo battery.
4. Use hot glue to insulate the open terminals to avoid any kind of short circuit.
5. Desolder the positive and negative wires from the main board.
Fixing the 18650 LiPo Onto the Back Cover
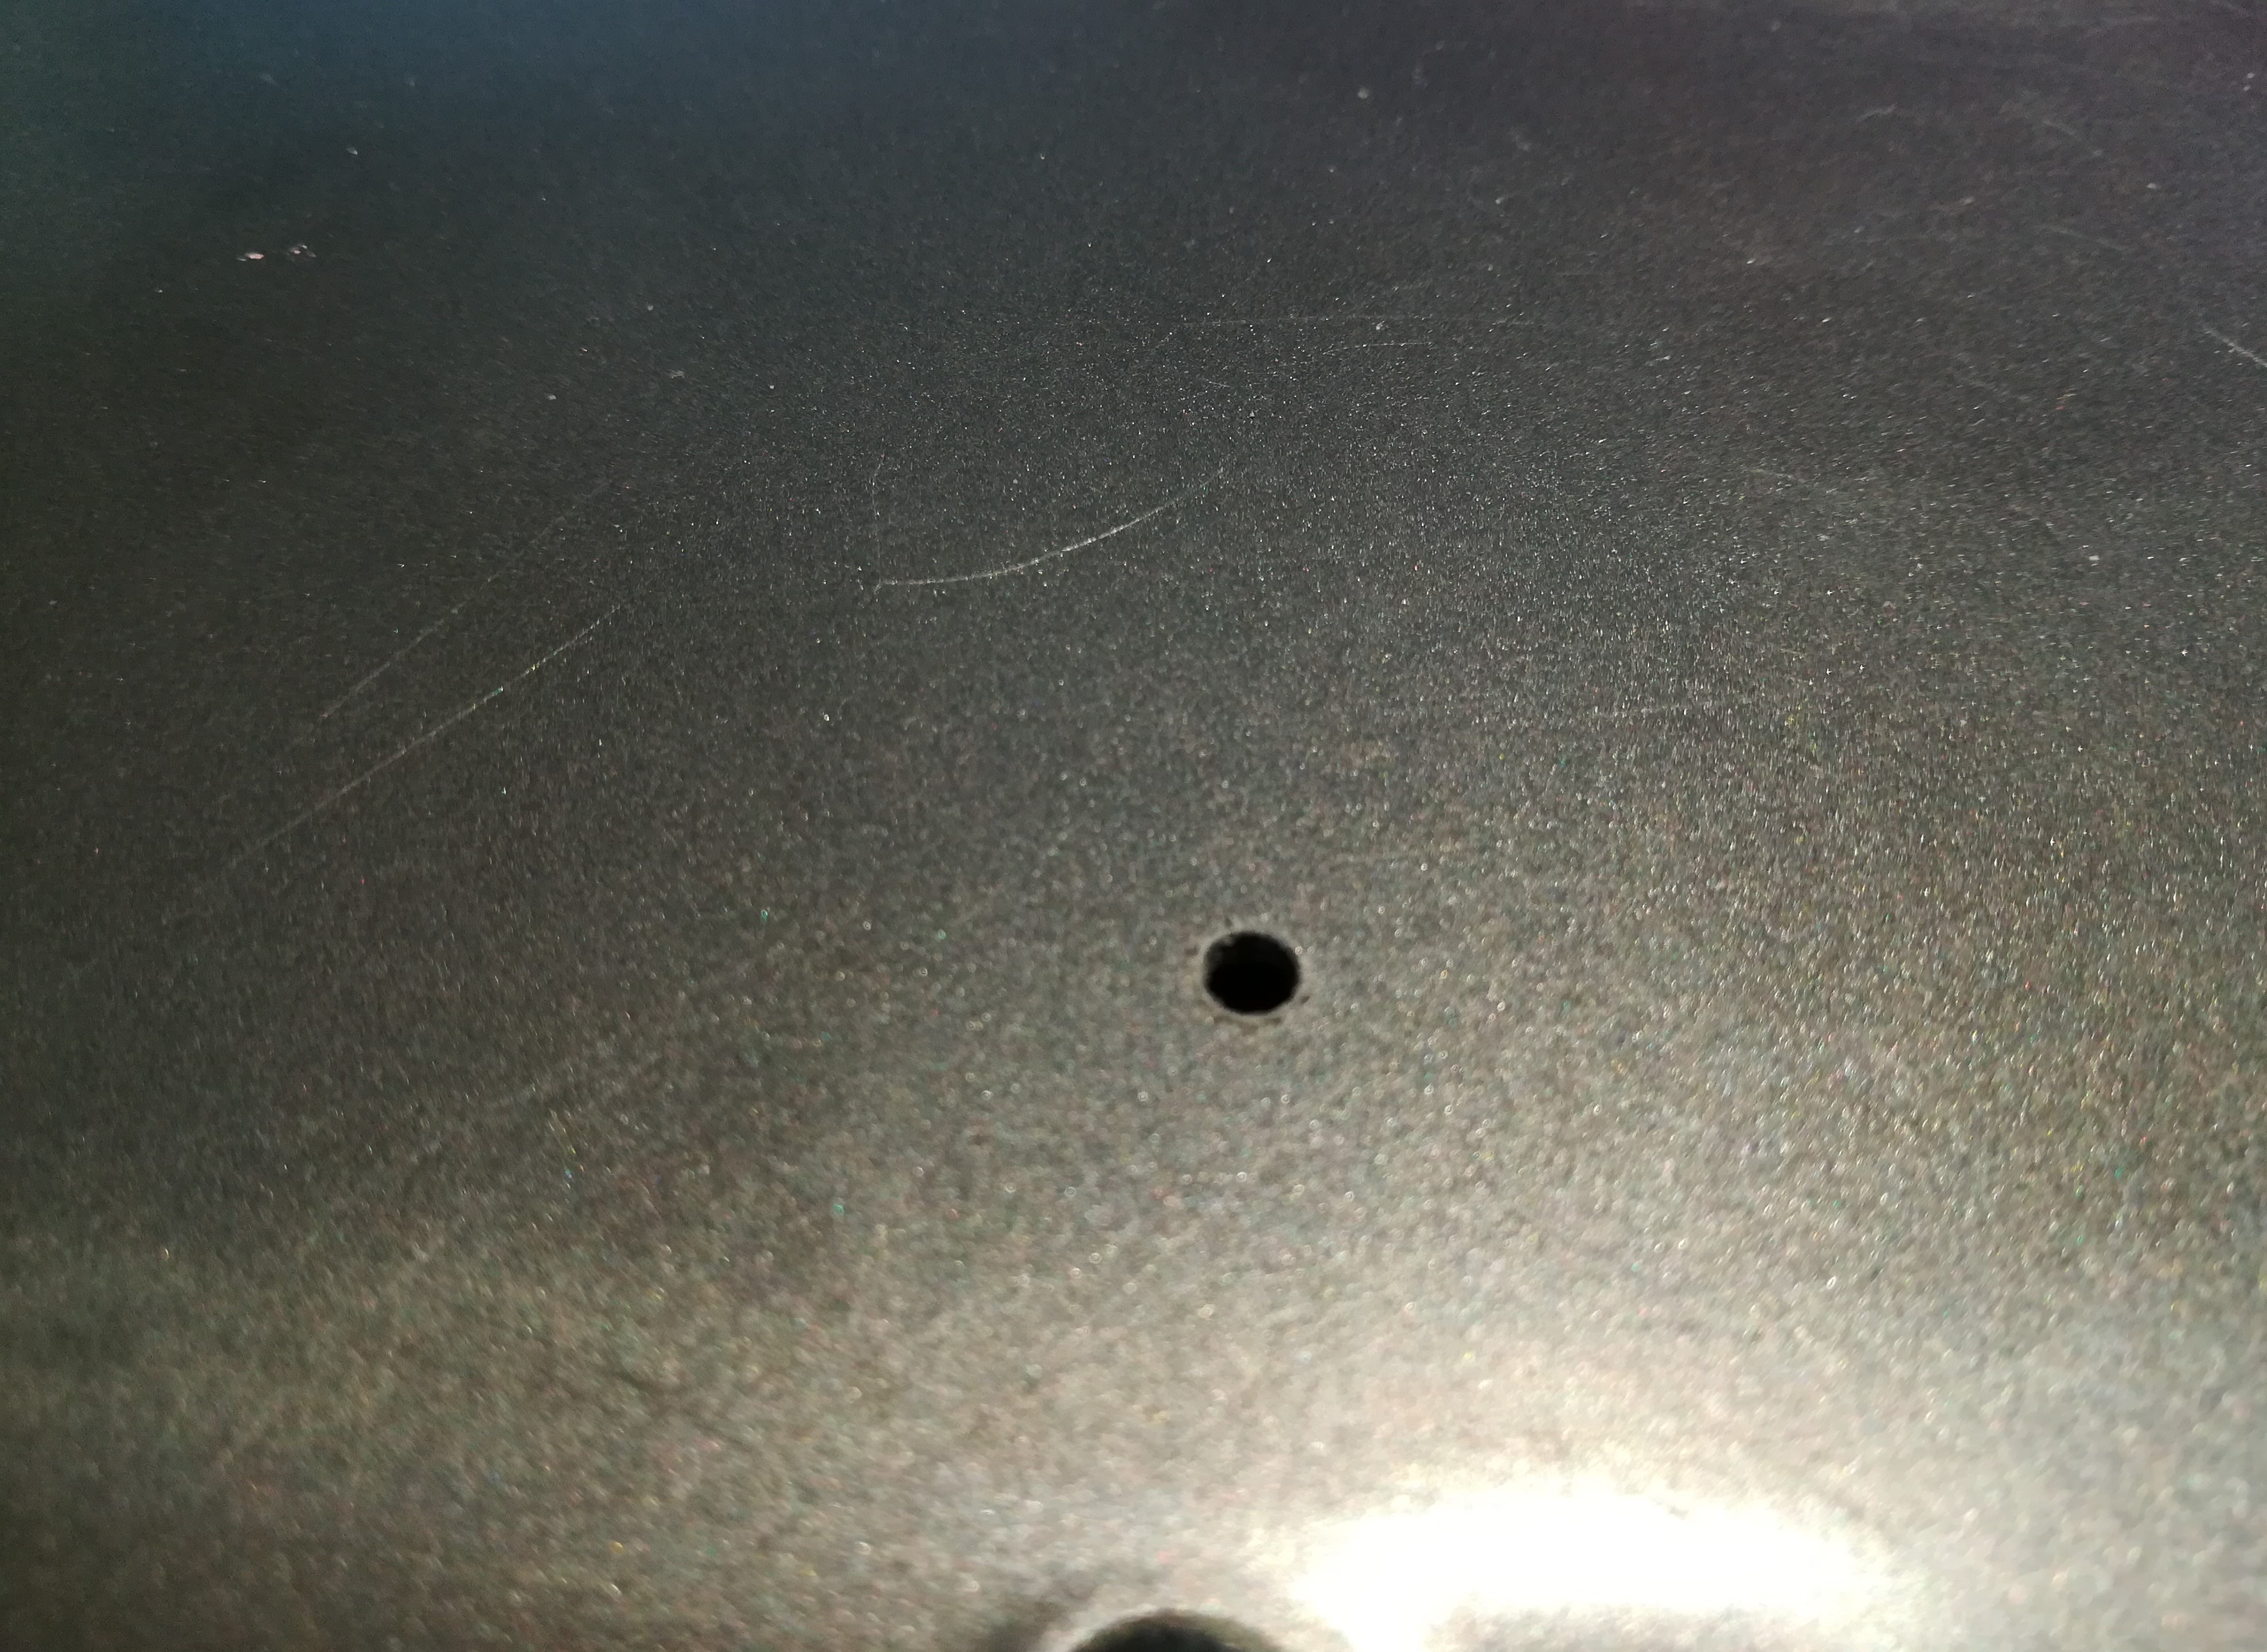
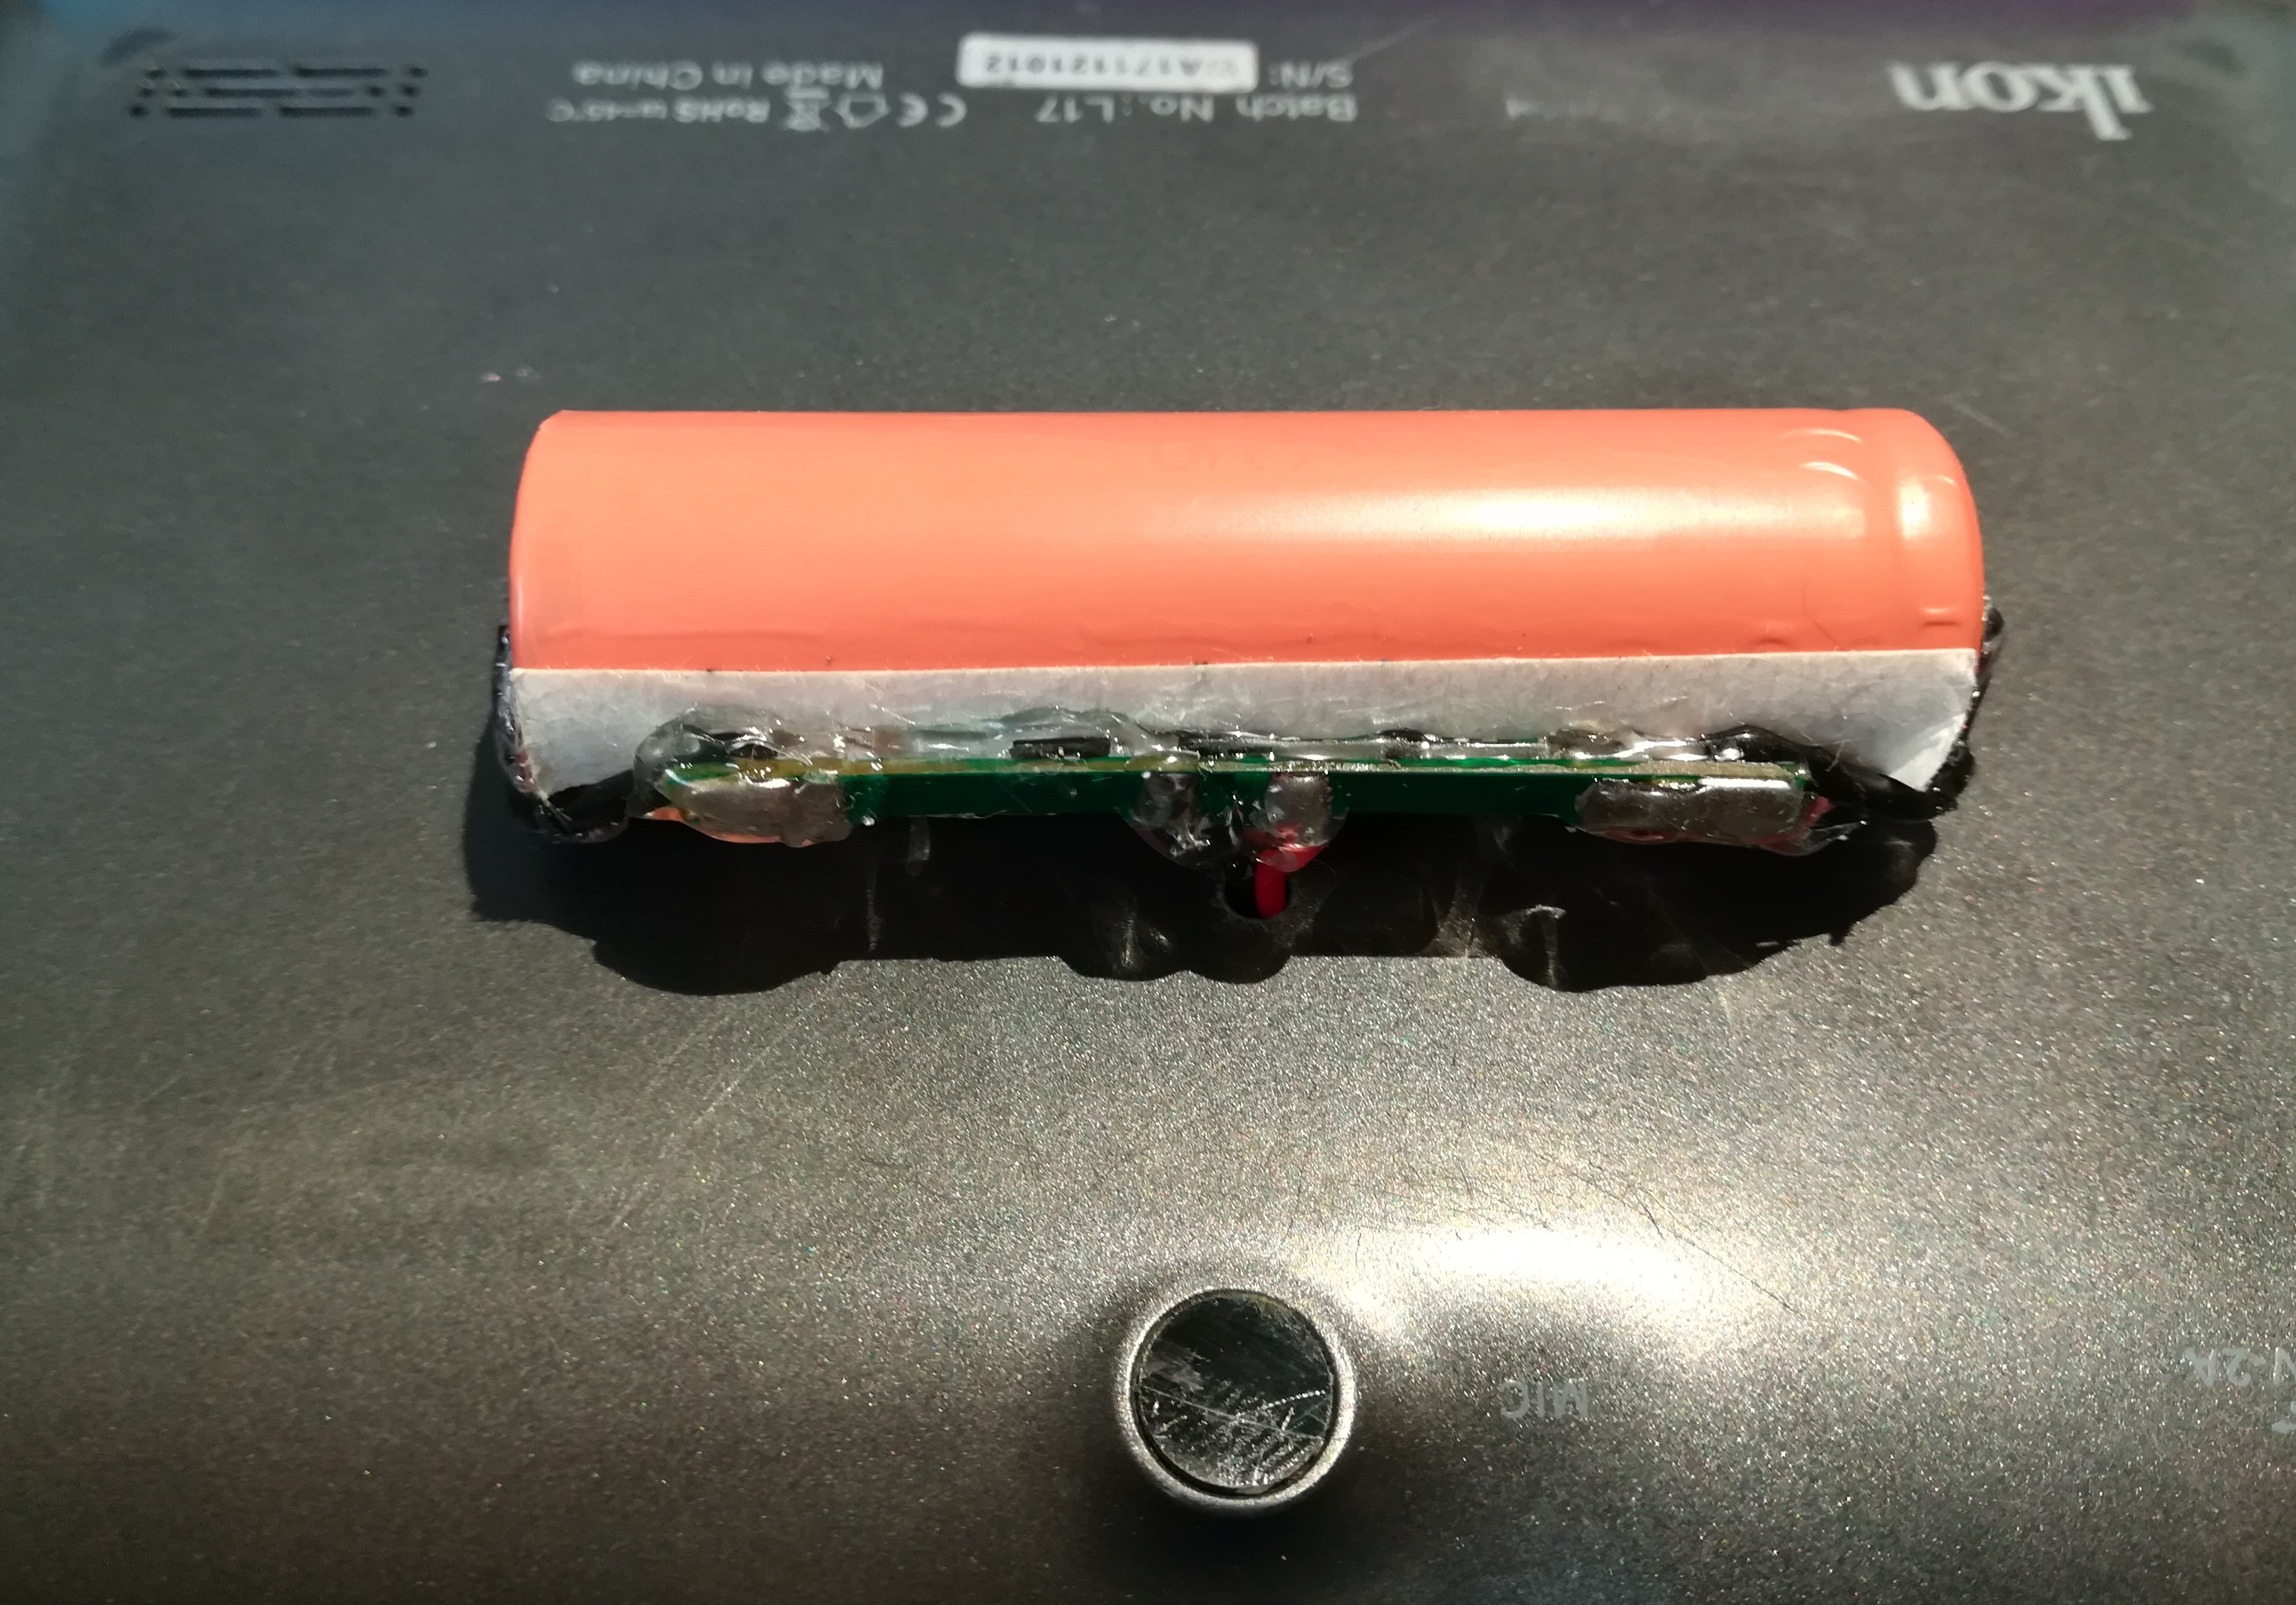
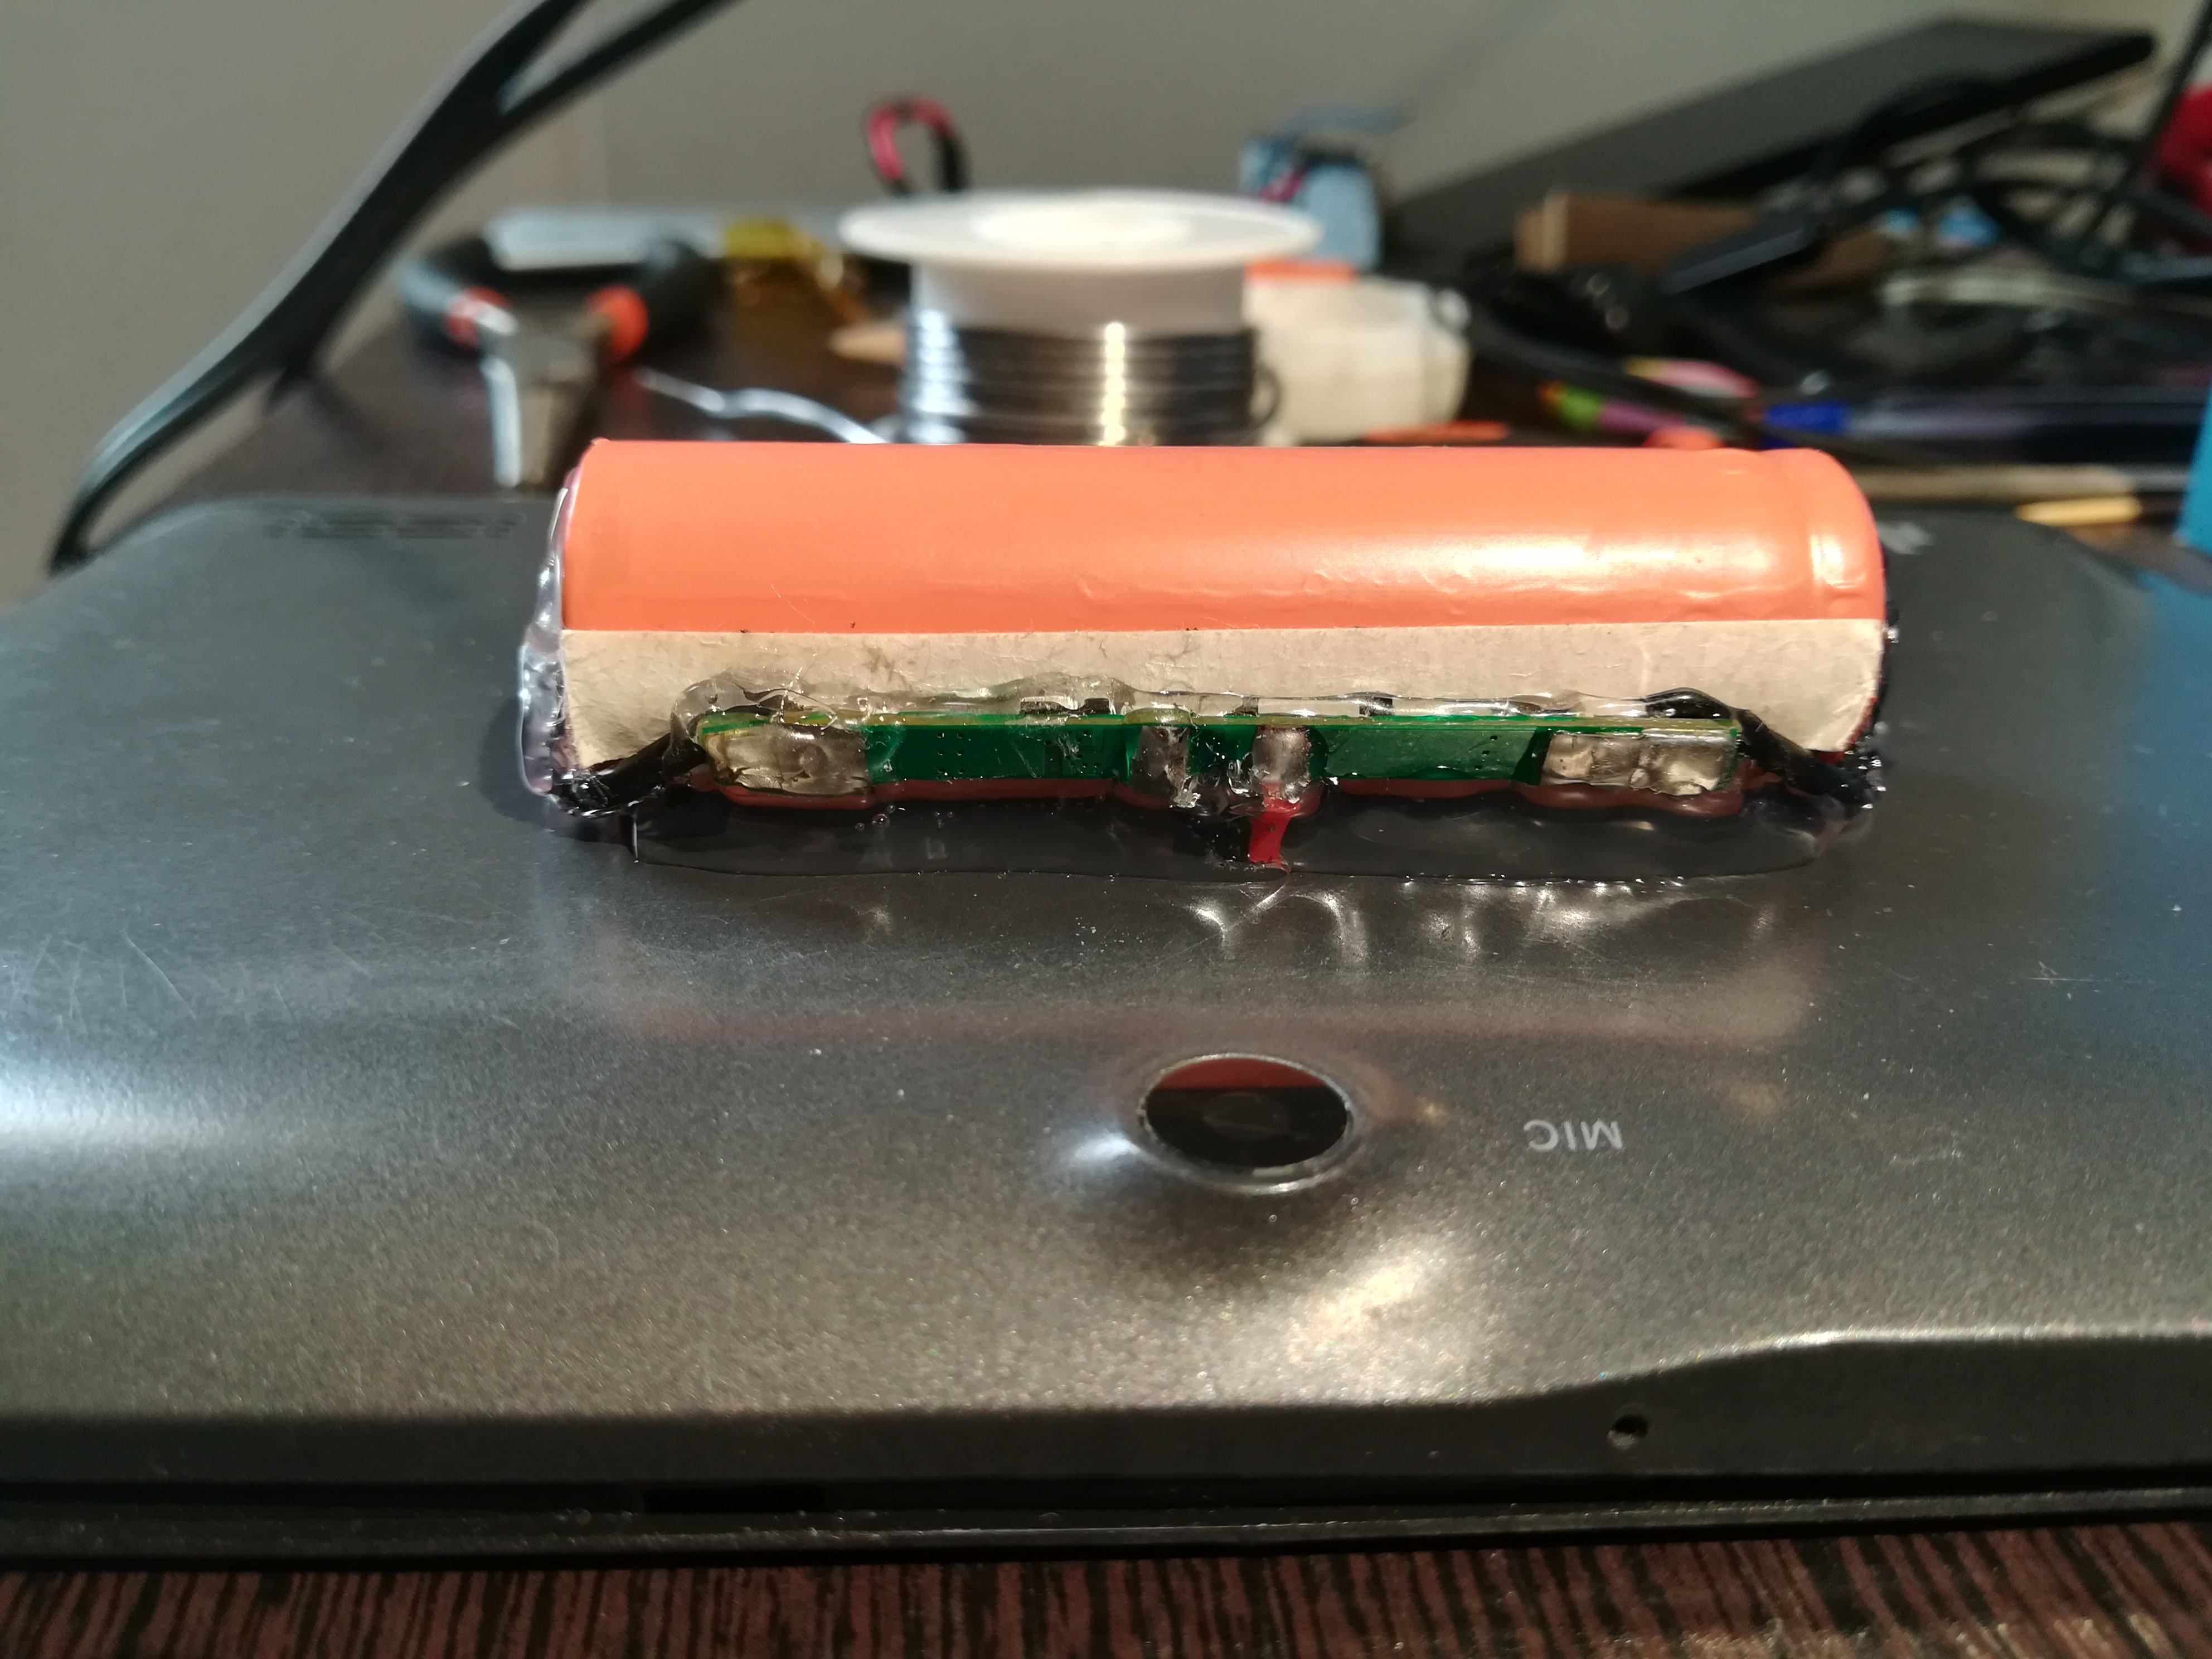
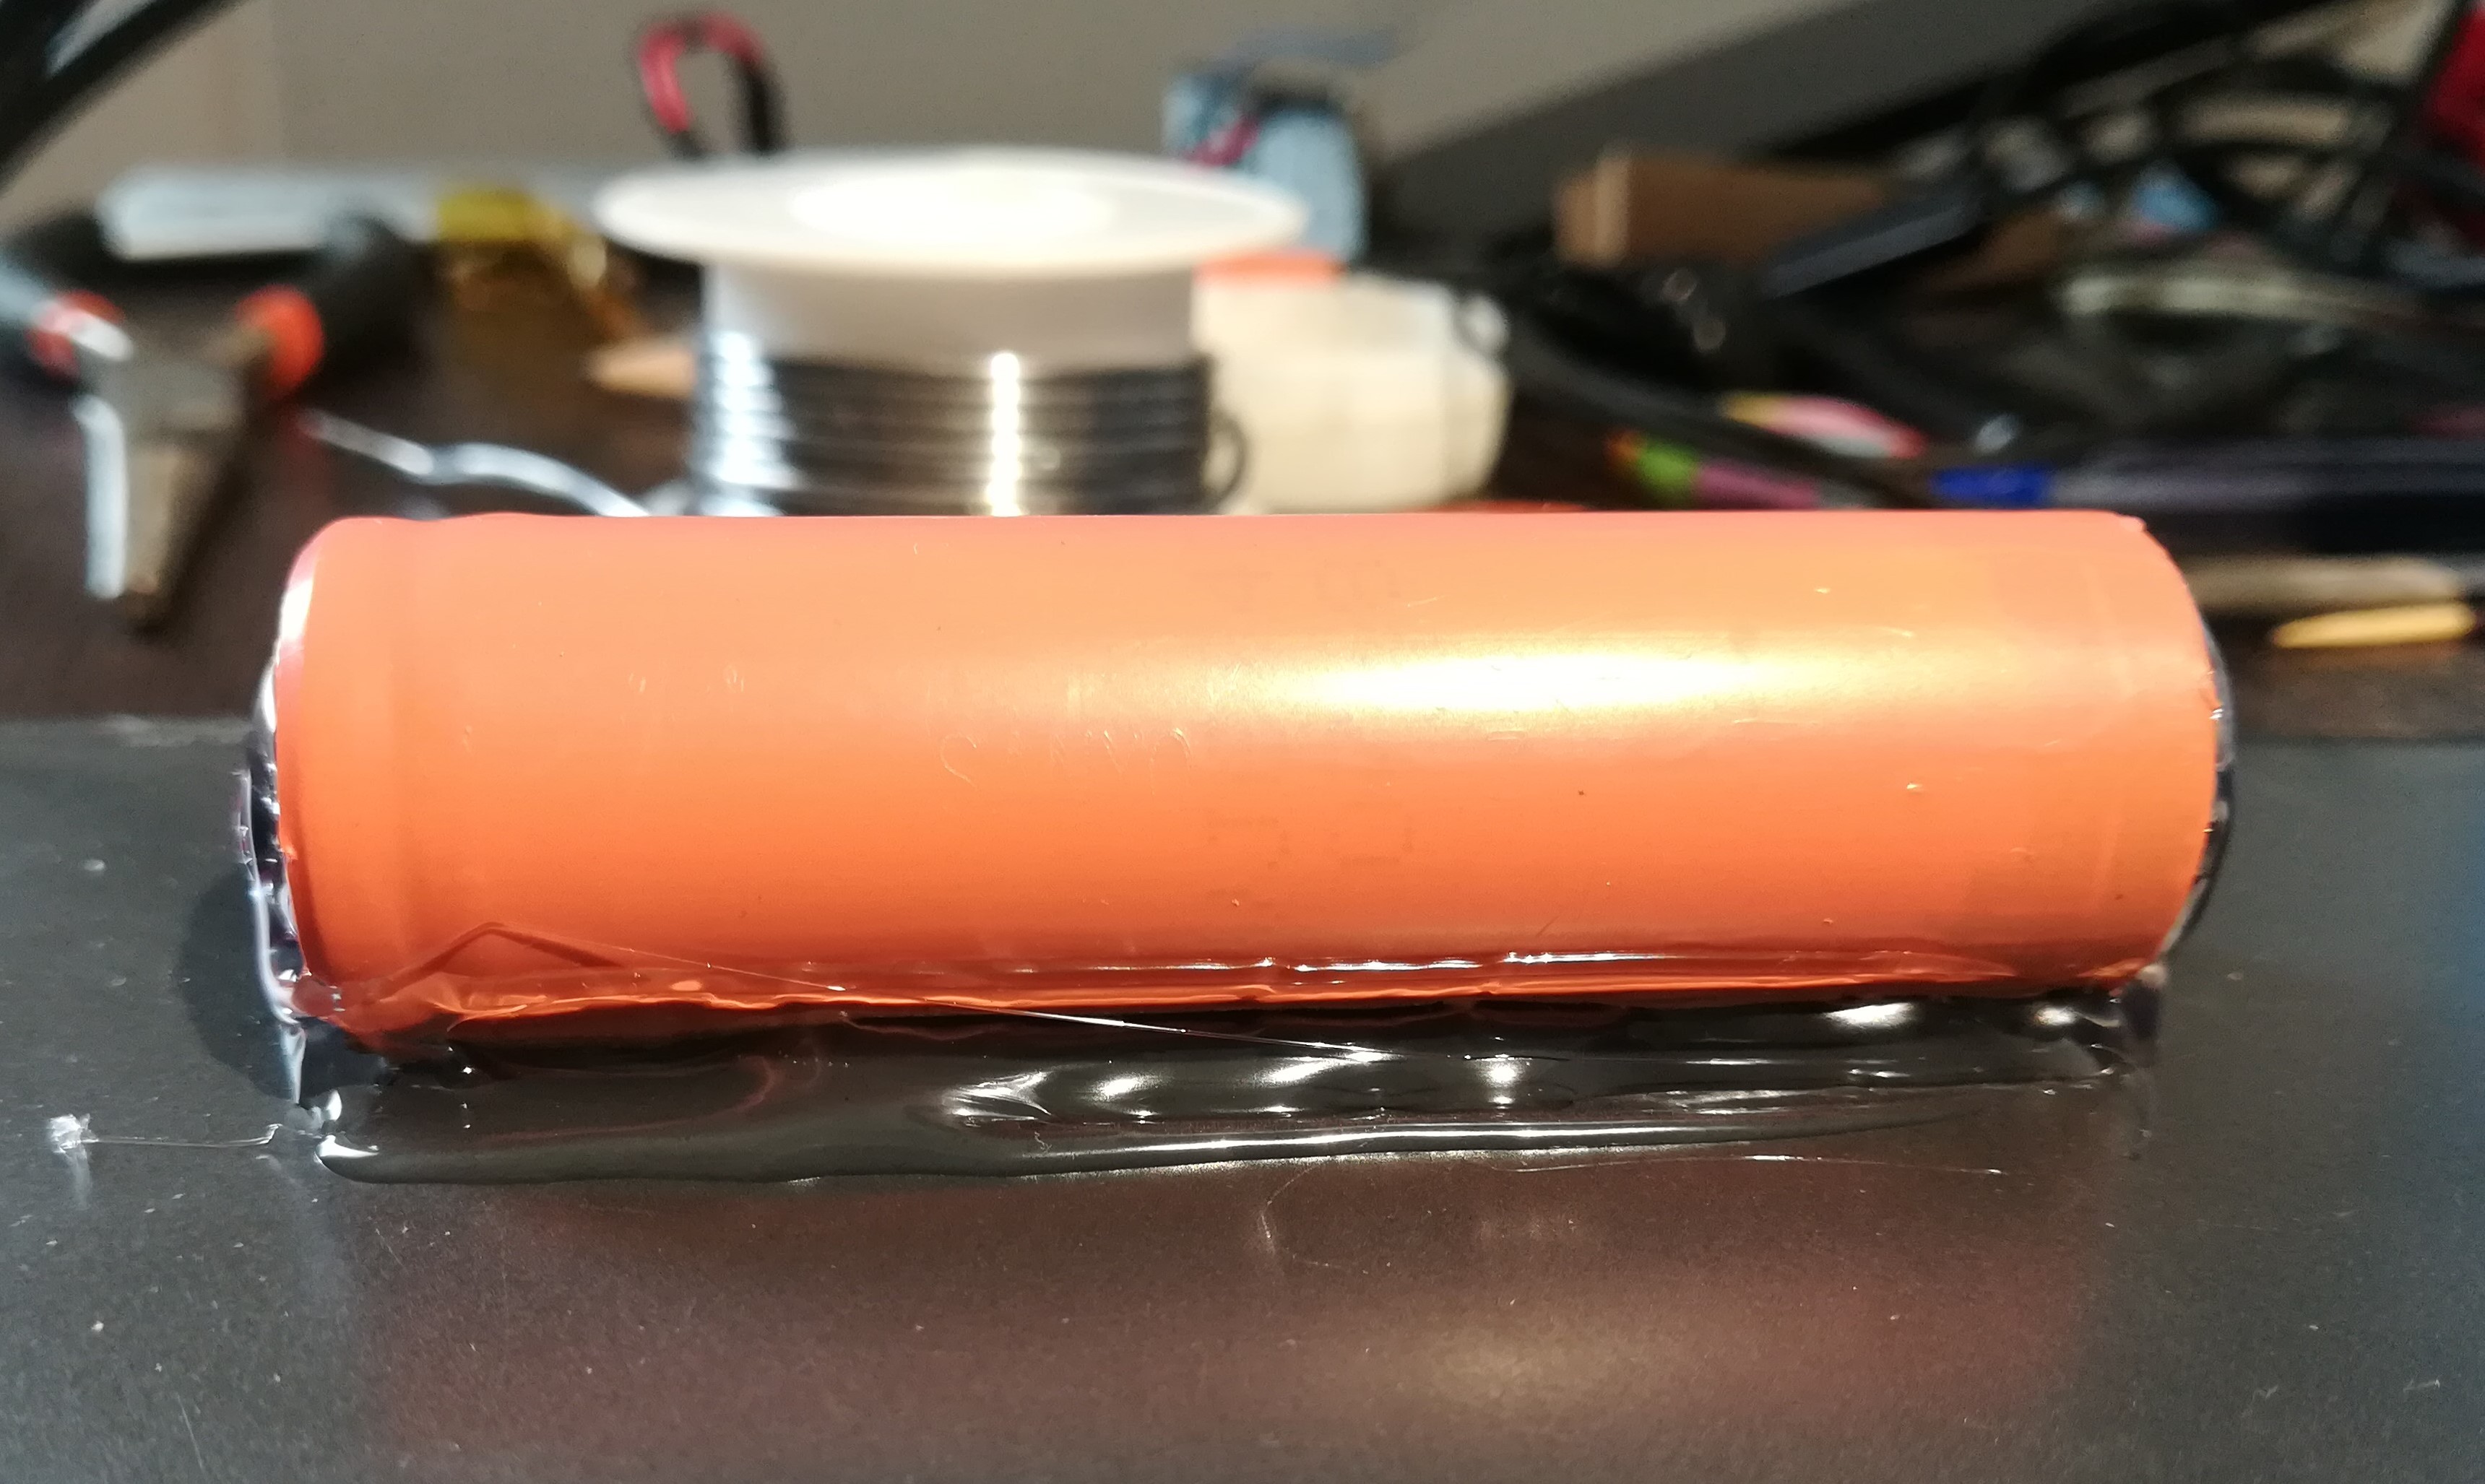
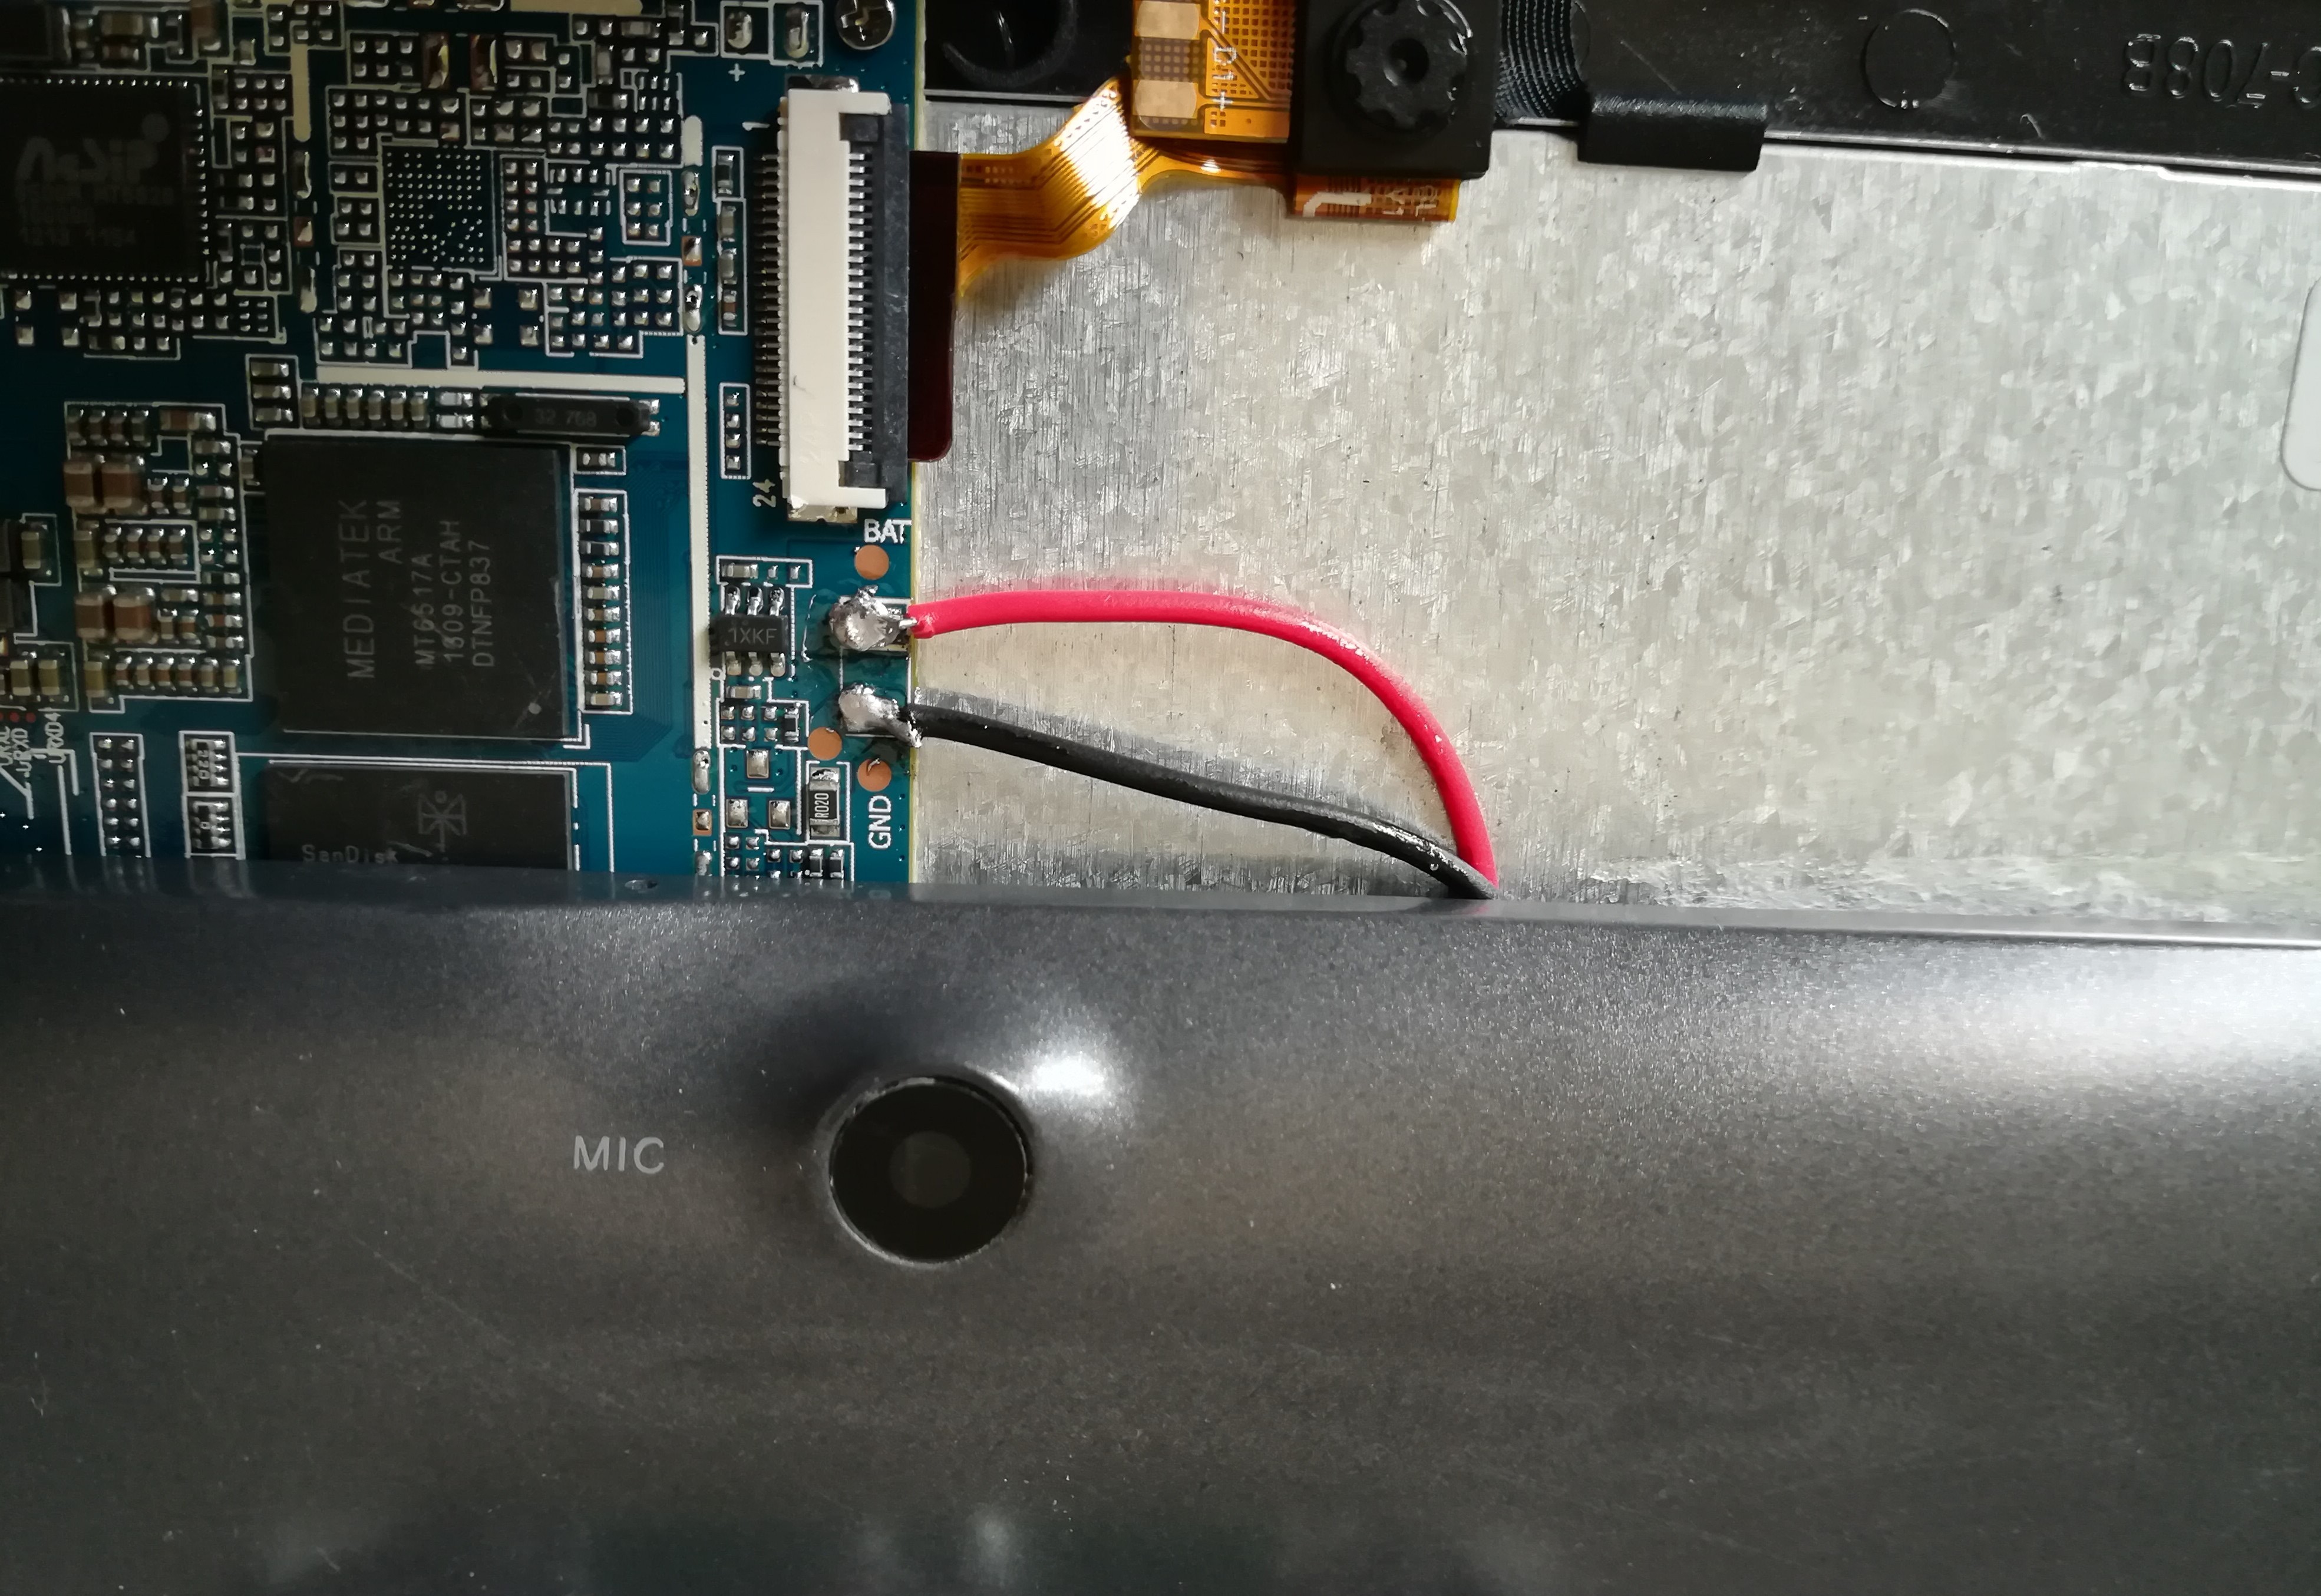
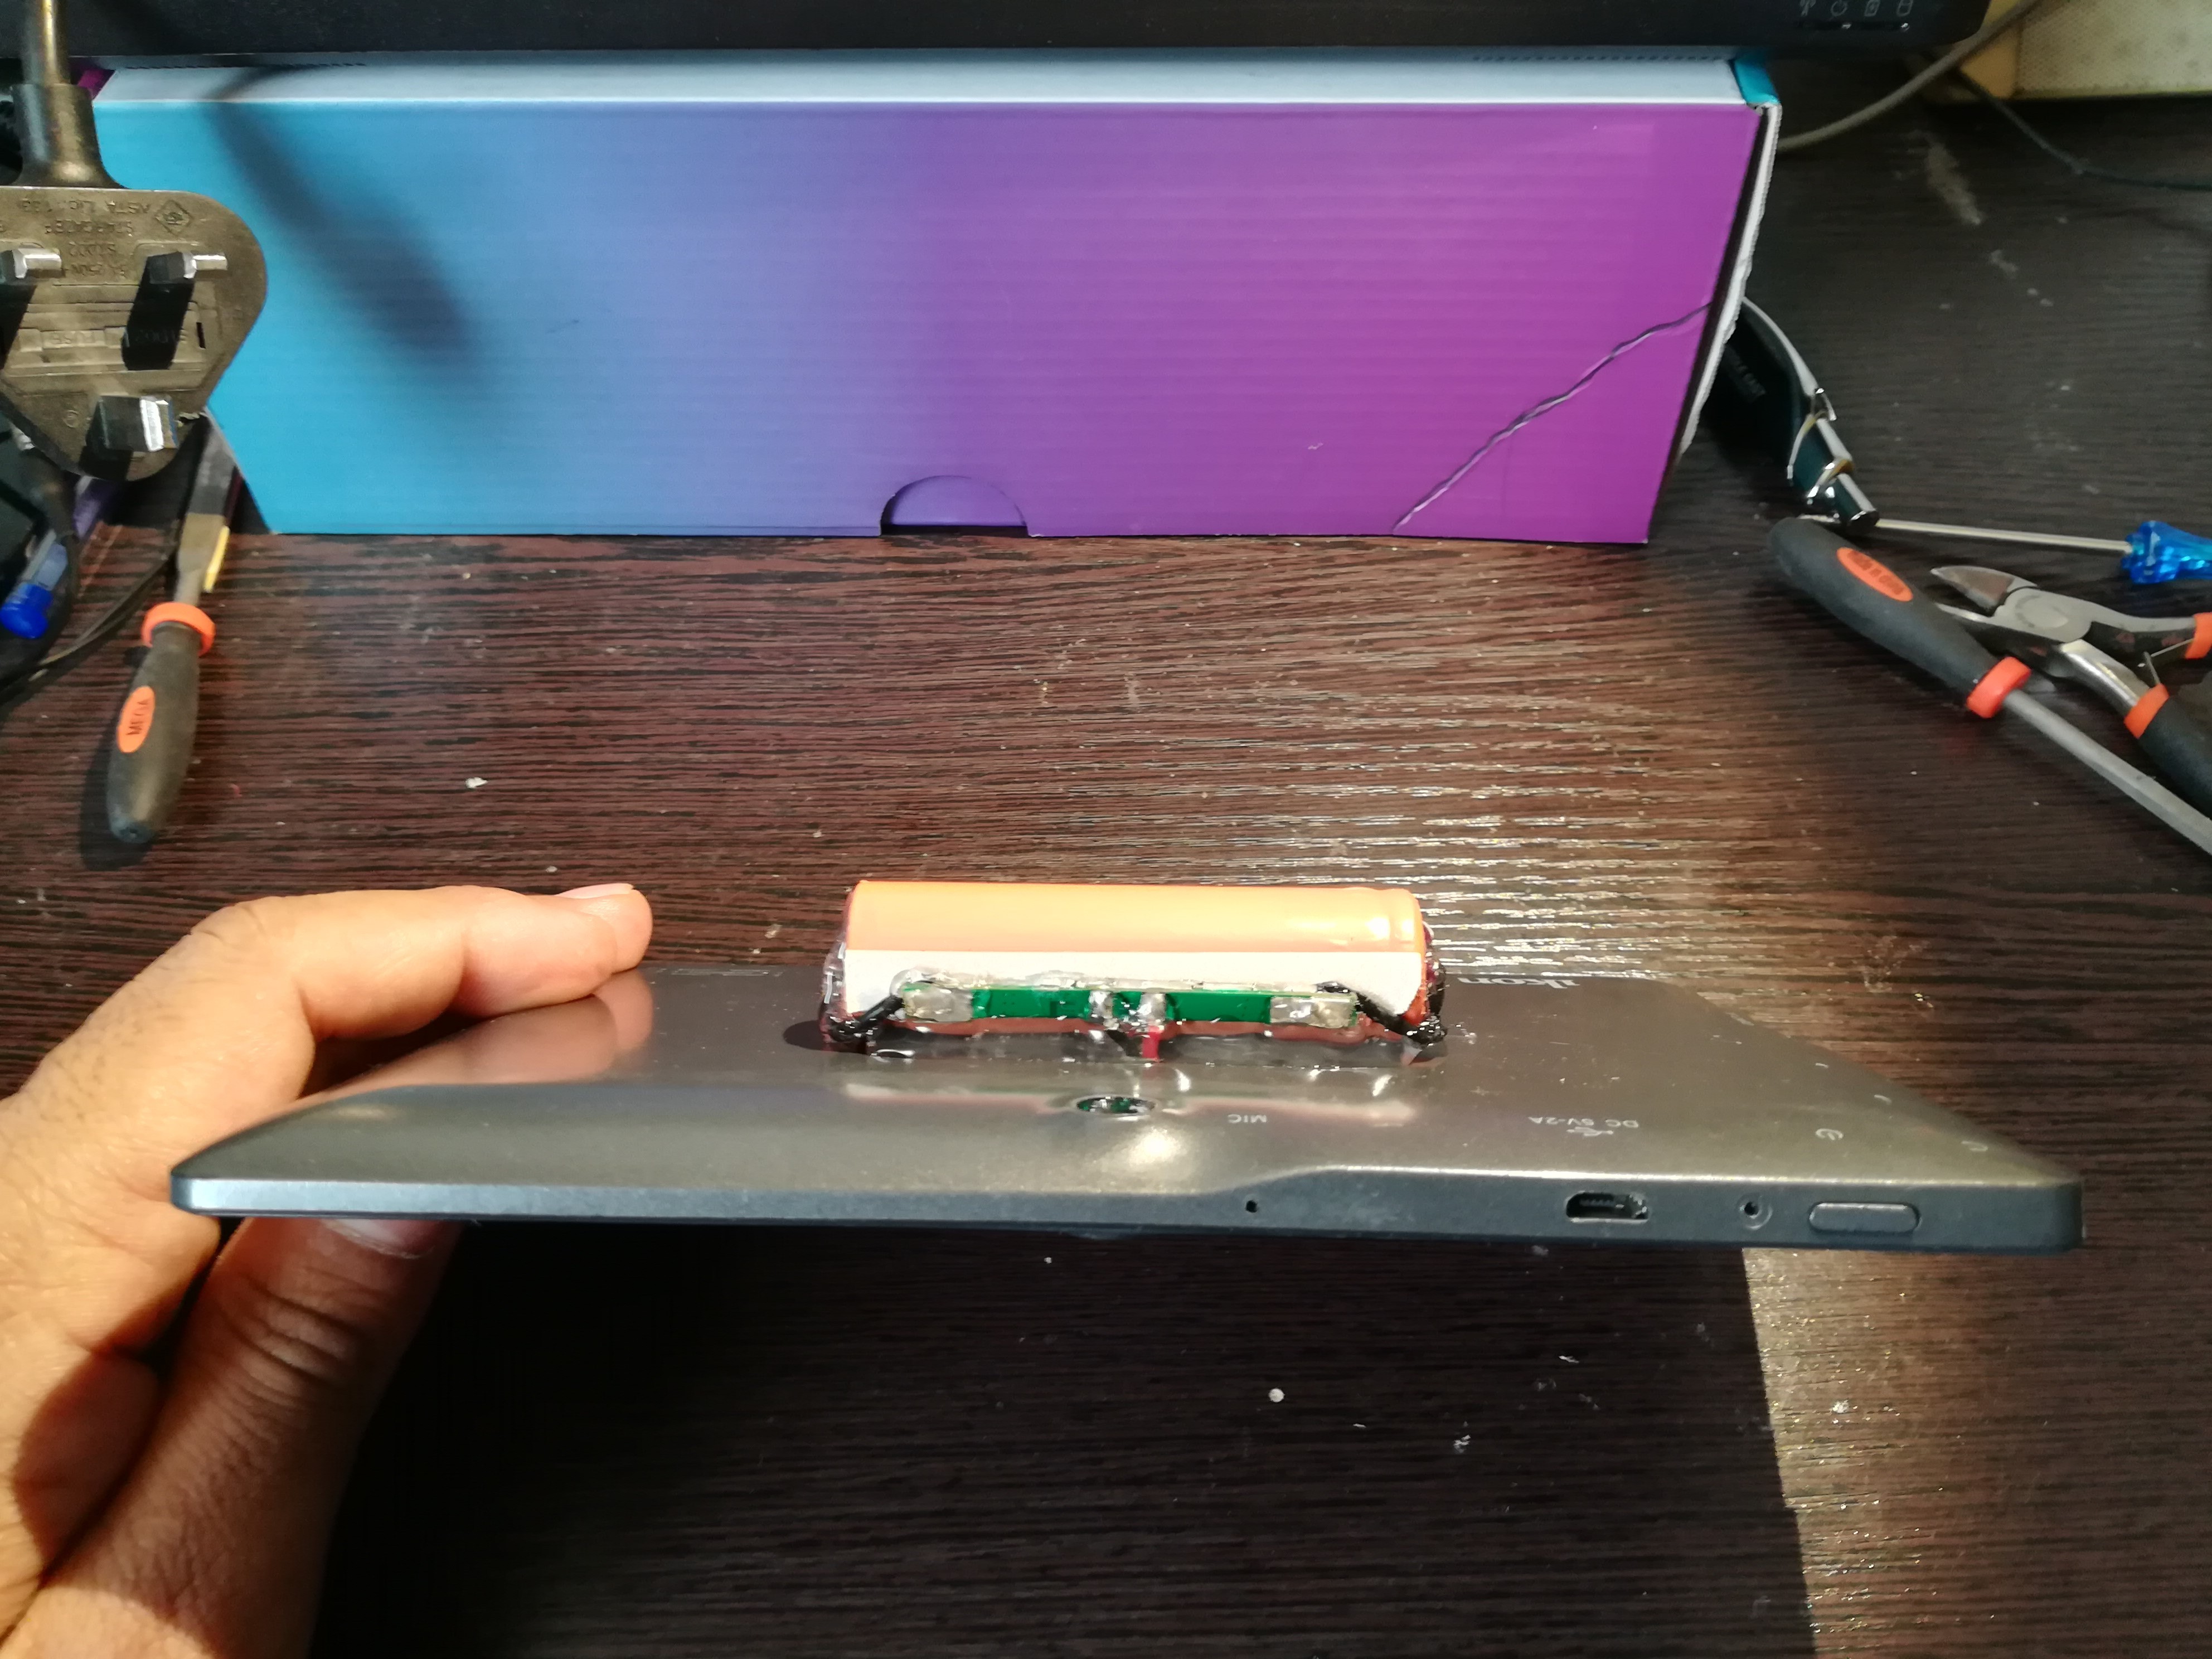
1. Using a hand drill put a small hole on the back cover, just enough for the 2 wires to pass through.
2. From outside take the 2 wires through the hole.
3. Fix the 18650 LiPo onto the back cover using hot glue. Use generous amount of hot glue as this has to hold the battery there firmly.
4. Solder the positive and negative wires back to the main board.
5. Snap back the cover.
Test + Protection for the 18650 LiPo
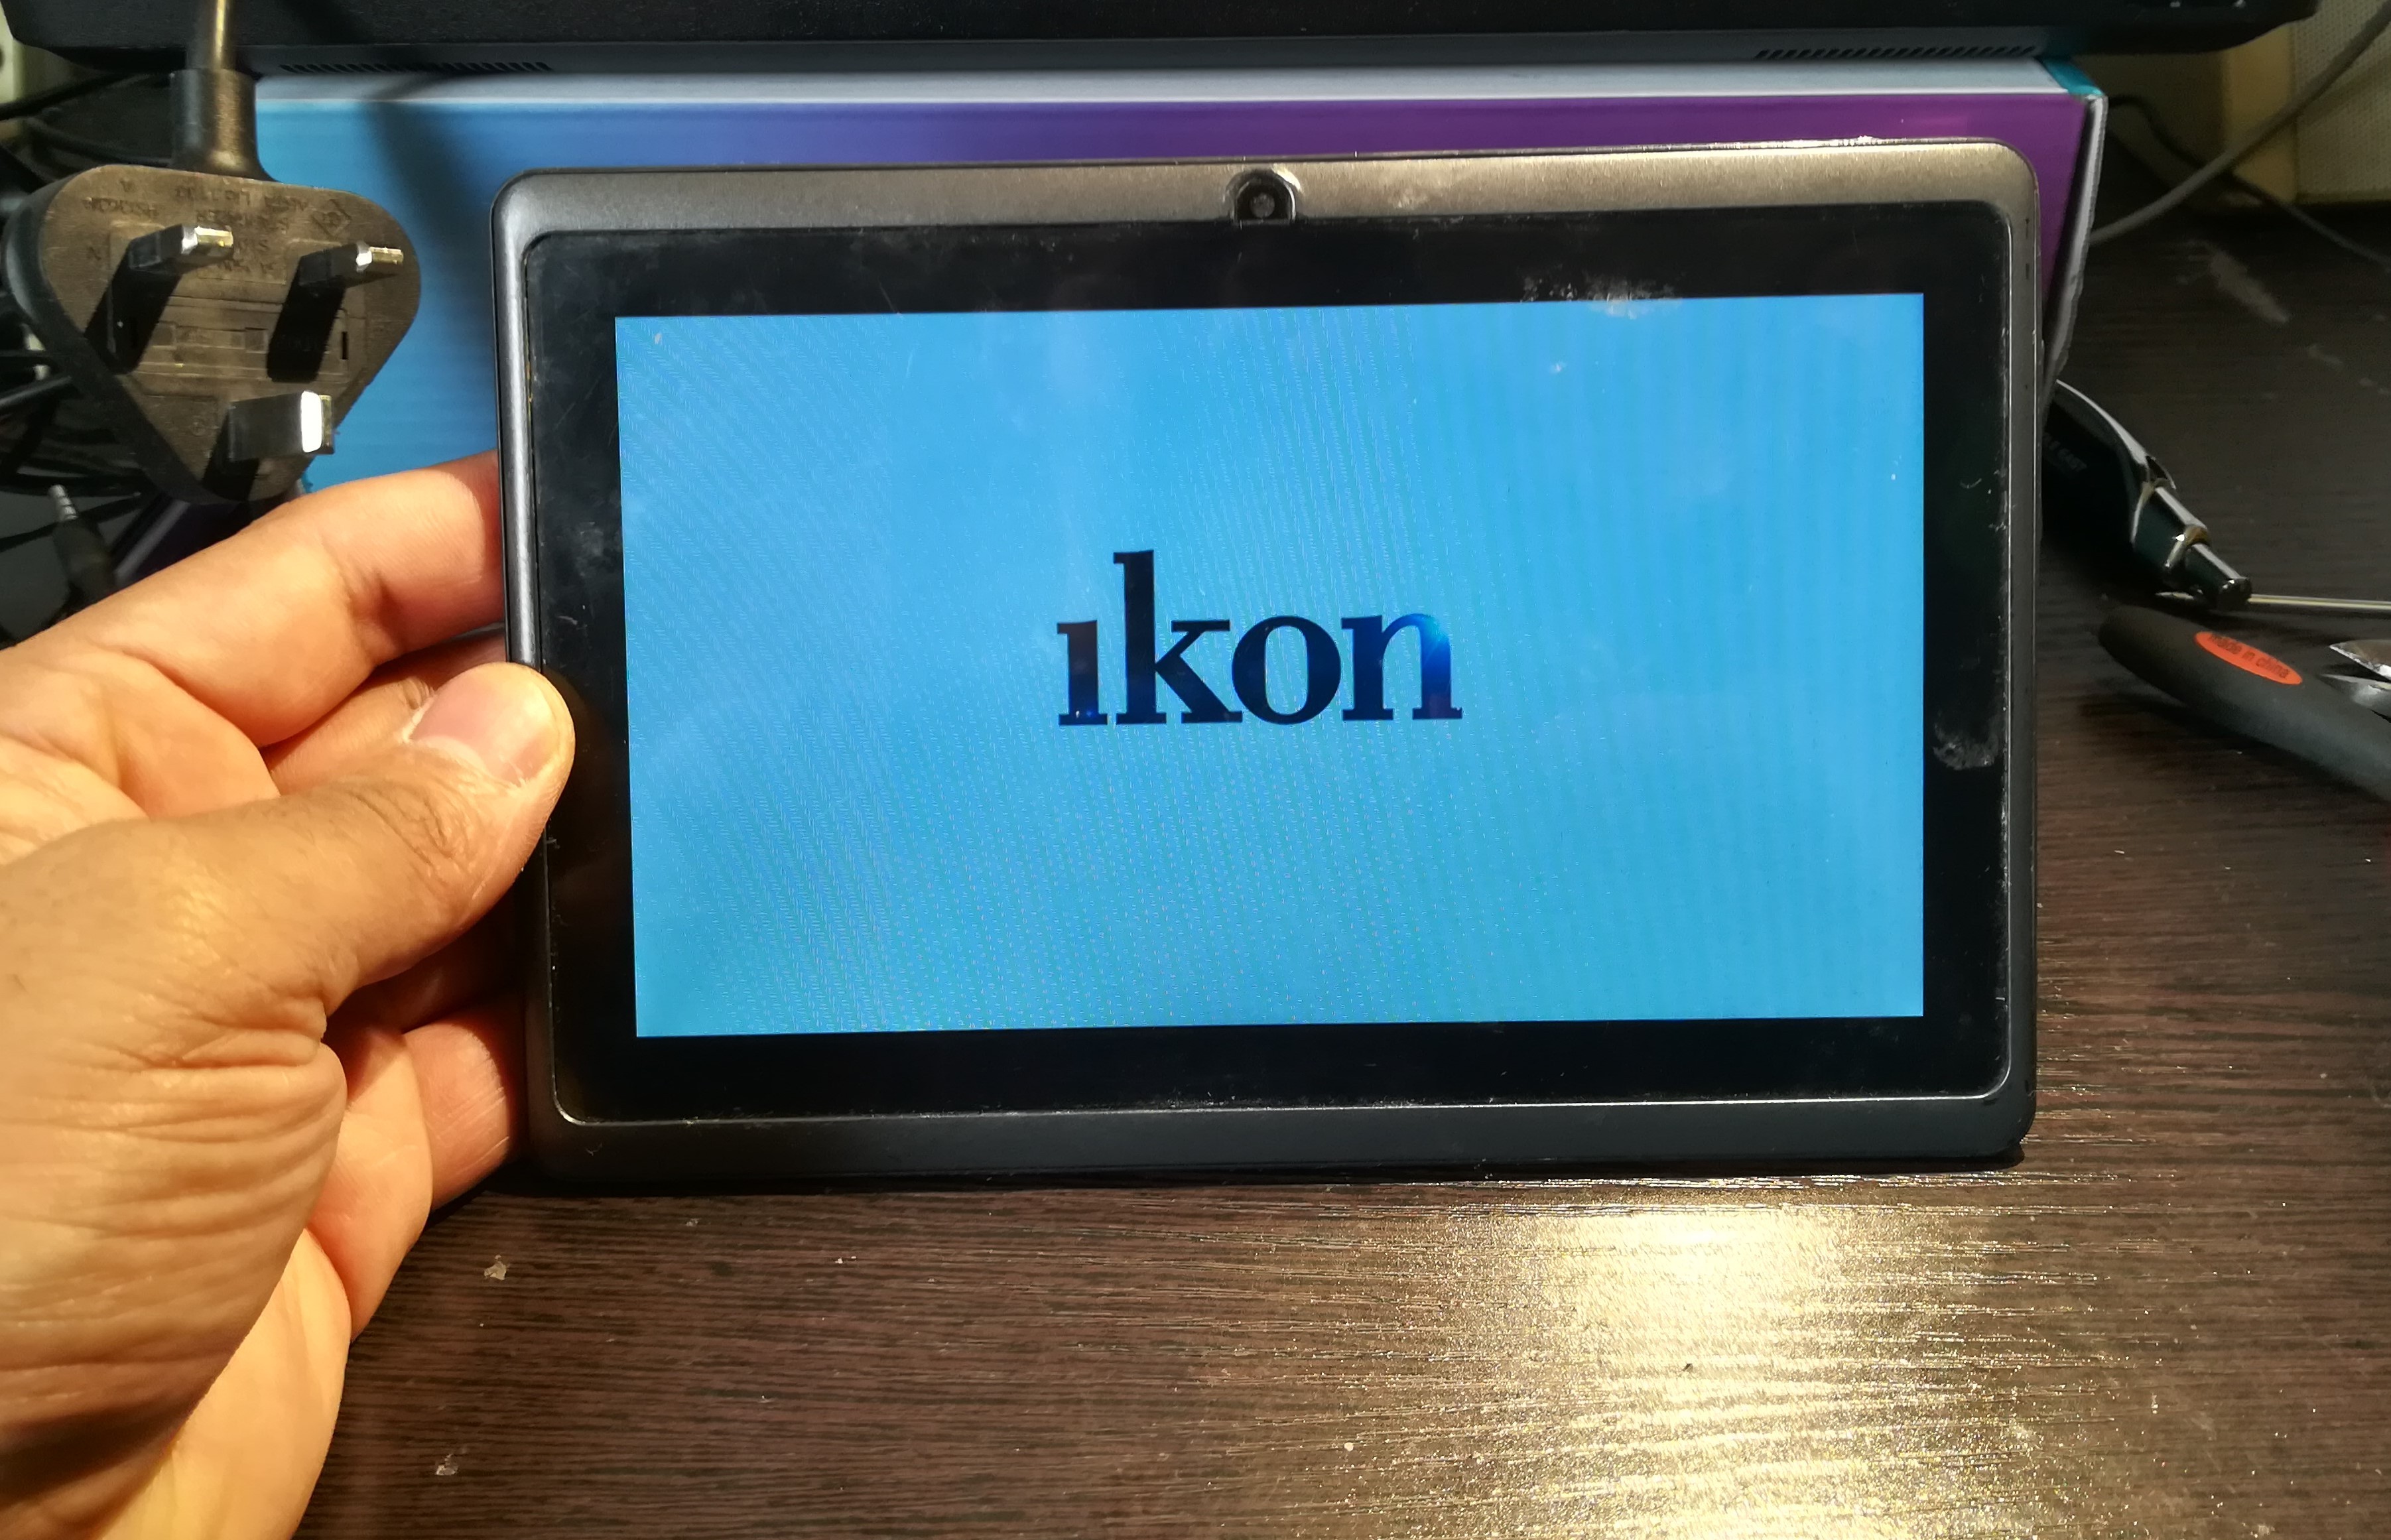
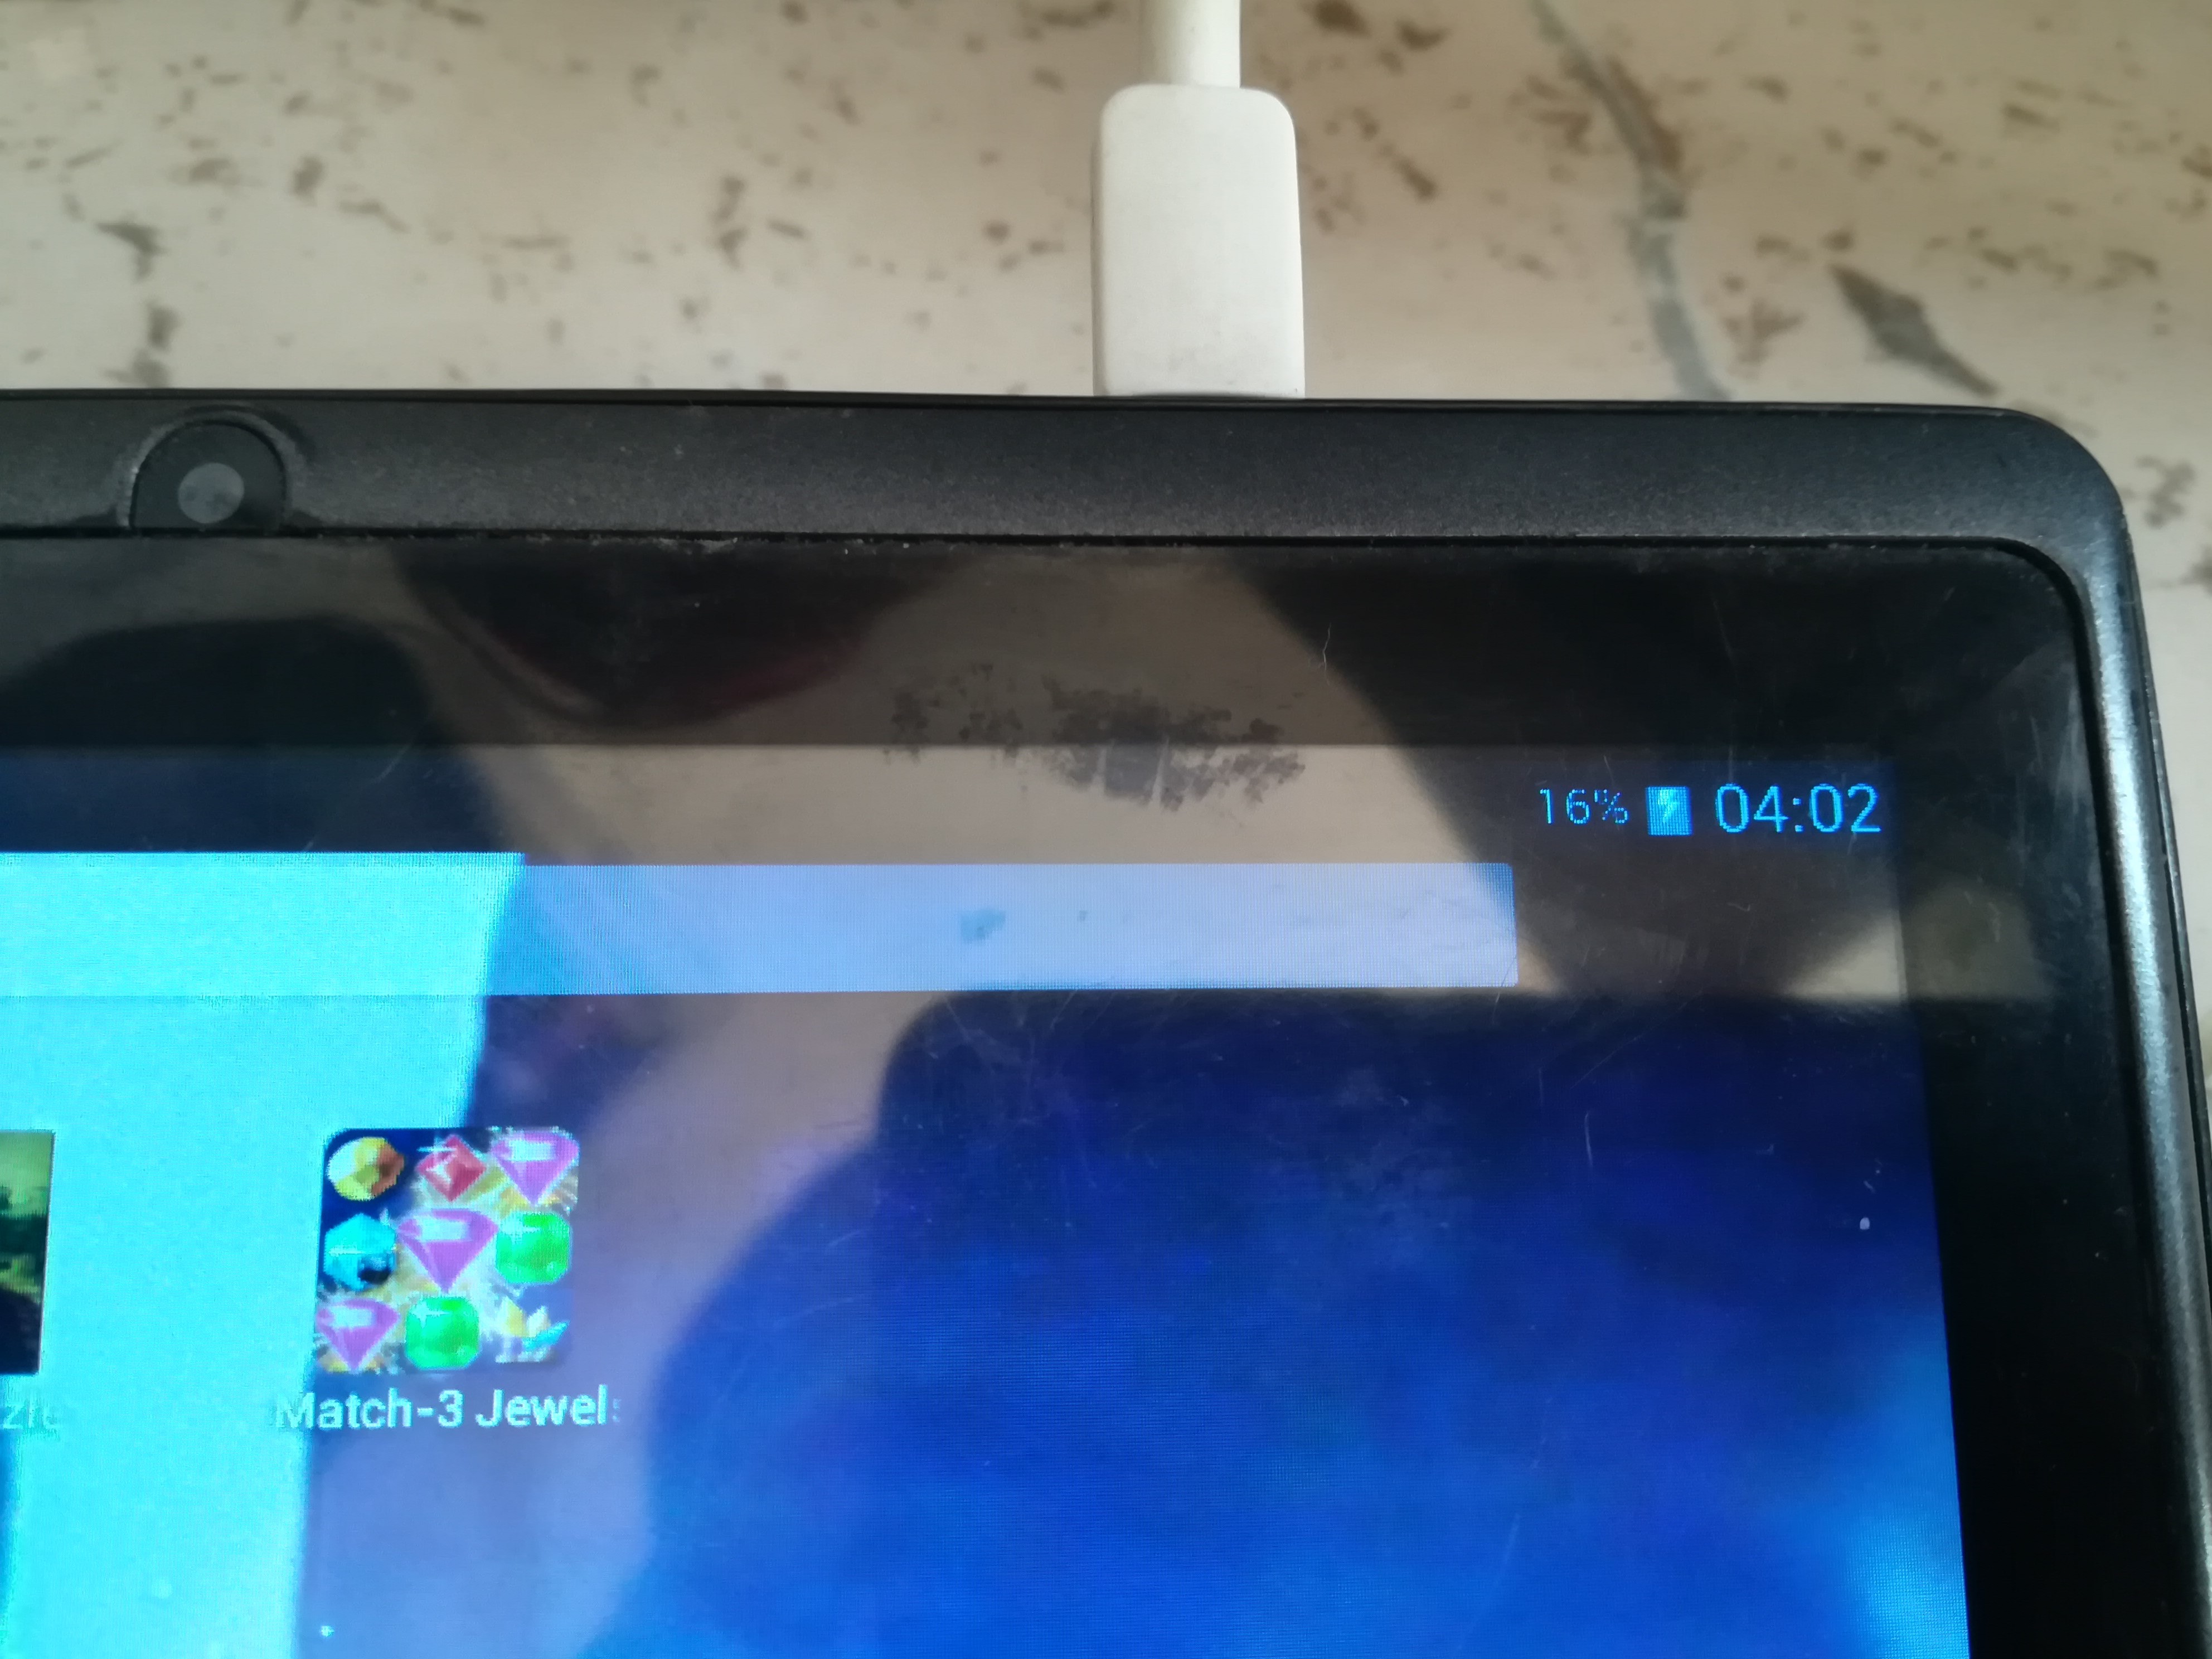
1. Switch ON the tab.
2. Connect to a charger and check for the charge indicator. This checks that everything what we did was OK.
3. During the first couple of charging cycles I kept close watch on the battery, occasionally checking the battery for overheating. I would advise you also do this to make sure everything is fine.
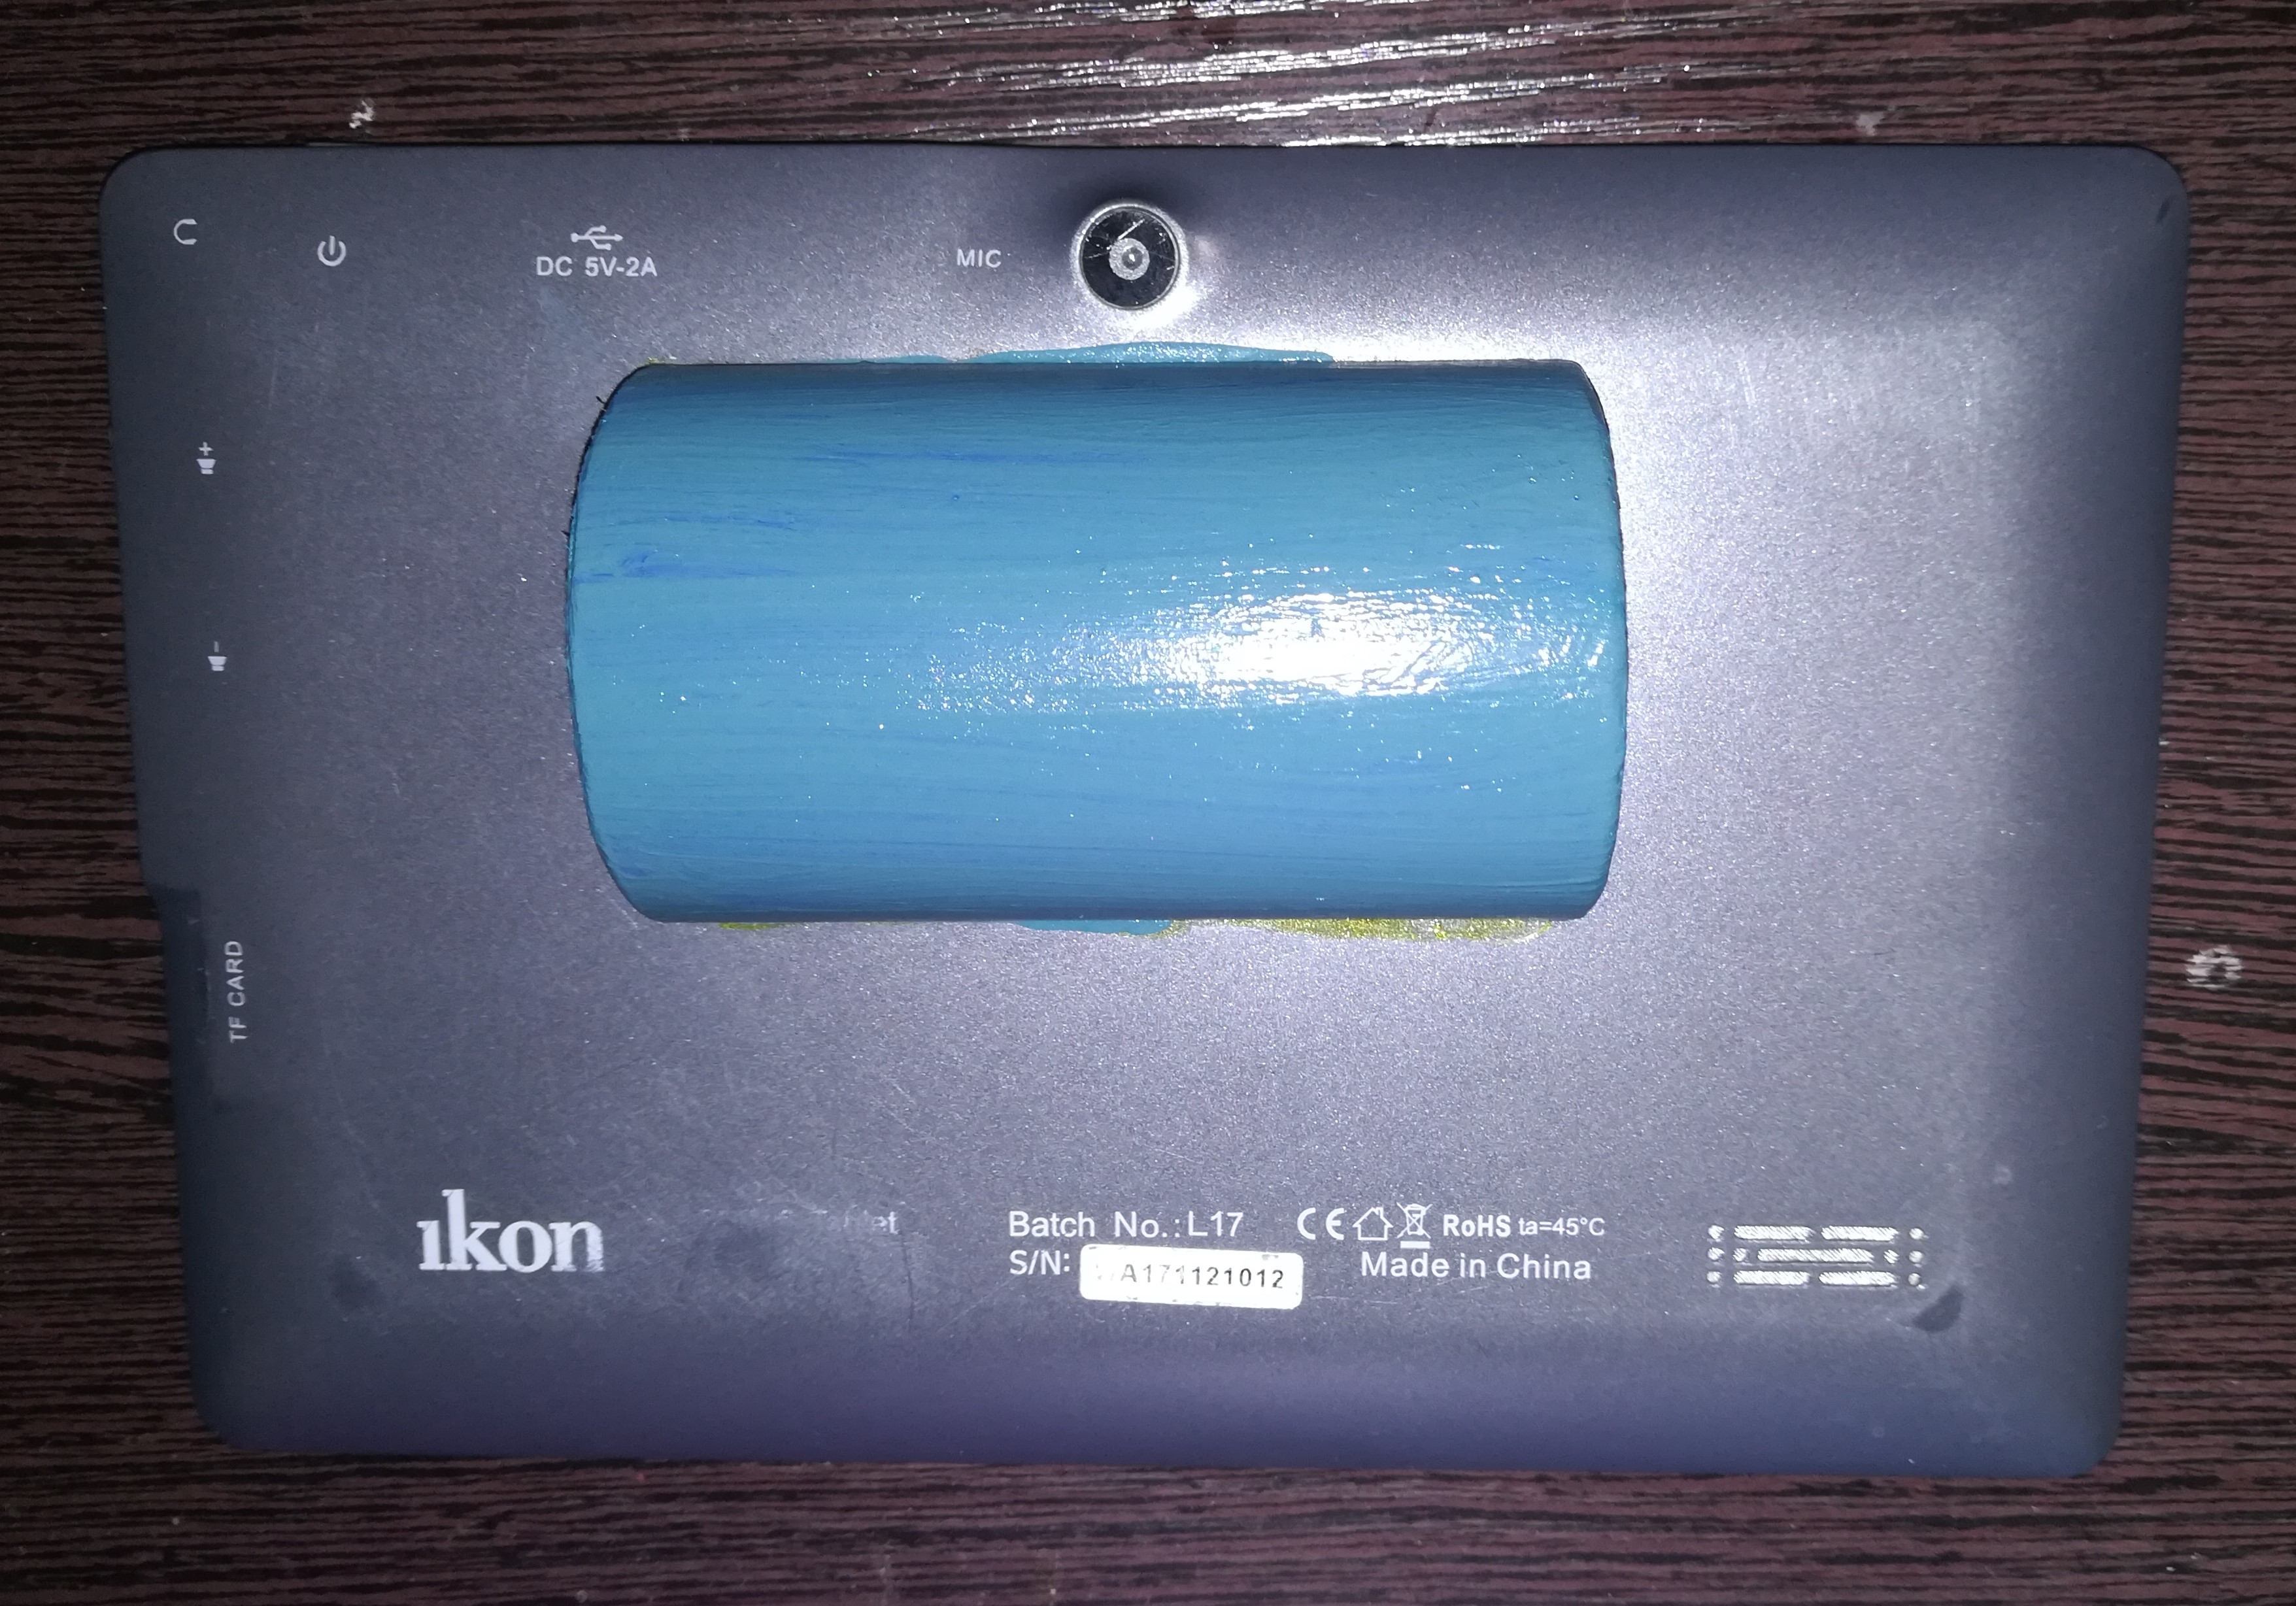
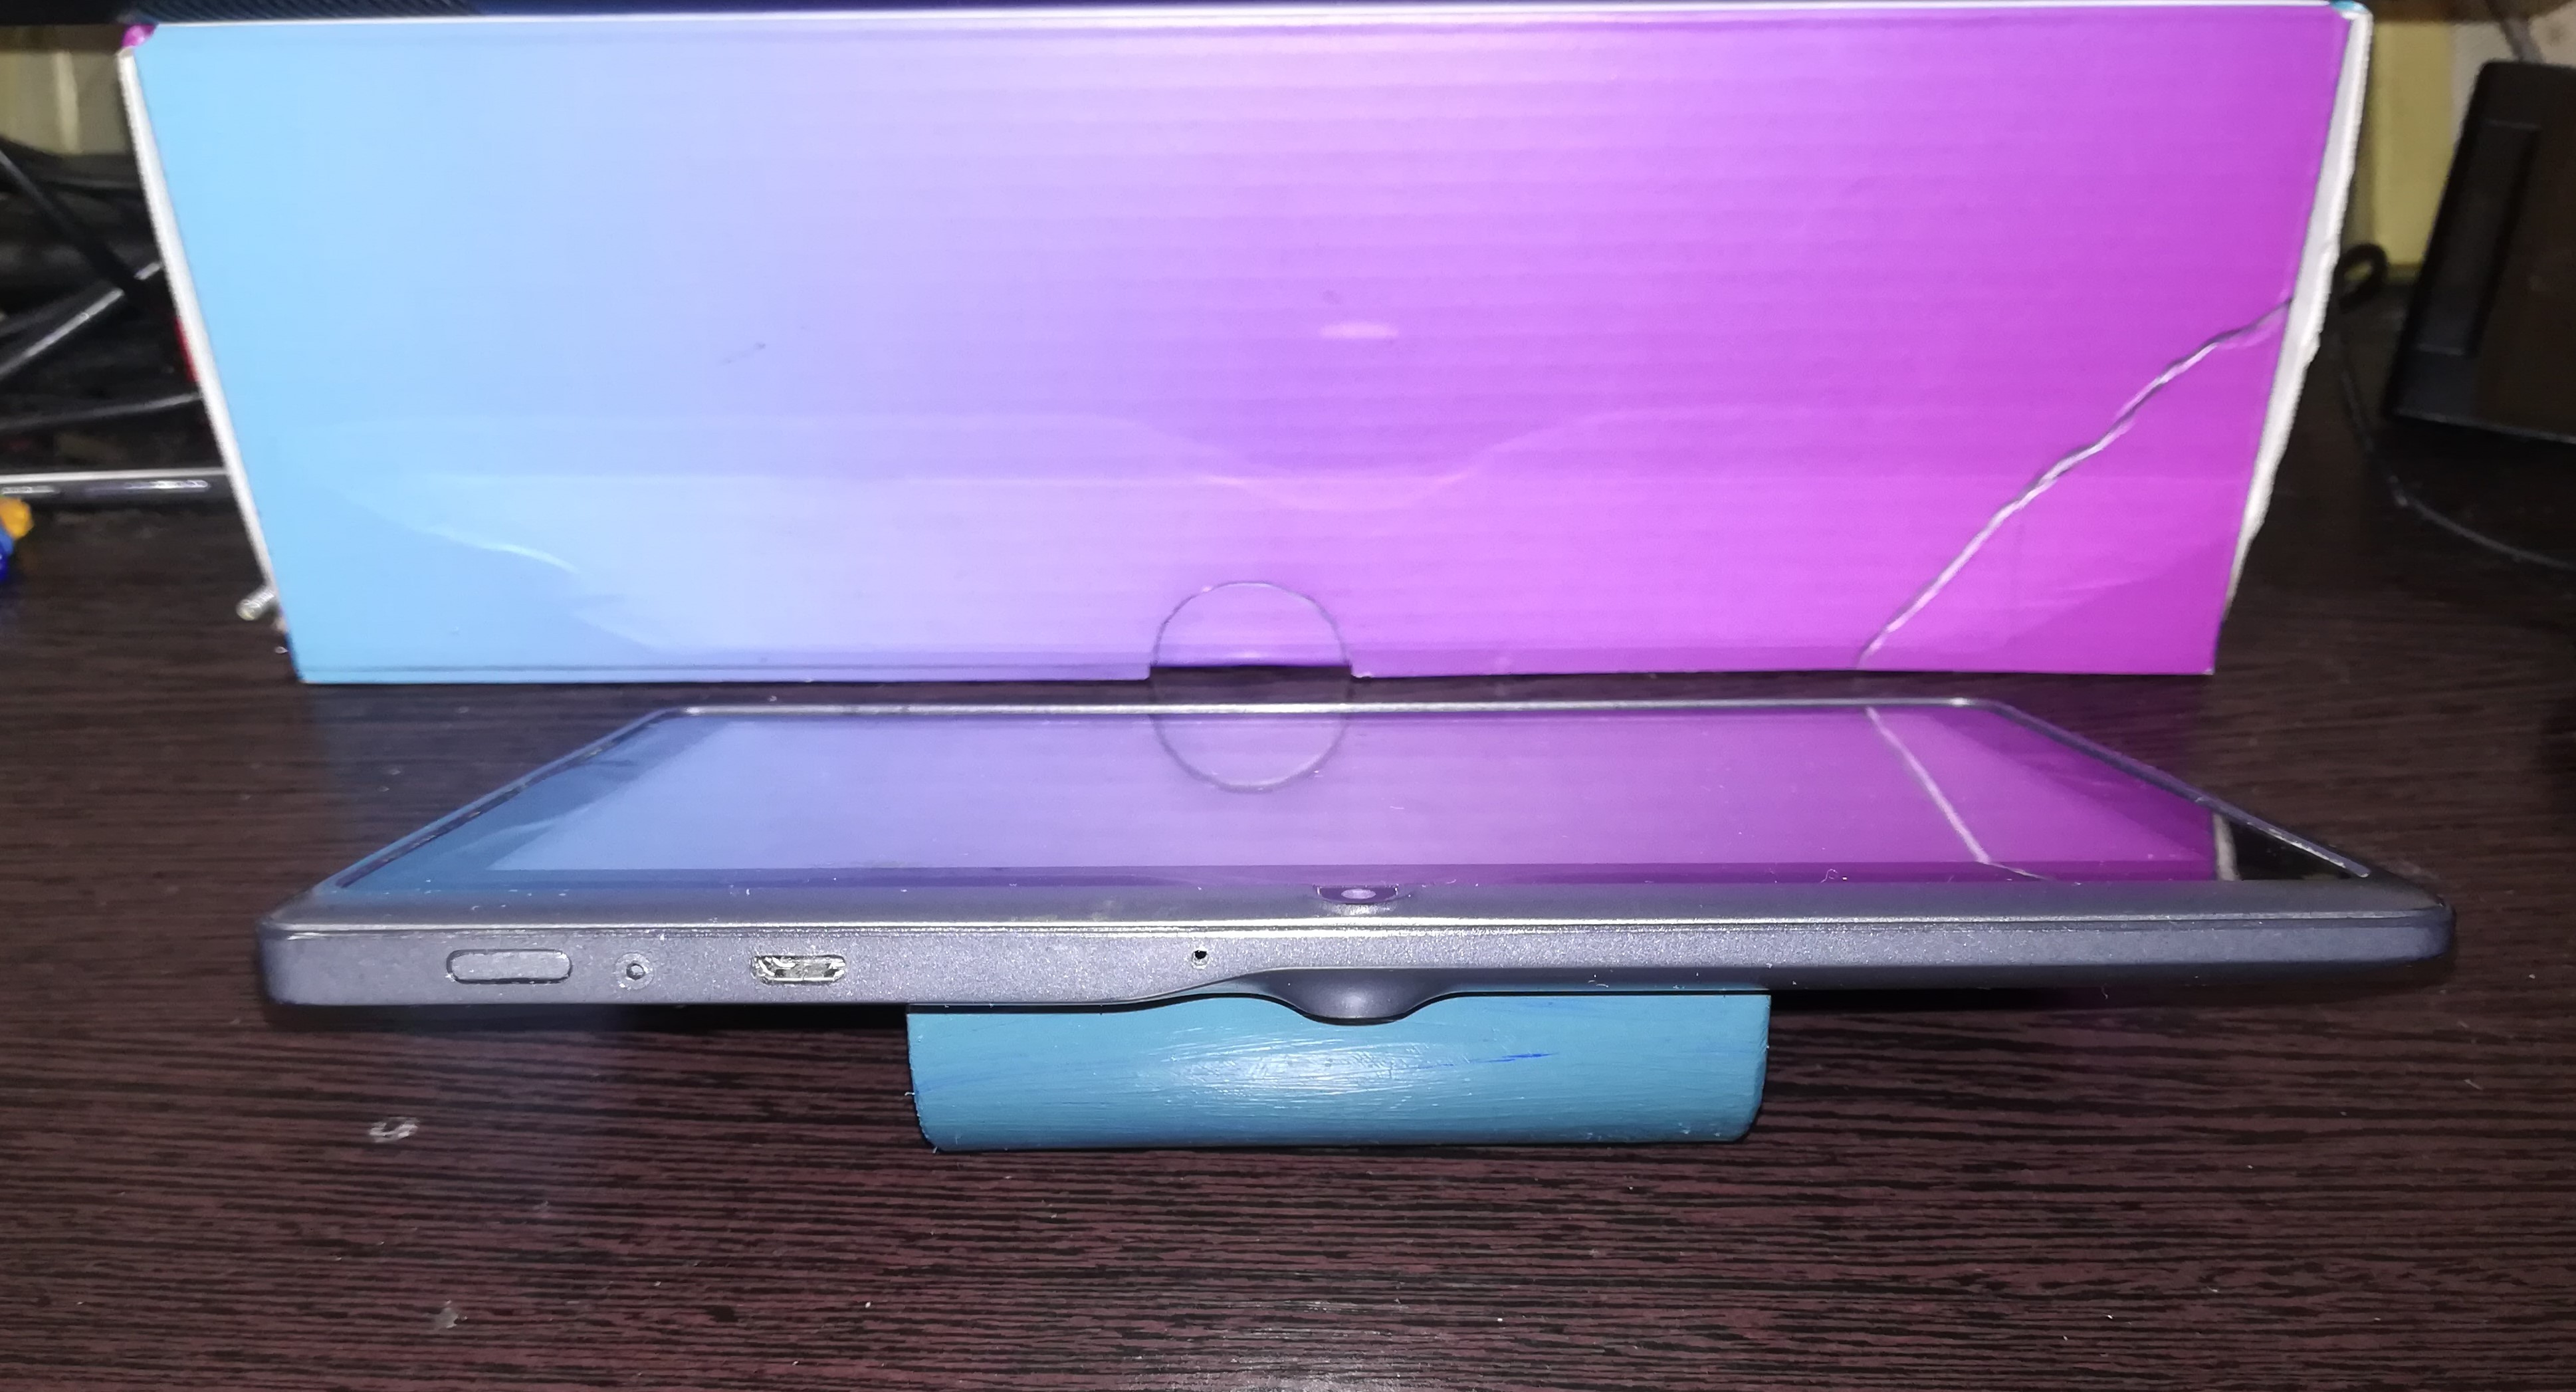
4. Cut a piece of PVC pipe into half and use glue to stick it on to the back of the 18650 LiPo.
5. This will give protection to the battery + it can be used as a back stand.
Hope you liked my instructable.
Once again, use extreme caution when working with Lithium Polymer batteries.
Thank You