Easiest 3D Name Tag, Using Tinkercad
by SHIFT! in Workshop > 3D Printing
33657 Views, 84 Favorites, 0 Comments
Easiest 3D Name Tag, Using Tinkercad
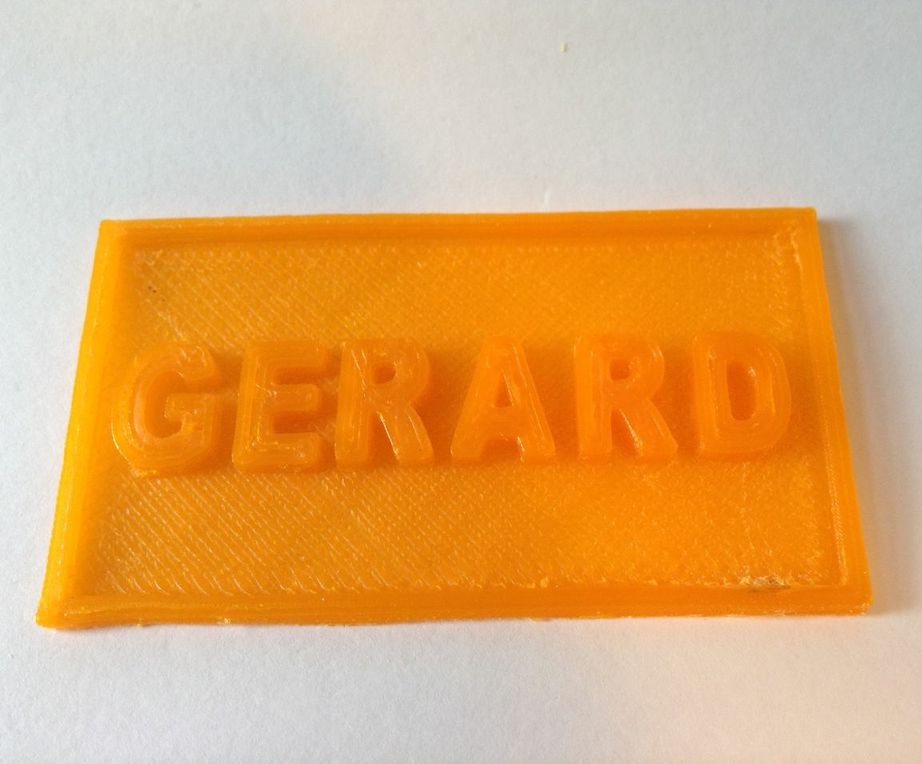
Bom Dia Instructabrarians!
Ever been to one of those completely awful and sterile corporate meet ups before? Yeah, you know the ones I'm talking about. Everyone has to put on their best suit, sacrifice their weekend and drive an hour to the city just to hear the big wigs talk about blah blah...quarterly sales.....blah blah....compliance officers. There's no food and hardly any entertainment. But the absolute worst insult? The company forces you to to don those terrible "Hi! I'm...." name tags and there's no colored Sharpies!!! That's right, not only do you have to pretend to know or care about "Joe From Accounting" but you can't even show how awesome your name is.
Don't fall victim to this colorless corporate drudgery again! 3D Print your own Embossed Name Tag today!
Using Tinkercad
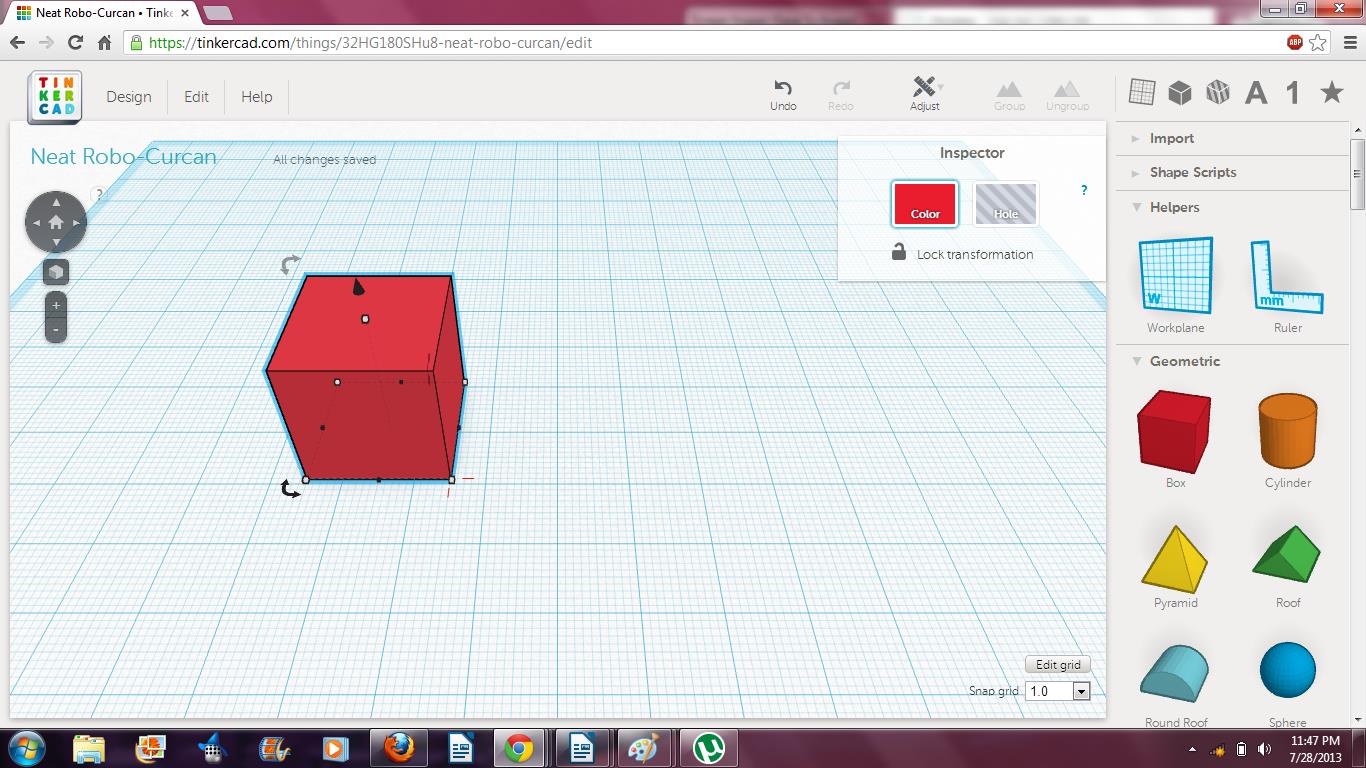
For those of you who haven't gotten to try it out, Tinkercad is an amazing piece of online 3D design software, now owned by Autodesk, Inc. It is extremely simple to use with a ton of design features for creating models. I got to try it out last month at the Vancouver Hackerspace, when we were hosting a Build Night through an Instructables Partnership and I gave a small class demonstration of it.
The name tag I created here was for one of my peers Gerard Pietrykiewicz aka "Geordie" and printed using Loial Otter's truly amazing 3D printers.
The name tag I created here was for one of my peers Gerard Pietrykiewicz aka "Geordie" and printed using Loial Otter's truly amazing 3D printers.
Create Your Base
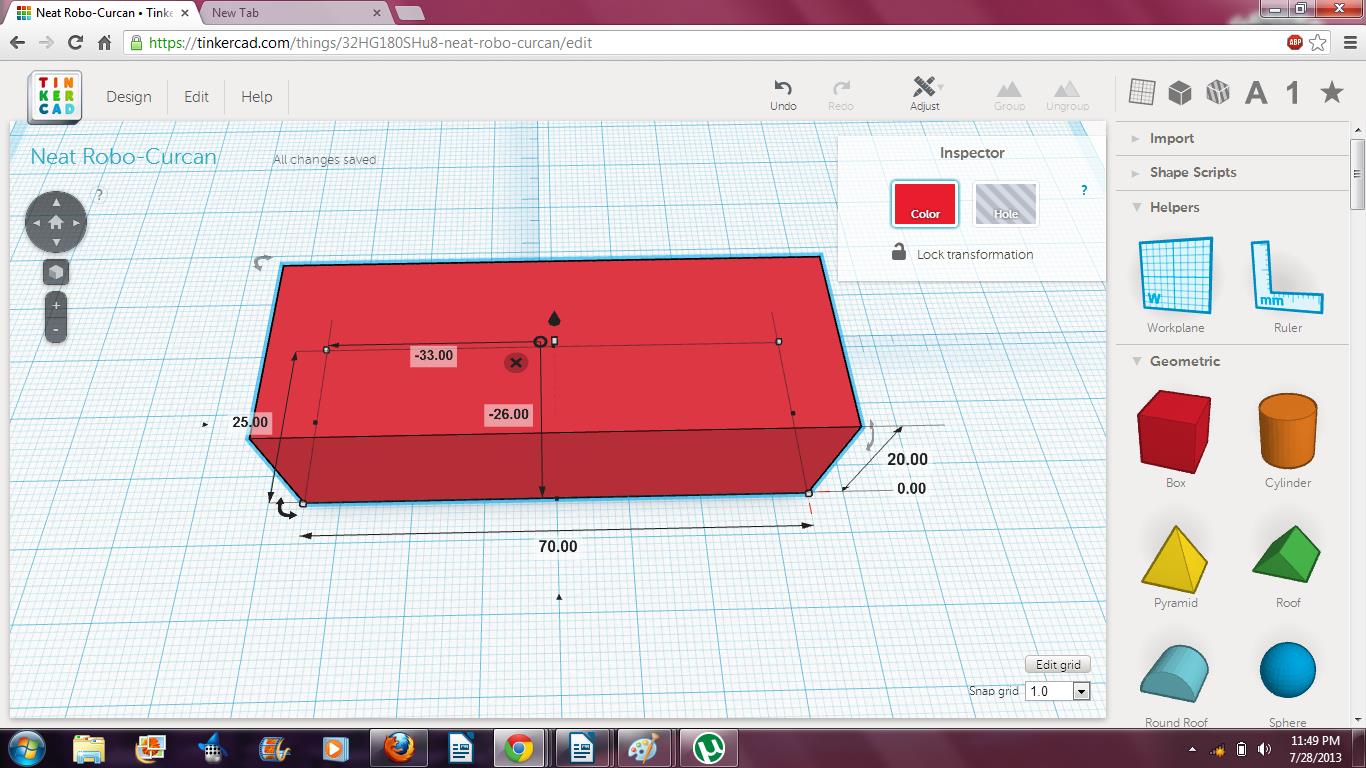
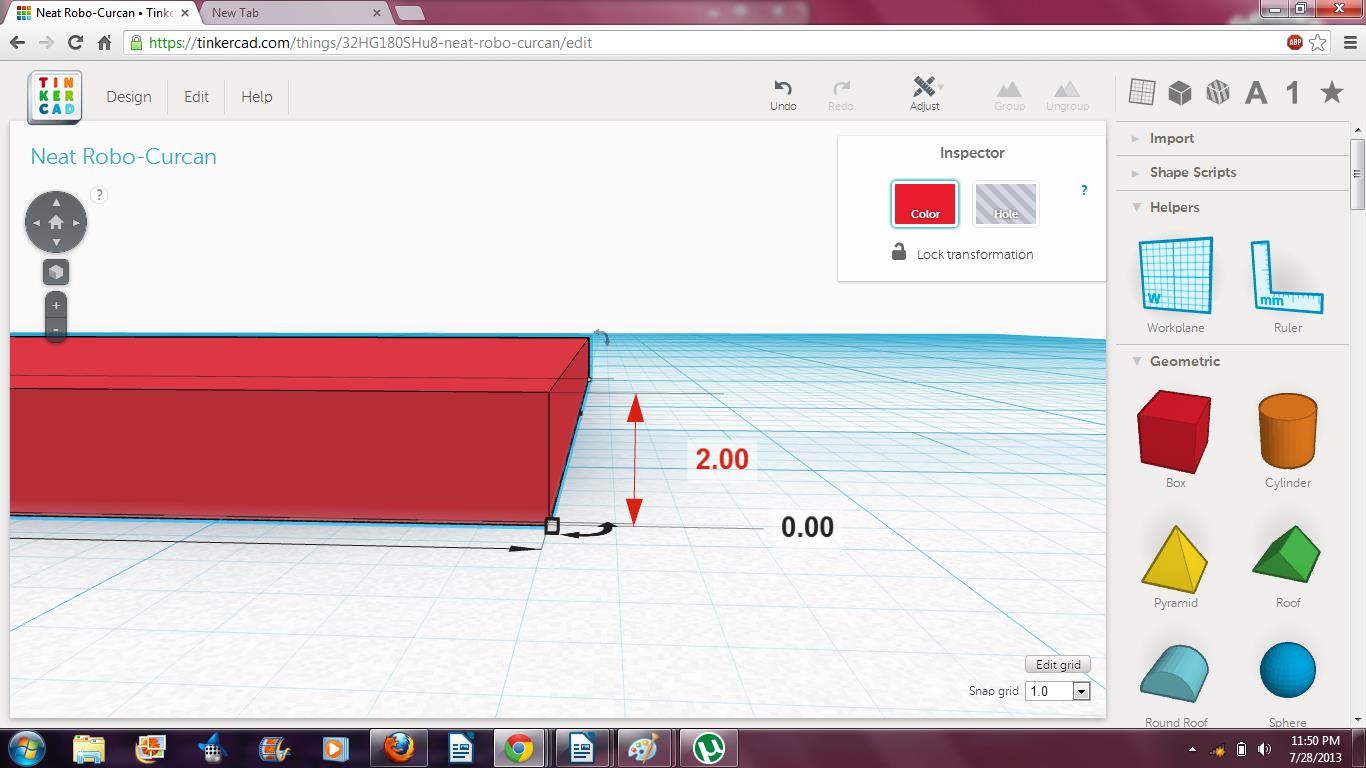
Start by taking a basic cube shape from the "Shapes" column at the right. You can think of these as a bucket of available building blocks when you were a kid. Take the cube shape and then and form it into a thin rectangular shape.
Scaling in Tinkercad is the same way as scaling an image- simply push and pull at the corners to resize the model The dimensions are in millimeters, but you can always scale up.
Pull and drag at the corners of the cube until you have your desired shape. The dimension of my name tag was 20 mm wide by 68 mm long and 2 mm deep.
Create Embossed Edges
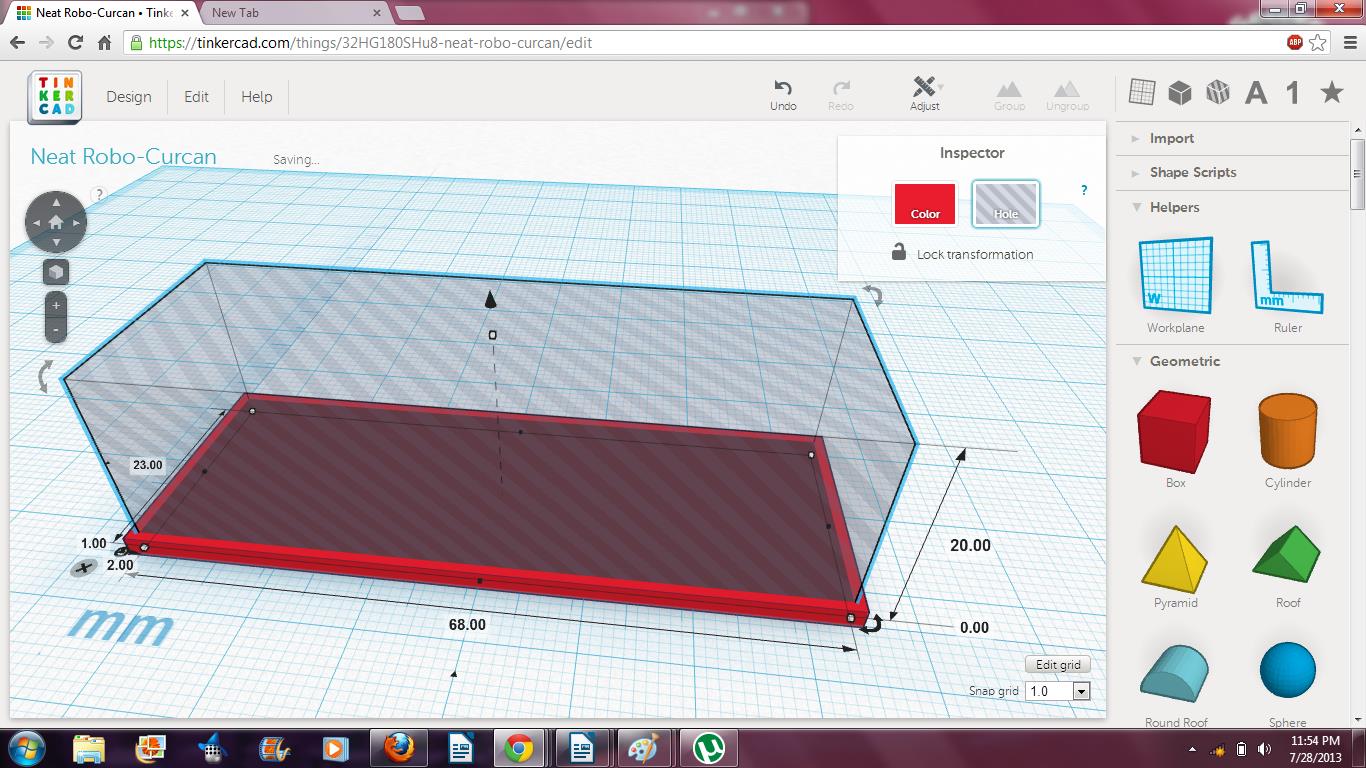
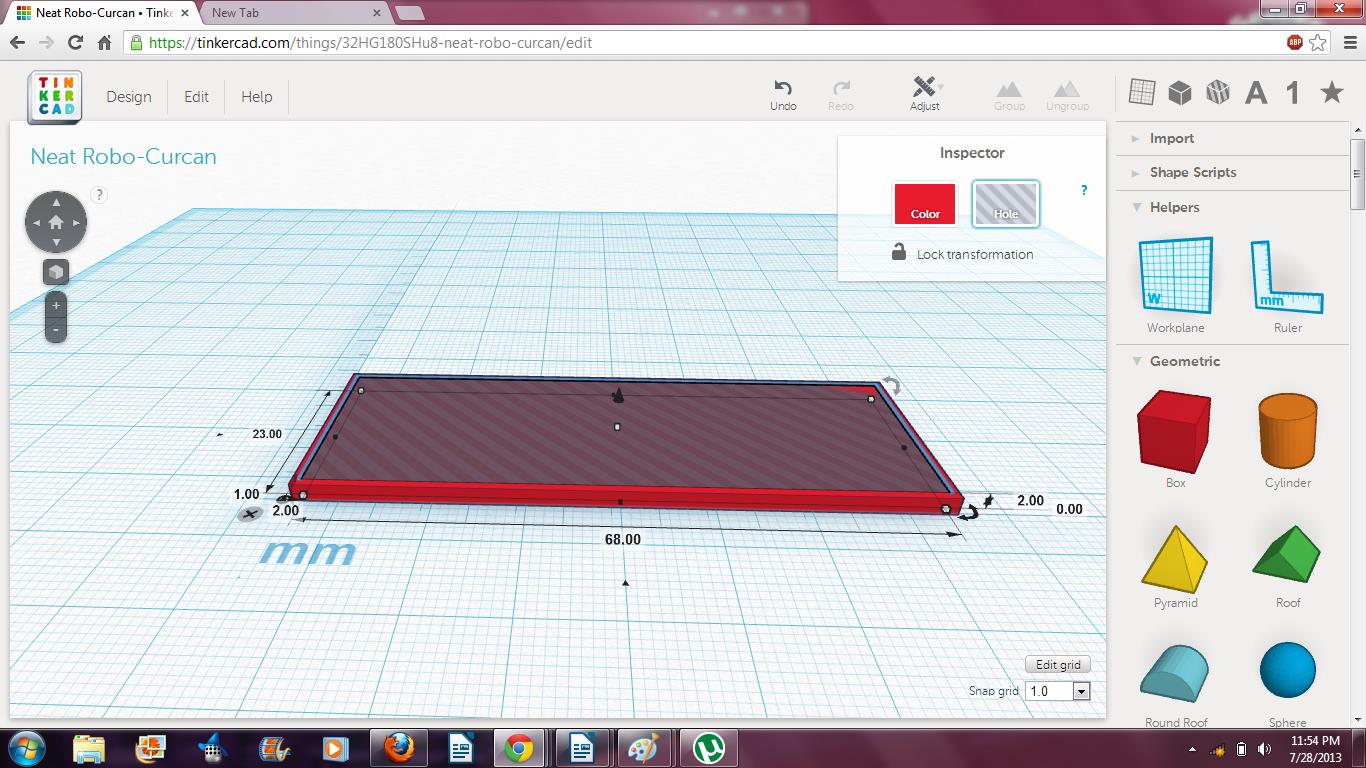
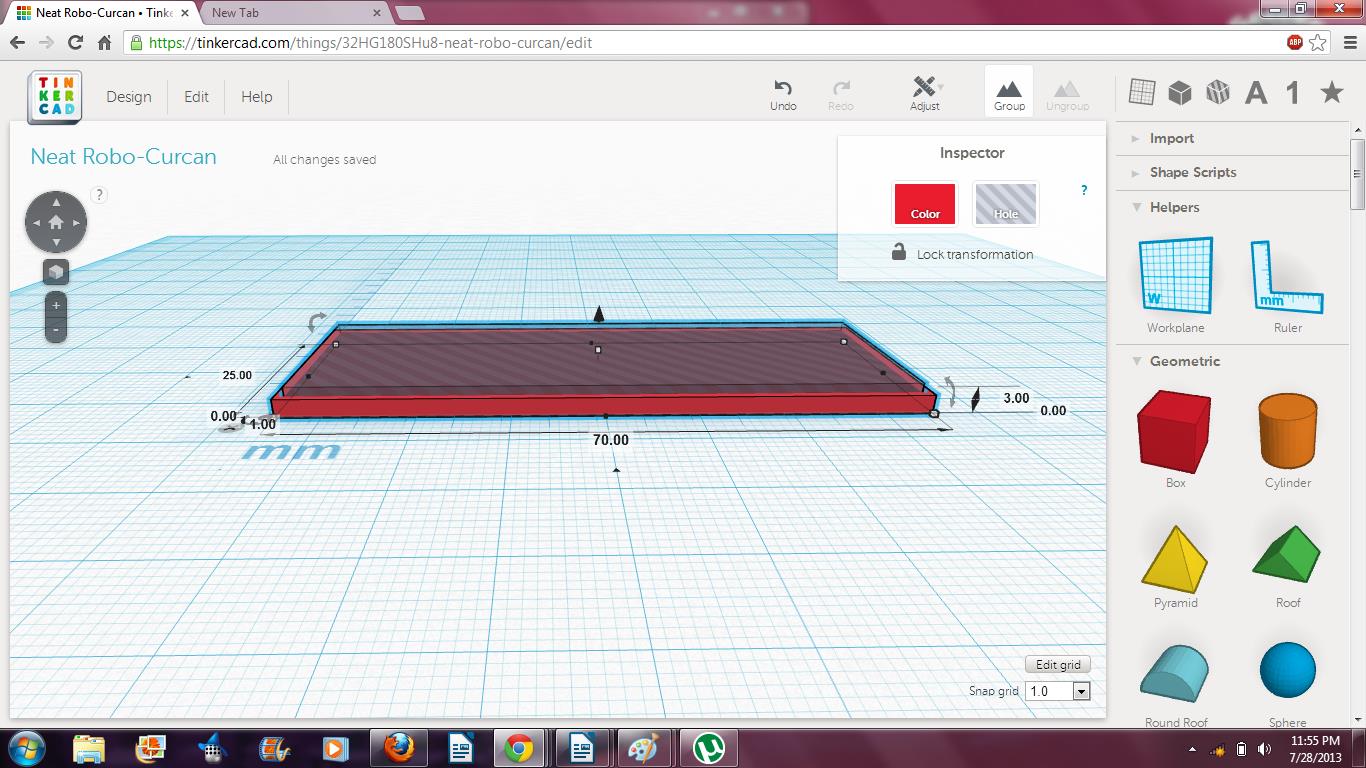
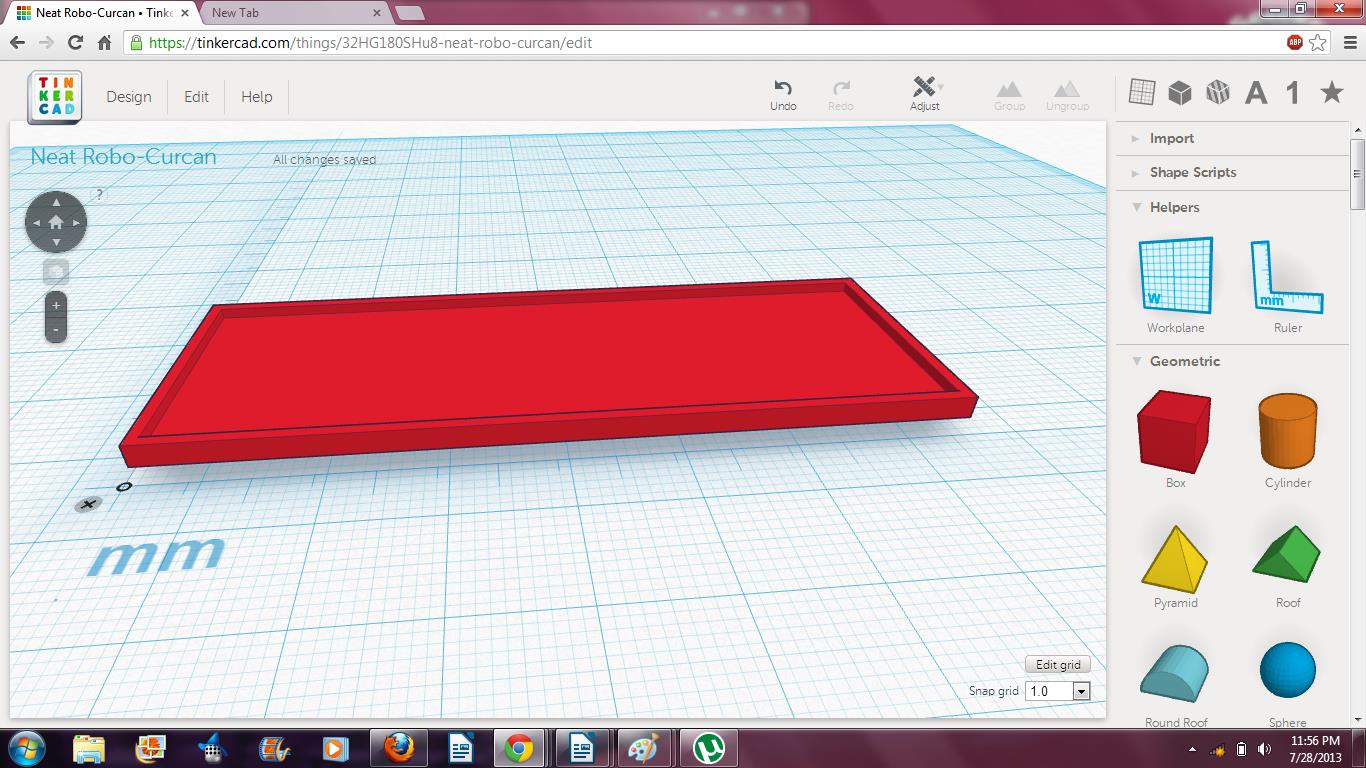
The next step can be slightly tricky but is quite simple after your first try.
In Tinkercad, one of the aspects it excels at is making hollowed objects. On the top right corner of the screen there's a "Hole" option, which allows you to take any shape from the "Geometric" or "Shapes" selection and, as the name implies, creating a hole in it.
Use the"Cube shape and select the "Hole" option on Tinker Cad. Be sure that the hole is not the same size as the rectangle, but instead provides a lip (of about 1 mm on each side). Then, drop the hole slightly so only the surface layer of the rectangle is removed.
Once you are done, hit the "Group" button on the top right hand corner, to join the hole to the surface. You will now have your embossed corners.
Add Embossed Lettering
Hands down, nothing looks more impressive on a name tag than embossed lettering.
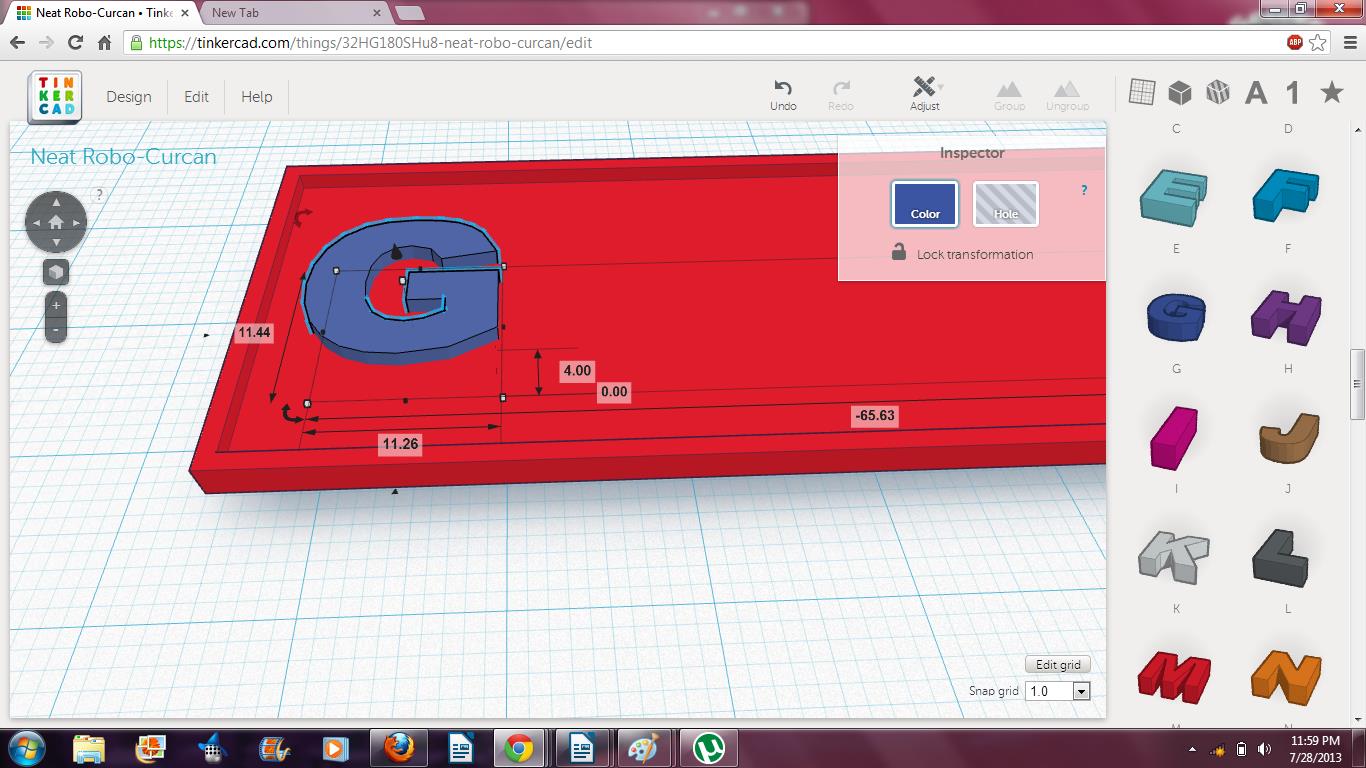
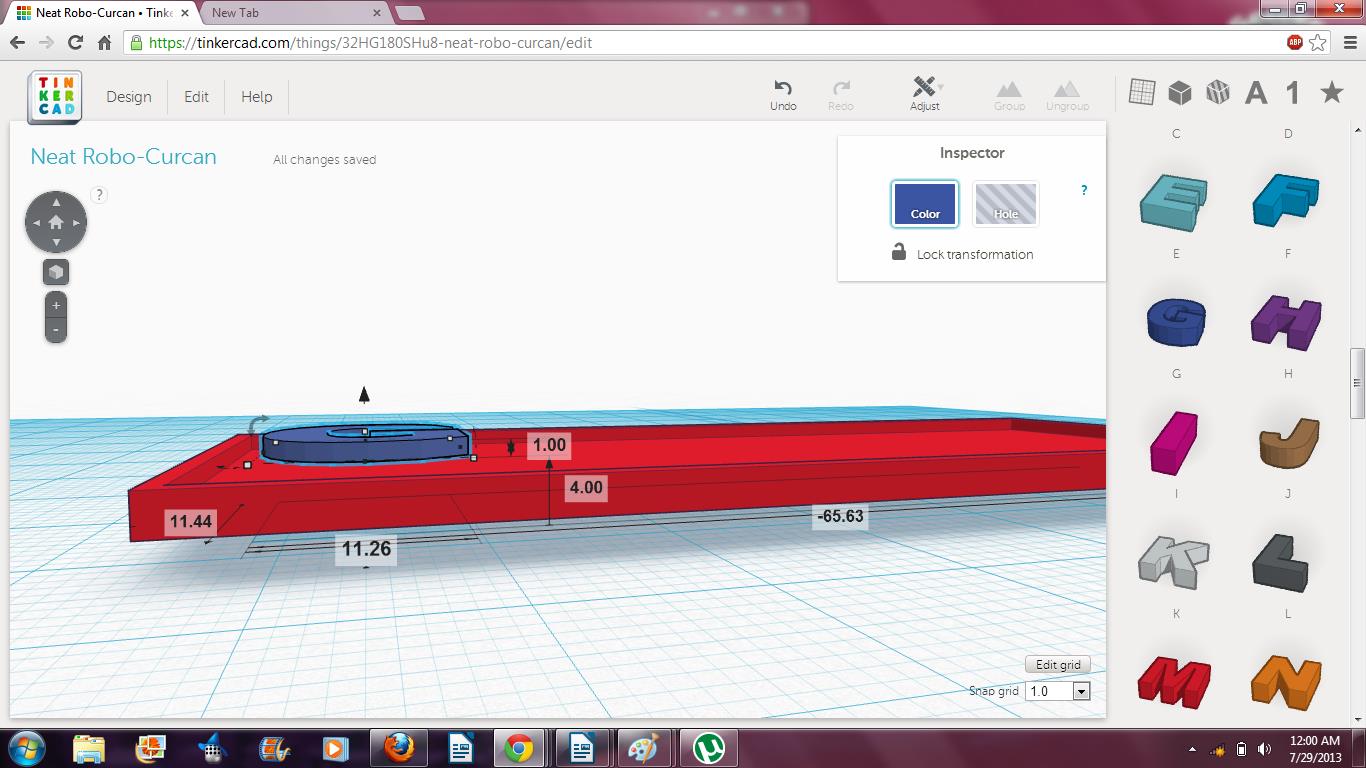
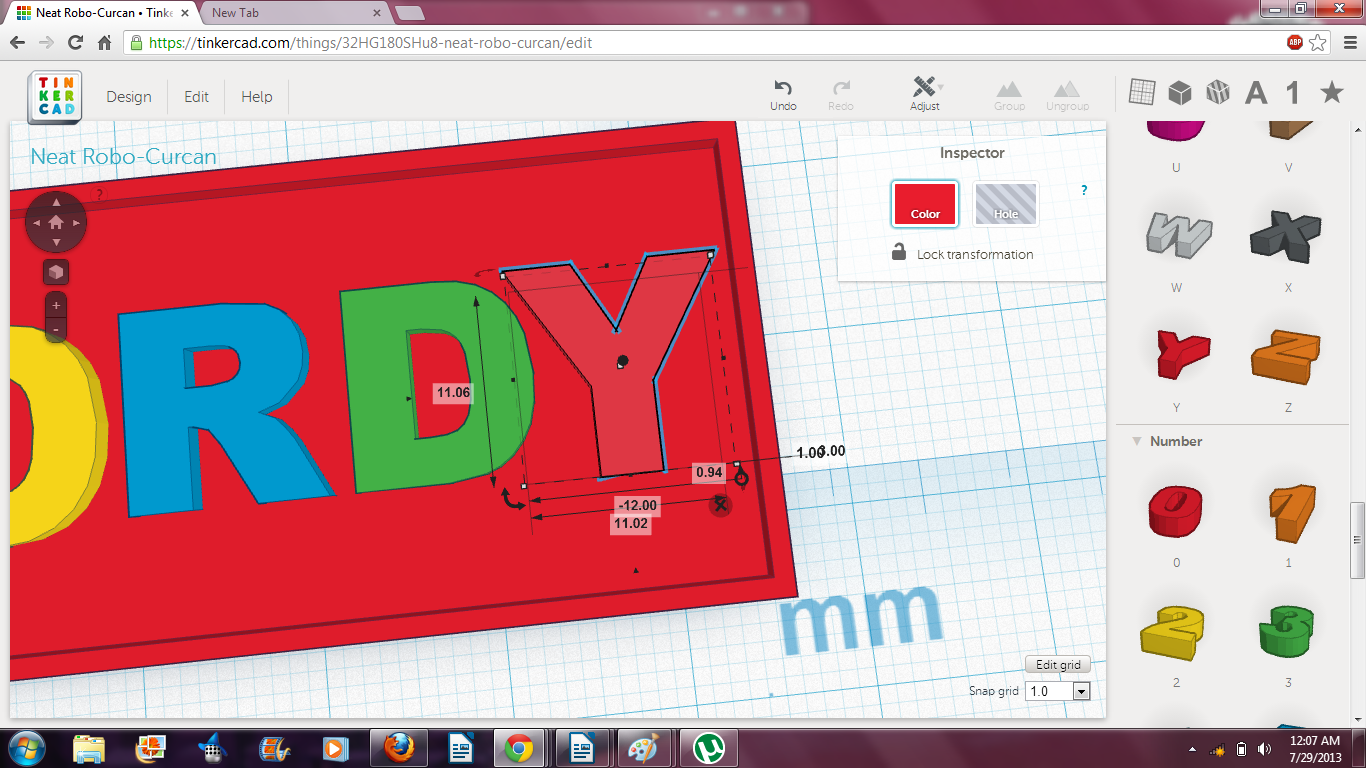
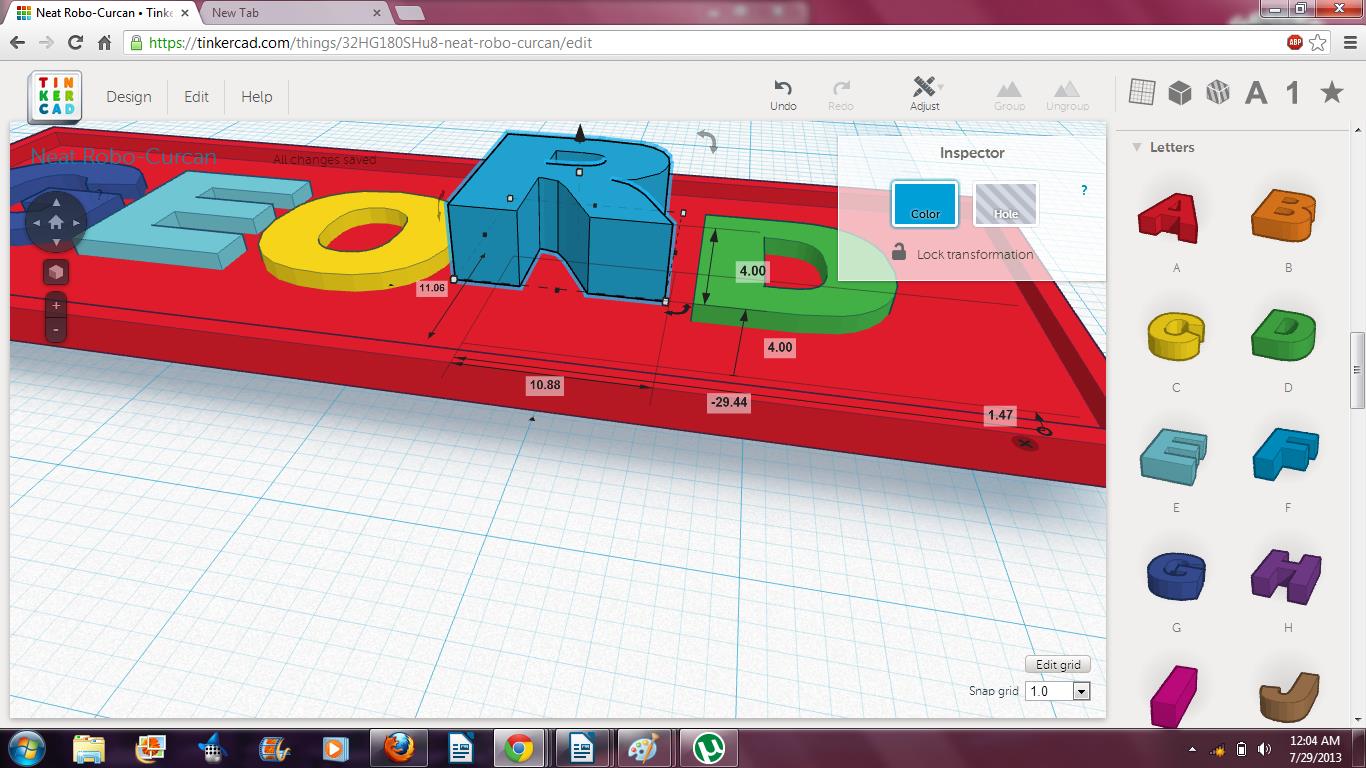
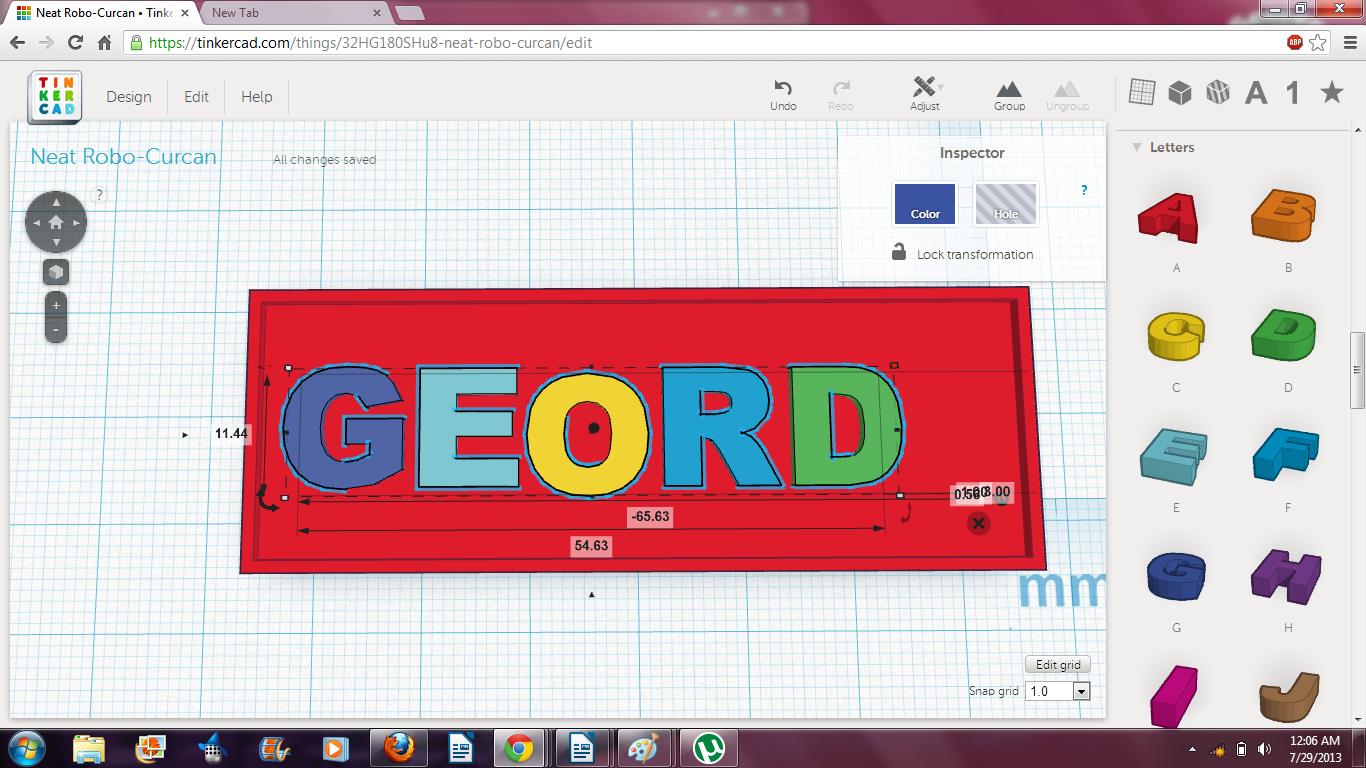
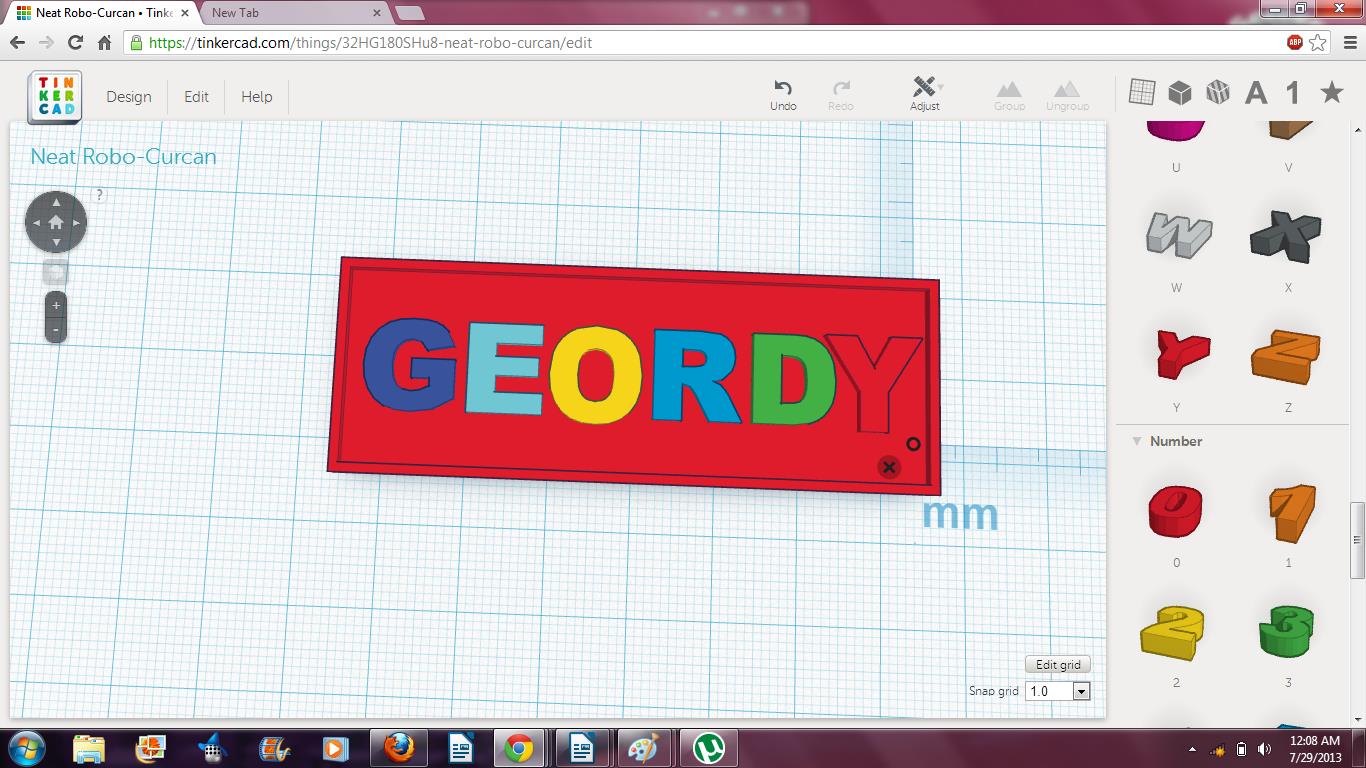
A little under the "Shapes" selection on your right hand task bar, you'll find a list of available letters and numbers listing through A-9. Similar to how you rescaled the original rectangle, rescale the letters so they fit evenly onto your name tag. Make sure that the lettering is laying on top of the name tag and hit "Group" to join the letters to the tag.
A little under the "Shapes" selection on your right hand task bar, you'll find a list of available letters and numbers listing through A-9. Similar to how you rescaled the original rectangle, rescale the letters so they fit evenly onto your name tag. Make sure that the lettering is laying on top of the name tag and hit "Group" to join the letters to the tag.
3D Print It!
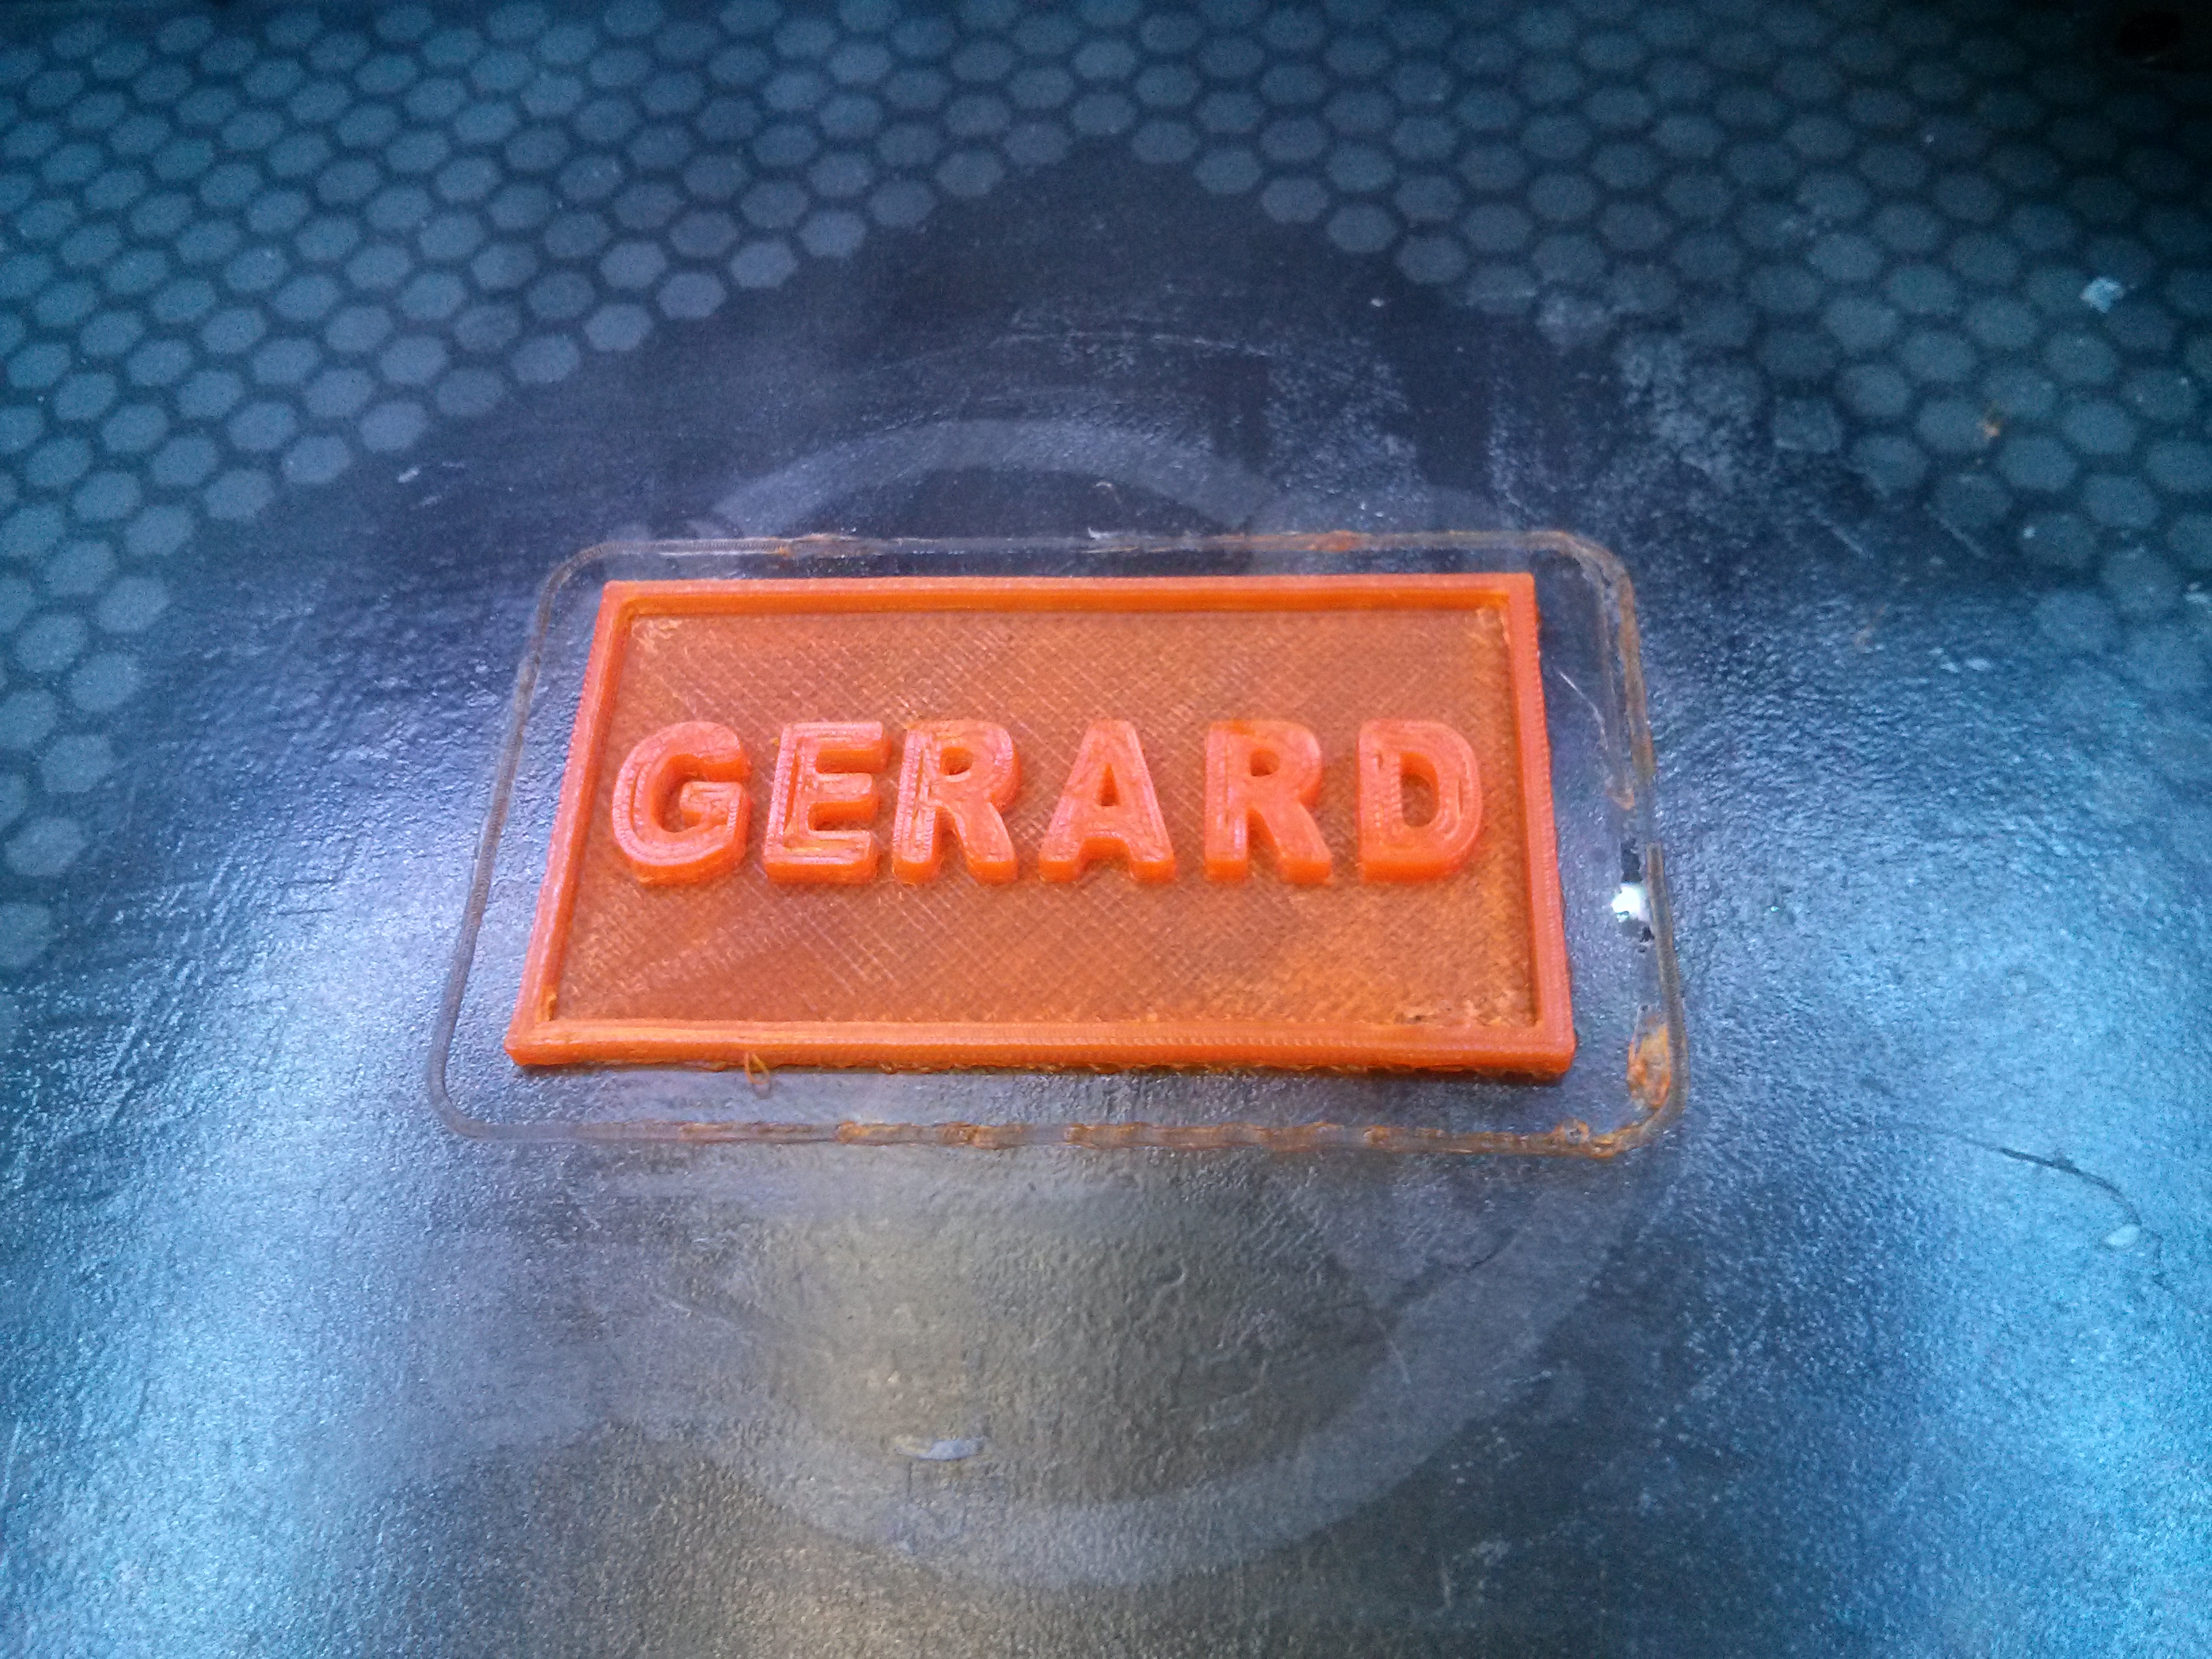
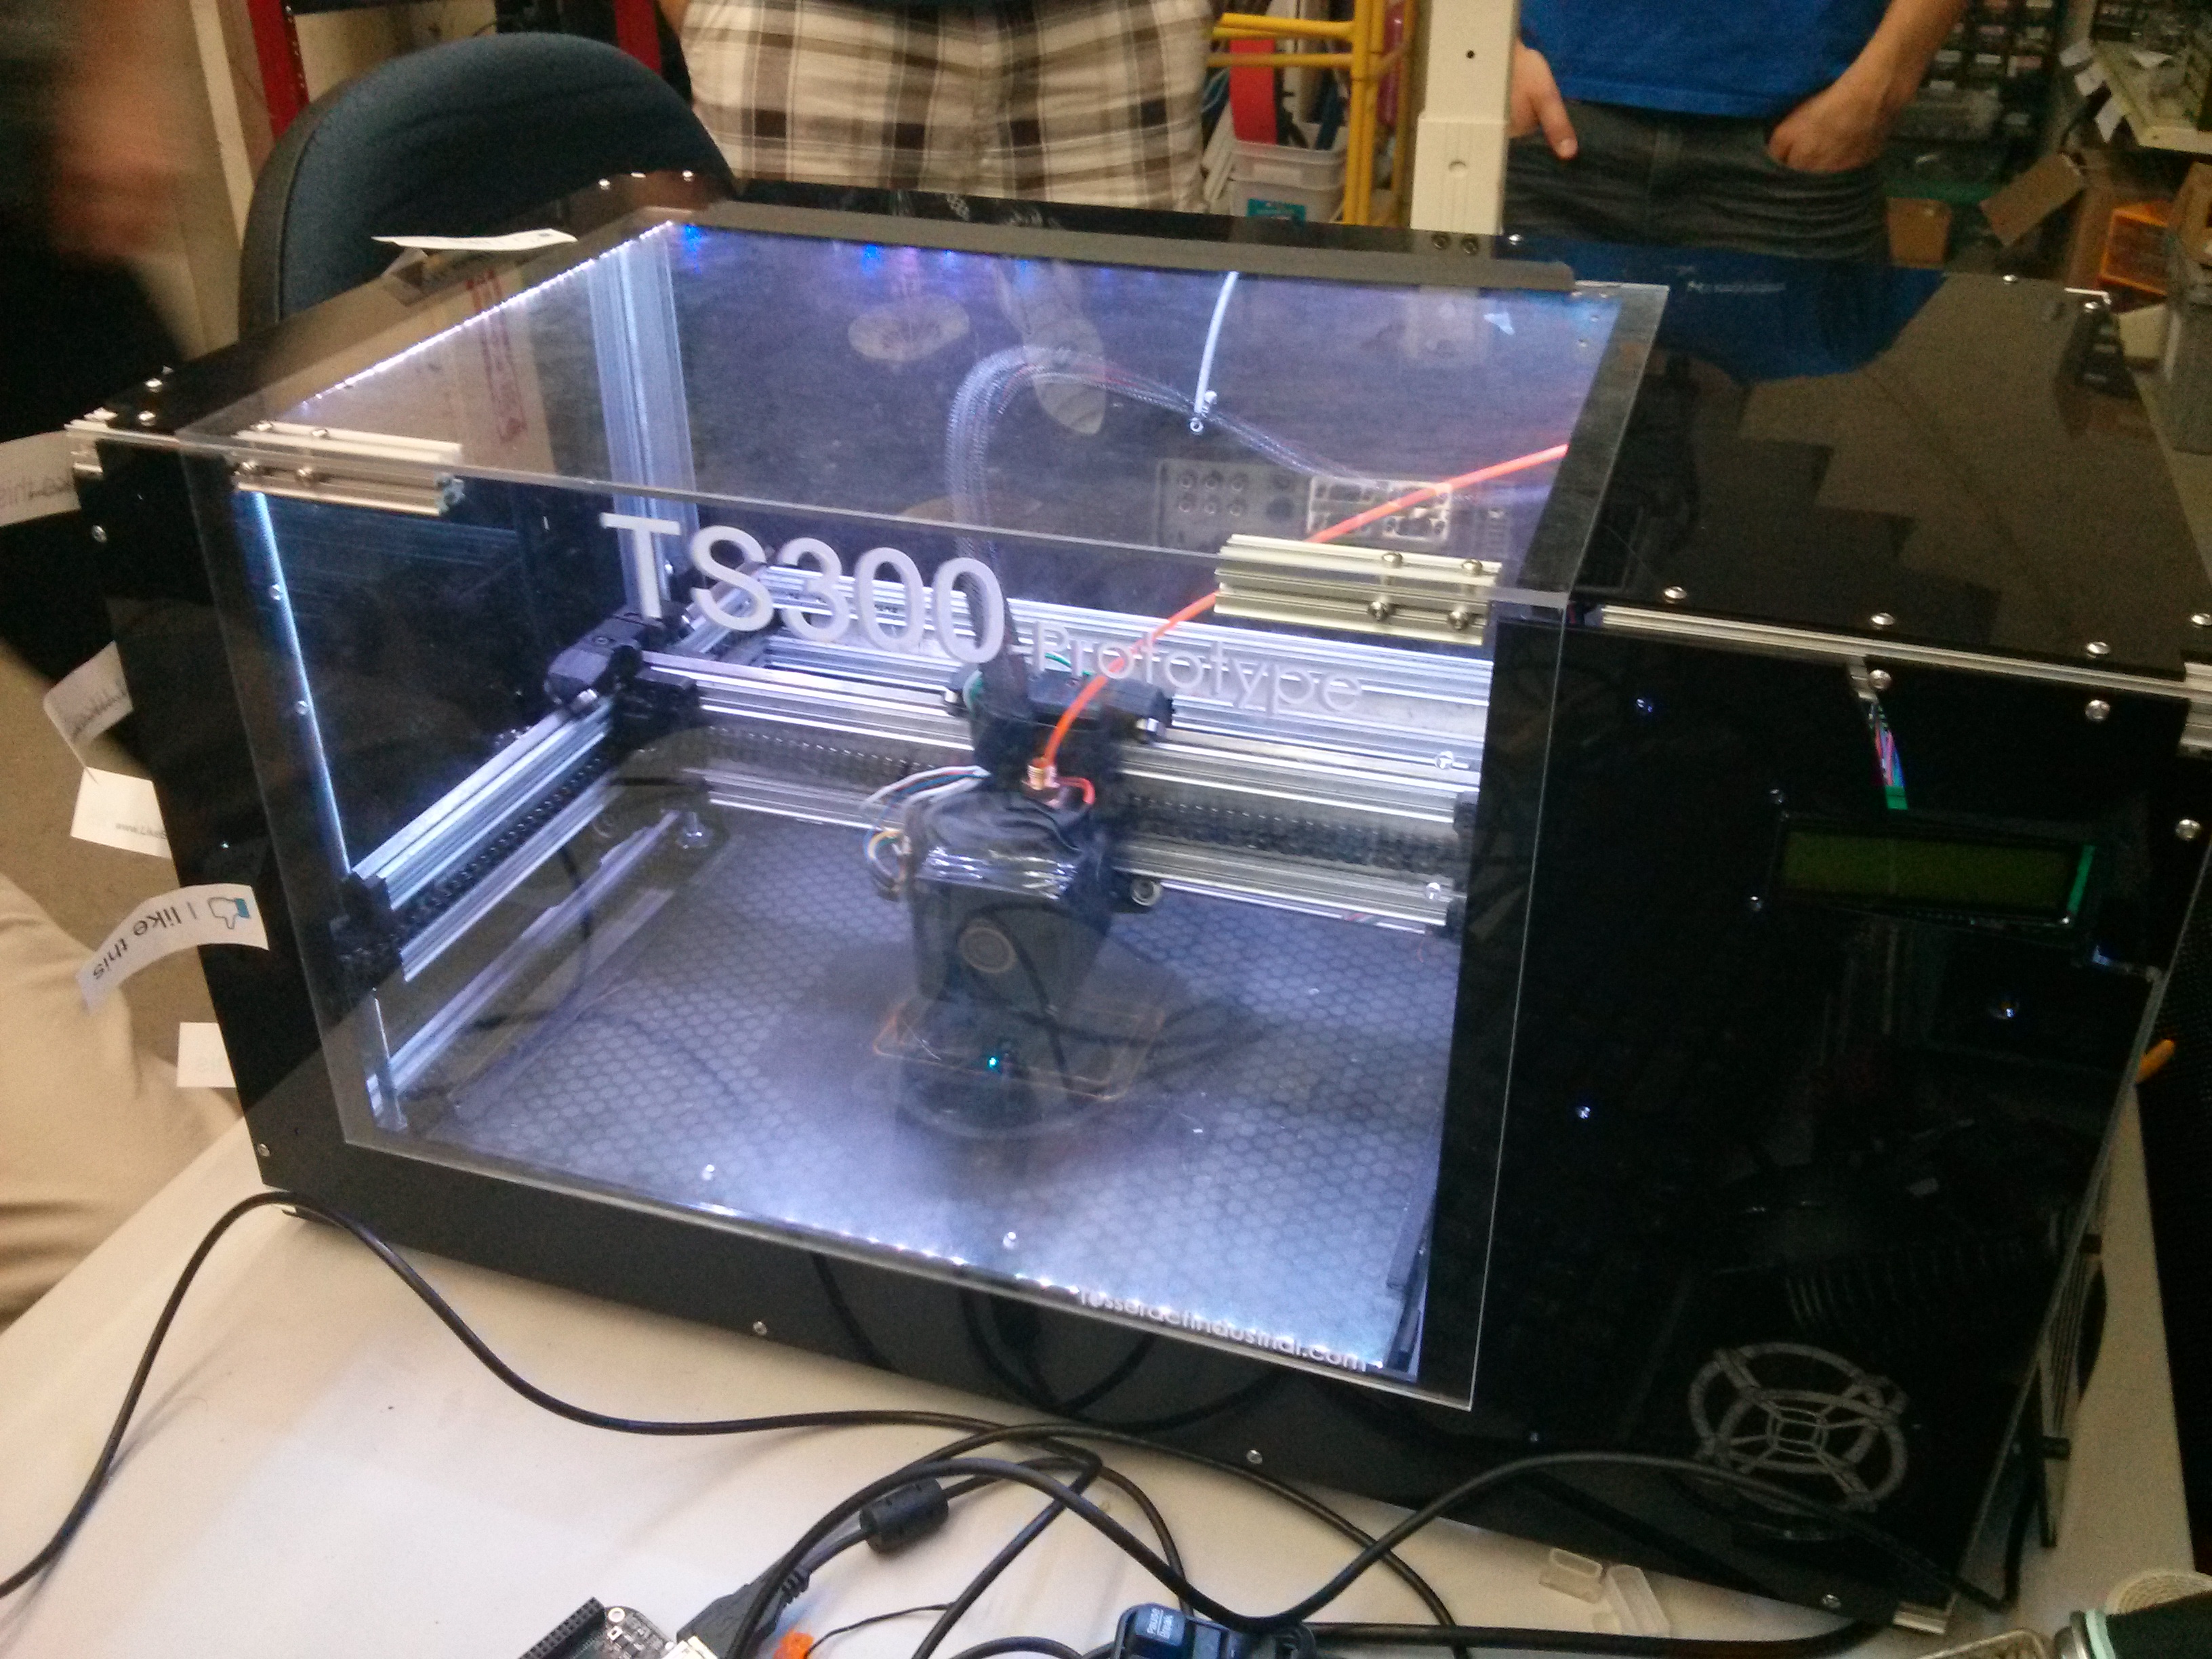
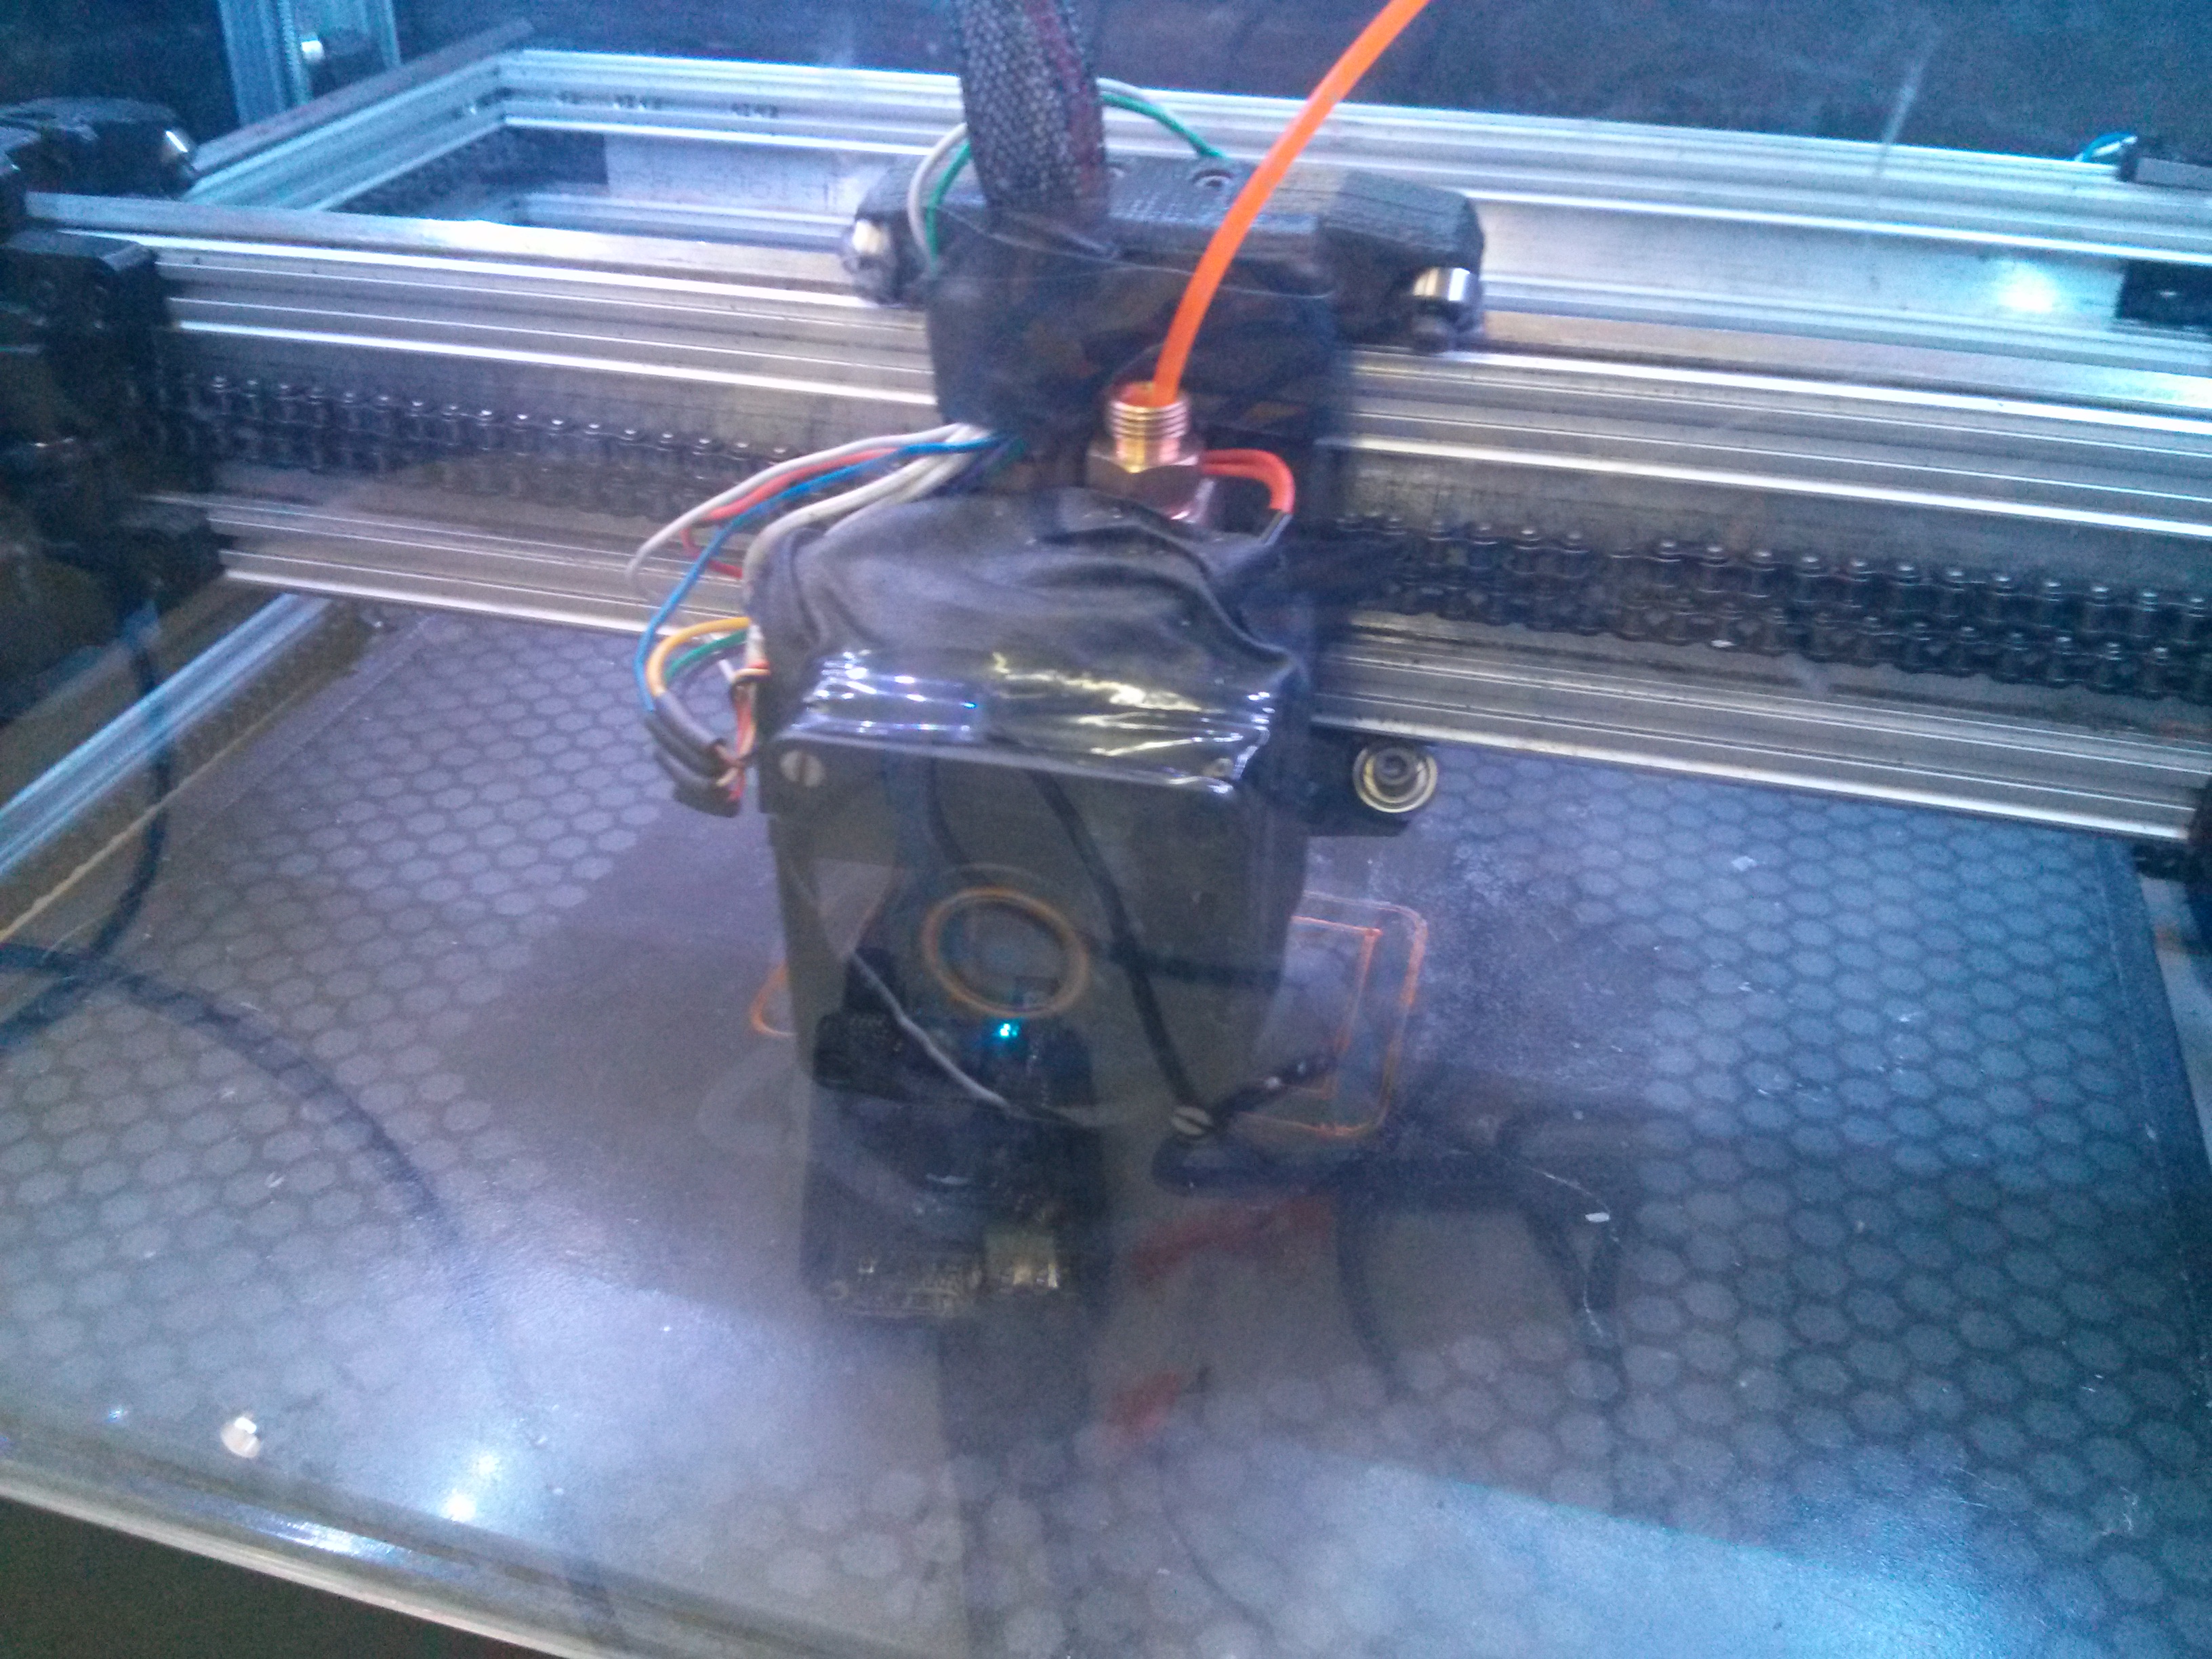
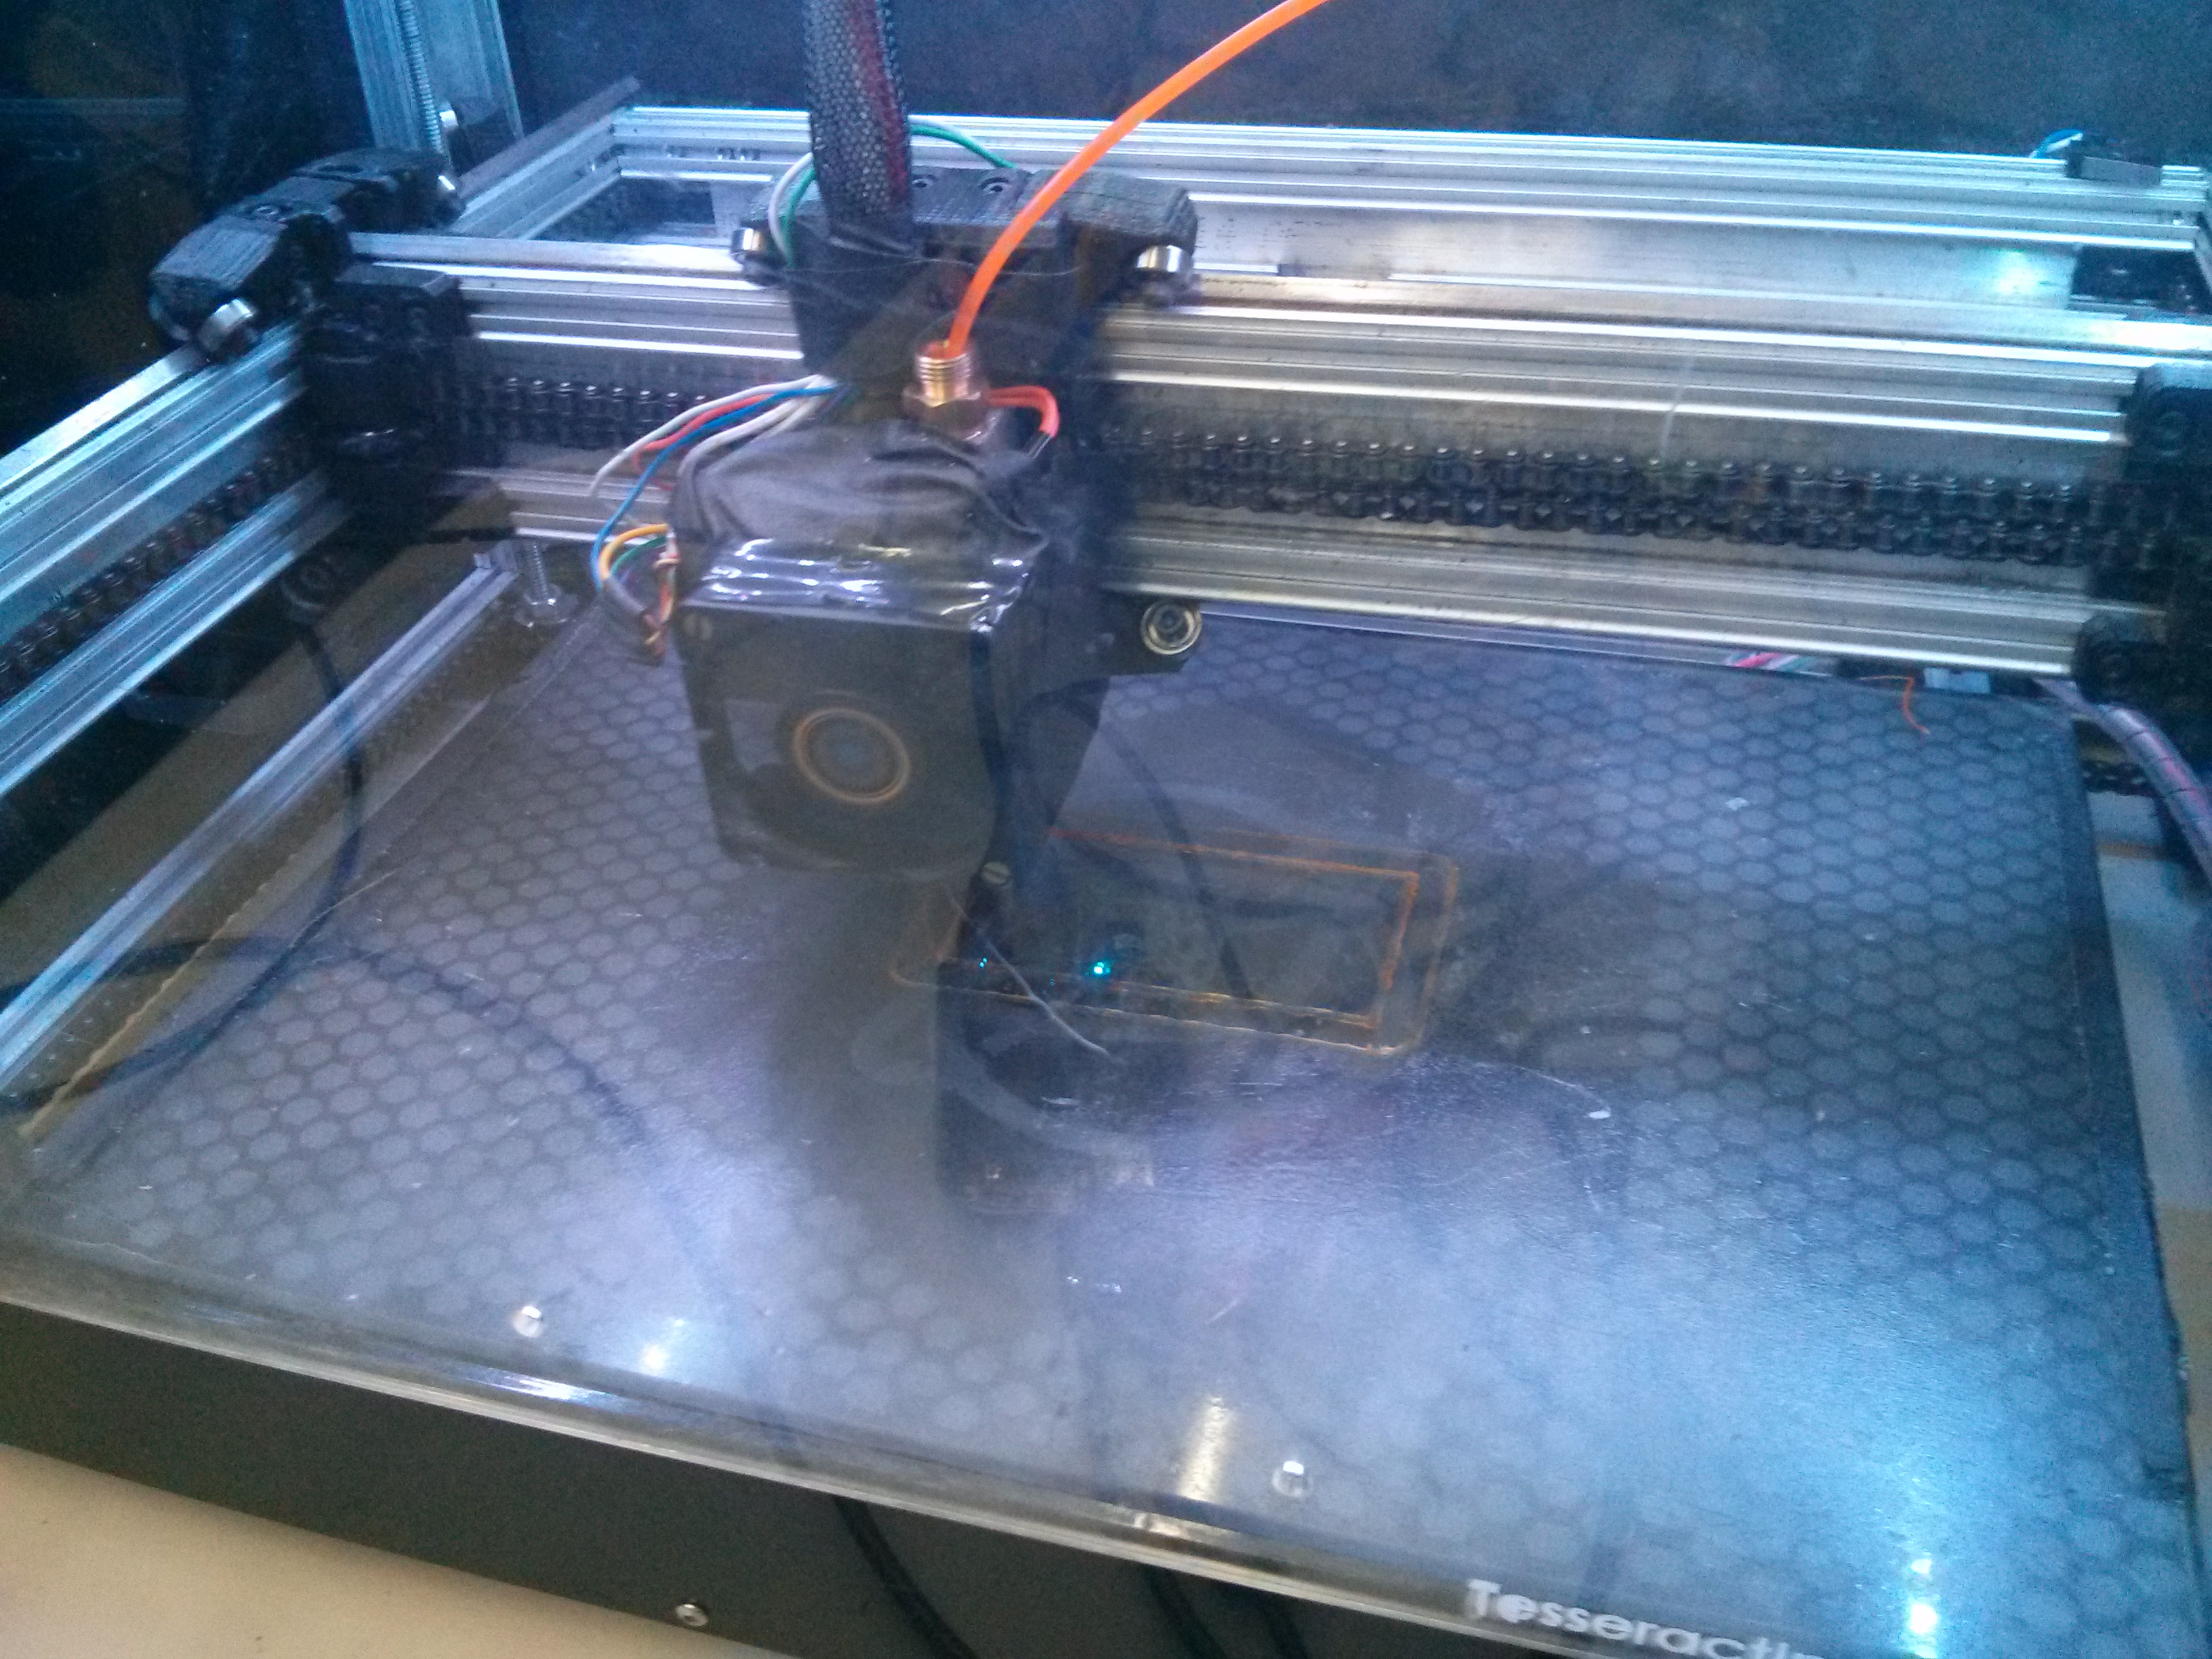
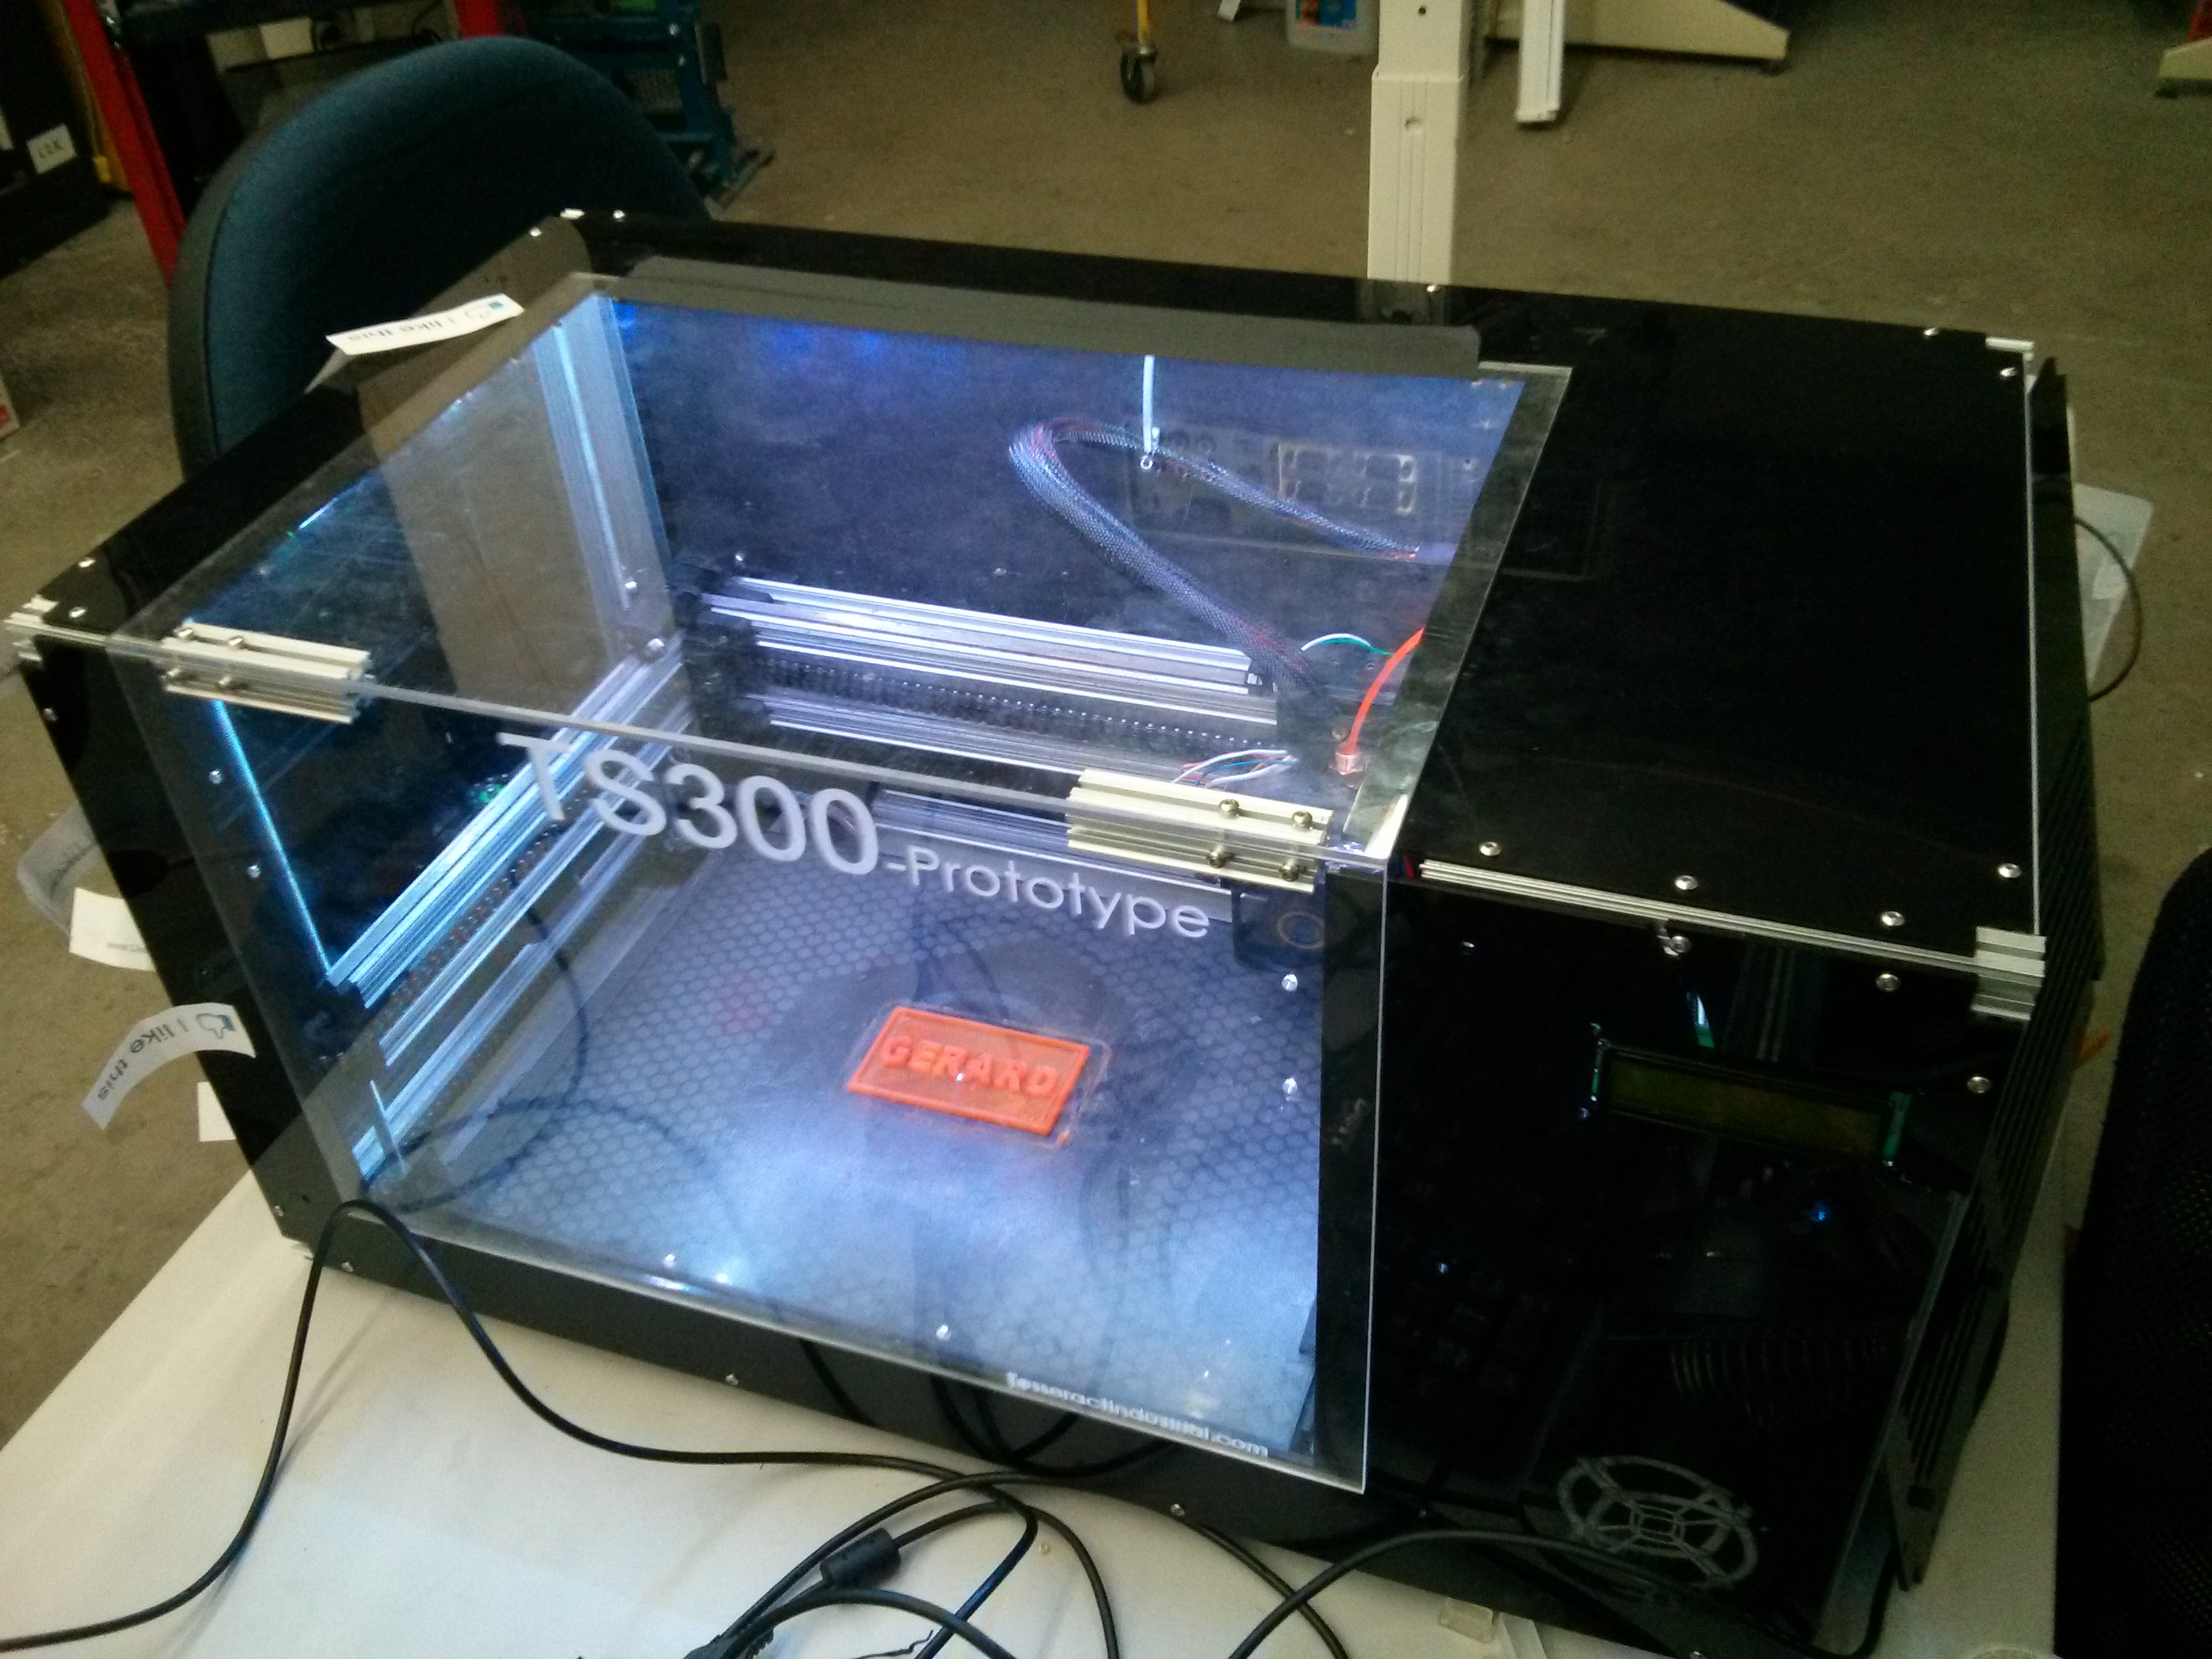
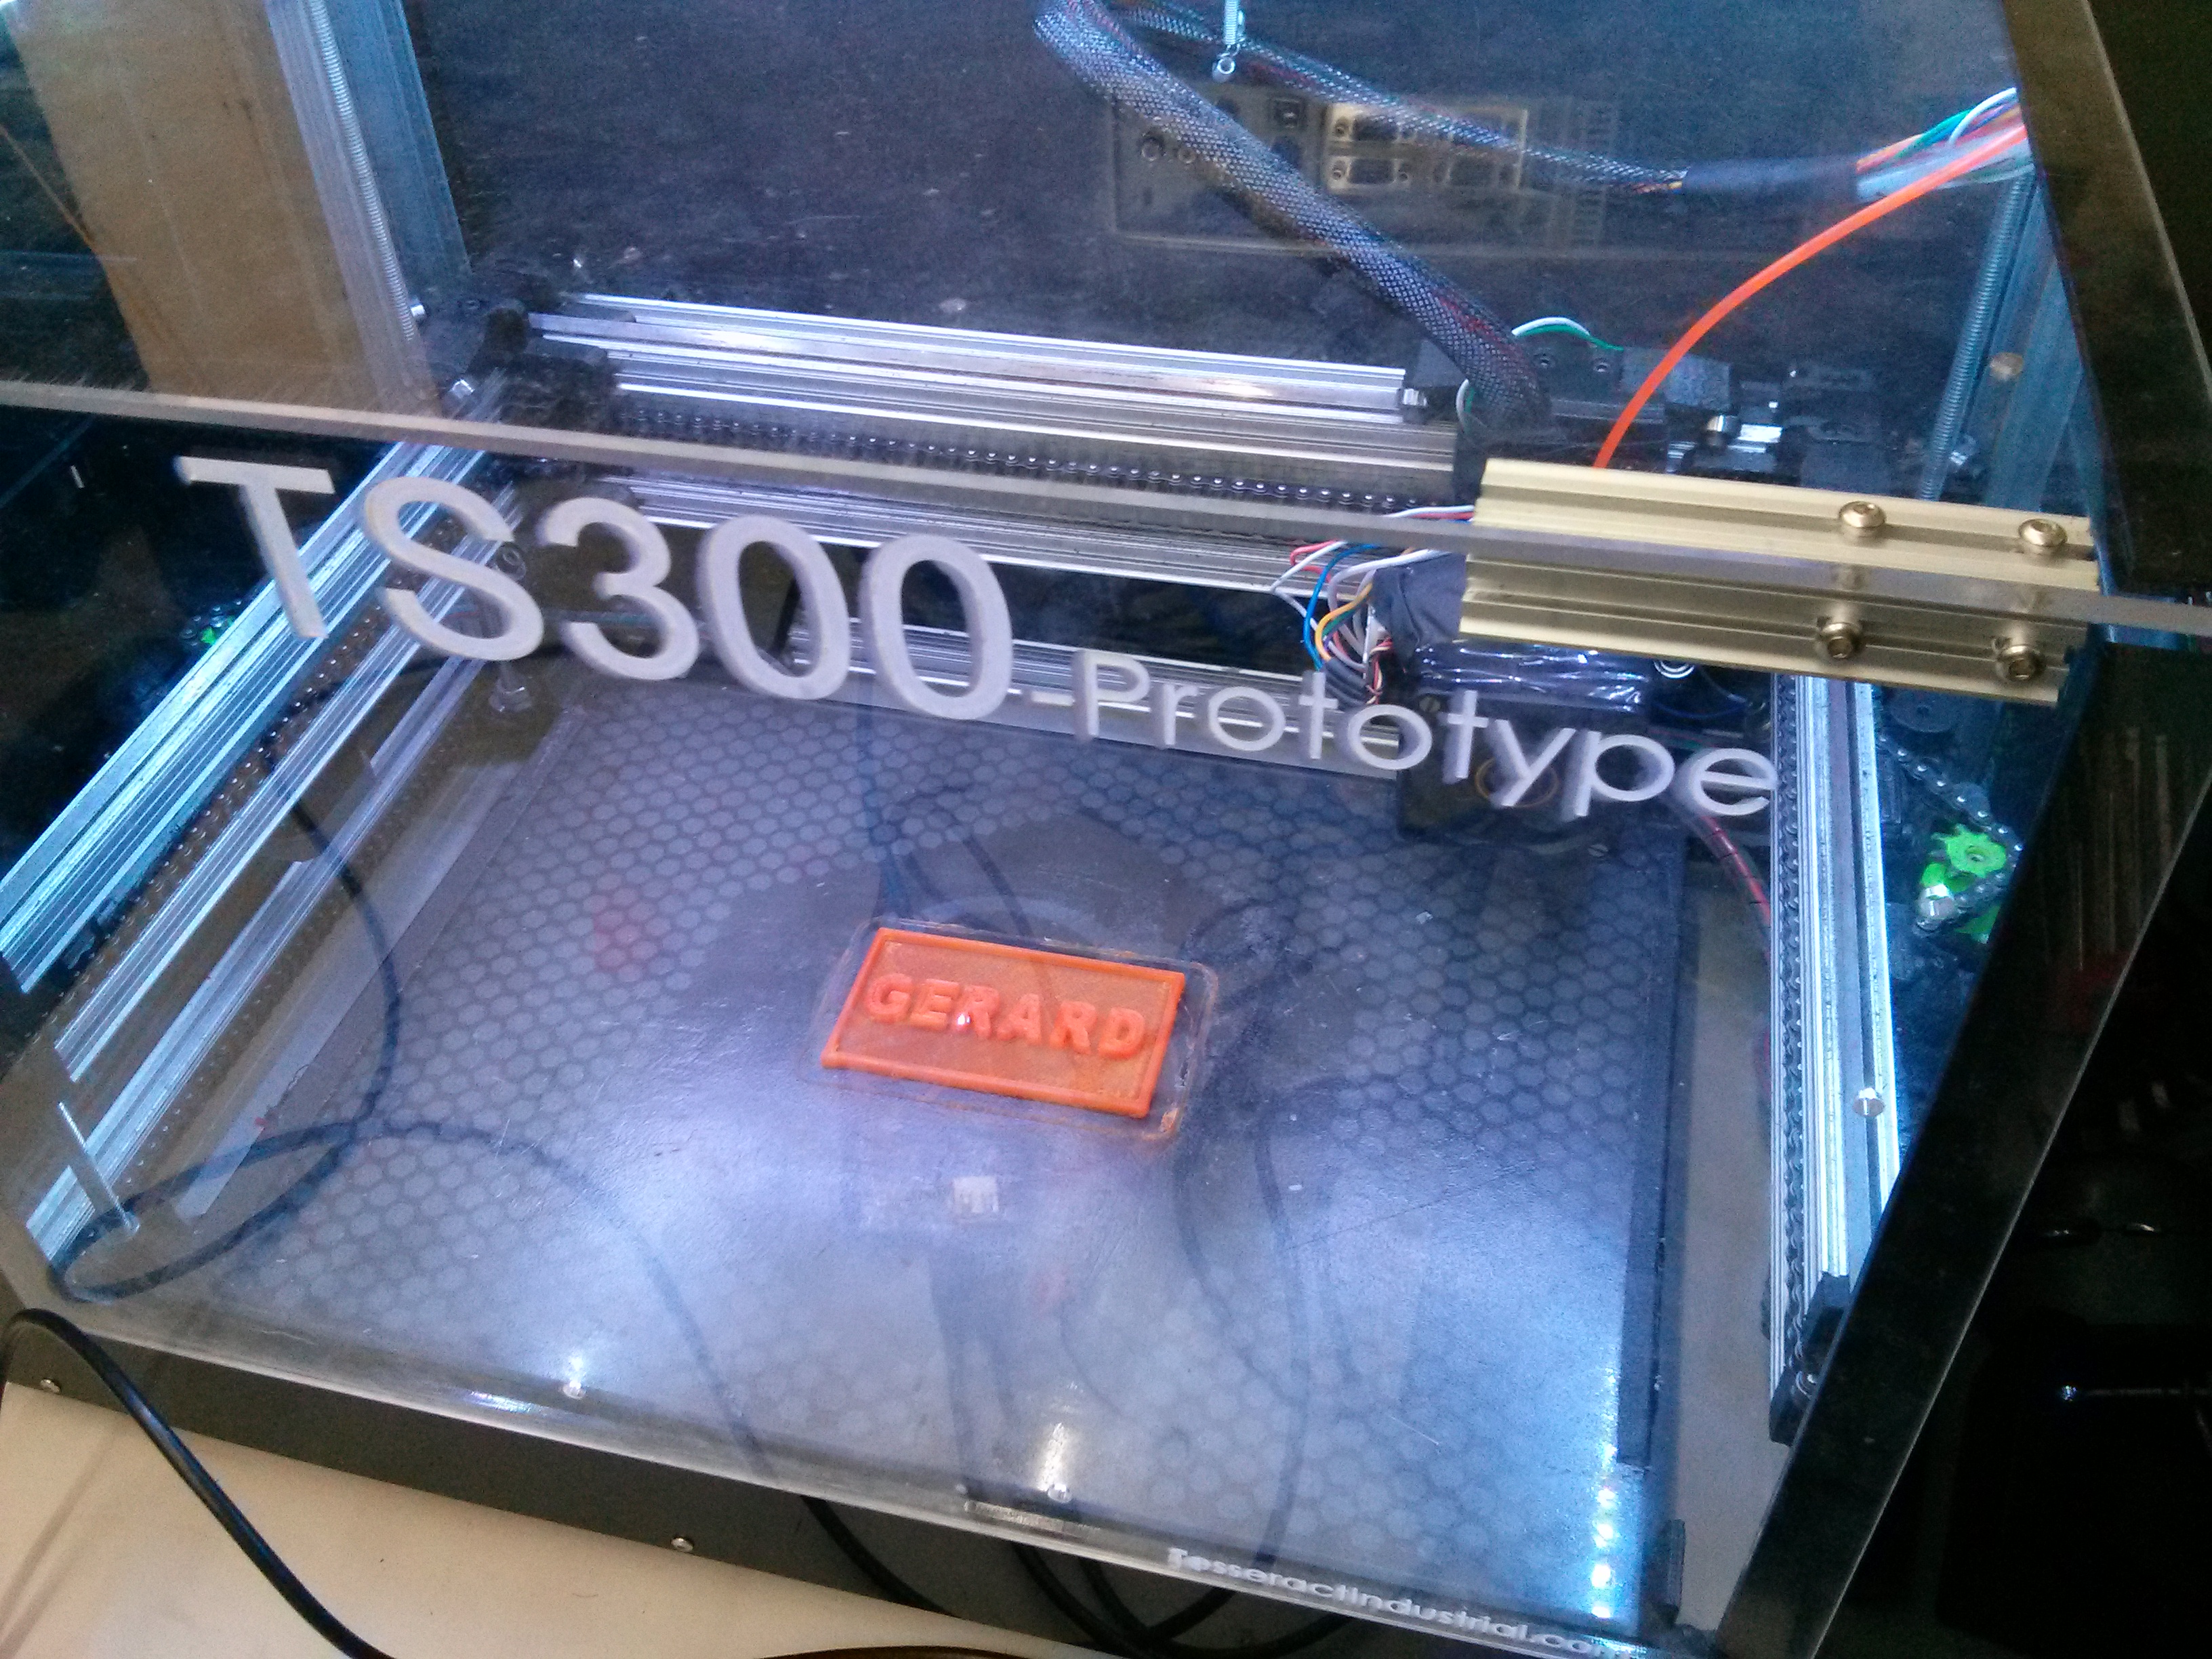
Courtesy of Loilal Otter at VHS.
If you're one of the unfortunate majority of makers, like me, and can't buy a 3D printer Tinkercad allows you to order your 3D print from companies like Shapeways.
And that's it! You now have your own 3D embossed name tag, perfect for enlightening any corporate meeting. For added fun, purchase glow in the dark ABS filament for those company night walks.
Cheers!
SHIFT!
Vancouver Build Night
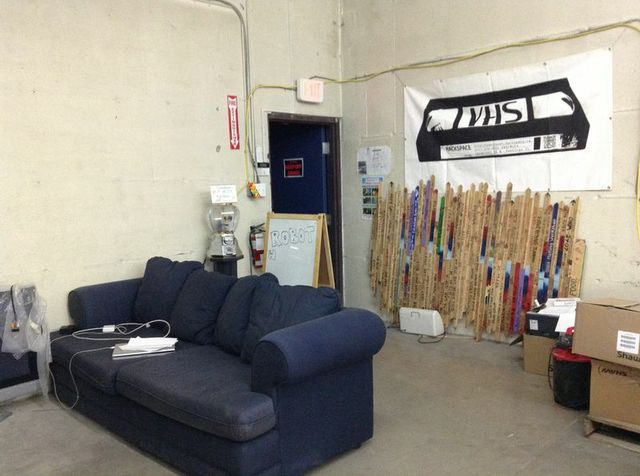
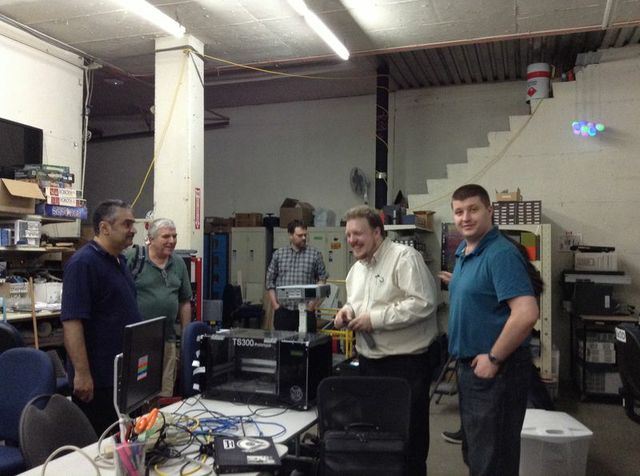
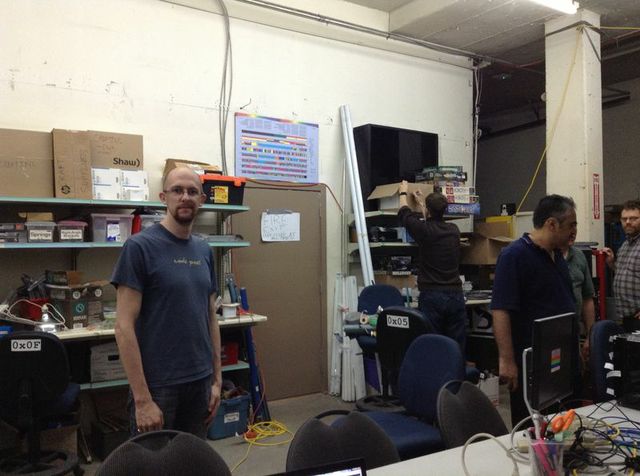
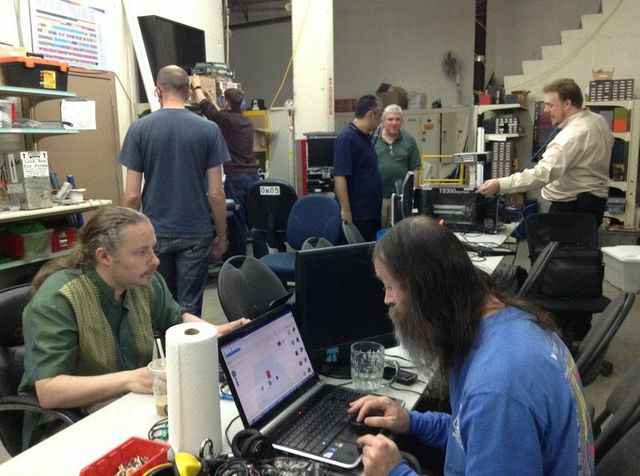
Last month, the Vancouver Hackerspace participated in a 3D Printing Build Night through a partnership with Instructables. It was a pretty awesome event, with more than 30 individual makers attending and everyone had a fantastic time learning about the wonders of 3D printing. If you're interested in joining, the new location of VHS is on 270 1st Avenue East, V5T 1A6!
http://vancouver.hackspace.ca/wp/
http://vancouver.hackspace.ca/wp/