Ear Saver Mask Clip
COVID has been particularly hard on the ears! Many of us wear glasses, but now our ears need to work twice as hard by holding the mask in place for hours together day after day. If we ask our ears to do anything more, we might as well set off an evolutionary trait in humans...who knows!
Is wearing a mask all day hurting your ears? Would you like if masks were secured in a way that didn’t involve ears? If you answered yes to those questions, I have just the thing for makers like you. Ear savers!
There are ear savers on the market, but they are mostly for adults. They are functional and nice but not personalized or customizable. So I wanted to create a themed ear saver. I am a big Phineas and Ferb fan, so it is themed accordingly, but you could create one for any theme you want by following this tutorial.
Also if you are a kid, chances are you are wearing an adult sized mask and it is ill-fitting and you might need a way to secure your mask on your face better.
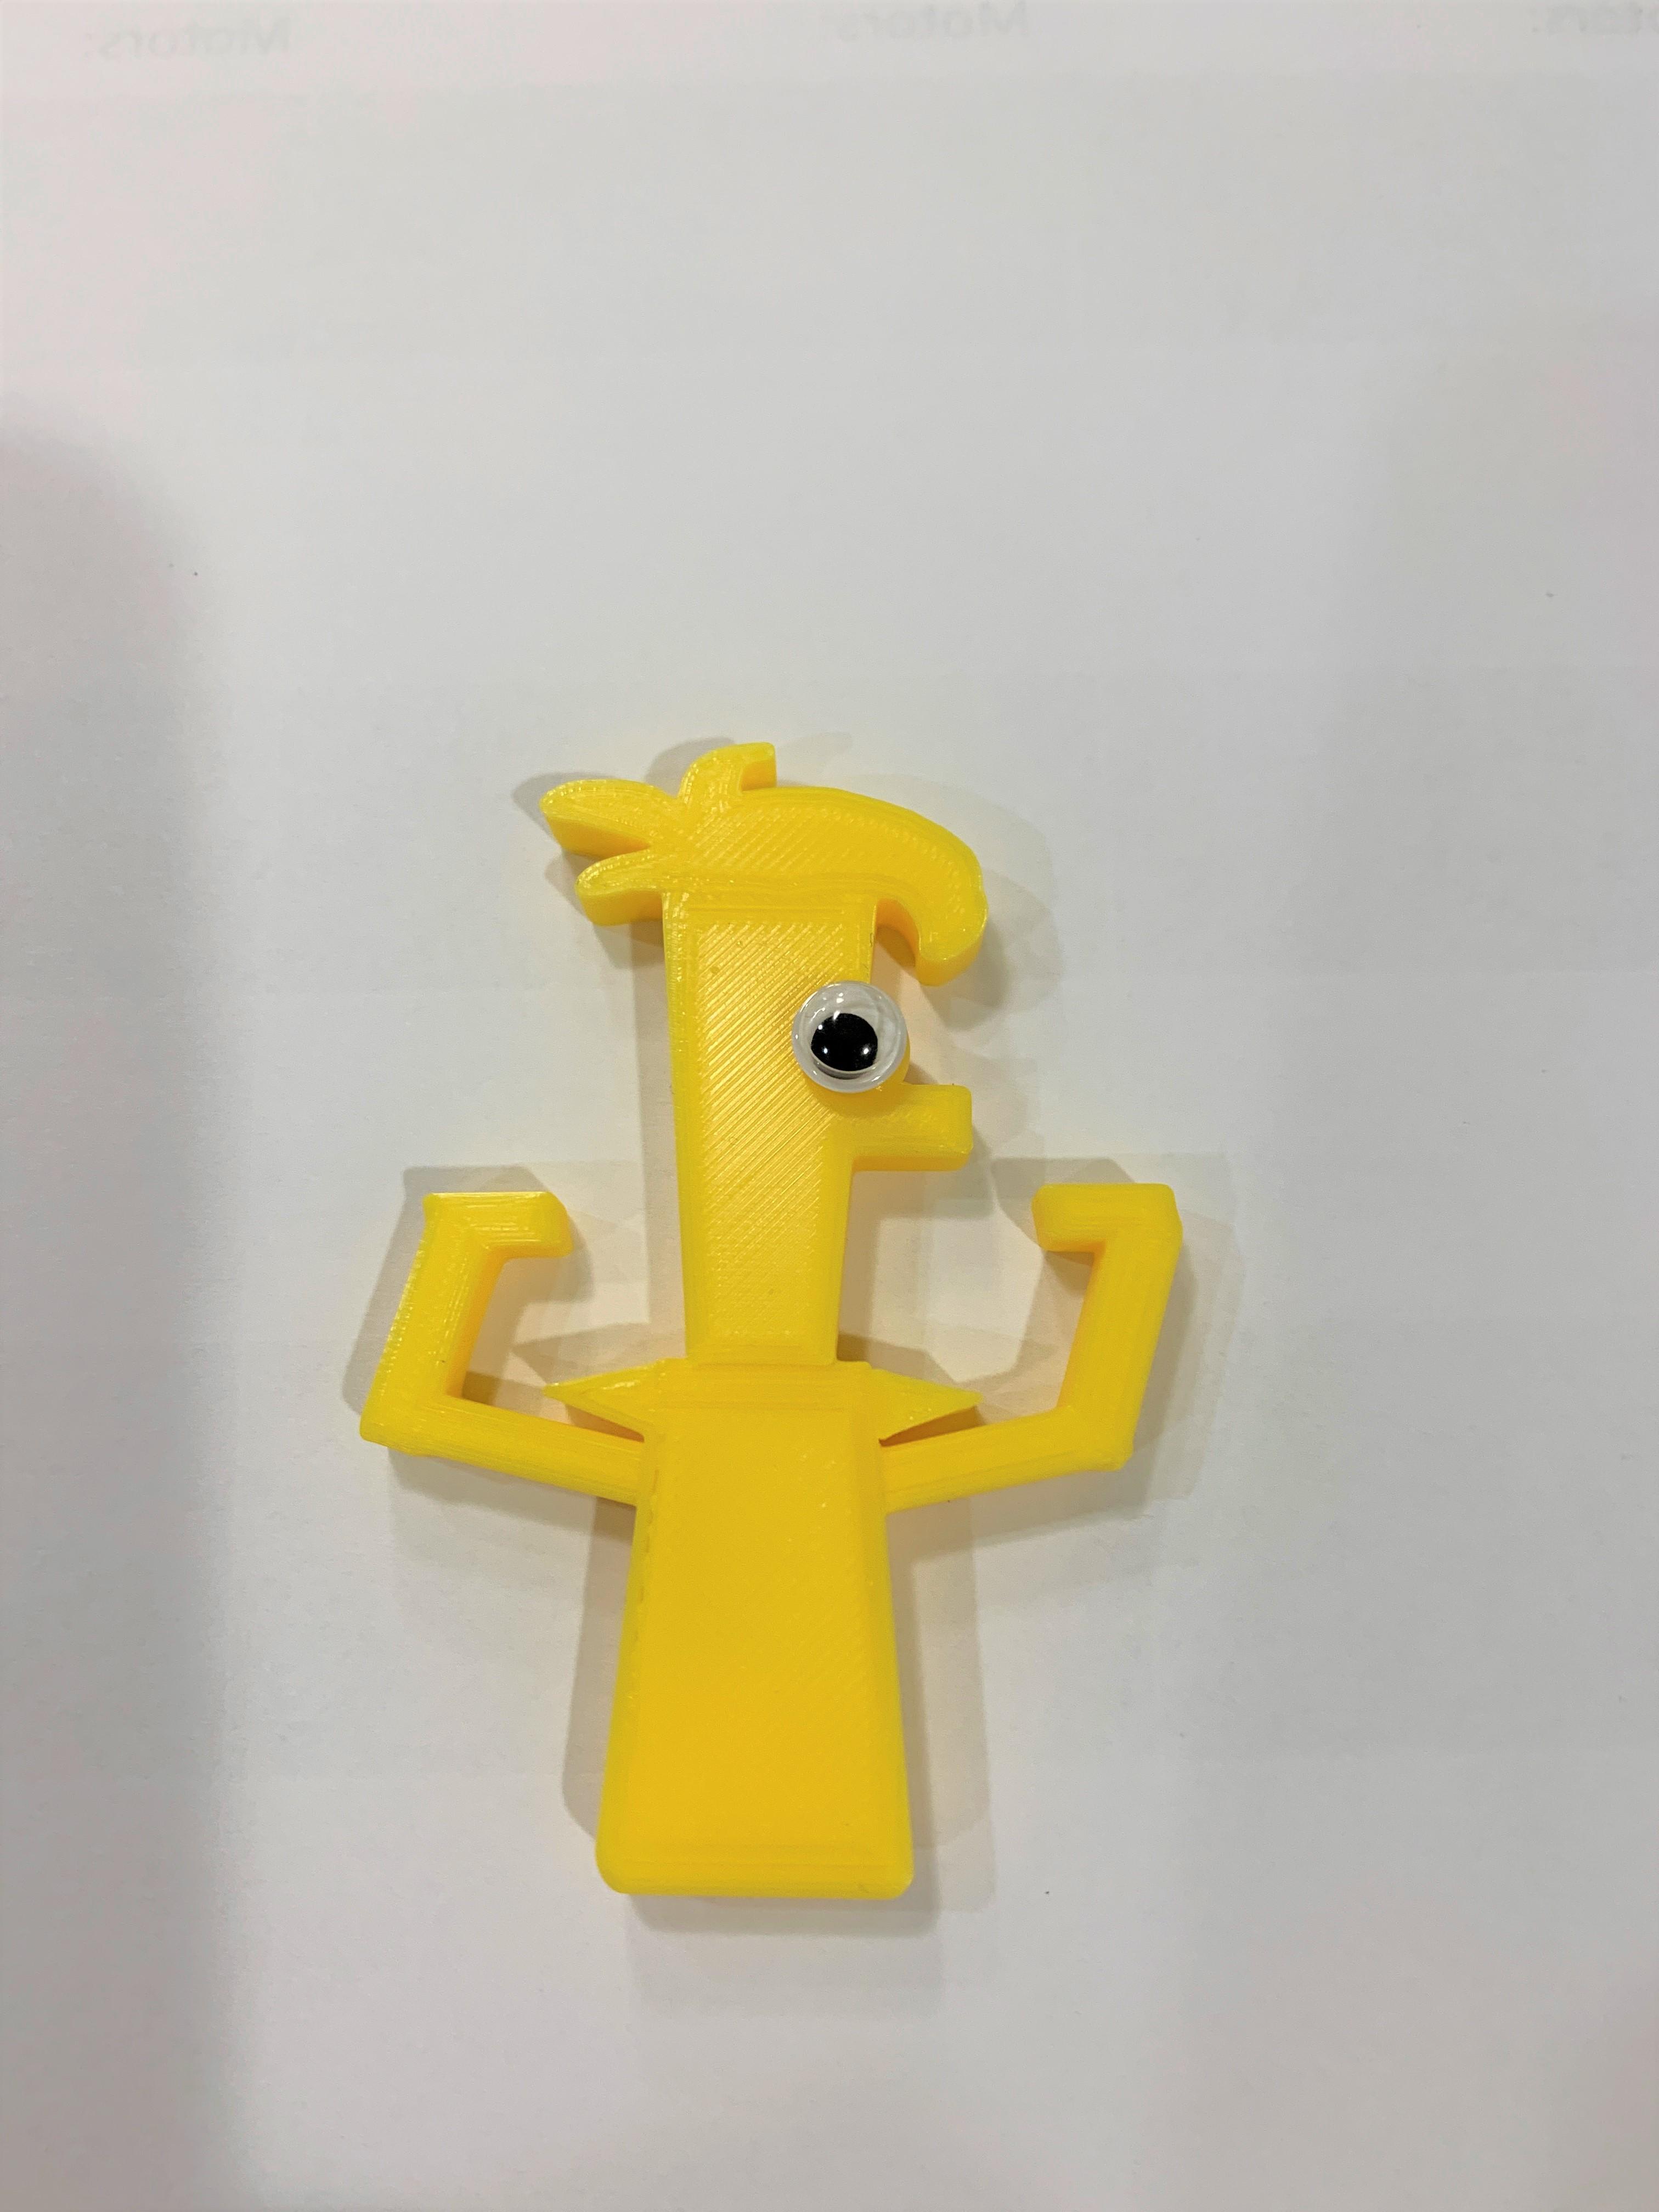
The Phineas ear saver is 50x70x6mm and prints in about an 1 hour with 30% fill density, and the Ferb ear saver is about the same size and prints in 1 hour and 10 min, and the Strong arm/Hulk ear saver prints in 1 hour and 12 min.
Supplies
You will the following:
- Account on https://www.tinkercad.com
- Access to 3D printer- your local public library/makerspace or your school might have one
- Felt cloth(optional)
- Googly eyes(optional)
- Active imagination
- Super glue
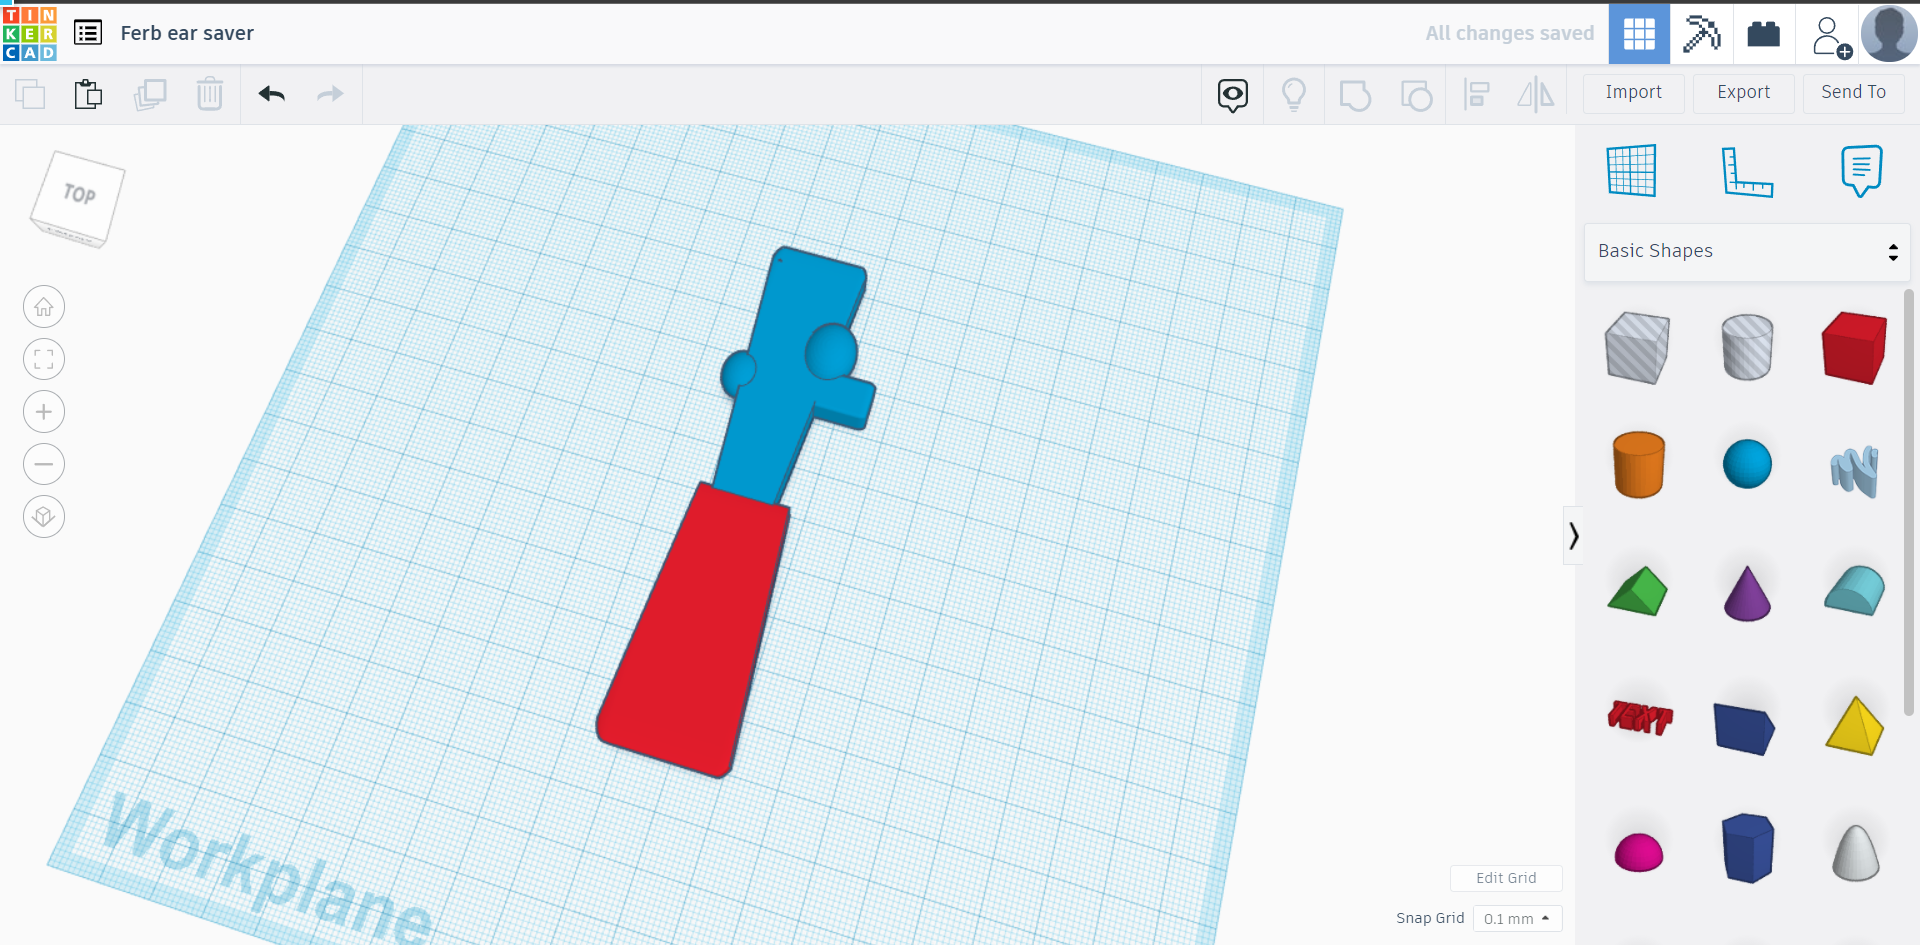
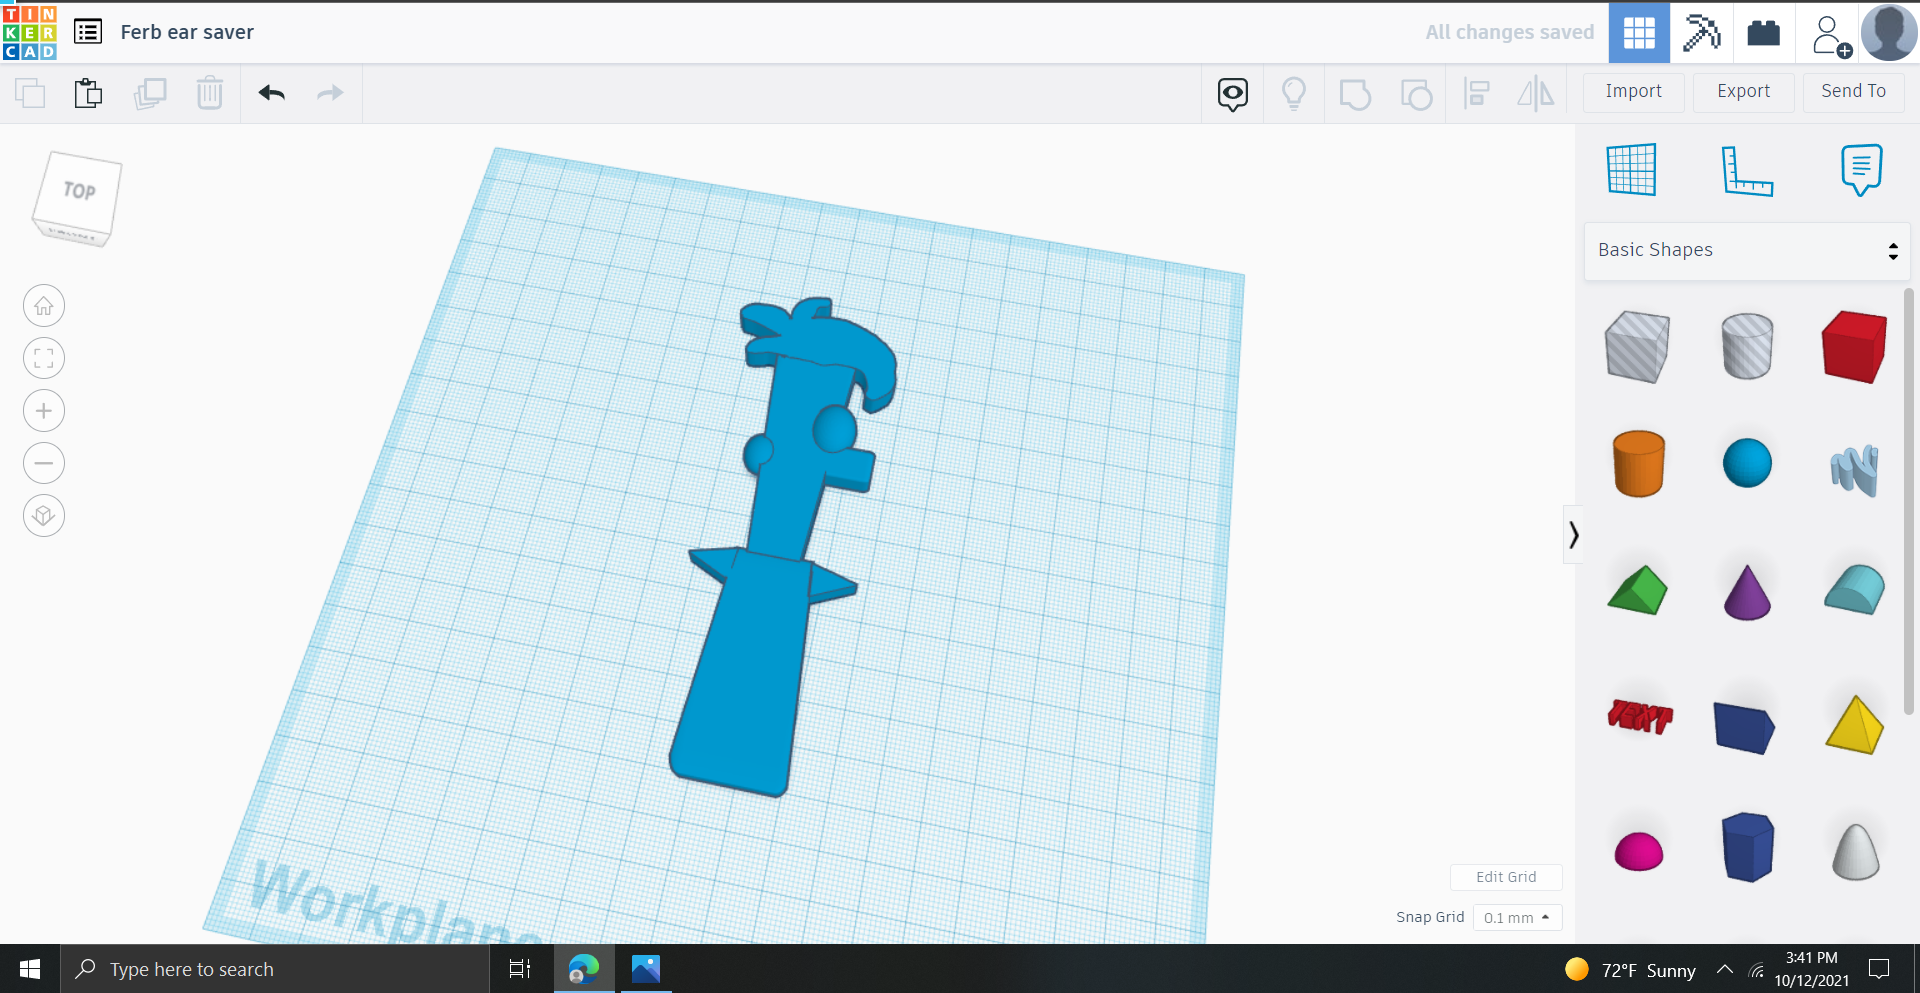
Ferb Ear Saver Model
This is Ferb ear saver model, you can see other 2 models below
Decide on Your Character
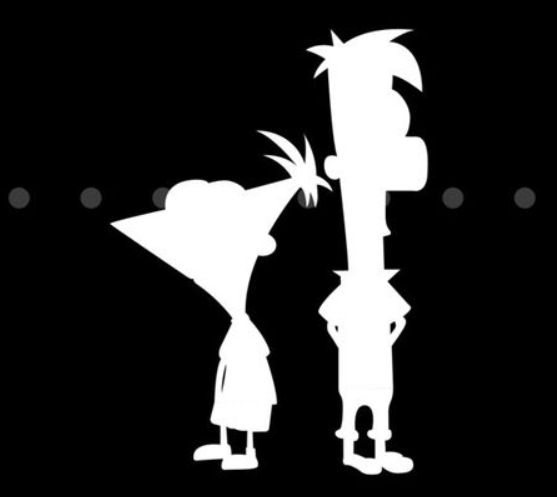
As a starting point, search up your character followed by 'silhouette' in google images. When you find what are looking for, download it, you will need to refer to this image a lot of times through our design process.
Next find the broad shapes in the character, for example in Ferb:
- Ferb's body is mostly a longish triangle cut off to form a quadrilateral
- Ferb's head is also a longish triangle cut off at the neck to join to the body
- Collar of his shirt are 2 triangles
- Nose is a cube, flattened out
- Eye is a sphere, flattened out
- Hair can be made using the scribble tool
- Arms can be made using cubes flattened out
Now that we know the general shapes we might want to use, we can get started.
Modify Basic Shapes

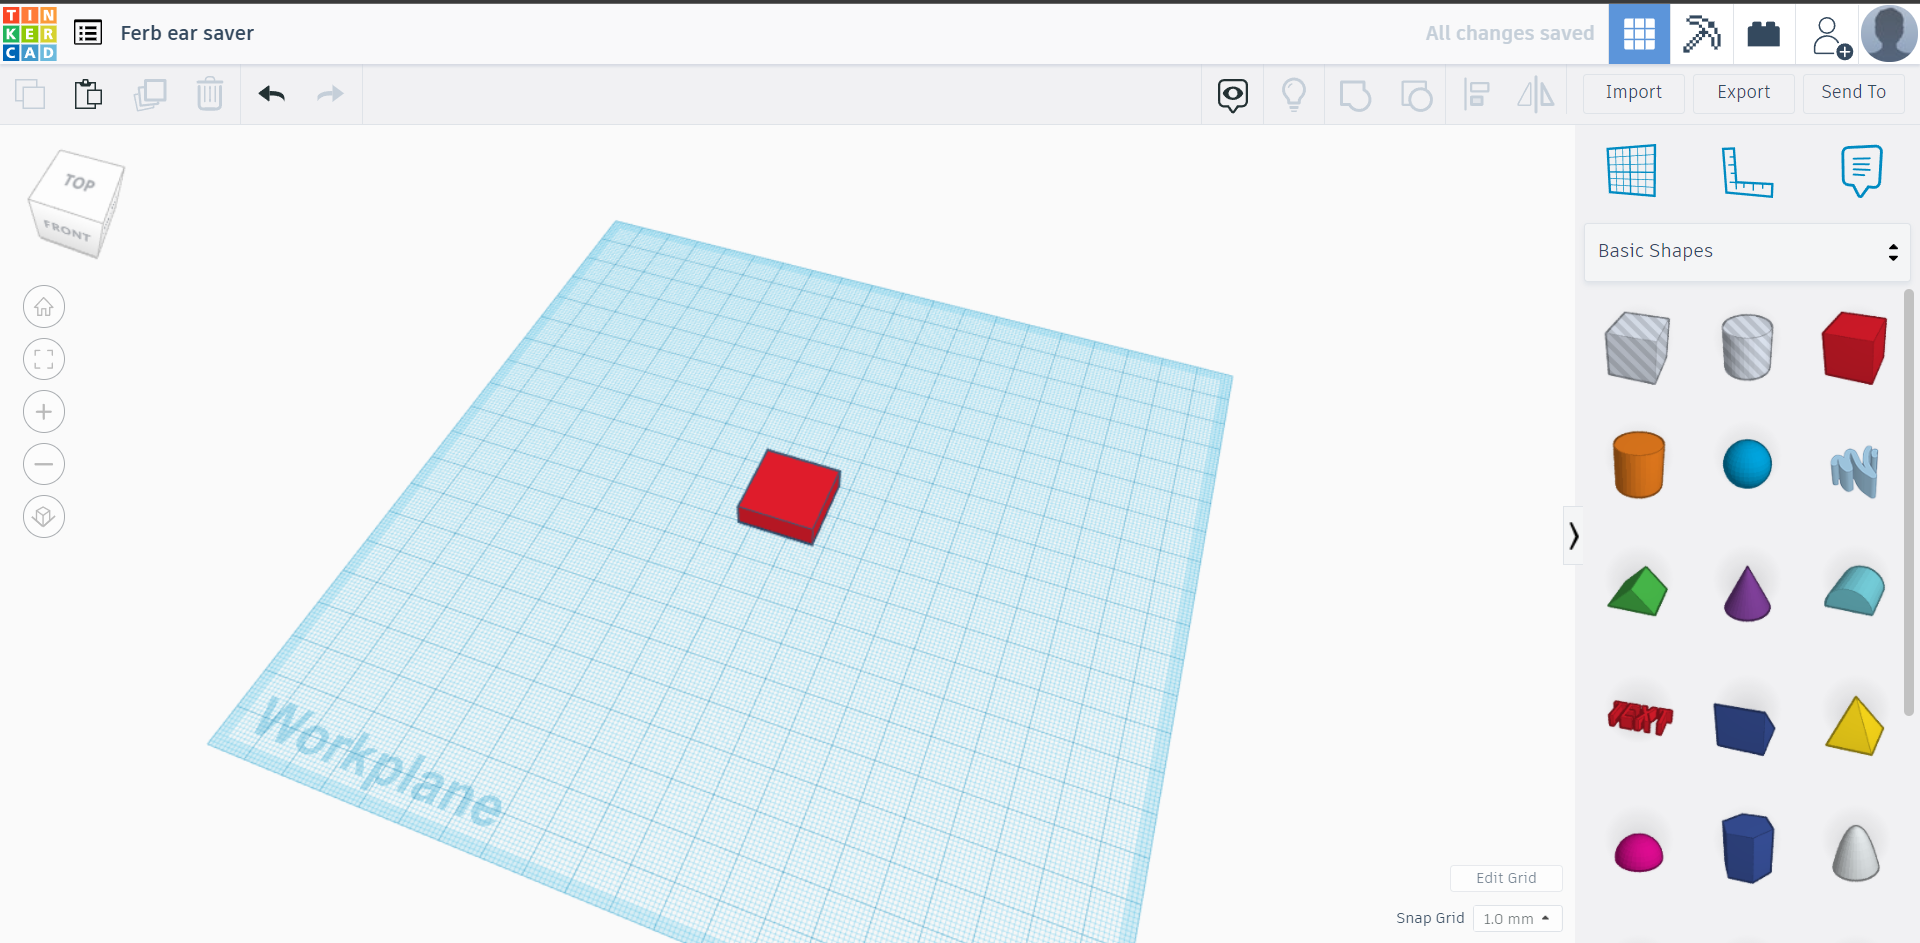

Look at the right hand side tab of Tinkercad and look in the library of shapes. The primitive that we will use often is the box or the cube.
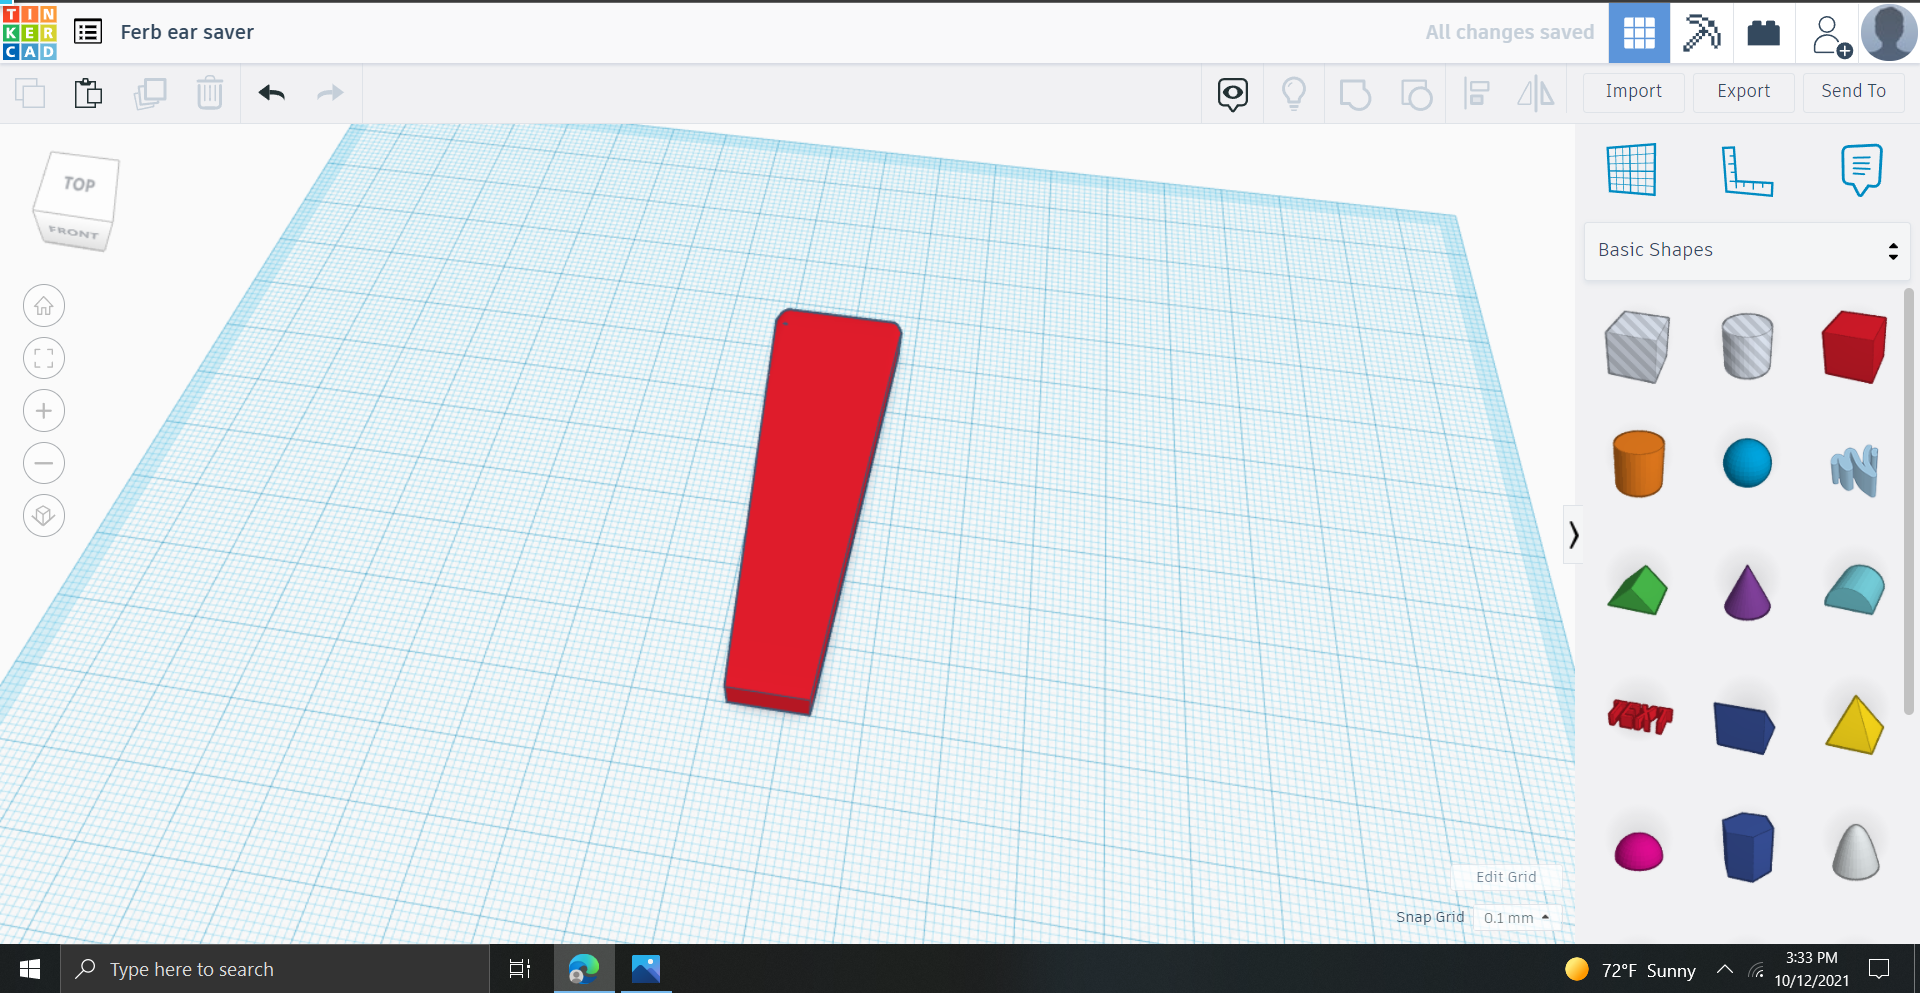
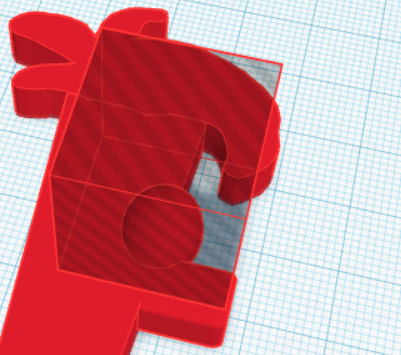
Drag out a box in the work plane, and flatten it till it looks a tile. Click on the drop down arrow on the shape and tinker with the radius, adding a radius allows you to fillet the sharp edges of a shape. Then elongate the cube shape, and then group it with a holed cube to resemble the triangular face.
Design the Body
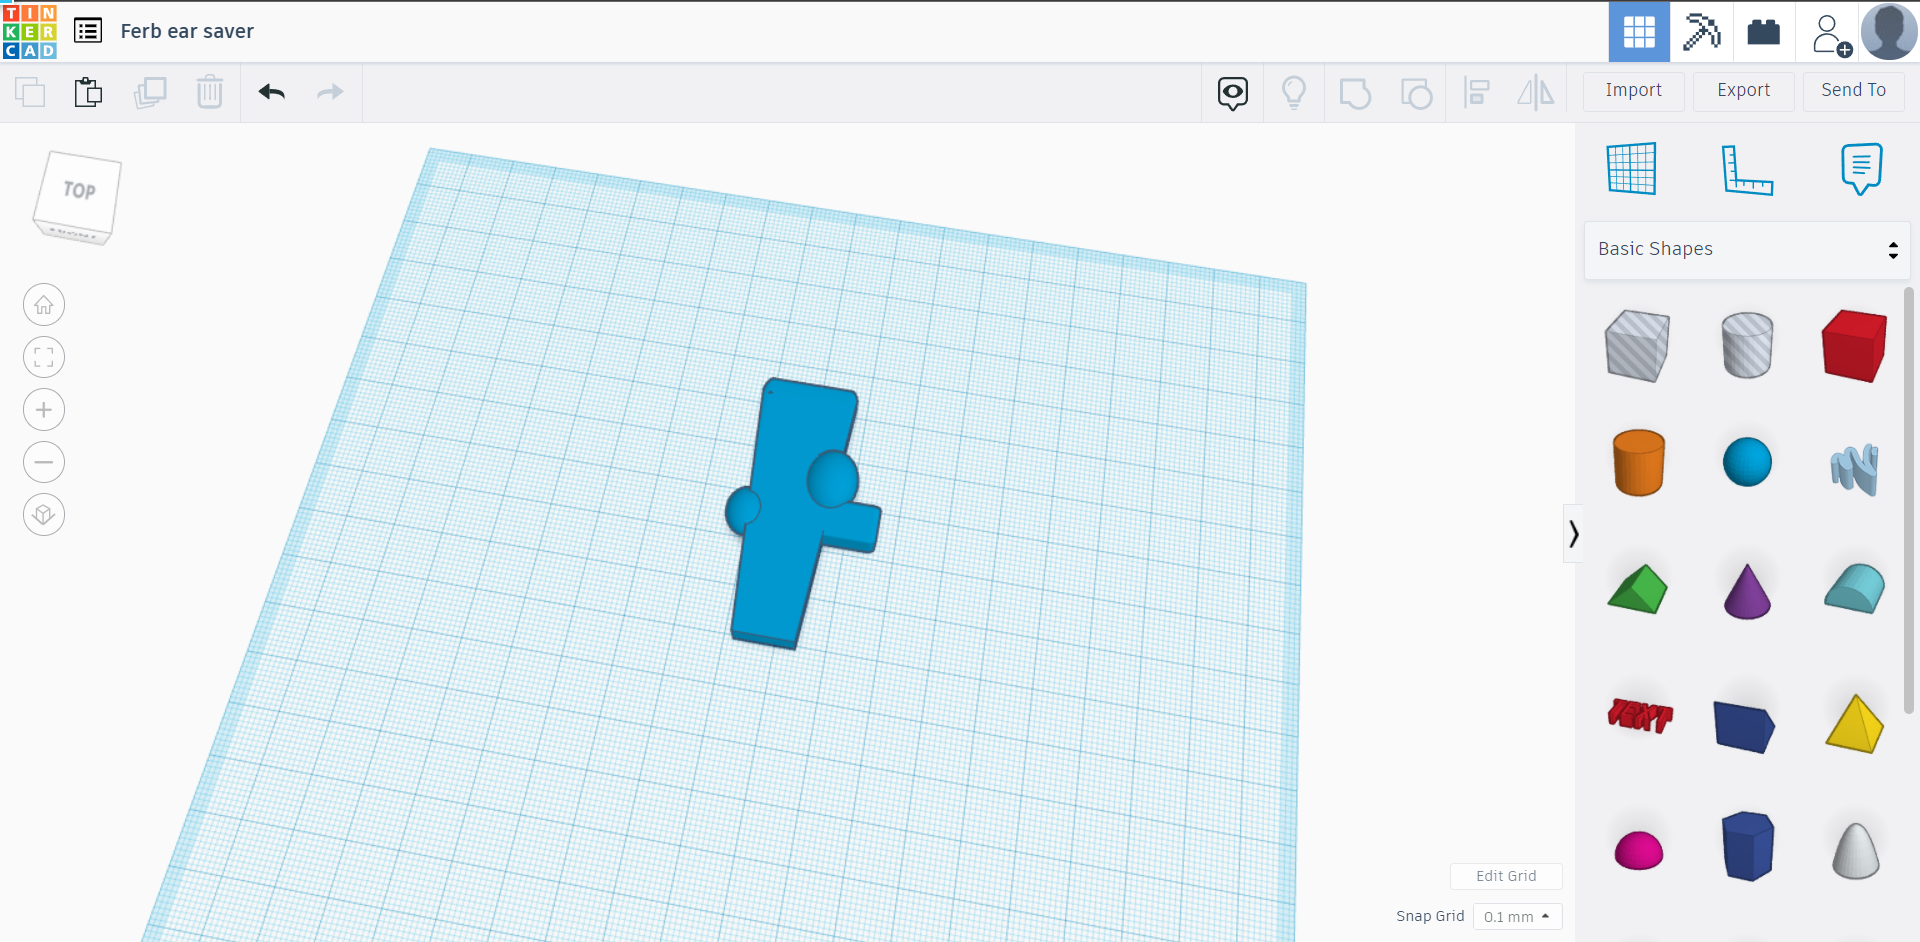
Now we add the smaller details of the face.
Make a copy of the quadrilateral and make it smaller, turn around and make a nose.
Add a sphere for the eye, but stretch it out a bit like an egg.
Make a copy of the quadrilateral head and make it bigger to form the body.
Add the roof shape to make the shirt collar.
Group the shapes.
Design the Body Next Step
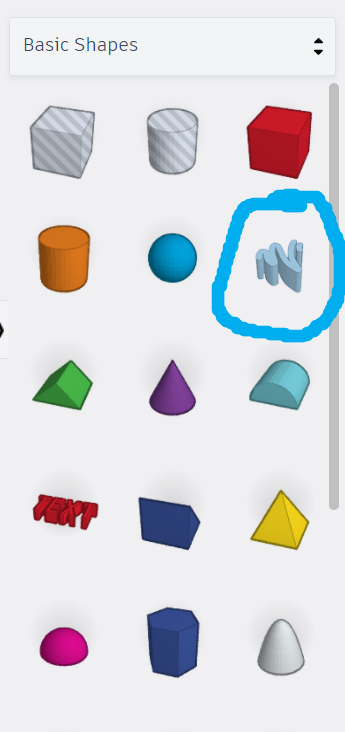
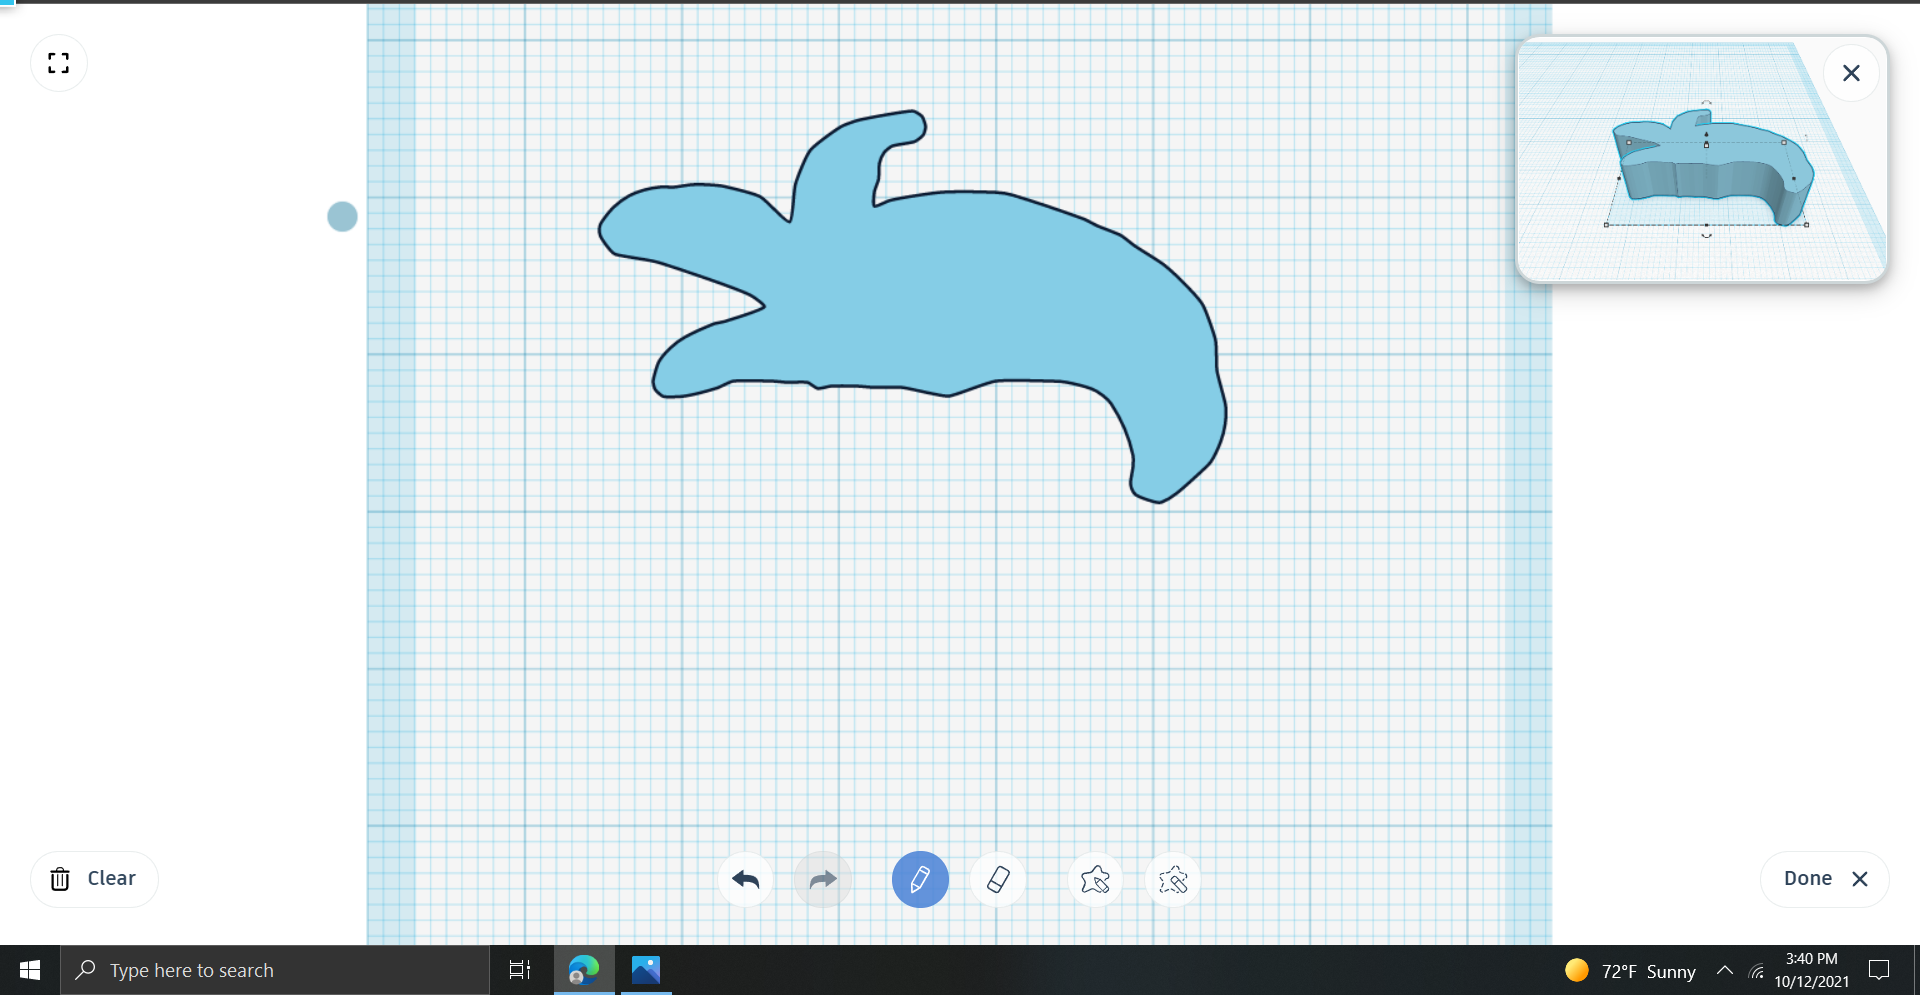
If you have a part that's not quite any shape, you might like to use the scribble tool. Look for the squiggle, drag it on to the workplace, that opens the editor, draw a shape. Don't worry, if you don't get it right, you can redo it till you are happy with it. Then click done, so the final drawing gets placed in the design.
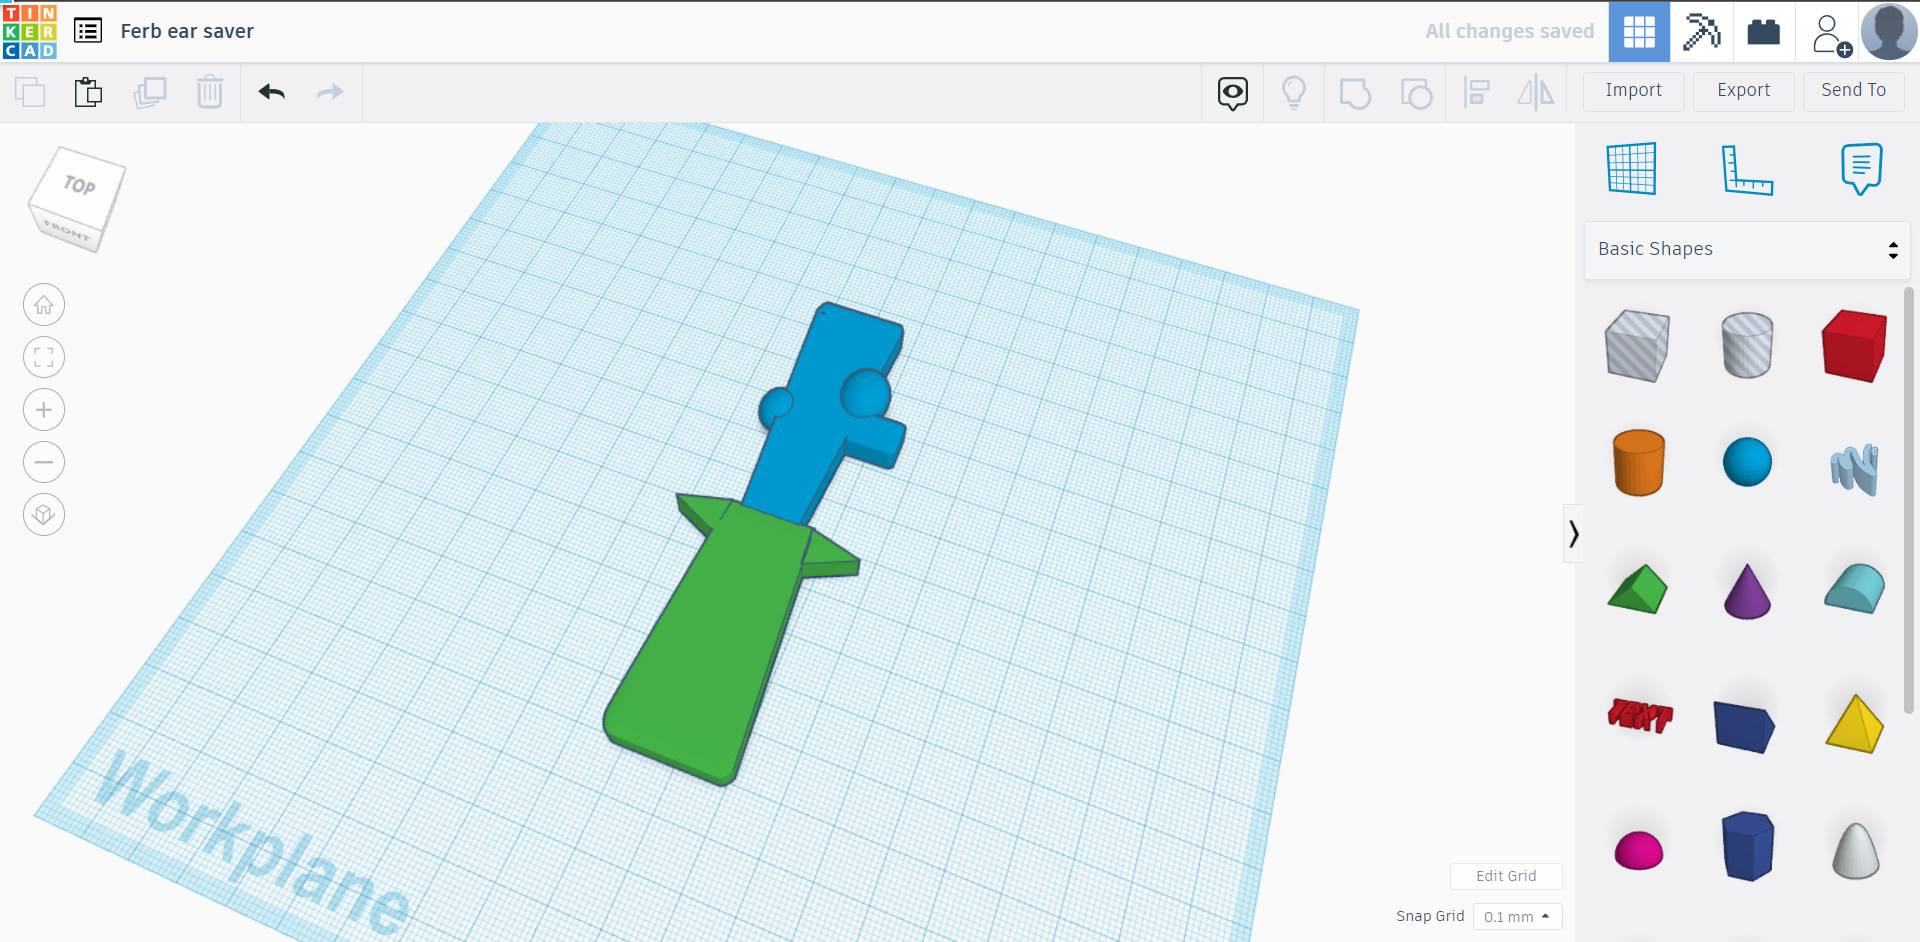
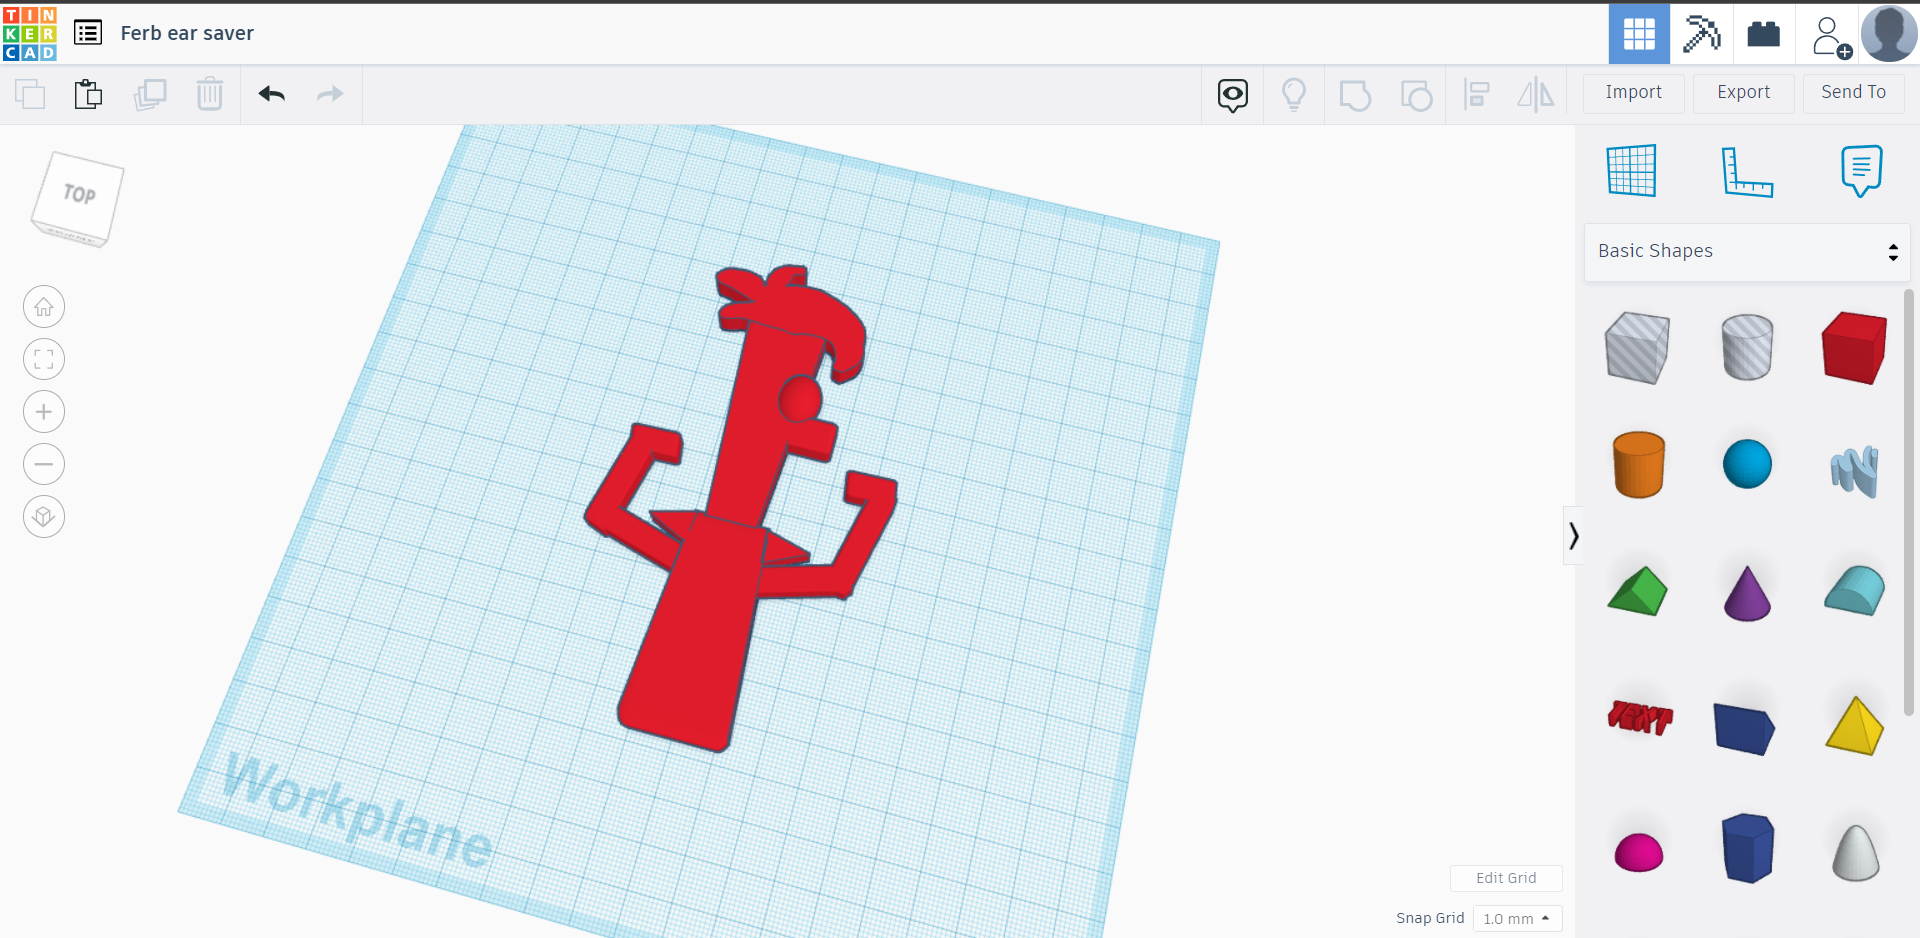
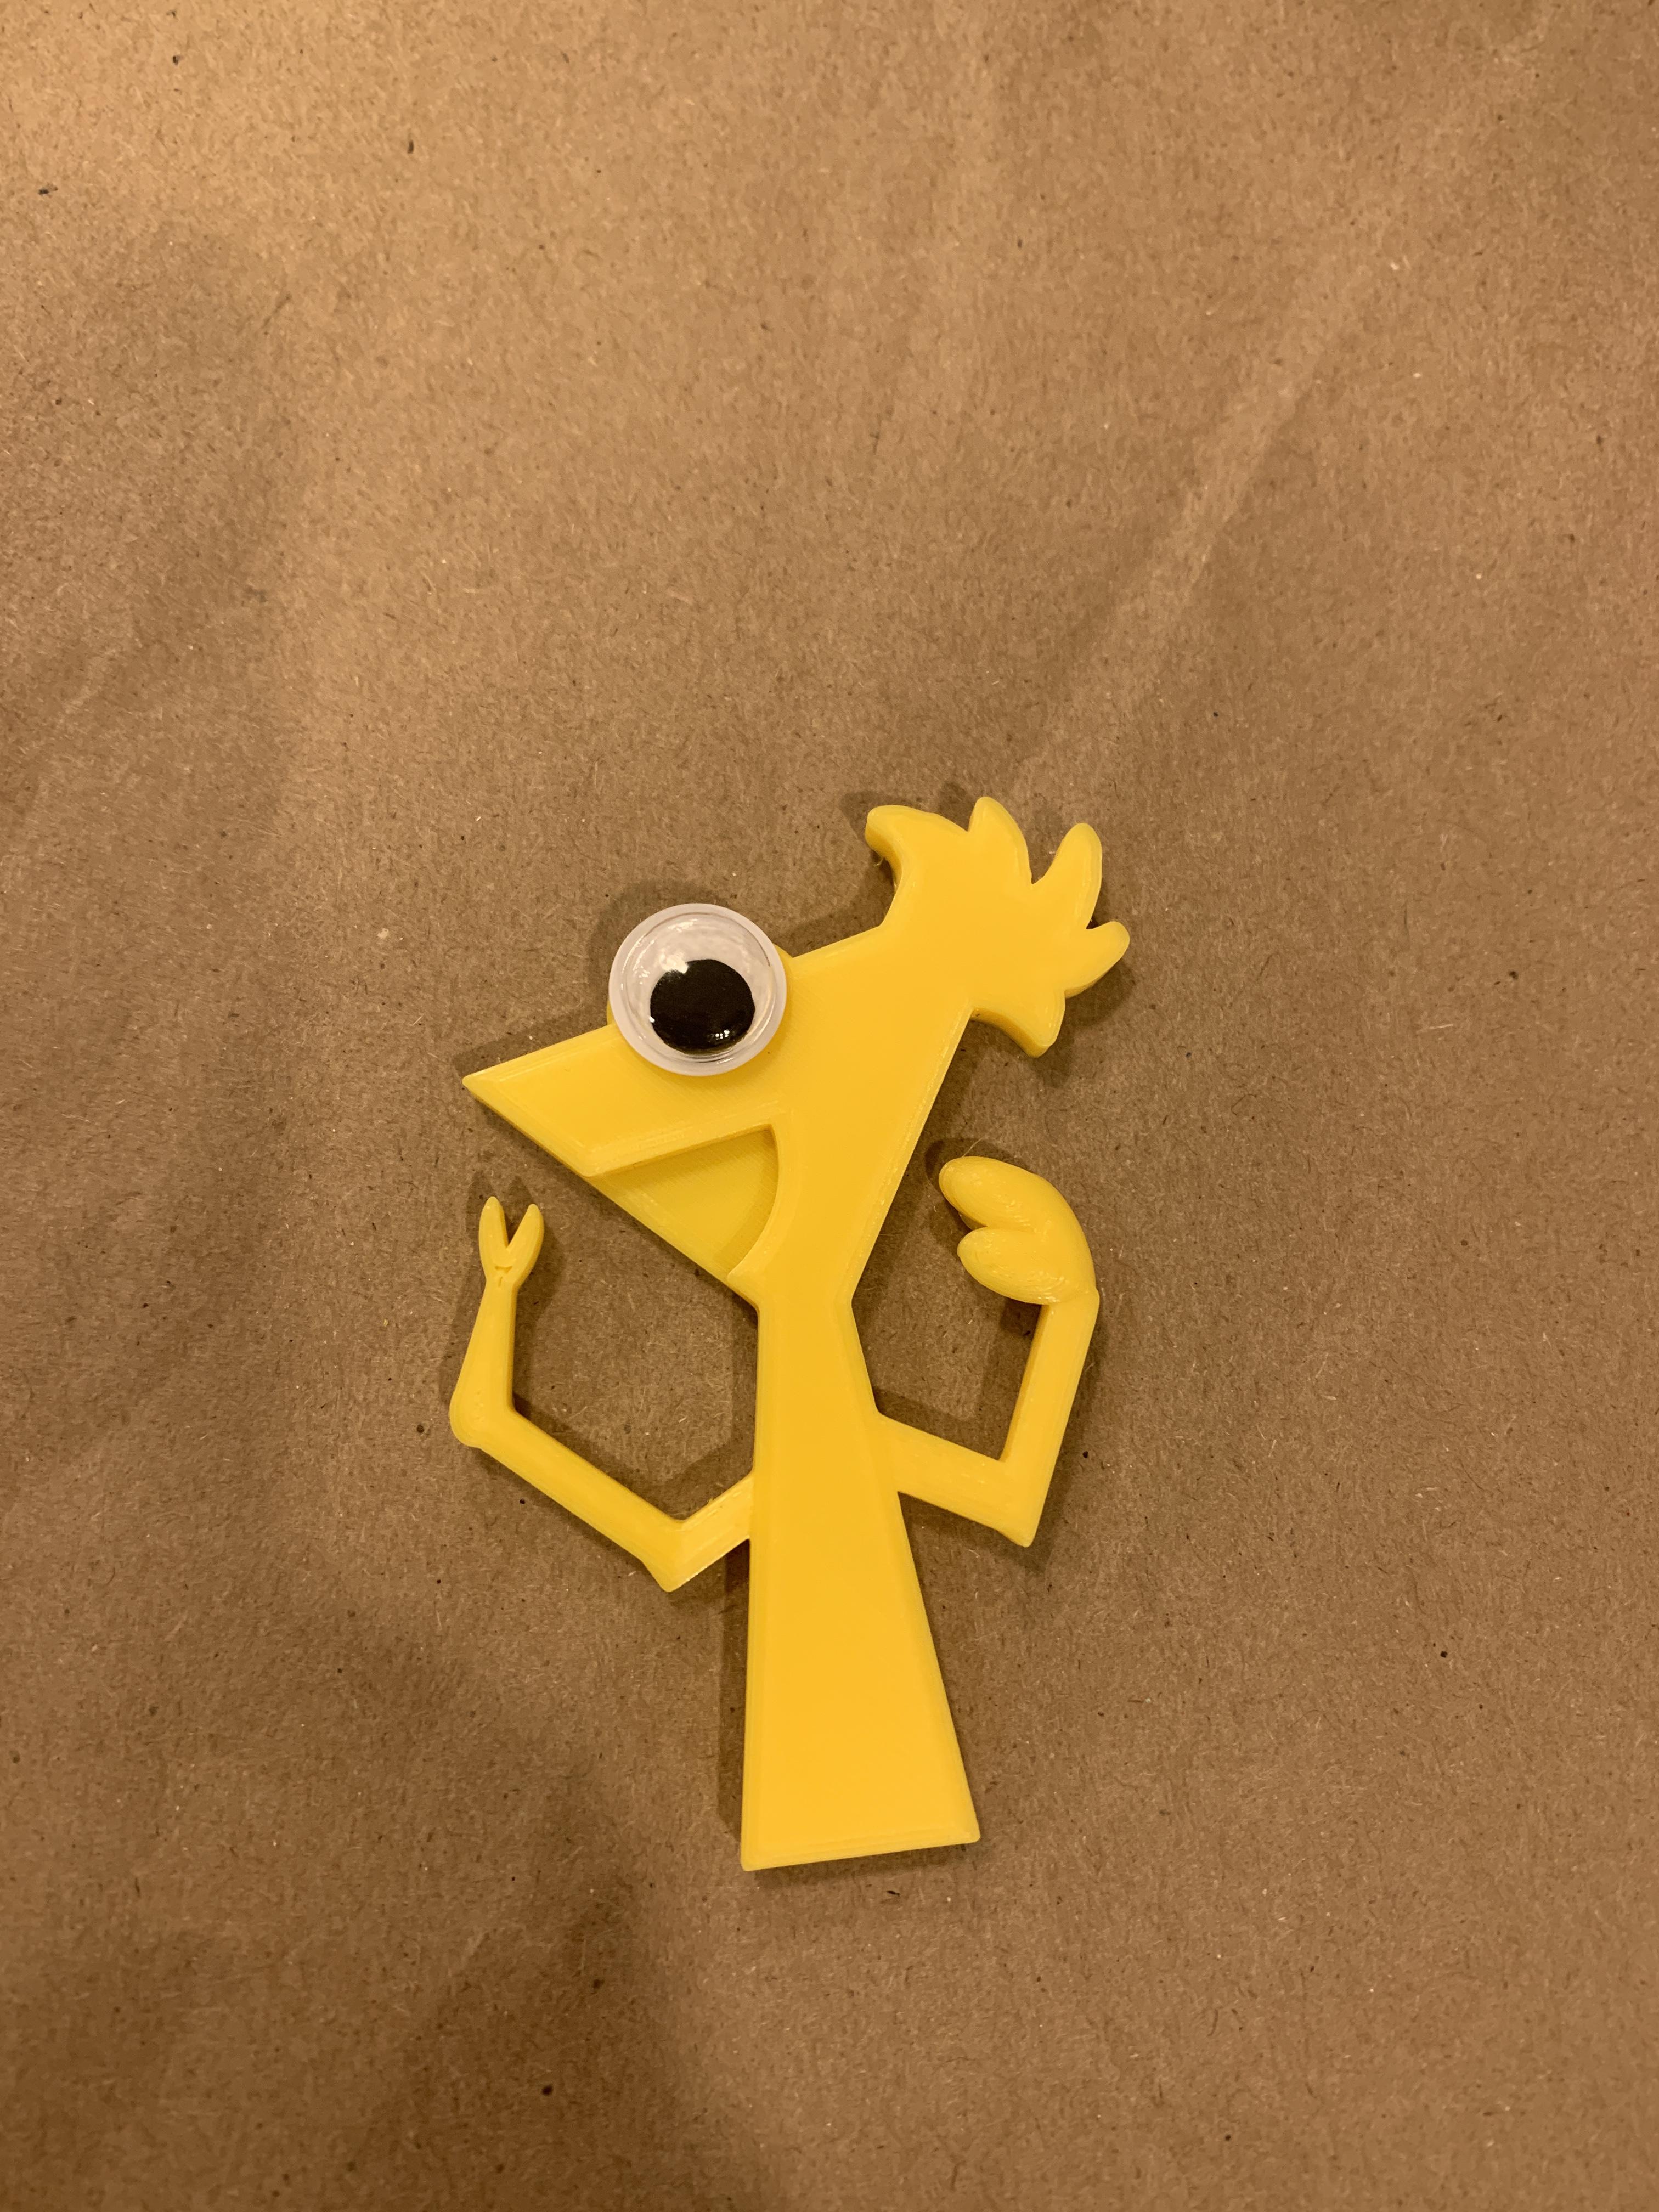
Then add arms. Arms are made from more cube shapes.
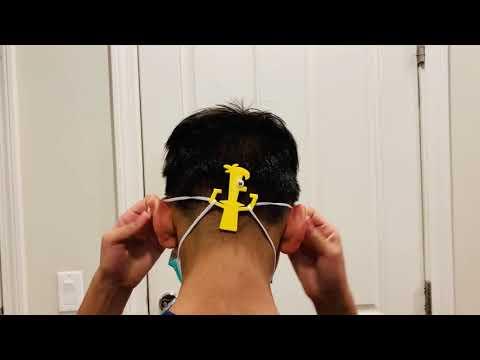
The placement of arms, and the angle of tilt is important, as we need it to hold the mask strings securely, so make sure they are bent closer to the body, but also spaced enough to allow you to loop the string without seeing.
In my first prototype, I had created a one hand up and one hand down kind of design, and when I tried using it, it was kind of skewed and tilted to one side. So make sure your model is symmetrical and it is centered.
Then group it all together.
When we print it, we want it to be smooth surface, so that it's comfortable to wear and doesn't pull on the hair.
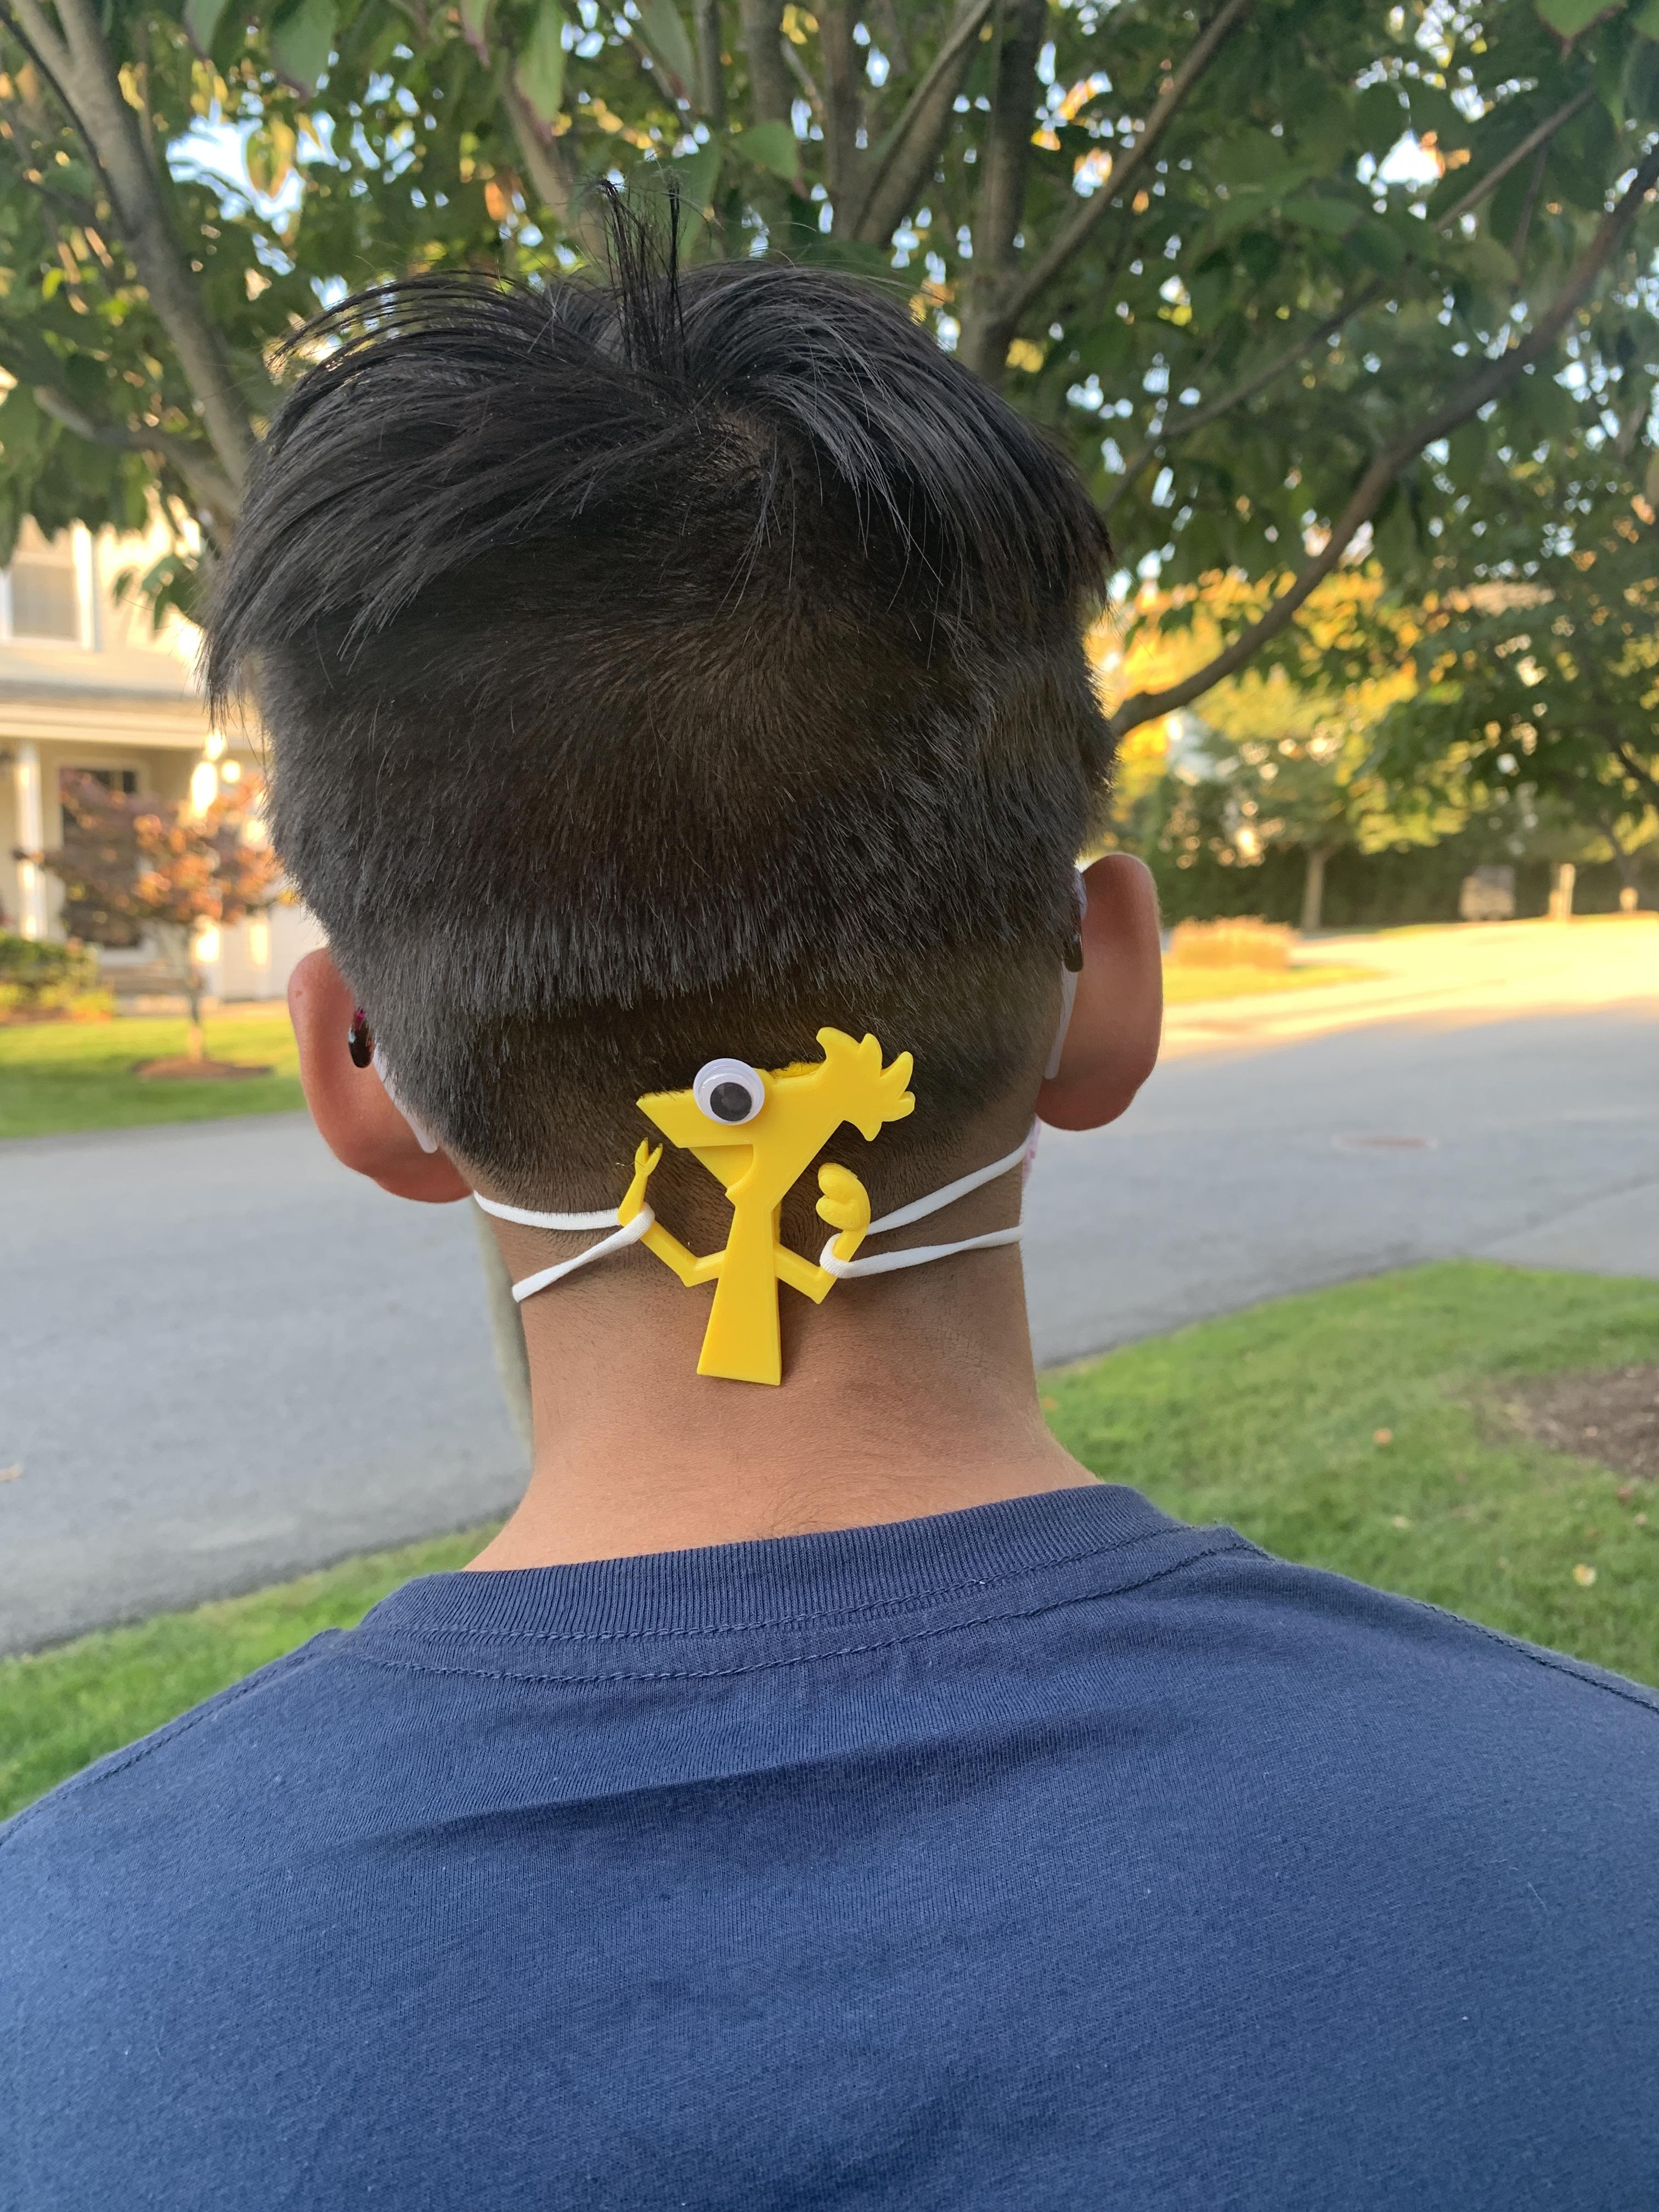
I resized it to be 50(breadth)x70(length)x 6(height) in mm. I found that the nape of our head is about 8cm, so it kind of makes sense to have the hooks(hands) to be about 50mm apart.
This dimension should take about 70 minutes to 3d print.
3D Printing and Finishing
Click on export, and download the stl file.
I sliced my file using Cura. I printed mine on MiniPrusa and it took about 1 hour and 10 min, with infill density of 30%.
I needed it to be strong to take on the mask strings, day after day, or stay in my pocket or backpack and handle wear and tear.
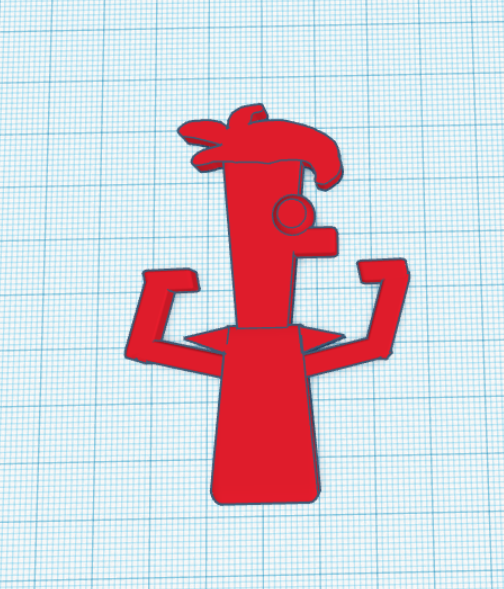
After it prints, clean it up, trim the strings(in any).
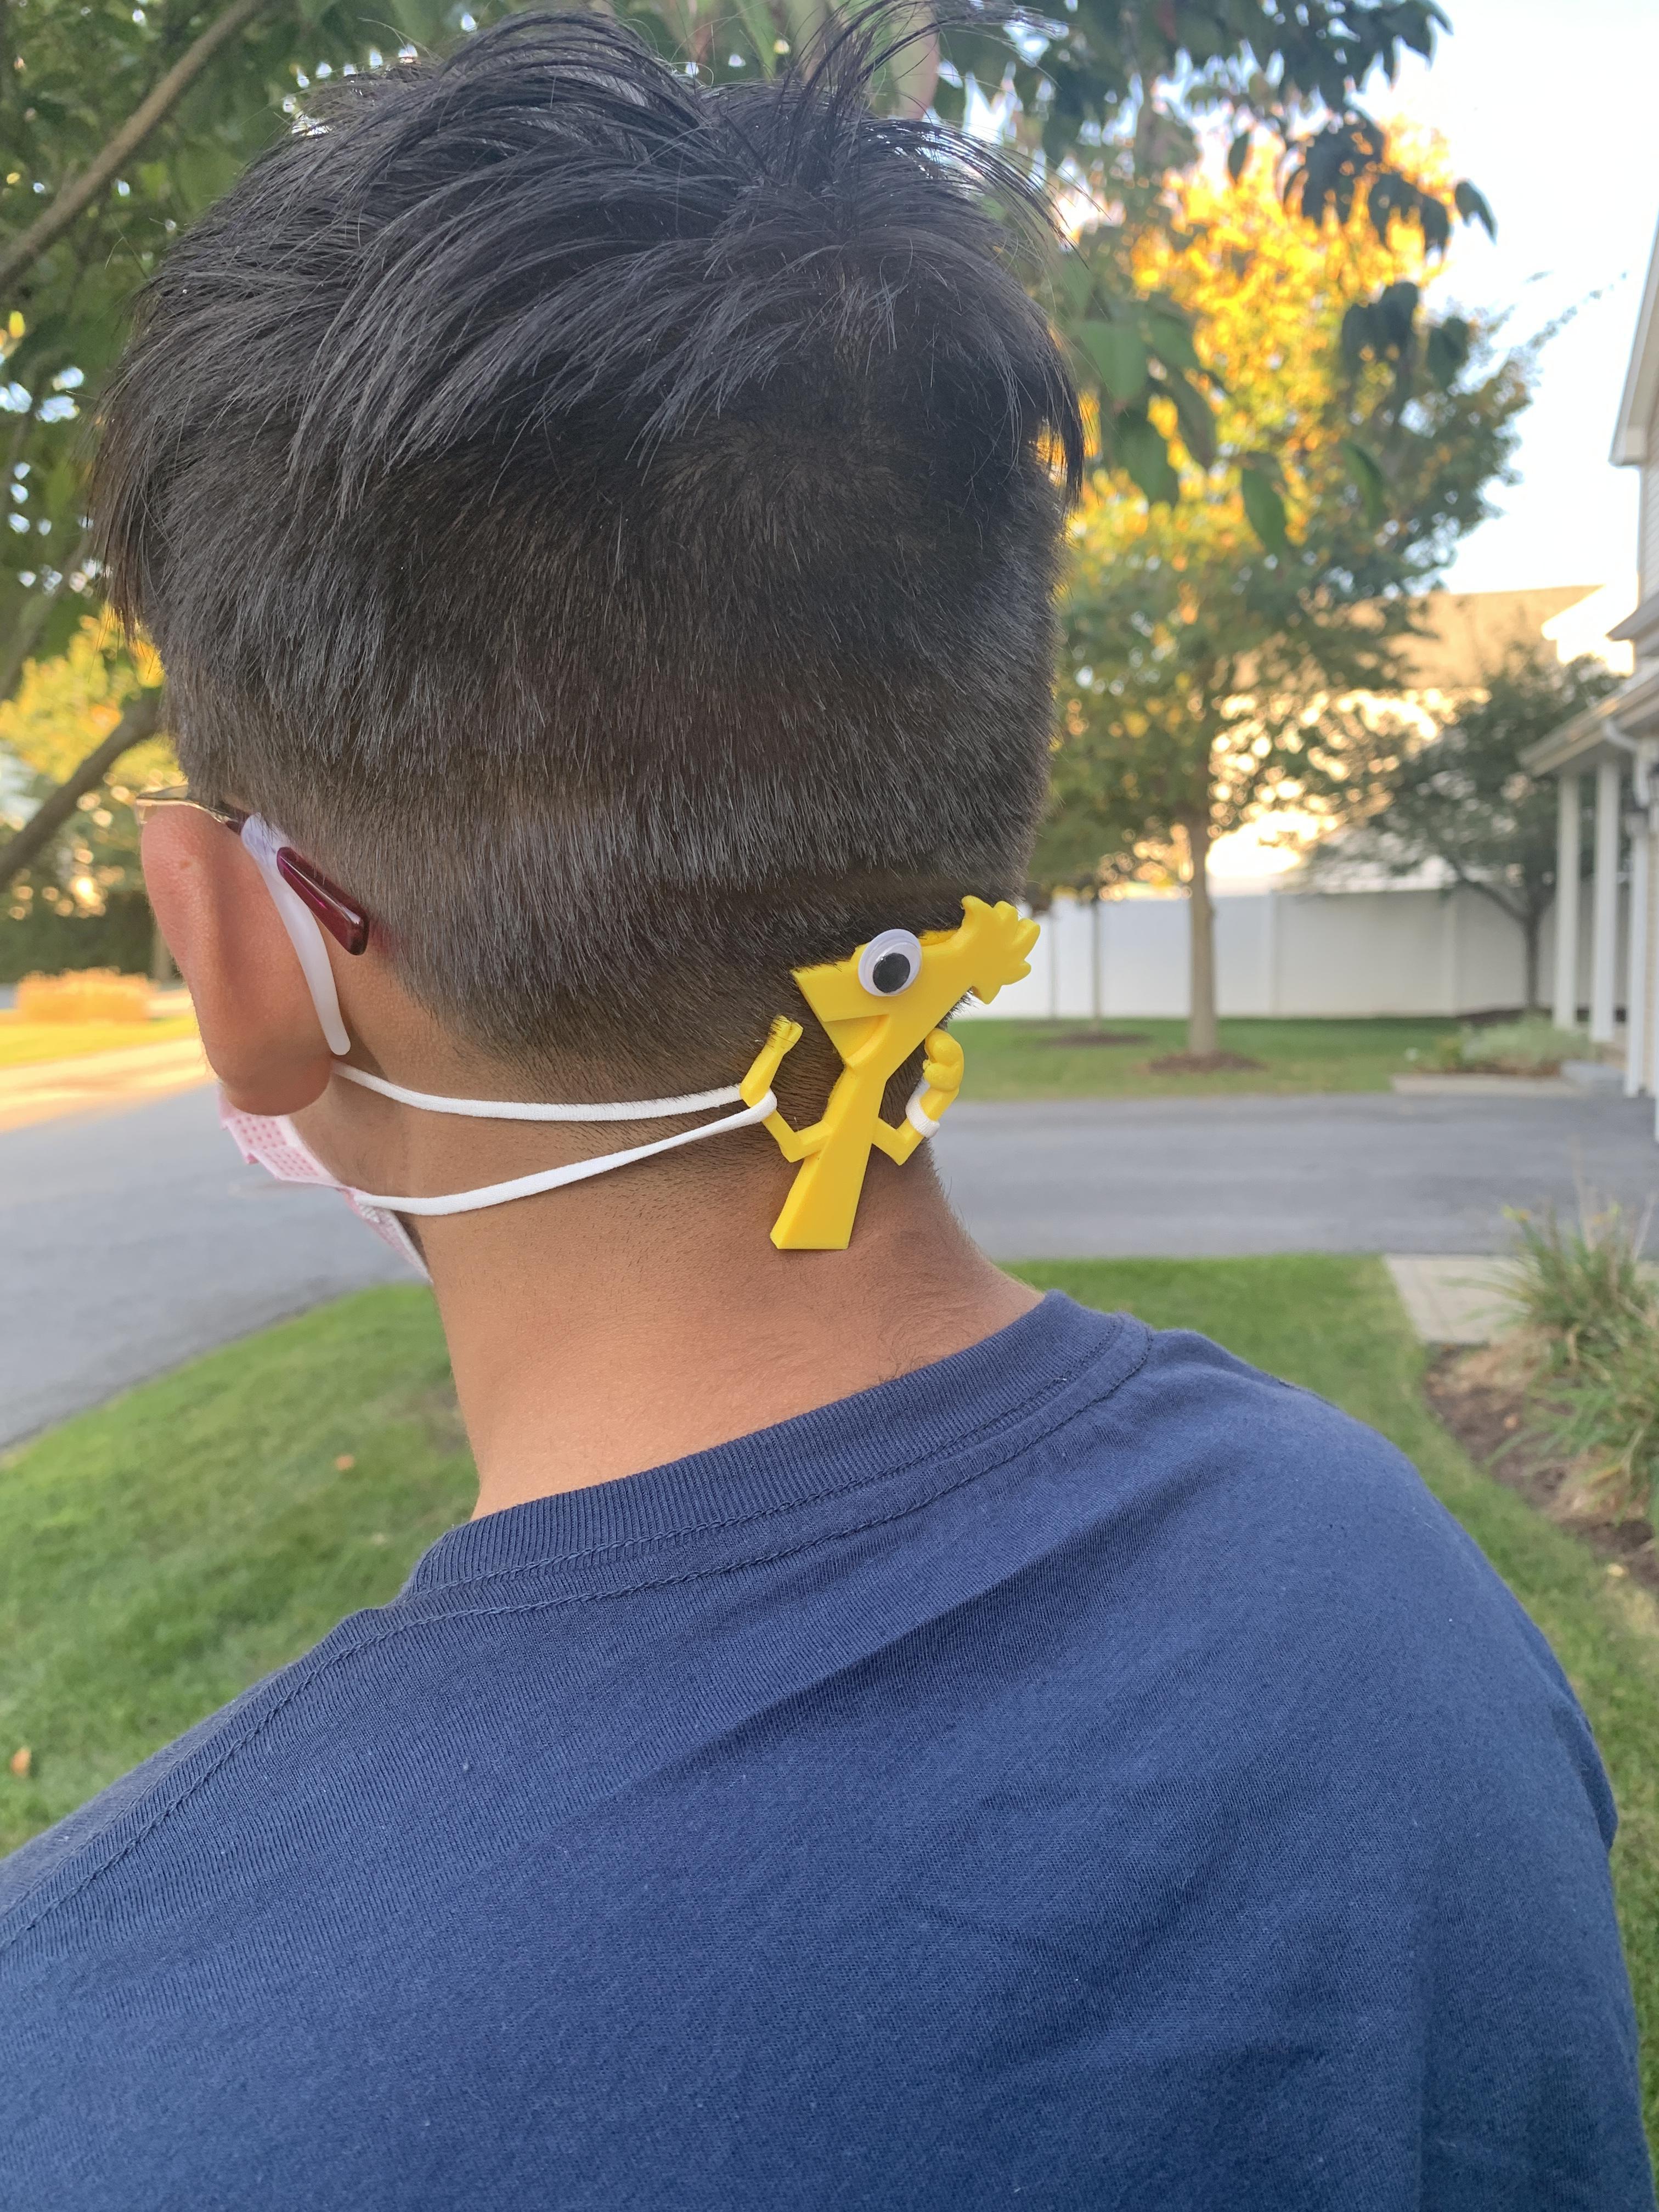
For added fun, I super glued some googly eyes.
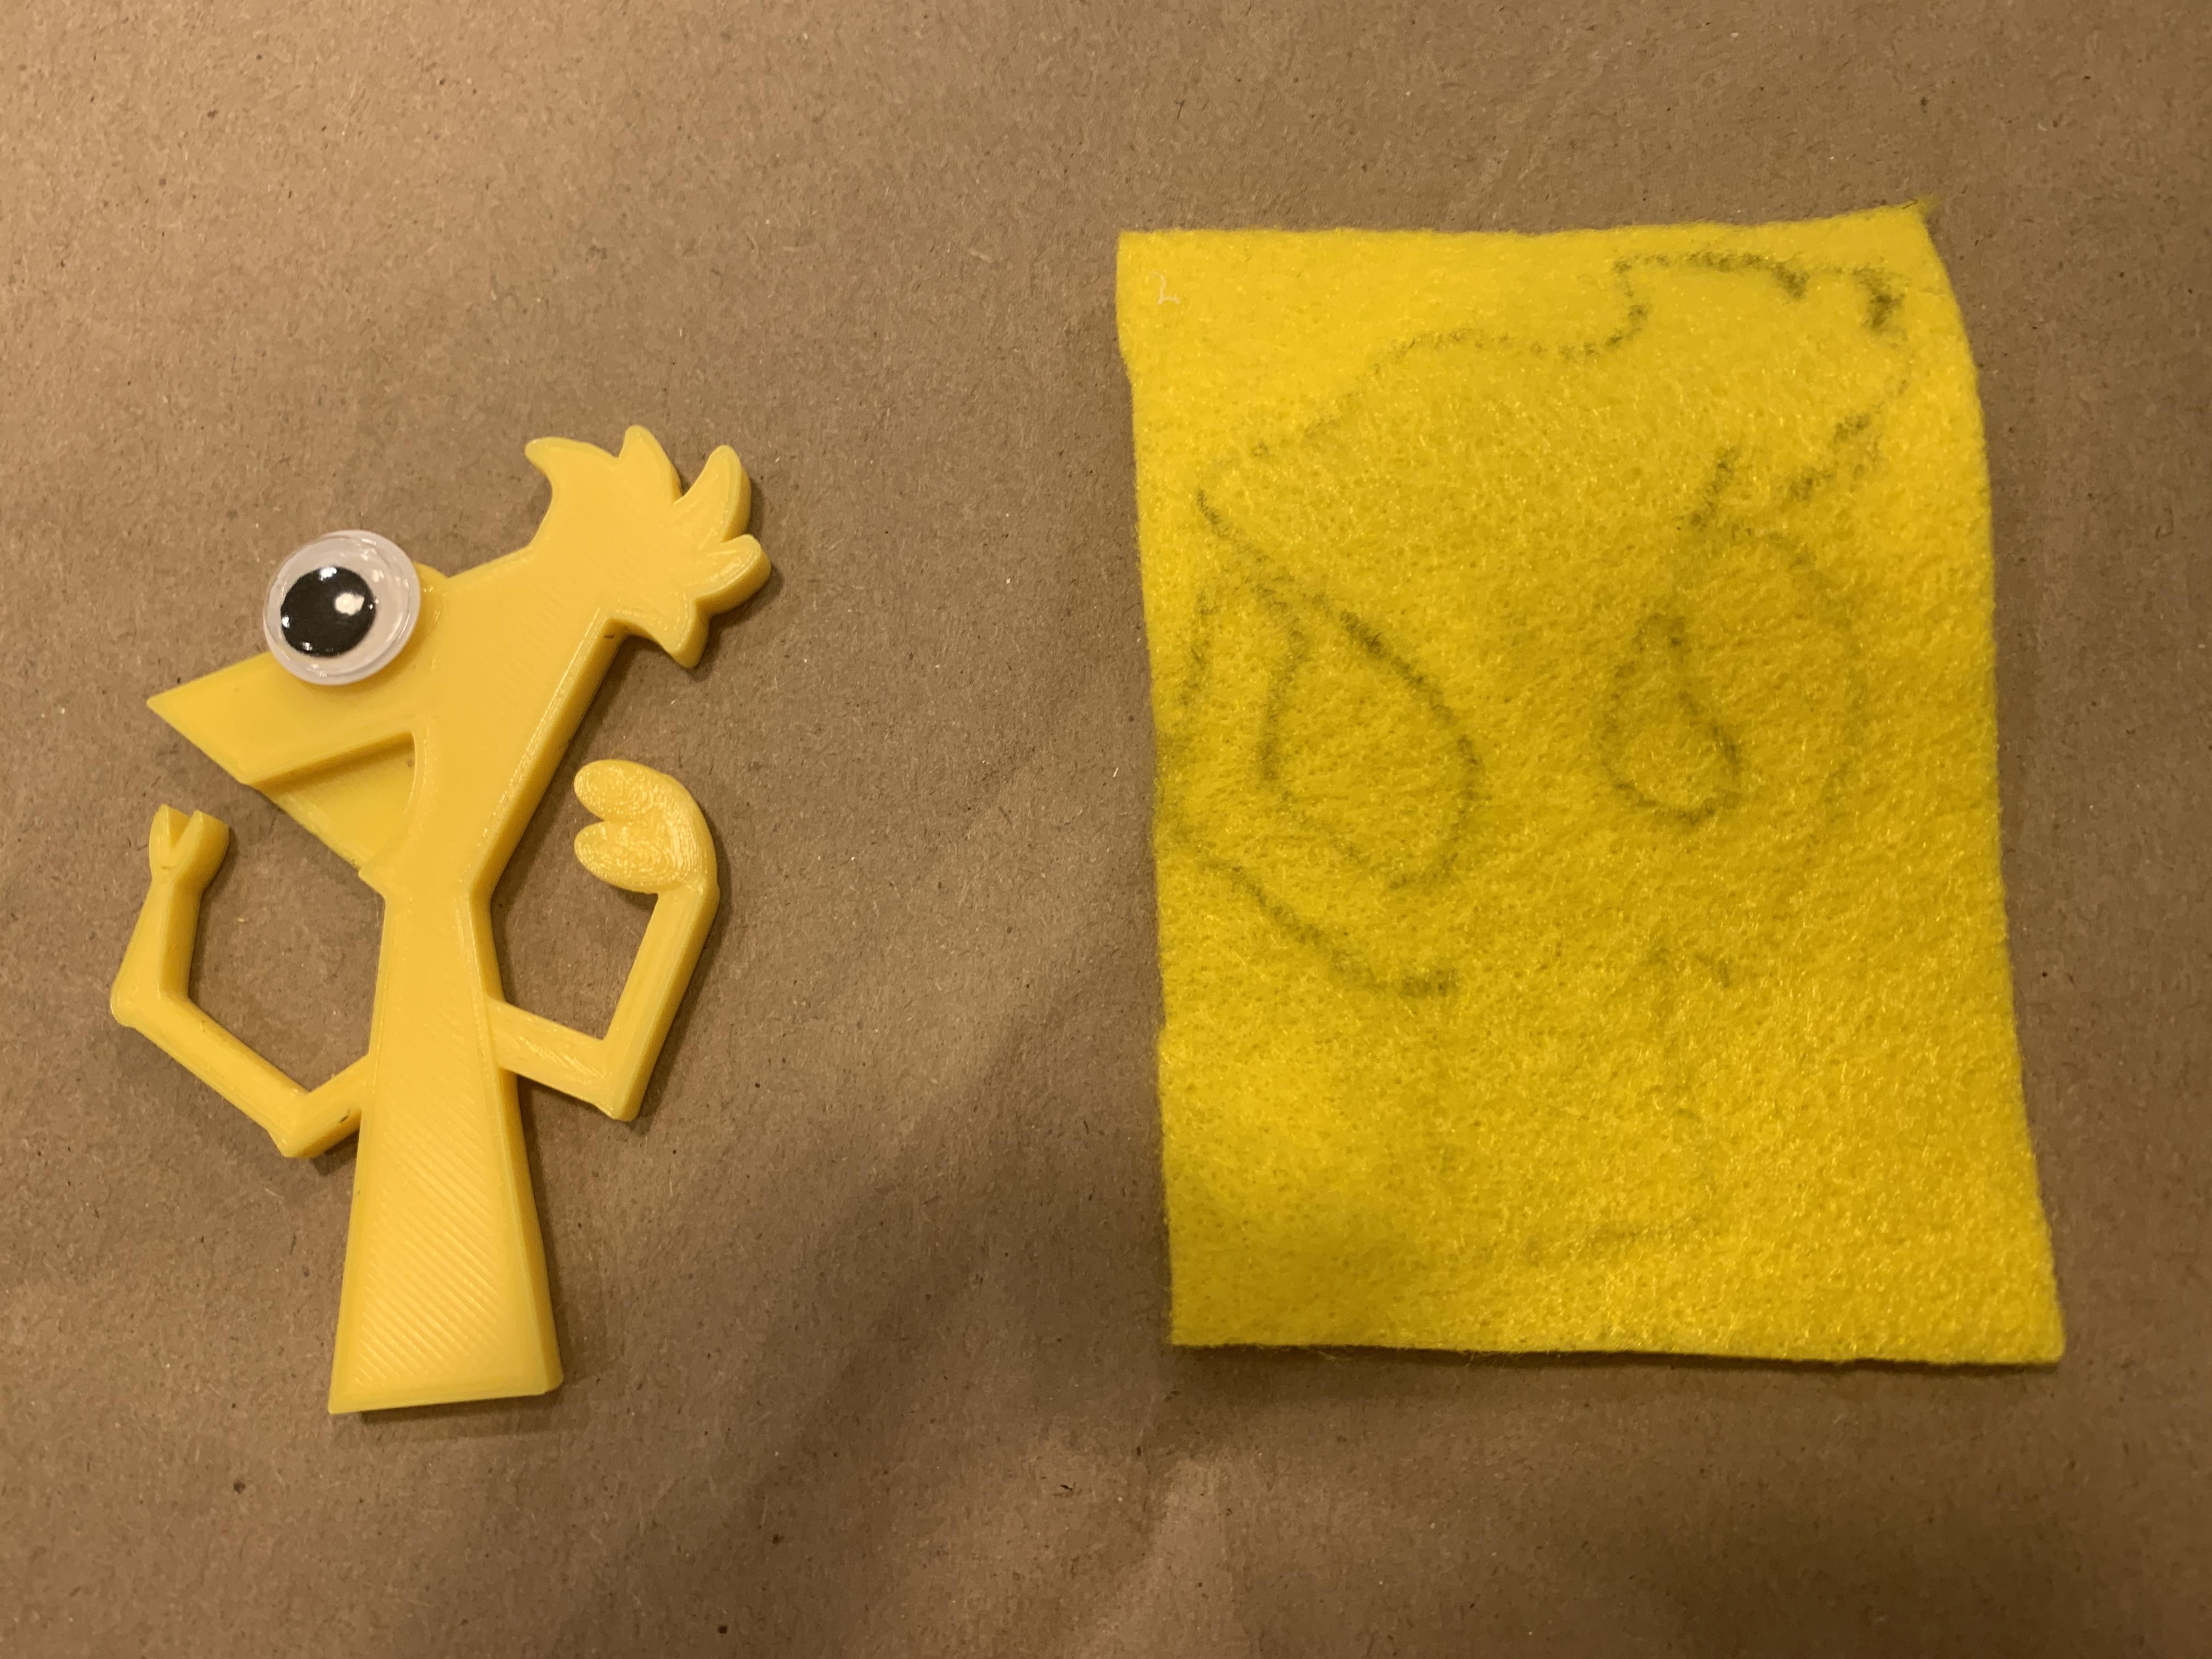
I also cut out a felt cloth backing, so the head side would not tangle hair.
You can use a black felt cloth if you want it to blend with your hair or use a contrasting color to make it pop.
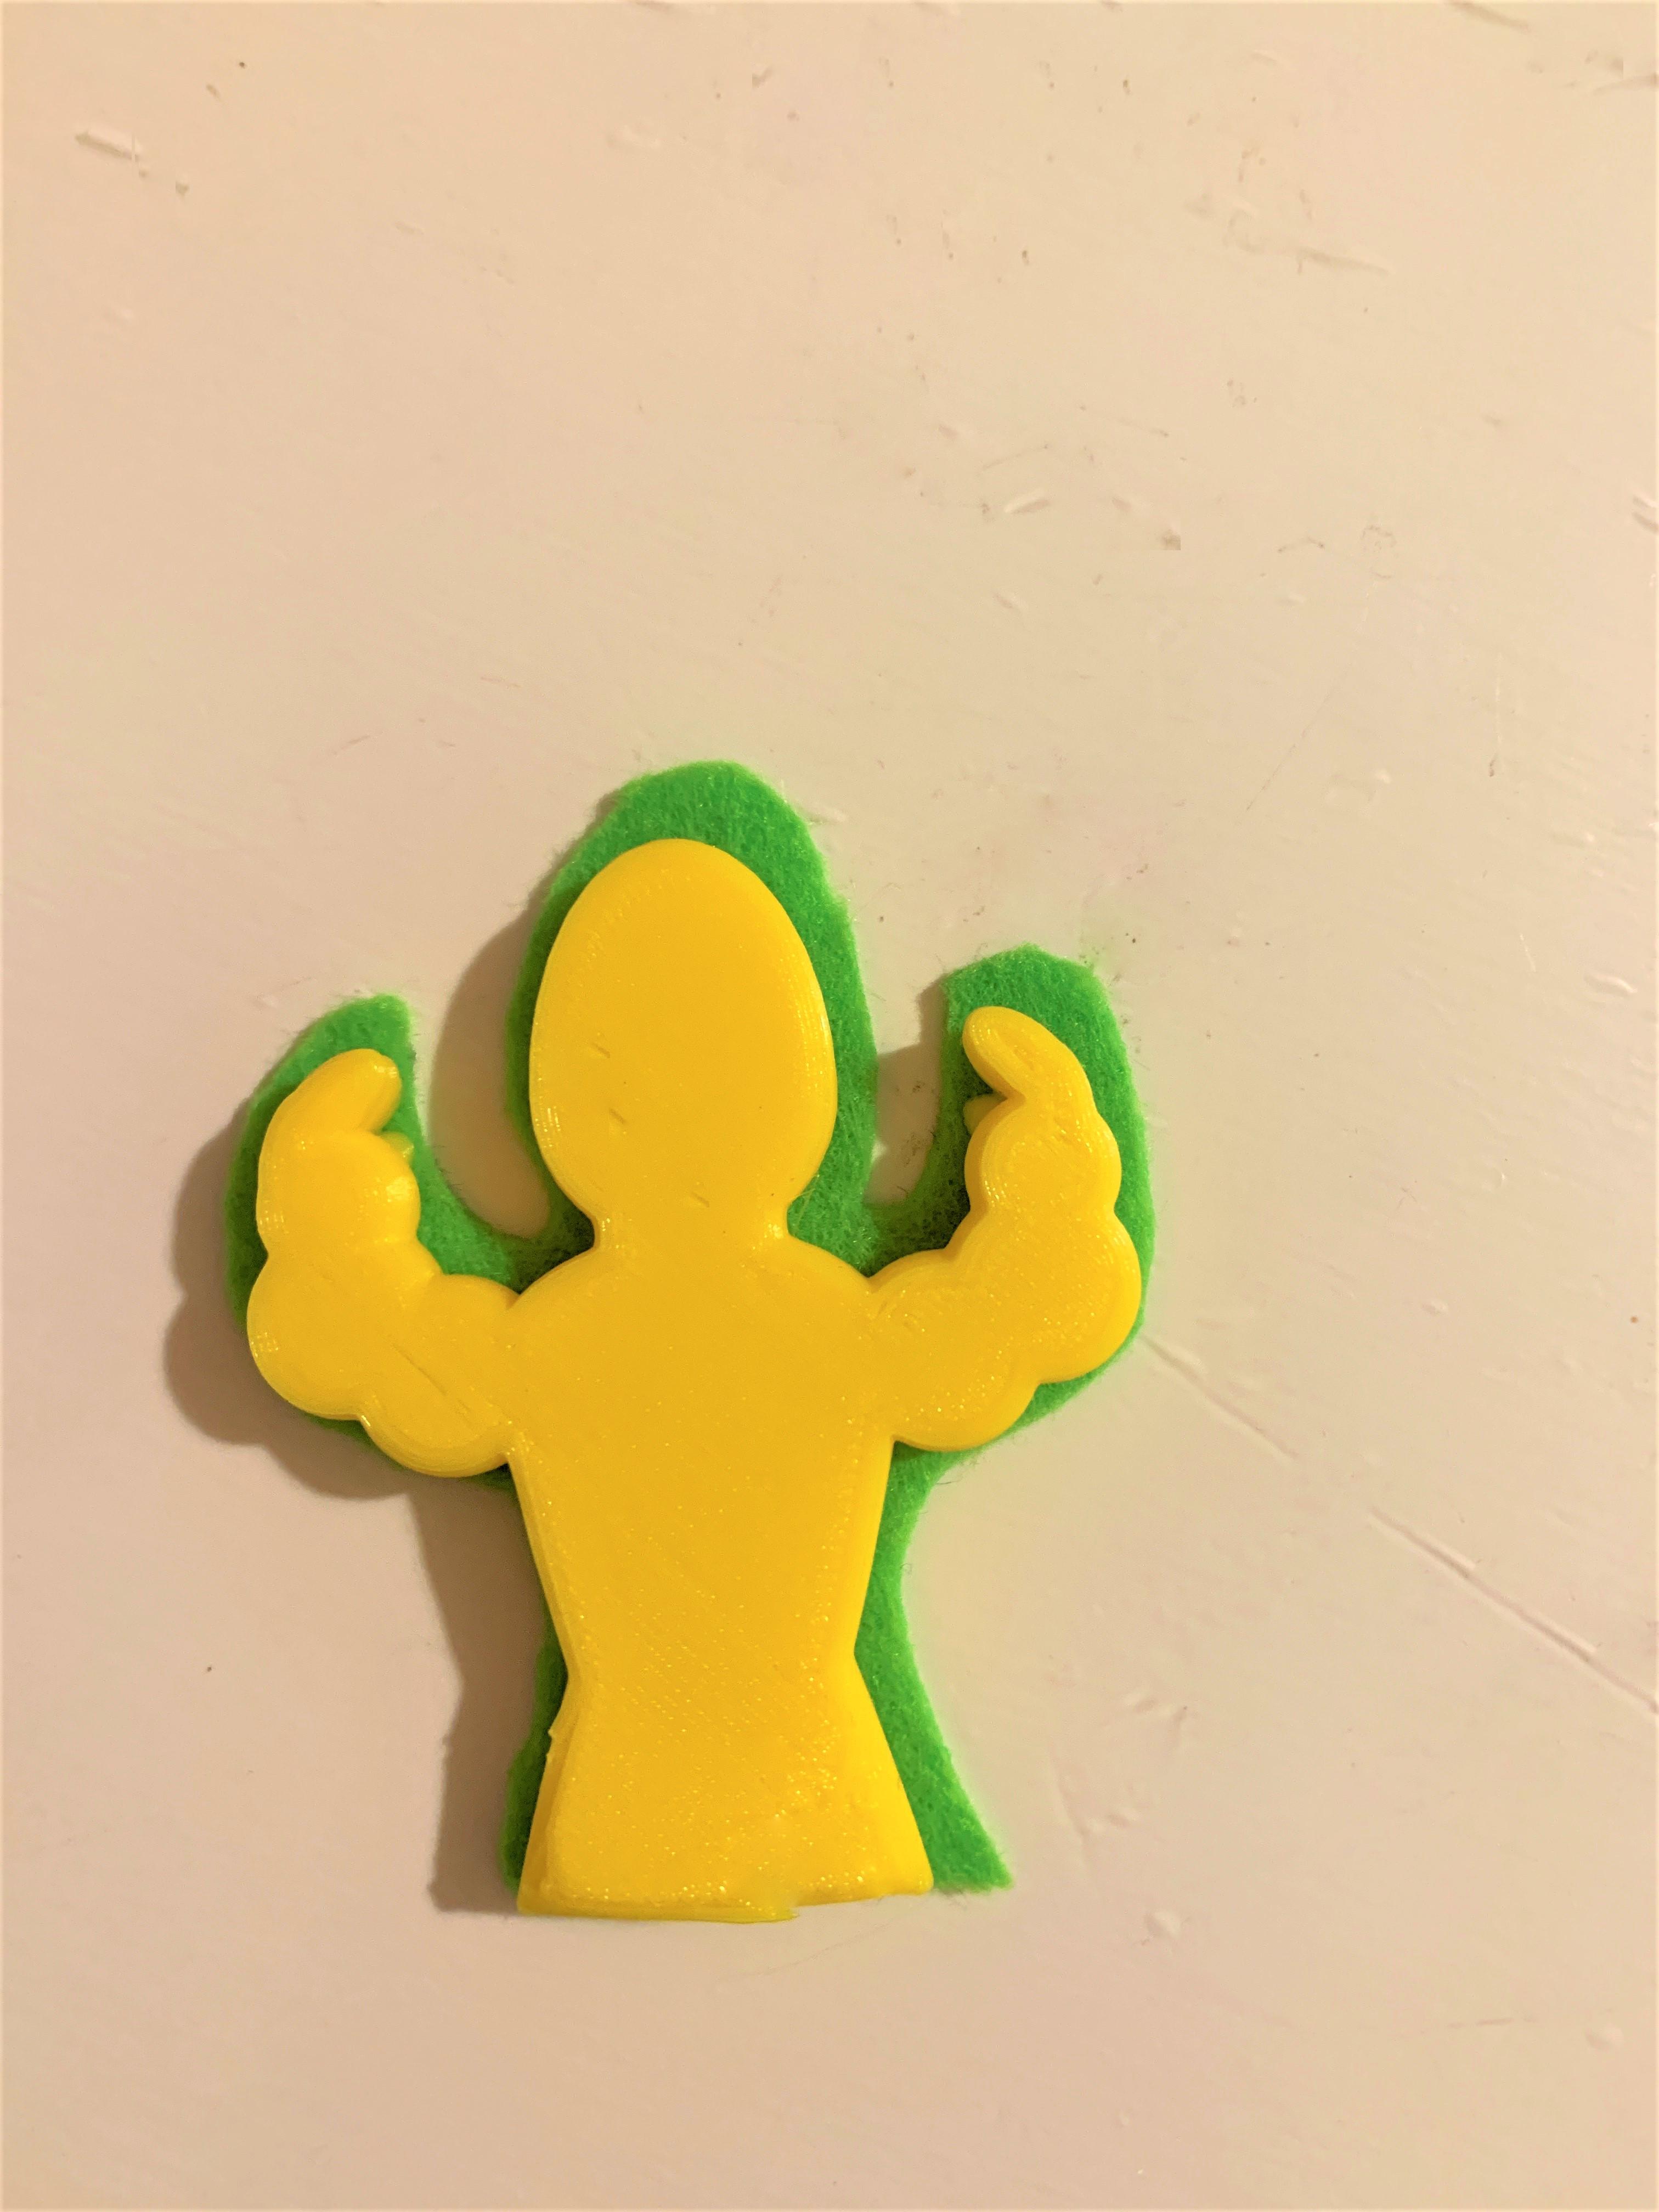
I made a hulk ear saver and I used green felt cloth as it felt right!
Phineas and Hulk Mask Clip Ear Saver
More 3D models