ETCHED PICTURE ON ACRYLIC
by eosorno in Workshop > Laser Cutting
4777 Views, 34 Favorites, 0 Comments
ETCHED PICTURE ON ACRYLIC


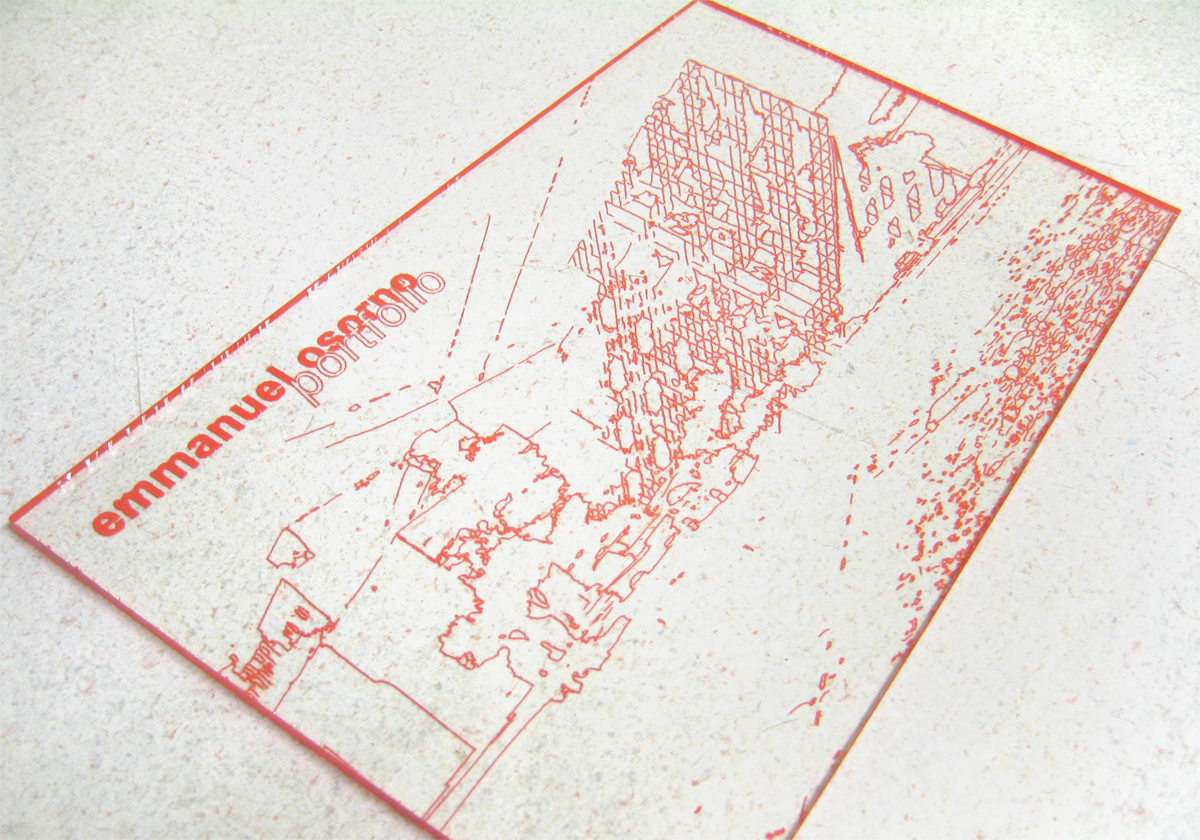
I was introduced to this etching process in architecture school, where it is used to create clean and elegant glass models of buildings. I made the etching in this example as a cover for my architecture portfolio; but this same idea can be easily applied to a large number of crafts that involve image work.
What you'll need:
An intact piece of plexiglass/acrylic (with at least one plastic film cover still on it)
A gorgeous image that is worth framing
Spray paint (color of your choice in acrylic preferably)
Small tweezers
TechSHOP membership (or access to a computer with Adobe Illustrator and a laser cutter)
FIRST STEP_ covert your image into vector line-work
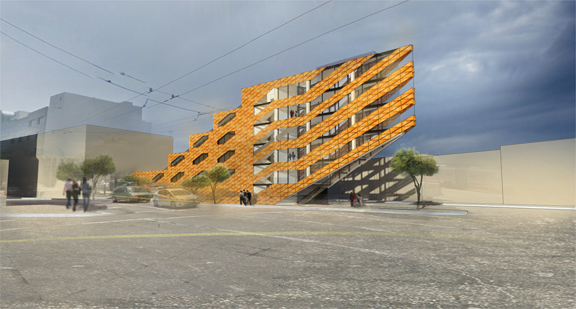
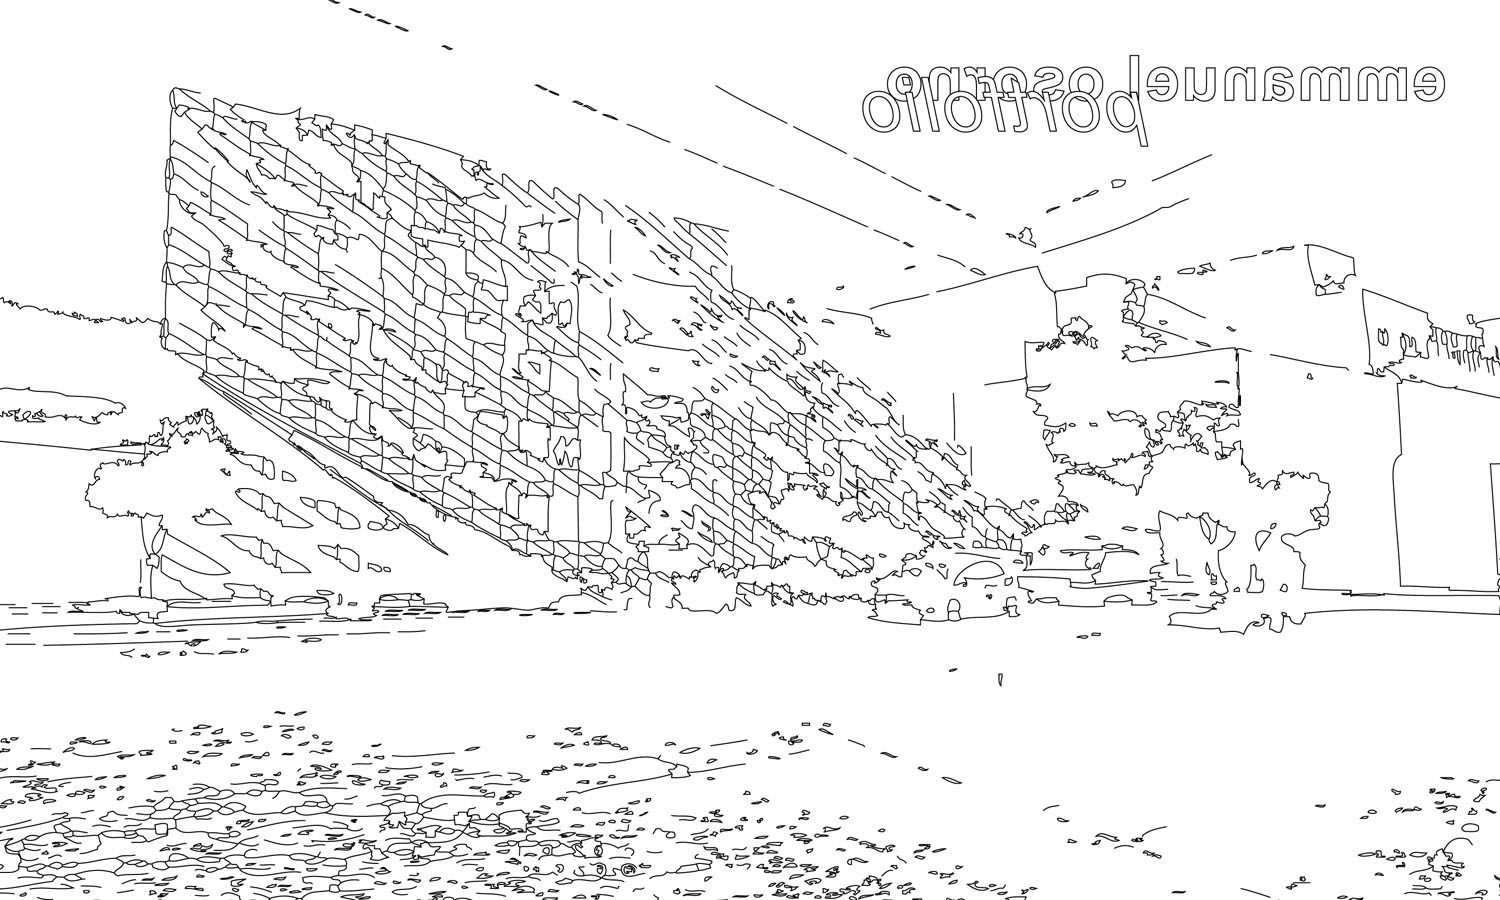
Open the image in Illustrator and do a "Live Trace" [object < live trace < make] to create a line version of your image. Adjust the "threshold" and "minimum pixels" values to obtain the desired resolution; then, click on "expand" and then "ungroup" the outlines to be able to edit their thickness. Illustrator will create lines of different thicknesses, so make sure to select them and change them to .001 thick. Please take your time to familiarize yourself with the different options to obtain better results. Also, add text and create outlines of those if needed.
SECOND STEP_ resize and mirror your outlines
Now that you have your outlines, it is time to scale them to the appropriate size (if you haven't done so already) so that they fit into your plexiglass panel. Remember, the outlines are vectors, not pixels, so feel free to enlarge them as the quality and resolution won't be lost. Then, select all the lines and mirror them [object < transform < reflect < horizontal]. By flipping the image I was able to etch the outlines on the back of the plexiglass and leave a smooth surface in the front. I made my image fit into a 6" x 10" rectangle and was very satisfied with the level of detail I was able to achieve.
THIRD STEP_ etch!
Place the plexiglass panel with at least one of the plastic film protectors still on it (this should be facing up). Adjust the settings of the laser cutter to create an etch that is strong enough to penetrate the protective film and leave a shallow cut on the plexiglass surface (I used SPEED 20, POWER 20, FREQ. 5000). Send the outlines to the laser cutter and run the job. Settings tend to vary from machine to machine, so please make sure to test the depth of the cuts on a scrap piece first before running the final job.
Leaving the film on is essential: once the piece is ready to be spray painted, the film that is not burned by the laser will protect the blank areas of the panel, allowing the paint to set only in the etched grooves.
FOURTH STEP_ set the paint
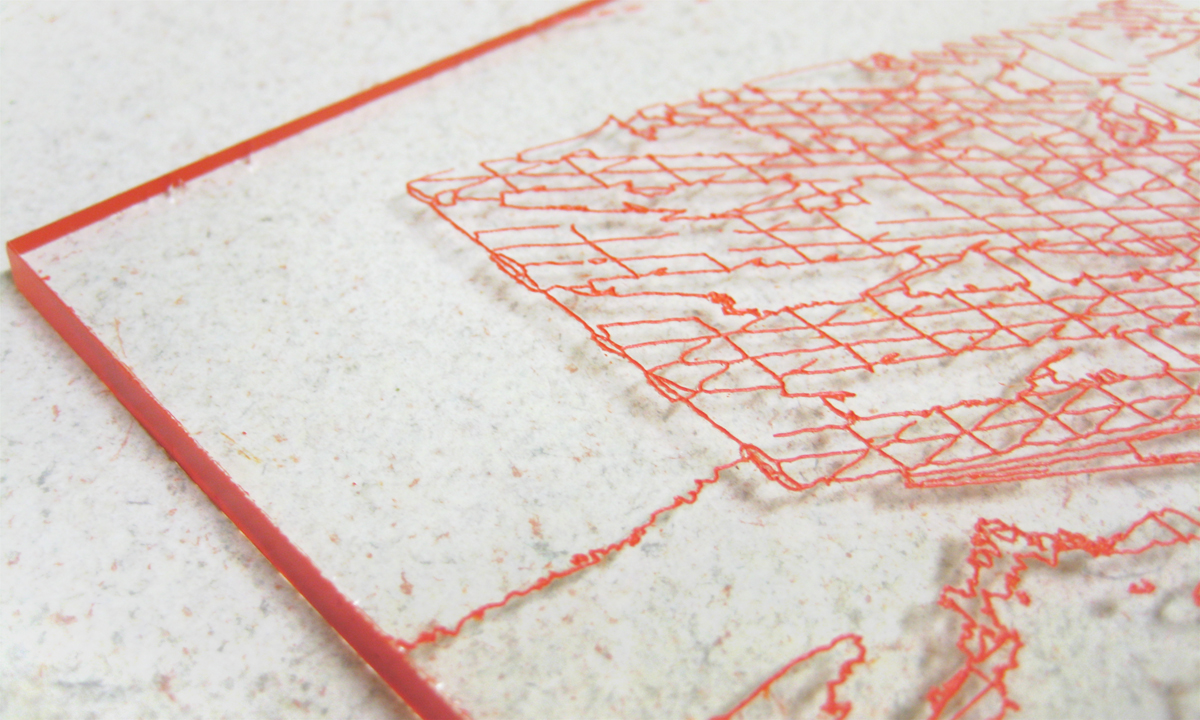
In a well-ventilated area, place your etch panel over an old piece of corrugated board or newspaper with the etched surface facing up. Spray the panel thoroughly, leaving a generous layer of paint over the surface and its edges. Let it dry and repeat if necessary.
LAST STEP_ remove the film and clean
The piece is now ready... ish, you only need to clean it. So, take the tweezers and carefully pull out the leftover film on the painted surface; be carefully to not leave any scratches as they can ruin your piece. This is a relatively simple procedure, but it might be time-consuming depending on the complexity of shapes and density of lines etched onto the plexiglass. I'm my case, it took me three hours to pull out all the tiny pieces out of this panel.
Once you have removed the film, dust off any flakes of paint and clean your panel to get a pristine, polished look. Design stands or built a frame around it and you have a transparent picture frame!
I MADE IT AT TECHSHOP!