ESP8266 and Python Communication For Noobs
by junicchi in Circuits > Arduino
21857 Views, 11 Favorites, 0 Comments
ESP8266 and Python Communication For Noobs
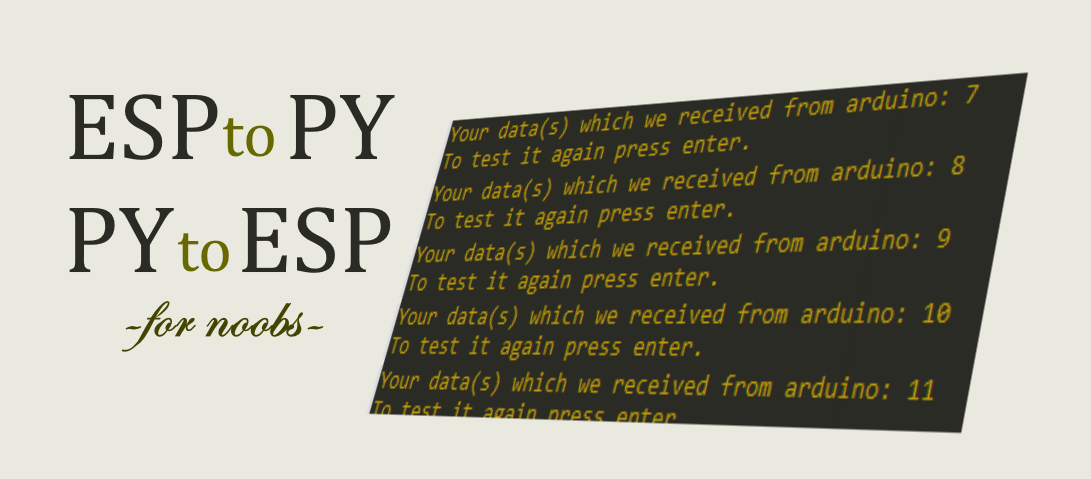
This guide allows you to get any data from ESP8266 and control it over python without AT commands.
For the beginners, most of the guides about using ESP8266 is hard, because they want you to flash “AT COMMANDS” into chip, which is:
- Unneccessary
- Wasting memory of ESP
- Gives you limited control
- Hard and Challenging
- And not suitable for all ESP8266 modules
That's why I created a very simple mDNS communication system which is being controlled only with 3 simple functions. It also gives you full control.
Theory

Our esp connects to our wifi and creates a localhost server and starts to waiting a request. Everytime our python sends a request to that localhost, esp runs the desired code and then returns the result as an http request. Finally python reads that returned data as http request and grab that variables from it. With this, esp can return strings, datas and arrays. Python code will understand their datatype.
Preparing the Required Libraries
First of all, you must be downloaded the ESP8266 card library to arduino ide. If you don't know how, here is the guide.
After that, you have to download my micro library from here.
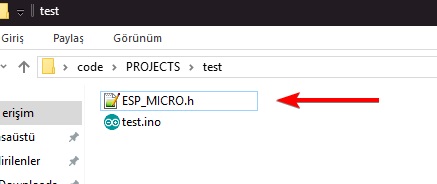
After you downloaded, in library folder there is a file called "ESP_MICRO.h", copy it to your coding folder of current arduino project. Yes, don't copy it to arduino's libraries, it's a micro library so you will copy it to folder of the your current arduino project.
So now, our requirements are satisfied. We can start to coding it.
Writing a Simple Request Code
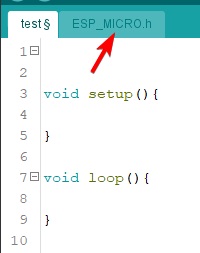
When you open your project.ino, you will see two tabs on arduino ide. One is your project, the other is "ESP_MICRO.h" our micro library.
Now you have that 5 function in ESP_MICRO.h in your main code, (the functions are explained in first lines of ESP_MICRO.h)
Here is a simple variable increasing code.
Arduino code:
/* F5 TEST FOR ESP2PY
 * Written by Junicchi
 * https://github.com/KebabLord/esp_to_python
 * It simply increases and returns a variable everytime a python req came */

#include "ESP_MICRO.h" //Include the micro library
int testvariable = 0;
void setup(){
  Serial.begin(9600); // Starting serial port for seeing details
  start("USERNAME","PASSWORD");  // EnAIt will connect to your wifi with given details
}
void loop(){
  waitUntilNewReq();  //Waits until a new request from python come
  /* increases index when a new request came*/
  testvariable += 1;
  returnThisInt(testvariable); //Returns the data to python
}
Uploading
Programming Nodemcu ESP8266s are simply plugging usb and uploading the sketch from arduino.
But programming ESP8266-1 are harder, there is two methods to program them
Programming ESP through arduino
If you're fine with jumpers, you can program it through arduino with this circuit. But for long term, it's pain. So I suggest other method.
Programming it with ESP programmer
It's much easier and faster. It's only 1 dollar, buy one and use a programmer usb.
Learning the IP adress of ESP
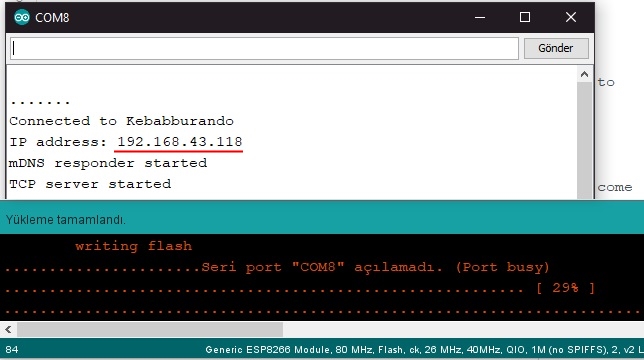
While code is being uploaded, open the serial port, you'll see details are printed when uploading is done. Learn the IP of esp and note that. Remember, ESP's IP on local; changes by wifi to wifi, not session to session, so when you close and open it later, it will not be changed.
Reading and Python
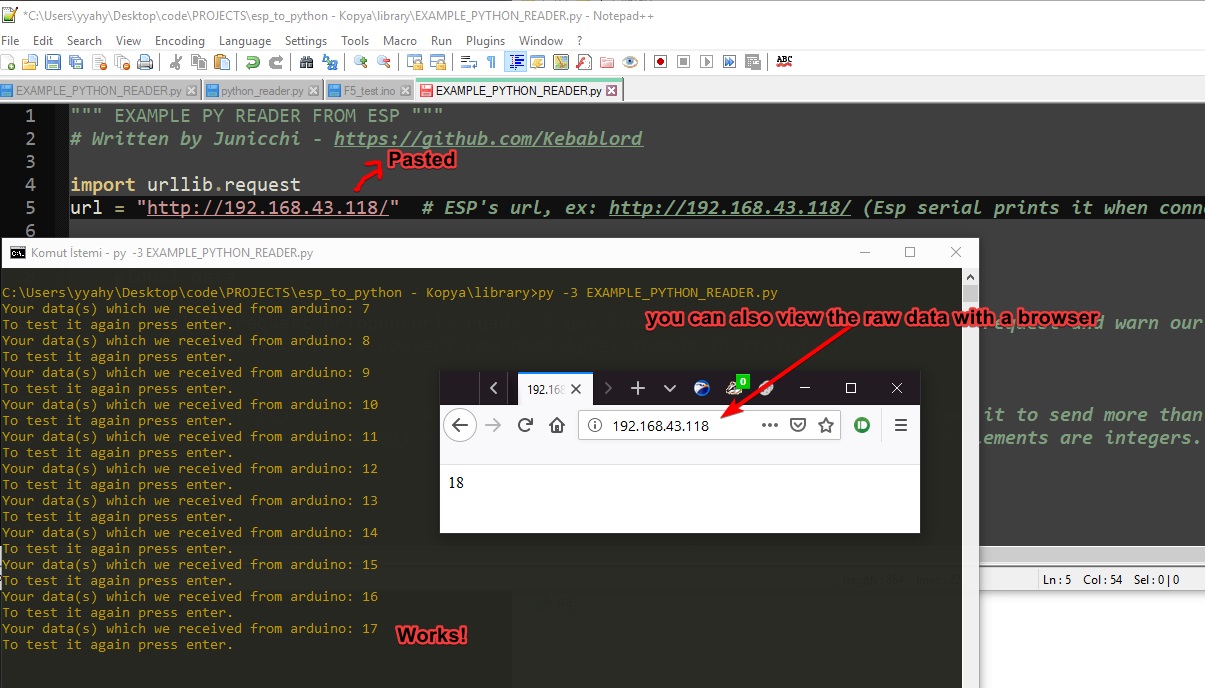
In the esp_to_python/library there is a "EXAMPLE_PYTHON_READER.py"
edit it, change the 5th line with the IP adress of the esp module that printed on serial port
and run the python script. In this project, I used python to send and read request. But you can also view the raw data with a browser while pasting the ip of ESP on a browser. Or you can make an application to read it, or you can even use another language. Controlling the module over python is also explained in "ledControl" project in examples folder.
Finalising

All functions and codes are explained in the ESP_MICRO.h and in the README.md file.
If this project helped you, you can star the original project on github.