ESP8266 WiFi DHT22 Humidity Sensor (Plug and Play)
by EasyIoT in Circuits > Arduino
26049 Views, 63 Favorites, 0 Comments
ESP8266 WiFi DHT22 Humidity Sensor (Plug and Play)
.png)
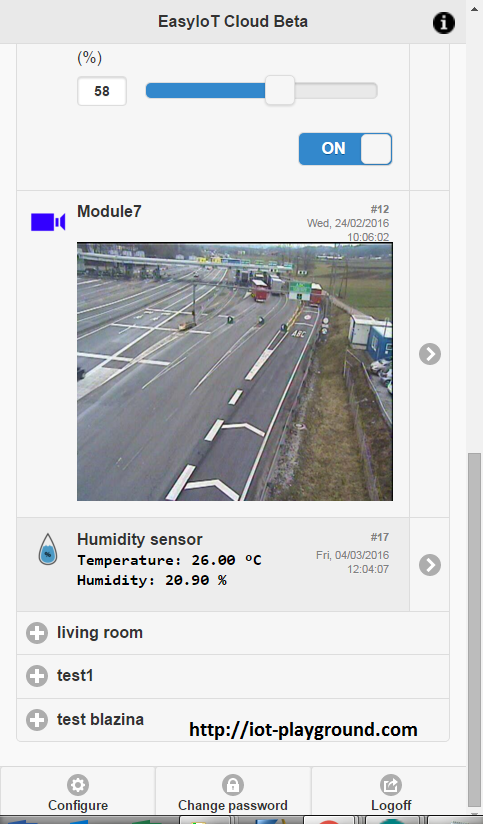
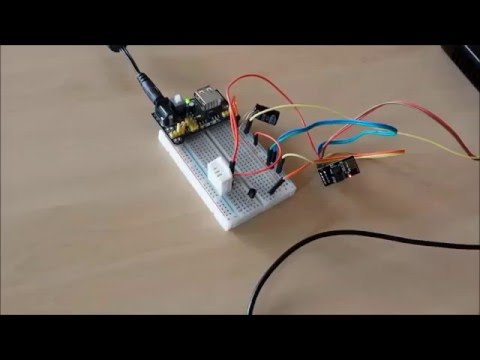
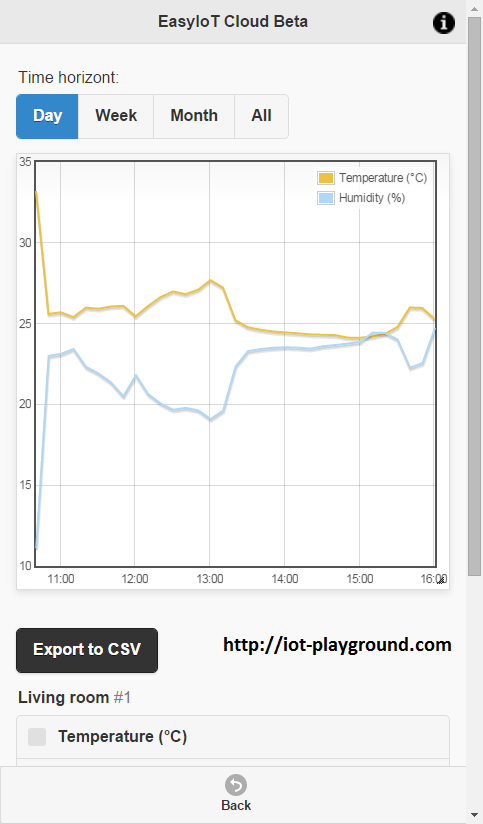
In this tutorial we will show how to build "Plug and Play" WiFi humidity and temperature sensor connected in EasyIoT Cloud. It shows how to send two parameters with one request with REST API V1. We will use ESP8266, DHT22 and Arduino IDE.
Adroid app. is also available on Google Play - you need to register to EasyIoT Cloud first to use Android app..
Materials
- ESP8266 WiFi module
- DHT22 humidity sensor
- 3.3V power supply
Hardware
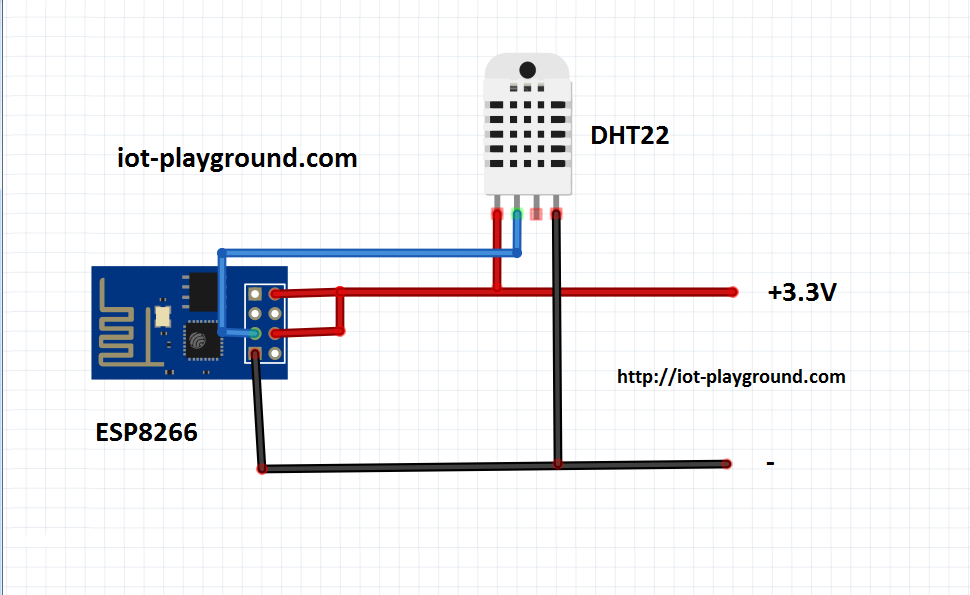
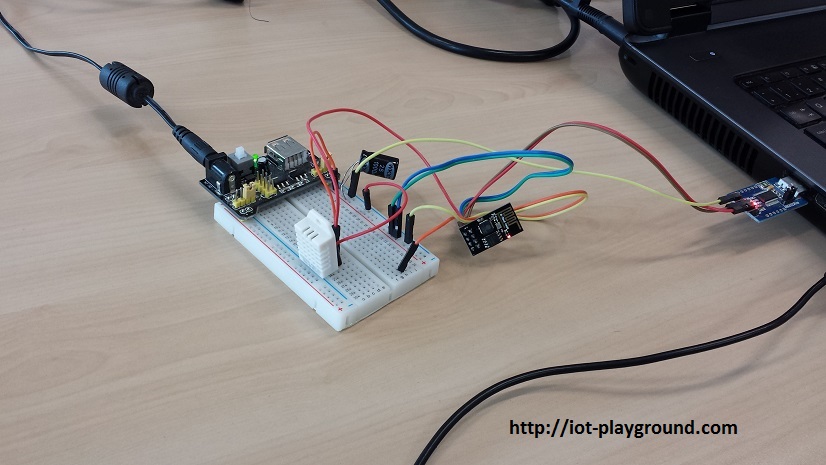
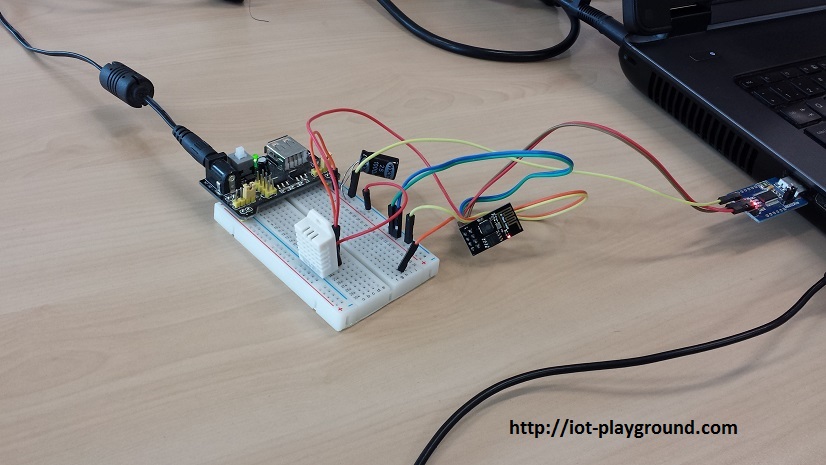
Connection diagram is shown below. Instead of ESP8266-01 you can use different type of ESP8266. For power supply you can use 2 AA batteries or 3.3V regulator (see buying guide).
Program
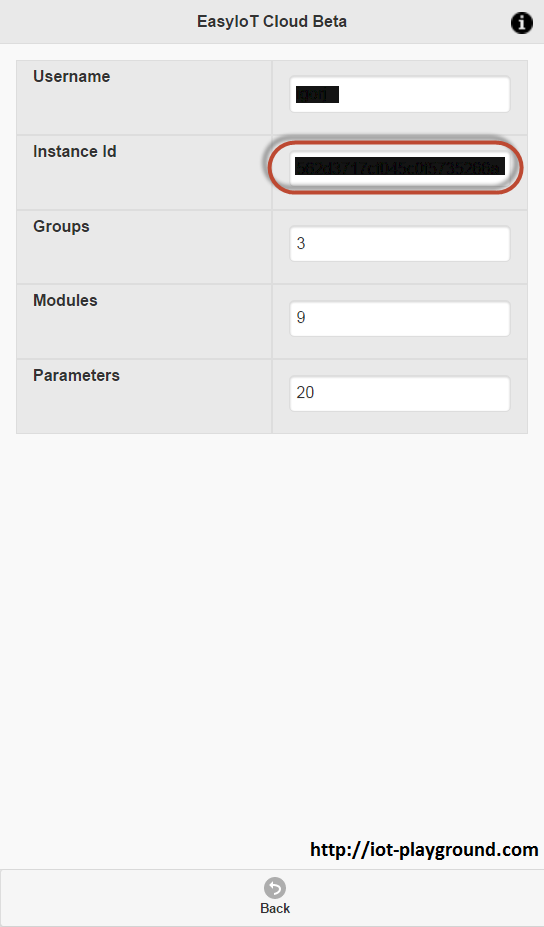
First we need to register to EasyIoT Cloud. After registration we do not need any other configuration, because sensor is "Plug and Play". We just need to remember Instance Id which is visible under Config->User Info.
Program is written in Arduino ESP8266 IDE. See Arduino ESP8266 IDE tutorial how to connect ESP8266 module to computer to upload program. Program is available at our GitHub. You will also need DHT22 library and REST API V1 library. Be sure to use library from our GitHub, because it's ported to Arduino ESP8266 IDE. In program change Access Point username and password and Instance Id. Instance Id is under Config->User Info.
// change those lines
#define AP_USERNAME "xxx"
#define AP_PASSWORD "xxx"
#define INSTANCE_ID "xxx"
If you are using Fahrenheit instead of Celsius use dht.toFarenheit(temp) function to report temperature in Fahrenheit.
Test
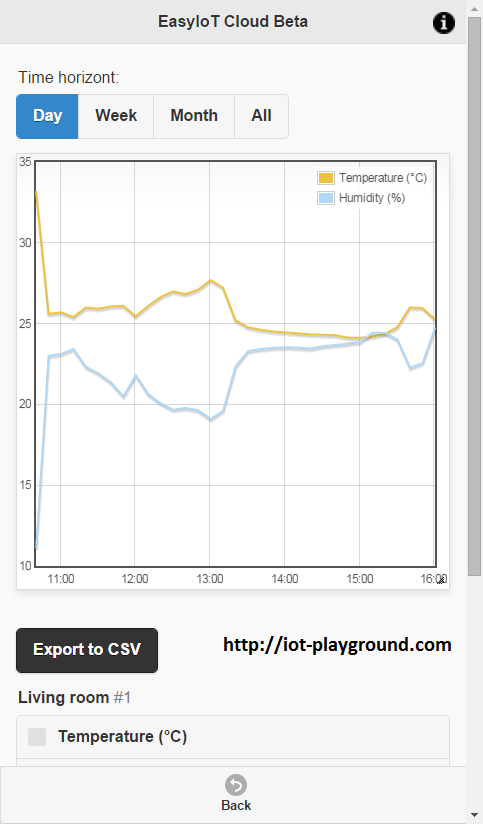.png)
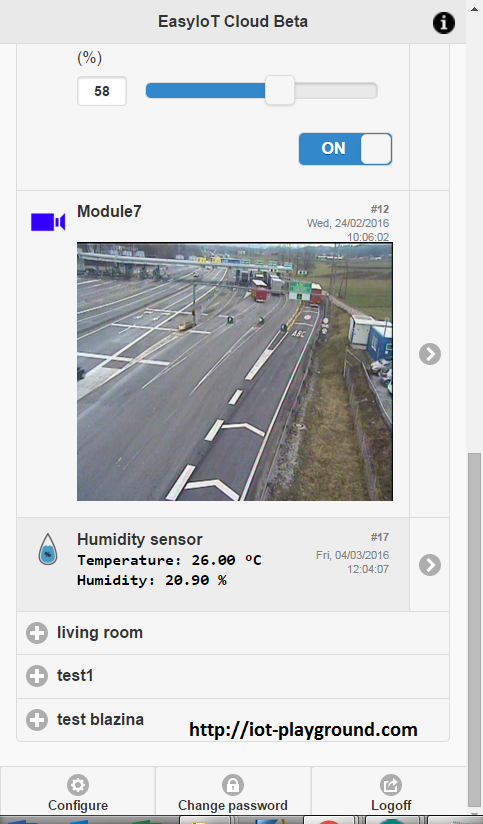
If you done everything right just power on your sensor and it will be automatically added to EasyIoT Cloud. Log in with your username and password, and you will see your sensor data.