ESP8266 Wi Fi Module Explain and Connection
by Matej Blagšič in Circuits > Wireless
760956 Views, 324 Favorites, 0 Comments
ESP8266 Wi Fi Module Explain and Connection
Hi.
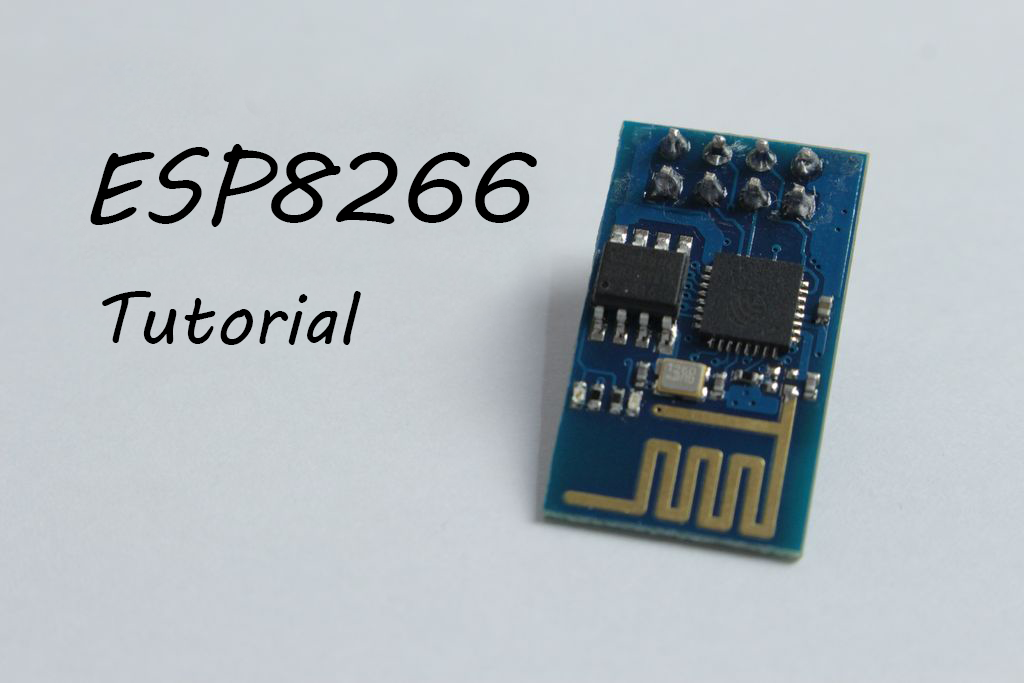
I am Matej and in this instructable I'm going to show you how to use the ESP8266 Wi-fi module. I know that there is a lot of videos and forums telling how to use this device, but none of them were colorfull or easy enaugh to understand. I also didn't manage to make the device work by following other's people steps. I hope that you will find this tutorial usefull.
I also apologize for any misspelling.
*A little update. As promised, I made another instructable. This is about much easier wireless comunication, the Bluetooth. I Combine Bluetooth AND ULTRASONIC SENSOR. I also used this in my car for a school project. Make sure to check that one out :) *
*UPDATE*
MAKE SURE YOU WATCH MY NEW INSTRUCTABLE ON AN ARDUINO WEATHER STATION WITH BLUETOOTH THAT WILL SOON CONTAIN ESP8266 AS I PROMISED I WILL DO A PROJECT WITH IT AND A WEATHER SERVER SOUNDS FANTASTIC.:
THE ESP8266
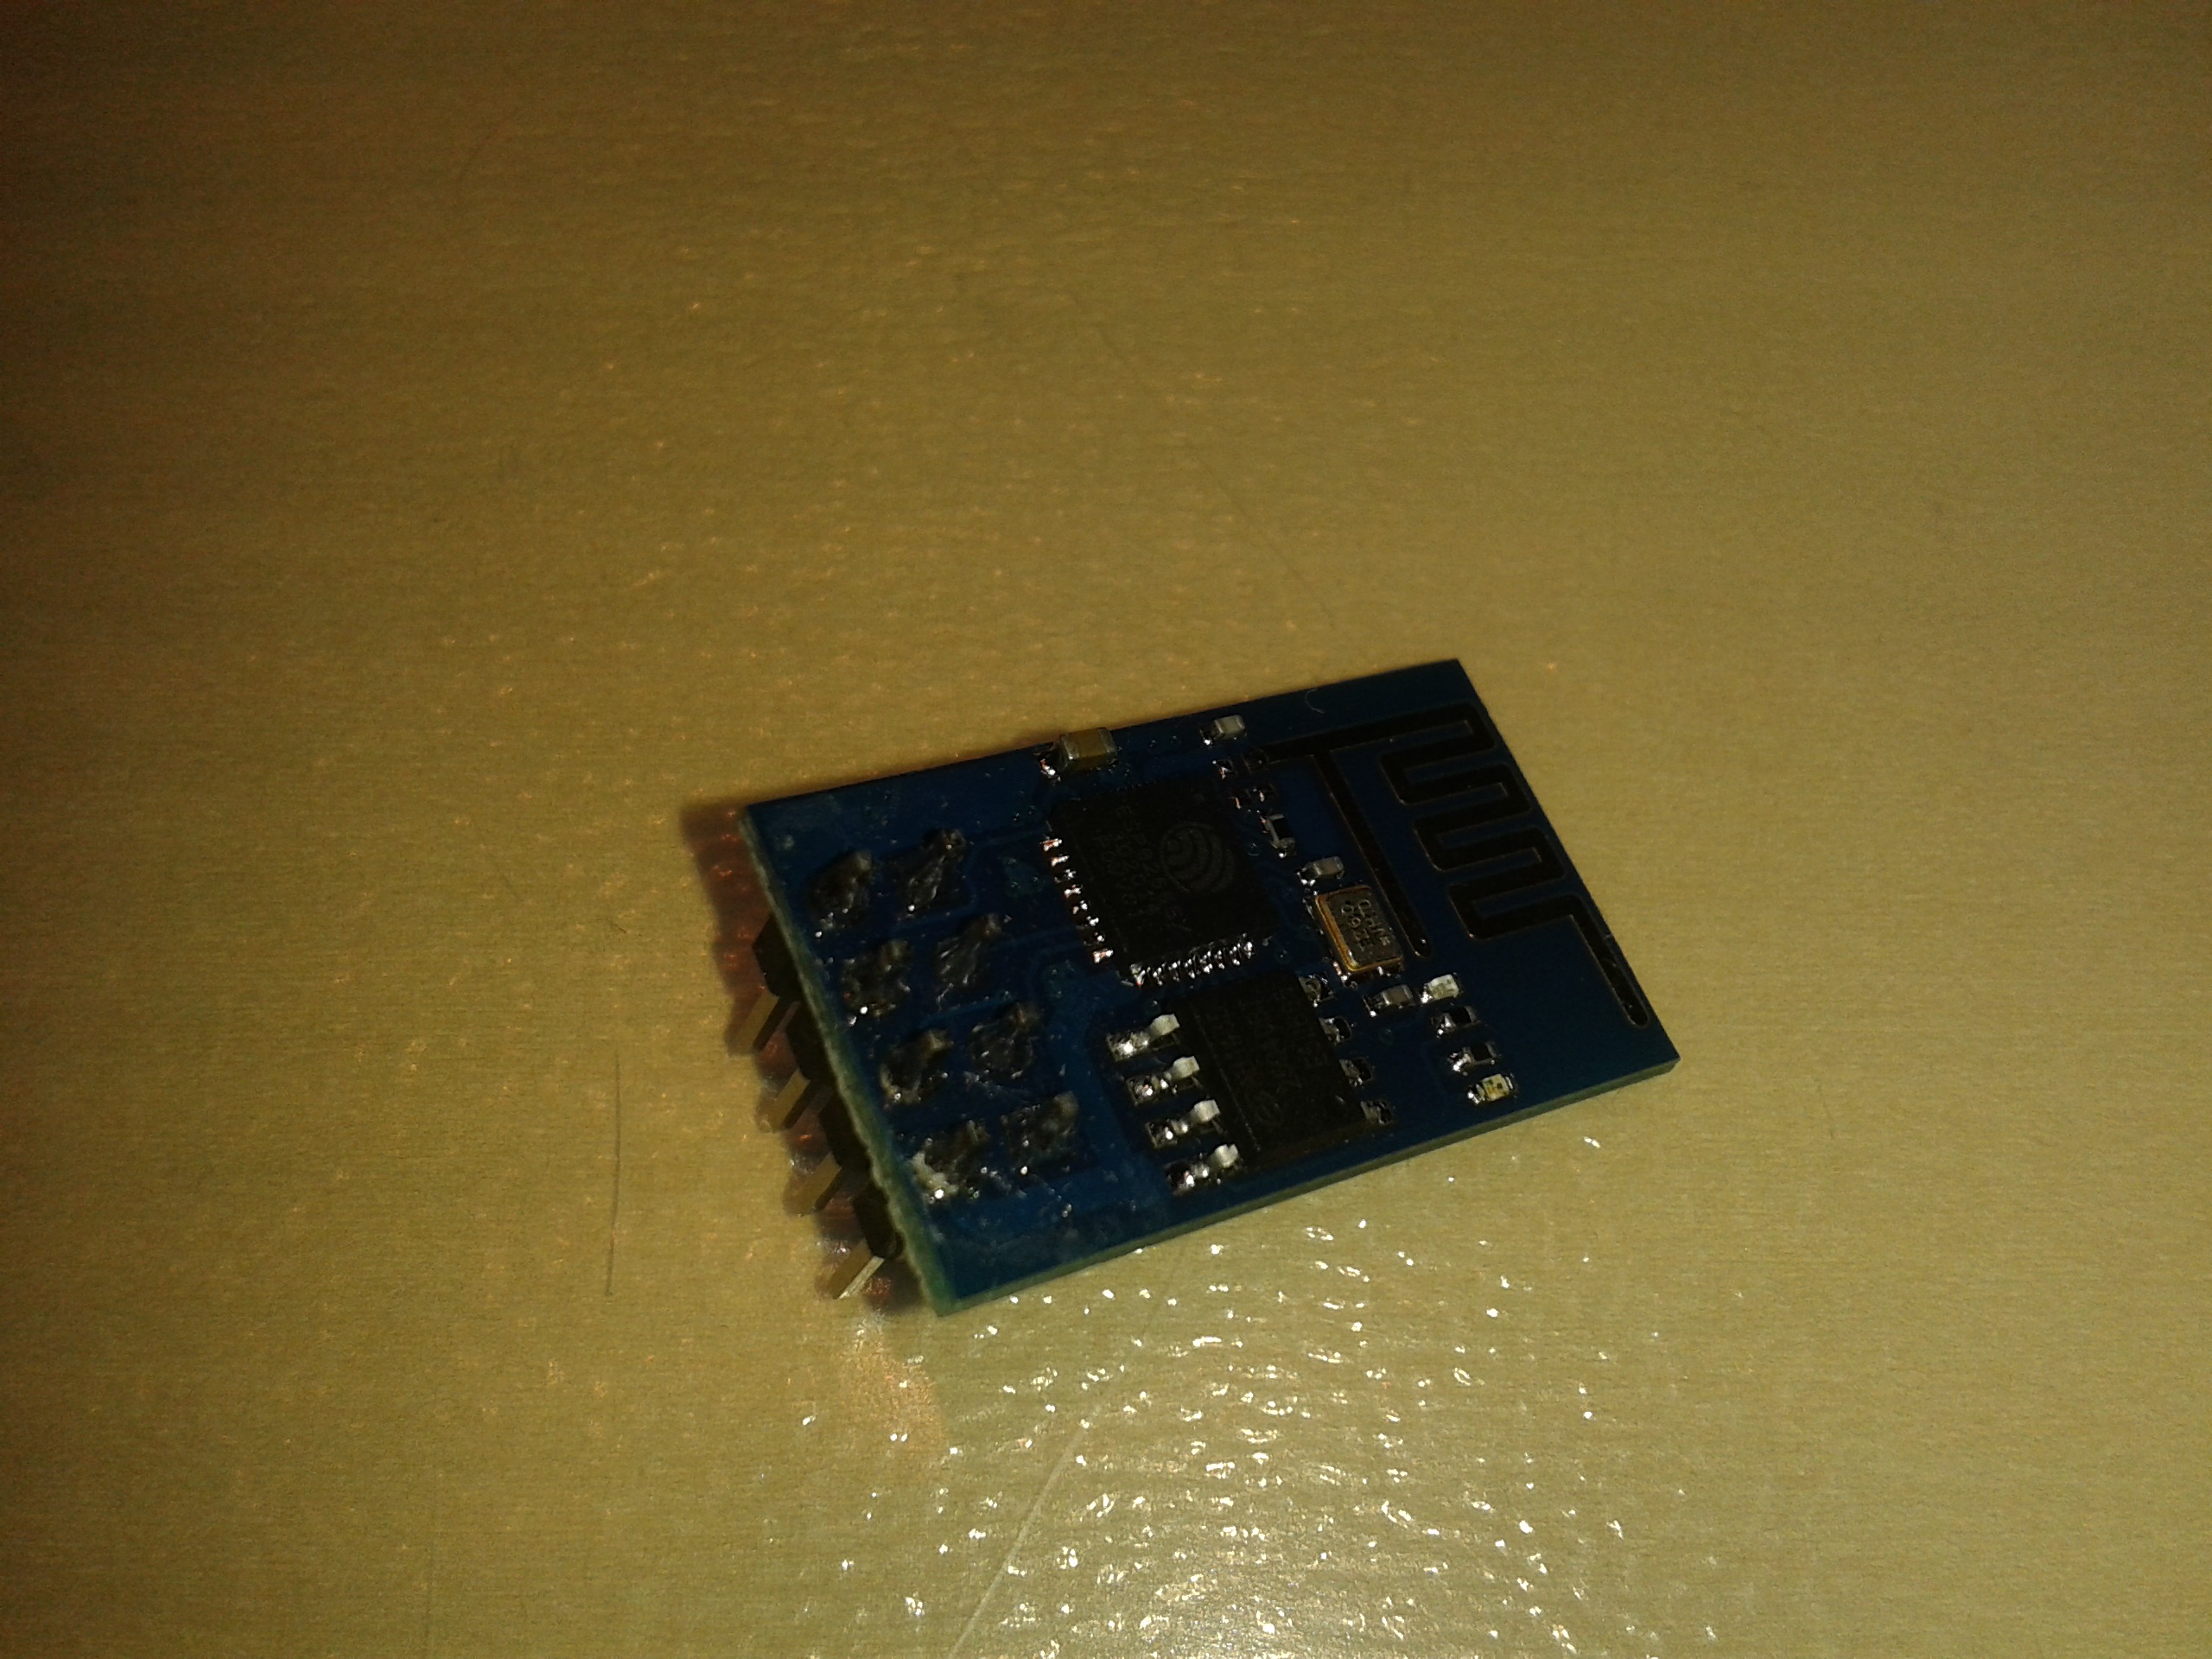
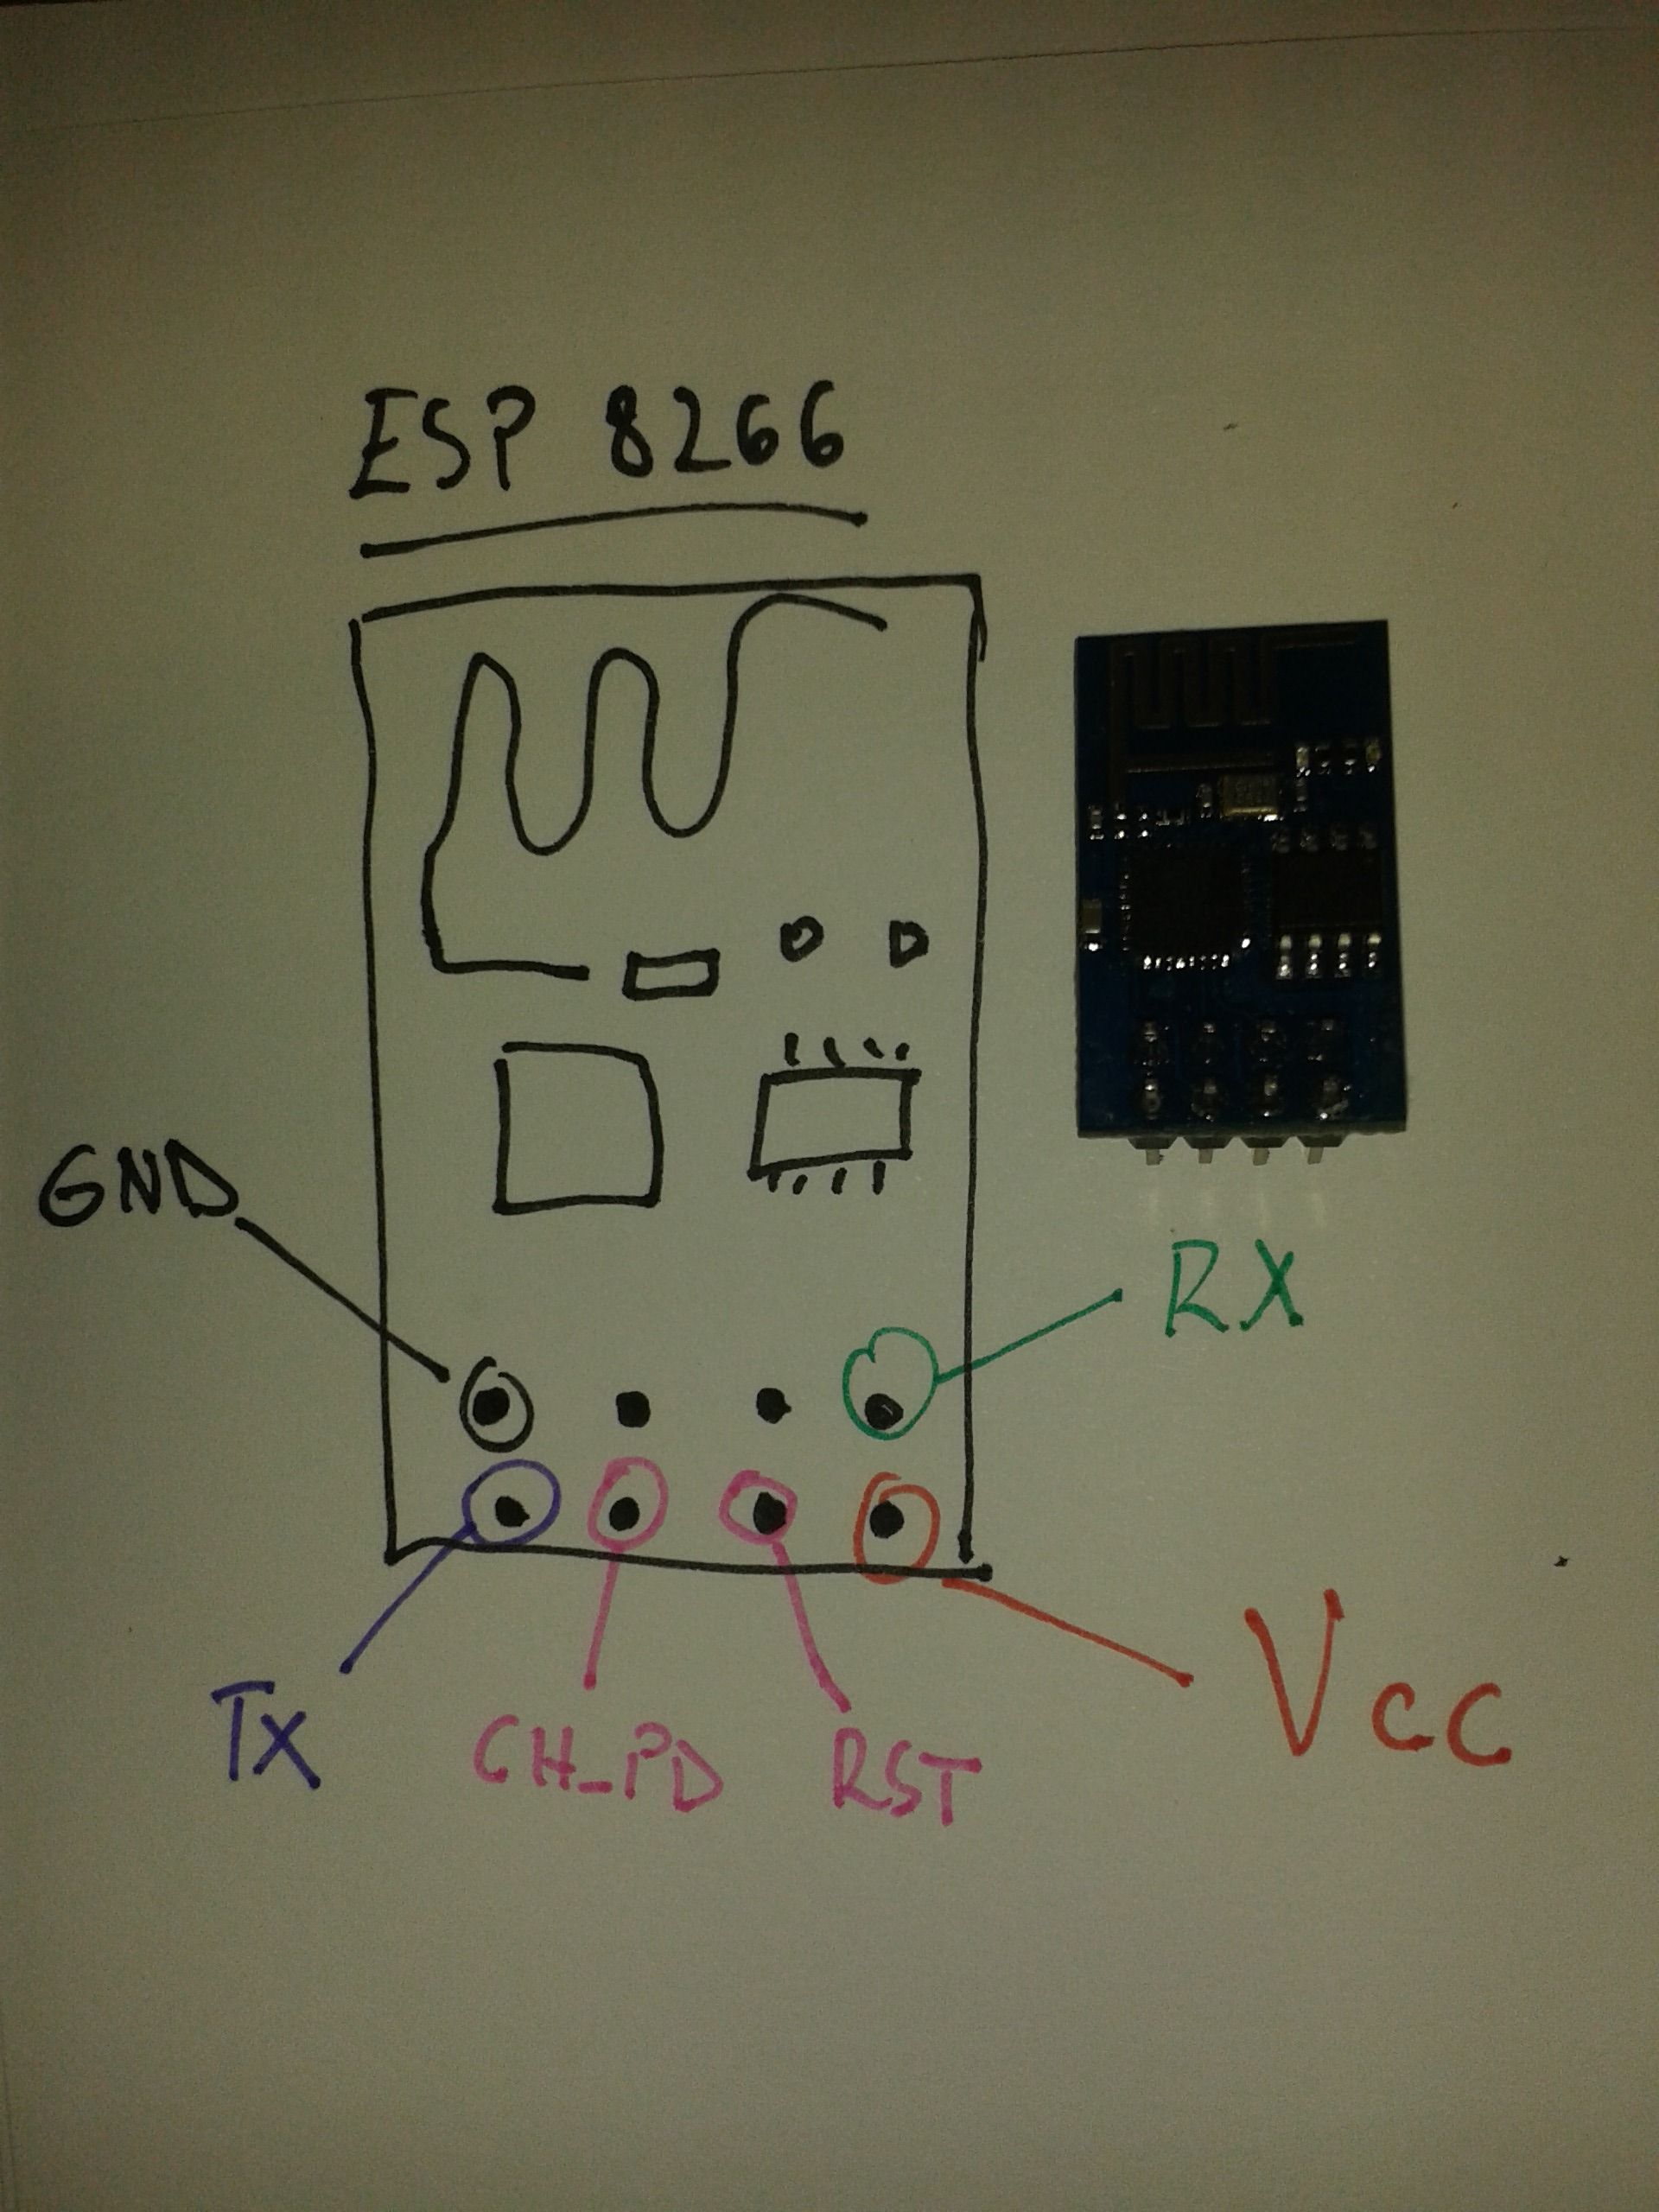
To make everything work, you need to understand what each part does and what is the pinout for that part.
I'll start with the ESP8266. As shown in the picture, ESP8266 has 8 pins, 4 in the row of 2. The first pin on the top left is GND. The two pins right from the GND are GPIO 2 and 0. I'm not going to use these pins, as they are not impirtant for the operation. The pin on the top right side is the RX pin and the pin on the lower left is TX. These are the pins for comunication. The middle pins on the bottom are CH_PD(chip power-down) and RST(reset).
The main thing to remember is, that this device works with 3.3V;even the RX and TX pins. Arduino or many USB to serial converters work with 5V. The solution for this project is in the next step.
THE FTDI232R
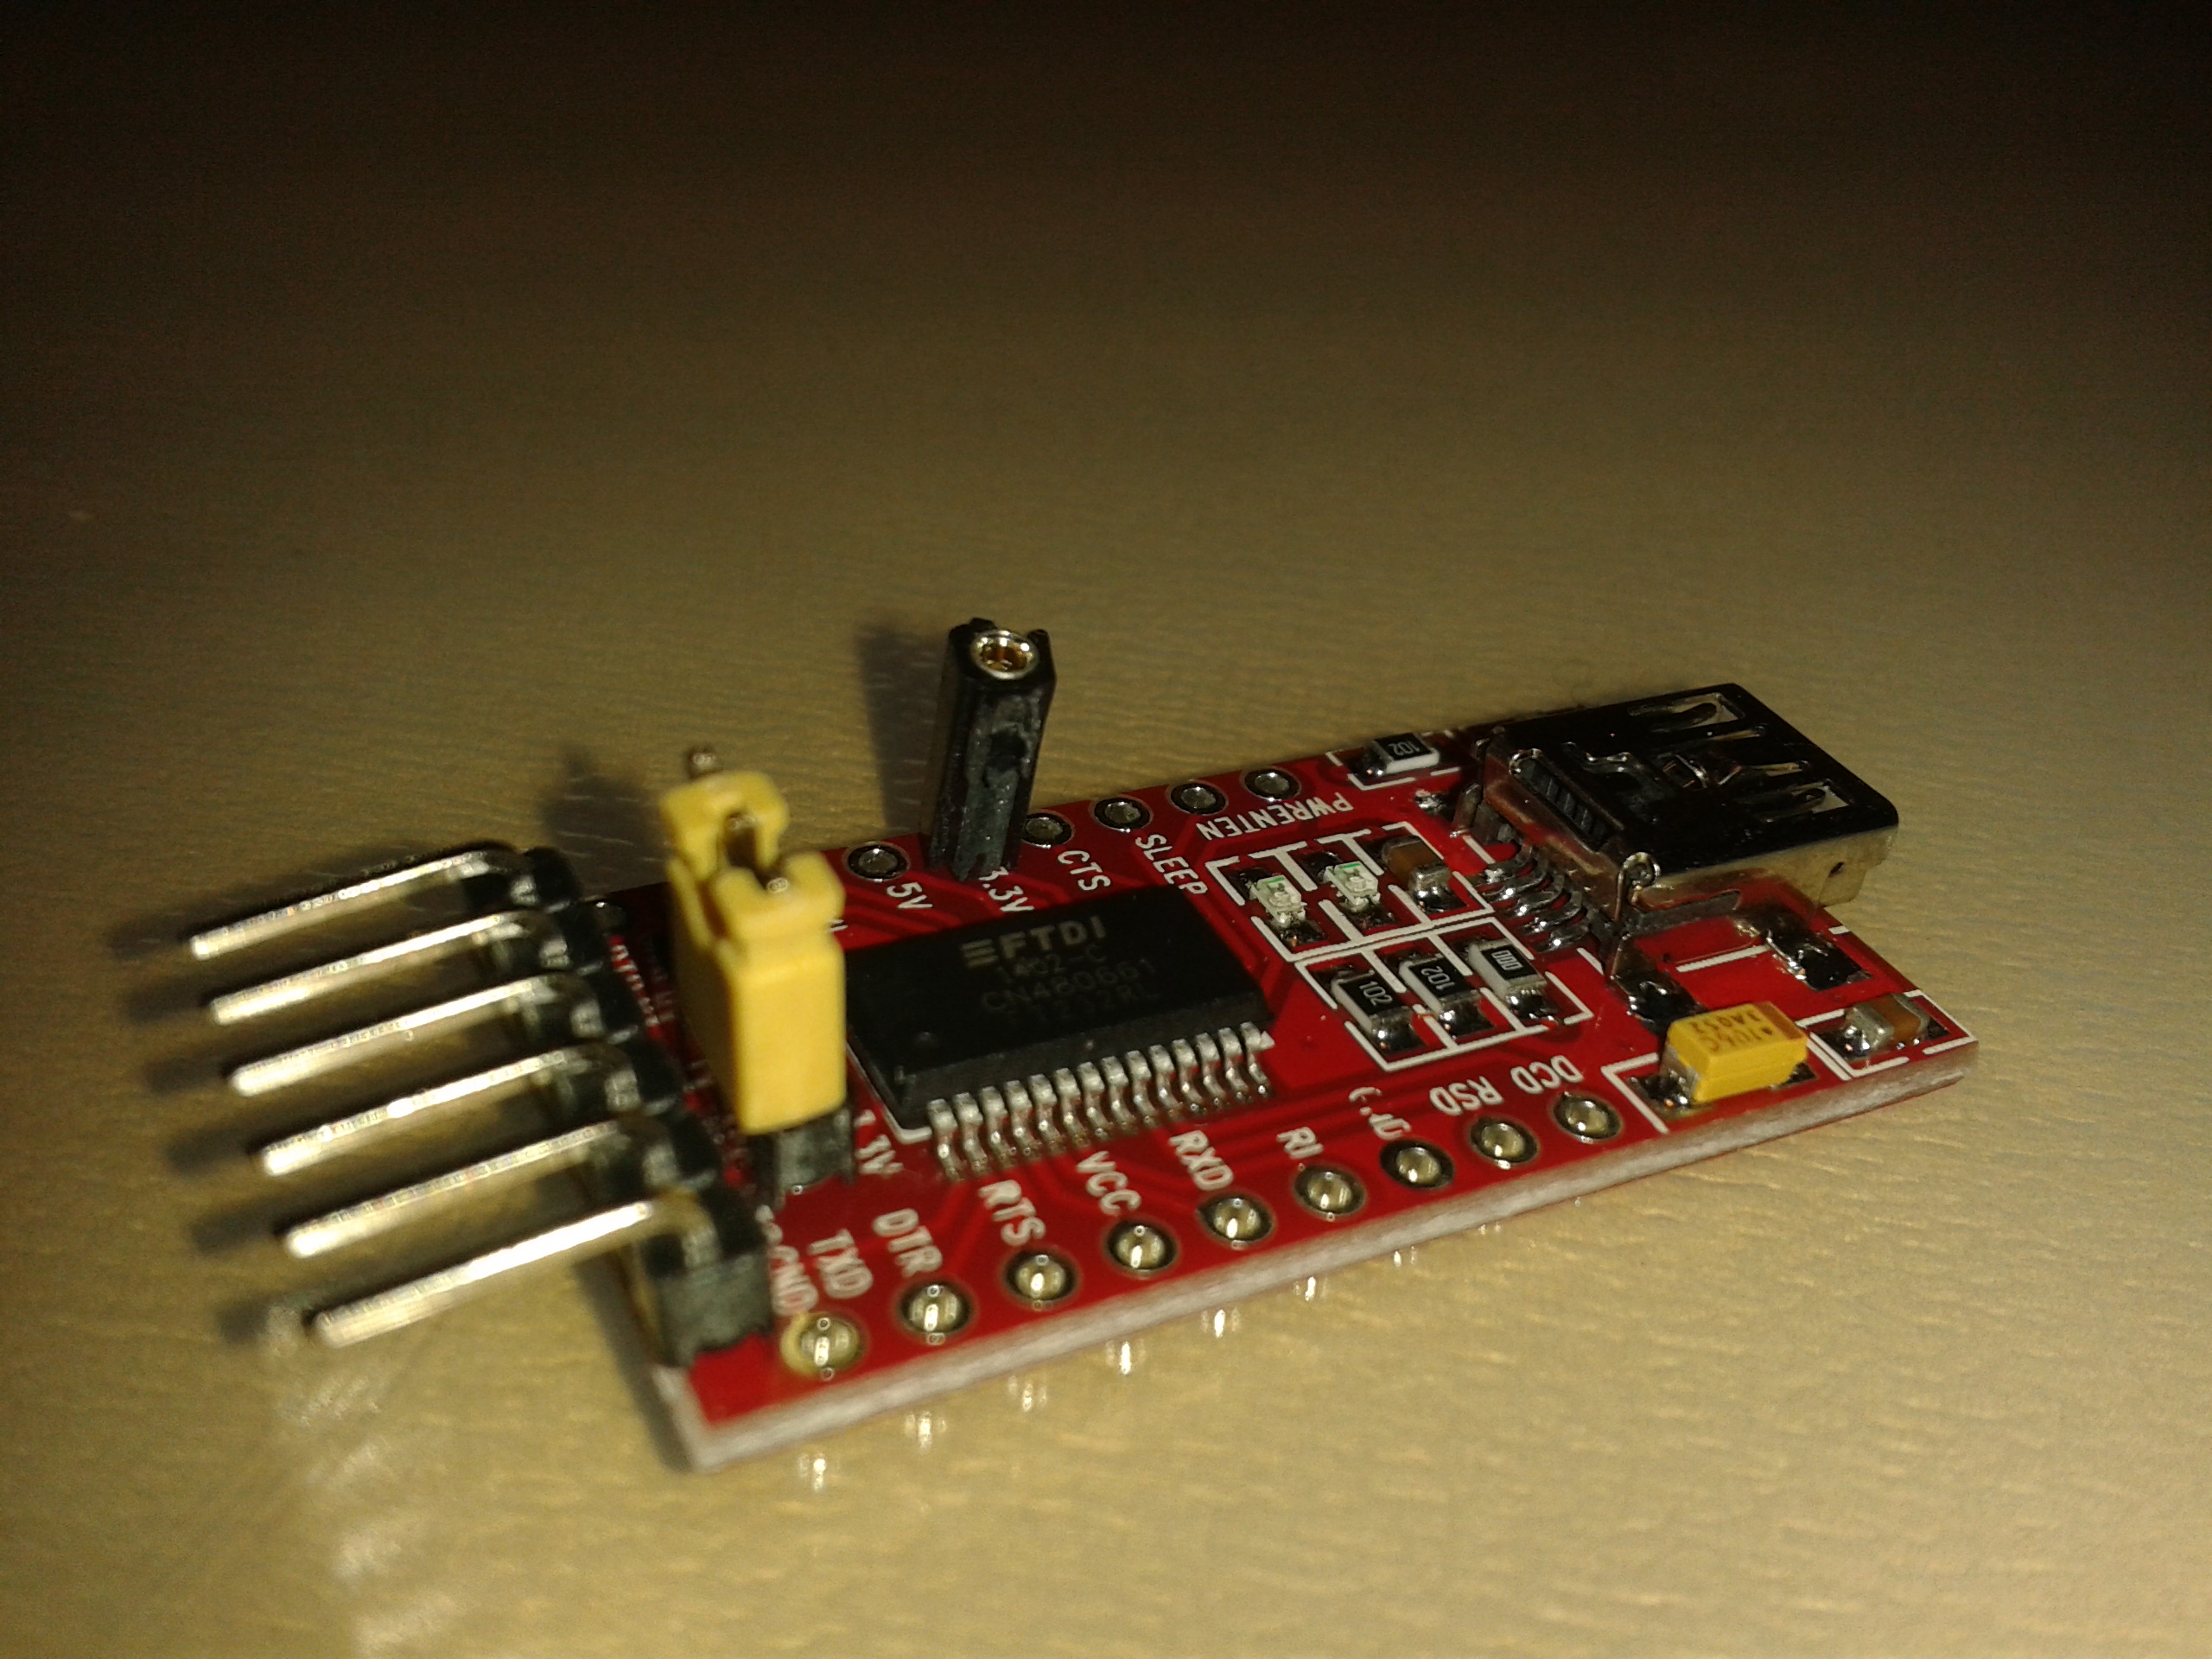
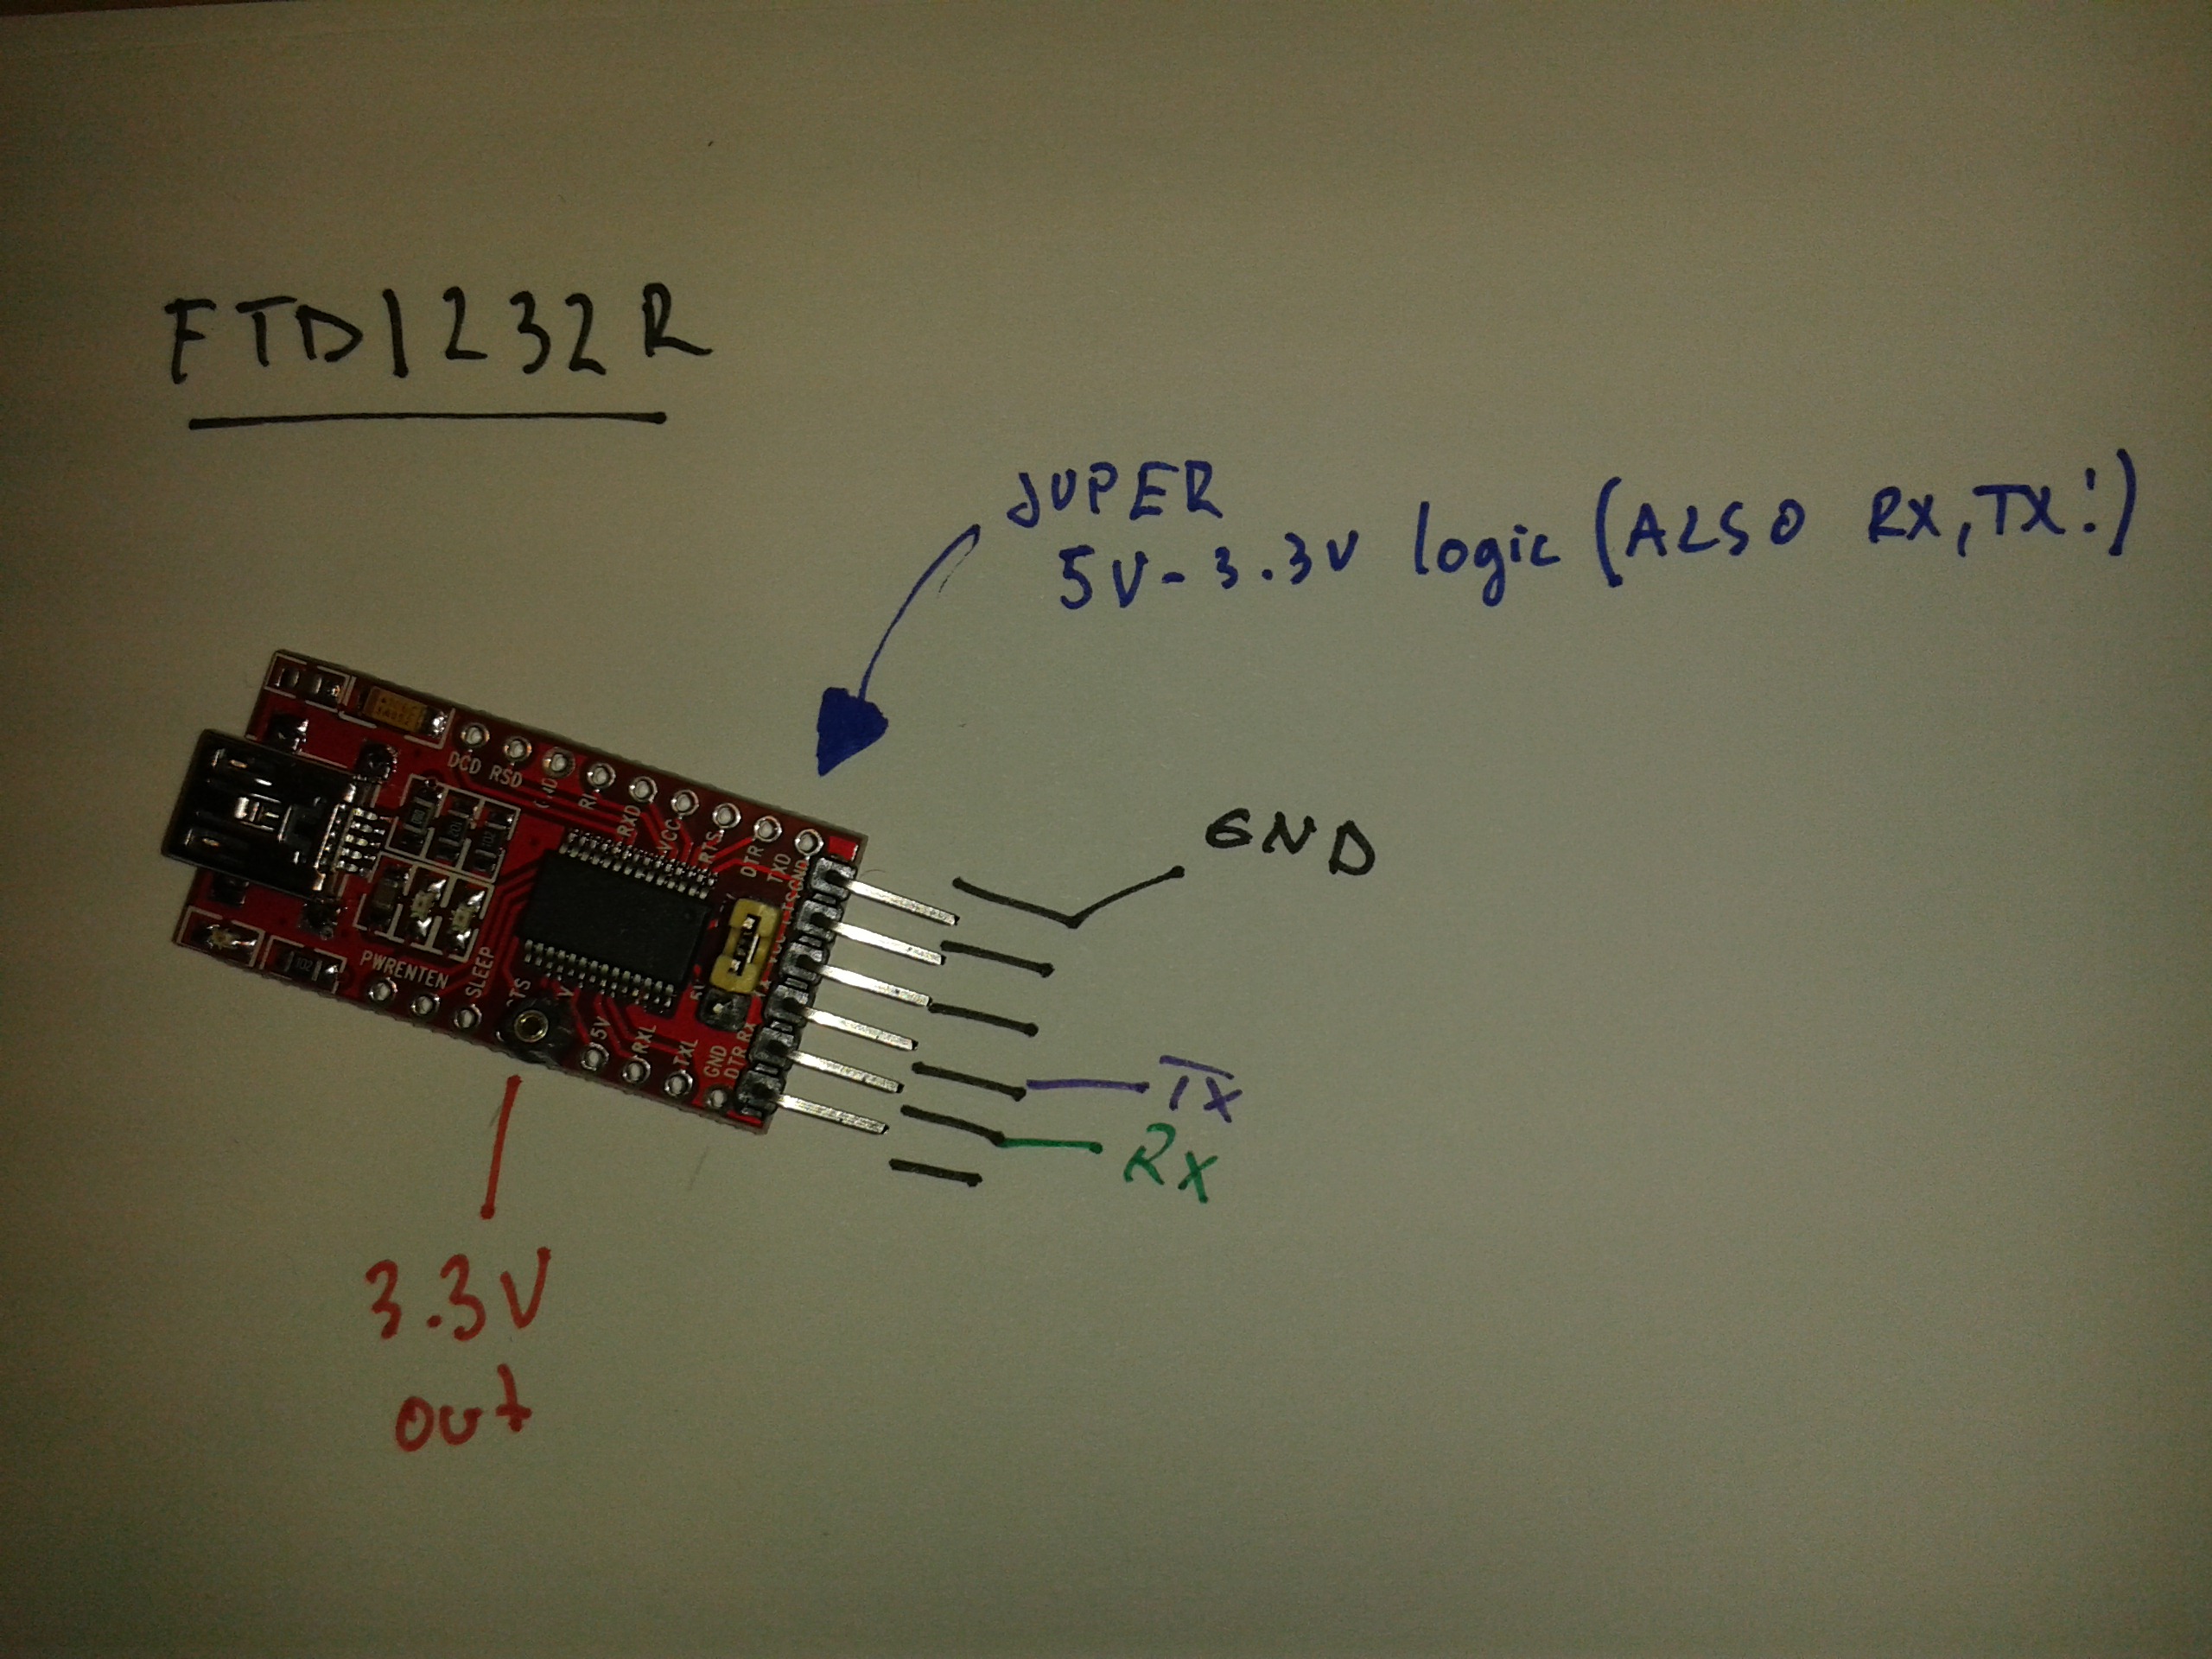
For this project I used this FTDI232R module. I bought it from ebay to have a reliable USB to serial converter. I didn't noticed it when I bought this part, but when I got it I saw, that it has a jumper to switch the operation from 5V to 3.3V. This makes everything easy, as we can connect the two parts together as it will be shown in the later picture.
I also soldered an extra connector for the 3.3V power to make connecting easy.
If your device doesn't have this option, than I will tell you how to work with 5v devices in the next few steps.
(I bought this ft232r and came in a nice package http://www.ebay.com/itm/400800529480?ru=http%3A%2F%2Fwww.ebay.com%2Fsch%2Fm.html%3F_ssn%3Dsseariver2009%26_armrs%3D1%26_from%3DR40%26_sacat%3D0%26_nkw%3D400800529480%26_rdc%3D1 )
CONNECTING THE PARTS TOGETHER
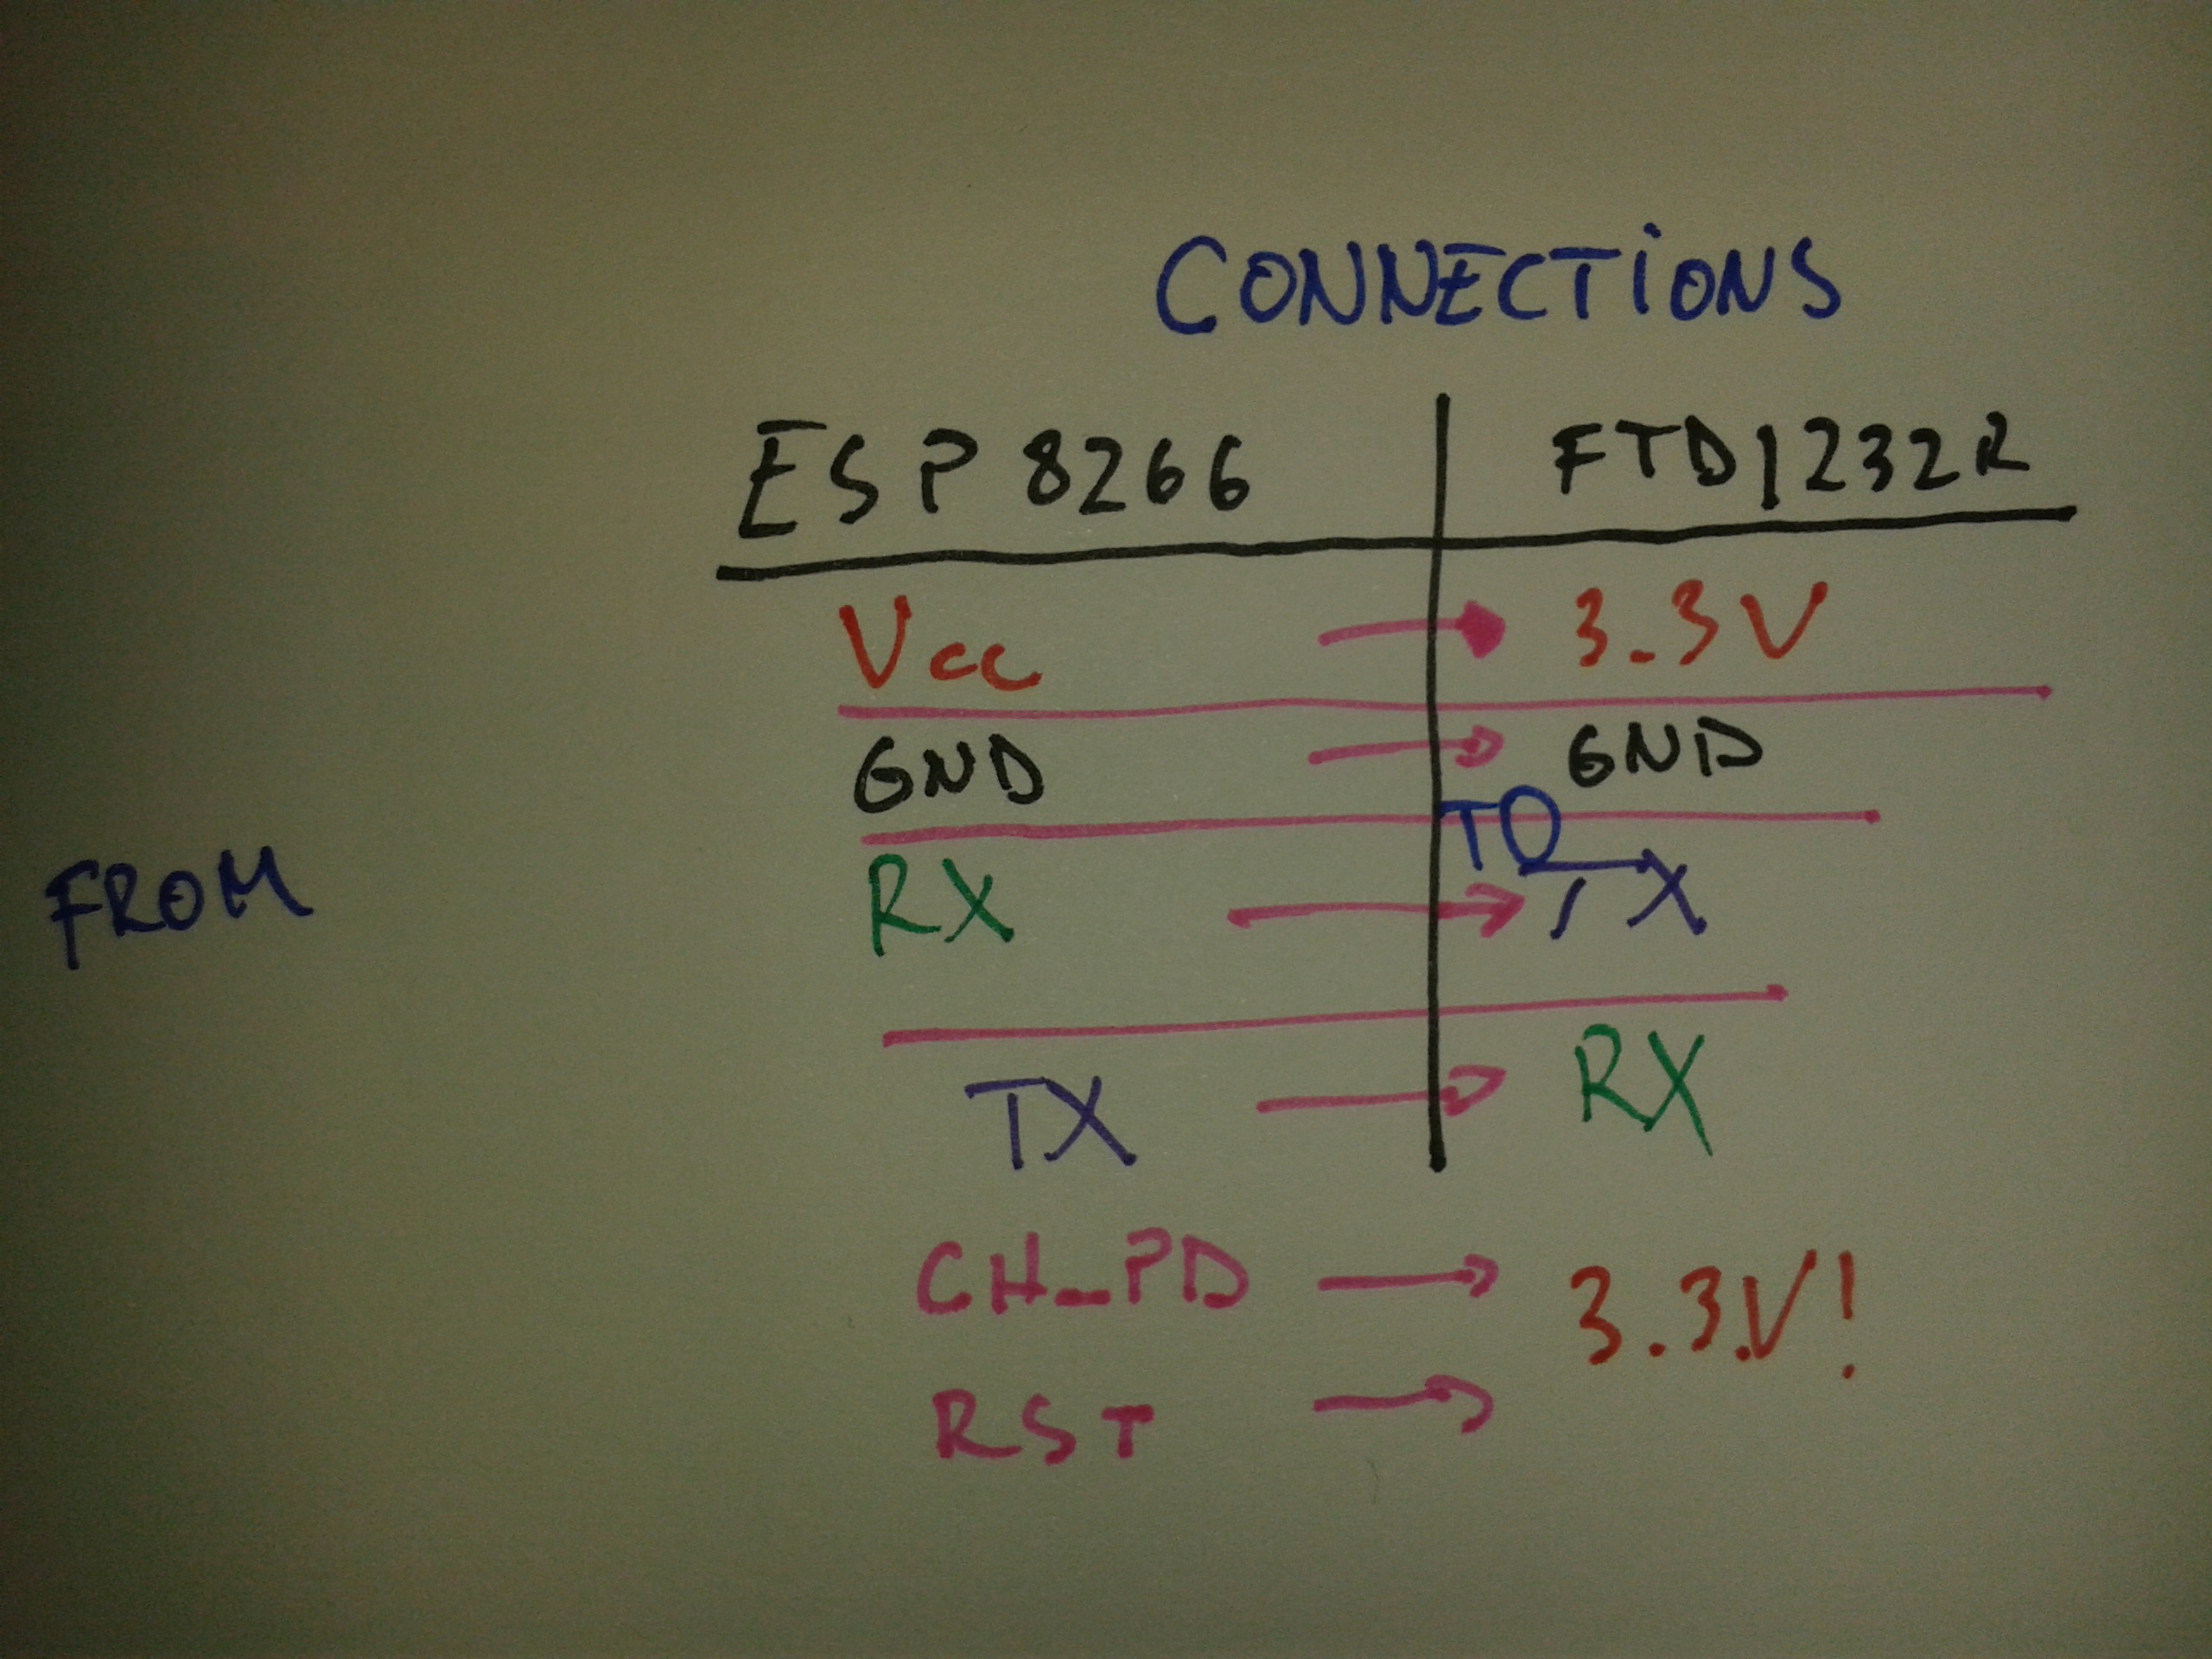
The picture shows how to connect the two parts together.
The CH_PD and the RST pins must be high(connected to 3.3V) to have a normal operation.
If you have any questions about the connections or that your part isn't working, write in the comments :)
A Little Bit of Hardware
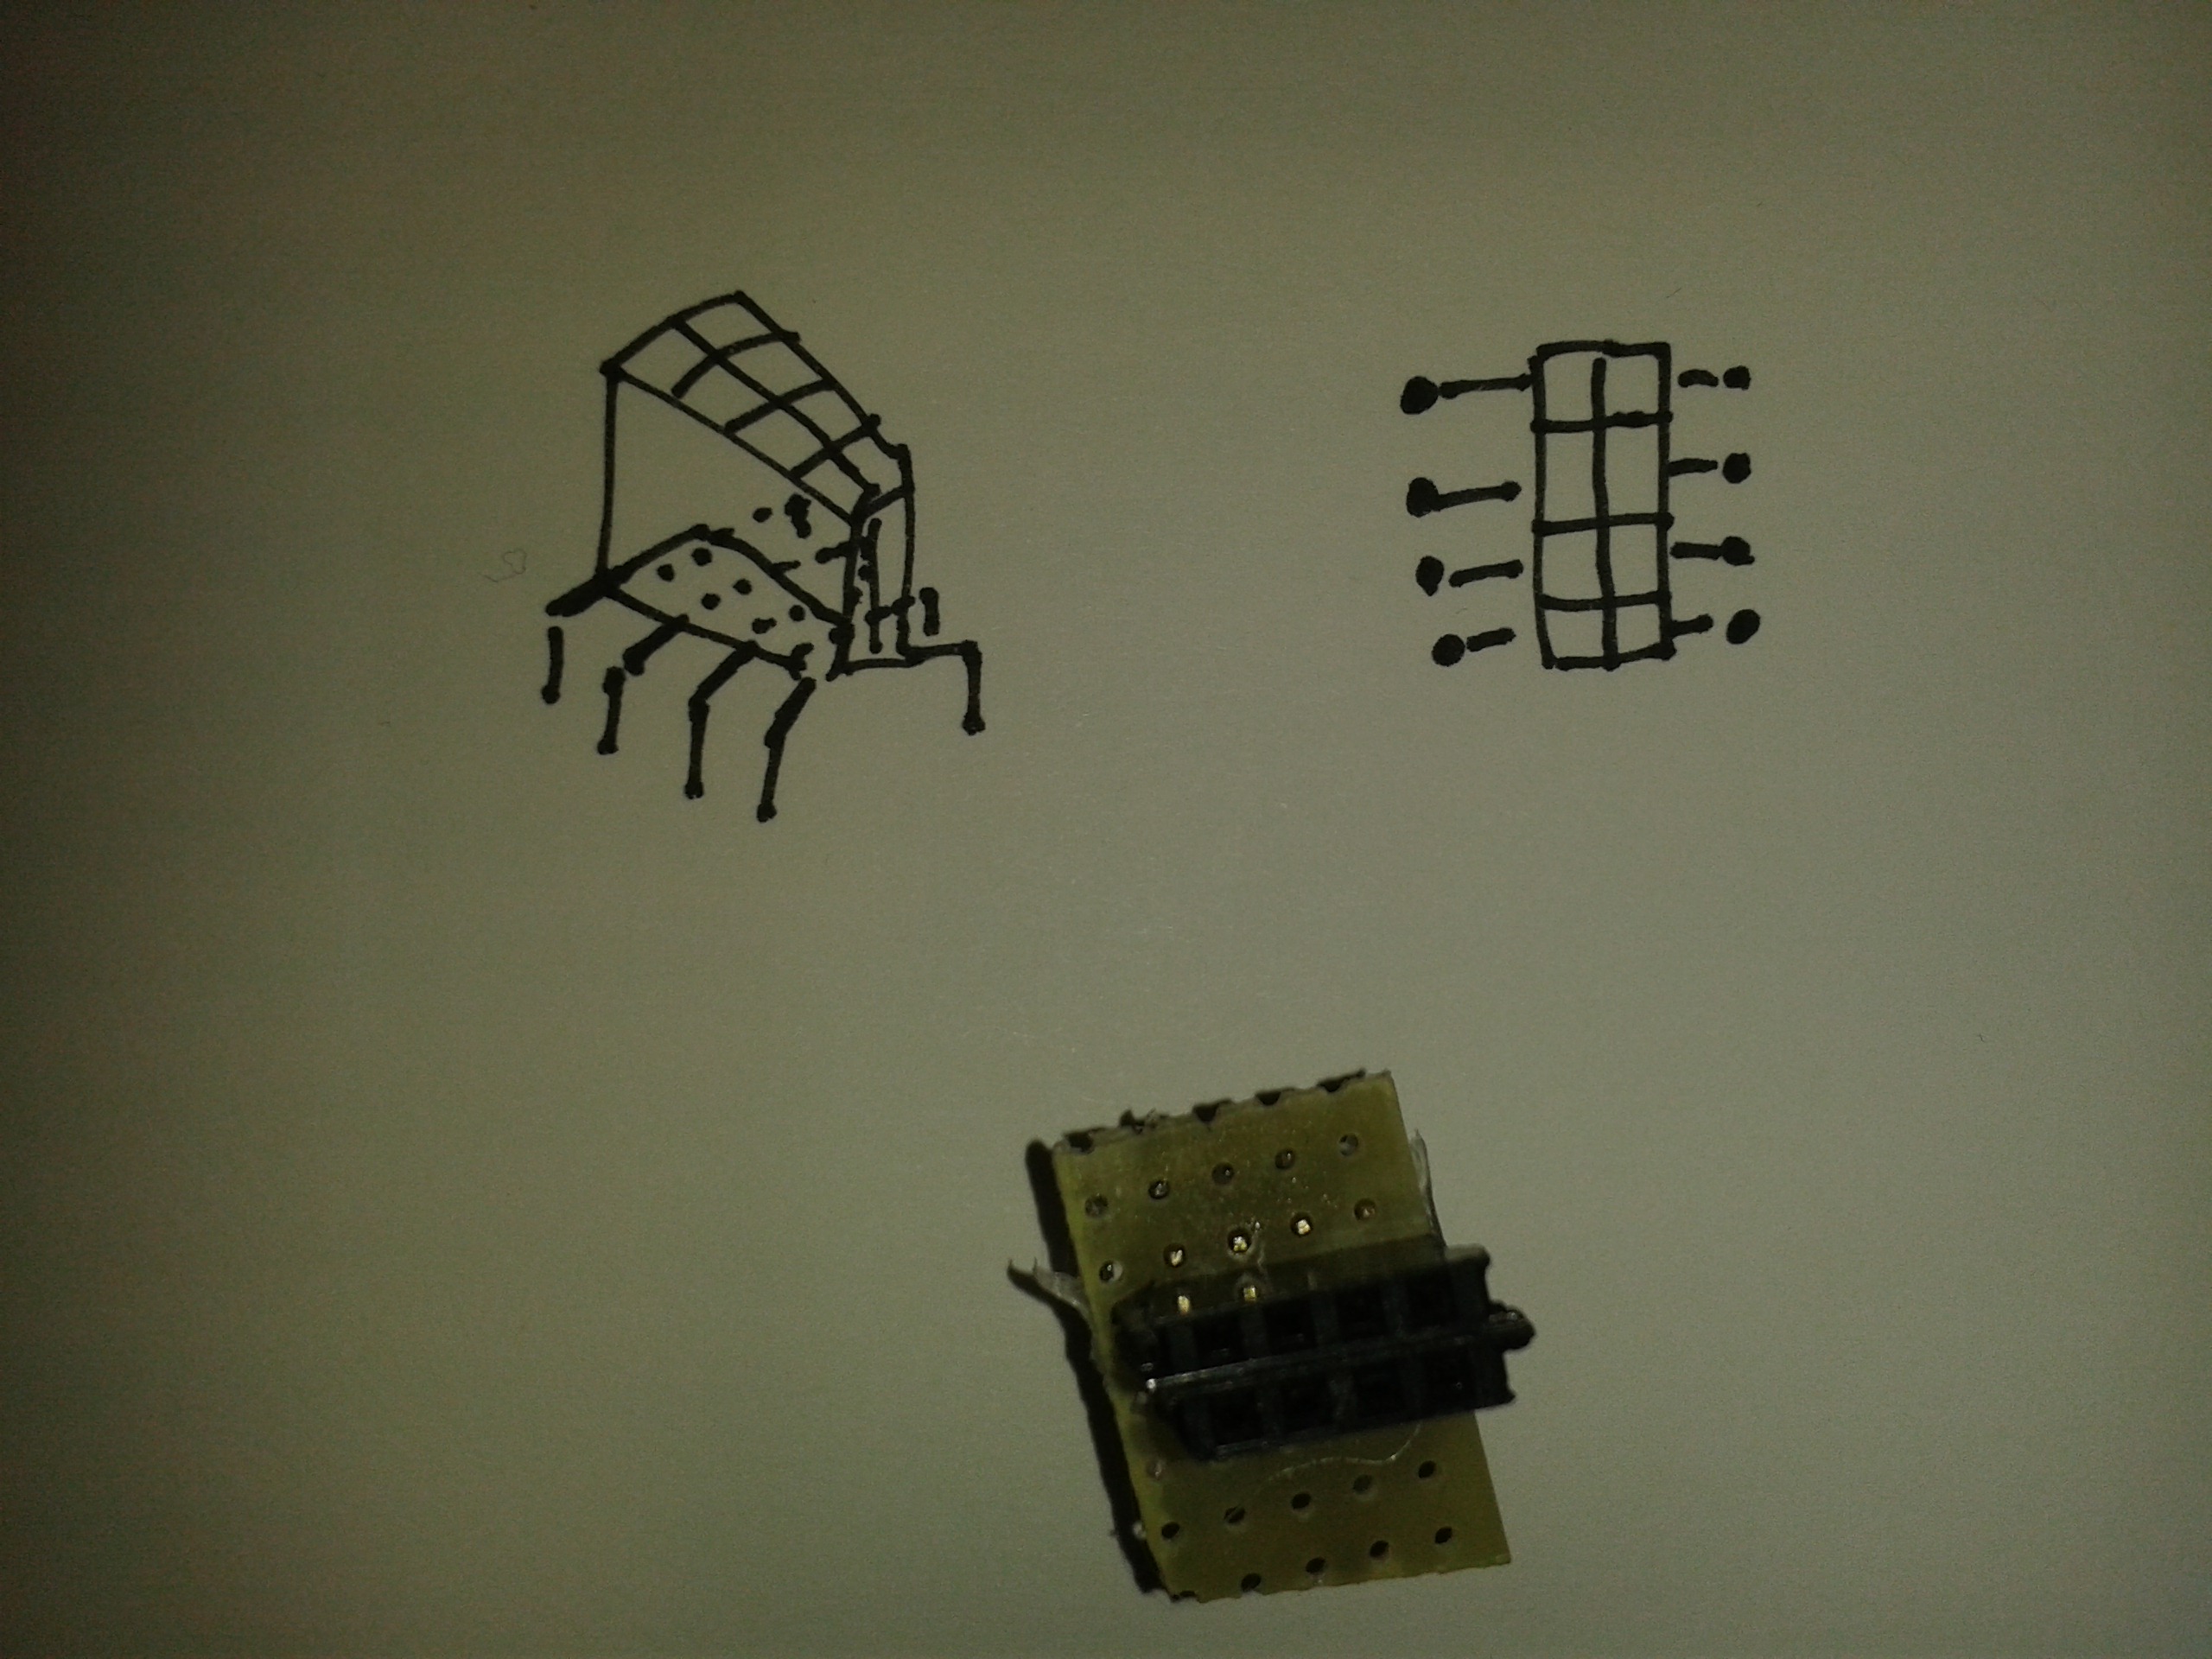
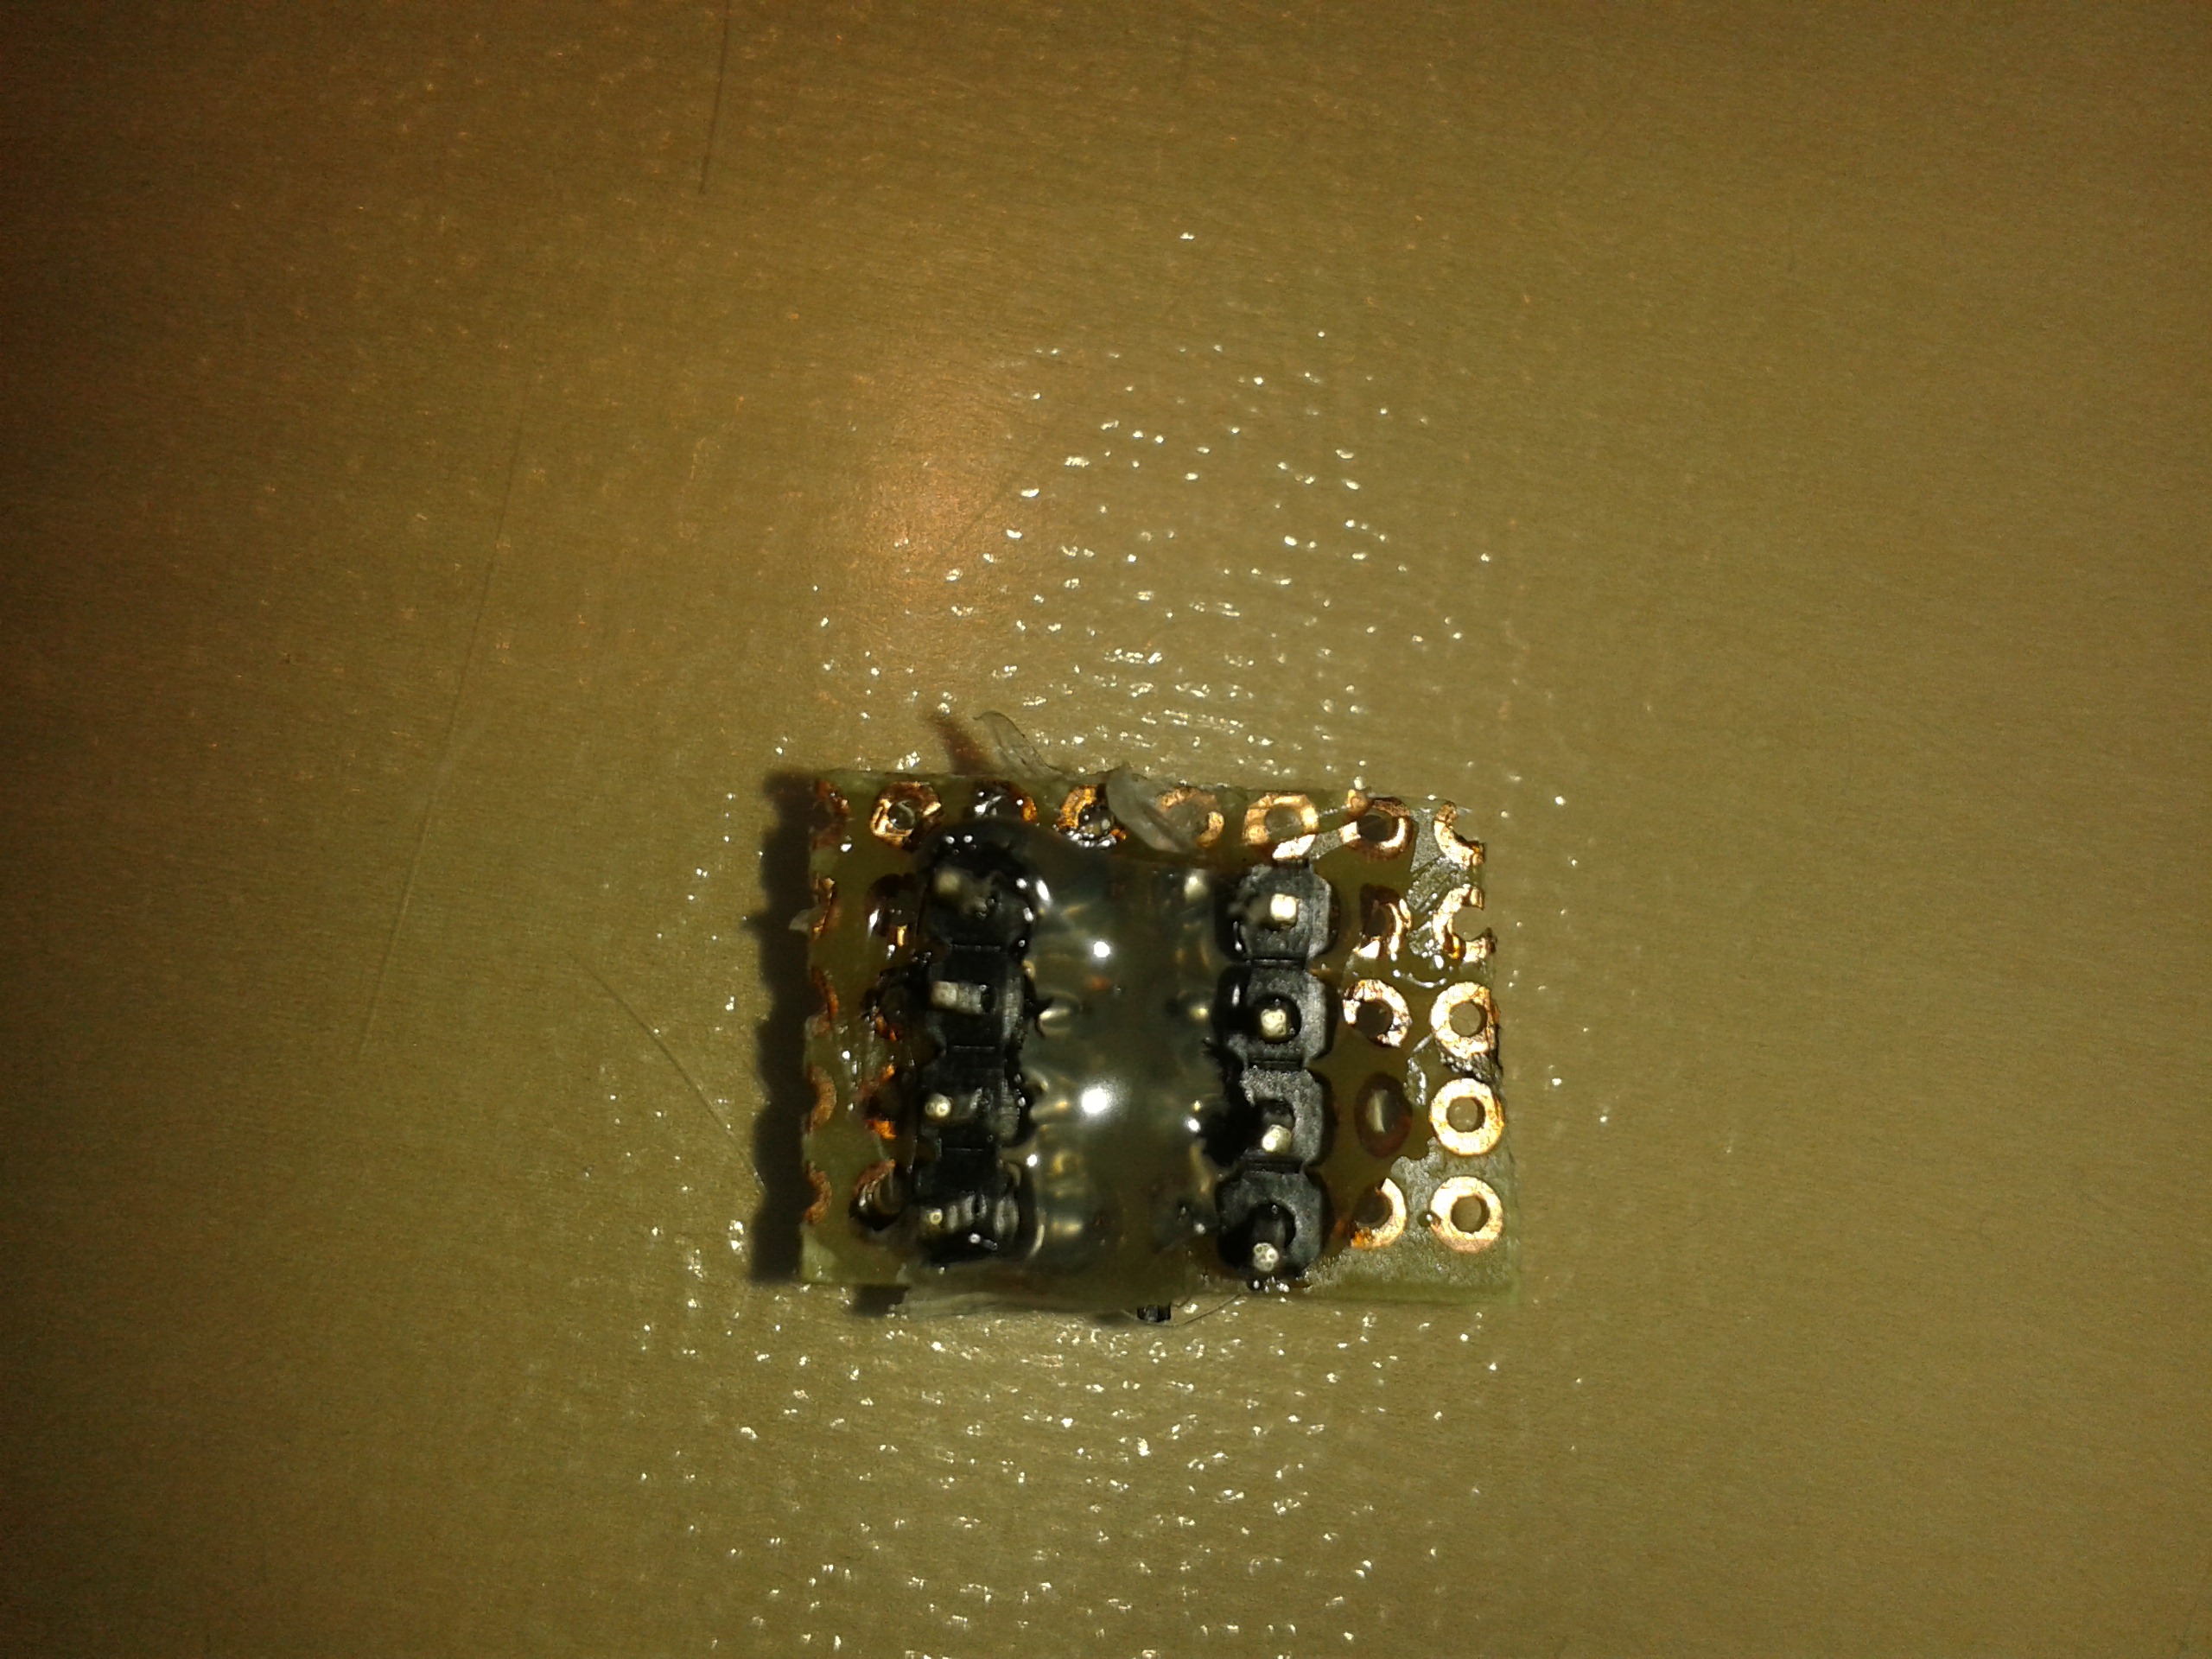
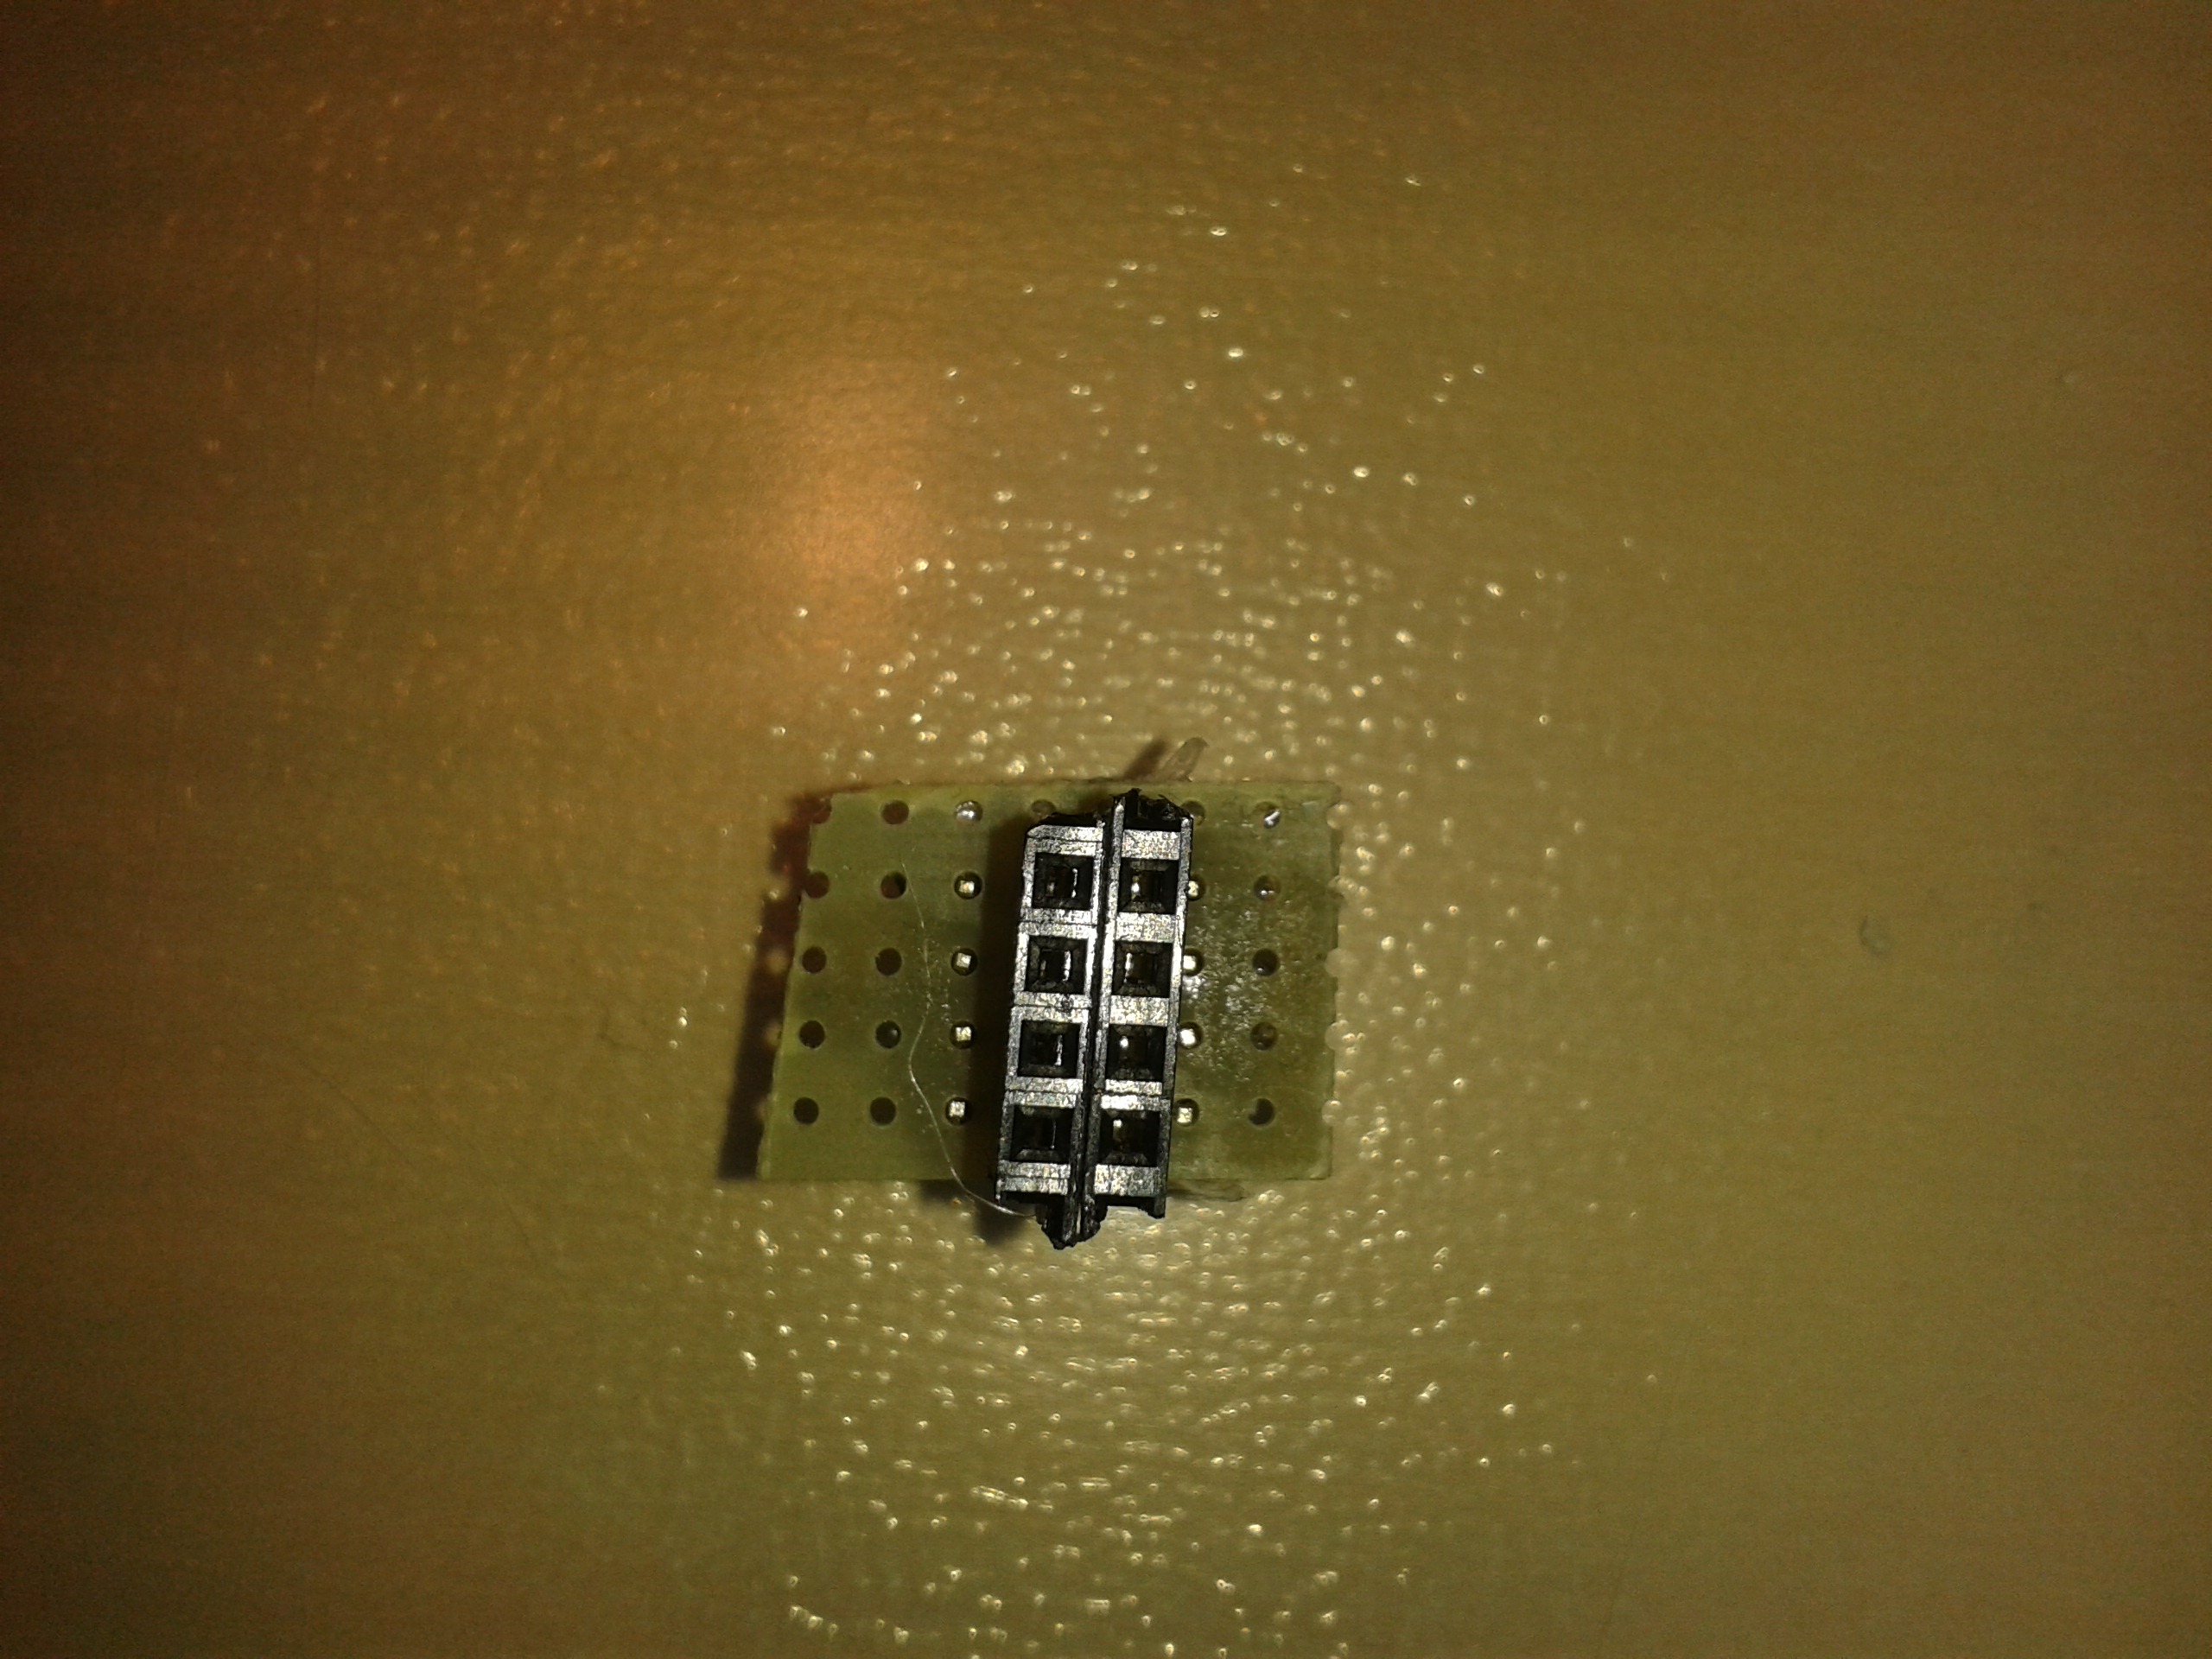
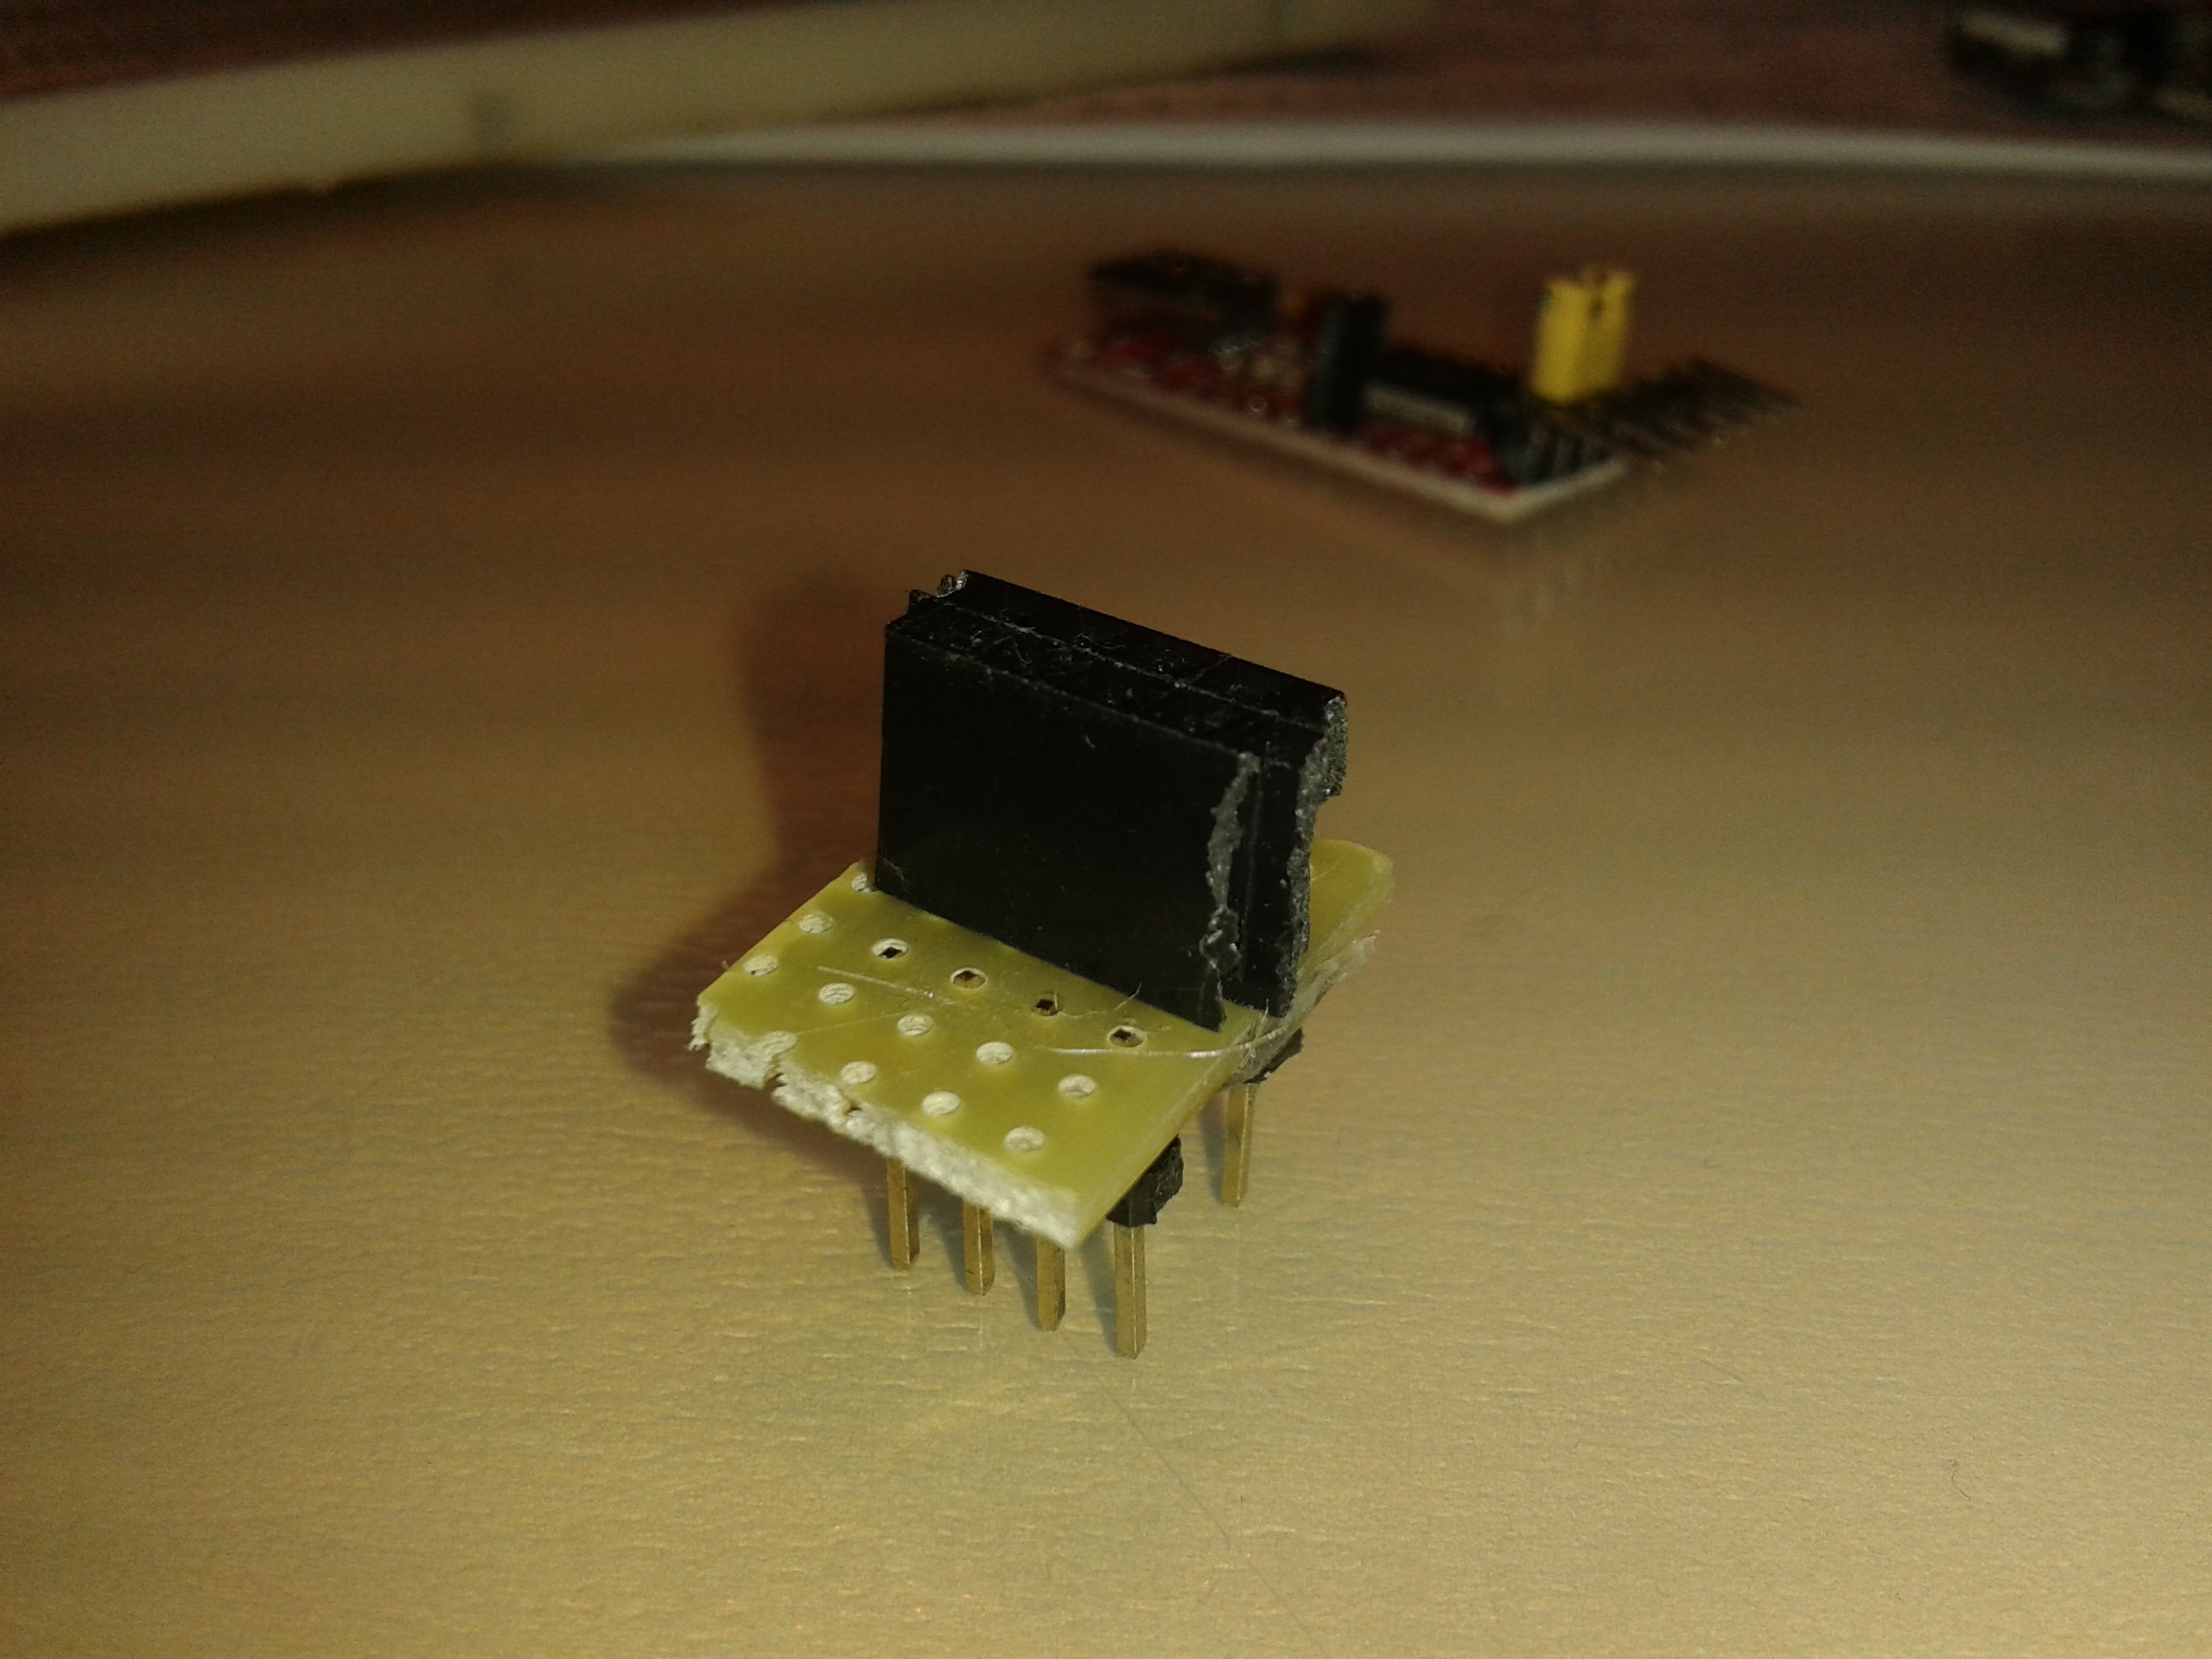
As you have already noticed, those 8 pins of the ESP8266 are not breadboard friendly. So that's why I made an adapter with female and male headers. I hope that the pictures describe it well.
Connecting to the Computer
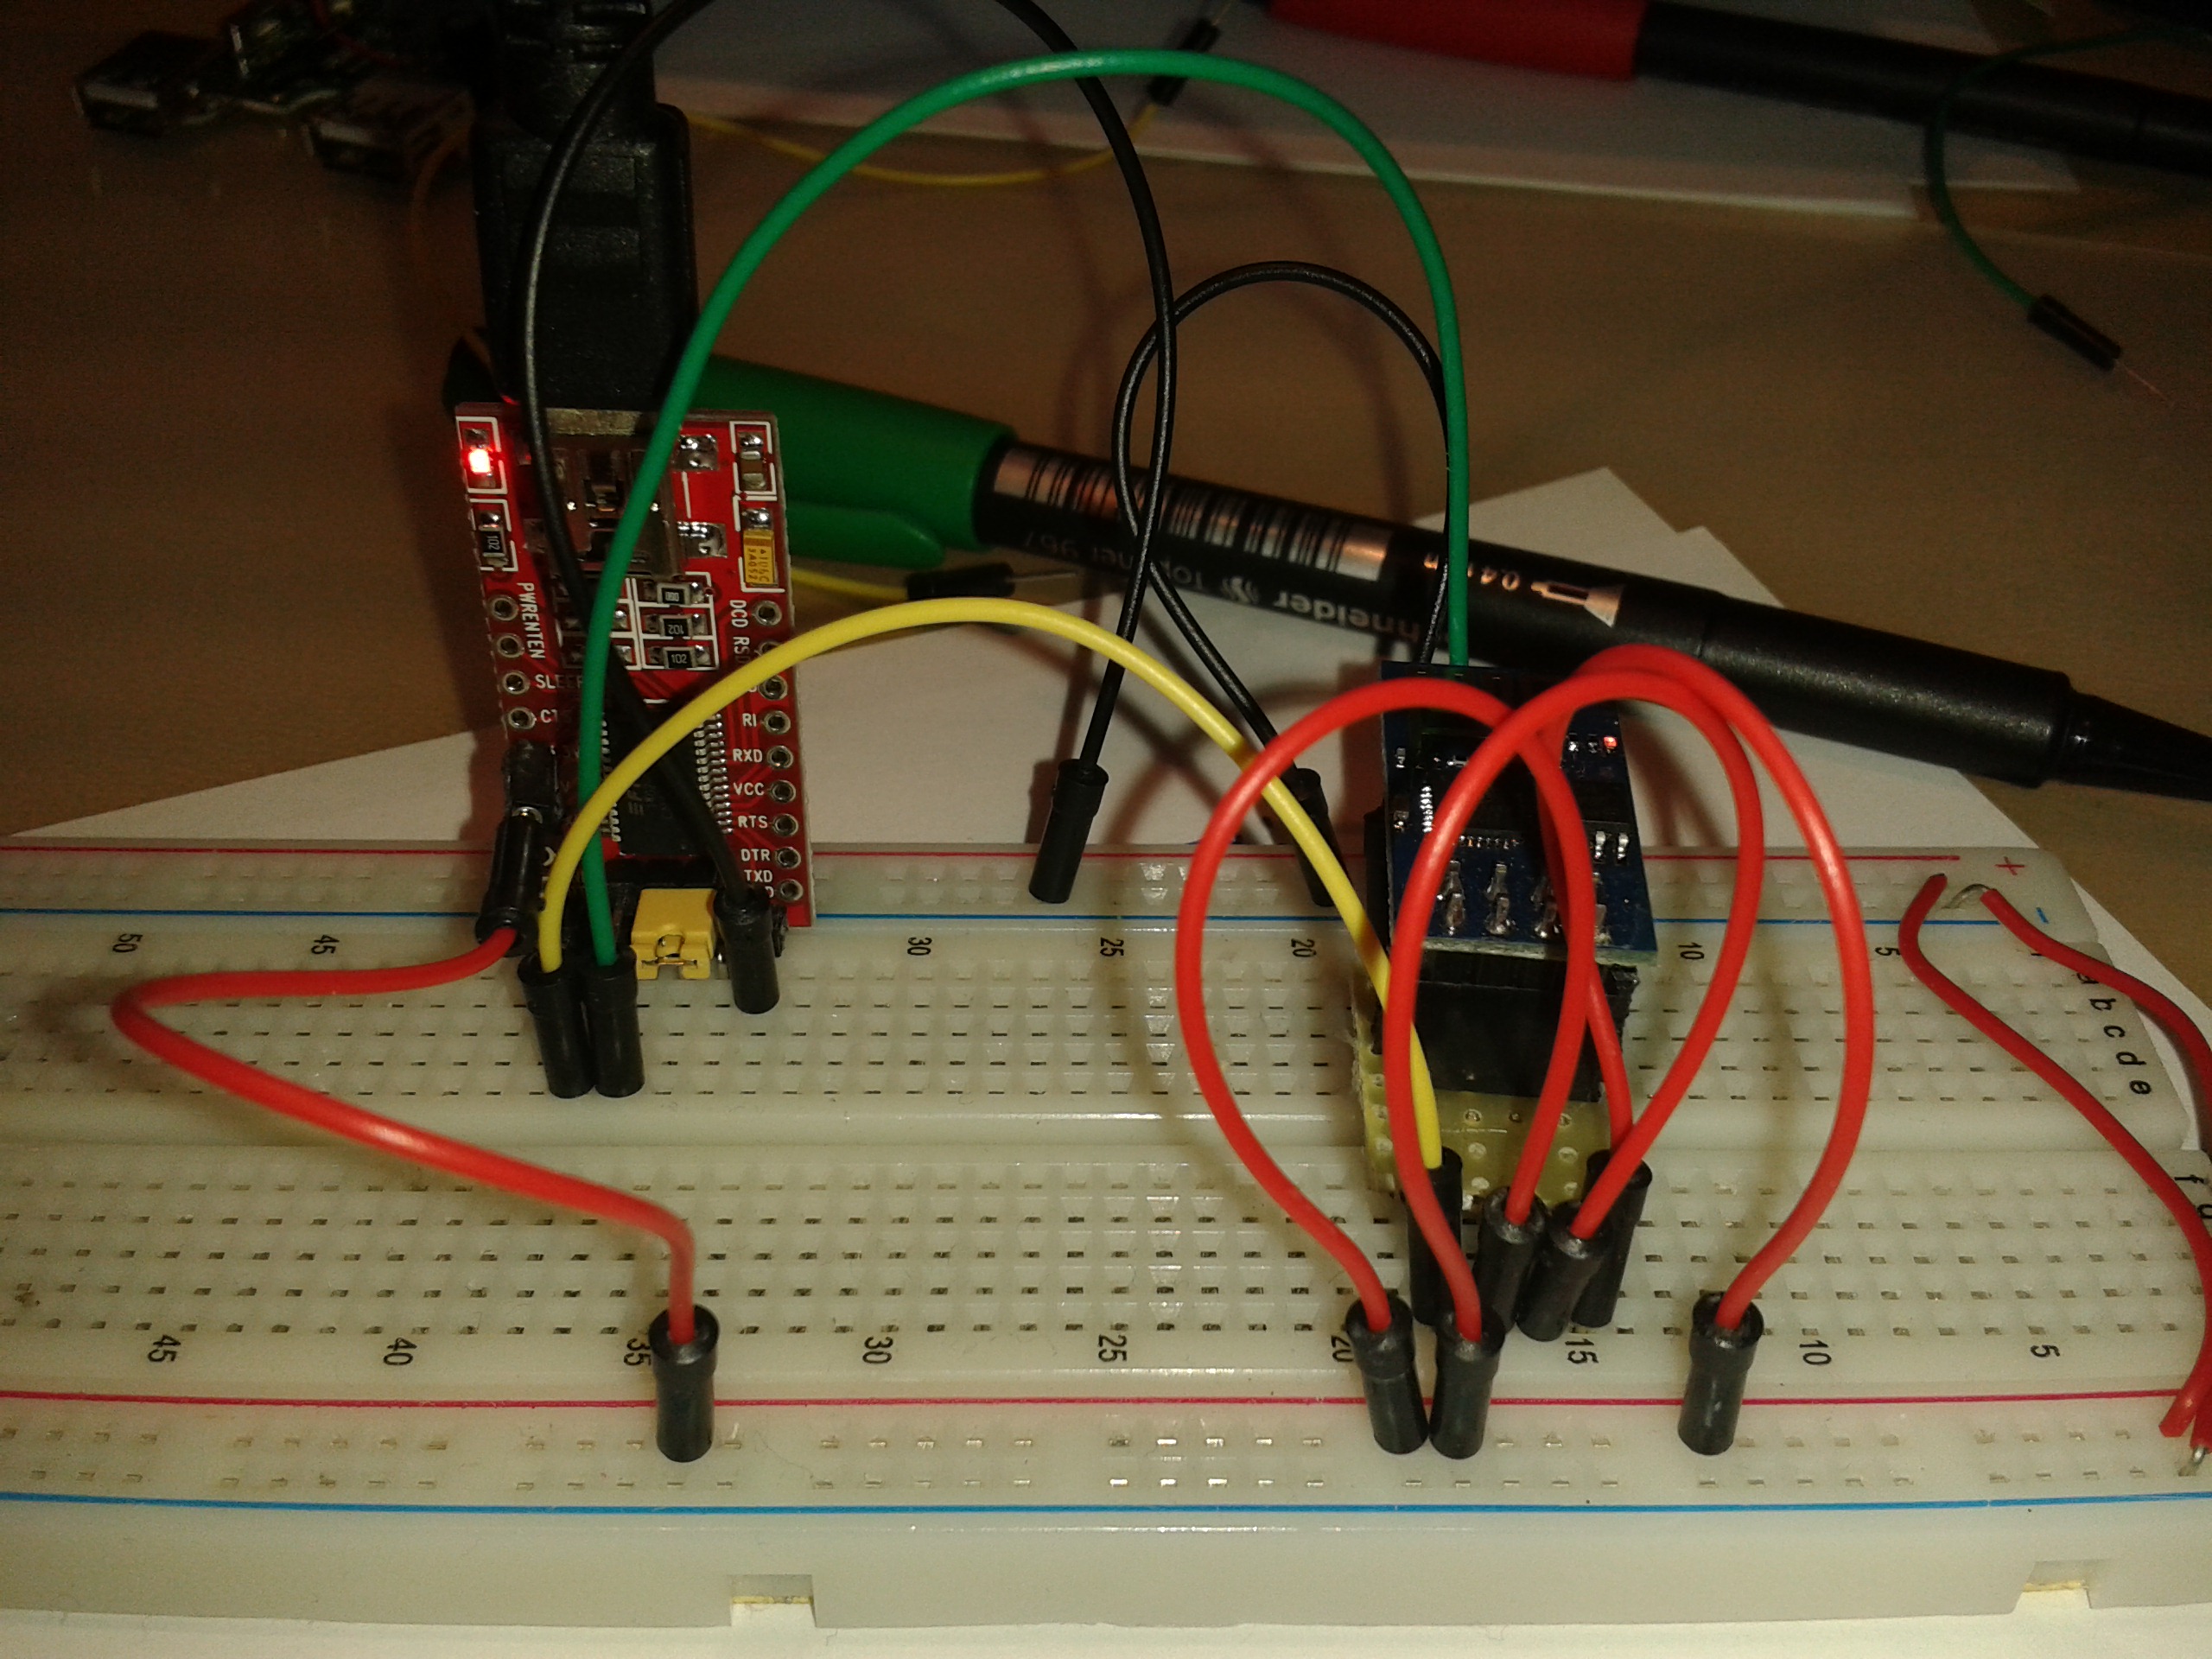
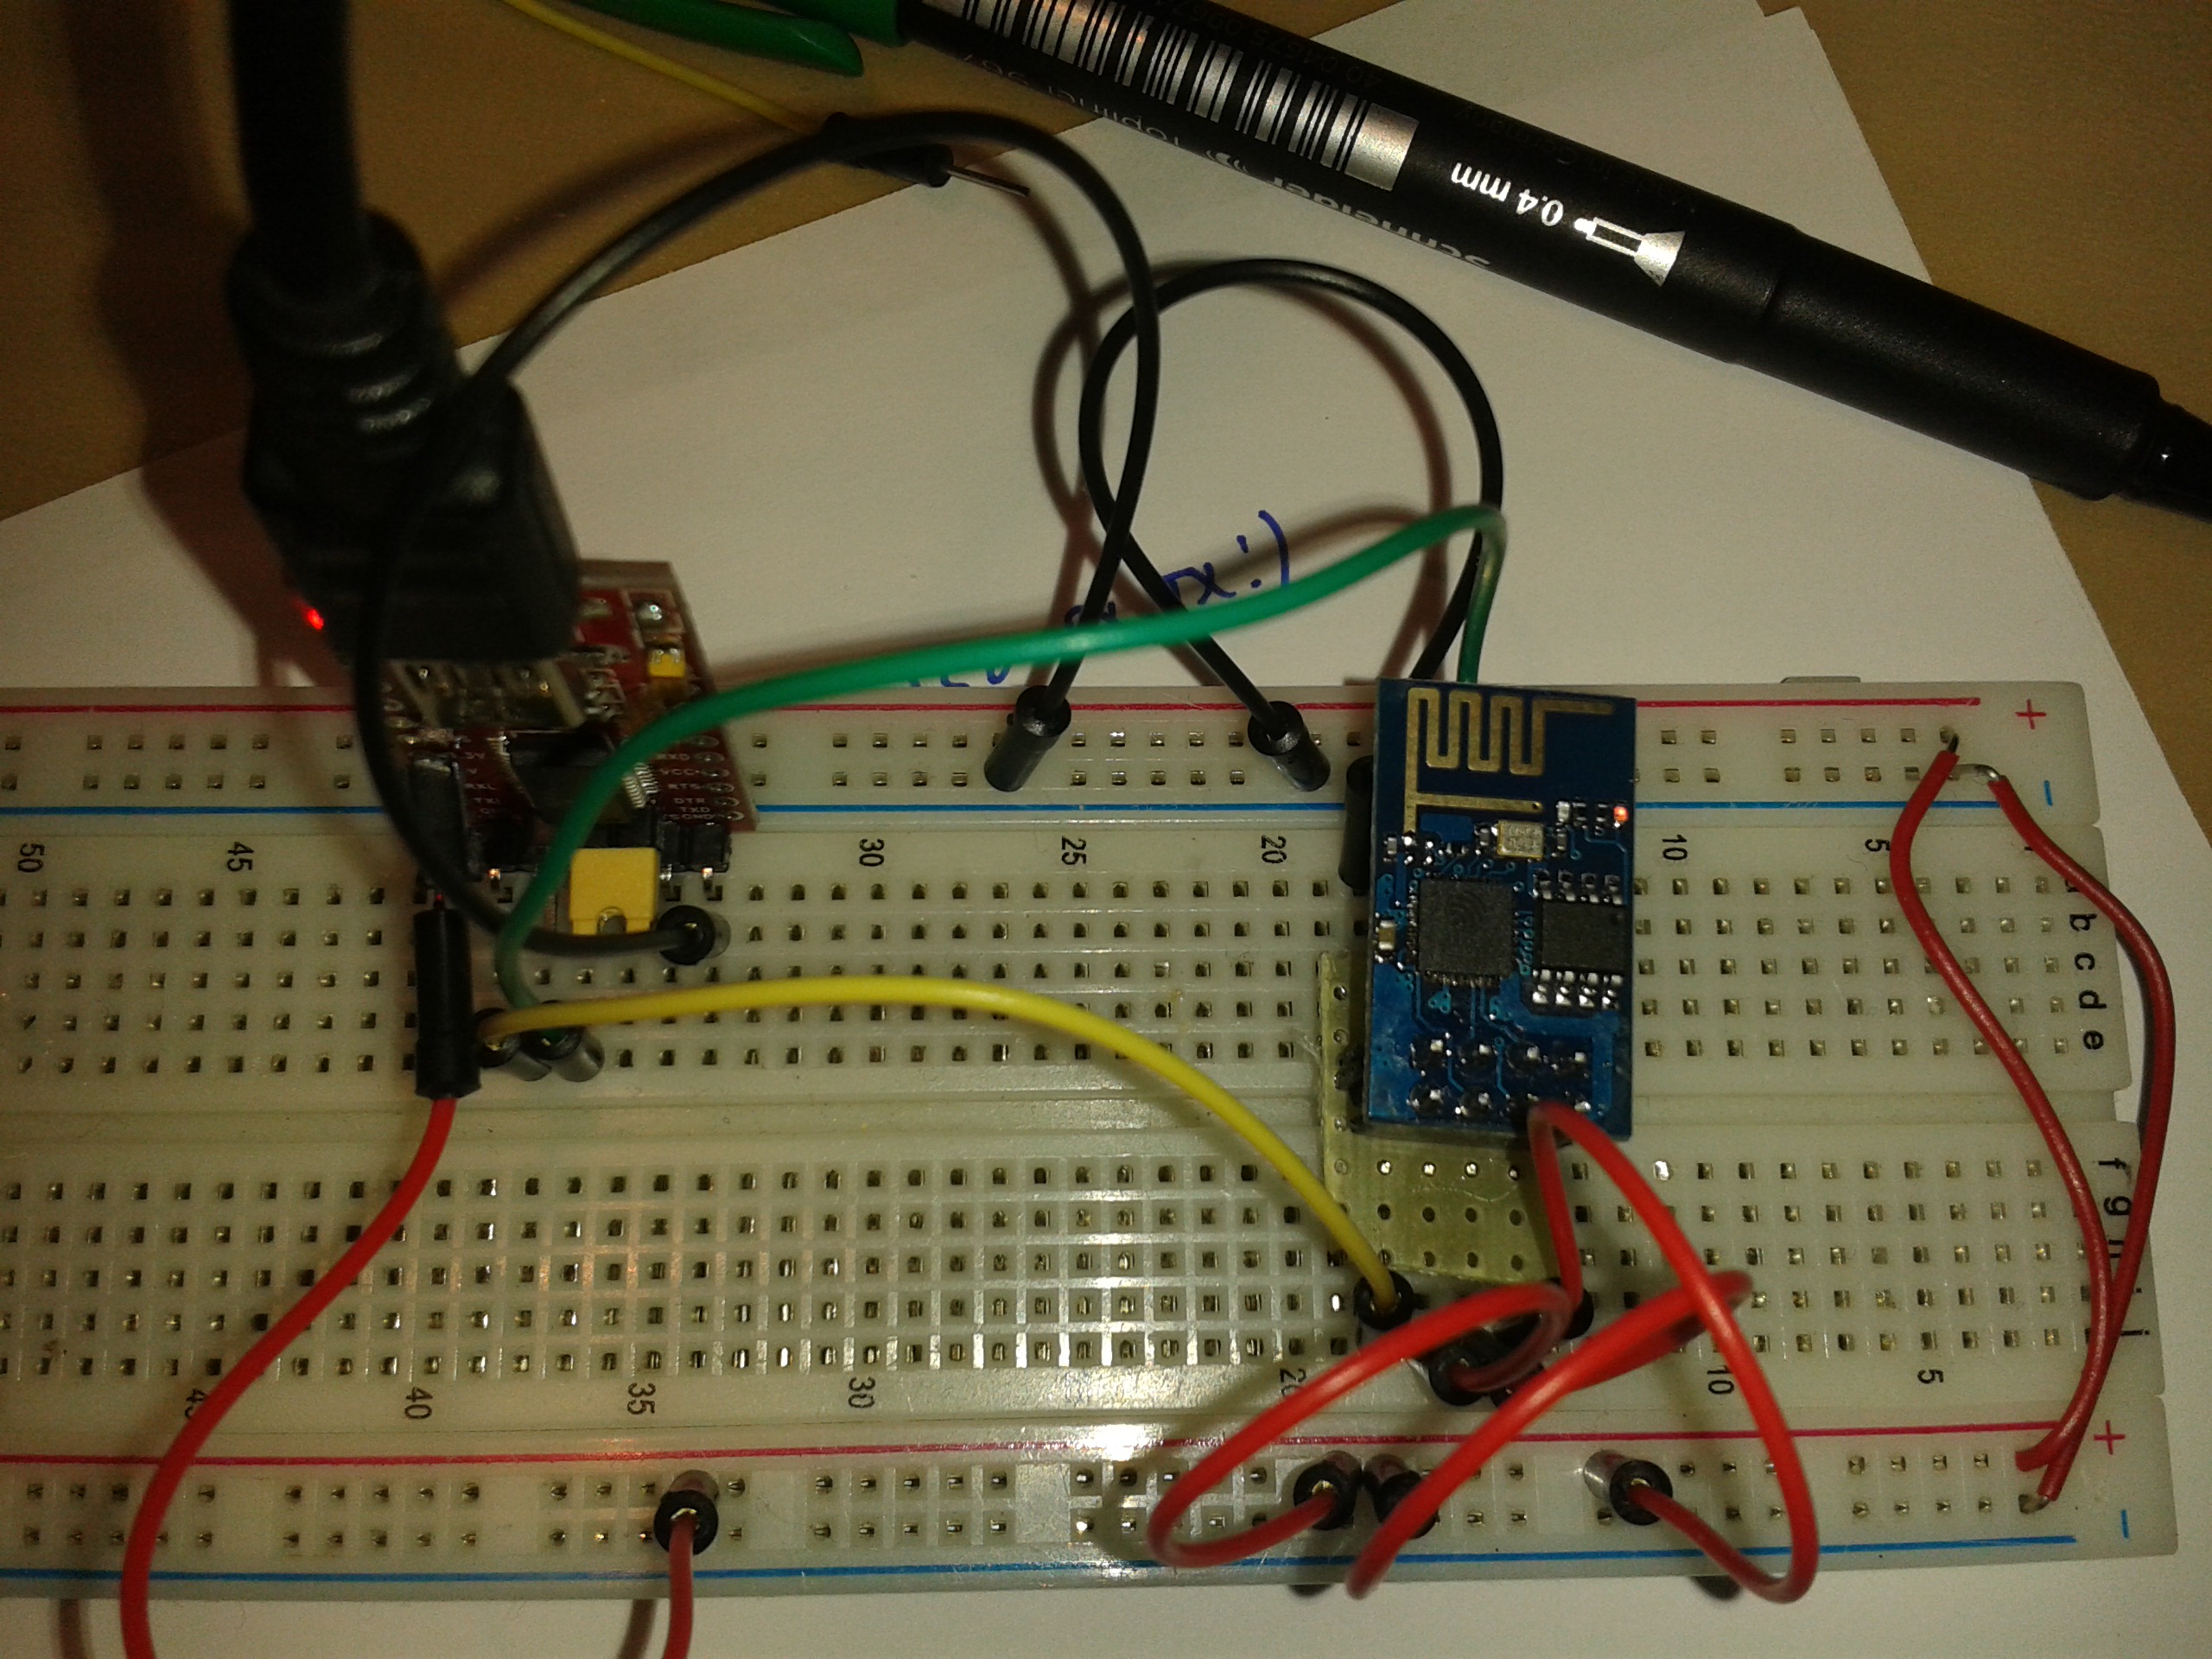
The pictures are showing the final resault. if you connected everything right, like I sowed you before, you're good to go.
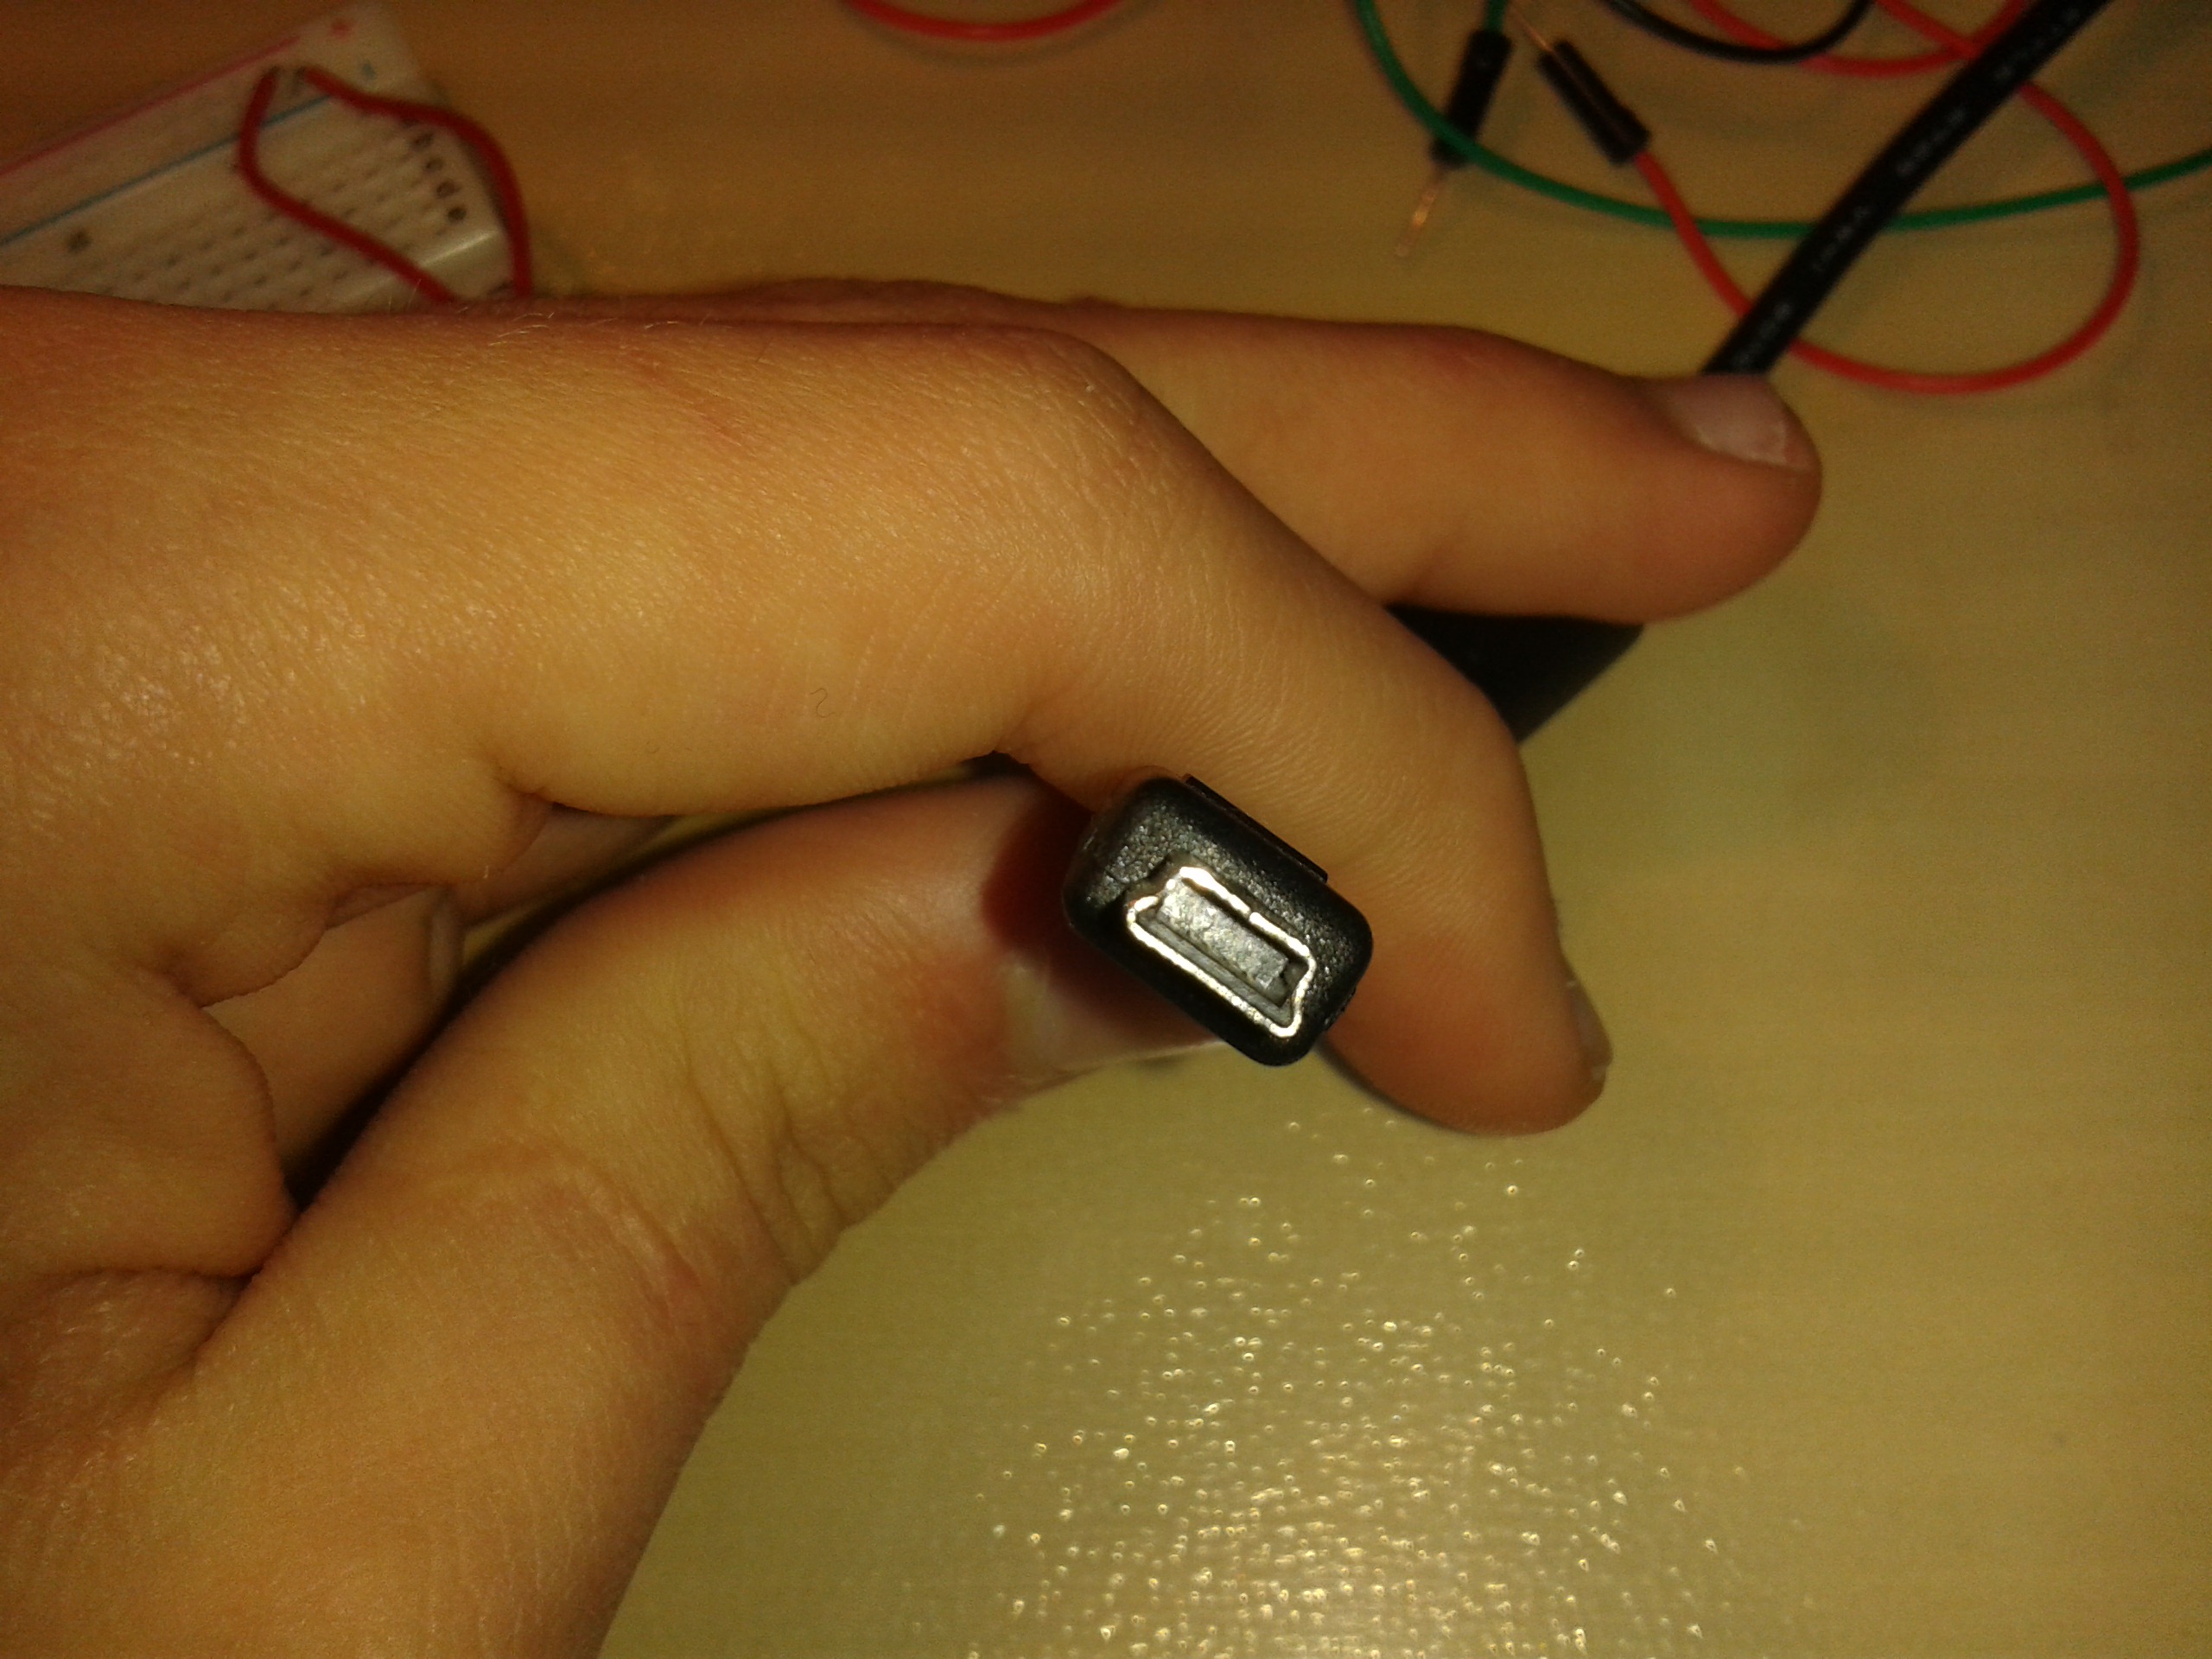
To connect the FTDI232R to the computer, I used this USB mini cable. Than I installed the drivers and connected power to the ESP8266.
Talking to the ESP8266



To comunicate with the ESP8266, I used Arduino IDE( http://arduino.cc/en/main/software ) and don't be confused of the version 1.5.8. I have Arduino DUE, so I need that version.
So, when you open the IDE, choose the correct serial port for your FTDI and click on the Serial monitor.
Once you have opened the Serial monitor, you must set the first option to NL & CR and the baud rate. When it comes to baud rate you have 2 choises. I bought this esp8266 around 3 weeks ago. Therefore, it has firmware 902 apart from older esp8266 that have firmware 900. For this newer model, the default baud rate is 9600, for the older is 115200.
Once you set that, type in the box AT and it sould return OK. This device comunicates via AT comments( http://www.electrodragon.com/w/Wi07c )
(every command step is a separate picture)
To check firmware type AT+GMR
To set the module to accept connections type AT+CWMODE=3(my was already in this mode, as shown in the picture)
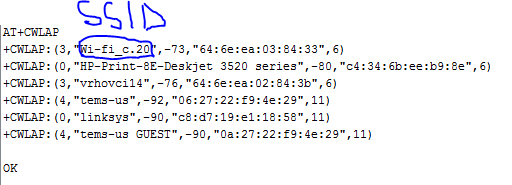
To search Wi fi networks around type AT+CWLAP
It will display Wi fi networks around you
To connect to a network type AT+CWJAP="Wifi SSID","password"
To find your IP adress type AT+CIFSR
After every command it returns you OK
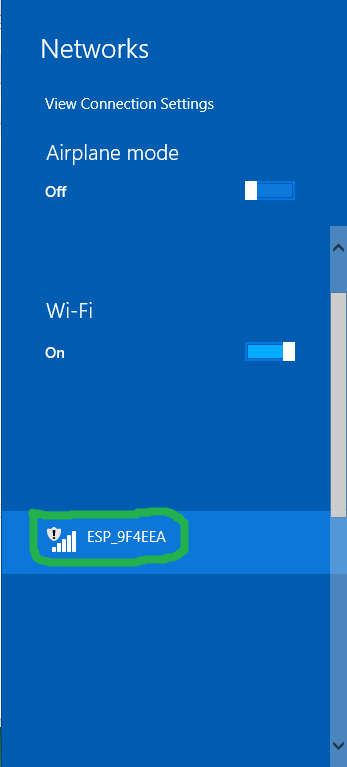
You can also see it transmiting Wi fi signal on the last picture.
COMMUNICATION WITH 5 VOLT DEVICES
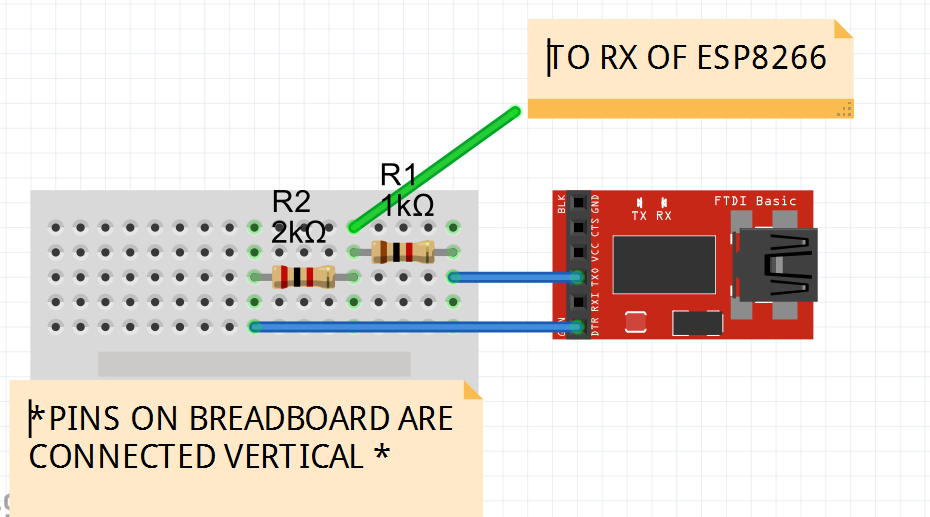
So, if you have a communicator like ftdi, that doesn't have an option to set the logic voltage, do the following.
Almost every USB to serial converter has built-in voltage regulator for 3.3 volts(the chip operates with that). So, you can find that pin or a pad and connect it to the pins like normal. FOr the communication is a liitle bit trickier.
The signal from the esp8266 from TX pin is 3.3V which is enaugh for the communicator. But the 5v from the TX of the communicator can kill the esp8266!!!!!! Therefore you must build a voltage devider. If you don't know what that is; it's a simple construction made of resistor. In our case, we will use 1k and 2k resistor. We connect these two in series with TX pin of the communicator to 1k resistor and GND to the 2k resistor. The junction between the resistor is connected to the RX of the ESP8266.
The picture describes this perfect.
OTHER
You can also watch this guy who also explained how to update the firmware for older models. He did all the same, but I showed it much slower and colorfull. Credits to him as well. ( https://www.youtube.com/watch?v=9QZkCQSHnko )
Now I'm working with connecting ESP8266 to Arduino(Uno or Due) for email notifier and making use of a little ethernet board, to make wifi spot.
If you have any questions you can write down in the comments. I will respond to as much as I can.
Thank you for watching :)