ESP8266 Modbus Thermostat With Touch
by Zihatec in Circuits > Electronics
11470 Views, 28 Favorites, 0 Comments
ESP8266 Modbus Thermostat With Touch
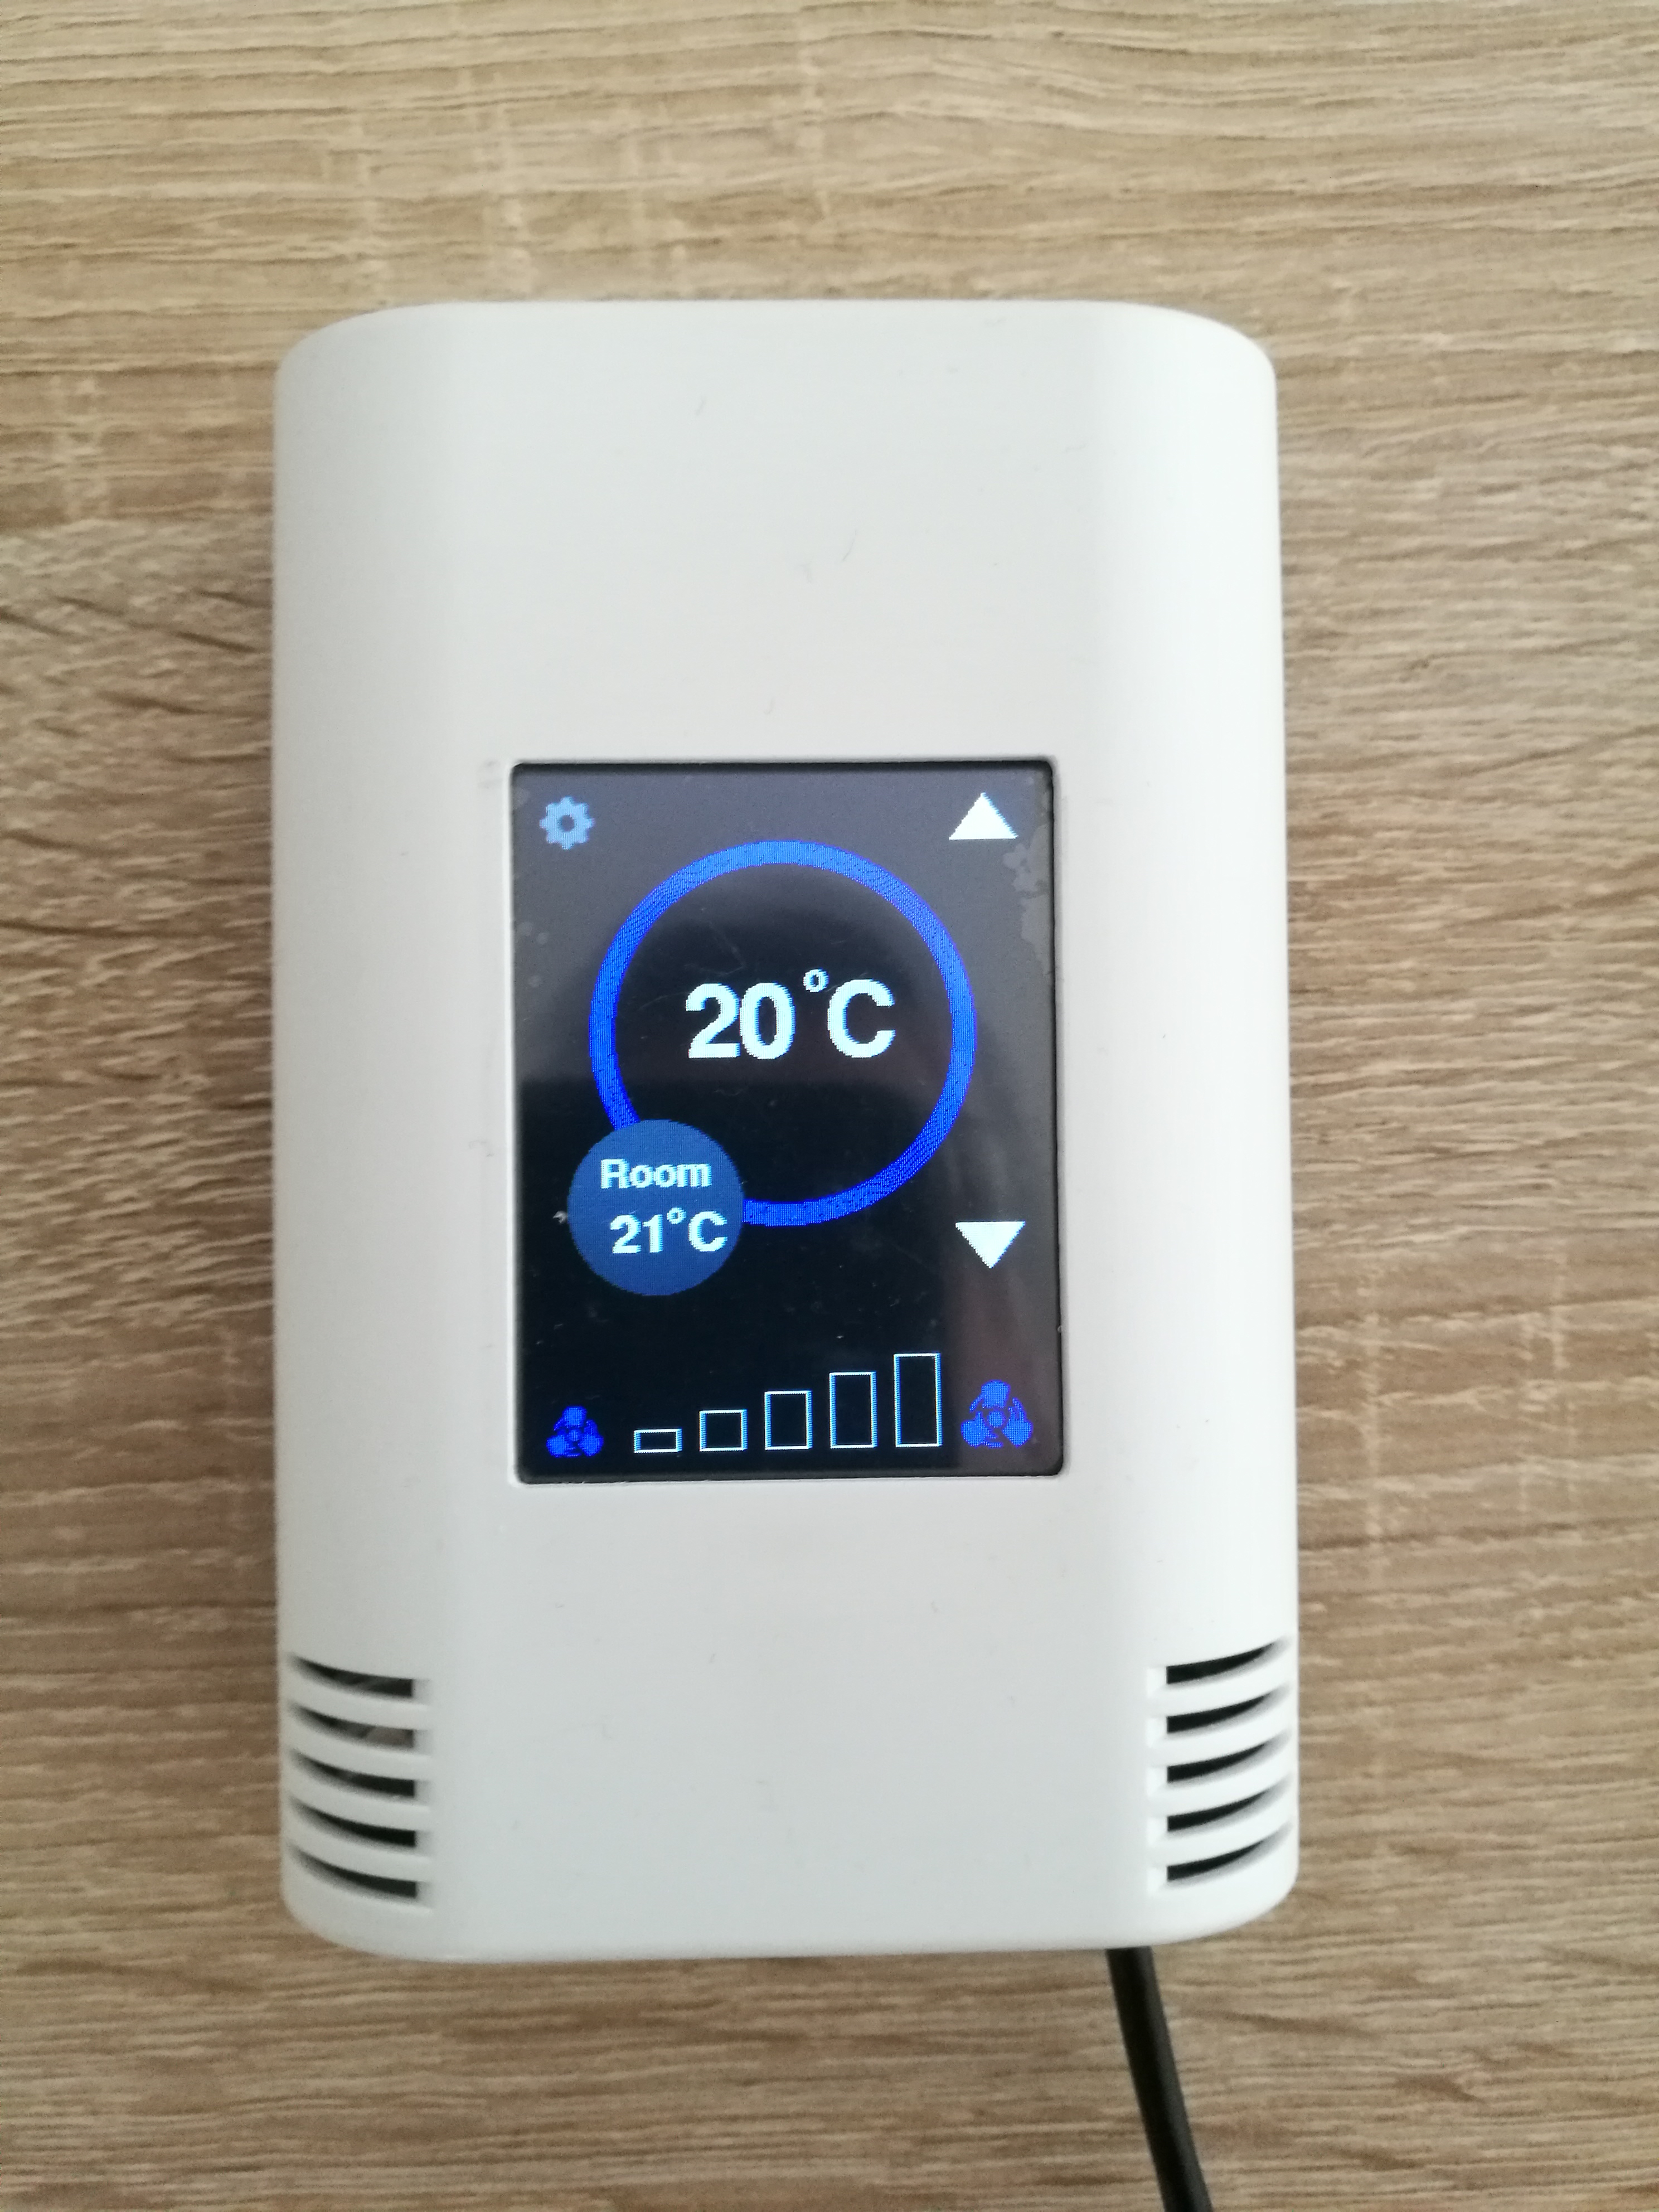
I will show you in this instructable how to make a good-looking touch-screen thermostat
with optional Modbus support via RS485 with ArduiTouch ESP and an ESP8266 (NodeMCU or Wemos D1 Mini).
Bill of Material
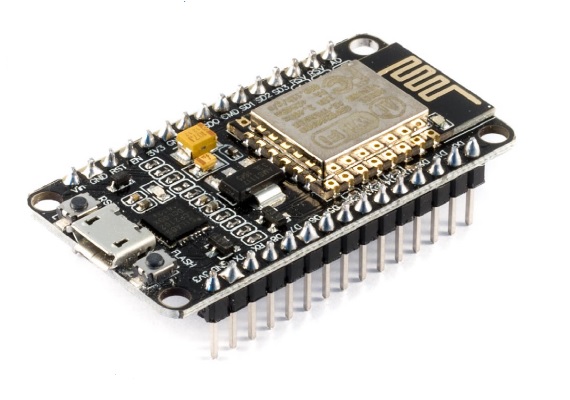
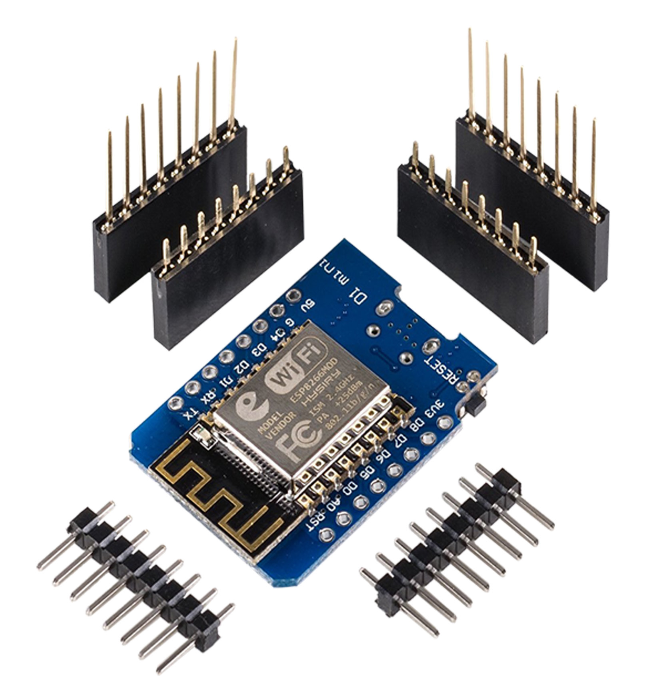
- NodeMCU V2 Amica or Wemos D1 mini
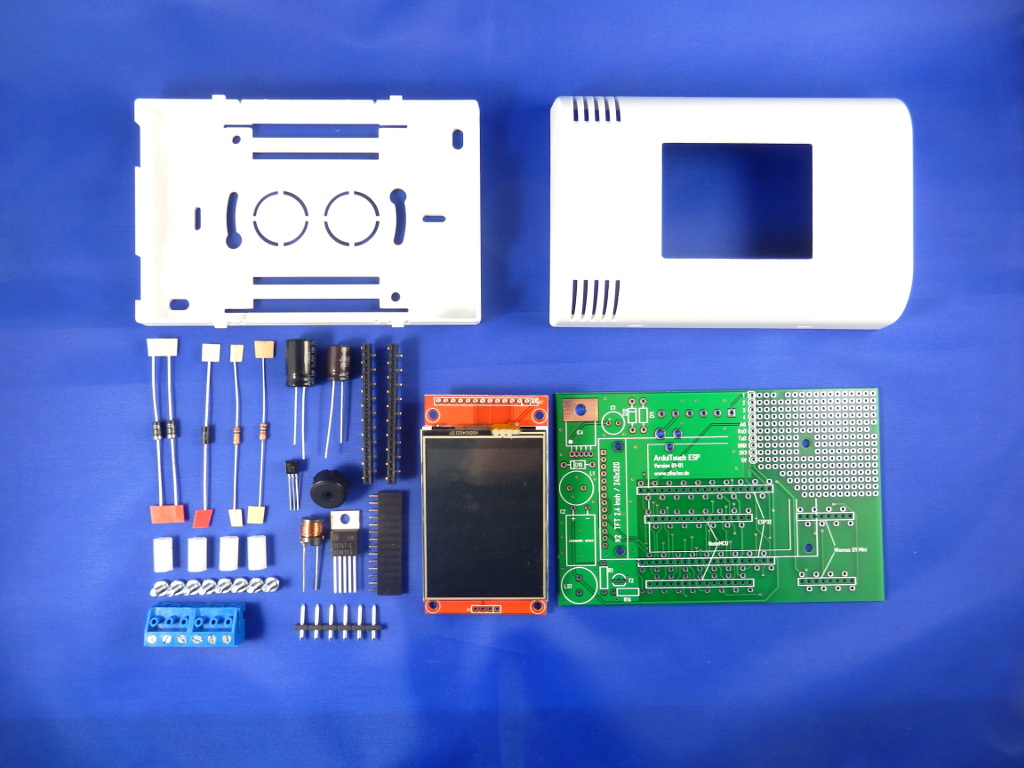
- ArduiTouch ESP kit
optional for RS485 interface:
- MAX3485
- transistor BC557
- Resistor 10k
- Resistor 22k
- 2x Resistor 1k
- Resistor 120 Ohm
- Capacitor 1,5nF
- 2pole header
- Jumper bridge
Assembly
You can use for the assemby of the ArduiTouch itself the attached manual.
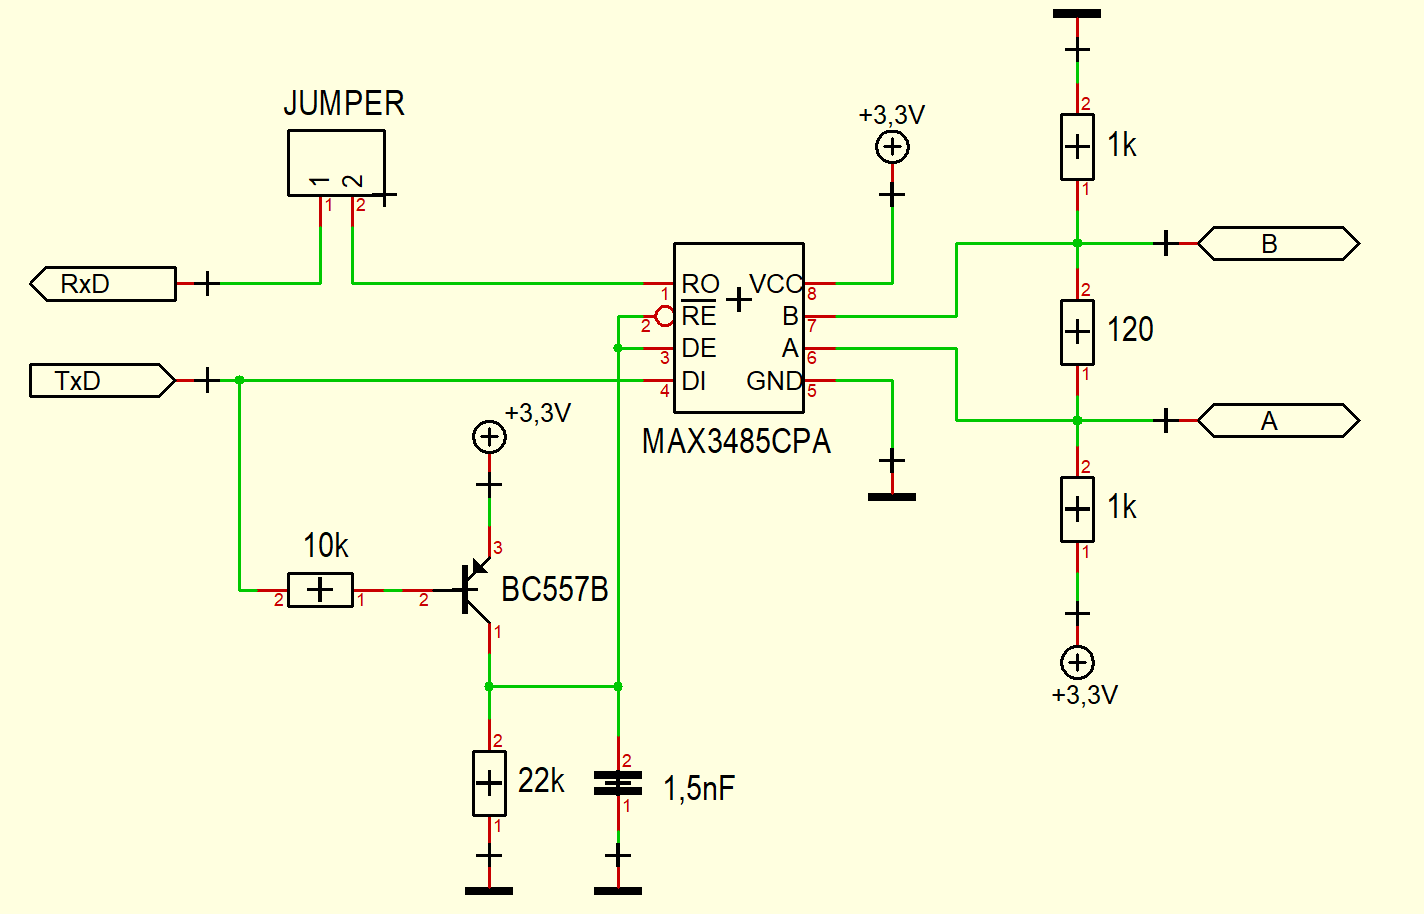
The ArduiTouch itself doesn't contain a RS485 interface. We have to add this function on
the breadboard area. Beside the breadboard area you will find soldering pads with all needed signals. You have only to connect the circuit below with these soldering pads. For the A and B signals it's recommend to use the pads 3 and 4 which are directely connected to the terminal.
Installation of Additional Libraries
The firmware was written under the Arduino IDE. You will need the following additional libraries:
Install the following libraries through Arduino Library Manager
Adafruit GFX Library https://github.com/adafruit/Adafruit-GFX-Library/a...
Adafruit ILI9341 Library https://github.com/adafruit/Adafruit-GFX-Library/a...
XPT2046_Touchscreen by Paul Stoffregen https://github.com/adafruit/Adafruit-GFX-Library/a...
SimpleModbus NG https://github.com/adafruit/Adafruit-GFX-Library/a...
You can also download the library also directly as ZIP file and uncompress the folder under yourarduinosketchfolder/libraries/ After installing the Adafruit libraries, restart the Arduino IDE.
You will find the source code for the Thermostat on our website.
https://www.hwhardsoft.de/english/projects/arduito...
Run the Demo
Please open this sample in the Arduino IDE. Compile and upload it.
Please note: The jumper must be open for programming of the ESP8266 module via USB.
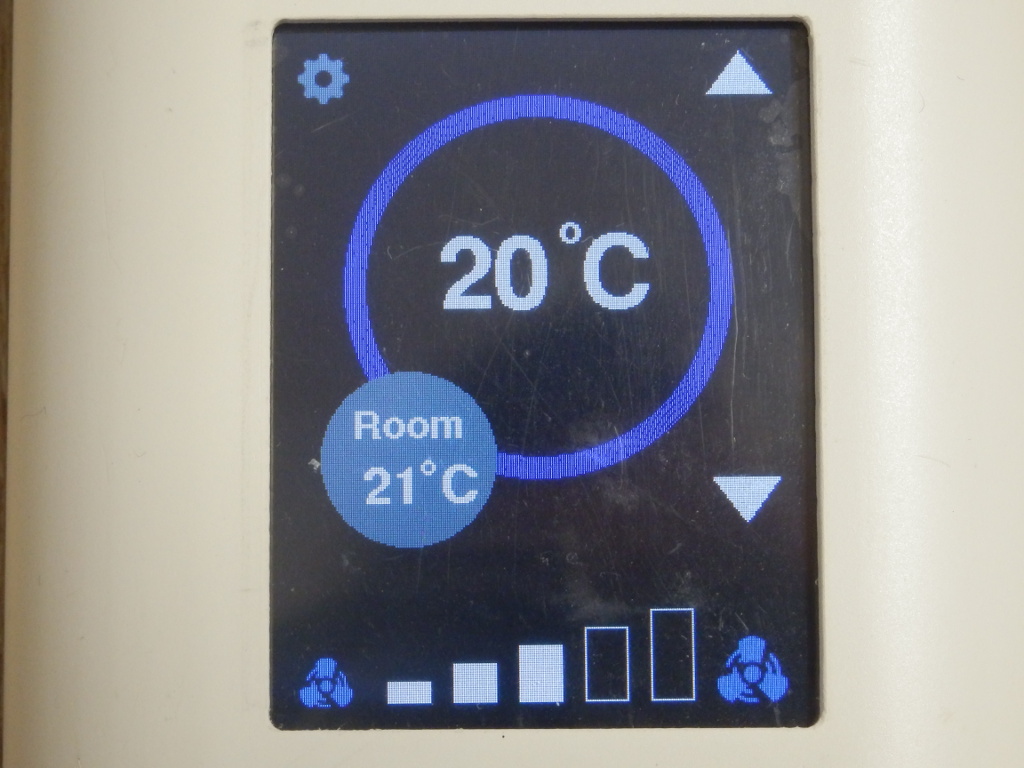
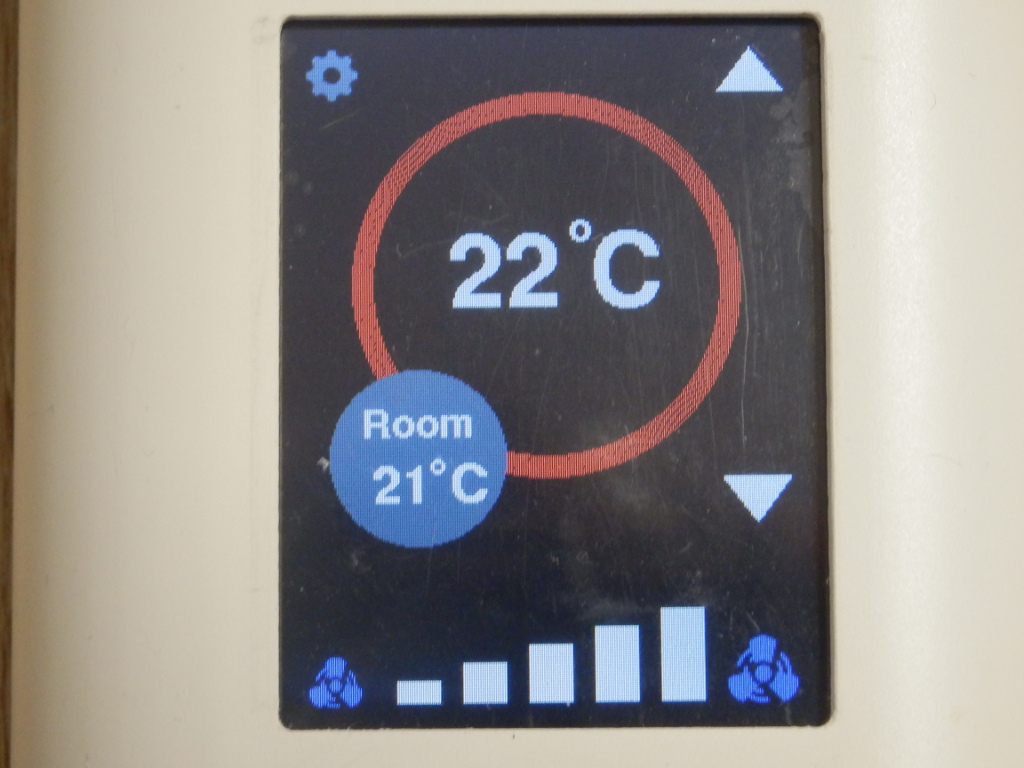
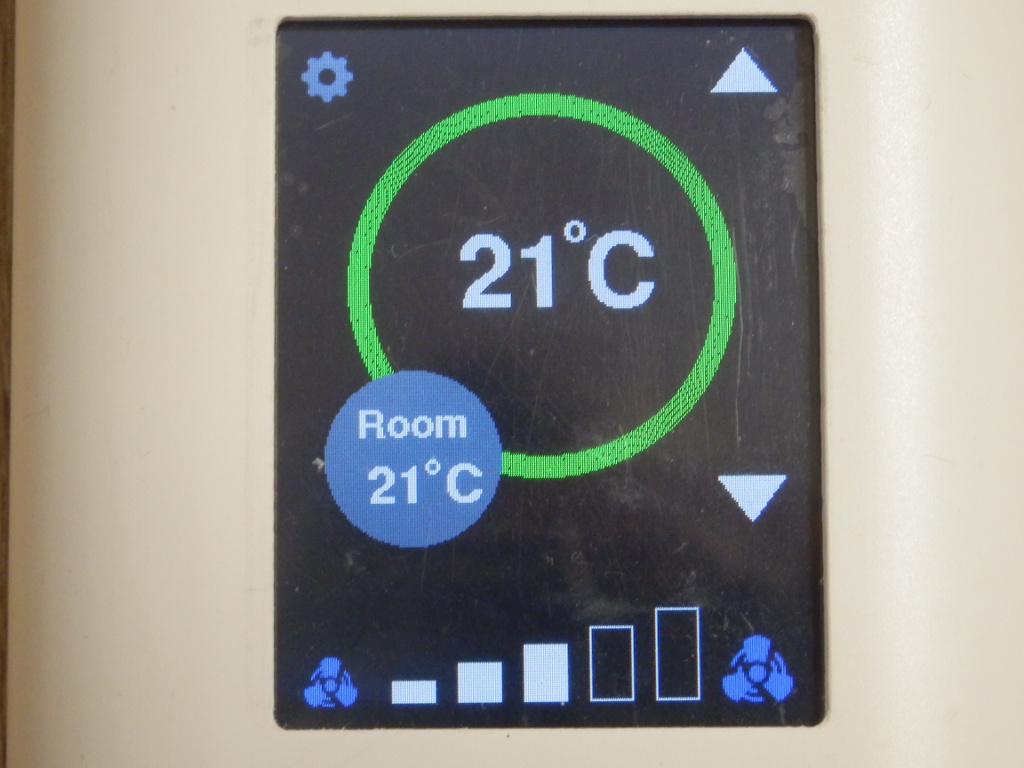
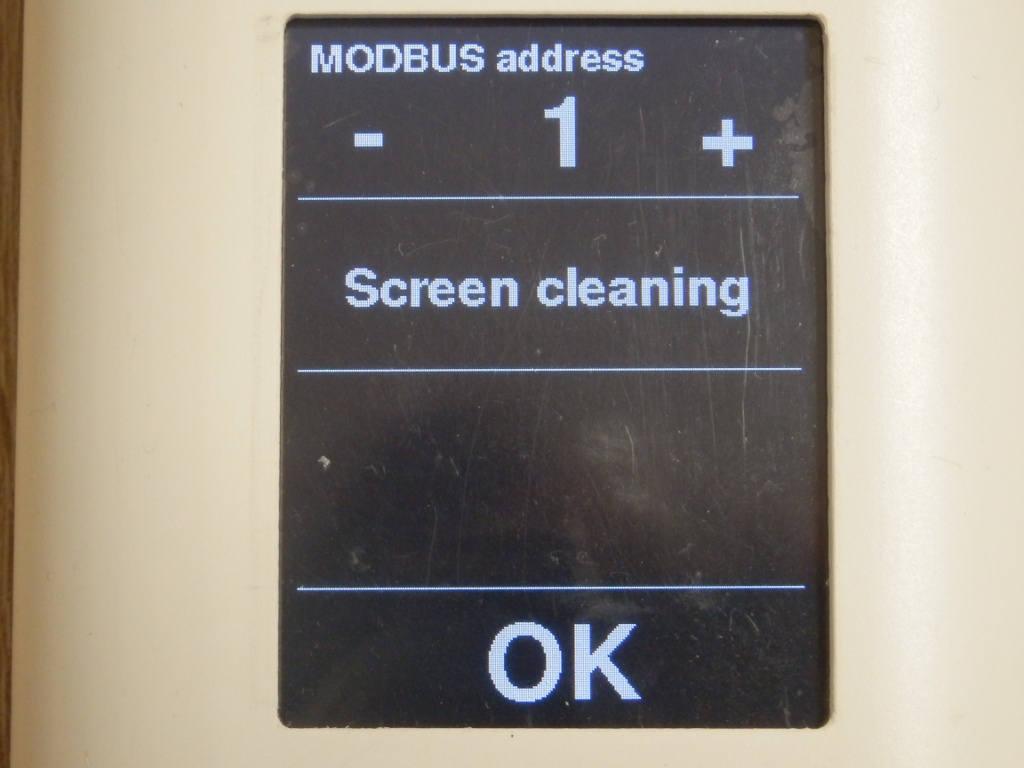
After compilation and upload you will see the Main screen with default values for room
temperature, set temperature and ventilation. You can change the set temperature and ventilation level without RS485 connection also. You can open via the gear in the upper right corner an option menu. This menu includes a function to adjust the Modbus ID number and a screen cleaning function.
Modbus Test
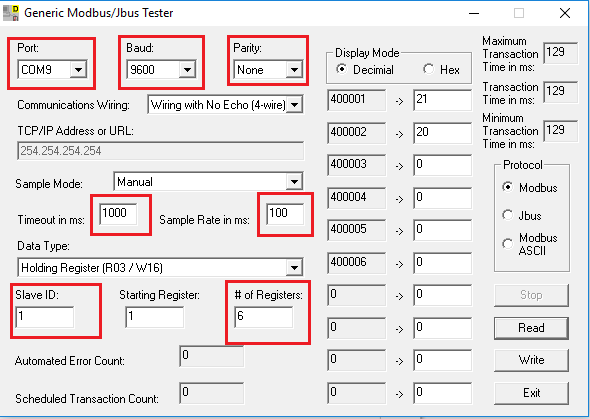
We will use in this example the PC as MODBUS master. You've to download
Modbustester. Please unpack the zip archive to a new directory on your harddisk. Open the software and change the marked fields as in the picture above. You have to connect the USB-RS485-adaptor before. For simple tests a serial connection via USB cable between your PC and the NodeMCU will also work. Please choose the right COM-port for this adaptor in Modbustester
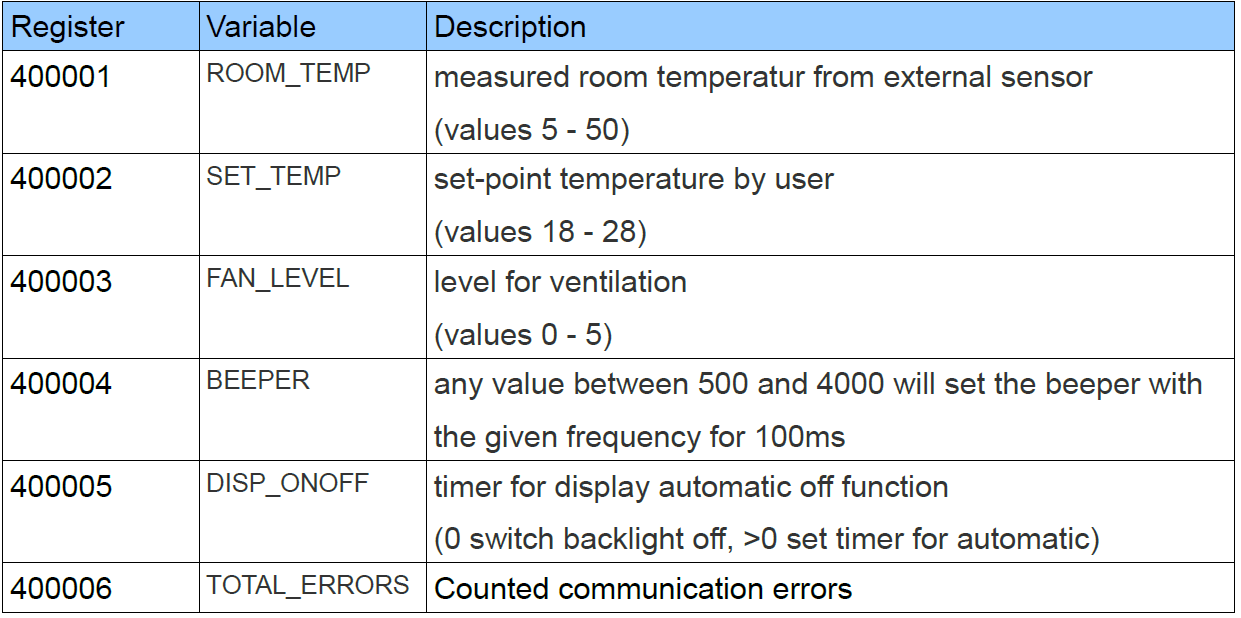
You can press the Read button in Modbustester. This command will read 6 bytes of the
memory of our new slave device the ArduiTouch. You can click also in the fields beside the addresses and manipulate the values. With the write button you send this manipulated values to the ArduiTouch. Please see the table below about the register function.