ESP8266 IOT Using Arduino and ThingSpeak
by sfeelectronics in Circuits > Arduino
110436 Views, 22 Favorites, 0 Comments
ESP8266 IOT Using Arduino and ThingSpeak
Internet of Things (IoT) is a concept that aims to expand the benefits of connected internet connectivity continuously -the ability to share data, remote control, and etc, as well as on objects in the real world. For example, food, electronics, collectibles, any equipment, including living things that are all connected to local and global networks through embedded and active sensors.
Here is an example program of Arduino IoT using ESP8266 Wireless Module -how to send data in the form of random value, which can be monitored from anywhere by utilizing the free IOT service provider -ThingSpeak.
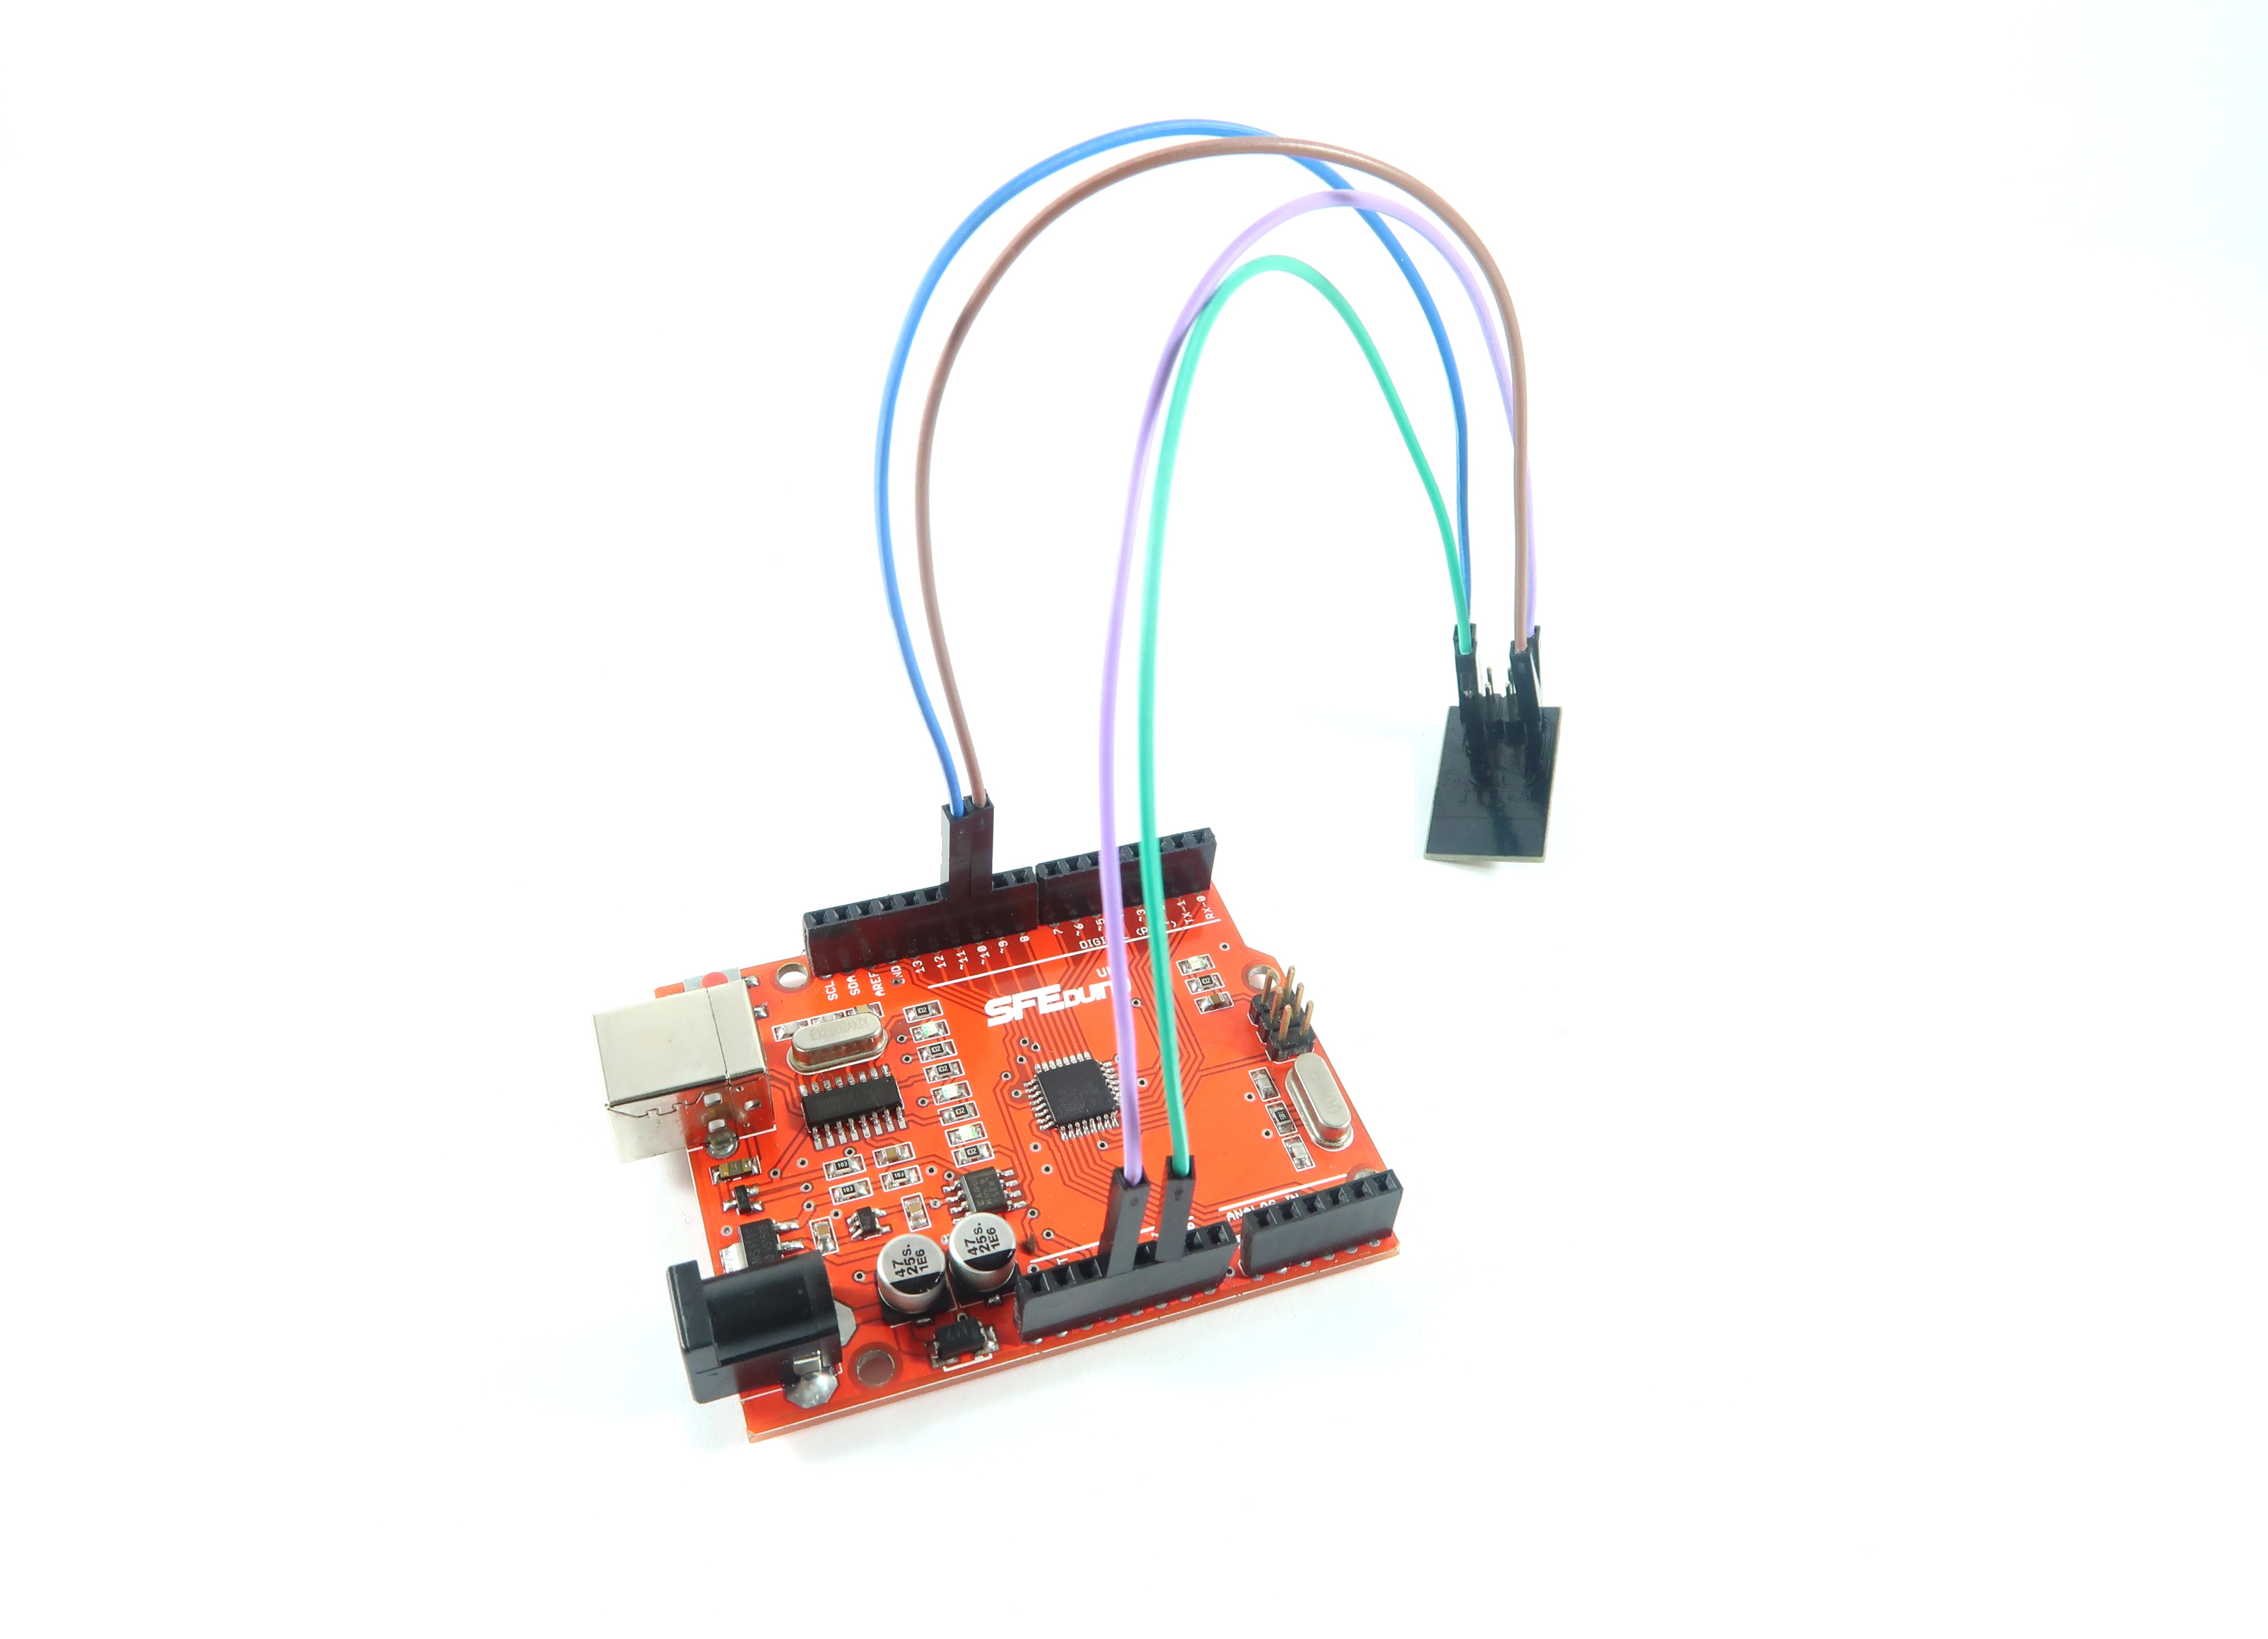
Materials You Need
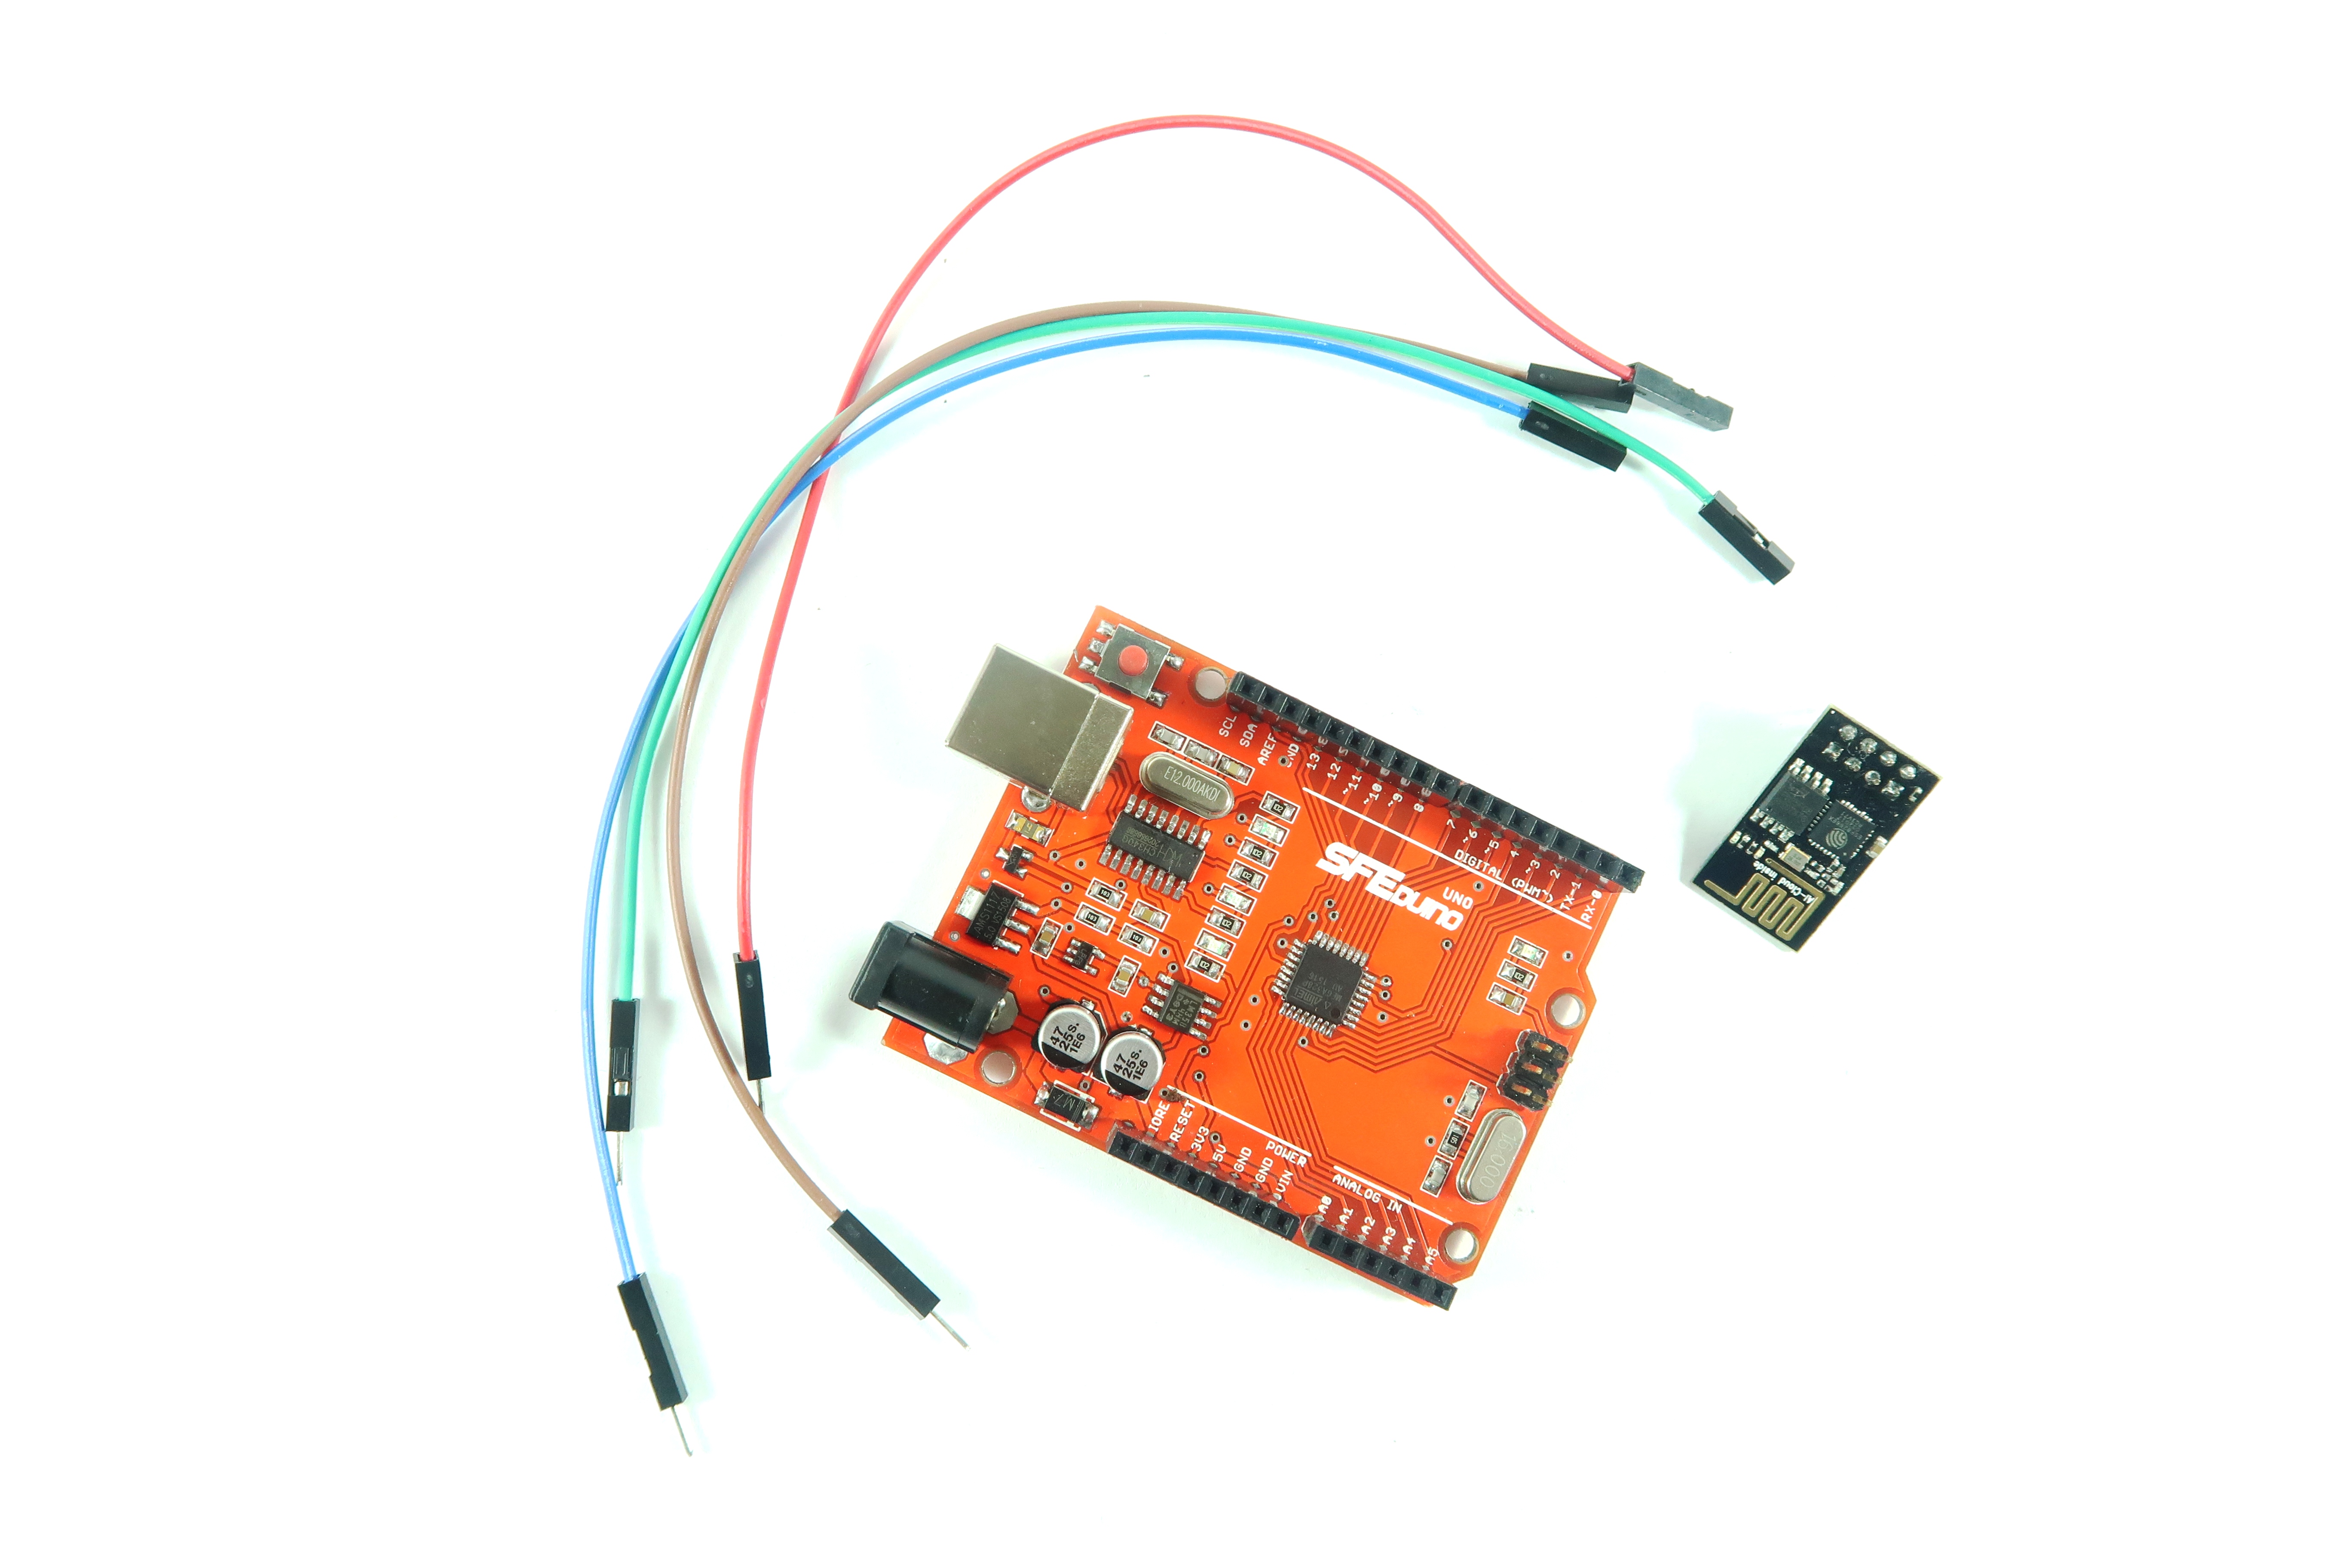
You will need:
- ESP-8266 Wireless Module
- SFE Duino
- Male to Female Jumper Wires
Setup
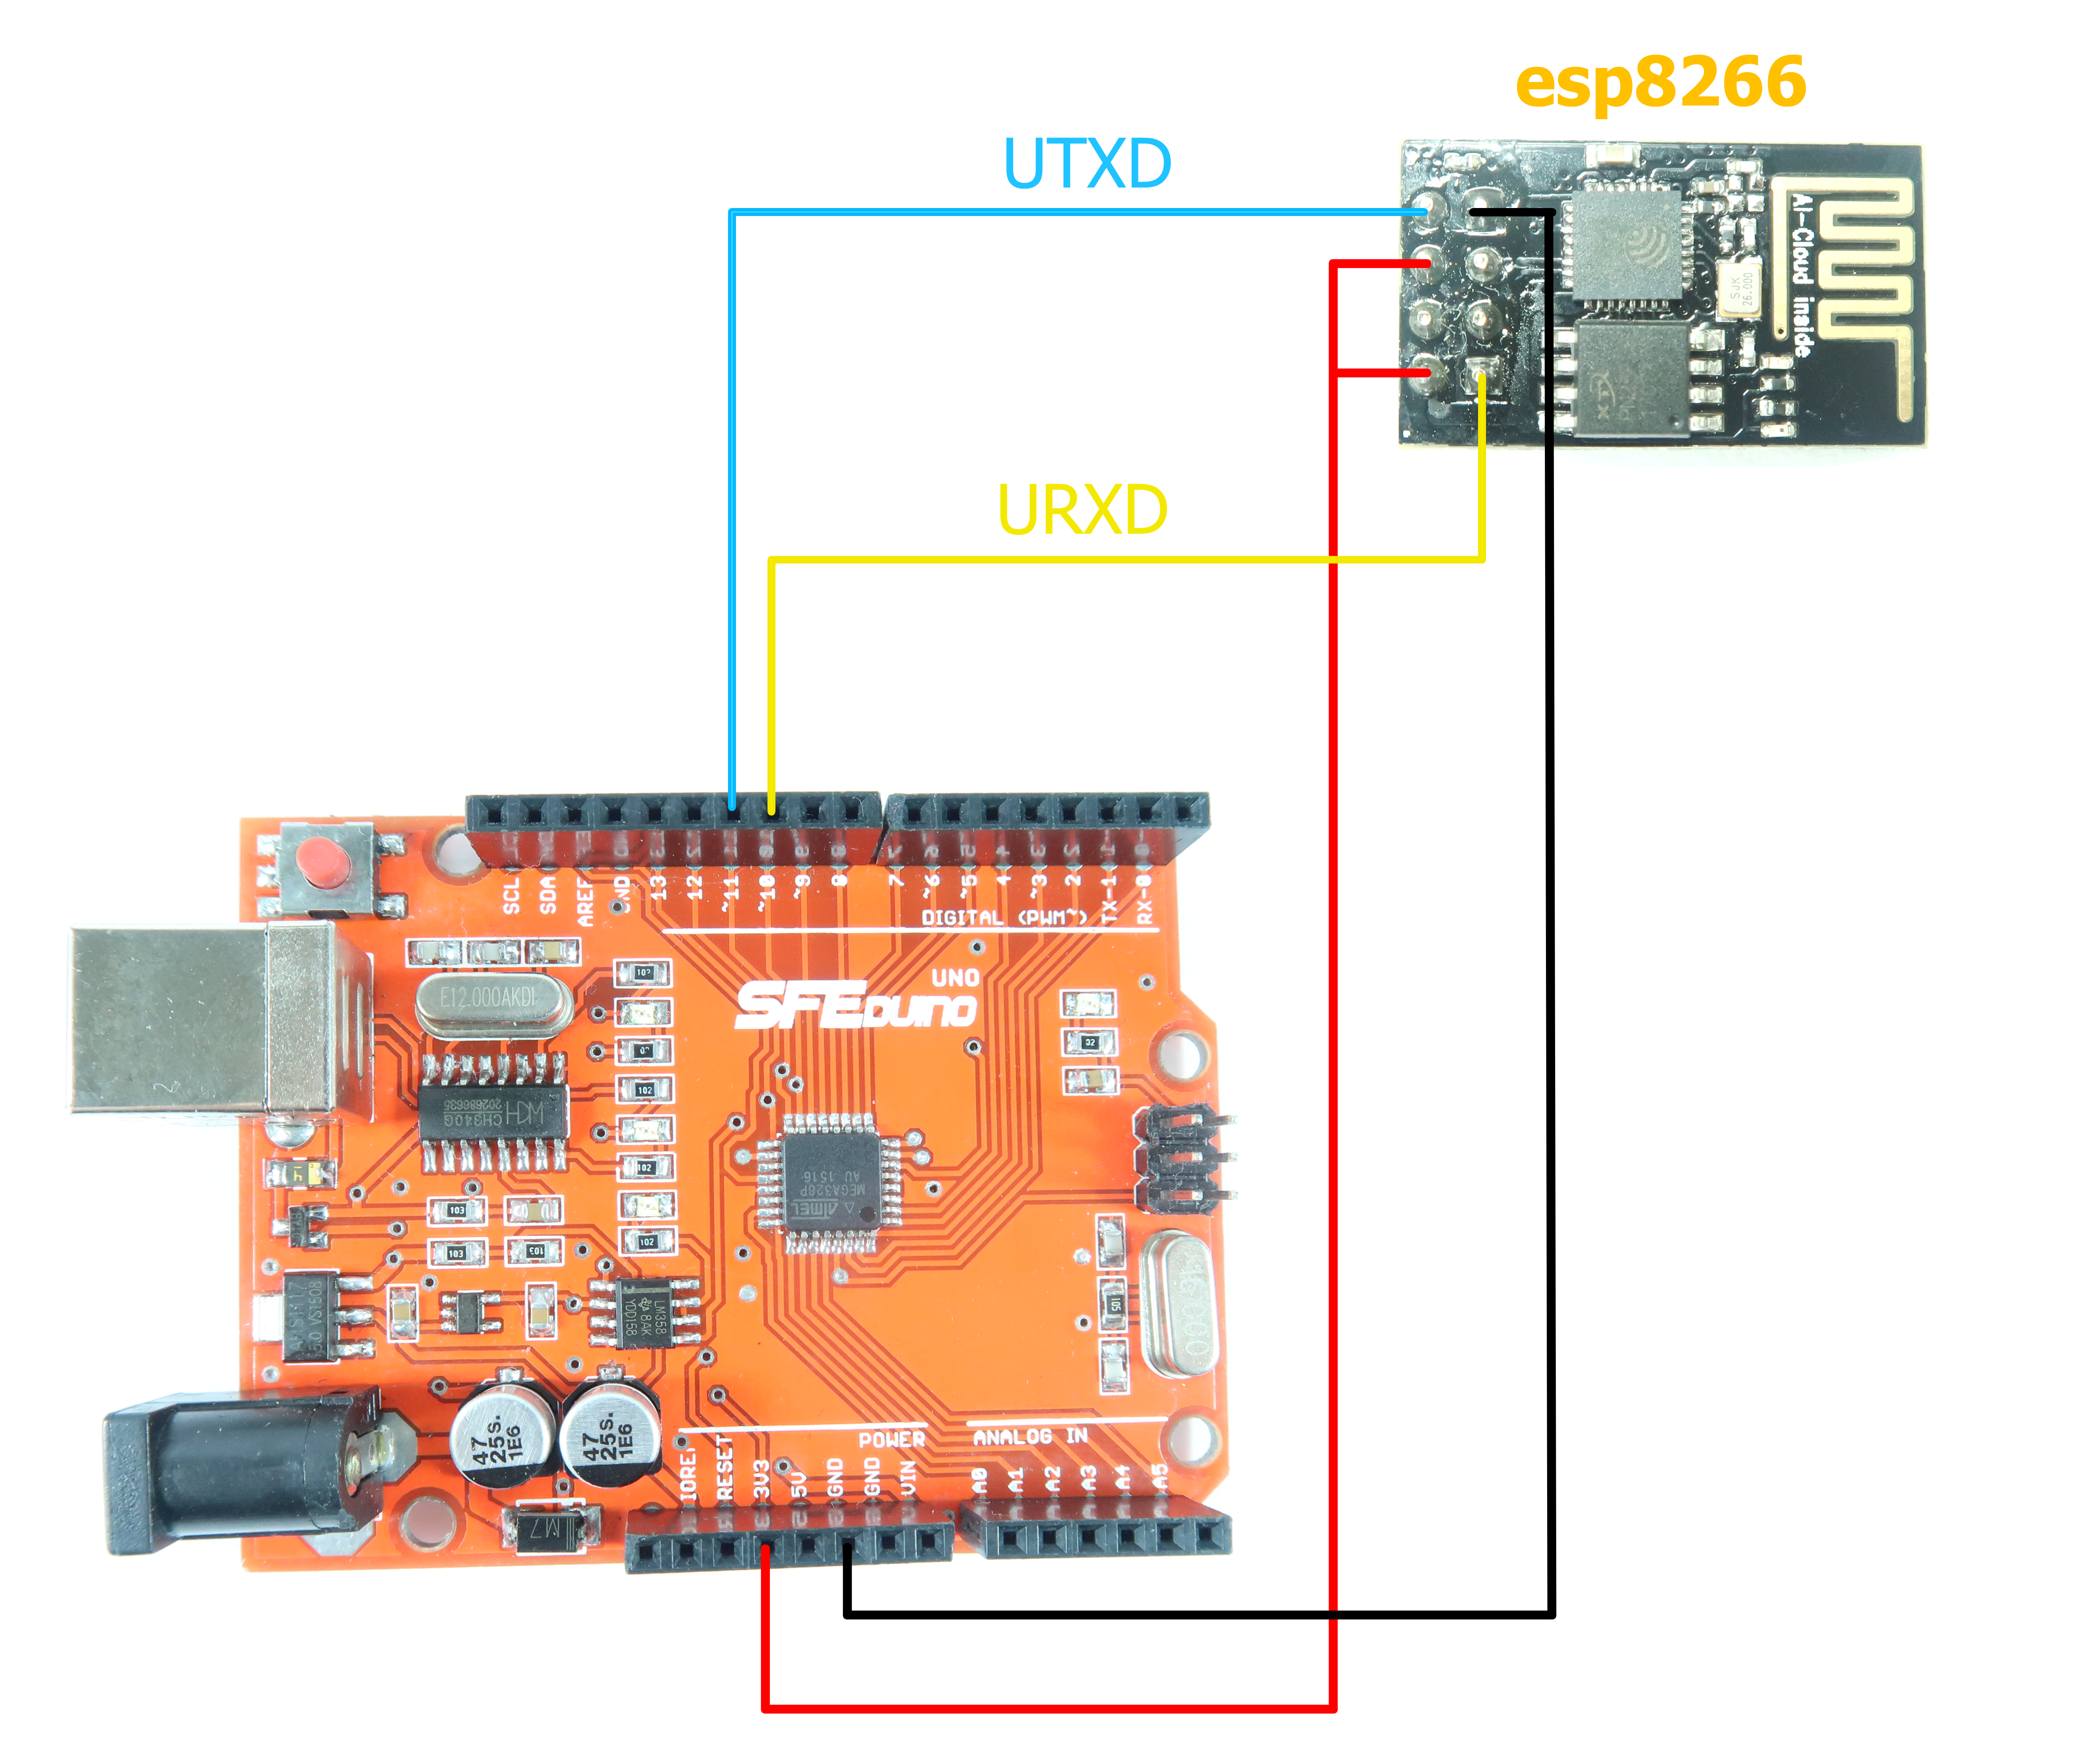
Connect SFE Duino and ESP-8266 Wirelss Module with jumper wires as schematic above.
Connect With ThingSpeak
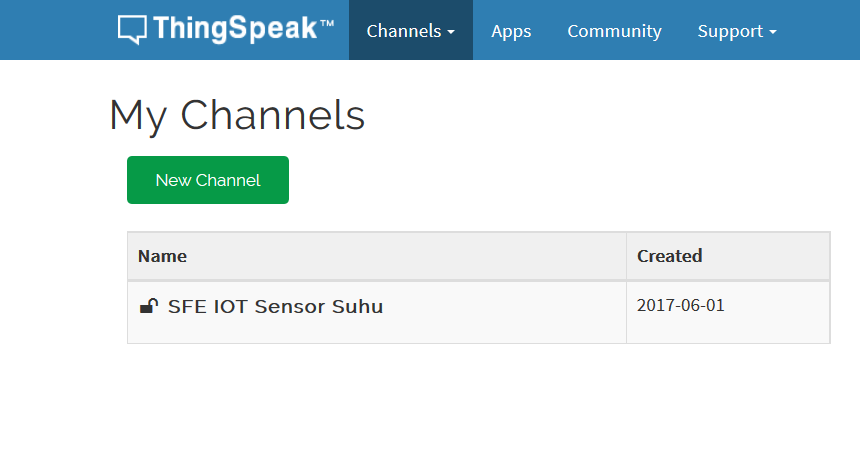
Once you've connected the materials, visit ThingSpeak and create an account there. And then, create a new channel.
Code

After that, you can upload the code below and make sure to fill the data as yours -start from API key and Field name, and also Access Point setting which will be connected to ESP-8266 Wireless Module (AP and Password).
#include
#define DEBUG true
#define RX 2
#define TX 3
String HOST = "api.thingspeak.com";
String PORT = "80";
String AP = "AP NAME";
String PASS = "AP PASSWORD";
String API = "CJZ1G46URZWEGRVR";
String field = "field1";
int countTrueCommand;
int countTimeCommand;
boolean found = false;
int valSensor = 1;
SoftwareSerial esp8266(RX,TX);
void setup() {
Serial.begin(9600);
esp8266.begin(115200);
sendCommand("AT",5,"OK");
sendCommand("AT+CWMODE=1",5,"OK");
sendCommand("AT+CWJAP=""+ AP +"",""+ PASS +""",15,"OK");
countTrueCommand = 0;
}
void loop() {
String getData = "GET /update?api_key="+ API +"&"+ field +"="+String(valSensor);
switch(countTrueCommand) {
case 0: sendCommand("AT",5,"OK");break;
case 1: sendCommand("AT+RST",10,"invalid");break;
case 2: sendCommand("AT+CIPMUX=1",5,"OK"); break;
case 3: sendCommand("AT+CIPSTART=0,"TCP","+ HOST +","+ PORT,15,"OK"); break;
case 4: sendCommand("AT+CIPSEND=0," +String(getData.length()+4),4,">"); break;
case 5: esp8266.println(getData);delay(1500);countTrueCommand++; break;
case 6: sendCommand("AT+CIPCLOSE=0",5,"OK"); break;
case 7:
Serial.println(valSensor);
Serial.print(getData);
Serial.print(",");
Serial.println(getData.length());
valSensor = random(100000); // random value, change with sensor value if using sensor
countTrueCommand = 0;
delay(10000);
break;
}
}
void sendCommand(String command, int maxTime, char readReplay[]) {
Serial.print(countTrueCommand);
Serial.print(". at command => ");
Serial.print(command);
Serial.print(" ");
while(countTimeCommand < (maxTime*1))
{
esp8266.println(command);//at+cipsend
if(esp8266.find(readReplay))//ok
{
found = true;
break;
}
countTimeCommand++;
}
if(found == true)
{
Serial.println("OYI");
countTrueCommand++;
countTimeCommand = 0;
}
if(found == false)
{
Serial.println("Fail");
countTrueCommand = 0;
countTimeCommand = 0;
}
found = false;
}
Monitor It!
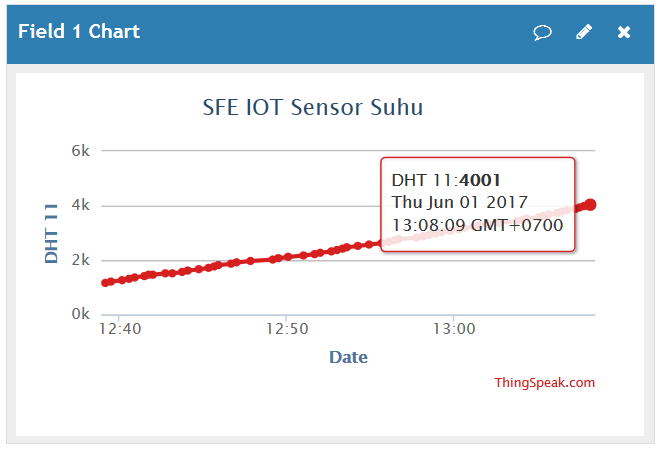
After you upload it, make sure that the Wifi you used connected with internet connection. Then, open serial monitoring to see AT Command data. Data which sent is a random data. You can change it with data of sensor or etc. Here is the value of monitoring result after many data processing.