ESP8266 Digital Thermometer With LCD Display
by Fernando Koyanagi in Circuits > Microcontrollers
2993 Views, 9 Favorites, 0 Comments
ESP8266 Digital Thermometer With LCD Display
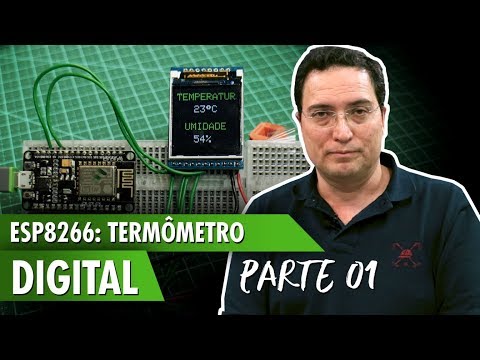
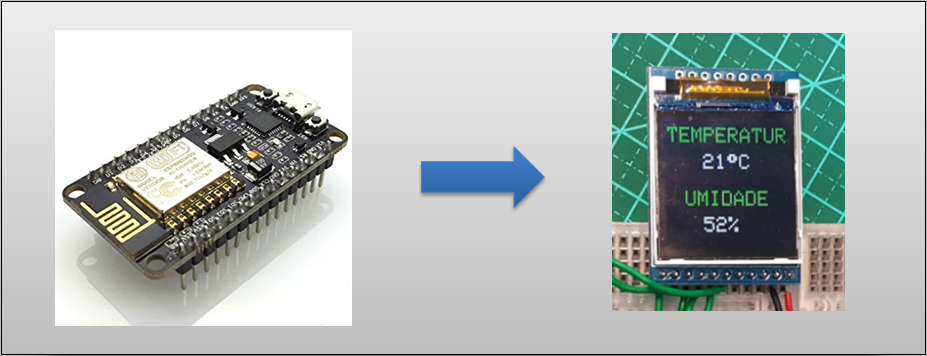
Today, I will show you how to use a TFT LCD display on the ESP8266 NodeMCU to display temperature and humidity data for a given real-time environment. I make an example of using the display with DHT22, which is the temperature and humidity gauge. In this video, specifically, I use a compact display for our digital thermometer, which is graphic and allows monitoring on the system itself. The objective of today, therefore, is to learn about the handling of the liquid crystal display using the ESP8266.
LCD Graphic Module 128x128 RGB TFT ILI 9163C
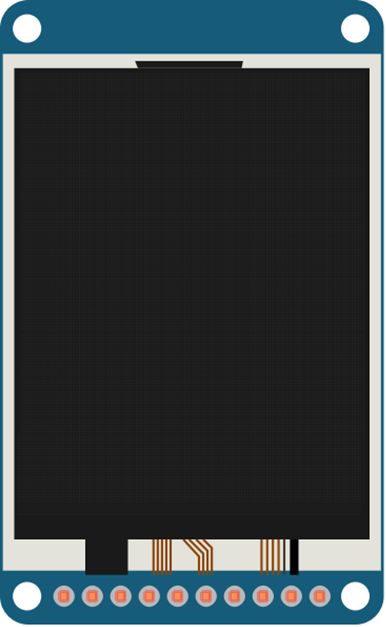
The display we use in this project is 128x128 pixels. The 0,0 is in the upper left corner, and this model has both text-printing and graphic-printing functions, which we will deal with later.
Humidity and Temperature Sensor AM2302 DHT22
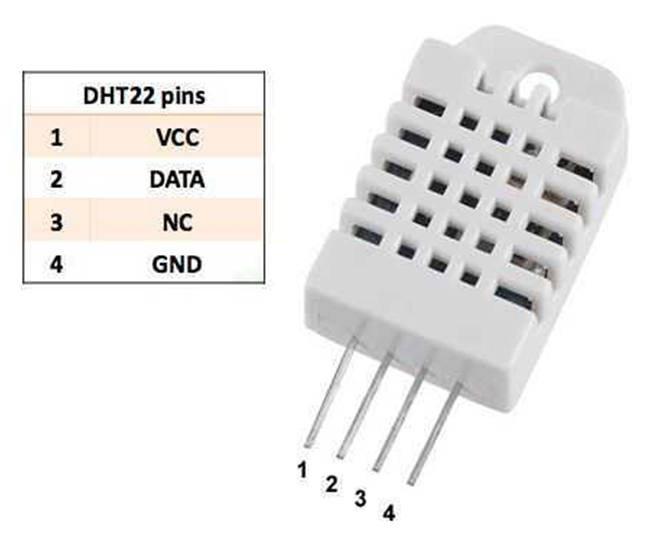
We will use the AM2302 DHT22 in our assembly, which is a sensor that I really like, as it’s very precise.
Circuit
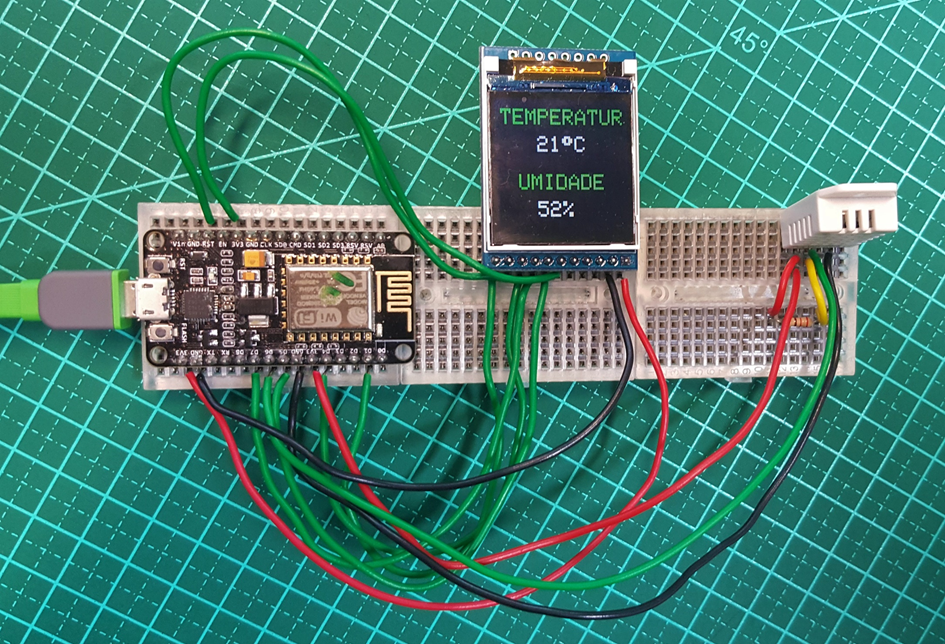
In the project, we have an ESP8266 that is already programmed and using the USB power. The DHT22 is connected to the Data and the pull-up resistor to the ESP8266, which controls the LCD display.
Assembly
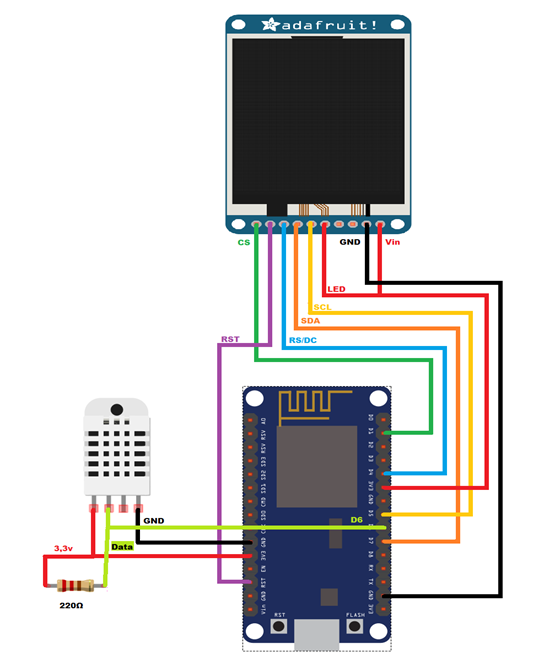
Here, we have the electrical diagram of our assembly, which shows the NodeMCU, the sensor, and the display. Remember that this is a serial display, i2c, which is easier to use because it has more pins.
Library
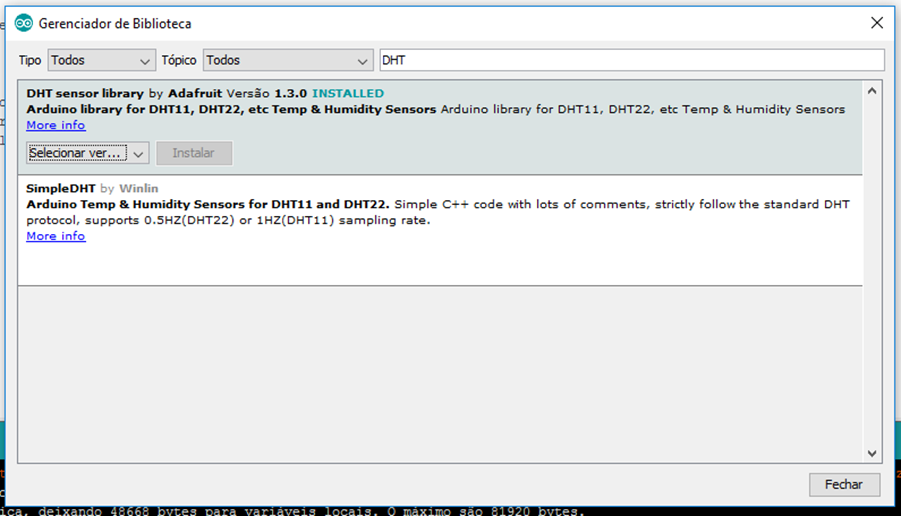
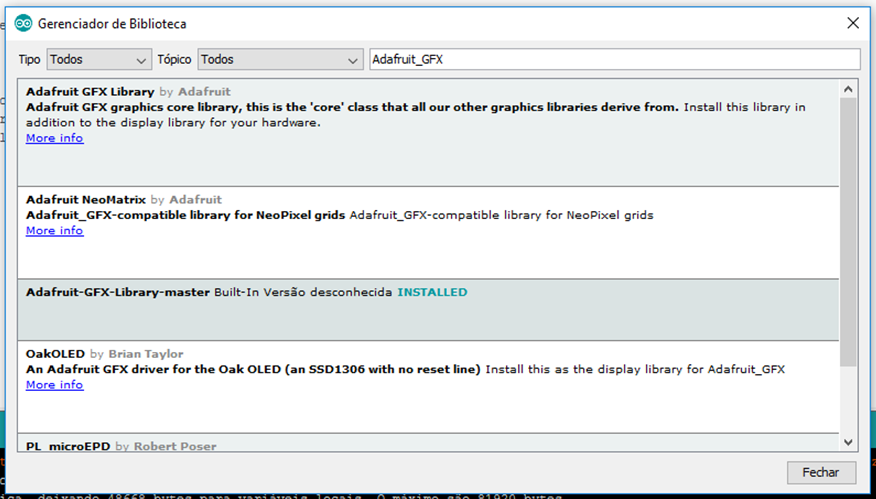
Since we are going to program the display with Arduino C language, we need the DHT22 library, as well as the LCD.
First, add the following "DHT sensor library" library for communication with the humidity and temperature sensor.
Simply access "Sketch >> Include Libraries >> Manage Libraries ..."
Now, add the following library, "Adafruit-GFX-Library-master.”
Simply access "Sketch >> Include Libraries >> Manage Libraries ..."
Also, add the "TFT_ILI9163C" library for communication with the LCD graphic module.
Access the link ((((((https://github.com/sumotoy/TFT_ILI9163C))))) and download the library.
Unzip the file and paste it into the libraries folder of the Arduino IDE.
C: / Program Files (x86) / Arduino / libraries
Code
First let's add the libraries that will be used in our code.
#include <TFT_ILI9163C.h> //utilizada para se comunicar com o módulo LCD
#include <DHT.h> //utilizada para se comunicar com o sensor de umidade e temperatura
Definitions
We will see below the variables that we will use during the program, and the instance of the objects.
#define DHTPIN  D6 // pino que conectaremos o sensor DHT22
#define DHTTYPE DHT22 // DHT22 é o tipo do sensor que utilizaremos (importante para o construtor)

DHT dht(DHTPIN, DHTTYPE); // construtor do objeto que utilizaremos para se comunicar com o sensor


// Color definitions
#define  BLACK   0x0000
#define BLUE    0x001F
#define RED     0xF800
#define GREEN   0x07E0
#define CYAN    0x07FF
#define MAGENTA 0xF81F
#define YELLOW  0xFFE0
#define WHITE   0xFFFF

#define __CS D1 // pino que conectaremos o CS do módulo LCD
#define __DC D4 // pino que conectaremos o RS do módulo LCD

TFT_ILI9163C display = TFT_ILI9163C(__CS, __DC); // construtor do objeto que utilizaremos para se comunicar com o módulo LCD
Setup
In the setup () function, we initialize the variable "dht,” which is responsible for the communication with the humidity sensor and temperature. We will also initialize the "display" variable that is used to communicate with the LCD module.
We will also configure the object to begin drawing on screen.
void setup(void) {
    dht.begin(); // inicialização para se comunicar com o sensor

    display.begin(); // inicialização para se comunicar com o módulo LCD
    display.clearScreen(); // limpa a tela, removendo todos os desenhos
    display.fillScreen(BLACK); // pinta a tela toda de preto
    display.setTextSize(2); // configura o tamanho do texto com o tamanho 2
    display.setTextColor(GREEN); // configura a cor do texto como verde
    display.setCursor(5,10); // posiciona o cursor para começar a escrita a partir do (x,y)
    display.print("TEMPERATUR"); // escreve em tela
    display.setCursor(22,70); // reposiciona o cursor
    display.print("UMIDADE"); // escreve em tela    display.setTextColor(WHITE); // configura a cor do texto como branco (a partir de agora)

    delay(1000); // espera de 1 segundo
}
Loop
In the loop () function, we will retrieve the humidity and temperatures read by the sensor and written on the screen at the specific location. At each interval of 5 seconds, the value is read from the sensor and written on the screen.
void loop()
{

    int h = dht.readHumidity(); // faz a leitura da umidade do sensor
    int t = dht.readTemperature(); // faz a leitura da temperatura do sensor

    //as 2 linhas seguintes utilizando o método “fillRect”, são para fazer a limpeza do local onde escreveremos a umidade e a temperatura, apagaremos o valor atual para escrever novamente atualizado.      display.fillRect(5,32,120,20,BLACK); // fillRect(x,y, width, height, color);
    display.fillRect(5,92,120,20,BLACK);

    display.setCursor(40,35); // reposiciona o cursor para escrever
    display.print(t); // escreve a temperatura em tela
    display.print((char)247); // escreve o símbolo de grau ° através de código
    display.print("C"); // coloca o “C” para indicar que é graus Celcius
    display.setCursor(40,95); // reposiciona o cursor para escrever
    display.print(h); // escreve a umidade em tela
    display.print("%"); // escreve o símbolo de “porcentagem” para indicar a umidade

    delay(5000);
}
Some Other Interesting Functions
// Rotates the contents of the screen (parameters 0,1,2 or 3)
display.setRotation (uint8_t);
// Reverses display colors (makes a negative)
display.invertDisplay (boolean);
// Draws a single pixel on the screen at position (x, y)
display.drawPixel (x, y, color);
// Draws a vertical line in position
display.drawFastVLine (x, y, width, color);
// Draws a vertical line at the specified position
display.drawFastHLine (x, y, width, color);
// Draws a horizontal line at the specified position
display.drawRect (x, y, width, heigh, color);
// Draws a circle at the specified position
display.drawCircle (x, y, radius, color);