ESP8266 Building Blocks: Connect to the Internet
by iotamajig in Circuits > Arduino
15082 Views, 21 Favorites, 0 Comments
ESP8266 Building Blocks: Connect to the Internet

This instructable is part of my series on introducing people to the ESP8266-01 WiFi transceiver. The goal of this series is to act as a basic code repository for easy reuse, as well as to provide some foundational building blocks for people new to the ESP. The "building blocks" series will contain just the basic code needed to complete the object of the instructable, with a (hopefully) thorough explanation of what's going on and why.
Here we're going to upload some code to an ESP8266 that will connect it to your home router. This is a basic, though critical step, as most projects you will build with an ESP need to talk to the internet.
The Code

The following code contains serial debugging messages. Any of the serial lines can be omitted to simplify things.
#include

const char* ssid = "YourRouterSSID";
const char* password = "YourRouterPassword";

int WiFiCon() {
    // Check if we have a WiFi connection, if we don't, connect.
  int xCnt = 0;

  if (WiFi.status() != WL_CONNECTED){

        Serial.println();
        Serial.println();
        Serial.print("Connecting to ");
        Serial.println(ssid);

        WiFi.mode(WIFI_STA);

        WiFi.begin(ssid, password);

        while (WiFi.status() != WL_CONNECTED  && xCnt < 50) {
          delay(500);
          Serial.print(".");
          xCnt ++;
        }

        if (WiFi.status() != WL_CONNECTED){
          Serial.println("WiFiCon=0");
          return 0; //never connected
        } else {
          Serial.println("WiFiCon=1");
          Serial.println("");
          Serial.println("WiFi connected");
          Serial.println("IP address: ");
          Serial.println(WiFi.localIP());
          return 1; //1 is initial connection
        }

  } else {
    Serial.println("WiFiCon=2");
    return 2; //2 is already connected

  }
}


void setup() {

  Serial.begin(115200);

  WiFiCon();

}

void loop() {

  if (WiFiCon() > 0) {
    //do something
  }

  delay(1000);

}
Downloads
Upload Your Code
Update the ssid and password lines to your router's credentials.
Open the serial monitor in the Arduino IDE. This is so once your code uploads, we can see the messages coming over serial from the ESP.
Use a setup like the one laid out here to upload your code.
Once the code is done uploading, you should immediately start to see some messages in the serial monitor. If you don't, power down the ESP, turn the switch off of flash mode, and repower the ESP.
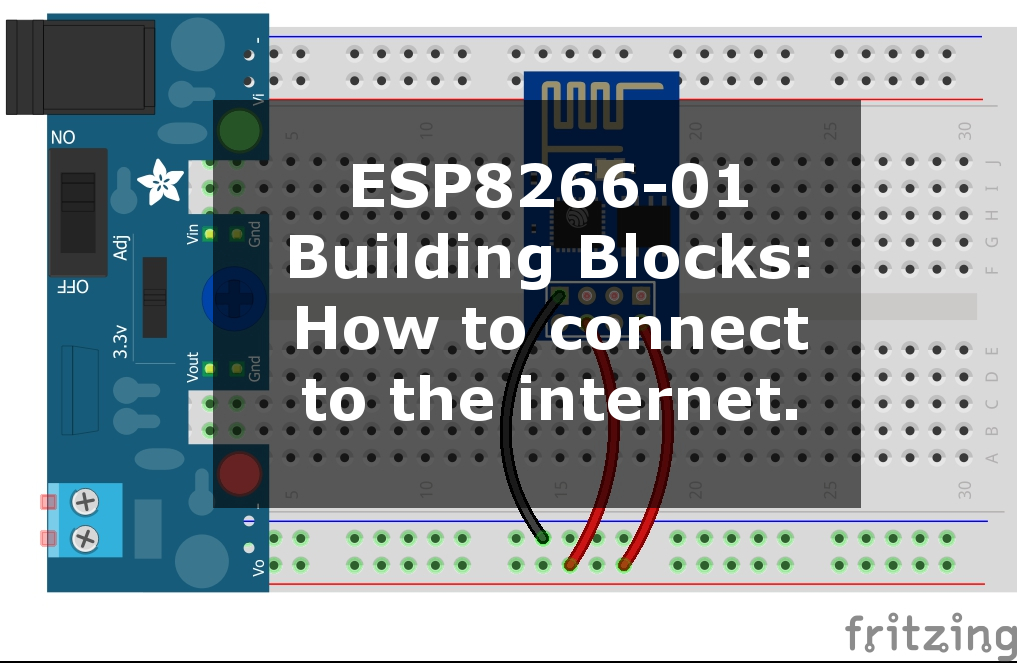
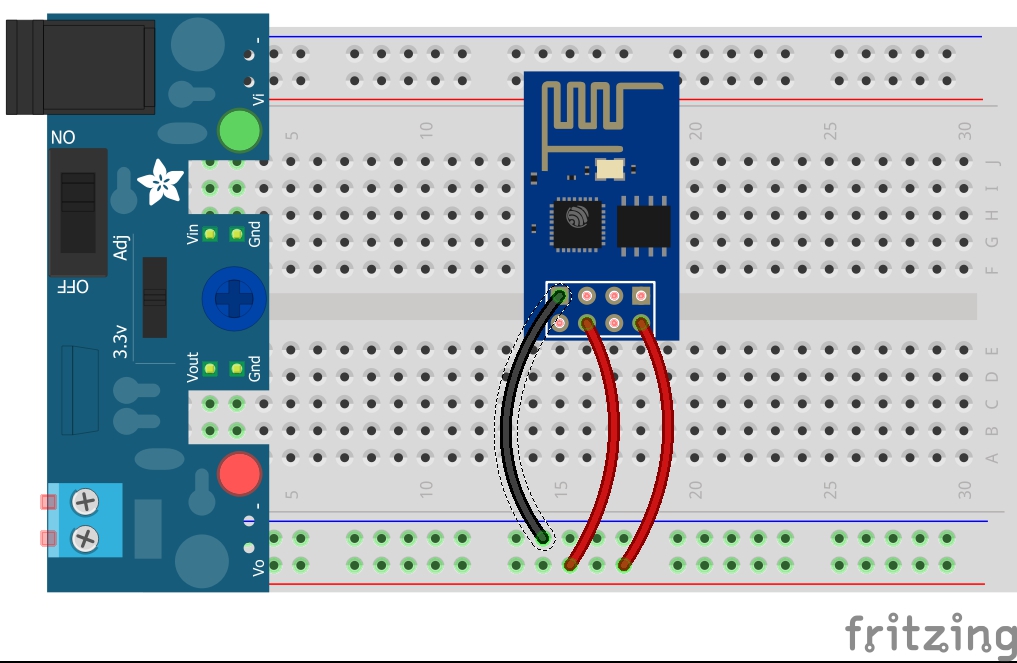
After the code is uploaded, a simple wiring like the one at the top of this page is all you need to actually run the ESP.
Explanation
At its simplest, you only really need one line of code to actually start the WiFi connection:
WiFi.begin(ssid, password);
The code here is a little more robust than that so that it can be safely added to projects that need stability to run over long periods.
The core part of the code is built into the WiFiCon() function. This function will return an integer when called by other code that can be used to decision other actions. For example, I have a data logging project that logs data to a local file, and then attempts to upload it to an internet server. However, the router and modem are powered by solar - and on cloudy days they may be off for long periods (though the ESP stays on). By using the code here, I can check to see if we have an internet connection. If we do, I would upload the data. If not, it would just keep logging the data to the file until such a time it can upload it.
Some people complain about the reliability of the ESP WiFi connection. Most of the issues I've seen appear to be on underpowered units. Always make sure your power supply can handle the needs of your components. Though even if you get a fluky module, this code should help to keep the internet connection by reconnecting if there should be a drop for whatever reason.
You'll notice a while loop in the function that checks the connection and checks a counter. I give it 50 tries before giving up. It usually connects in less than 10.
The call to WiFiCon() in the setup function is more of an example on how you can call functions, as it's redundant to the call in the loop function. In setup, we are just calling it to initialize it, and we don't care what it returns, hence no test on its value.
In the loop function, we do check its value and take action. No action was provided in the example, as that will of course depend on what you need to do in your project!
One last note on the line:
WiFi.mode(WIFI_STA);
This line isn't totally necessary. The WiFi.begin command will set the ESP into station mode. I like to set the mode explicitly to avoid unexpected surprises when I reuse ESPs across projects. If you used it in AP mode (access point) for a previous project, and fail to set the mode to station in your new project, it can in effect work both ways. This won't necessarily cause issues, but there is extra overhead going on if you only need it in station mode and find it's also still broadcasting the previously setup AP SSID. So we include that mode line and then we KNOW what it will do.