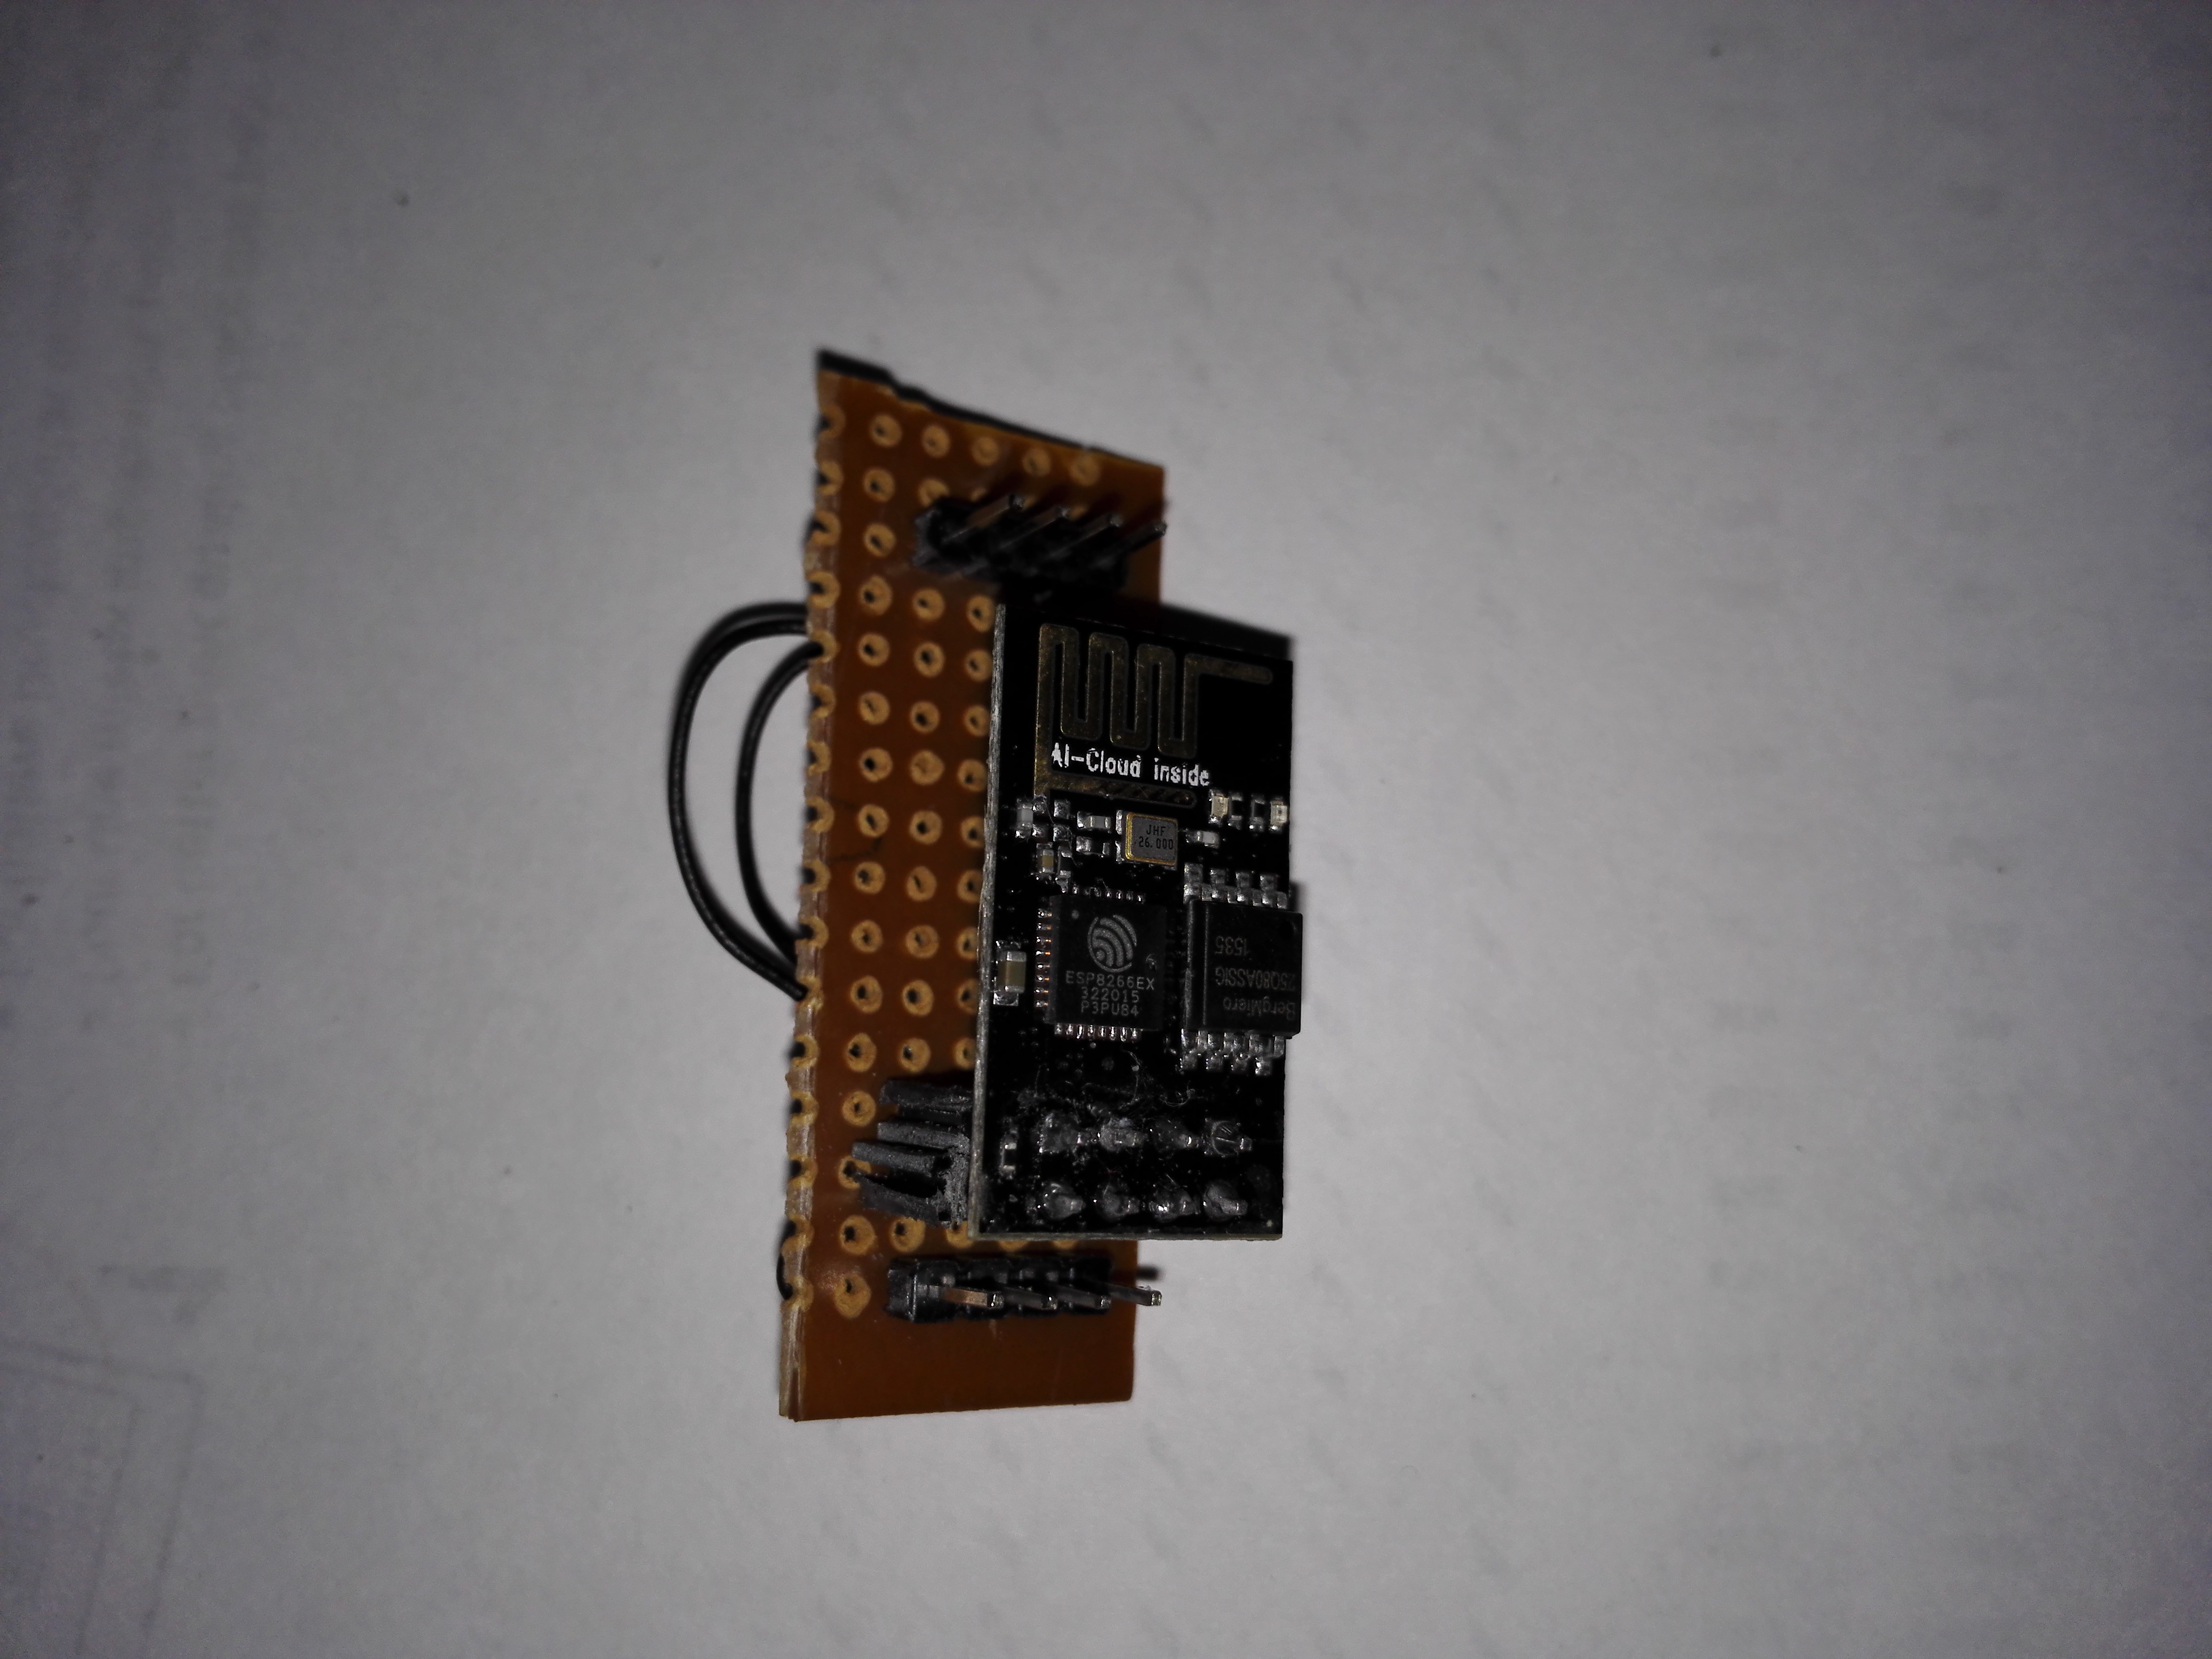
ESP8266-01 Adapter


ESP8266-01 is a great tiny little board, hoever it is not breadboard friendly due to very close proximity of 4 pins each in parallel. We decided to make a tiny adapter to make it easier to connect.
What You Need.


Well we need...
1. general PCB
2. berg strips male and female
3. connecting wire
4. Soldering iron
5. multimeter
etc
1. general PCB
2. berg strips male and female
3. connecting wire
4. Soldering iron
5. multimeter
etc
Prepare, Solder and Test.


We need to cut small pieces of connecting wire.
Cut berg strips in pieces of 4 holes n 4 pins.
Push them up on PCB piece by leaving appropriate space in between.
We made it like this because we have lot of male female jumper wires.
You can put male pins on the other side and solder so that this adapter can be directly pushed on the breadboard or you can use thin enameled copper wire and solder it to male pins by threading it through PCB holes and soldering to male pins on the non metalic side of PCB.
Check all connection and cross connection via you multimeter and you are done.
We later used this to control an LED over wifi network, which is sort of beginning of our large project which controls LED strips and home electronics over wifi.
More on that soon.