ESP32 Based M5Stack M5stick C Weather Monitor With DHT11 | Monitor Temperature Humidity & Heat Index on M5stick-C With DHT11
by Utsource in Circuits > Arduino
8108 Views, 8 Favorites, 0 Comments
ESP32 Based M5Stack M5stick C Weather Monitor With DHT11 | Monitor Temperature Humidity & Heat Index on M5stick-C With DHT11
Hi guys, in this instructables we will learn how to interface DHT11 temperature sensor with m5stick-C (a development board by m5stack) and display it on the display of m5stick-C.
So in this tutorial we will read the temperature, humidity & heat index from DHT11 and print it on m5stack m5stick-C using Arduino IDE.
So we will make a temperature monitoring device with m5stick C and DHT11.
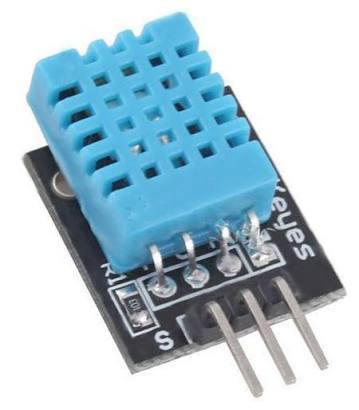
Things You Need
.jpg)
.jpg)
1 - m5stick-C development board
2- DHT11 Temperature sensor
3-Few jumper wires
4-Type C usb cable for Programming
Setting UP Arduino IDE for ESP32 Boards
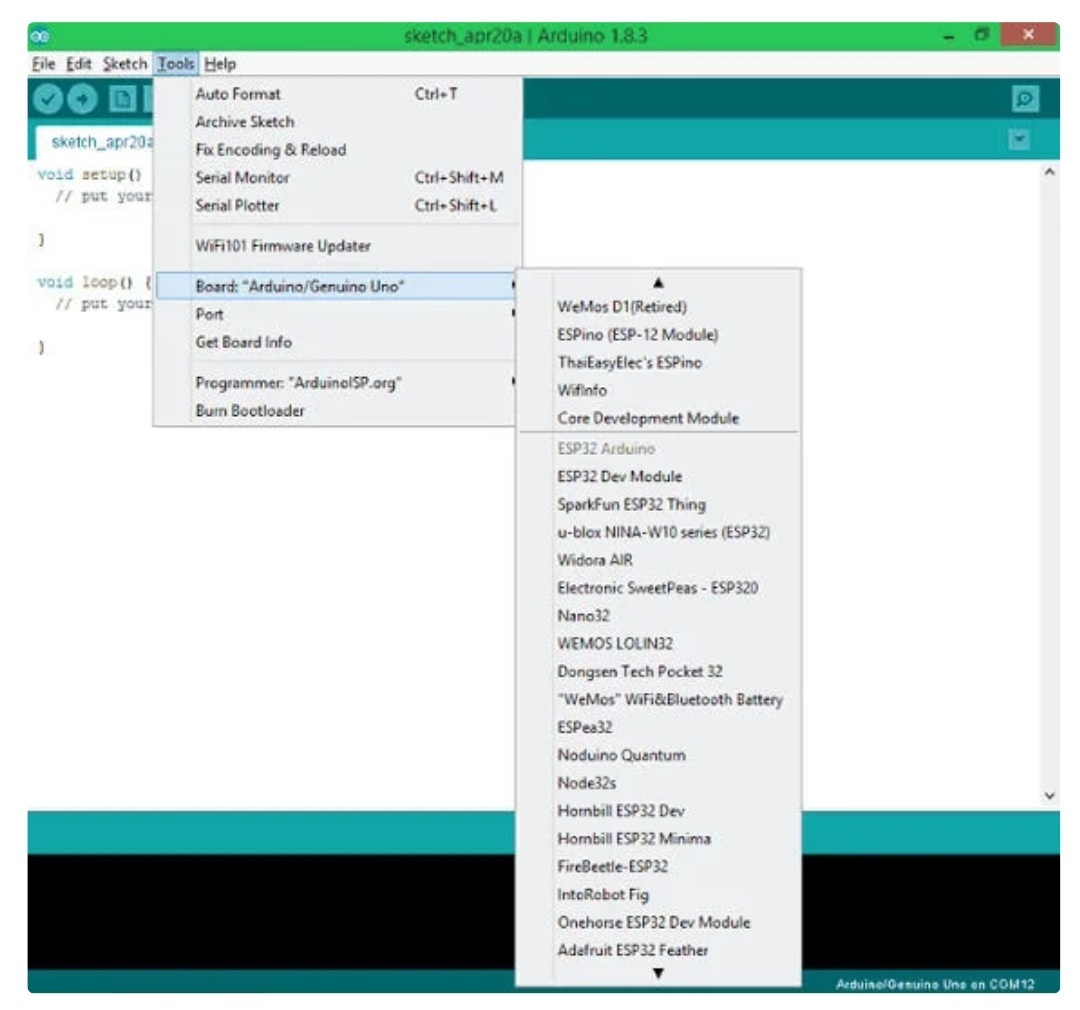
Make sure you installed ESP32 boards in your Arduino IDE and if it is not the case then make please follow the following instructables to do that :
ESP32 BOARDS INSTALL : https://www.instructables.com/id/Getting-Started-...
Installing Libraries
.png)
.png)
Then Search for “DHT” in the Search box and install these DHT library in Arduino ide.
After installing these DHT library, type “Adafruit Unified Sensor” in the search box & Scroll all the way down to find the library and install it and you are ready to code.
Connections
.jpg)
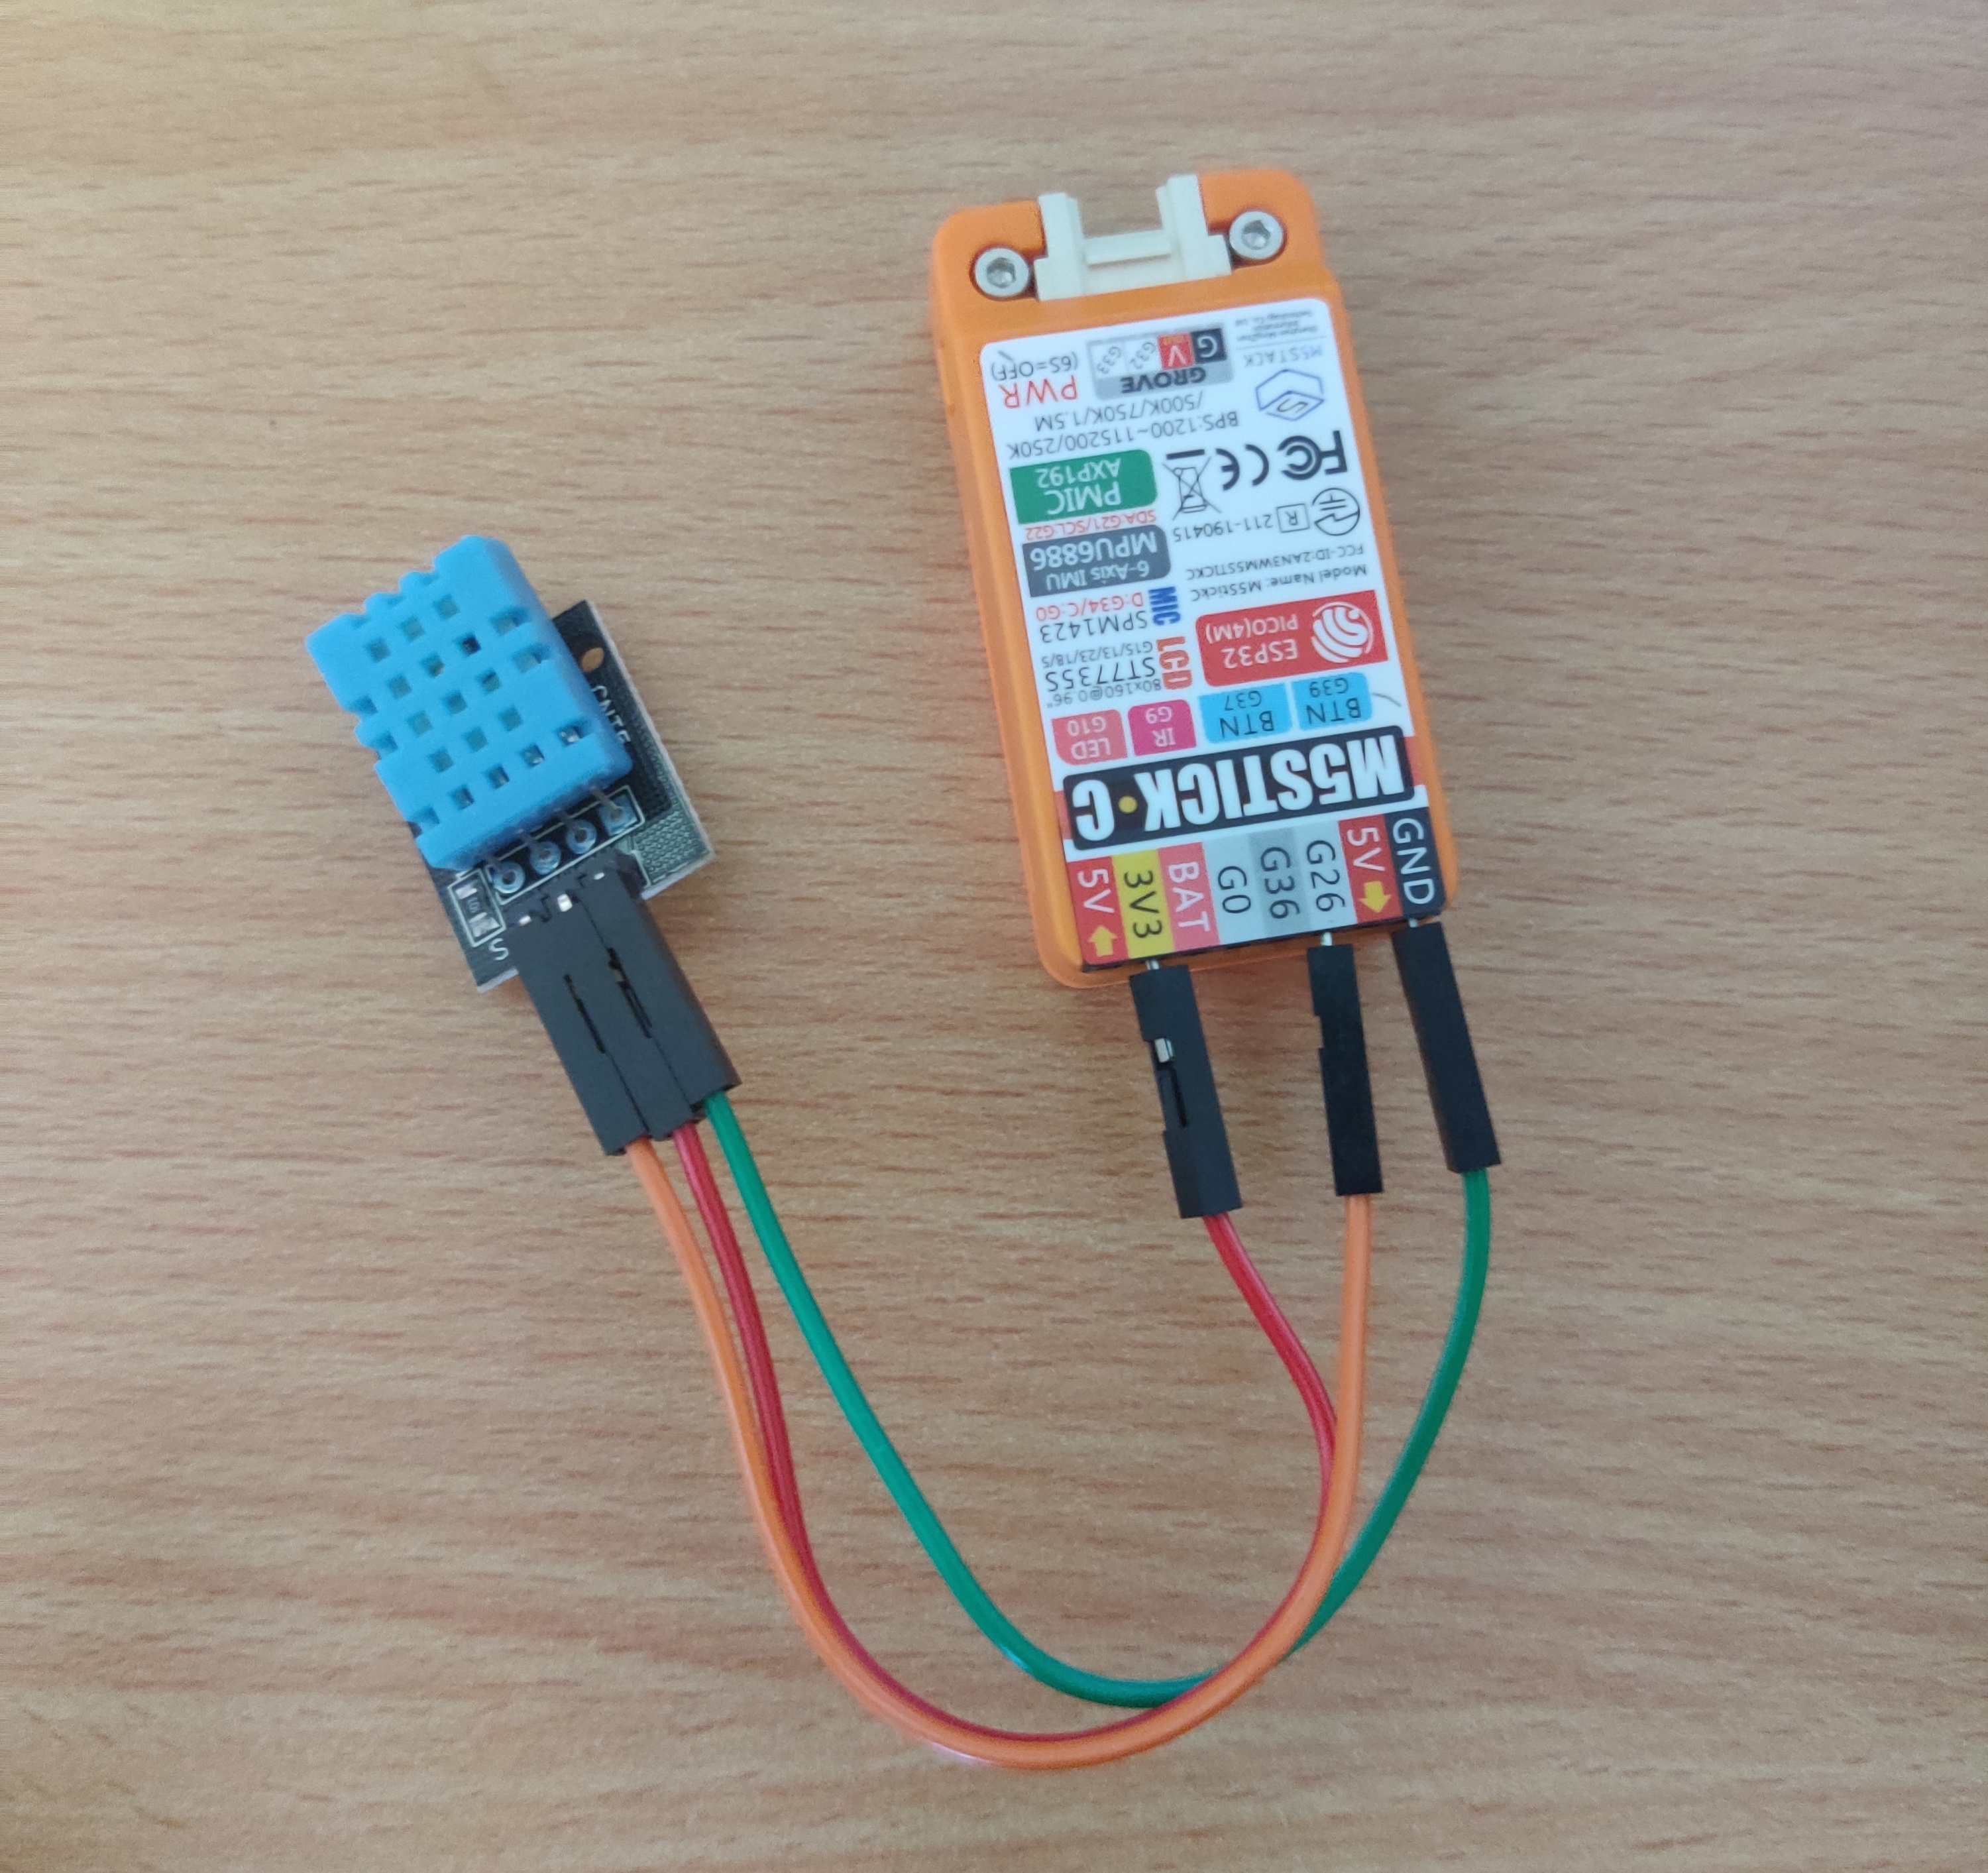
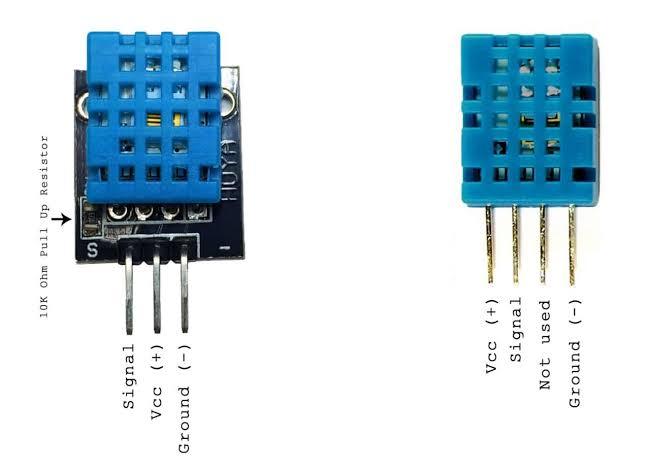
DHT11 pin 1 (signal pin) : will be connected to G26 of m5stick-C
DHT11 pin 2 ( VCC) : will go to 3v3 pin of m5stick-C
DHT11 pin 3 (GND) : will go to GND pin of m5stick-C
Code
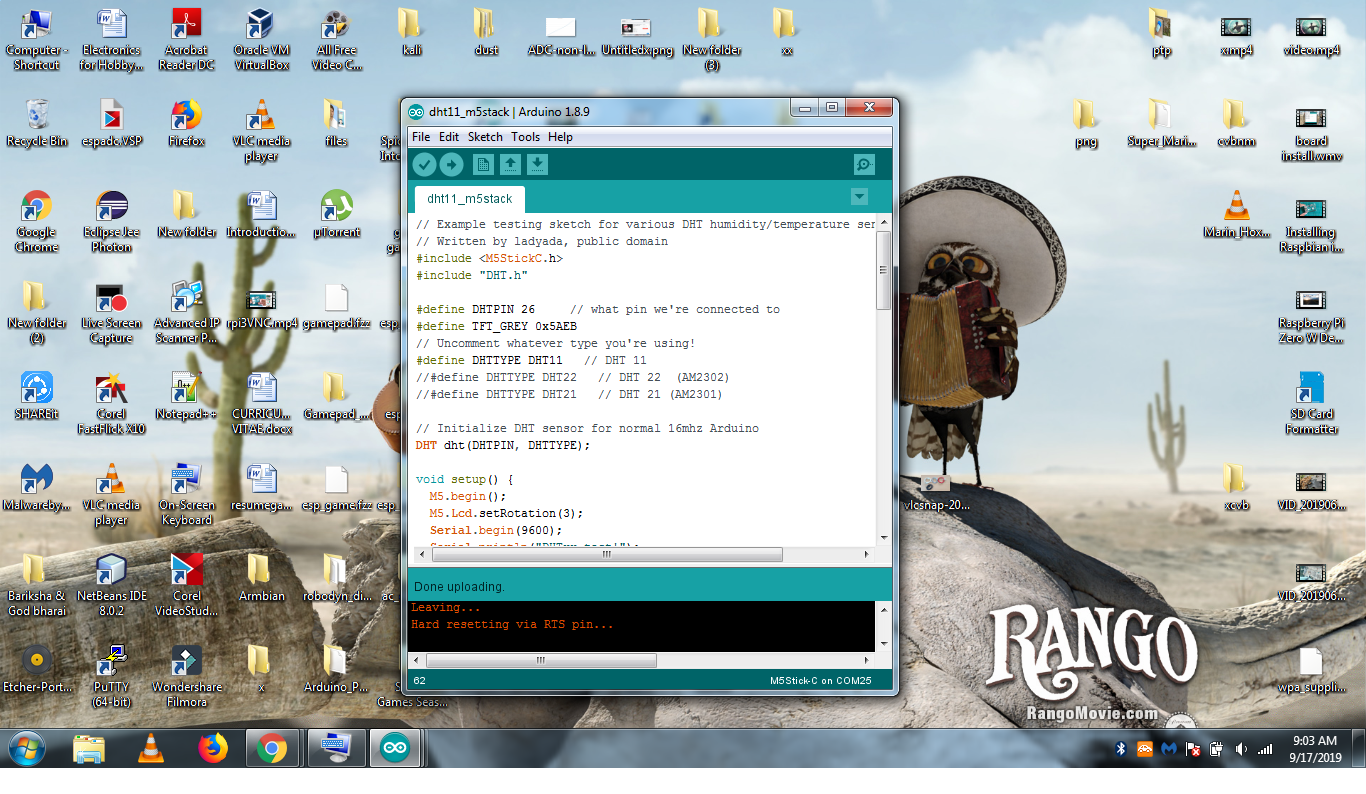
Copy the following code from description and Upload it to your m5stick-C development board :
// Example testing sketch for various DHT humidity/temperature sensors
#include "M5stickC.h"
#include "DHT.h"
#define DHTPIN 26 // what pin we're connected to
#define TFT_GREY 0x5AEB
// Uncomment whatever type you're using!
#define DHTTYPE DHT11 // DHT 11
//#define DHTTYPE DHT22 // DHT 22 (AM2302)
//#define DHTTYPE DHT21 // DHT 21 (AM2301)
// Initialize DHT sensor for normal 16mhz Arduino
DHT dht(DHTPIN, DHTTYPE);
void setup() {
M5.begin();
M5.Lcd.setRotation(3);
Serial.begin(9600);
Serial.println("DHTxx test!");
dht.begin();
}
void loop() {
// Wait a few seconds between measurements.
delay(2000);
M5.Lcd.fillScreen(TFT_GREY);
// Reading temperature or humidity takes about 250 milliseconds!
// Sensor readings may also be up to 2 seconds 'old' (its a very slow sensor)
float h = dht.readHumidity();
// Read temperature as Celsius
float t = dht.readTemperature();
// Read temperature as Fahrenheit
float f = dht.readTemperature(true);
// Check if any reads failed and exit early (to try again).
if (isnan(h) || isnan(t) || isnan(f)) {
Serial.println("Failed to read from DHT sensor!");
return;
}
M5.Lcd.setCursor(0, 0, 2);
M5.Lcd.setTextColor(TFT_WHITE,TFT_BLACK);
M5.Lcd.setTextSize(1);
// Compute heat index
// Must send in temp in Fahrenheit!
float hi = dht.computeHeatIndex(f, h);
M5.Lcd.println("");
M5.Lcd.print("Humidity: ");
M5.Lcd.println(h);
Serial.print("Humidity: ");
Serial.print(h);
Serial.print(" %\t");
M5.Lcd.setTextColor(TFT_YELLOW,TFT_BLACK);
M5.Lcd.setTextFont(2);
M5.Lcd.print("Temperature: ");
M5.Lcd.println(t);
Serial.print("Temperature: ");
Serial.print(t);
Serial.print(" *C ");
Serial.print(f);
Serial.print(" *F\t");
M5.Lcd.setTextColor(TFT_GREEN,TFT_BLACK);
M5.Lcd.setTextFont(2);
M5.Lcd.print("Heat index: ");
M5.Lcd.println(hi);
Serial.print("Heat index: ");
Serial.print(hi);
Serial.println(" *F");
}
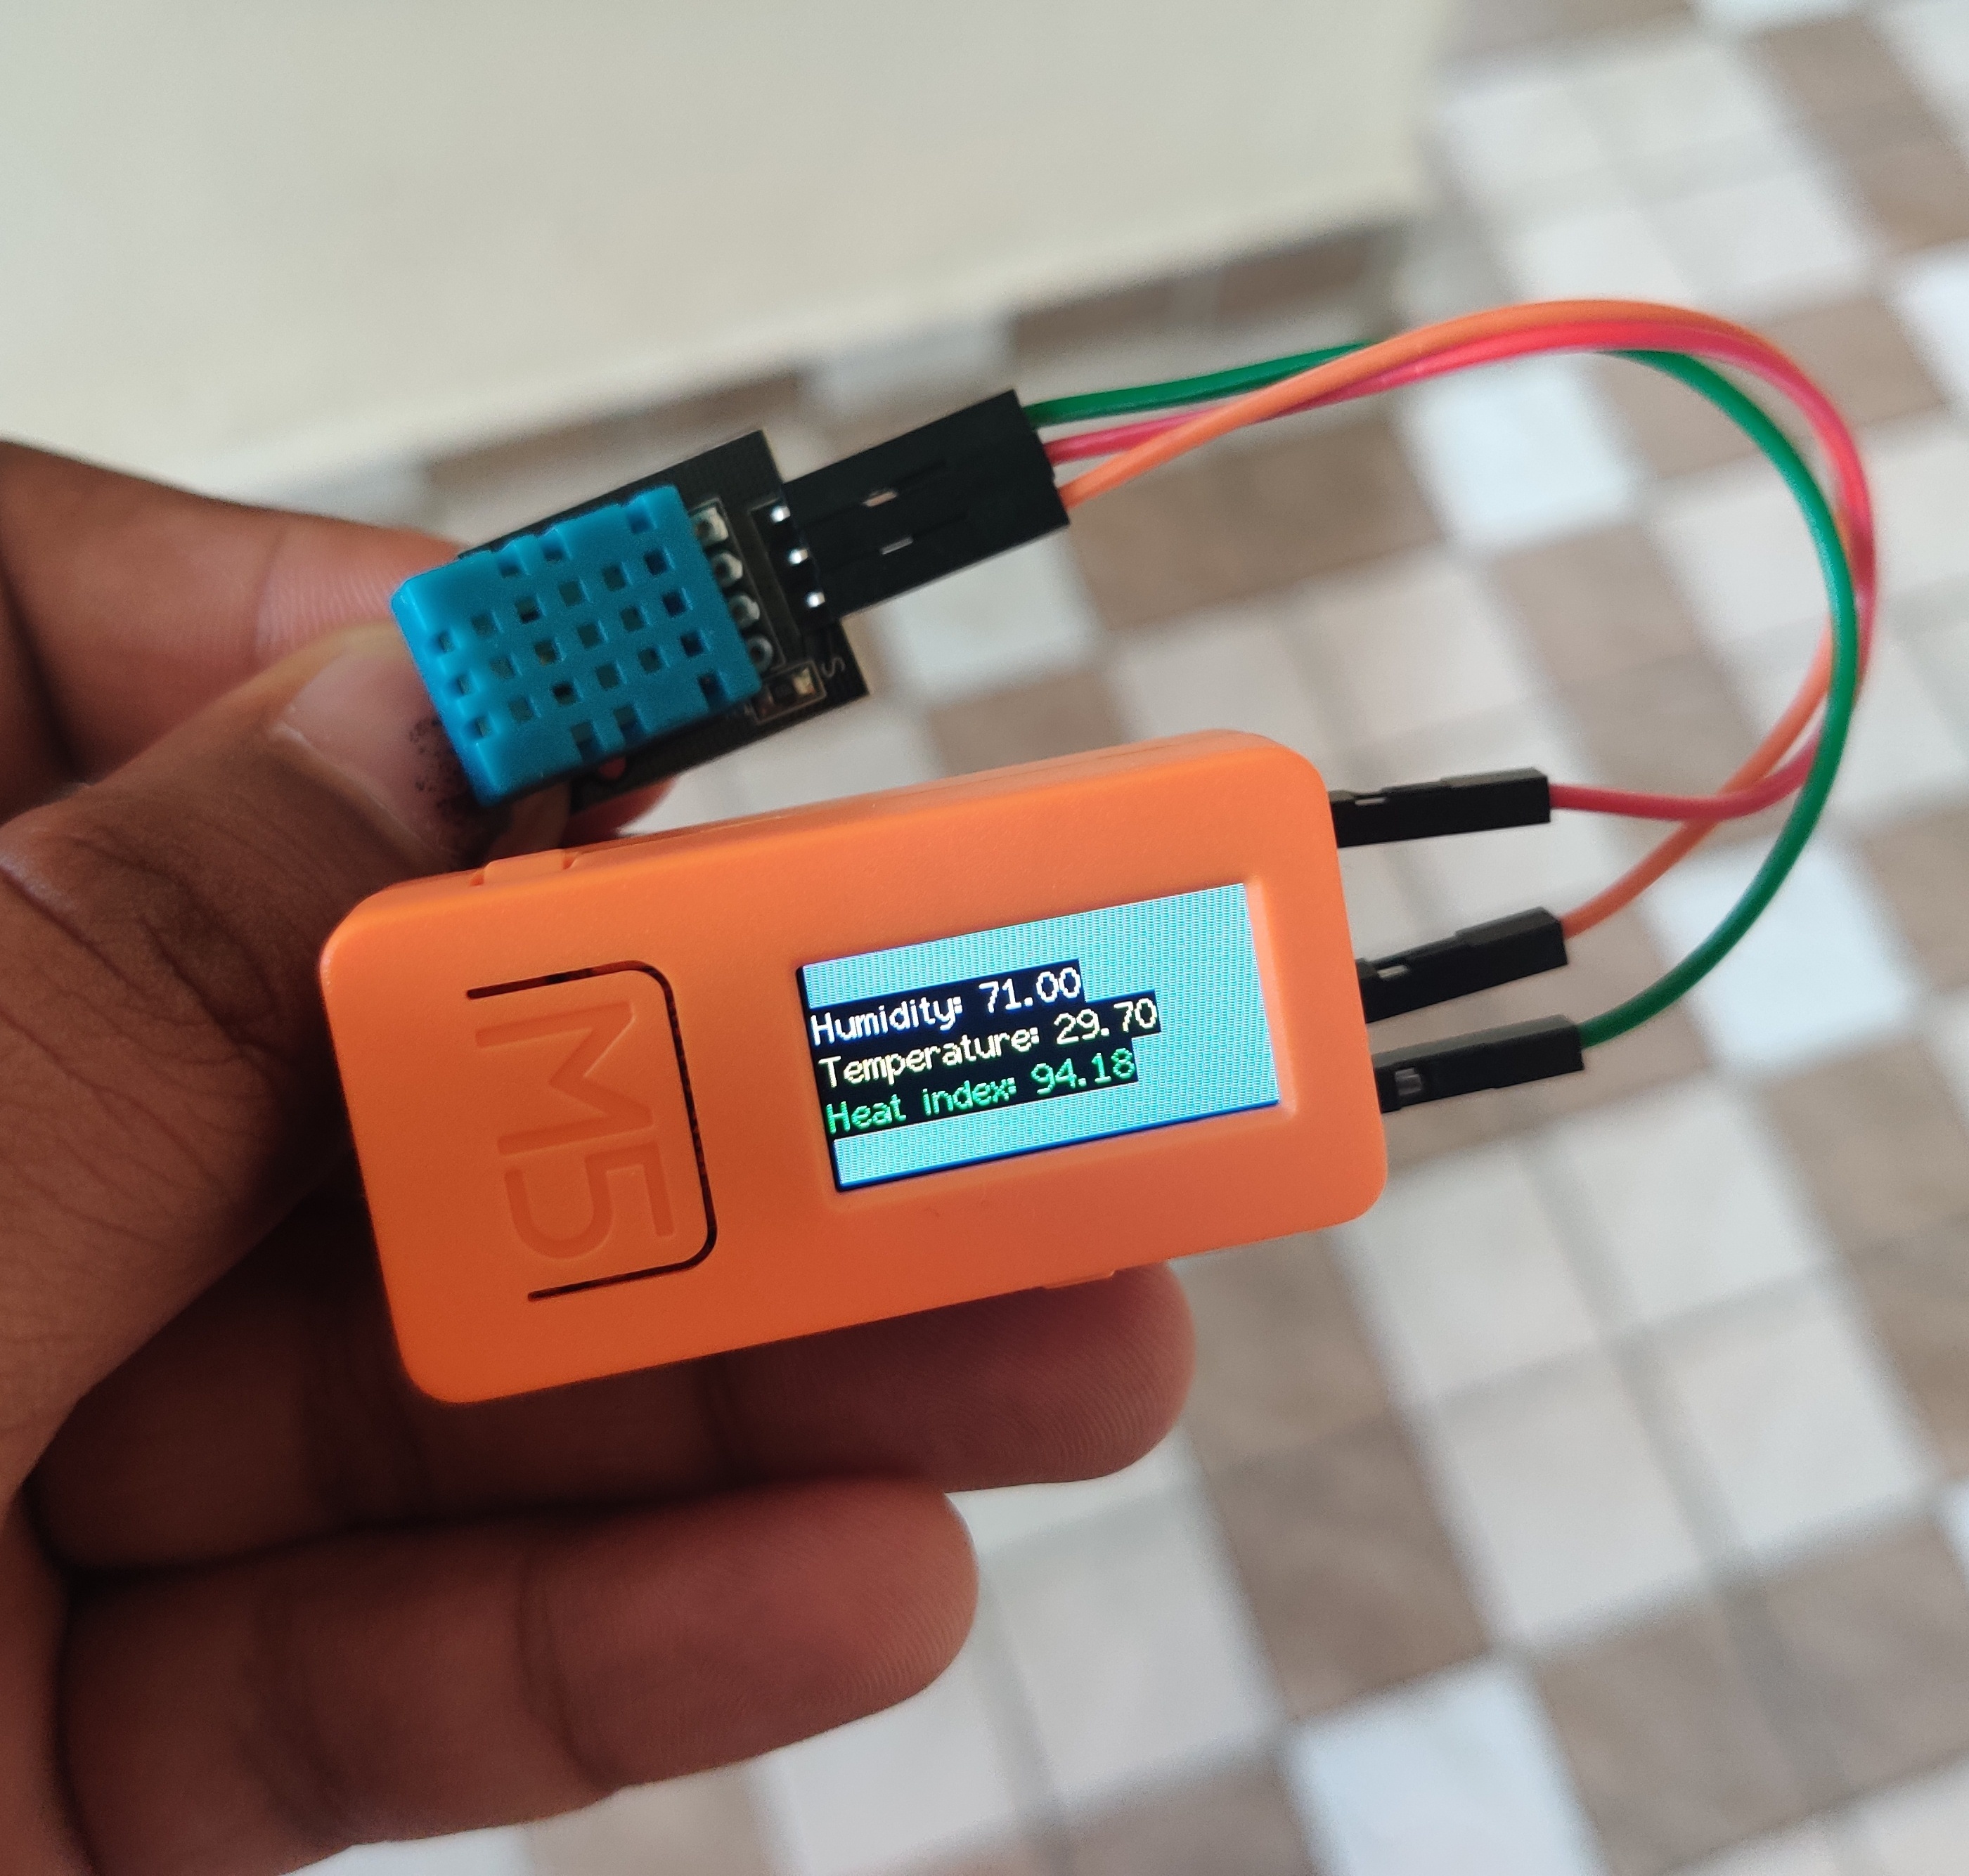
Output
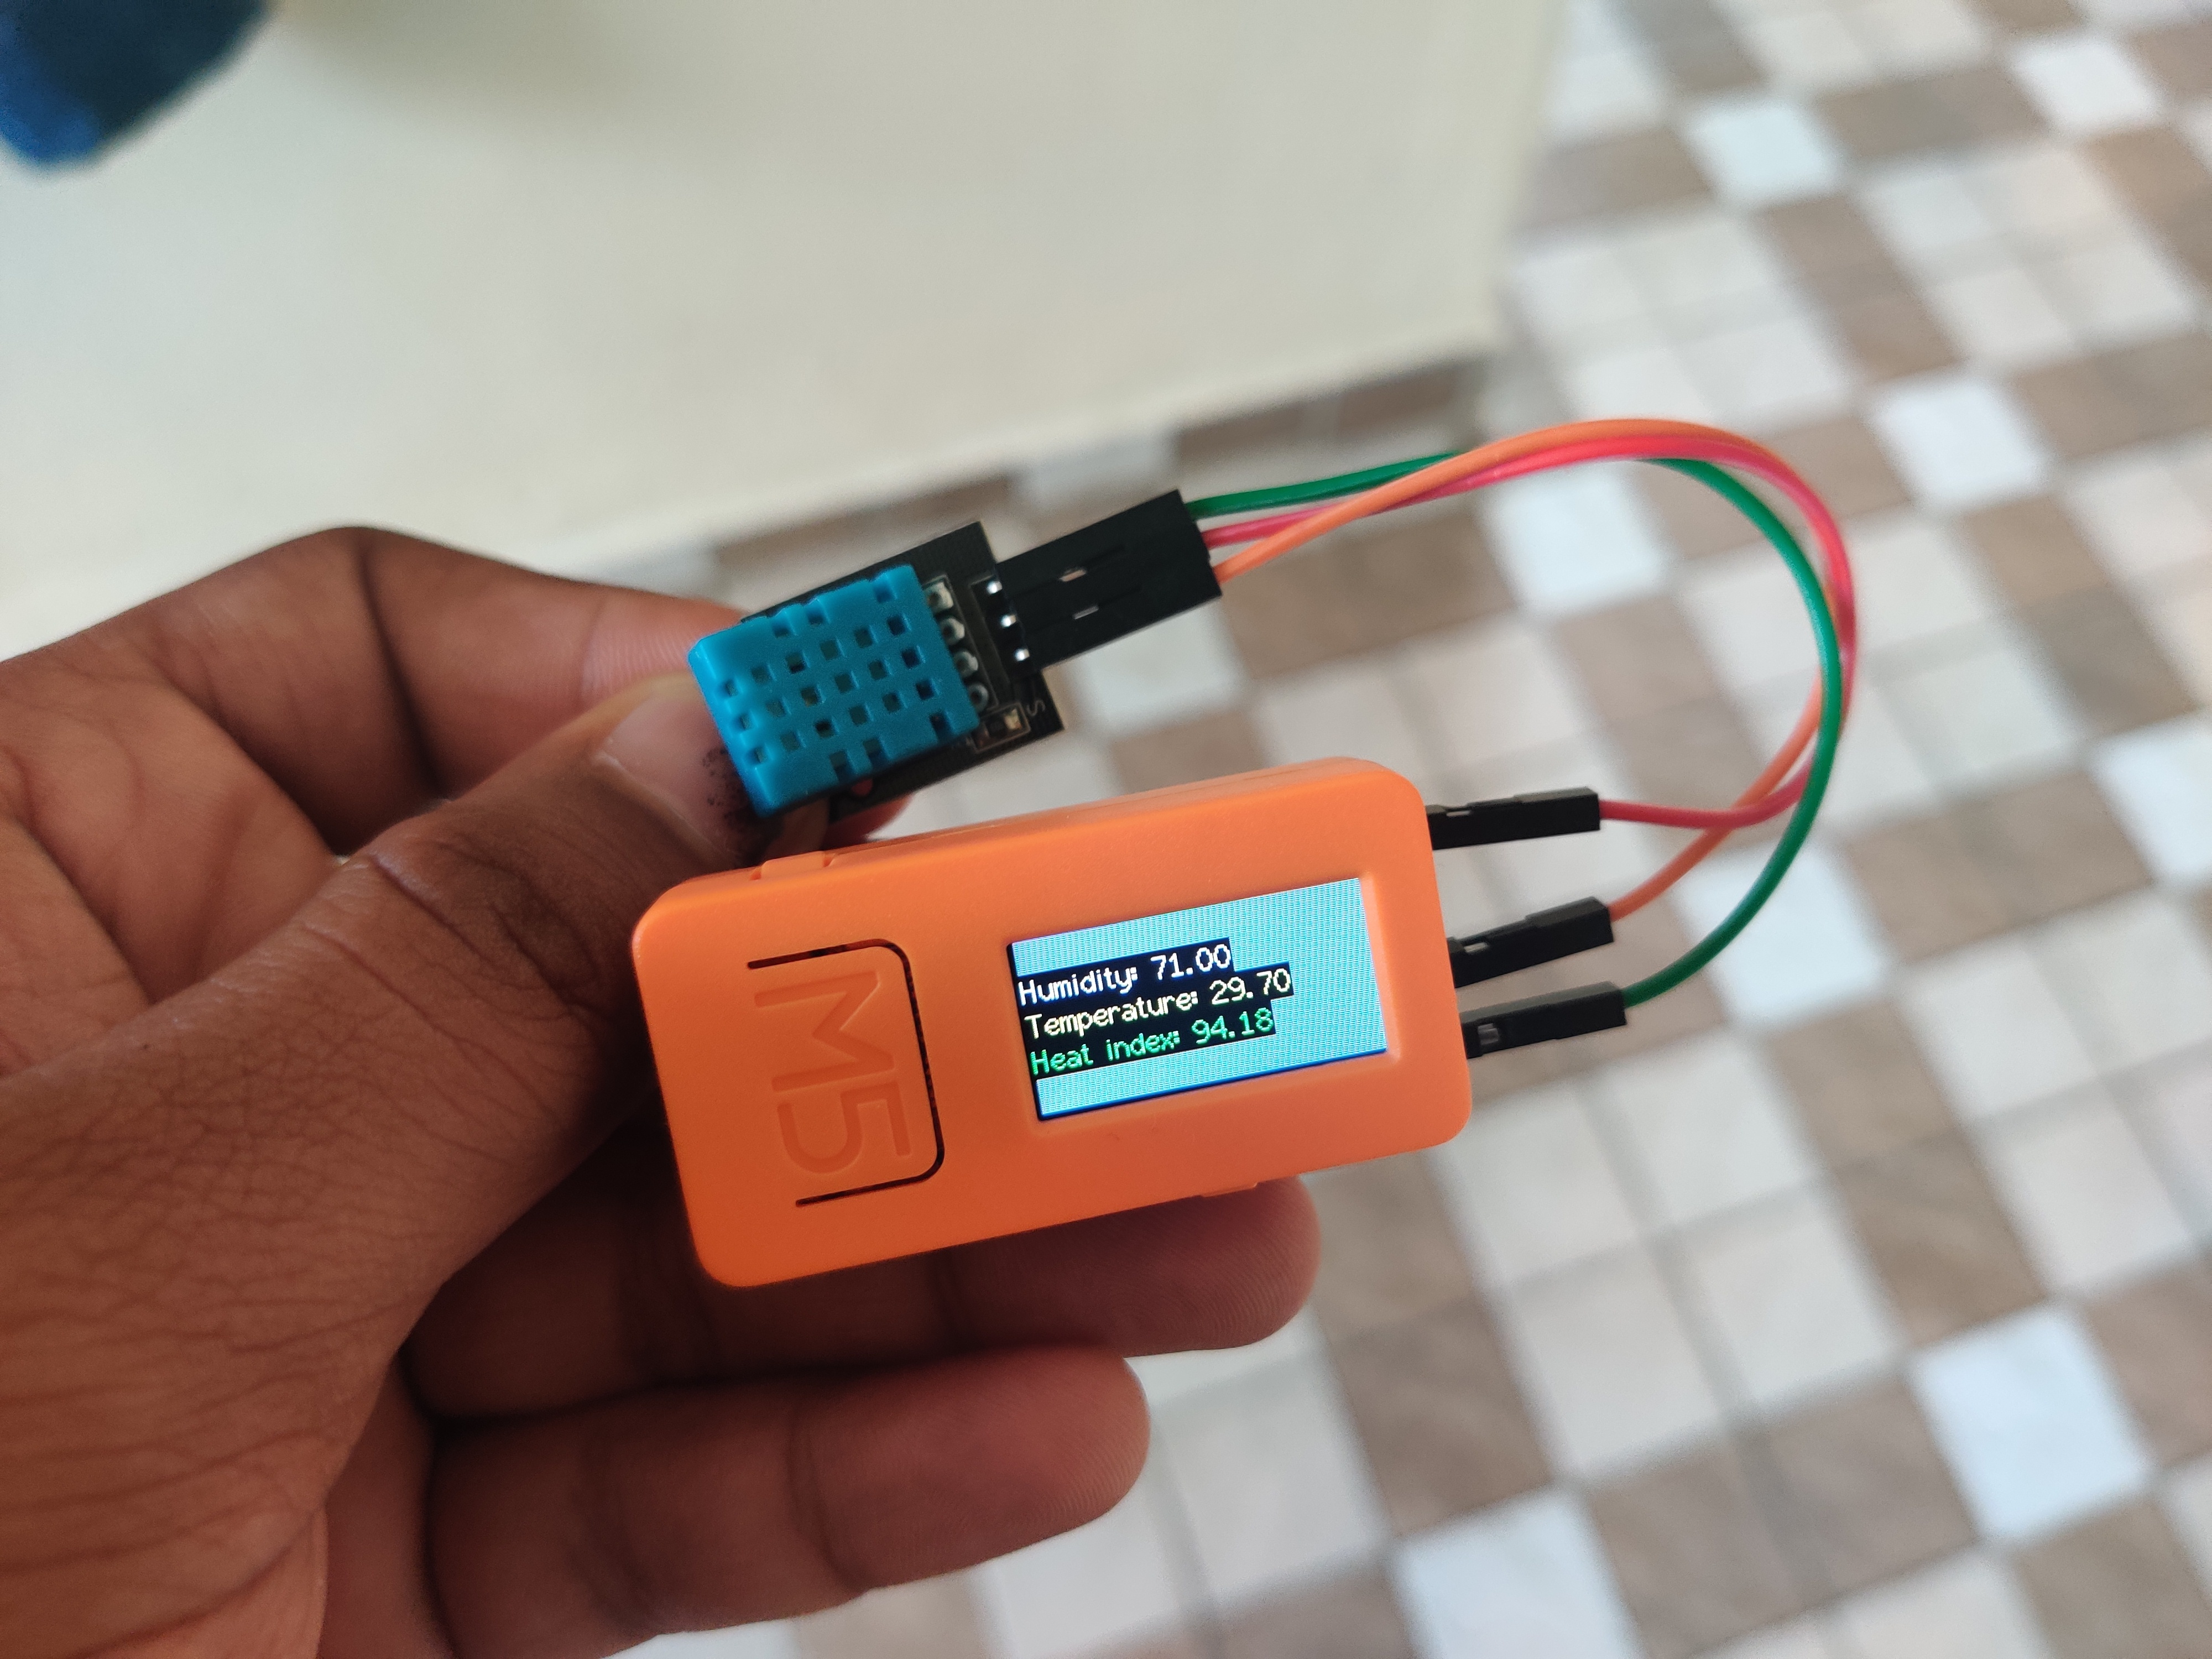
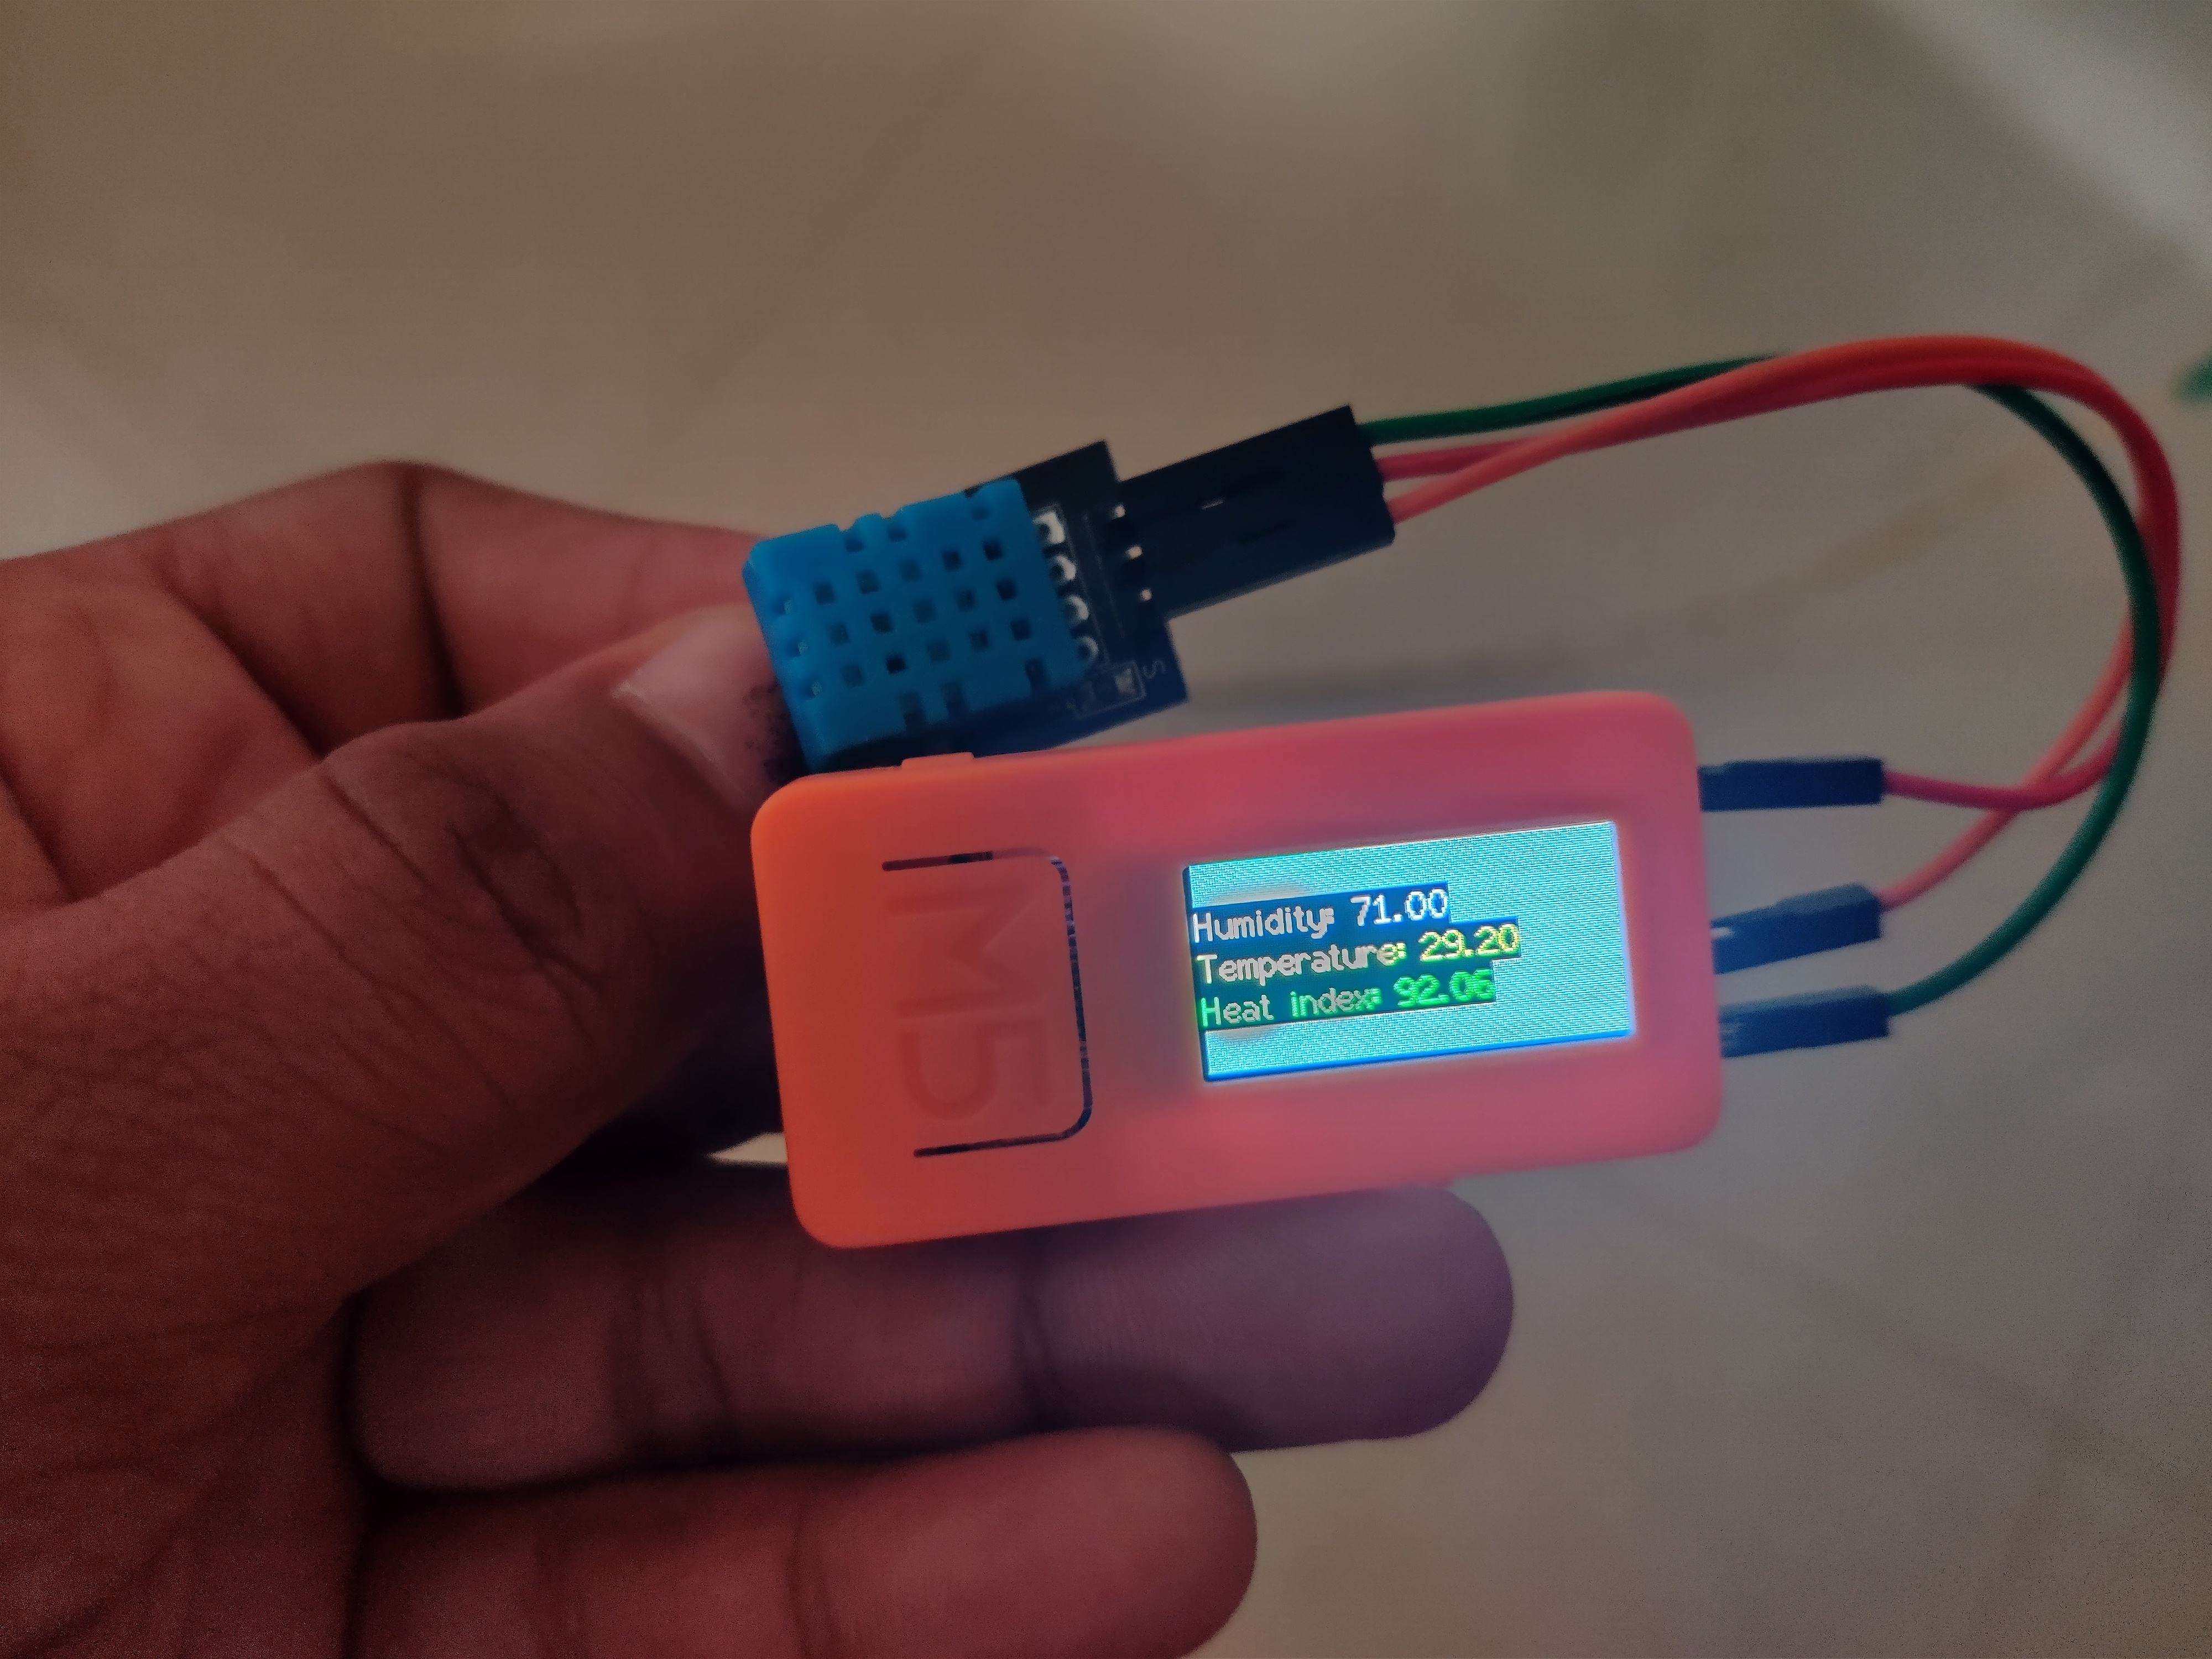

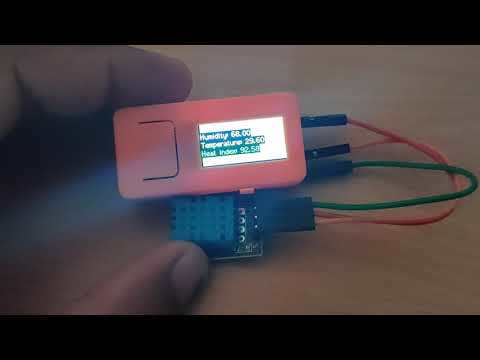
After uploading the code you will able to see temperature, humidity & heat index on the display as the output.
Please refer the video to see proper output of temperature humidity & heat index of DHT11.