ESP32 Arduino Smartwatch Detector With Buzzer
by AbhishekGhosh in Circuits > Arduino
2625 Views, 3 Favorites, 0 Comments
ESP32 Arduino Smartwatch Detector With Buzzer
The buzzer will beep and LED will be on in presence of your watch. You can modify the character of the beep. We are filtering the BLE devices and make ESP32 to respond to only our watch by supplying the MAC in our code. Instead of the buzzer and LED, you can use a relay to control the electronics of your house and a caravan.
I published this guide on our technology blog. This intractable is a simplified form of that series and made to be in few steps avoiding the long discussion. If you face any issue with any step, you'll find a detailed guide on that step on our blog. My present modification makes the DIY effort some what professional.
My present working code is modification of codes by many peoples including Lindermann95's ESP32 BLE Presence Detector project. You can further modify this project for AC appliances following his circuit diagram for the required electronics part.
Required Setup and Tools
.jpg)
The things you need for this projects are :
- An ESP32
- The ESP32 must be configured with Arduino IDE (there are plenty of guides on the web)
- Tweak Arduino IDE to allow bigger sketch and avoid too large sketch error (I have a guide to avoid ESP32 Sketch Too Big Error, you can follow it)
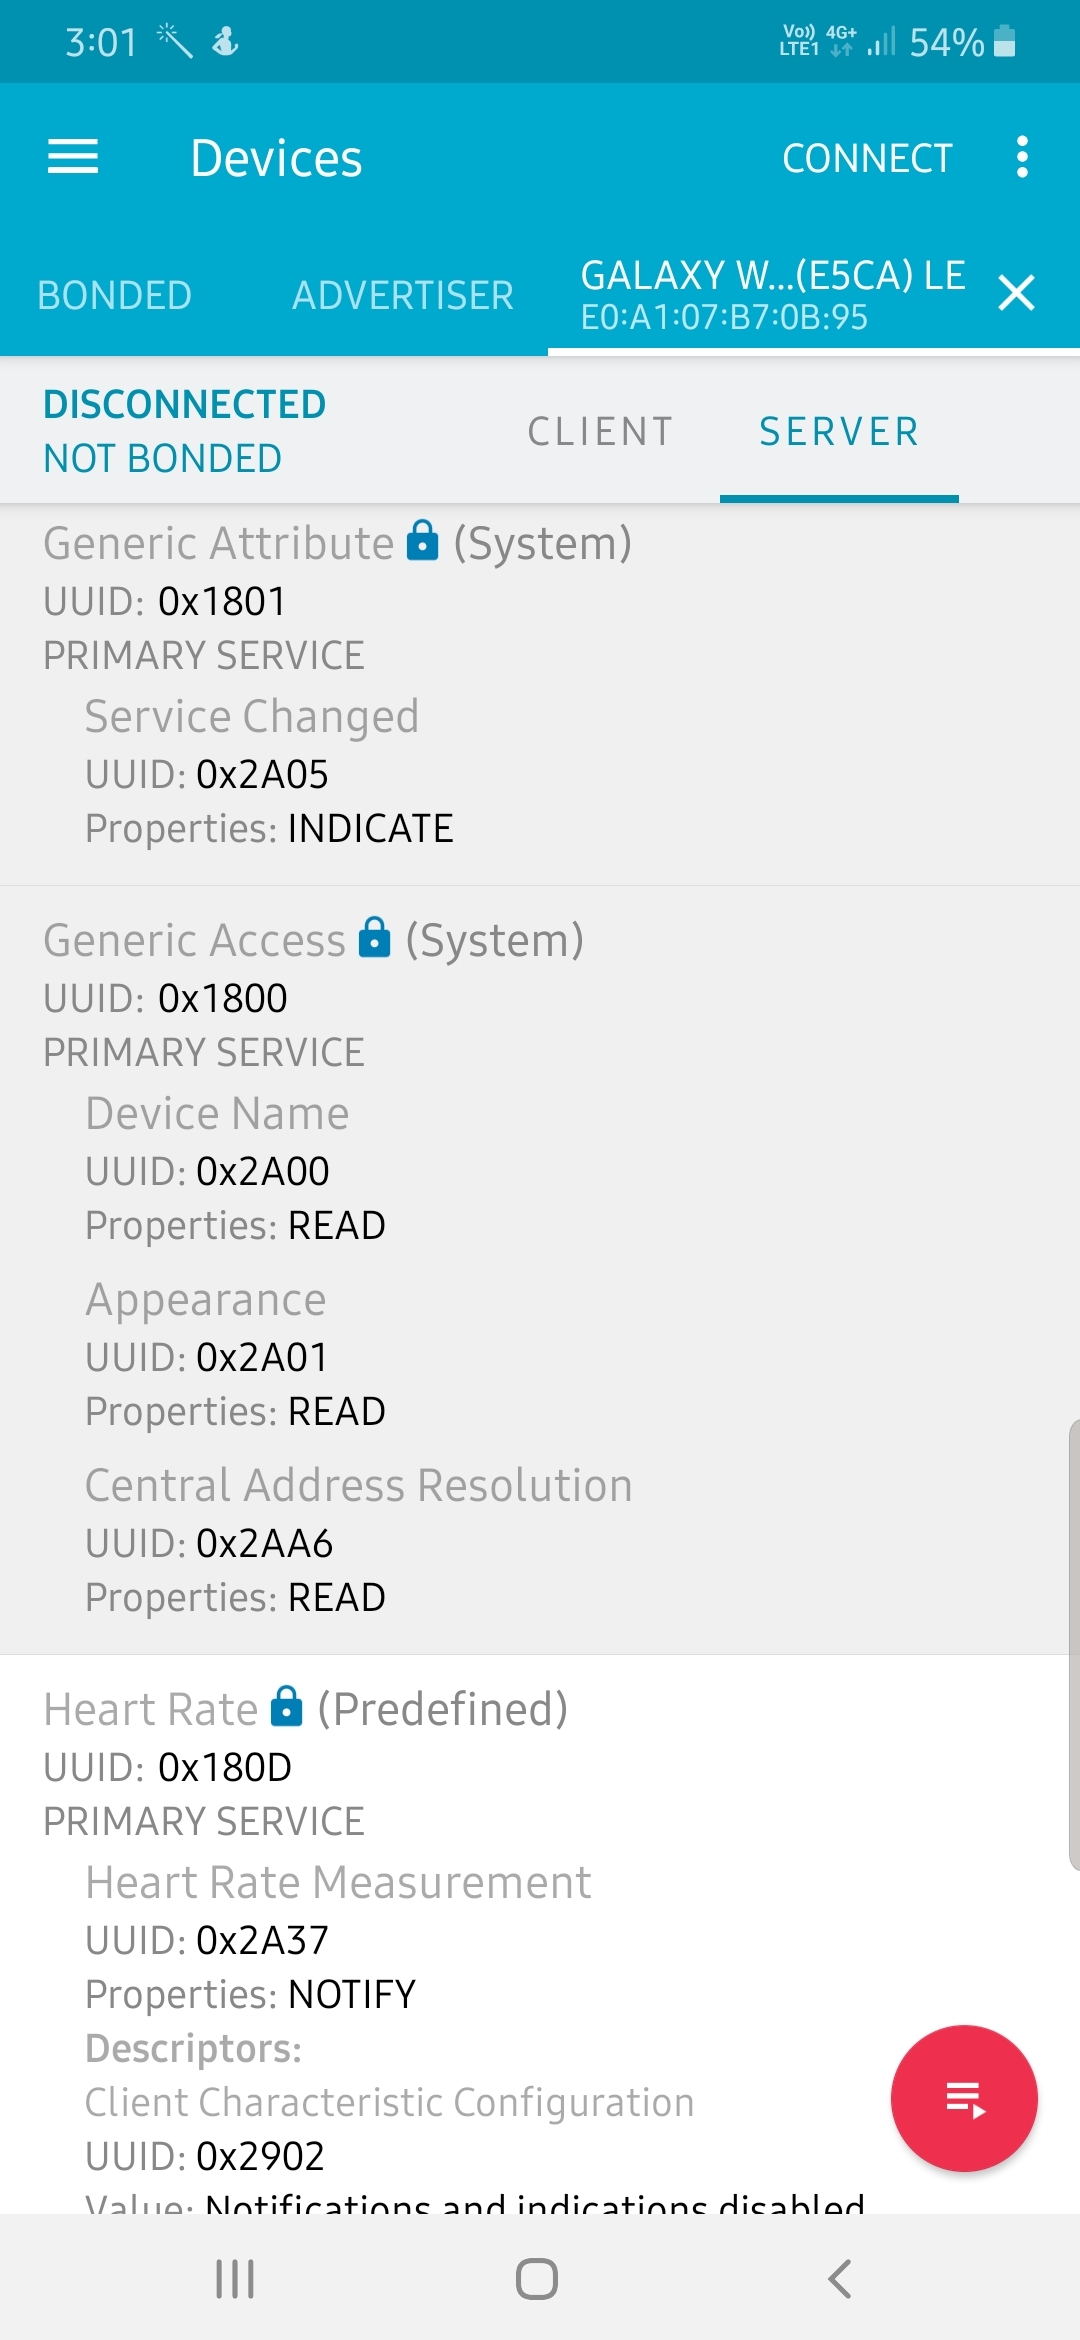
- An Android smartphone with BLE (or a computer with BLE)
- Install nRF connect application on that Android smartphone (I have mentioned that in this guide, you can follow it). See the above screenshot.
- A buzzer, a breadboard and some jumpers or wires.
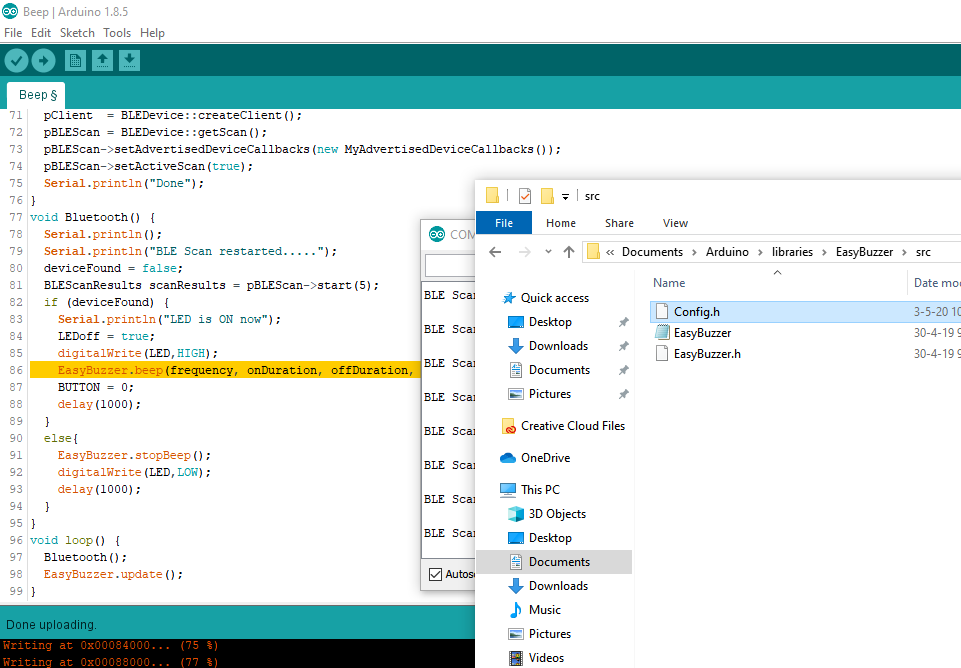
Install the library named “EasyBuzzer” (you'll get here on GitHub). I modified the value of DEFAULT_PIN in Config.h file from Pin 4 to Pin 13 (The file is located at C:\Users\username\Documents\Arduino\libraries\EasyBuzzer\src on Windows 10 PC). See the below screenshot.
Edit the Code and Upload
If you have completed the above steps then you are ready to go. Add the buzzer’s positive pin to the Pin 13 and negative pin to GND pin of ESP32. Then test the buzzer with some basic example of the library.
Below is the required sketch. You will get the same sketch on my blog post and this GitHub Repo (the main.ino file) as well. Only you need to edit the below line :
String knownAddresses[] = { "e0:a1:07:b7:0b:95"}; // change the MACReplace "e0:a1:07:b7:0b:95" with your MAC address found by nRF application.
#include "BLEDevice.h"
#include "EasyBuzzer.h"

unsigned int frequency = 1000;
unsigned int onDuration = 50;
unsigned int offDuration = 100;
unsigned int beeps = 2;
unsigned int pauseDuration = 500;
unsigned int cycles = 10;

int LED = 2; // on-board LED at pin 2
int BUTTON = 0;
static BLEAddress *pServerAddress;
BLEScan* pBLEScan;
BLEClient*  pClient;
bool deviceFound = false;
bool LEDoff = false;
bool BotonOff = false;
String knownAddresses[] = { "e0:a1:07:b7:0b:95"}; // change the MAC
unsigned long entry;

static void notifyCallback(
  BLERemoteCharacteristic* pBLERemoteCharacteristic,
  uint8_t* pData,
  size_t length,
  bool isNotify) {
  Serial.print("Notify callback for characteristic ");
  Serial.print(pBLERemoteCharacteristic->getUUID().toString().c_str());
  Serial.print(" of data length ");
  Serial.println(length);
}

class MyAdvertisedDeviceCallbacks: public BLEAdvertisedDeviceCallbacks {
    void onResult(BLEAdvertisedDevice Device){
      // show the MAC of other BLE devices
      //Serial.print("BLE Advertised Device found: ");
      //Serial.println(Device.toString().c_str());
      pServerAddress = new BLEAddress(Device.getAddress());
      bool known = false;
      bool Master = false;
      for (int i = 0; i < (sizeof(knownAddresses) / sizeof(knownAddresses[0])); i++) {
        if (strcmp(pServerAddress->toString().c_str(), knownAddresses[i].c_str()) == 0)
          known = true;
      }
      if (known) {
        Serial.print("Our device found!");
        Serial.print("Device distance:");
        Serial.println(Device.getRSSI());
        // adjust the value. -85 is medium distance
        // -60 is closer than -85
        if (Device.getRSSI() > -85) {
          deviceFound = true;
        }
        else {
          deviceFound = false;
        }
        Device.getScan()->stop();
        delay(100);
      }
    }
};
void setup() {
  Serial.begin(115200);
  pinMode(LED,OUTPUT);
  digitalWrite(LED,LOW);
  BLEDevice::init("");
  pClient  = BLEDevice::createClient();
  pBLEScan = BLEDevice::getScan();
  pBLEScan->setAdvertisedDeviceCallbacks(new MyAdvertisedDeviceCallbacks());
  pBLEScan->setActiveScan(true);
  Serial.println("Done");
}
void Bluetooth() {
  Serial.println();
  Serial.println("BLE Scan restarted.....");
  deviceFound = false;
  BLEScanResults scanResults = pBLEScan->start(5);
  if (deviceFound) {
    Serial.println("LED is ON now");
    LEDoff = true;
    digitalWrite(LED,HIGH);
    EasyBuzzer.beep(frequency, onDuration, offDuration, beeps, pauseDuration, cycles);
    BUTTON = 0;
    delay(1000);
  }
  else{
    EasyBuzzer.stopBeep();
    digitalWrite(LED,LOW);
    delay(1000);
  }
}
void loop() {
  Bluetooth();
  EasyBuzzer.update();
}
That's It!
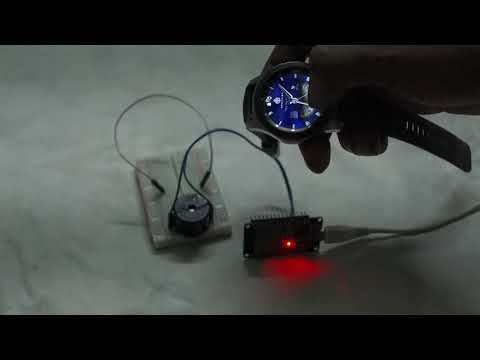)
After that edit, upload the code and test. I hope you could make it working for your smartwatch.