ELpod

Broken ipods are depressing... especially if they belong to your sweetie. It sits there, silently staring back at you as if to say "You know, the new models are so much better anyway...". Reap your revenge by turning it into a cool piece of glowing raver bait with cheap and bright electroluminescent wire (el wire) for less than $10 including battery. When she opens it on Valentines day, she'll forget all about wanting a new one... ya' think?
Crack the Case

Say a little prayer or whatever you need to do first to stab a screwdriver into a corner. Once lifted a little, leave the screwdriver in there and grab another one to work open the adjacent corner. You will damage it a little, but when you pop the cover off you'll see why its made difficult by the "grabby things" on all the edges.
Note: from here on out when I say right, left, top, or bottom, I am referring to your prospective as you look at the ipod fully assembled.
Note: from here on out when I say right, left, top, or bottom, I am referring to your prospective as you look at the ipod fully assembled.
Clip the Grabby Thingies

On the cover, use a pair of diagonal wire cutters to snip off the "grabbie thingies" from only the top and bottom.
Install Inverter

The best fit for the inverter was the one that uses a single AAA battery. They're available wherever you buy your el wire. I usually get mine from World Aglow and you only need a couple feet of the "High Bright" thinner el wire. While you're there, check out their el wire soldering tutorial.
Make Room for Switch

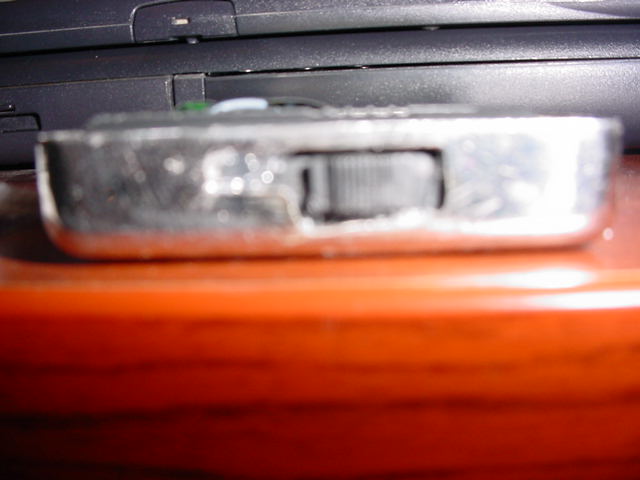
Using a small file or a dremmel tool, remove some of the metal from the bottom of the case so the switch fits through nicely and can move into both "on" and "strobe" positions. Glue inverter to the bottom of the metal case with adhesive like Goop or Shoe Goo brand. Put piece masking tape over top to hold in place while glue sets.
Install El Wire

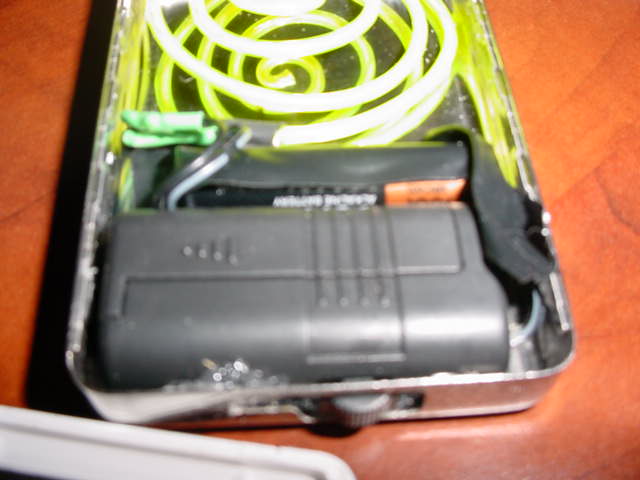
Take your length of el wire and bend it to and interesting shape that looks interesting from the window and reflects nicely from the inside of the back cover. Referring to the tutorial in step #5, strip and solder it to the two leads coming out of the inverter. Cover your connection with heat shrink tubing or electrical tape. Slip your el wire figure in place and secure it in an area that is outside the view window when you test-replace the cover.
Extra Battery

Just so you're not caught out there with yet another dead pod, put an extra AAA battery in the convenient space between the inverter and the el wire and secure with electrical tape, covering the ends too.
Install Lanyard

Thread a piece of yard or string through the two holes in the top and tie the ends together so it hangs nicely between your lovely breasts.
Replace Cover

Once again, like a book or hinged Altoids box, replace the cover by first hinging the right side, then snapping shut on the left.
File

Using a file or Dremmel tool, take off the excess debris of the "grabby thingies" you just snipped off the top and bottom.
Then on the right side, file down just the angled hooks on the grabby thingies so they are ALMOST flush with their base. Practice opening and closing it like a book with the grabby thingies on the left acting like the spine or hinge and the right ones that you just filed catching just enough to keep it from falling open by itself.
Then on the right side, file down just the angled hooks on the grabby thingies so they are ALMOST flush with their base. Practice opening and closing it like a book with the grabby thingies on the left acting like the spine or hinge and the right ones that you just filed catching just enough to keep it from falling open by itself.
Fin

Your friends will be green with envy-- or whatever color el wire you bought. Painting by Killbuck.