ECG Patch

How to make the fetal and maternal electrode patches designed by the Fetal Heartbeat Hardware project group in BME 462L at Duke University under professor Dr. Robert Malkin.
Project members:
- Lucas Rose
- Ashley Bolick
- Kelsey Tarzia
Materials Needed

For this project, you will need:
- Fabric: We chose a nylon fabric for our project. We suggest purchasing 100 square inches to build one set of patches.
- Scissors: We recommend using a pair of scissors designed for cutting fabric; this will reduce fraying of the fabric.
- Copper: We purchased a sheet of 28 gauge copper on Amazon and cut 5 squares that are 1/2" by 1/2" with 1/4" by 1/4" tabs.
- Screwdriver and Hammer: Used to cut the copper.
- Needle and thread: Used to sew two pieces of fabric together and to sew the copper against the fabric.
- Wires: Any standard wire used in building circuits can be used here. Solder and a soldering iron is recommended to attach the wires to the copper plates.
- Electrode gel: We recommend a hypoallergenic formula.
- ECG monitor/Oscilloscope: Used to test the patches.
Cut the Fabric

- Lay out the fabric on a flat surface.
- Carefully cut a 4" by 8" piece from the fabric.
- Repeat step 2. You should have 2 4" by 8" pieces of fabric.
- Cut a 4" by 5" piece from the fabric.
- Repeat step 4. You should have 2 4" by 5" pieces of fabric.
Note: We recommend investing in fray check to protect the fabric, but this is not necessary to complete the patches.
Cut the Copper.


Prepare copper electrodes by:
- Measure out the size of copper to cut. You may want to use a stencil and marker to cut around.
- CAREFULLY hammer the screwdriver into the copper to make a cut in the copper.
- Repeat Step 2 until the copper electrode is completely free from the rest of the sheet.
- Flatten the copper electrode and smooth corners as necessary.
- CAREFULLY solder the wires to the copper electrodes.
Warning: Soldering irons are very hot. DO NOT TOUCH THE SOLDERING IRON. Seek help if you have never used one before.
Cut Holes in the Fabric.

For the fetal patch:
- On one piece of the 4" by 8" fabric sheets, mark the center of the holes so that they are separated by 6".
- On one side, cut a square hole into the fabric that is approximately 2/5" by 2/5".
- Repeat for other side.
- For the second 4" by 8" sheet, cut a hole that is approximately 2/5" by 2/5" in the center of the sheet.
For the maternal patch:
- Mark the center of the holes so that they are separated by 3".
- On one side, cut a square hole into the fabric that is approximately 2/5" by 2/5".
- Repeat for other side.
- Do not cut the second 4" by 8" sheet.
Sew the Electrodes Against the Fabric:


- Center the copper electrode on the hole that was cut in the fabric sheets in Step 4.
- Using small stitches, secure the copper against the fabric by sewing around the copper like a button. See picture for details.
- Repeat for each of the 5 copper electrodes until all 5 holes in the sheets of fabric are covered.
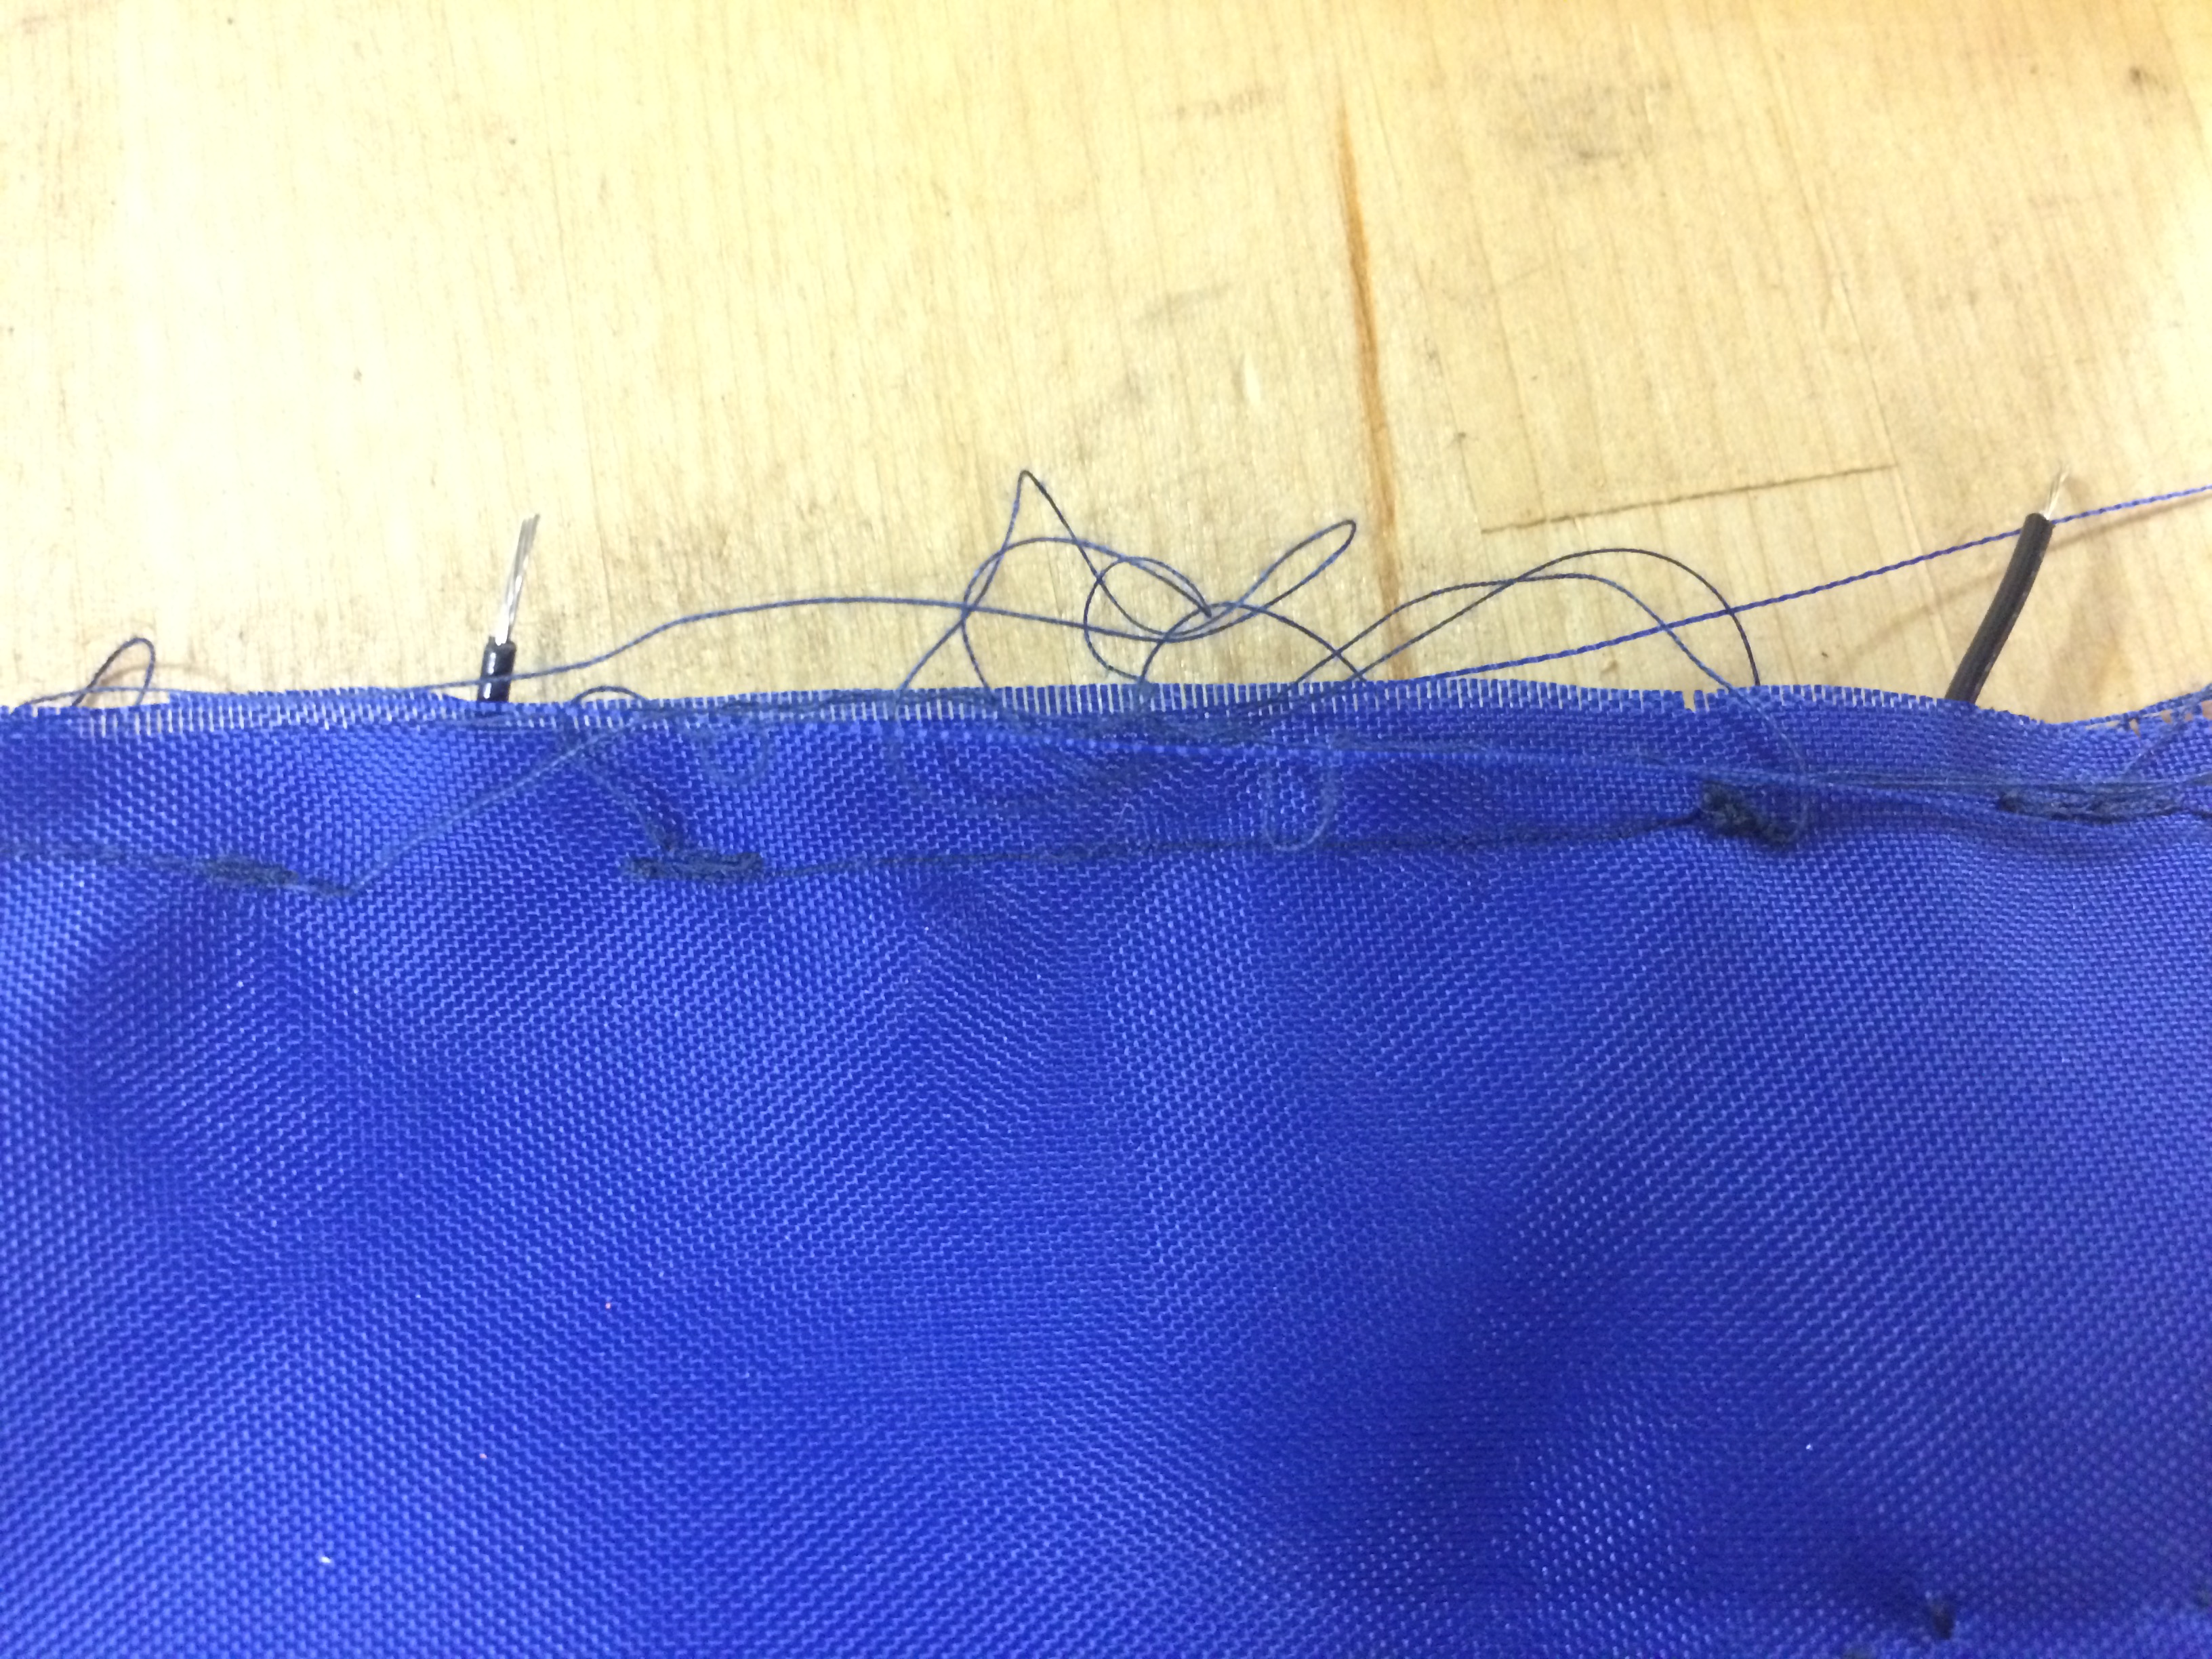
Sew the Sheets Together.


For the fetal patch:
- Lay the sides of the sheet with the copper exposed against each other.
- Sew around the edges until the sheets are attached.
- Be careful to leave a hole around the wires.
For the maternal patch:
- Lay the side with the exposed copper against the other sheet of 4" by 5" fabric.
- Sew around the edges until the sheets are attached.
- Be careful to leave a hole around the wires.
Test the Patches

Congratulations, you have just made fetal and maternal ECG patches!
At this point, you should:
- Make sure that the patches work! Apply electrode gel to the squares and rest against the body. Each spot of exposed copper should be in contact with the skin.
- Use an ECG monitor or an oscilloscope to make sure that the patch is able to generate a signal!