EBot8 Object Following Robot
by CircuitryBrains in Circuits > Microcontrollers
3240 Views, 14 Favorites, 0 Comments
EBot8 Object Following Robot
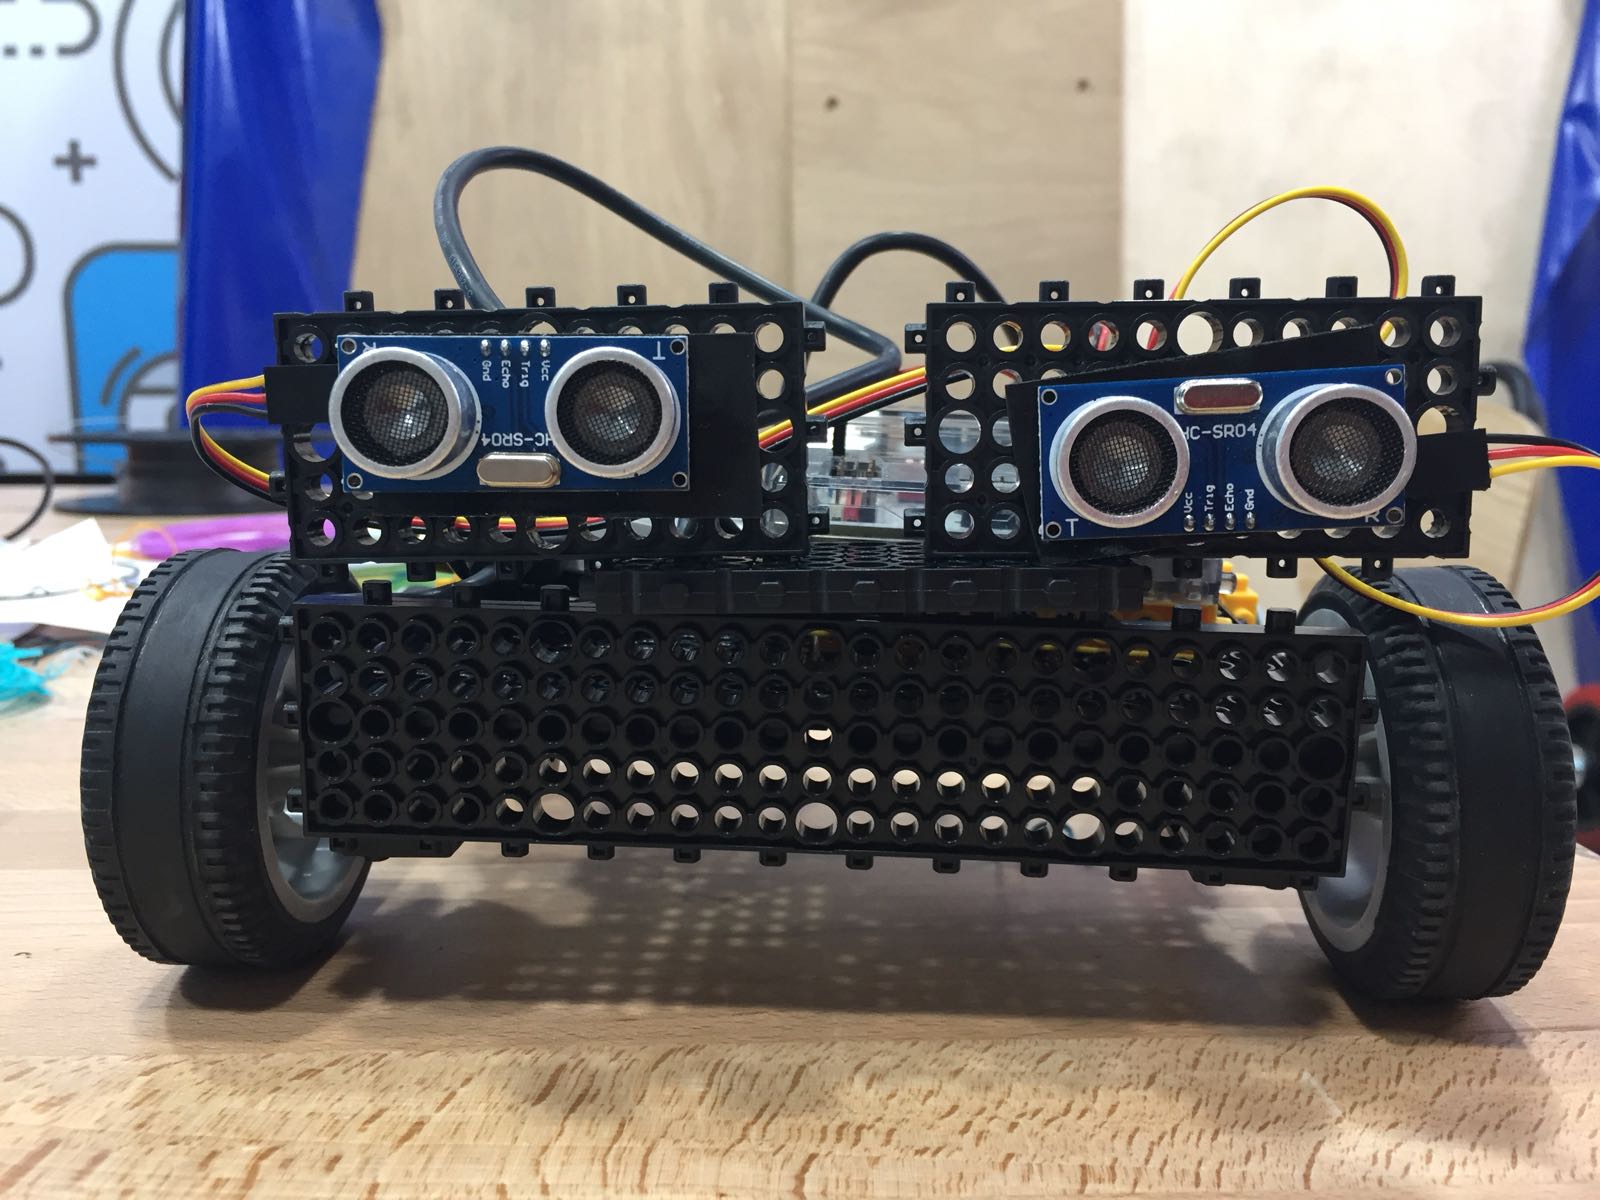
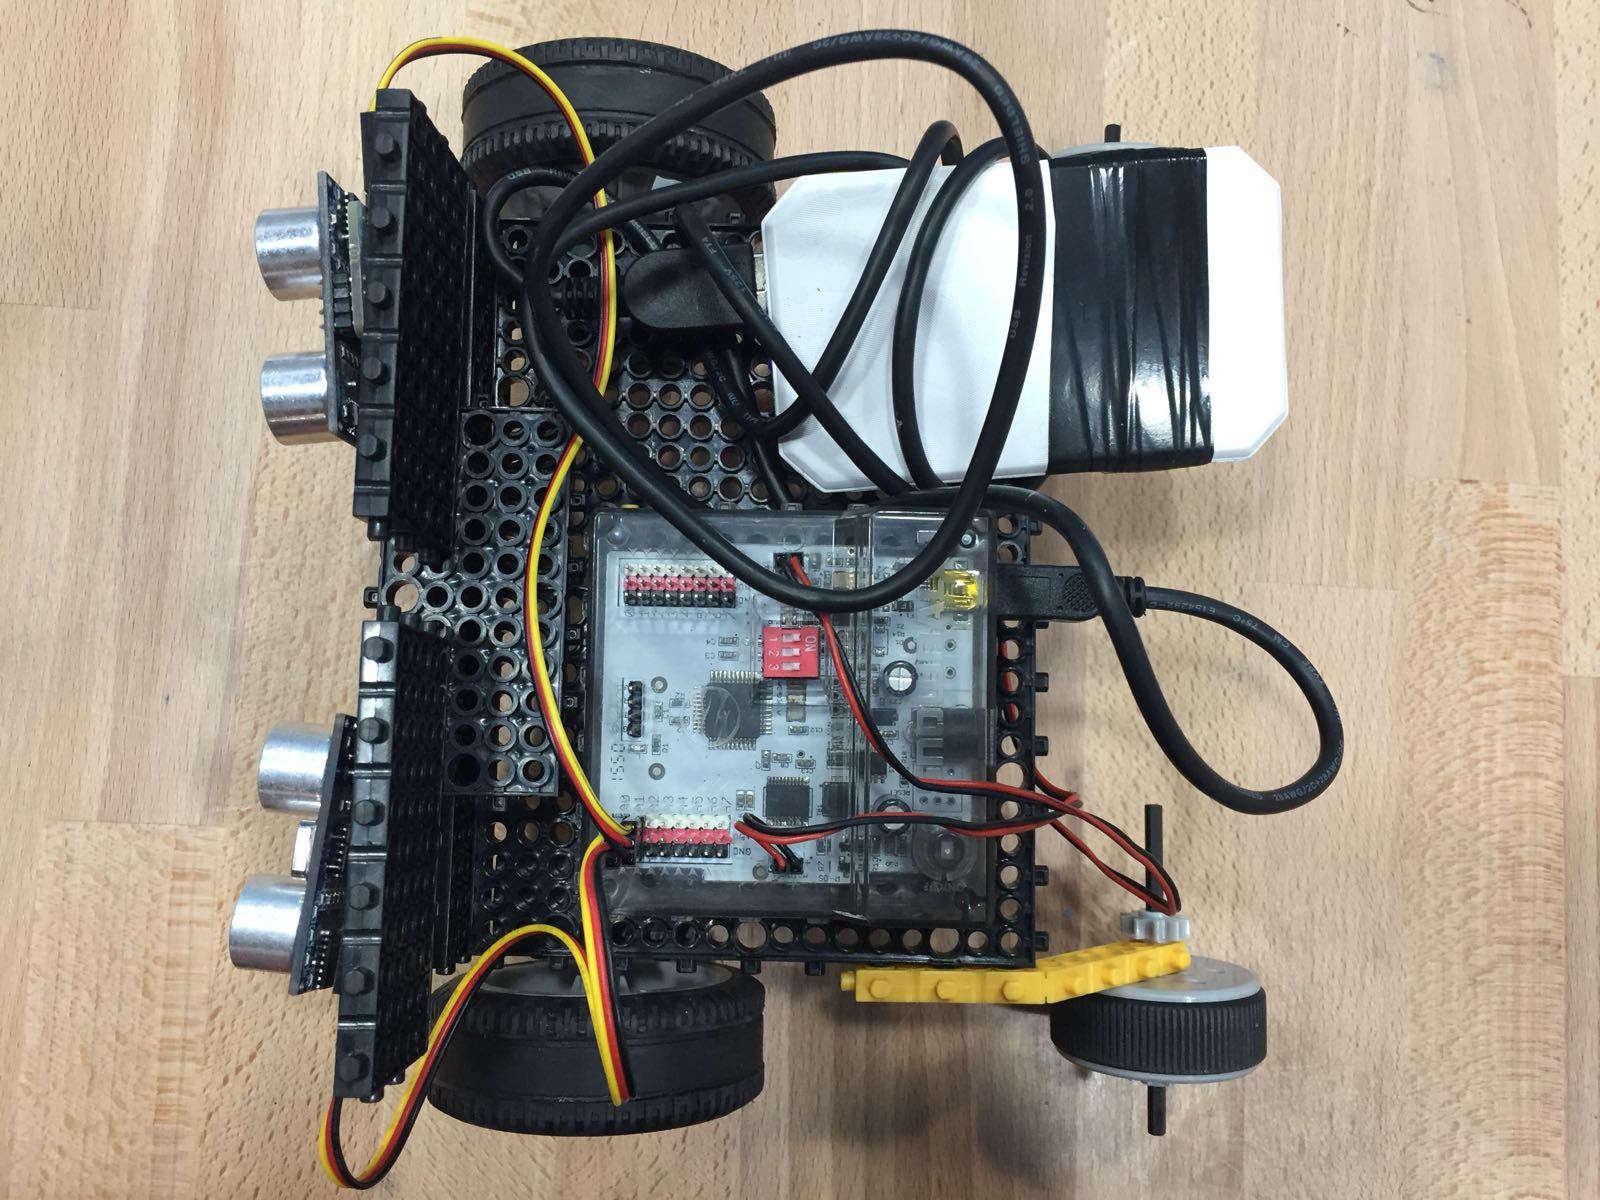
Have you ever wondered to make a robot that follows wherever you go? But just couldn't?
Well... Now you can! We present you the object following robot! Go for this tutorial,like and vote and maybe you can do it too!!
Gather the Materials
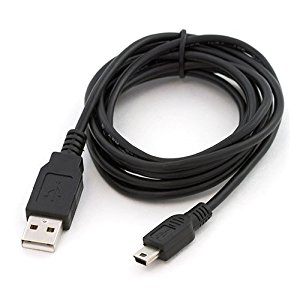
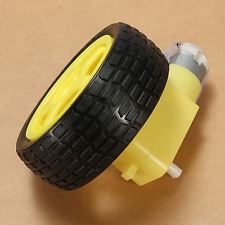
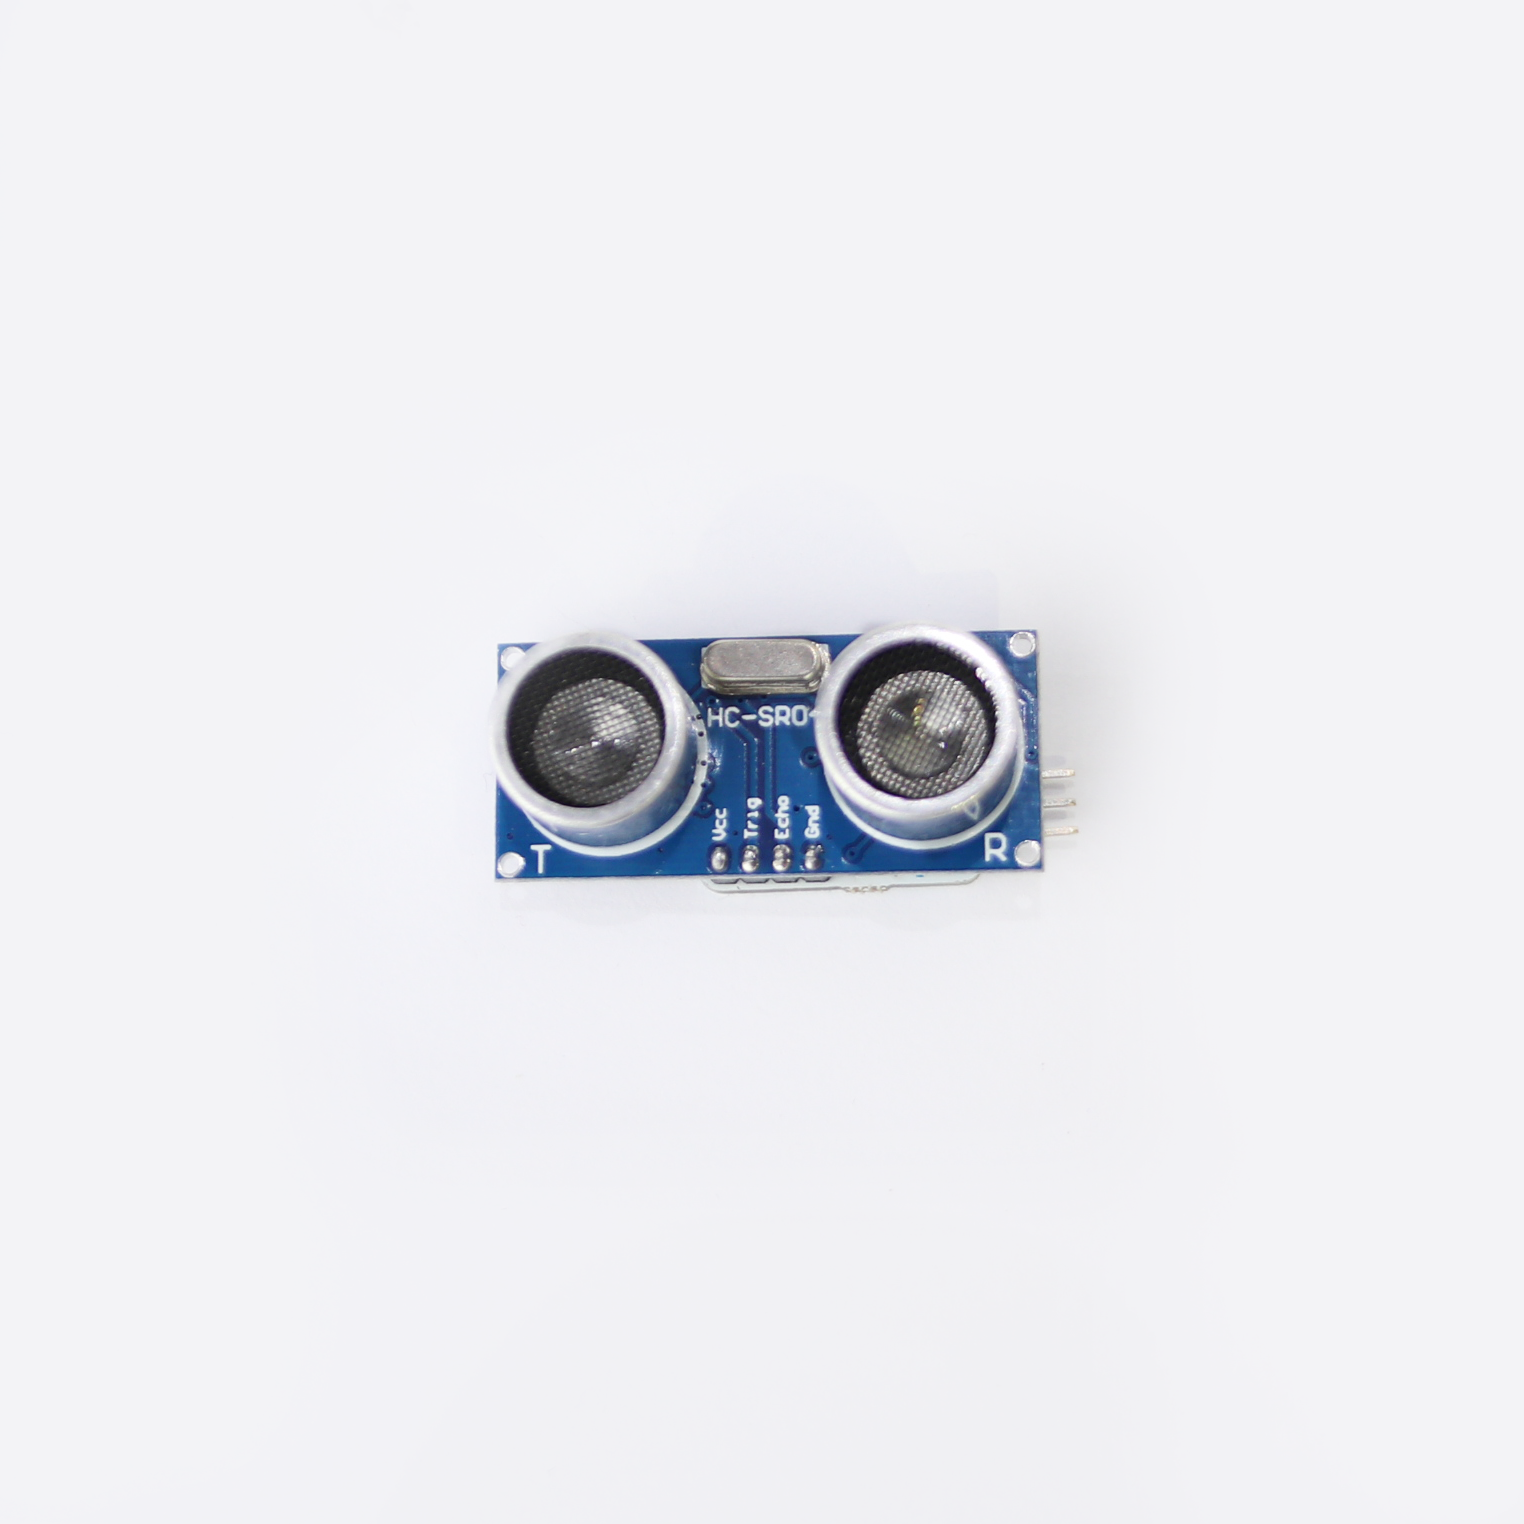
To make this amazing simple project. We need the following parts to proceed:
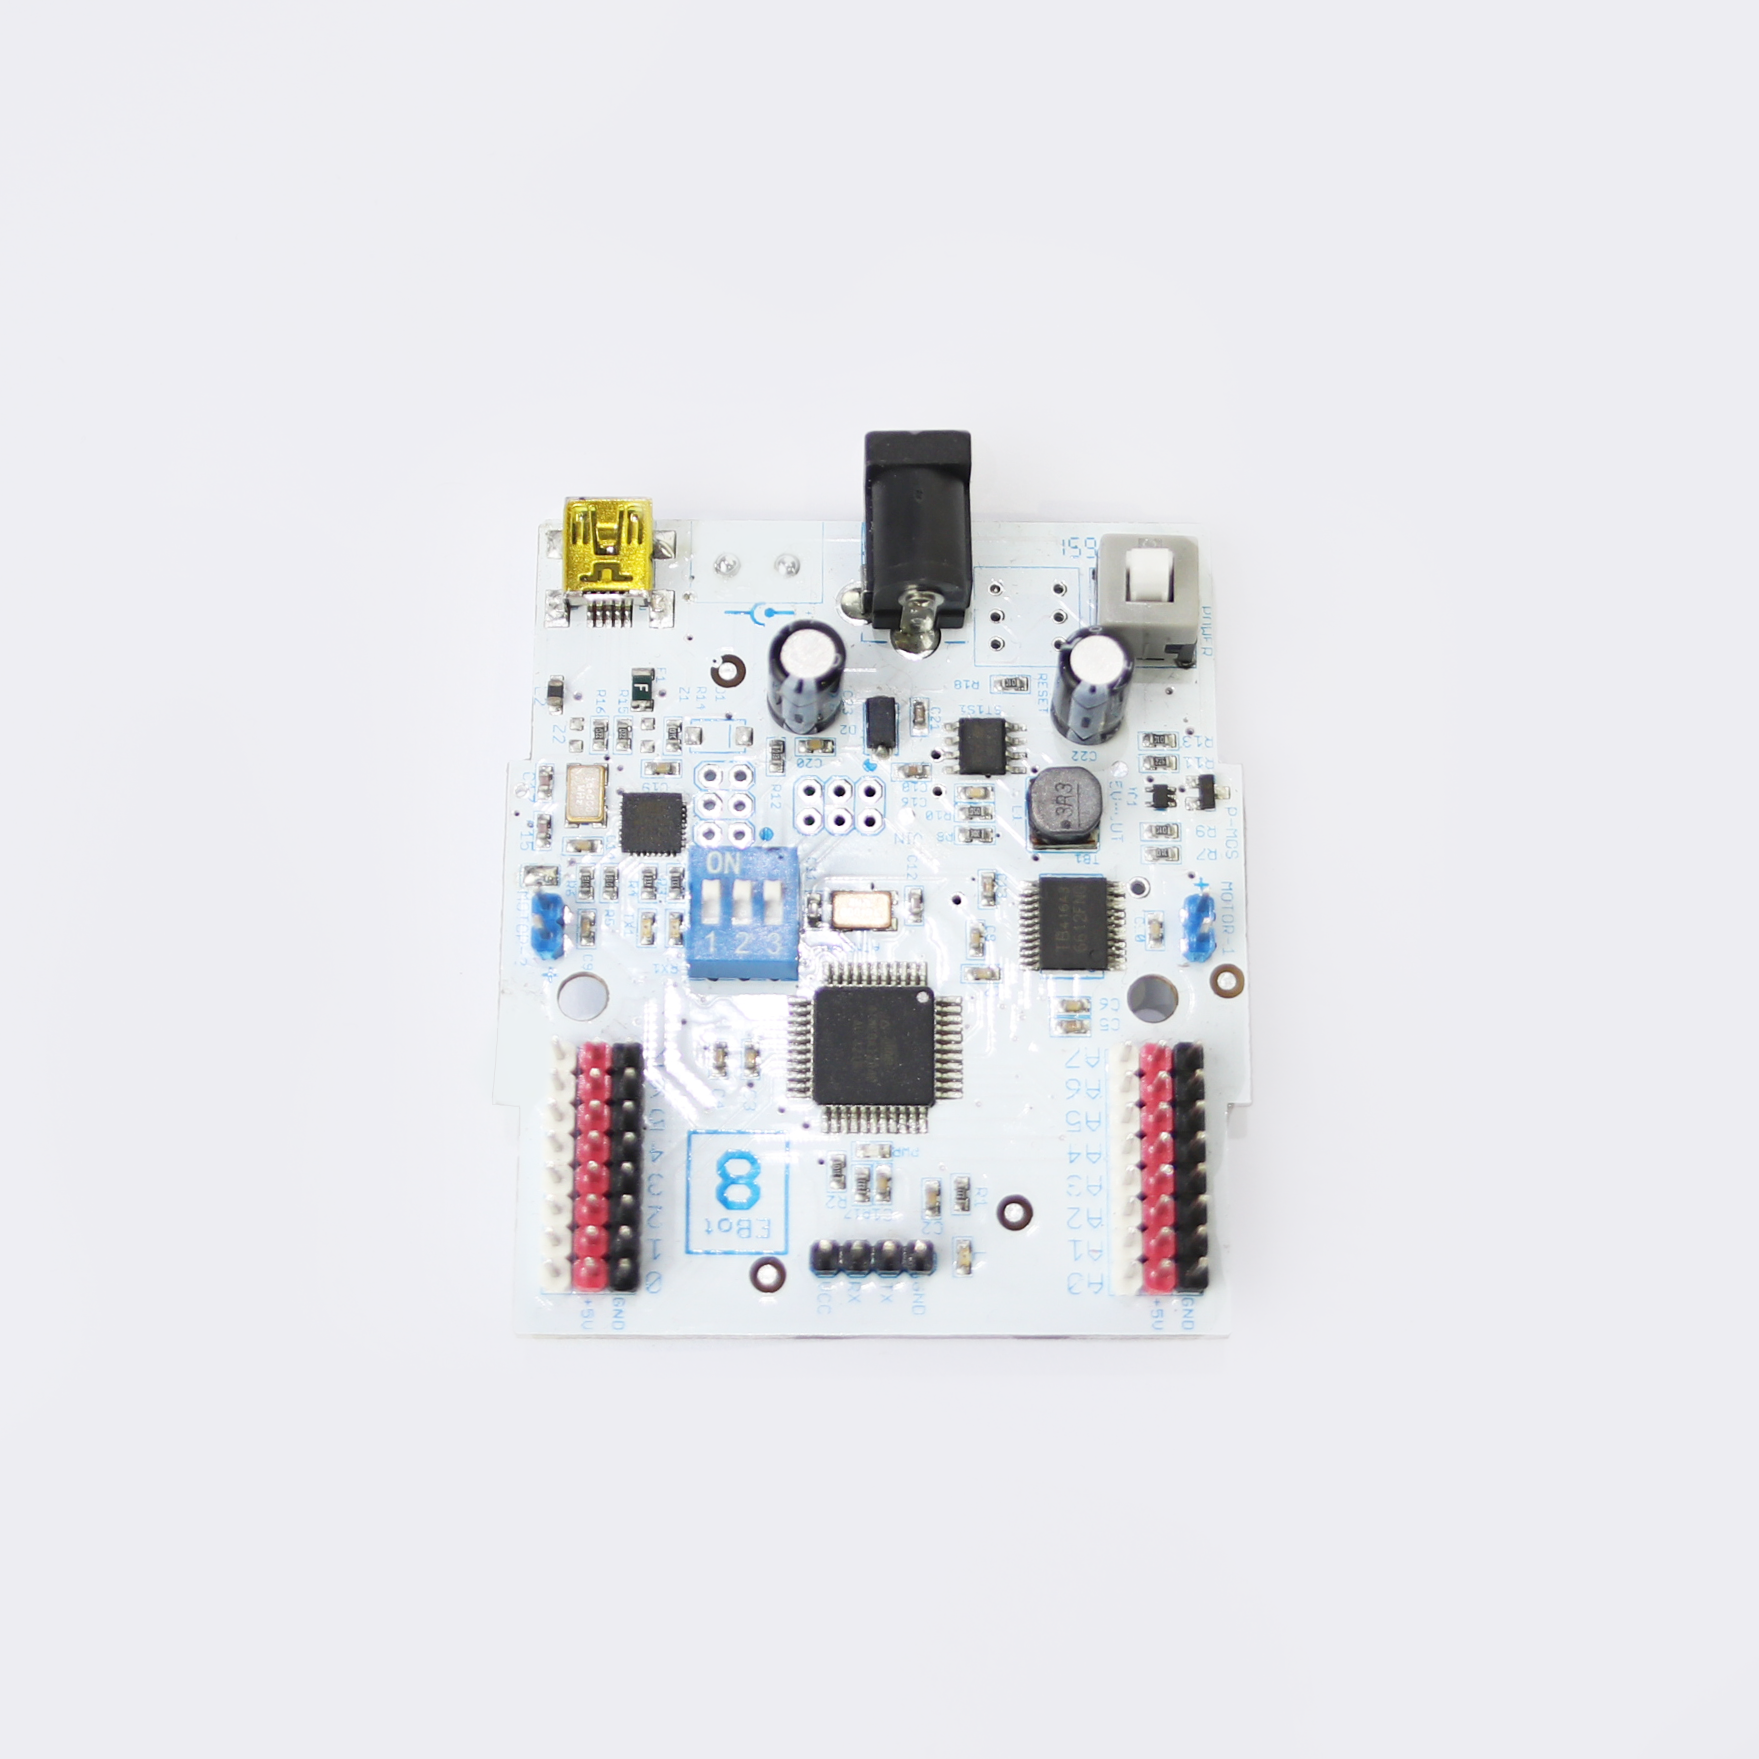
- Ebot8 Board
- Programming cable
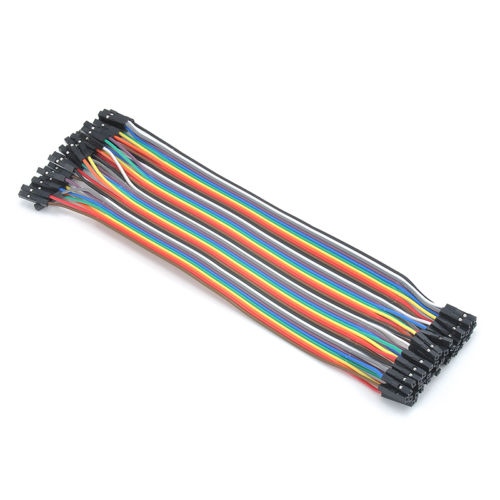
- Female to male Jumper cables
- Ultrasonic Sensors.
- Chassis{w/ chassis}
- 2 DC Motors
All of these materials can be found over here.
Wiring
After you have collected the materials from here.Now connect the Ultrasonic Sensors to the EBot Board{A0-A1} color coded properly. If you have done that, Let's get on with codin'.
Debugging
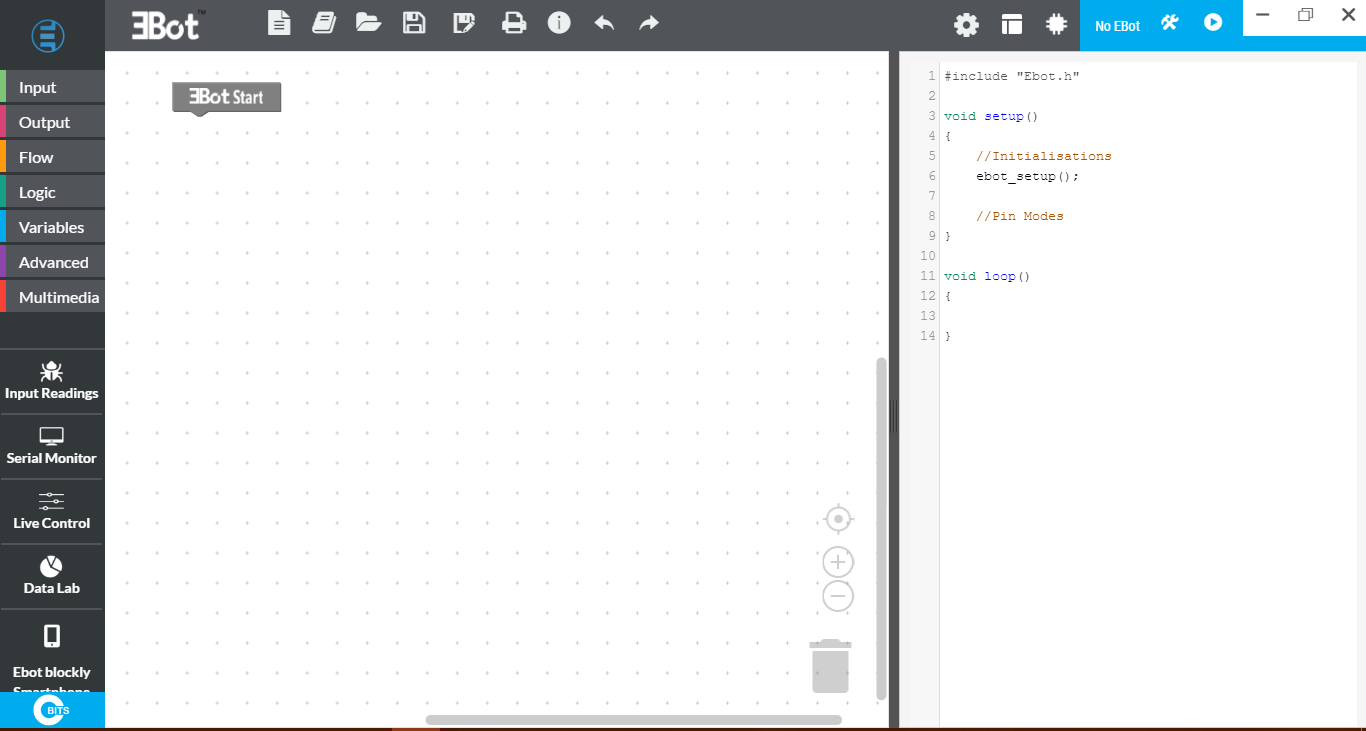
Now to make sure our Infrared sensors are working perfectly we need to debug it which means to identify and remove errors from (computer hardware or software).
- Open up your EBot Blockly app on your computer.
- Select Input Readings/Debug.
- Select from the drop down list- 'Infrared Sensor'.
- Select the pin in which your first Infrared Sensor is fitted upon. (P.S. you can only check one sensor at a time.)
- Click 'Debug'.
- Do the same for the second sensor.
- After the downloading is complete and showing values from both the sensors, we can proceed with coding.
(Note:
If the debugging encountered with an error, try again, check the connection. If not, then replace the sensor and try again.)
Coding
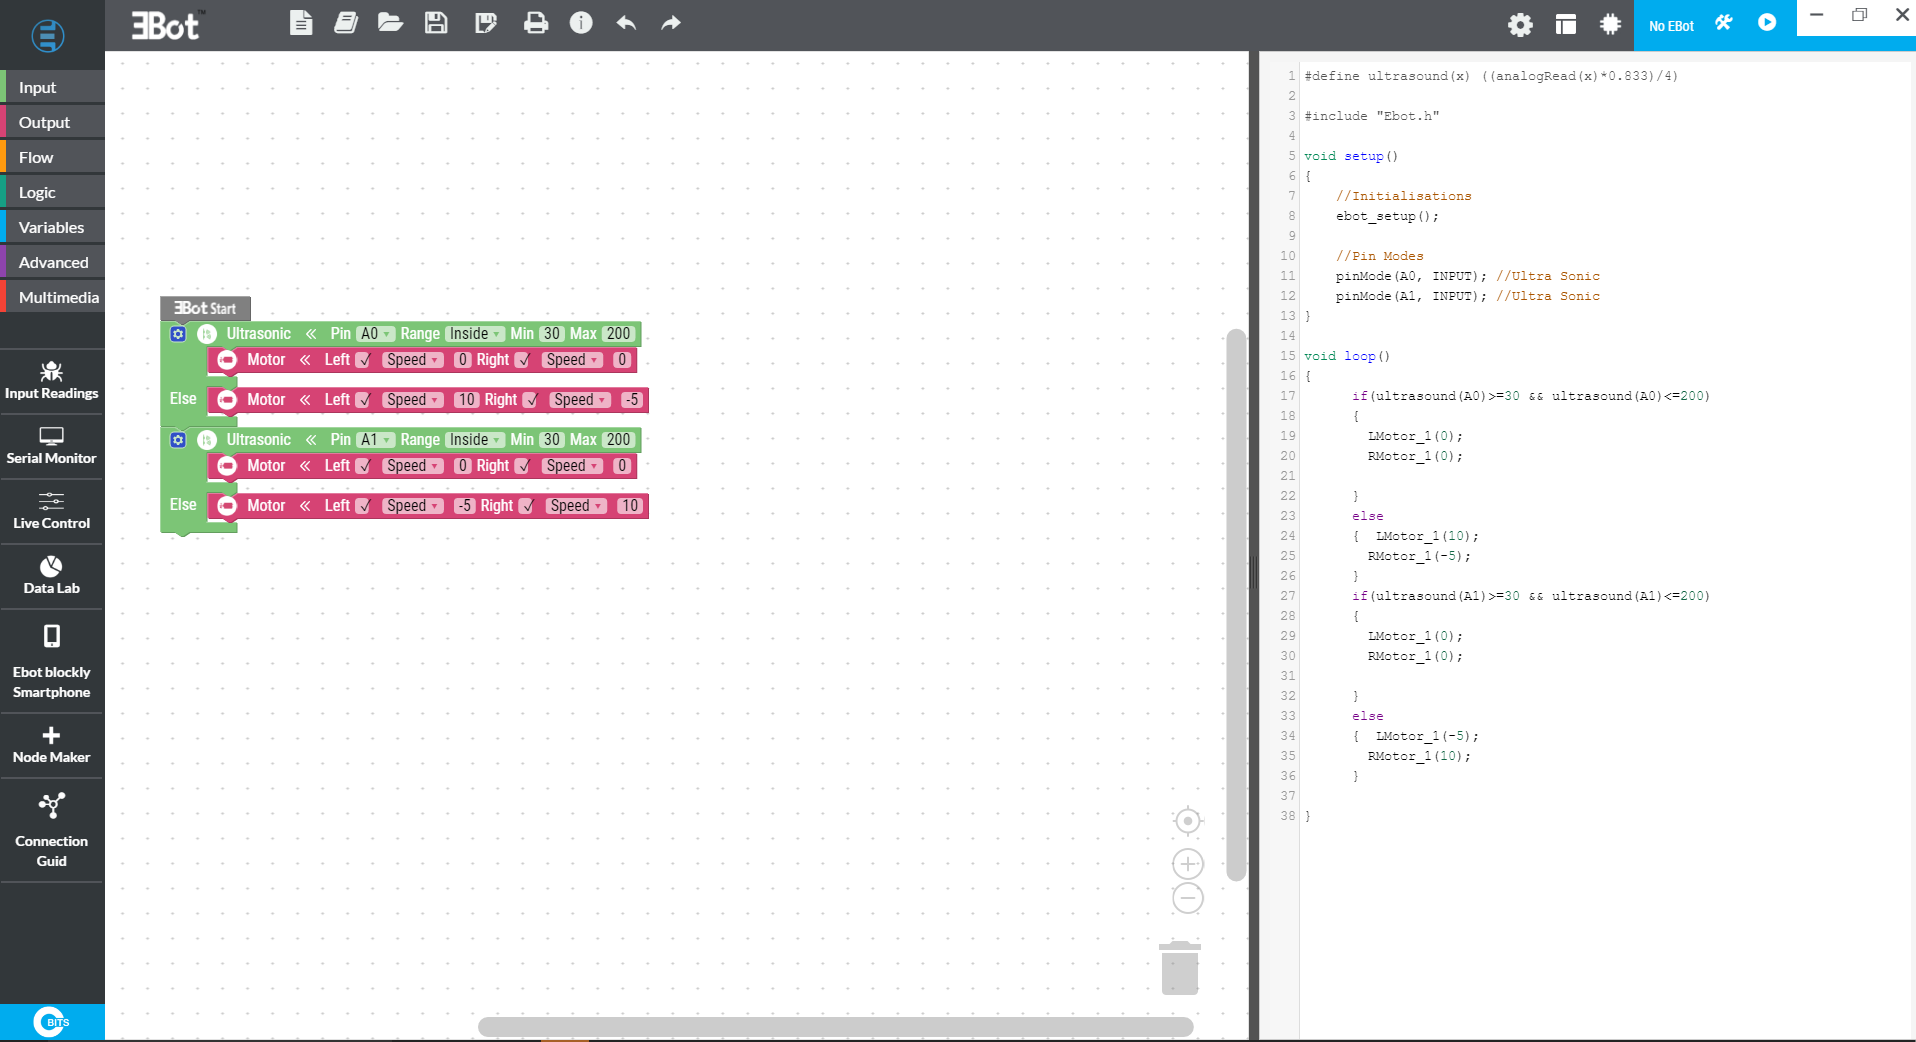
Now you can simply go ahead and copy our code from here or copy the blockly code. Though we recommend the blockly method as shown n the picture as its easier to understand
//Code_for_object_following_robot

#define ultrasound(x) ({analogRead(x)*0.833}/4)<br>
#include "Ebot.h"
void setup{}
{
    //Initialisations
    ebot_setup{};

    //Pin Modes
    pinMode {A0, INPUT};
    pinMode {A1, INPUT};
}
void loop{}
{
    if(ultrasound(A0)>=30 && ultrasound(A0)<=200)
    {
      LMotor_1(0);
      RMotor_1(0);
    }
    else
    {  LMotor_1(10);
       RMotor_1(-5);
    }
    if(ultrasound(A1)>=30 && ultrasound(A1)<=200)
    {
      LMotor_1(0);
      RMotor_1(0);
    }
    else
    {  LMotor_1(-5);
       RMotor_1(10);
    }
Demo
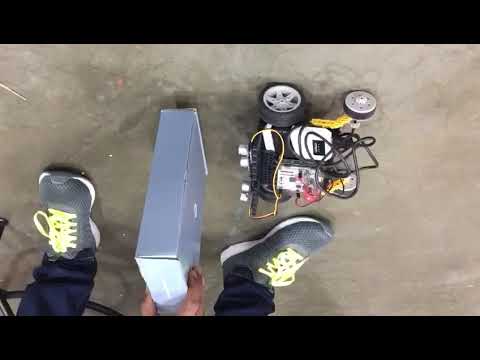
Did you like it? Yes, I know. We will continue to make more interseting & fun projects just for you guys!
Feel free to comment any ideas in the comments section and we will surely respond.