EBot8 IR Piano
by CircuitryBrains in Circuits > Microcontrollers
1346 Views, 8 Favorites, 0 Comments
EBot8 IR Piano


How cool would it be to make your own piano where you just hover your finger above the IR Sensors!
And yes, it's true.This is an EBot (micro-controller developed by CBits) controlled Piano with some infrared sensors to detect our fingers at a short distance. Without wasting further time; let's get on with it!
Materials Needed


We have used the following components for this project all of which can be found over here.
- EBot8 micro-controller
- 7 Infrared senors
- Buzzer
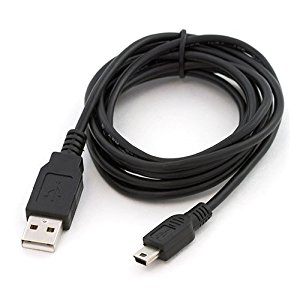
- Programming Cable
- Jumper Cables
- Battery pack for power supply
- Cover (we used a box)
Now let's wire it up:
Let's Connect
To be honest, this is the most simple wiring you might have ever seen.
Just connect the 7 IR Sensors properly according to the Signal(S), Ground(G), Voltage(V) to the White, Red & Black pins respectively on the micro-controller's left-hand side [{A0>A1>A2>A3>A4>A5>A6}7 pins for all 7 IR sensors].
Last but not the least; connect the buzzer to right hand side according to the same method explained previously (
Signal(S), Ground(G), Voltage(V) to the White, Red & Black pins respectively).
That's it the wiring has been finished. yep! It has been that simple. No lets move on with debugging.
Debugging
Now to make sure our Infrared sensors are working perfectly we need to debug it which means to identify and remove errors from (computer hardware or software).
- Open up your EBot Blockly app on your computer.
- Select Input Readings/Debug.
- Select from the drop down list- 'Infrared Sensor'.
- Select the pin in which your first Infrared Sensor is fitted upon. (P.S. you can only check one sensor at a time.)
- Click 'Debug'.
- Do the same for the second sensor.
- After the downloading is complete and showing values from both the sensors, we can proceed with coding.
(Note: If the debugging encountered with an error, try again, check the connection. If not, then replace the sensor and try again.)
Design

After dong all the other steps, fit all the circuitry into a simple layout of a box according to your wish.leave some place between the sensors and the buzzers.
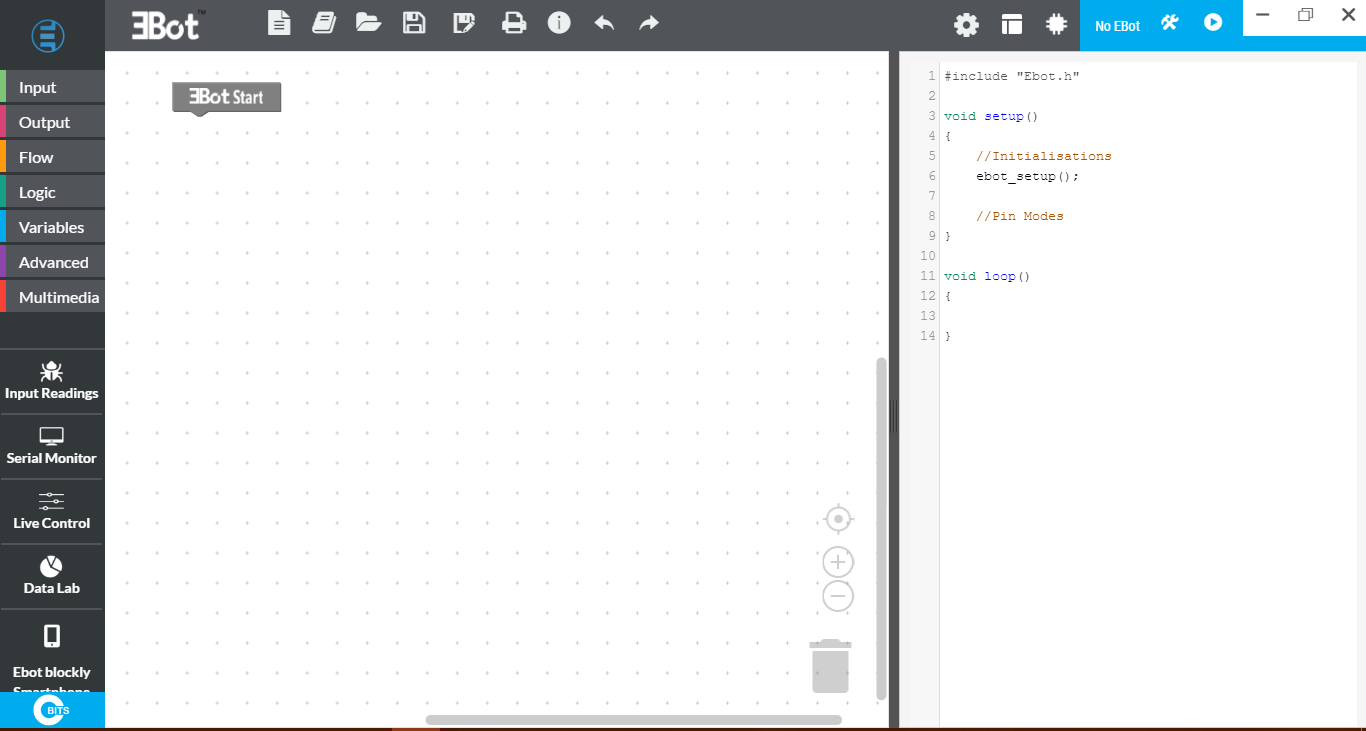
Coding
Simply copy the blockly code from the above image and you are all set.
Demo Video

Feel free to ask any doubts in the comments section and we will surely respond. Give more ideas and we will try our best!