E-Ink Joke of the Day Fridge Magnet
3594 Views, 68 Favorites, 0 Comments
E-Ink Joke of the Day Fridge Magnet
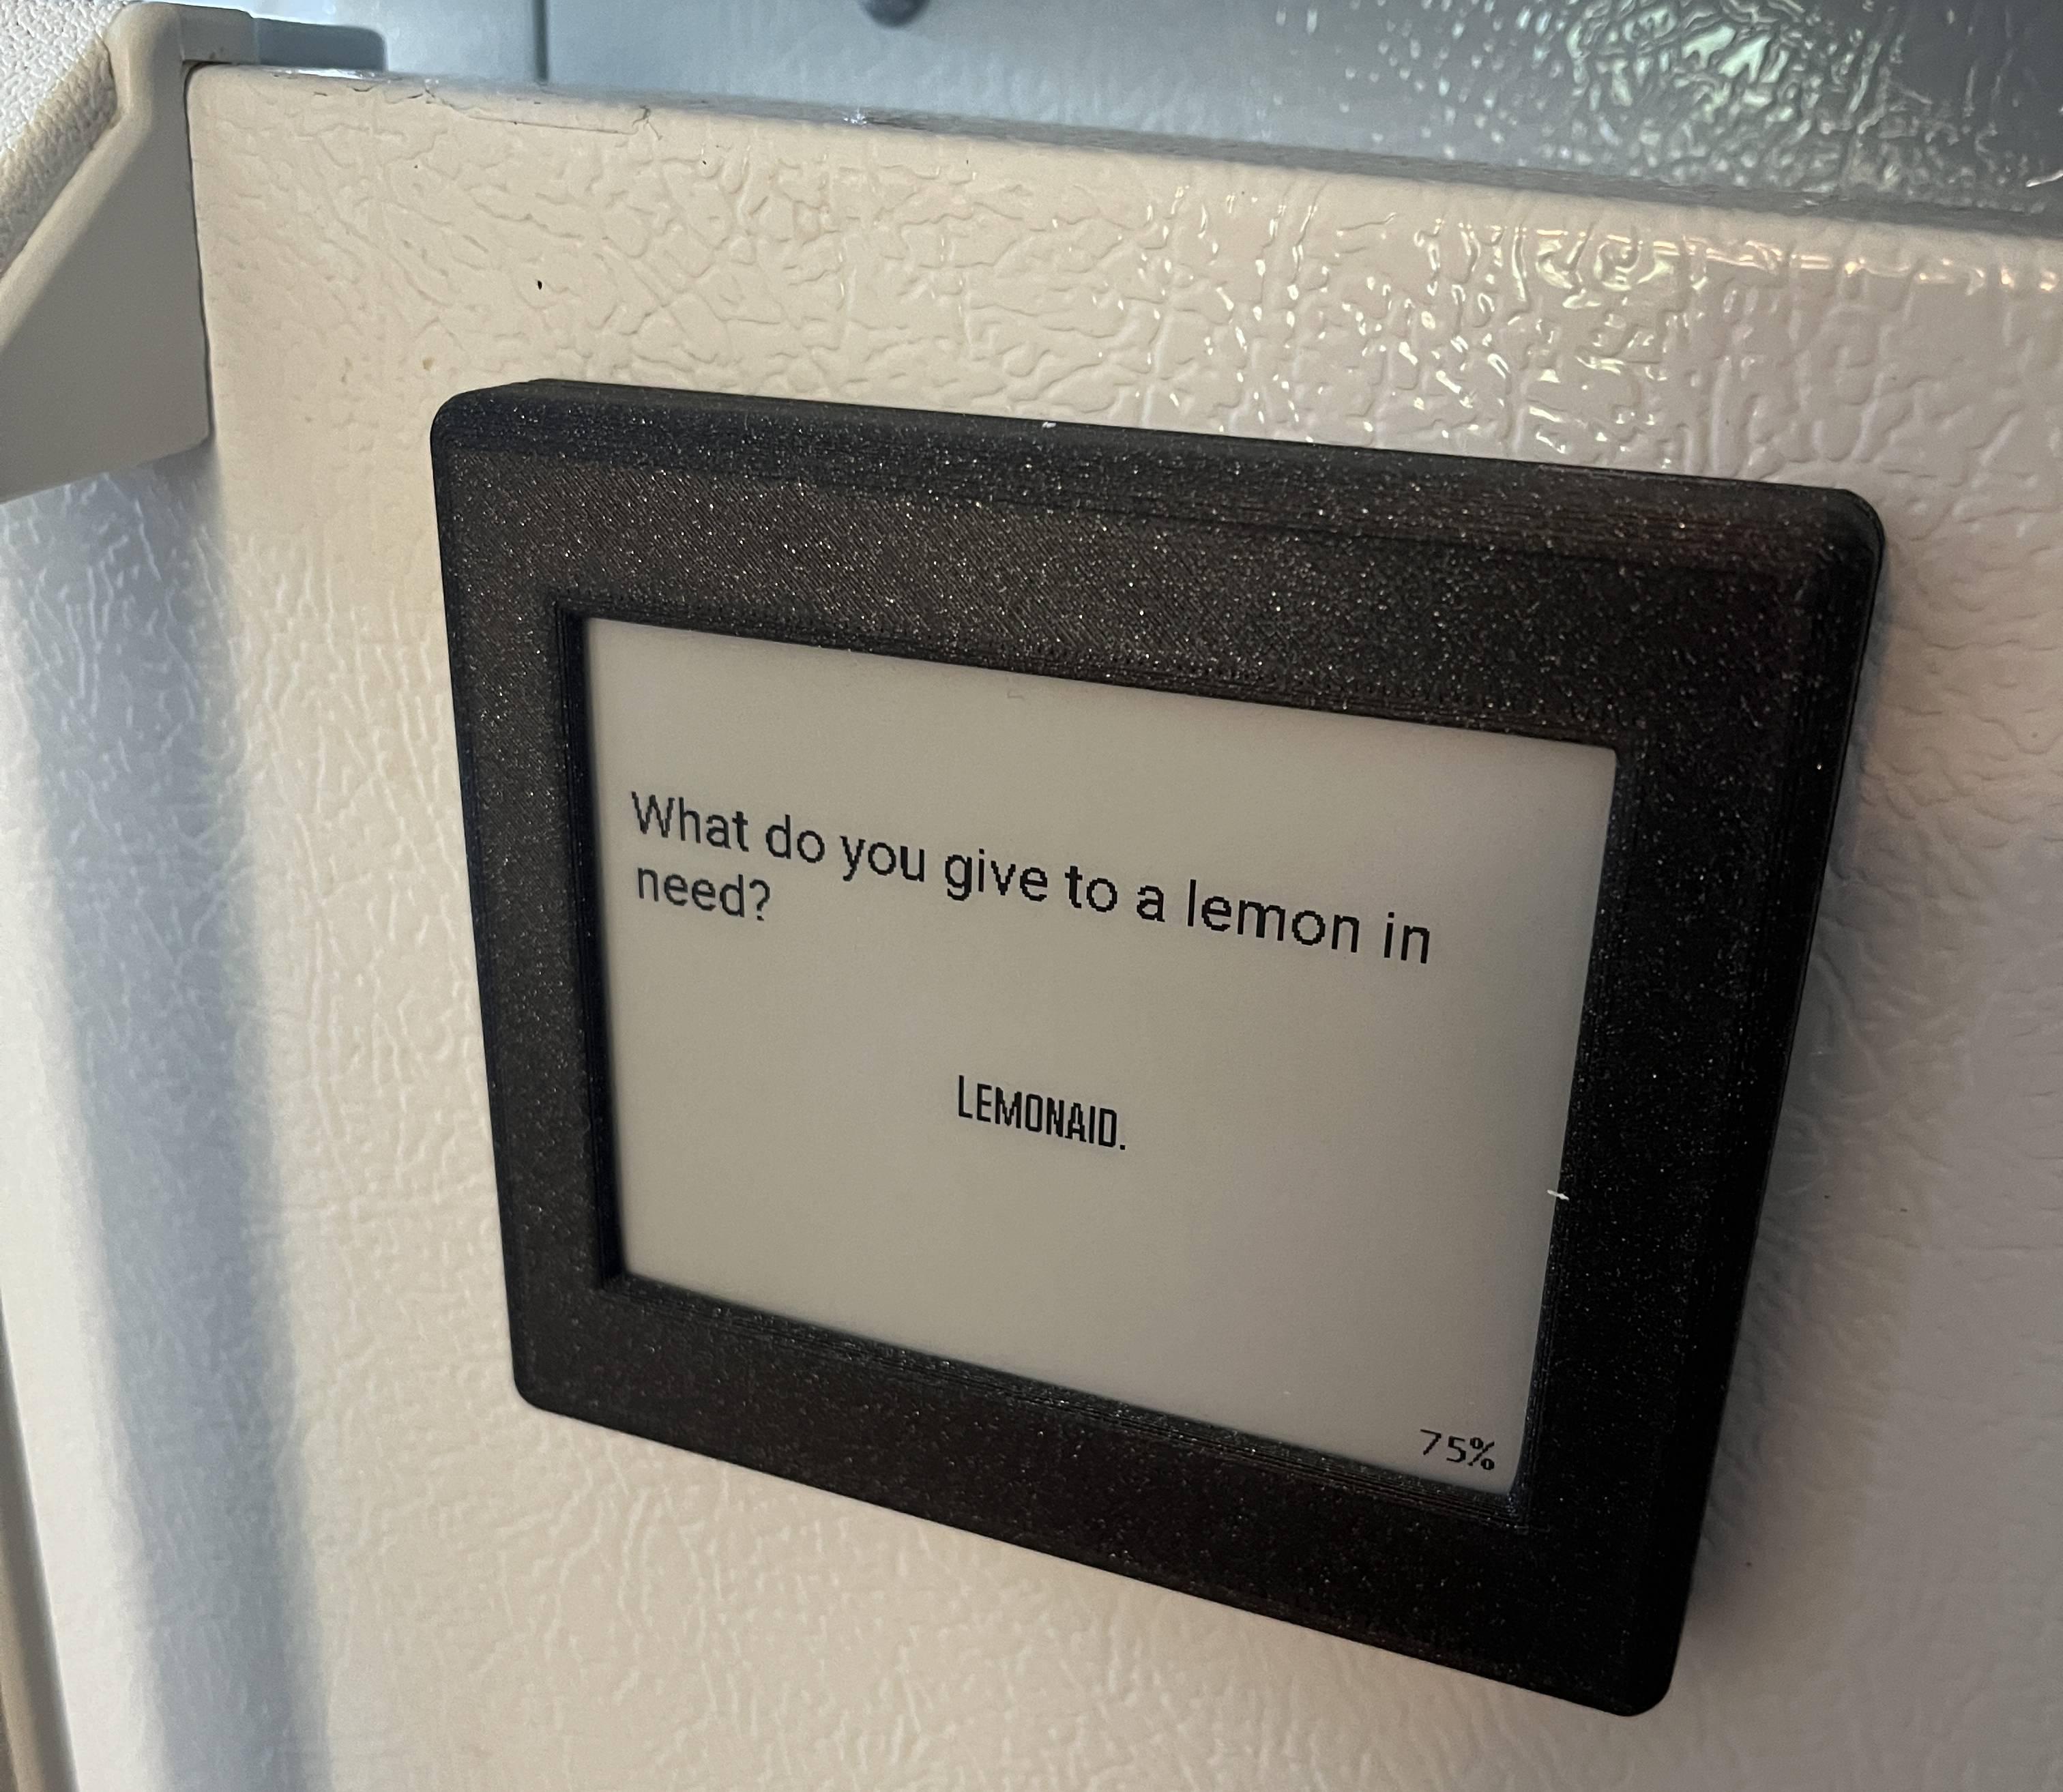
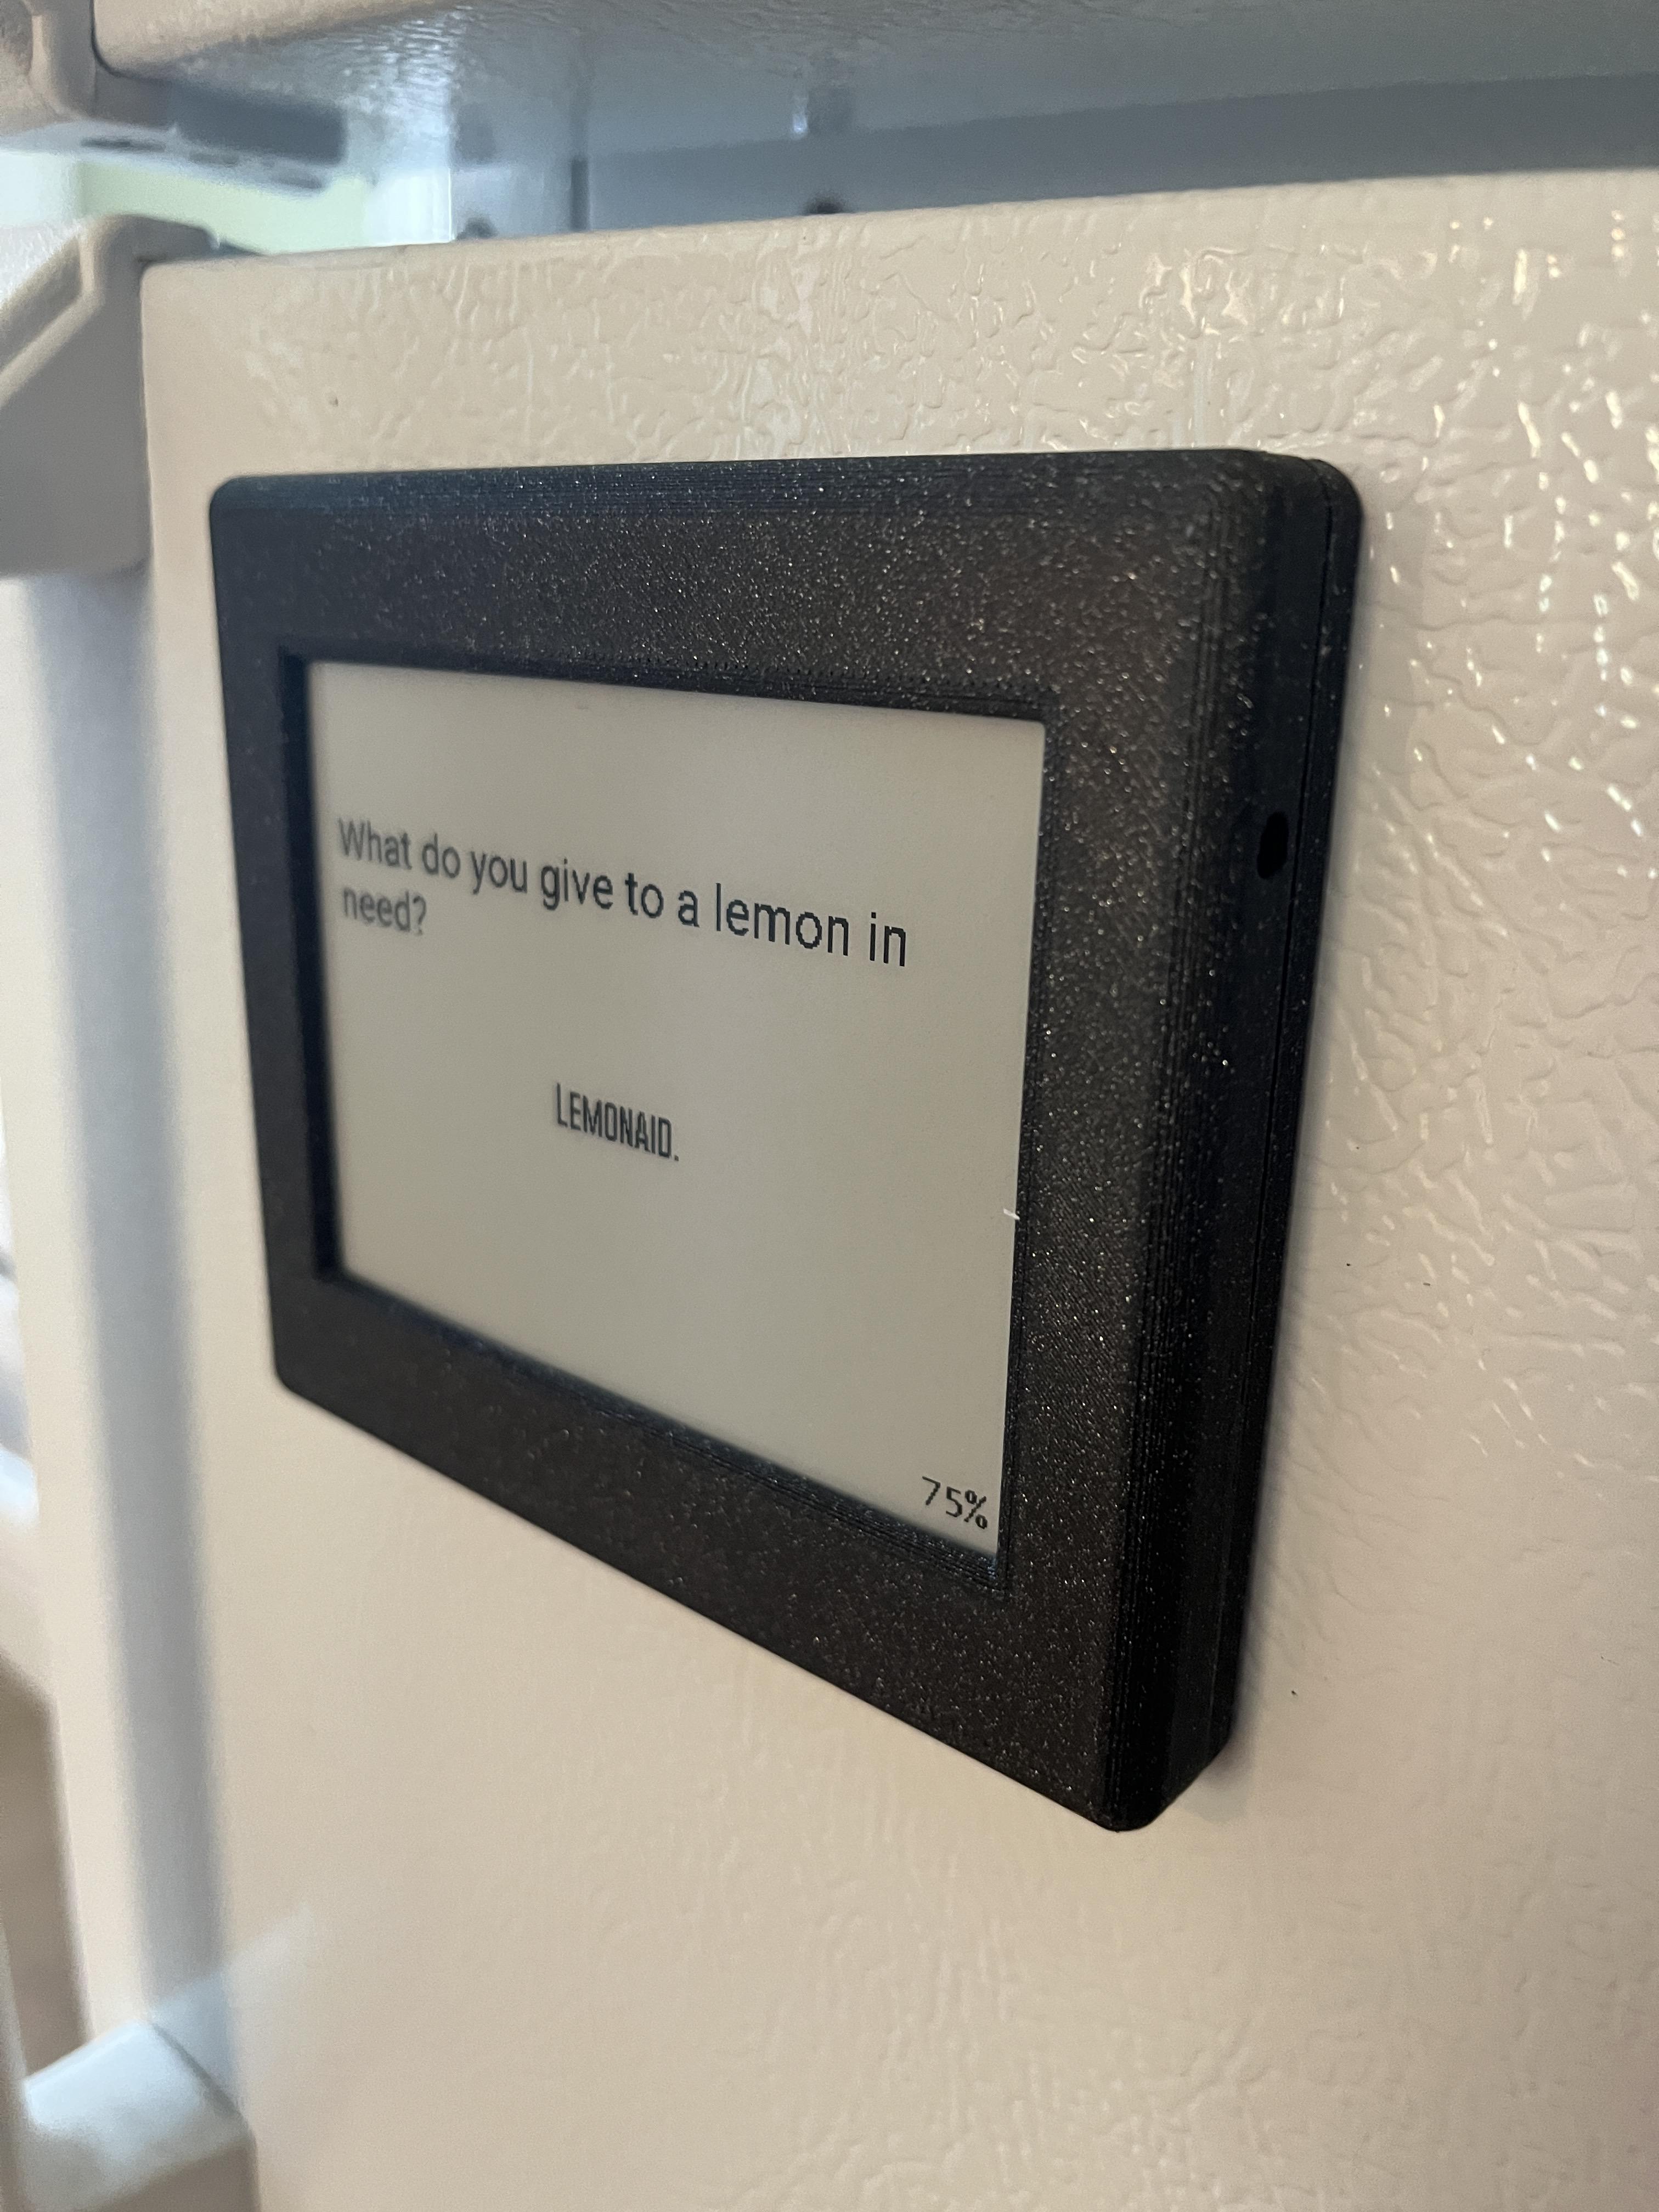
My 6-year-old son is pretty obssessed with jokes and I wanted to build something that would show him a new joke every day. This is what gave me the idea of creating a fridge magnet with an e-ink screen that would display jokes from the Internet.
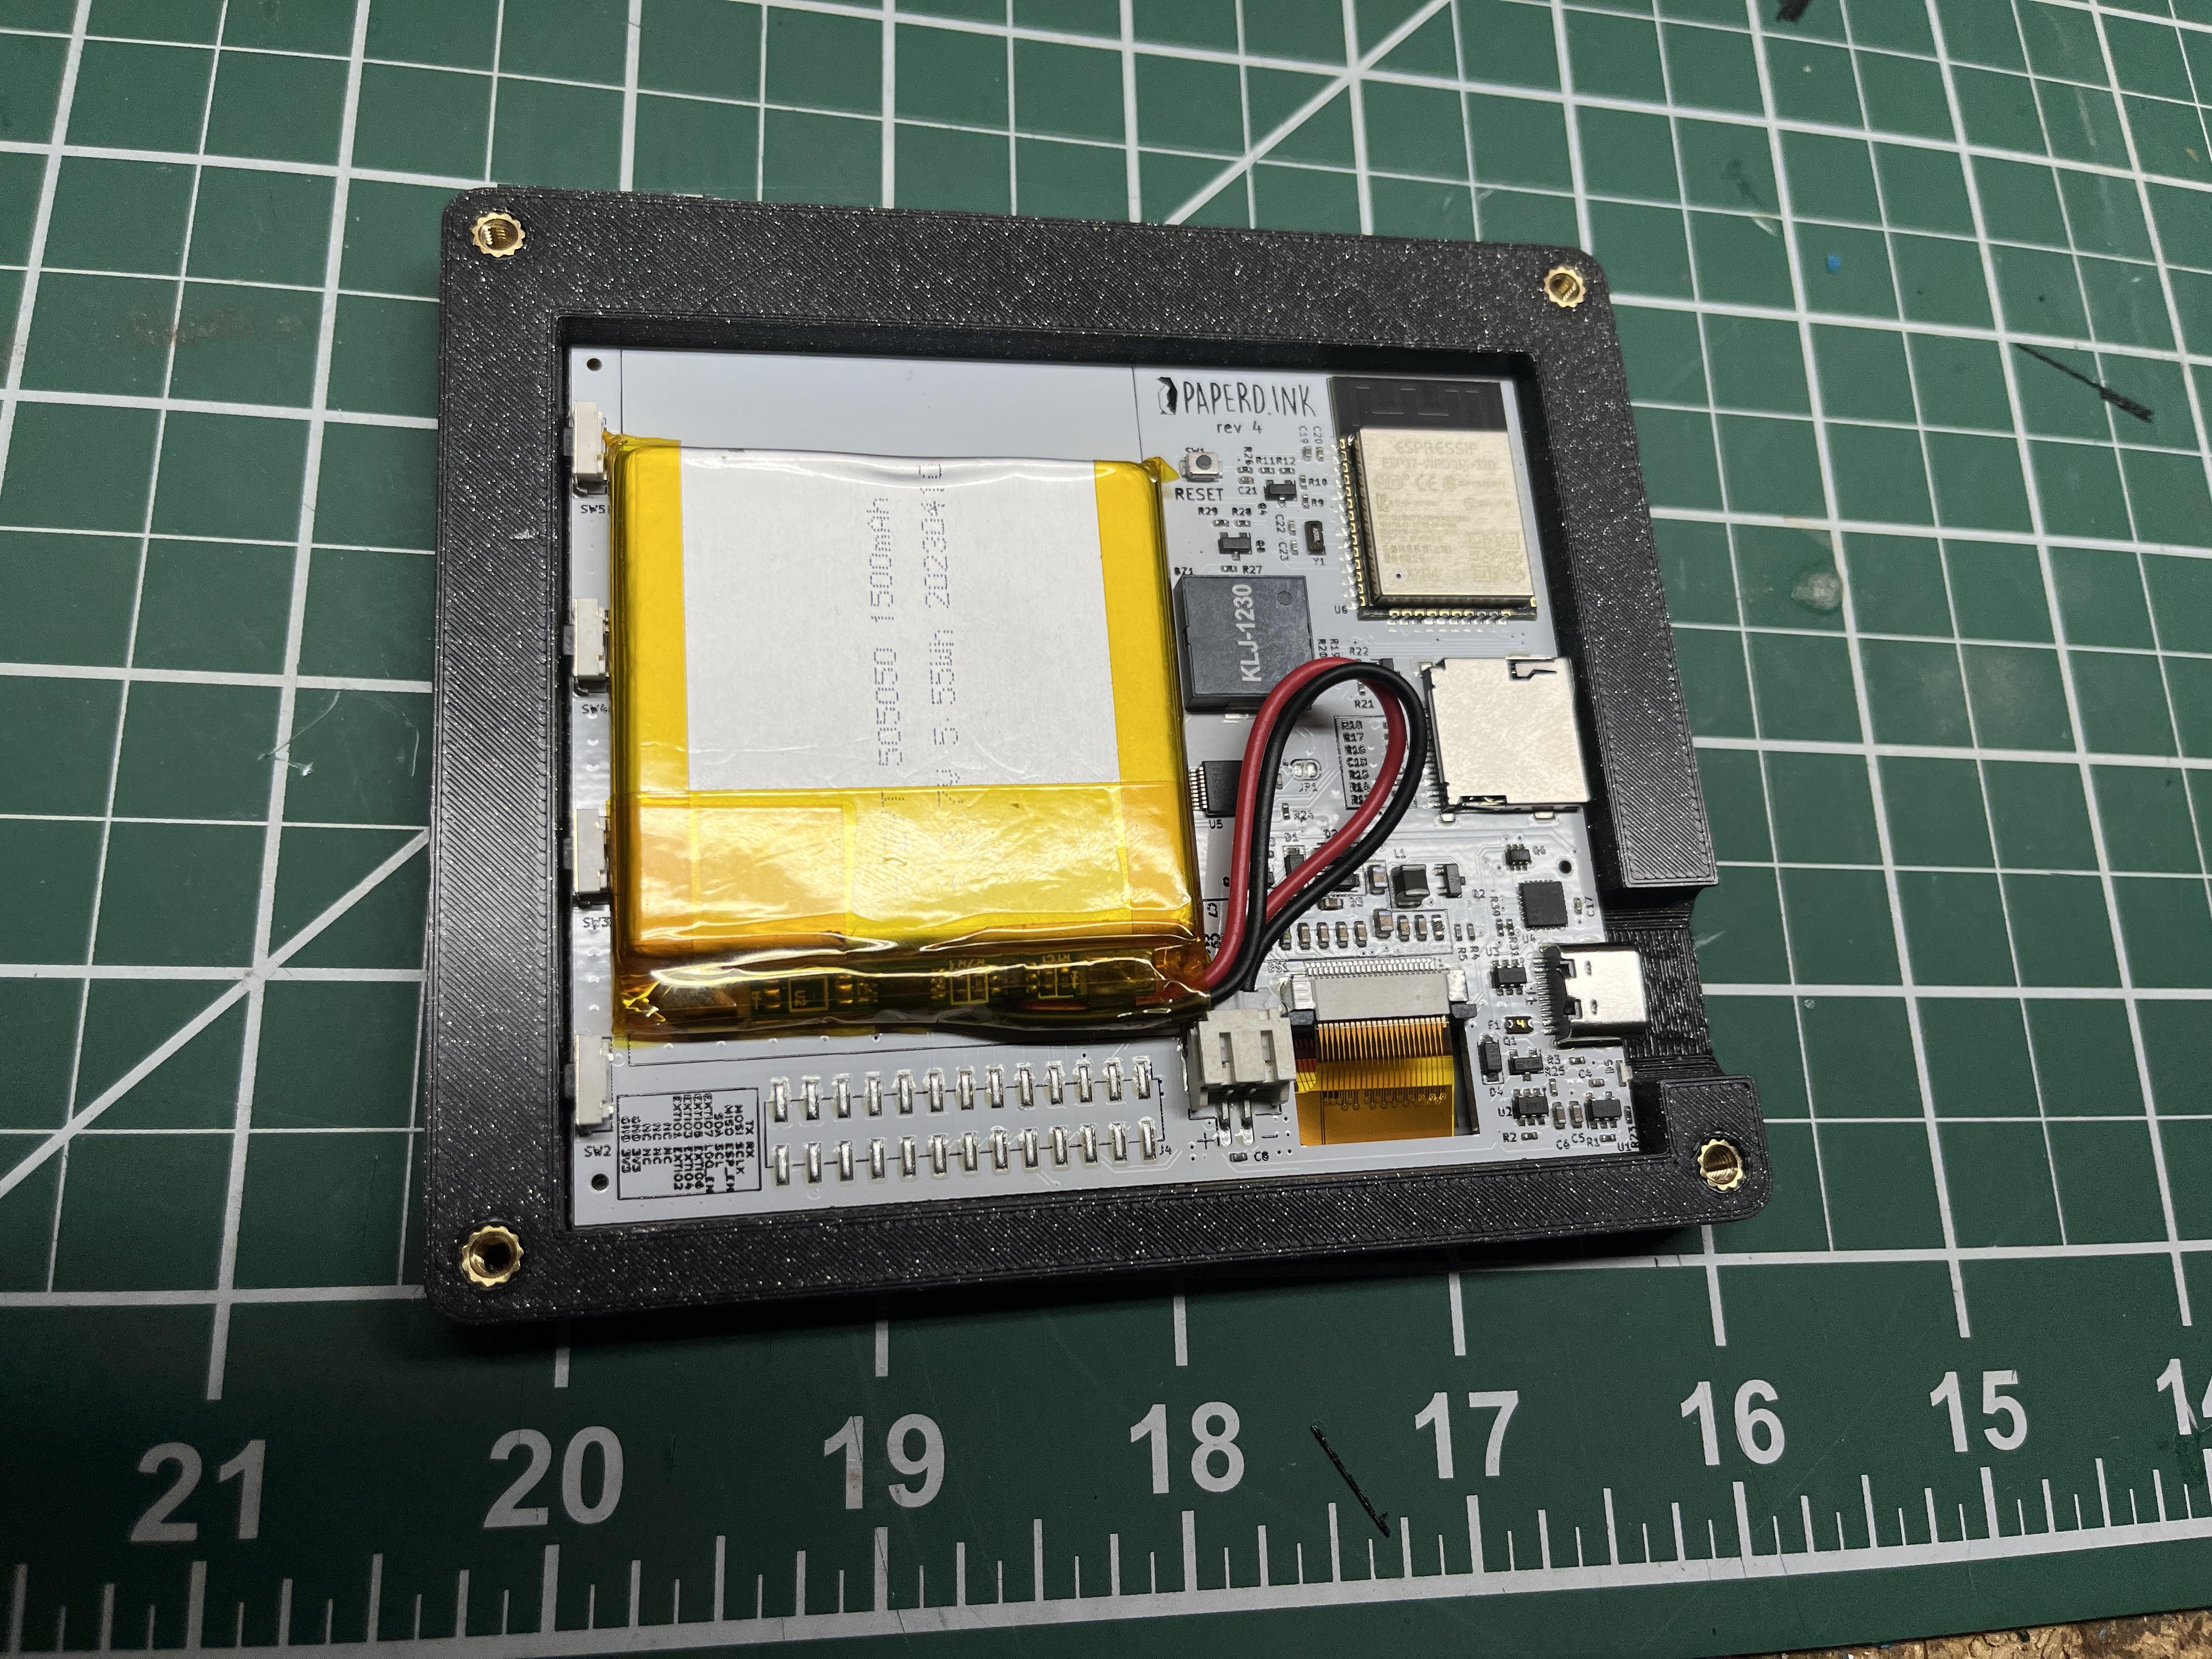
This project is powered by an Arduino ESP32 that displays jokes pulled from the Official Joke API. It fetches a new joke from the API every 6 hours, updates the screen and then immediately goes into deep sleep to preserve battery. This means it should last months between recharges. It uses a paperd.ink PCB, a 4.2 inch E-ink display, a 1900mAh battery and a custom 3D printed case designed in Fusion 360 with magnets embedded in it. It also displays a rough estimate of the battery charge remaining on the screen that is updated every 6 hours.
Supplies
- Paperd.ink Classic (PCB, E-ink display and BMS with 1900mAh battery)
- 10mm diameter x 3mm height magnets
- M3x5mm bolts
- Ruthex M3 threaded inserts
- 3D printer and filament for enclosure
Set Up the Arduino IDE
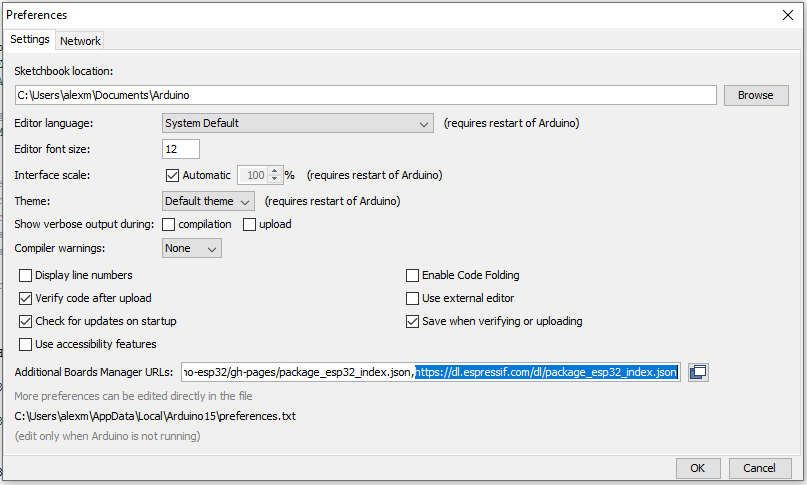
The first step of this project is making sure you have the Arduino IDE installed and configured correctly. After installing it, you'll need to add the ESP32 Board Manager URL by going to Tools > Board > Boards Manager. The URL is: https://dl.espressif.com/dl/package_esp32_index.json
Install the Paperdink Library
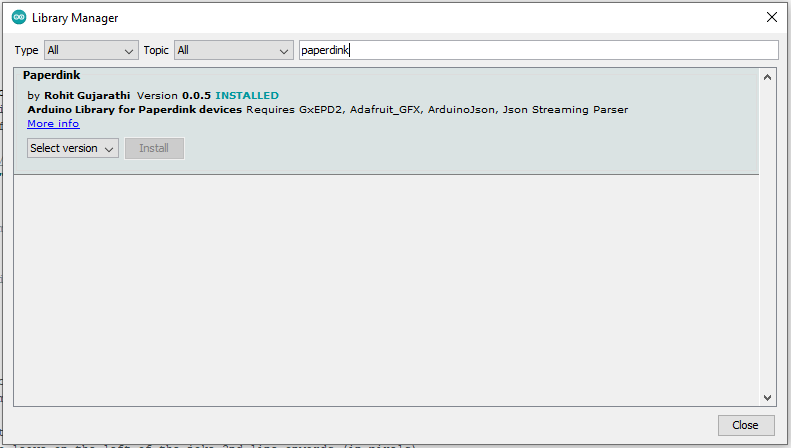
Next, in the Arduino IDE go to Tools > Manage Libraries, and search for Paperdink. Then click the Install button on the latest version (should be 0.0.5 now).
Modify and Upload Arduino Sketch
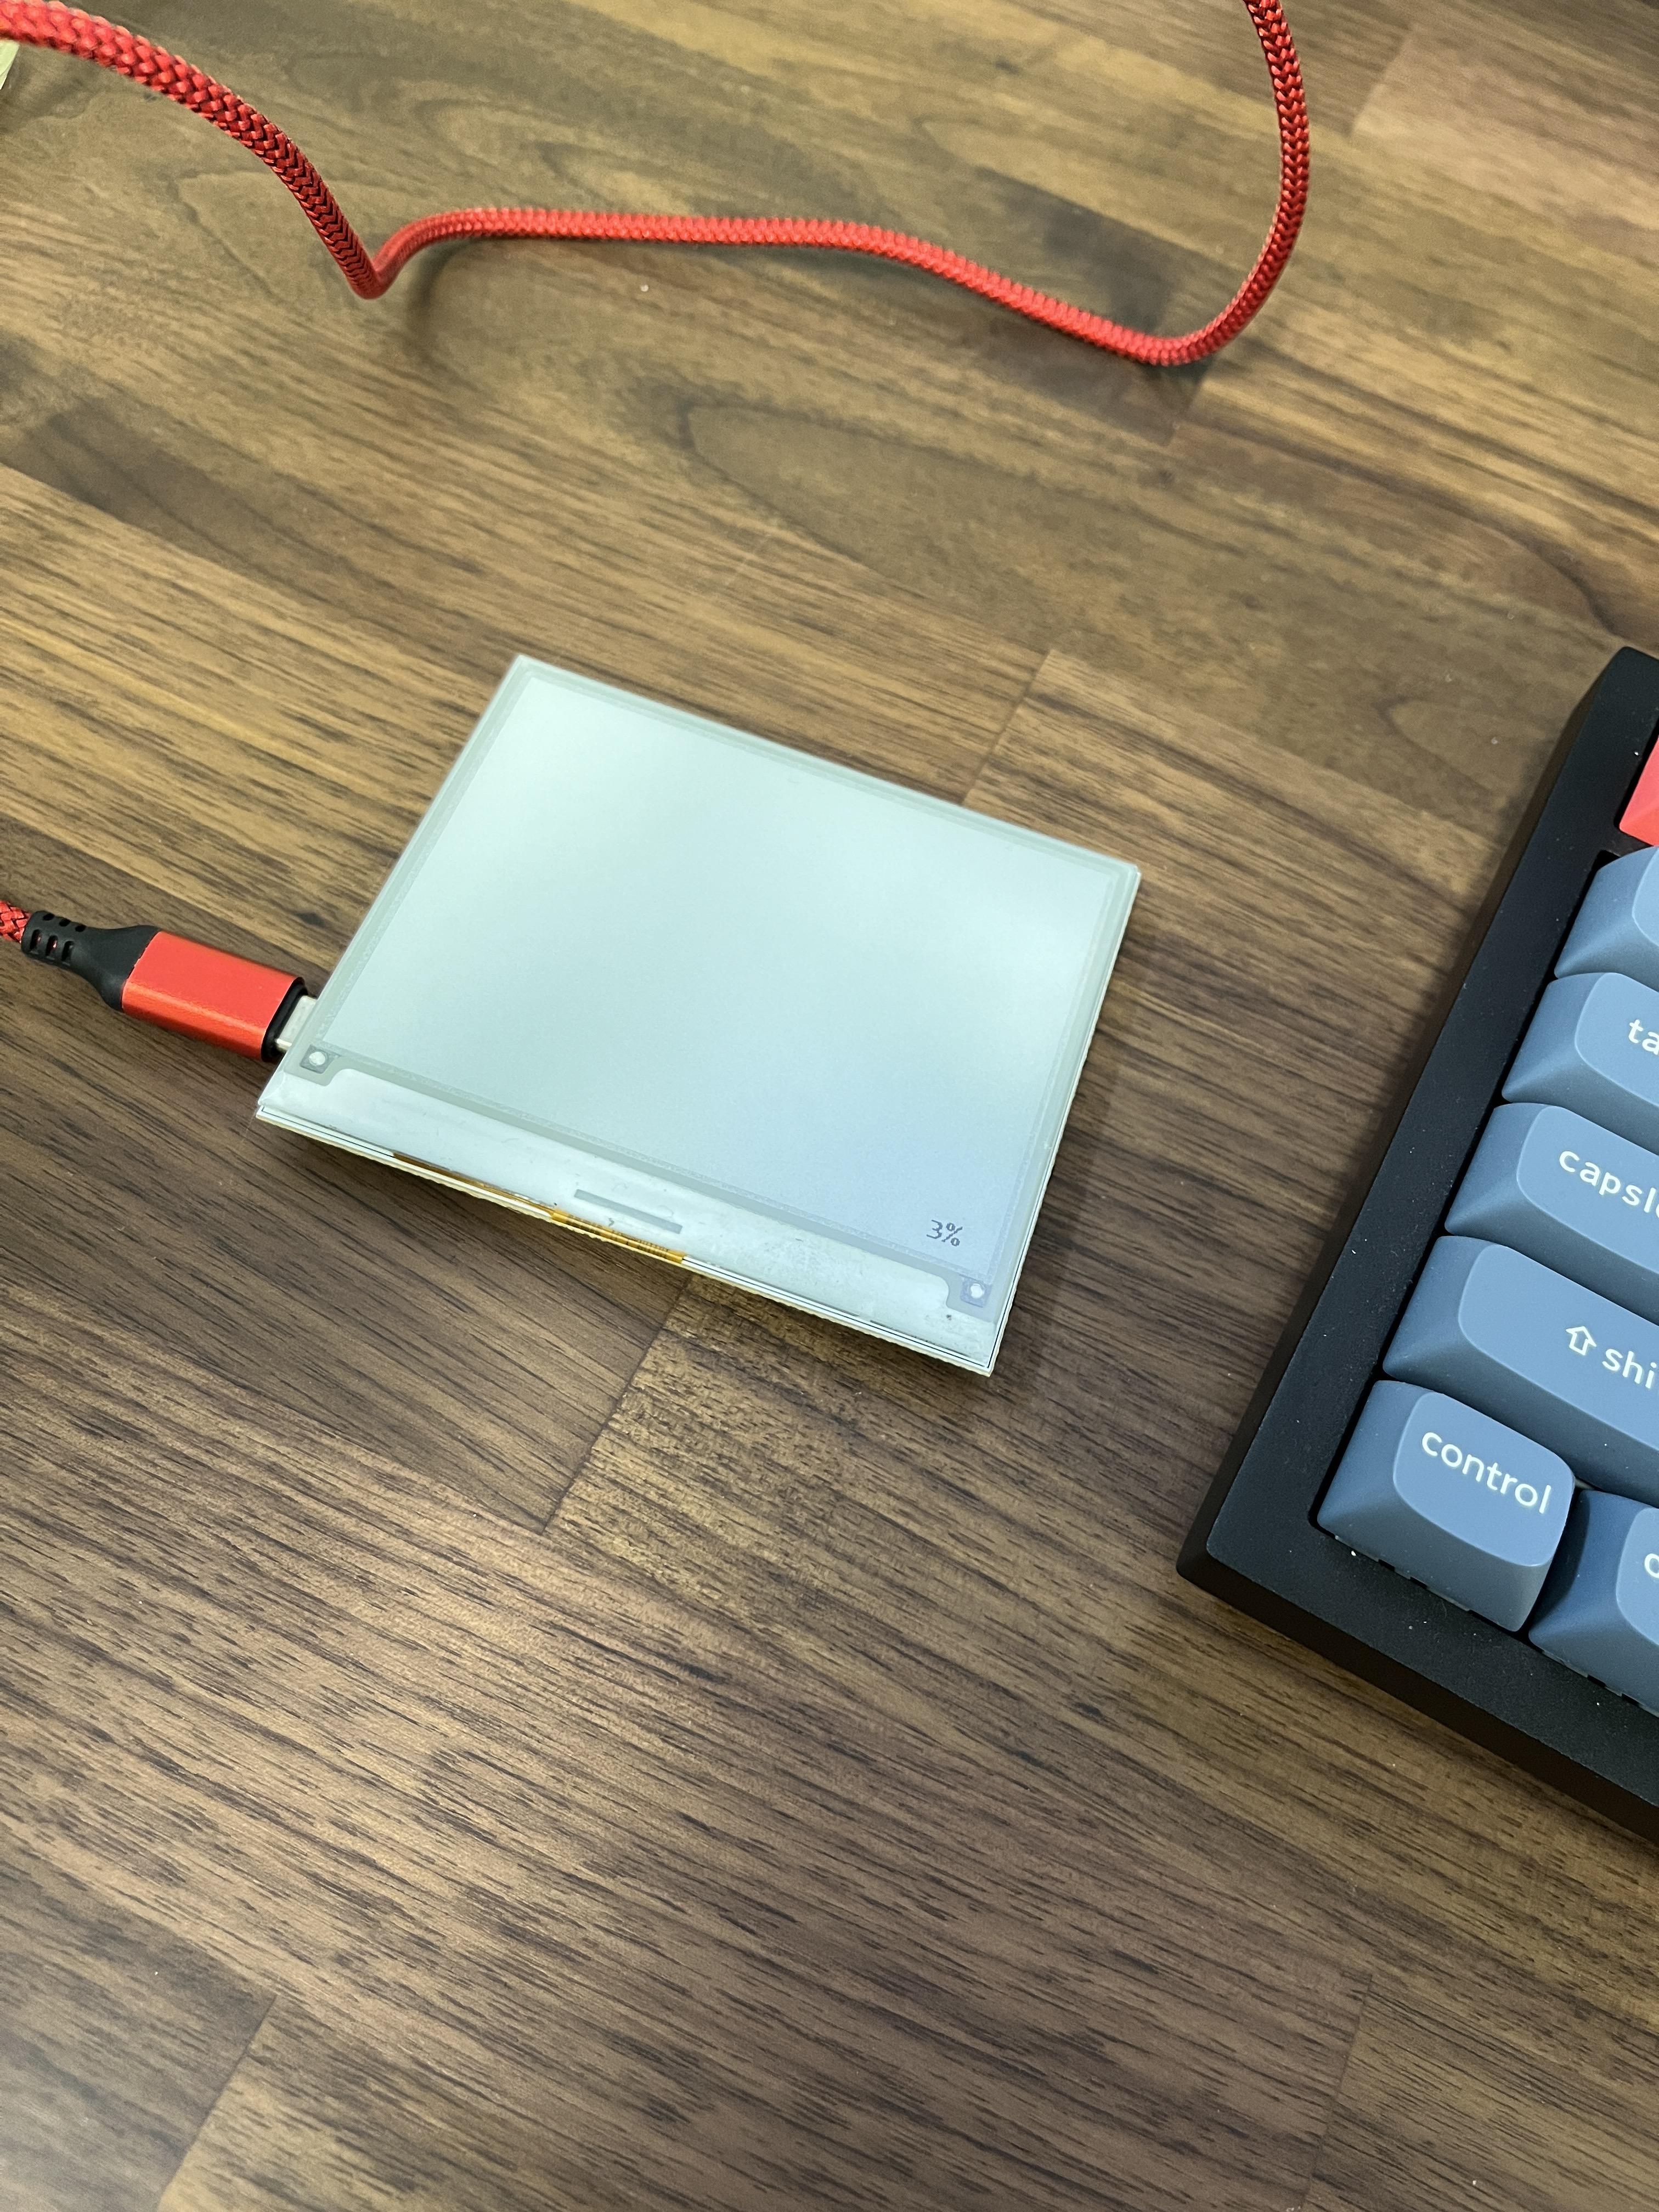
The next step is getting the Arduino sketch working on your paperd.ink ESP32. I've included an Arduino sketch I created (with snippets borrowed from this example) that calls the Official Joke API and displays a random joke on the E-ink every 6 hours. You'll need to modify it to include your WiFi network name and password. You can also change the timezone, fonts, layout and and the frequency of updates. This is all documented in the Arduino sketch. Remember that the more frequent it updates, the lower the battery life.
Downloads
Make Sure It Works
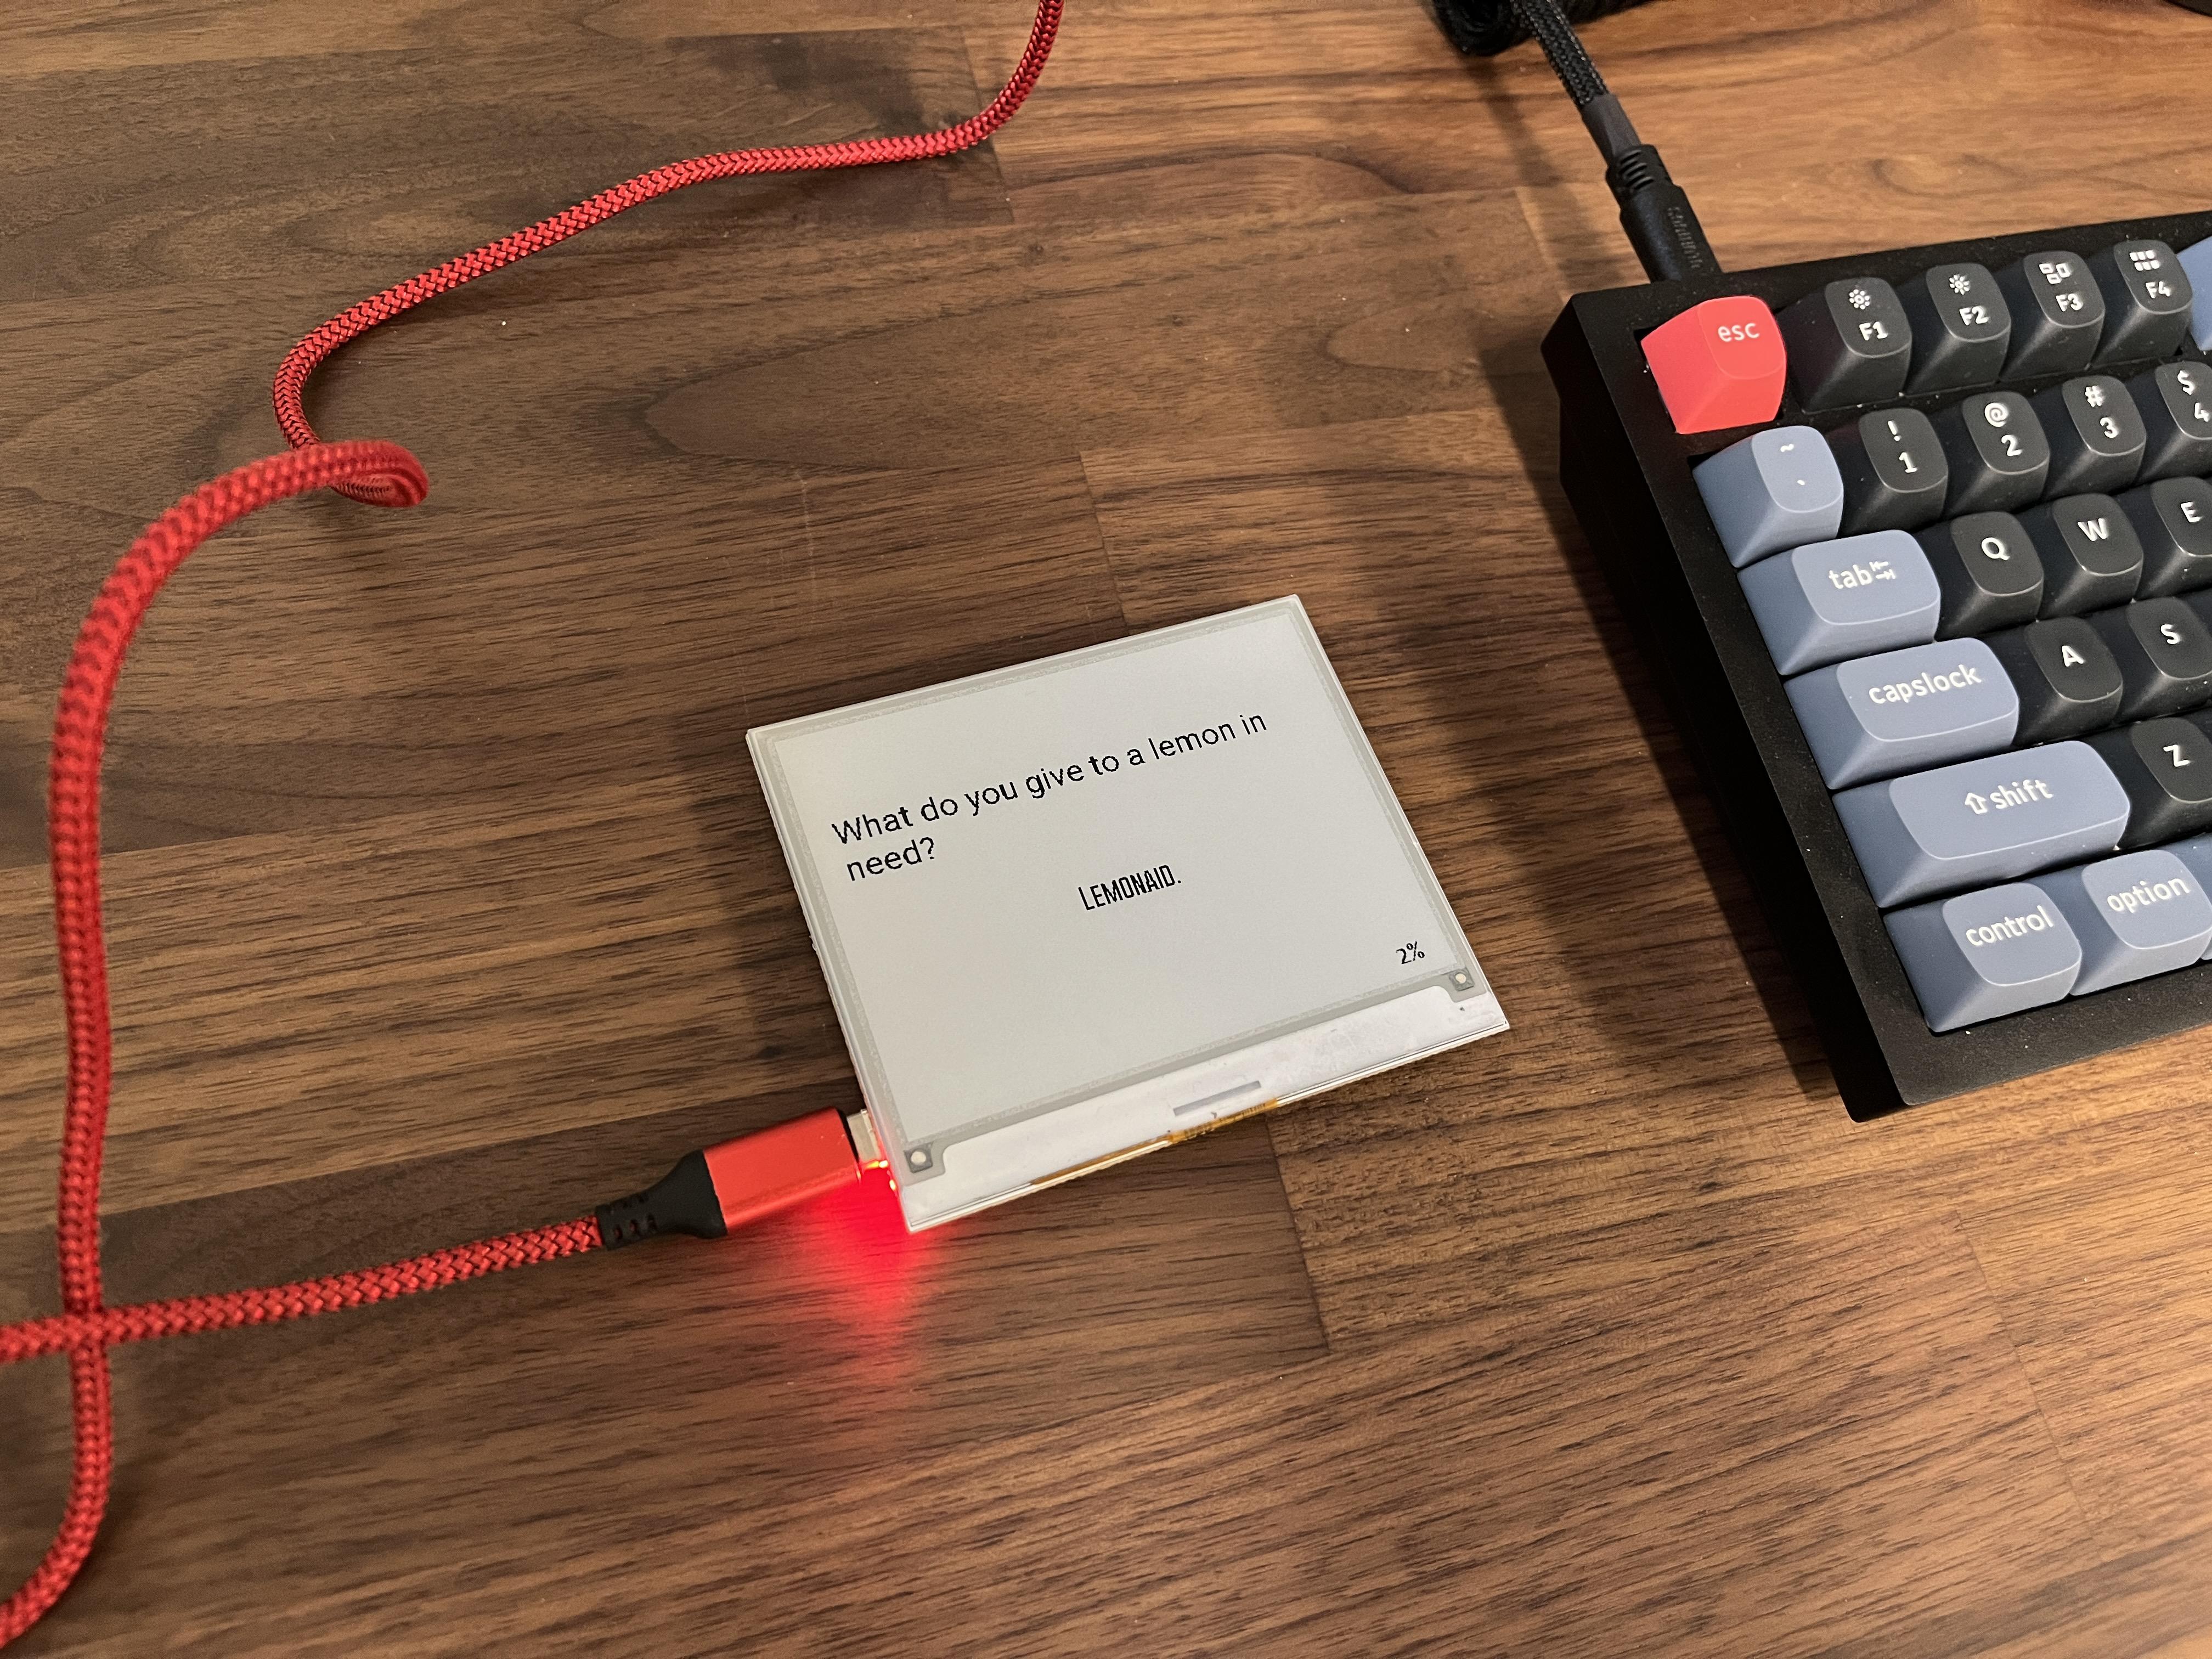
After uploading the sketch, unplug the screen and press button 1 (uppermost button on the right side). Make sure a joke is displayed on the screen and that the battery life is also displayed.
Design Enclosure in Fusion 360
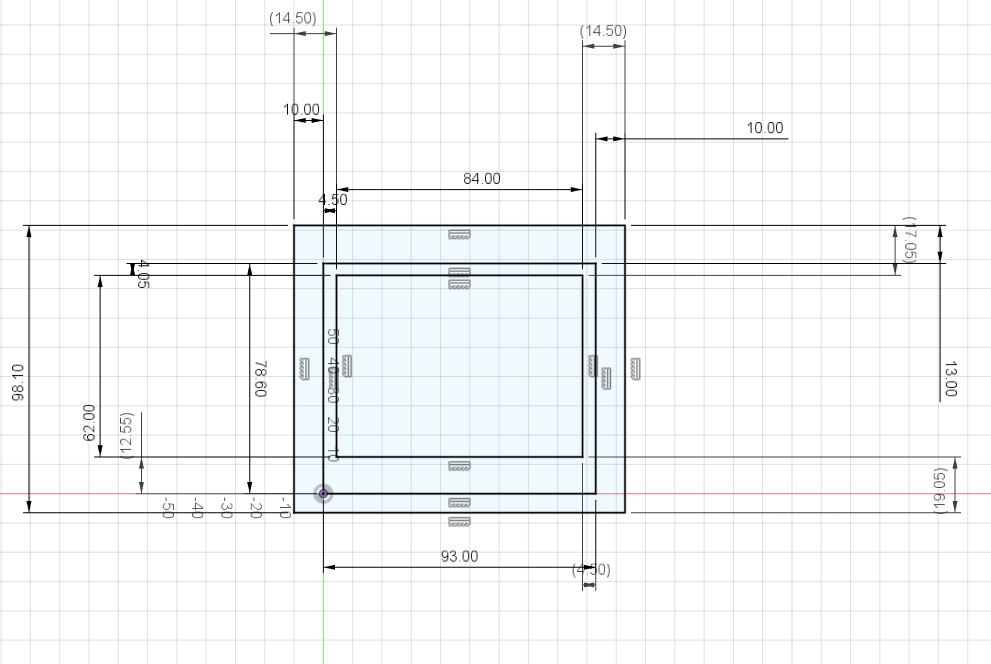
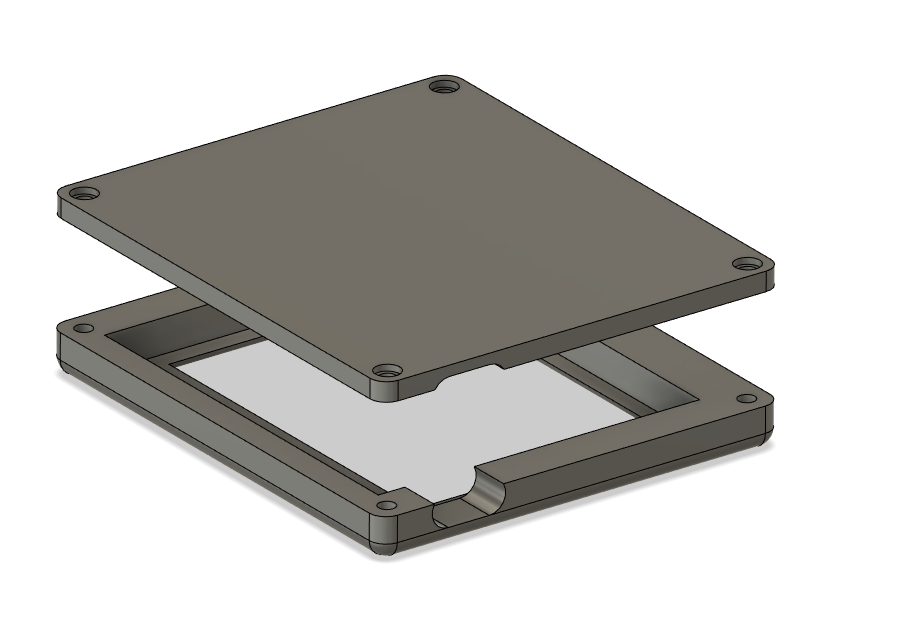
Next, use Fusion 360 to design a 3D printed enclosure that will protect the project internals and also allow magnets to be mounted inside (so it will stick to your fridge). This process starts with taking measurements of the paperd.ink board with digital calipers and then entering those into a sketch in Fusion. Then extrude the sketch into a two piece enclosure and create holes for the USB C plug, the magnets, M3 bolts and button 1 (the upper rightmost button). Feel free to use my included design if you'd rather not design it yourself.
Print Enclosure
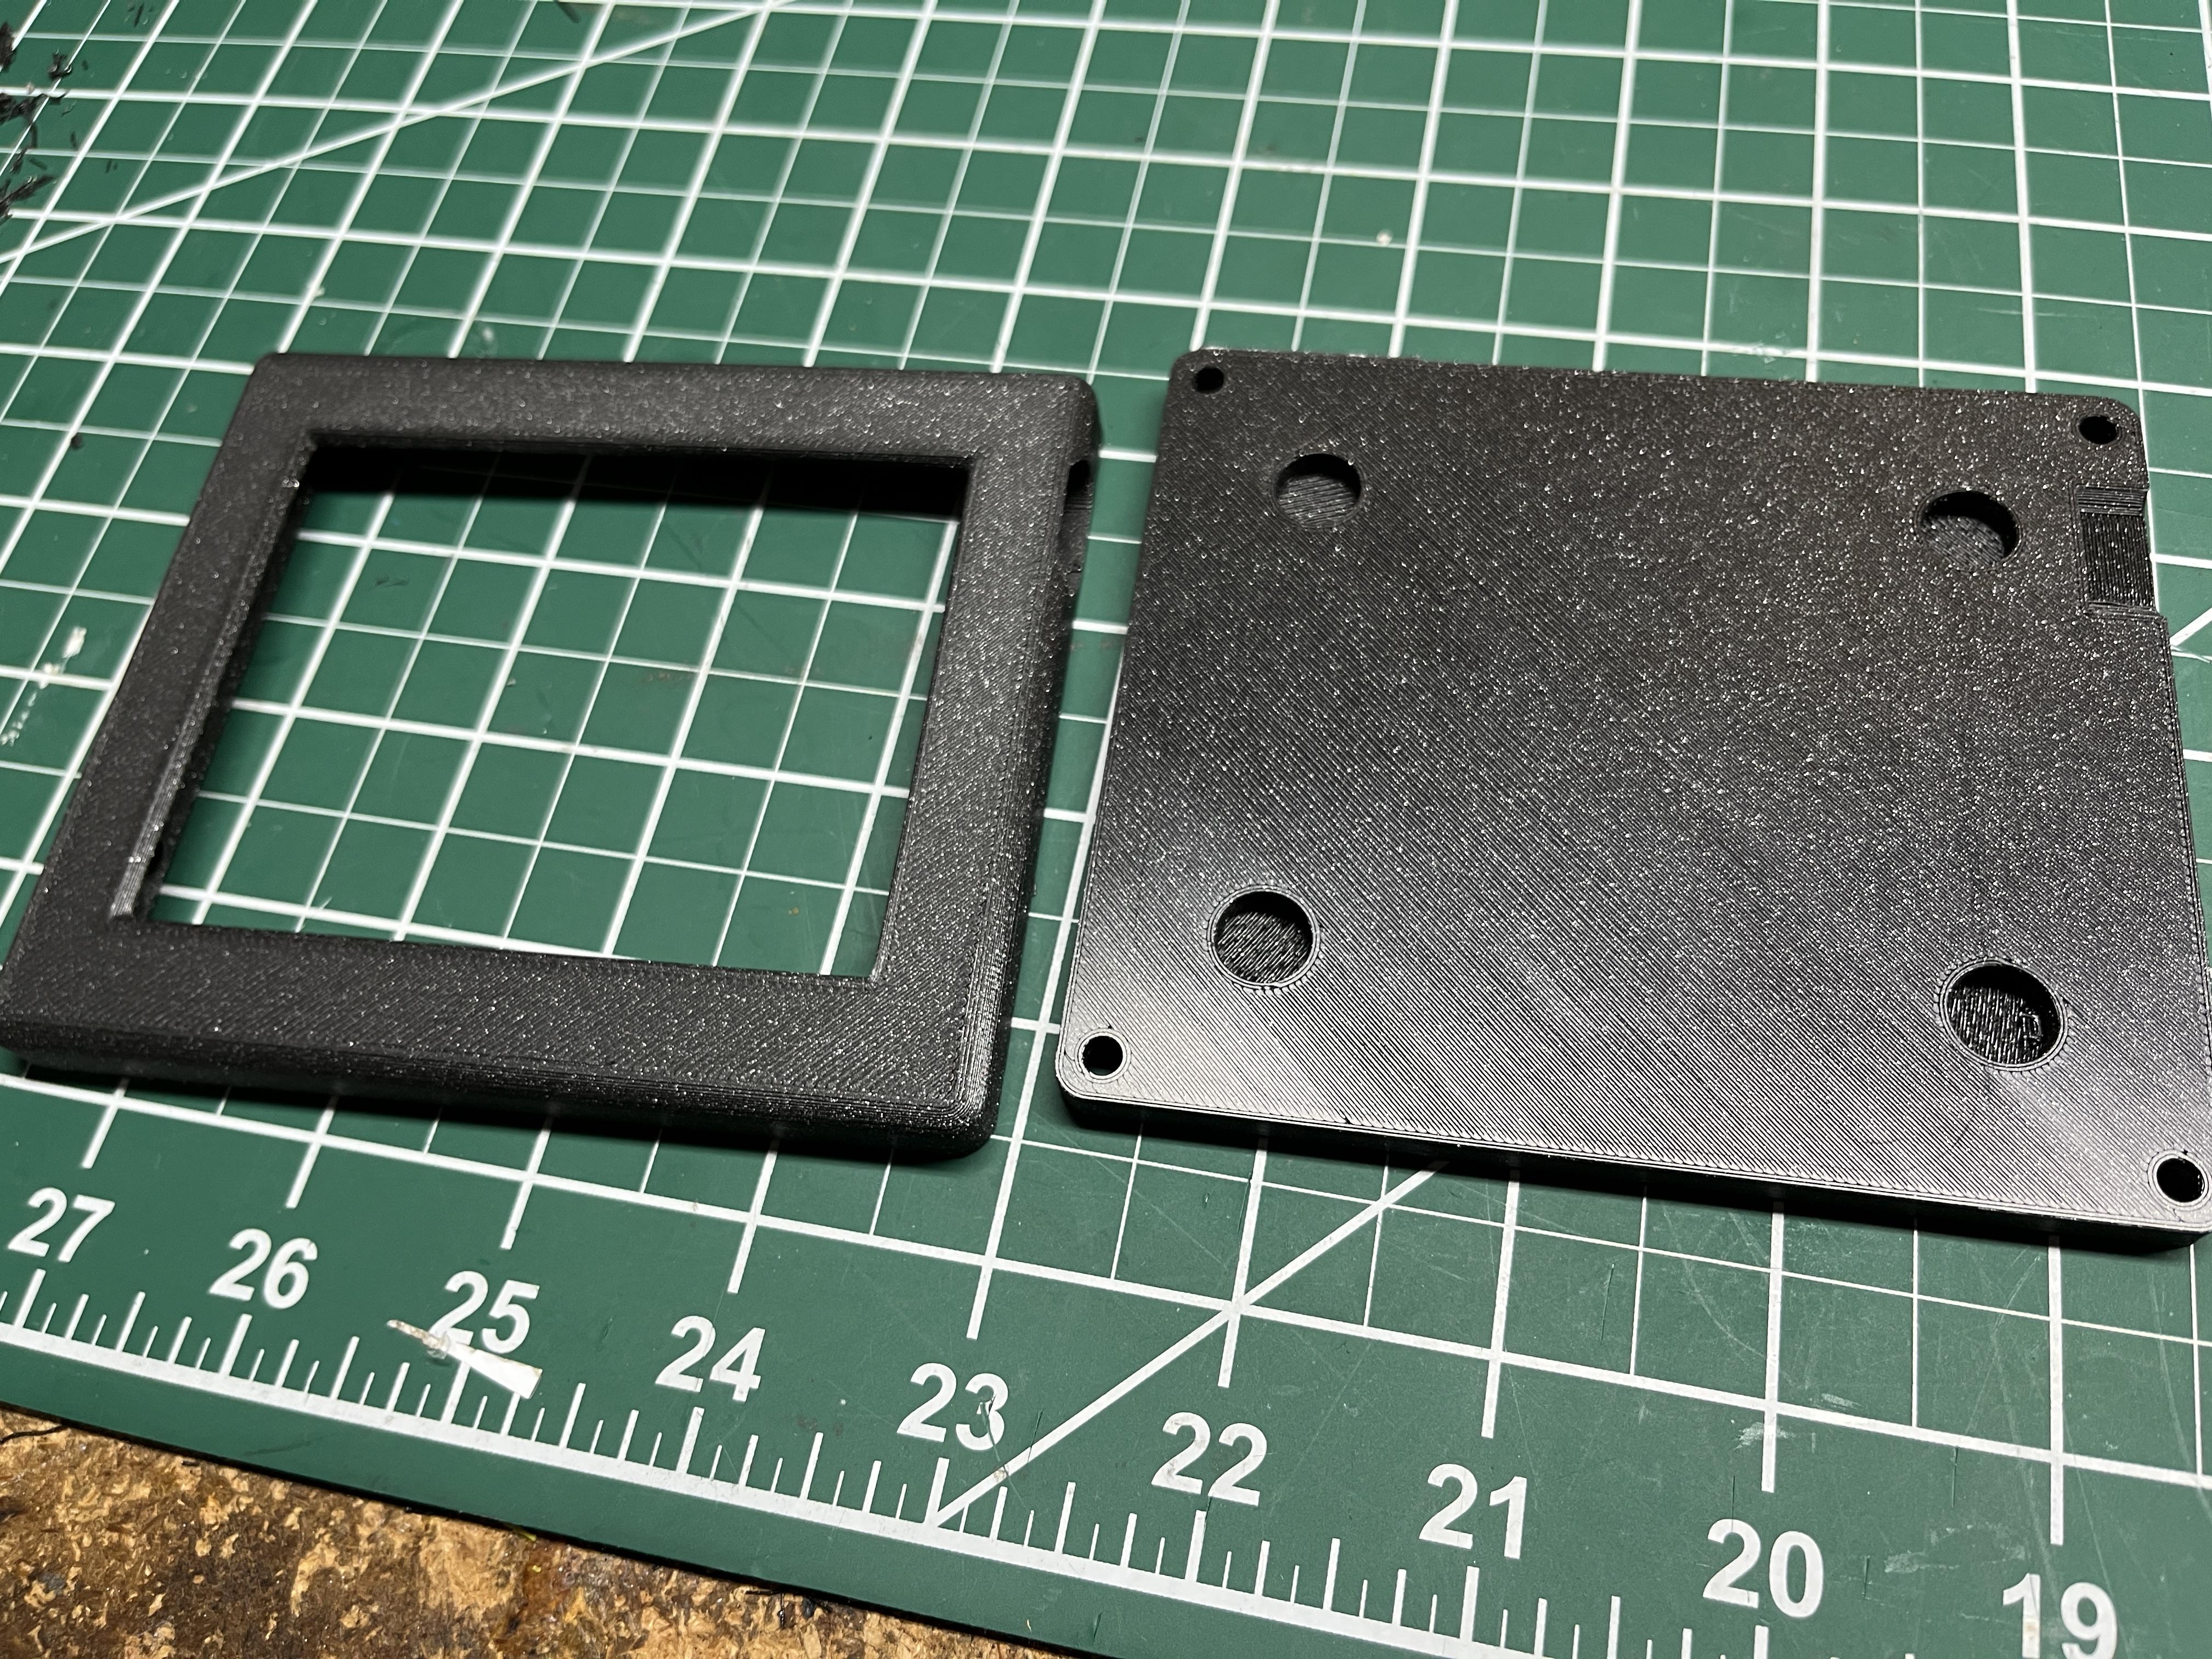
Export the mesh from Fusion, slice it and print the front and back plate. I recommend printing this in PLA with supports, 0.2mm layer height and 15% infill.
Add Threaded Inserts
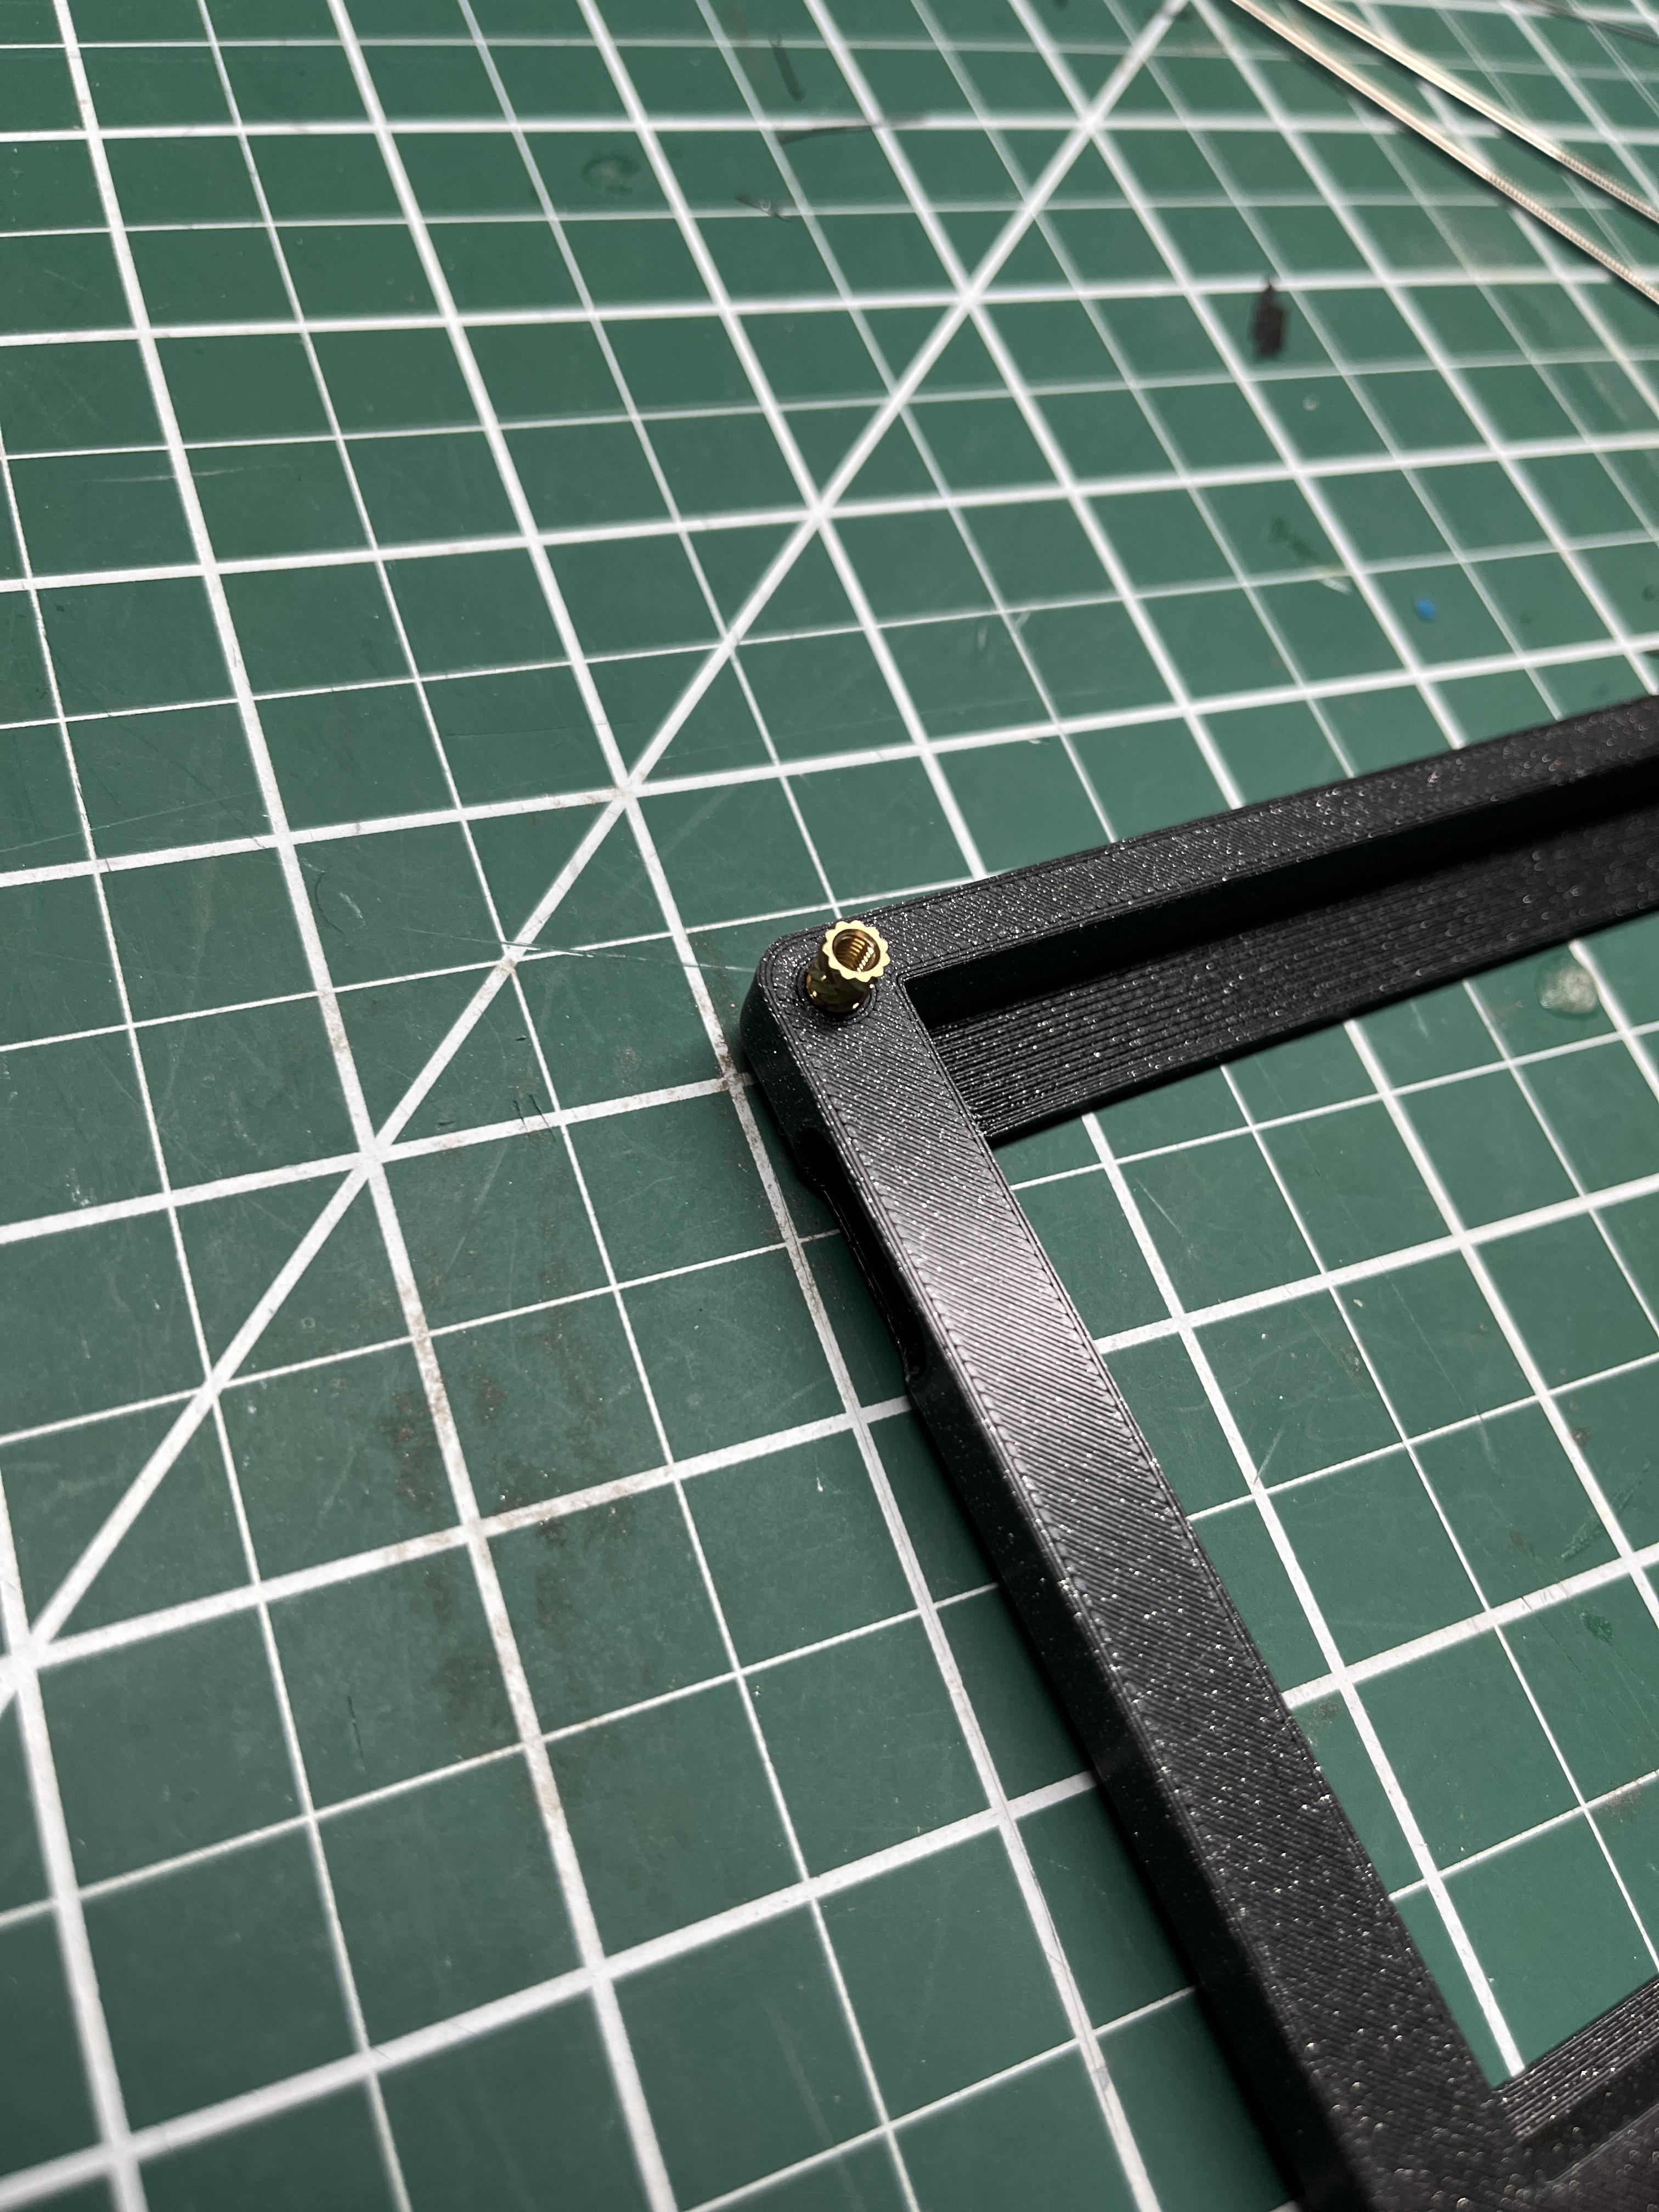
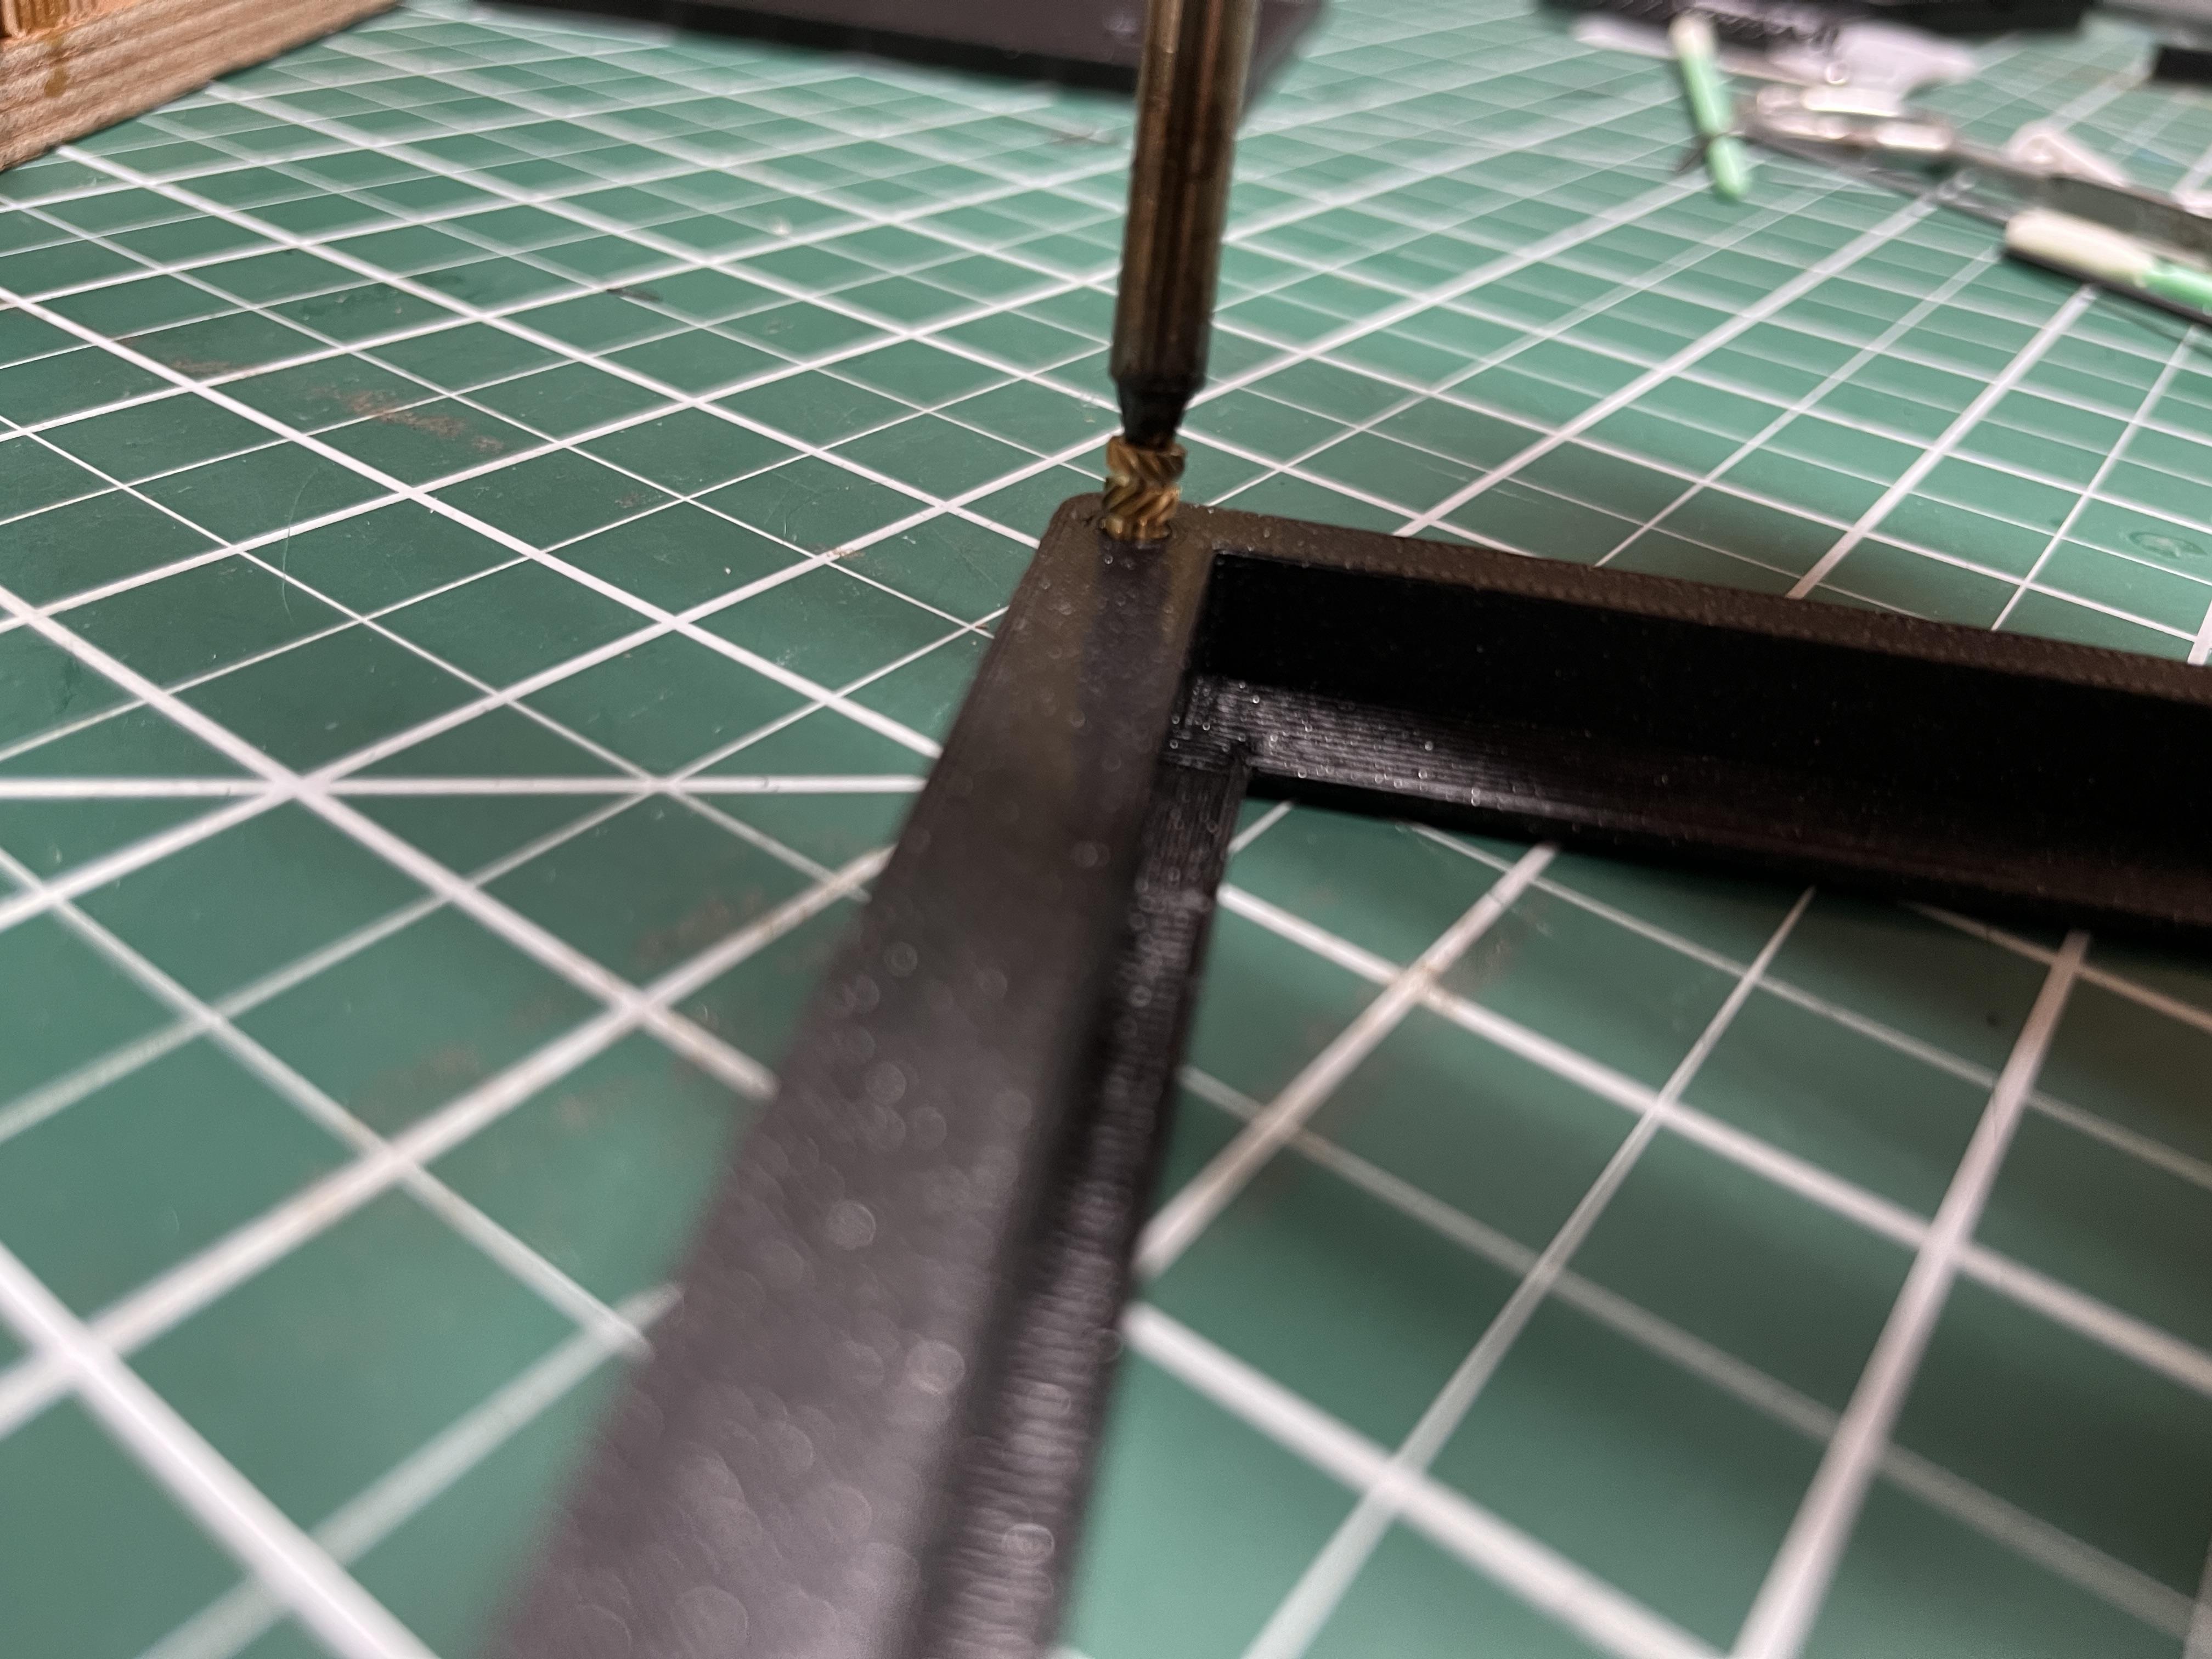
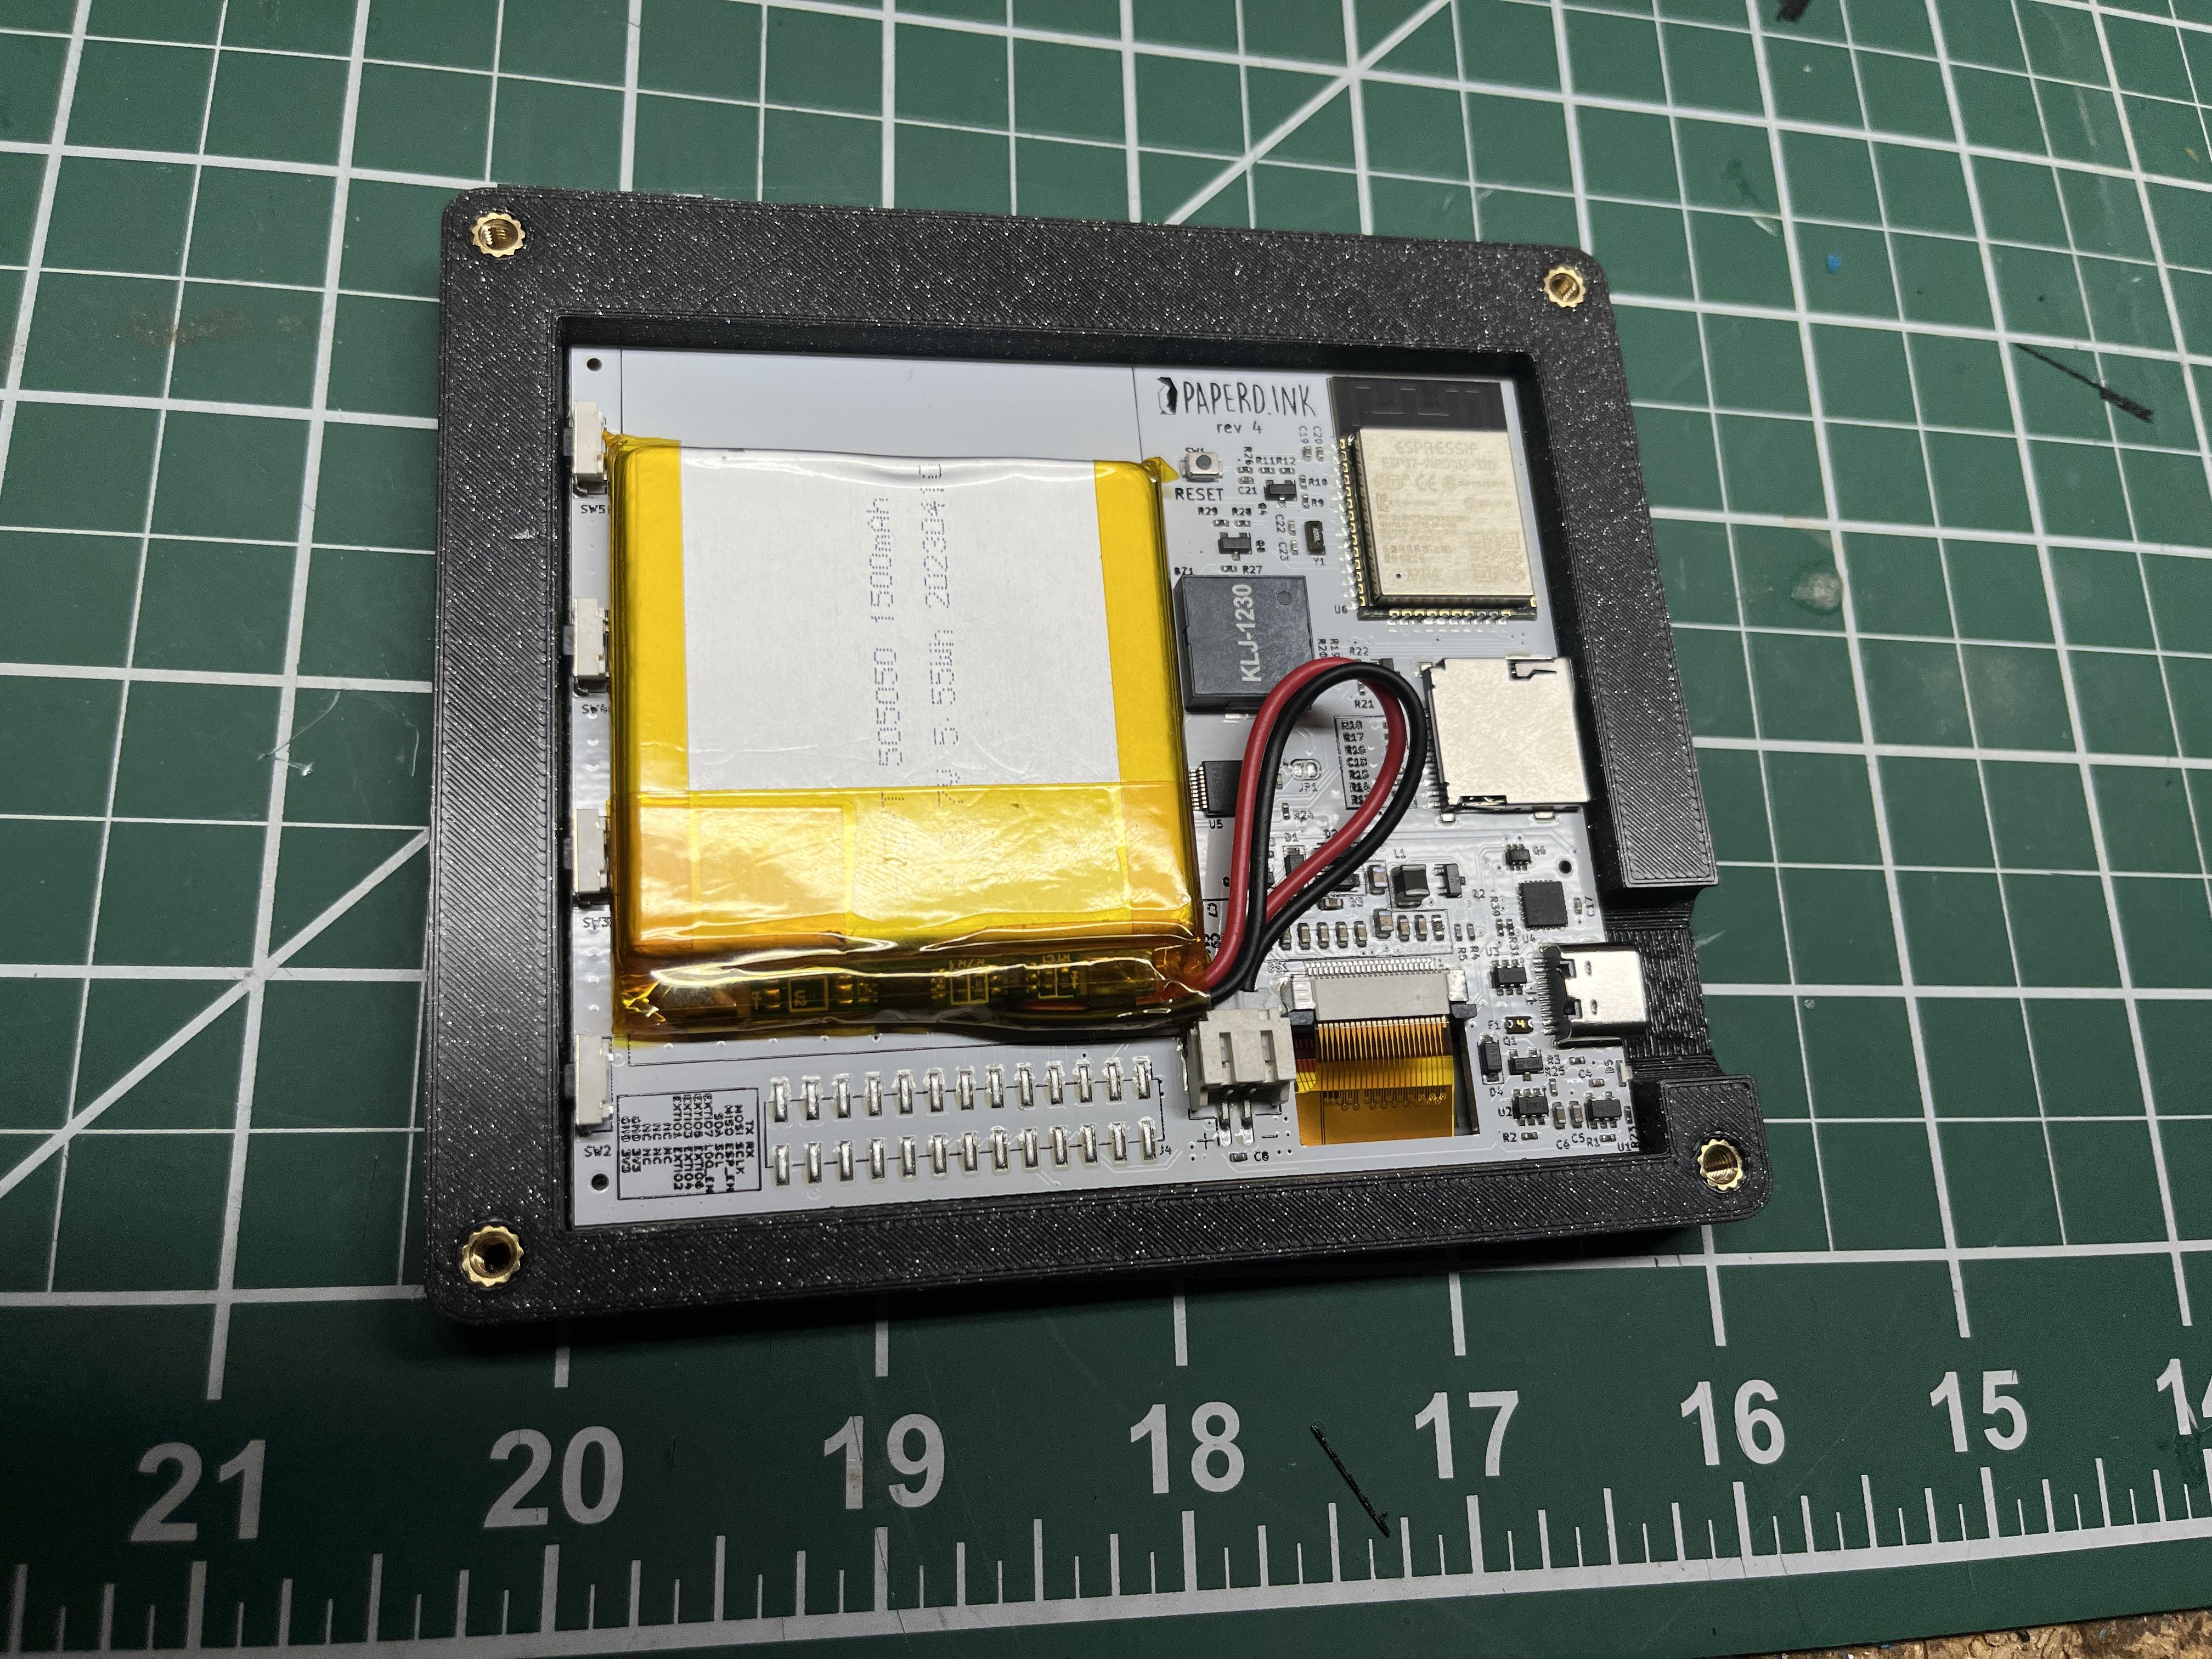
Attach threaded inserts using a heated up soldering iron and then pushing the M3 inserts into the holes in the front plate. They should slide right into place without much effort.
Add Magnets
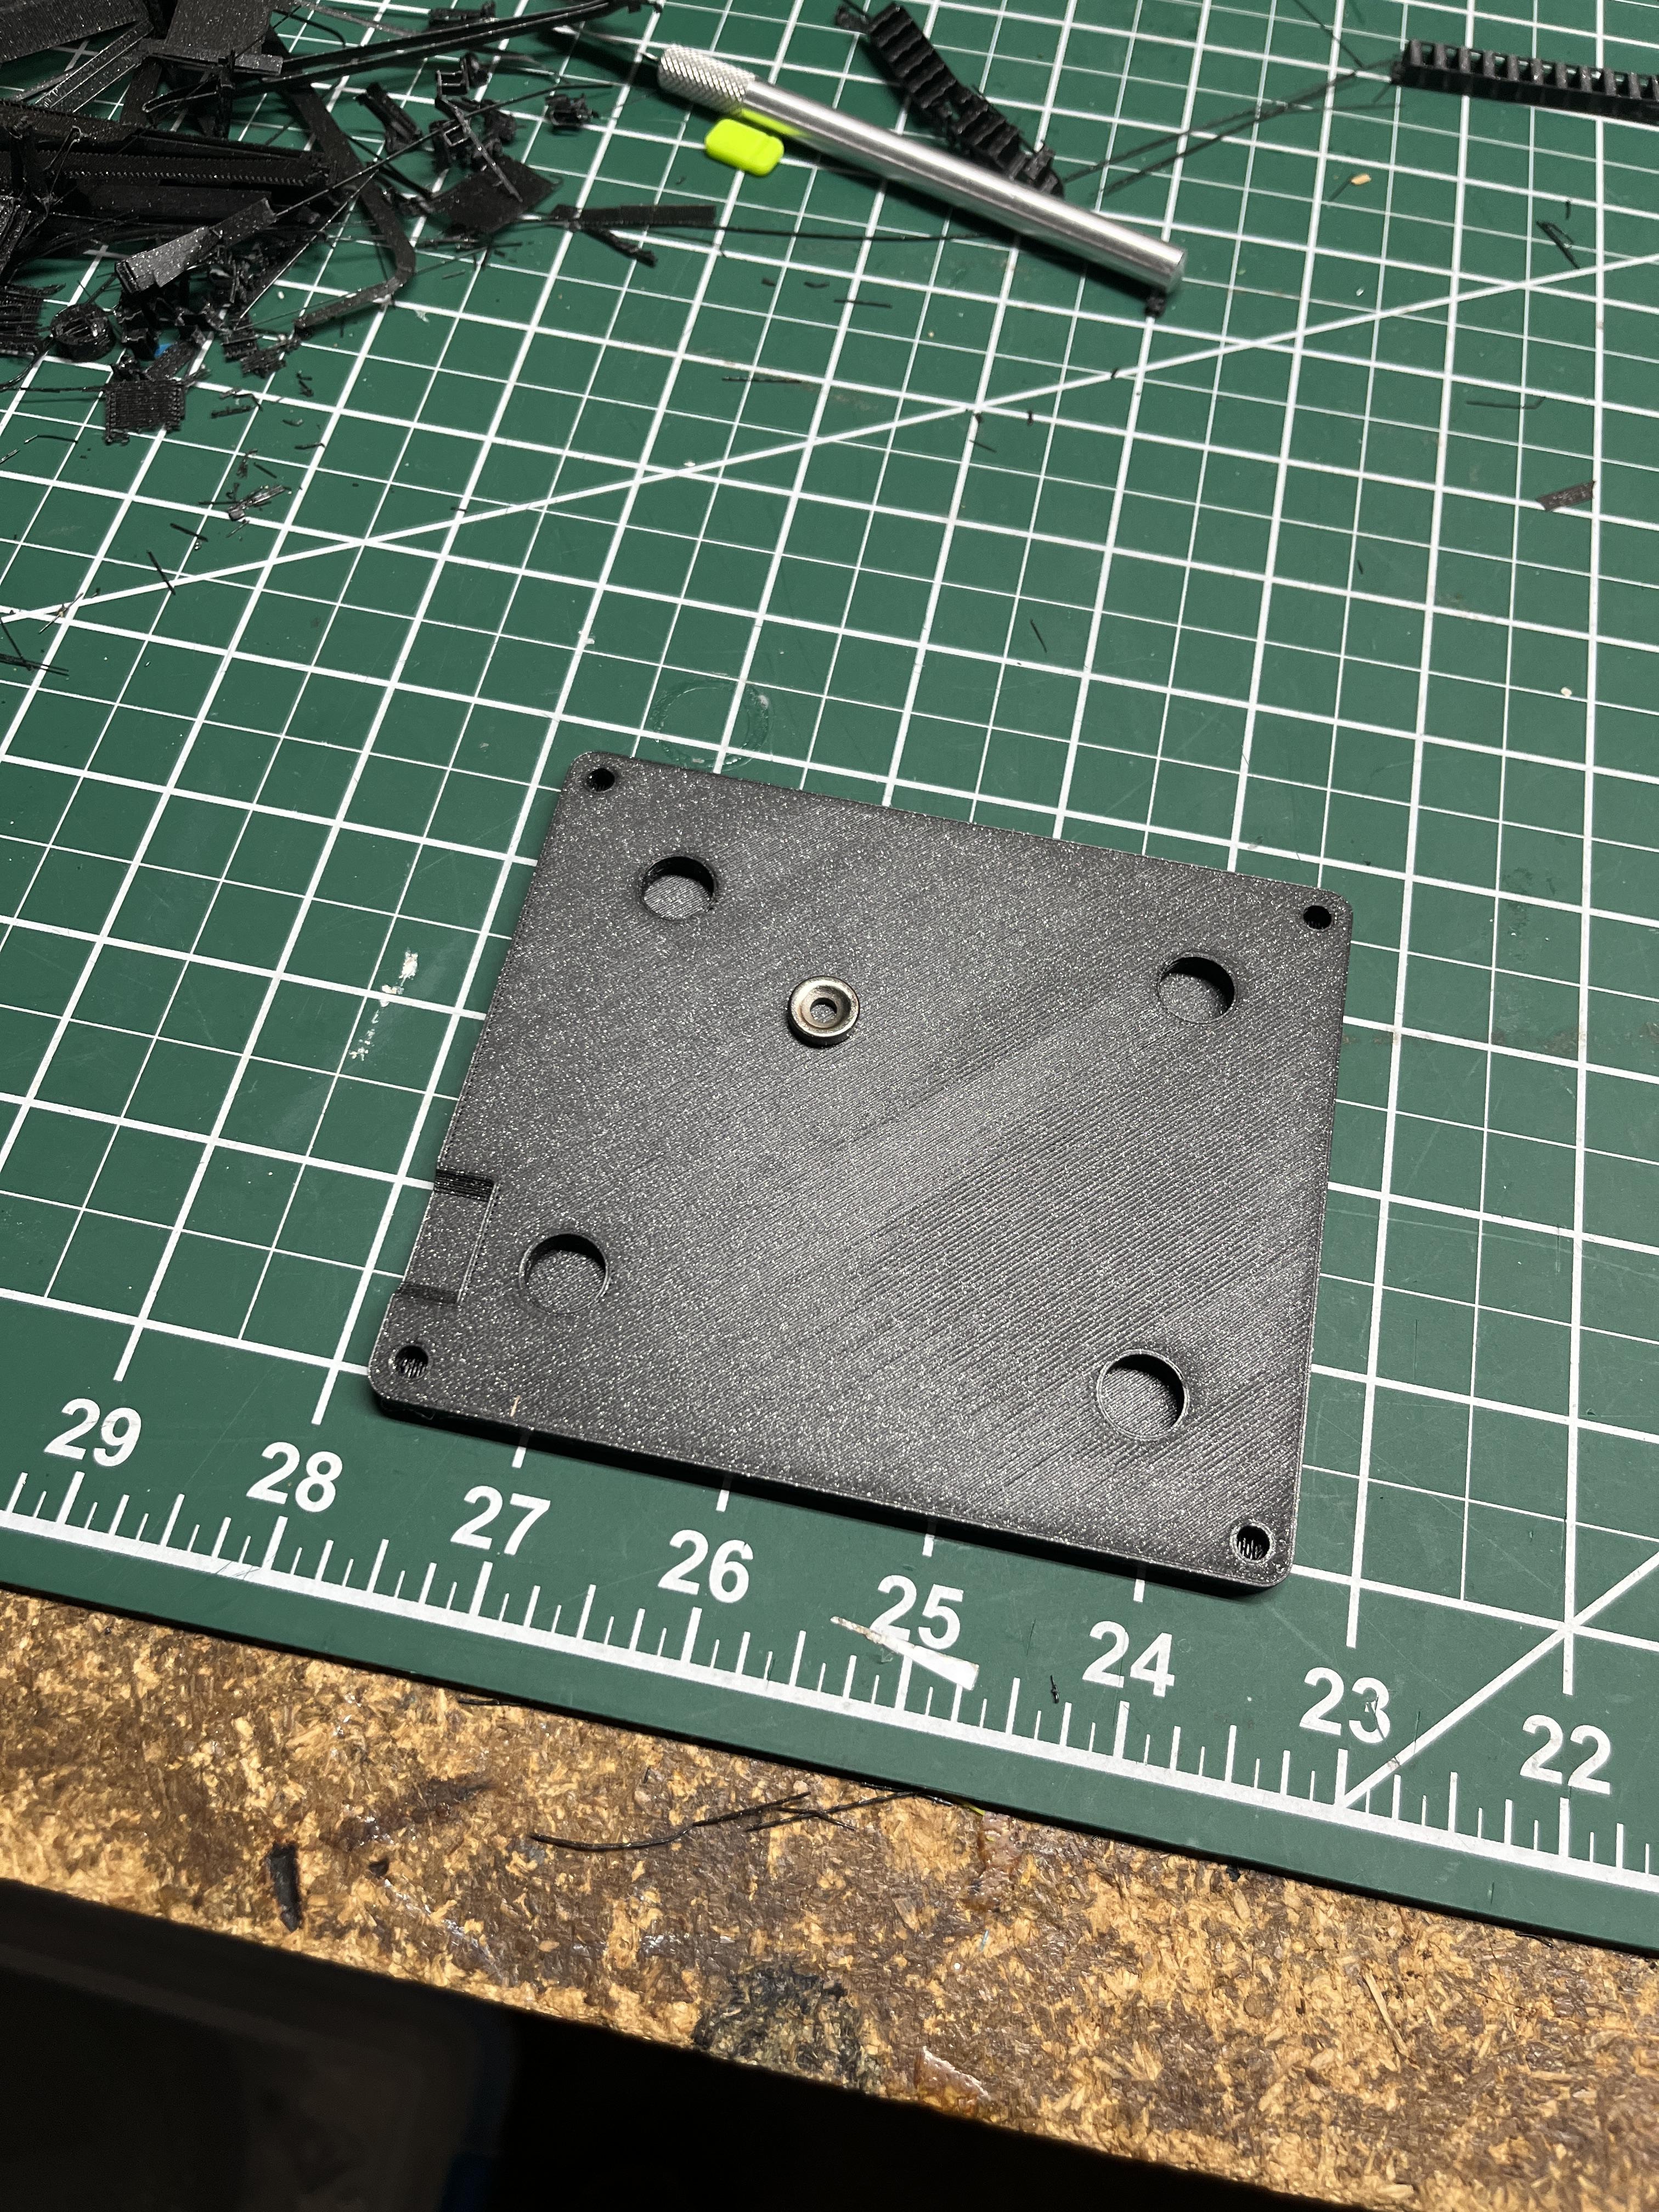
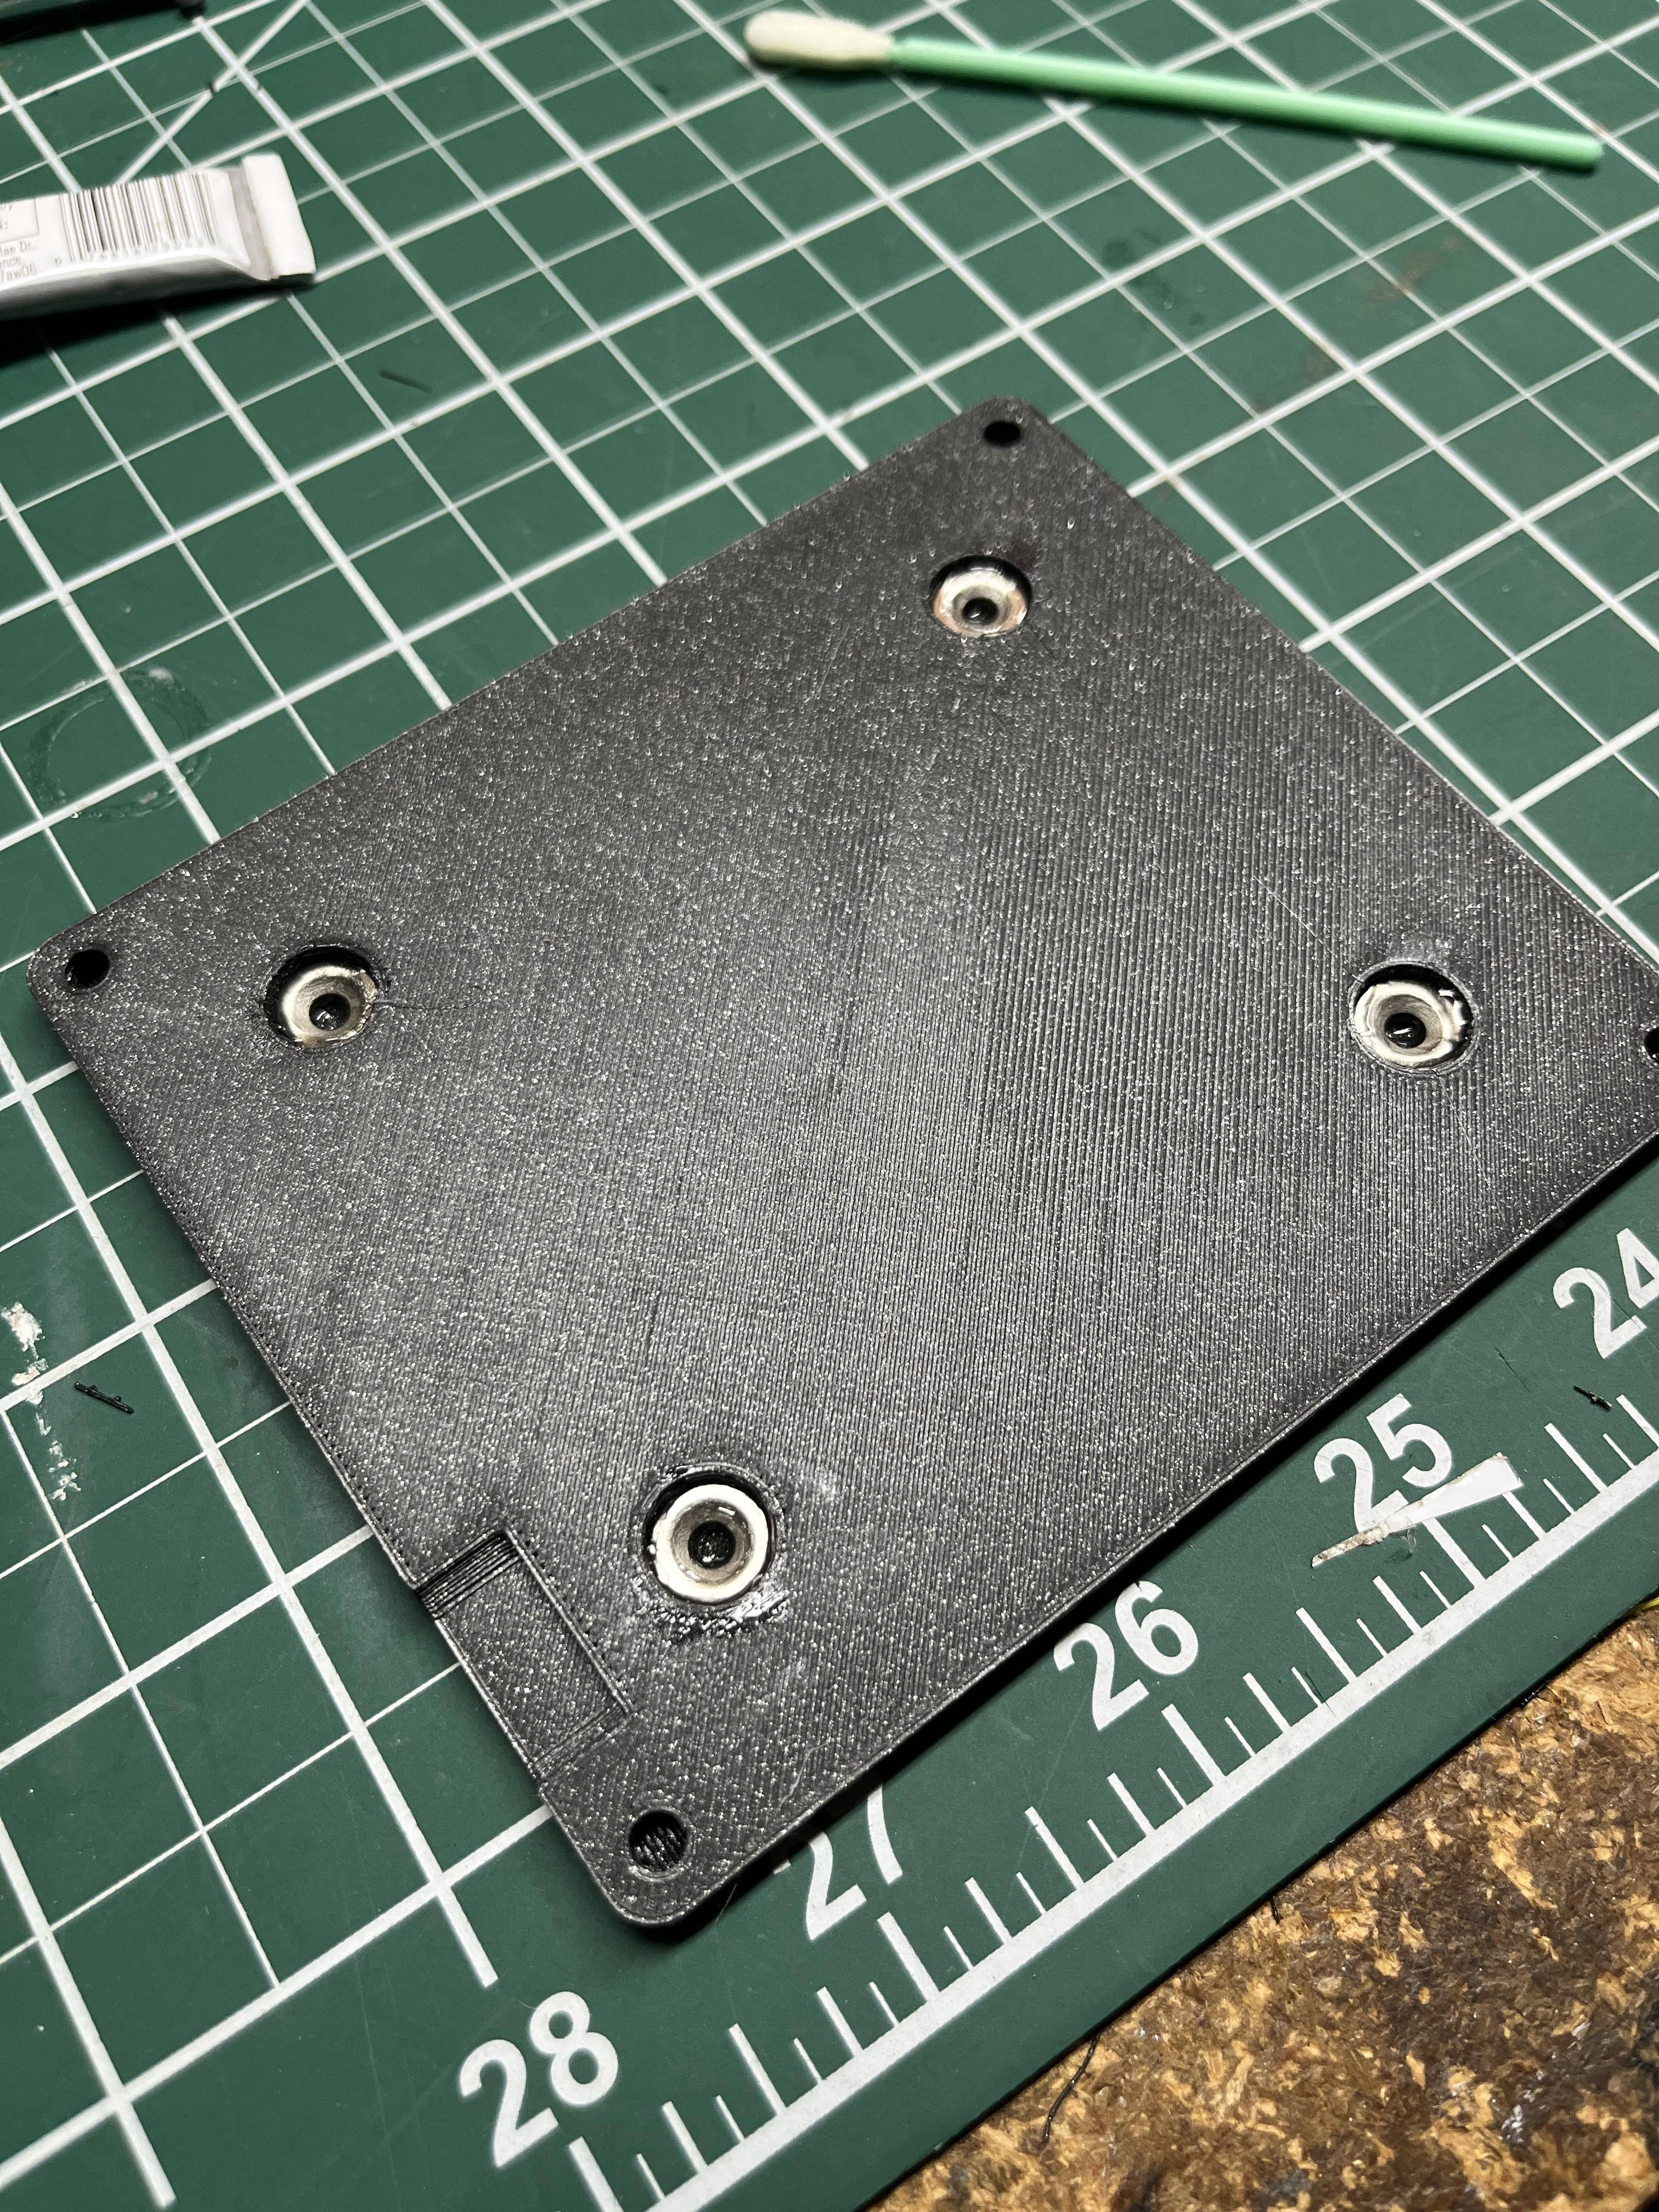
Put dabs of adhesive (I used E6000) in each of the cutouts for the 10mm magnets and press them in. Wipe away any excess and let the adhesive dry for at least 30 minutes before moving to the next step.
Close It Up and Enjoy
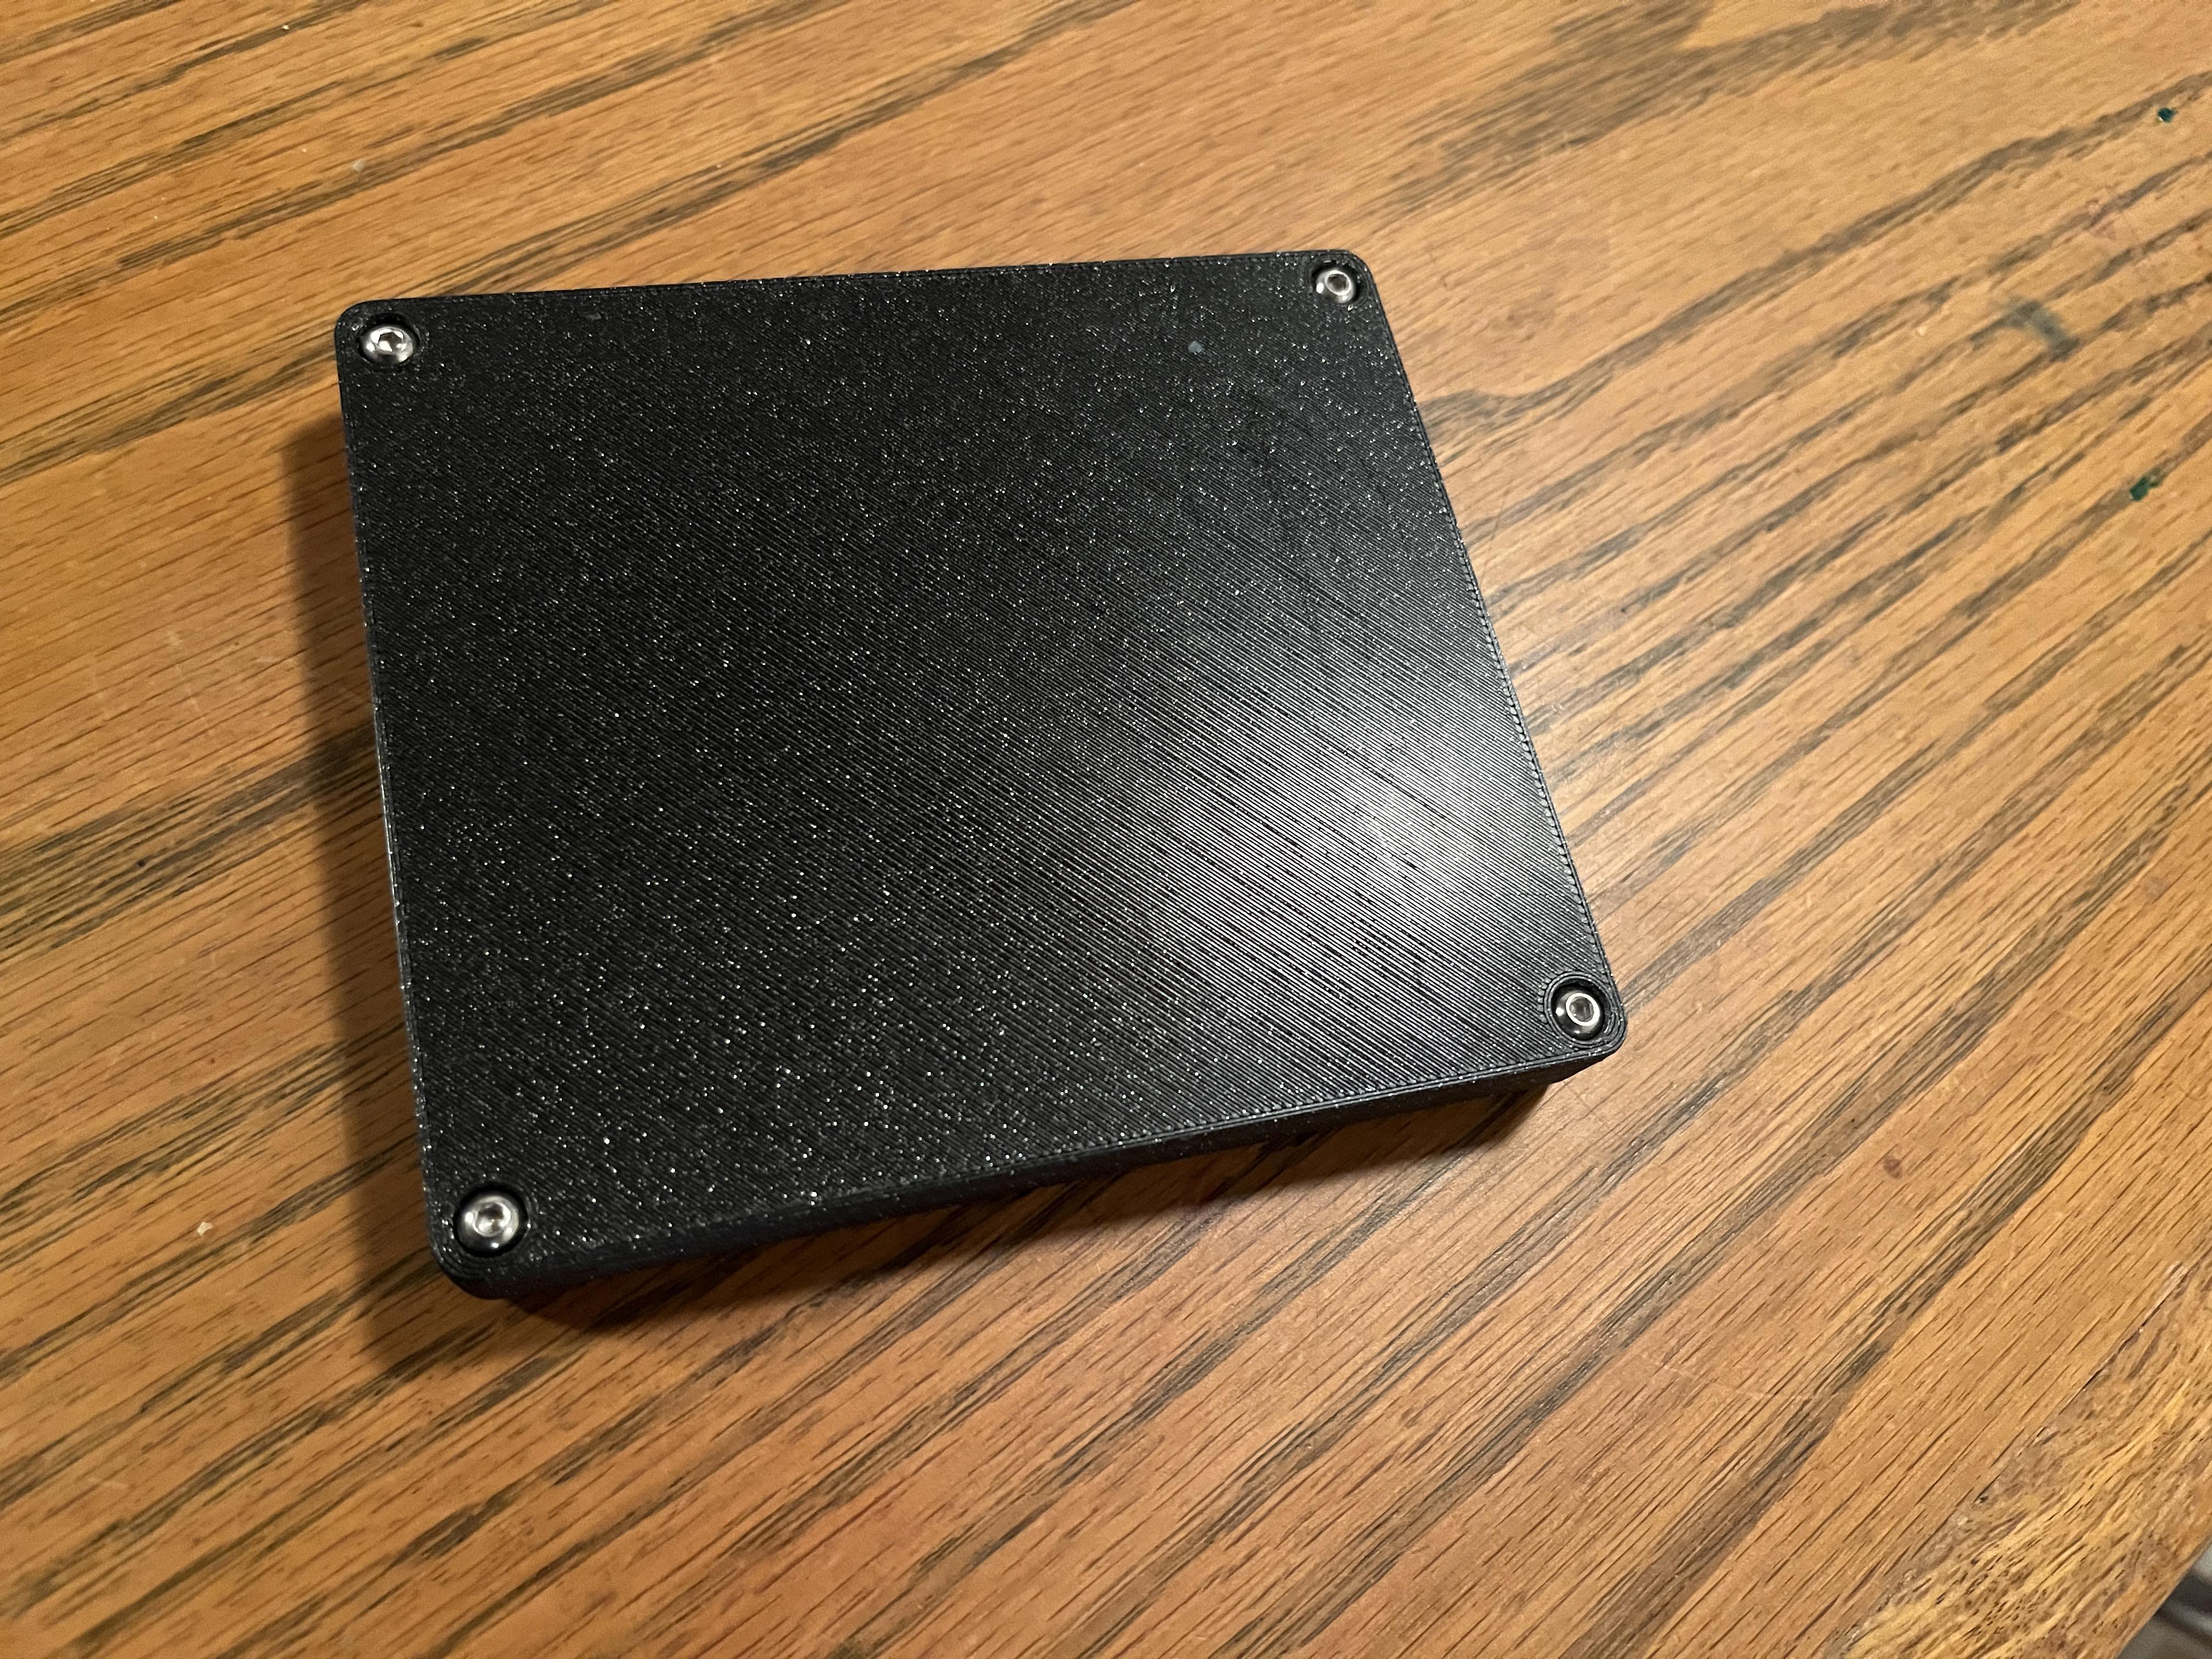
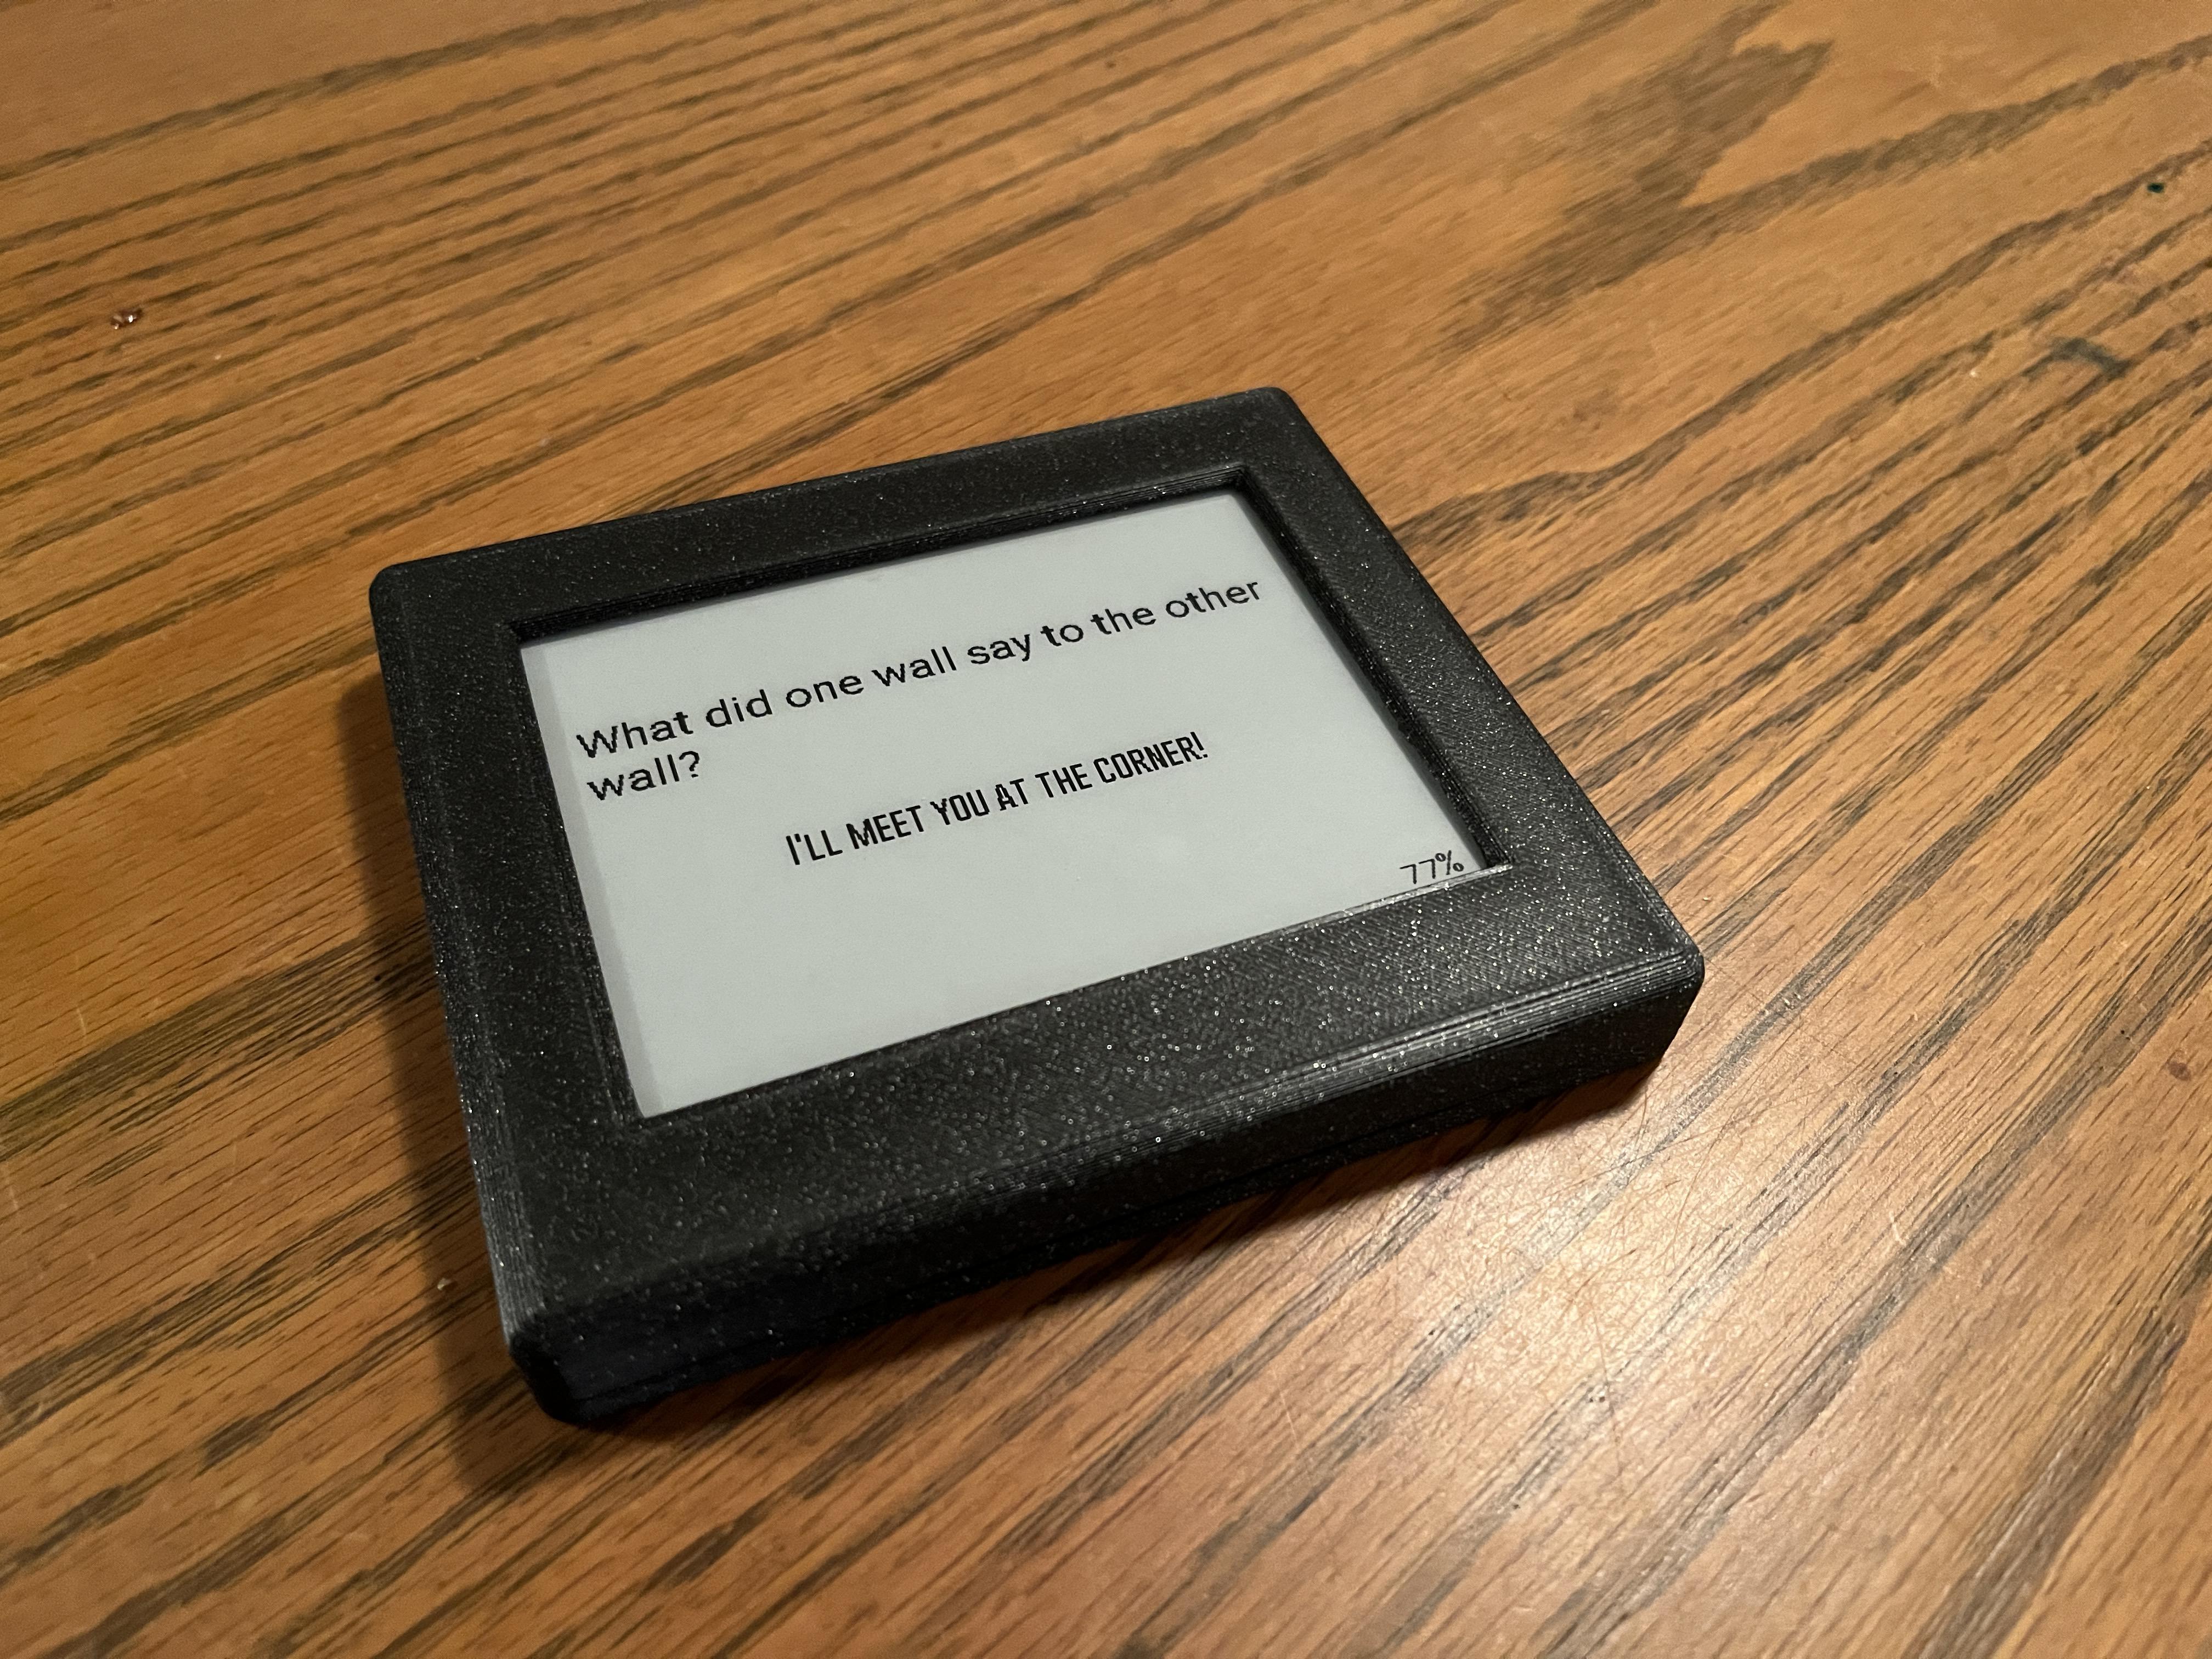
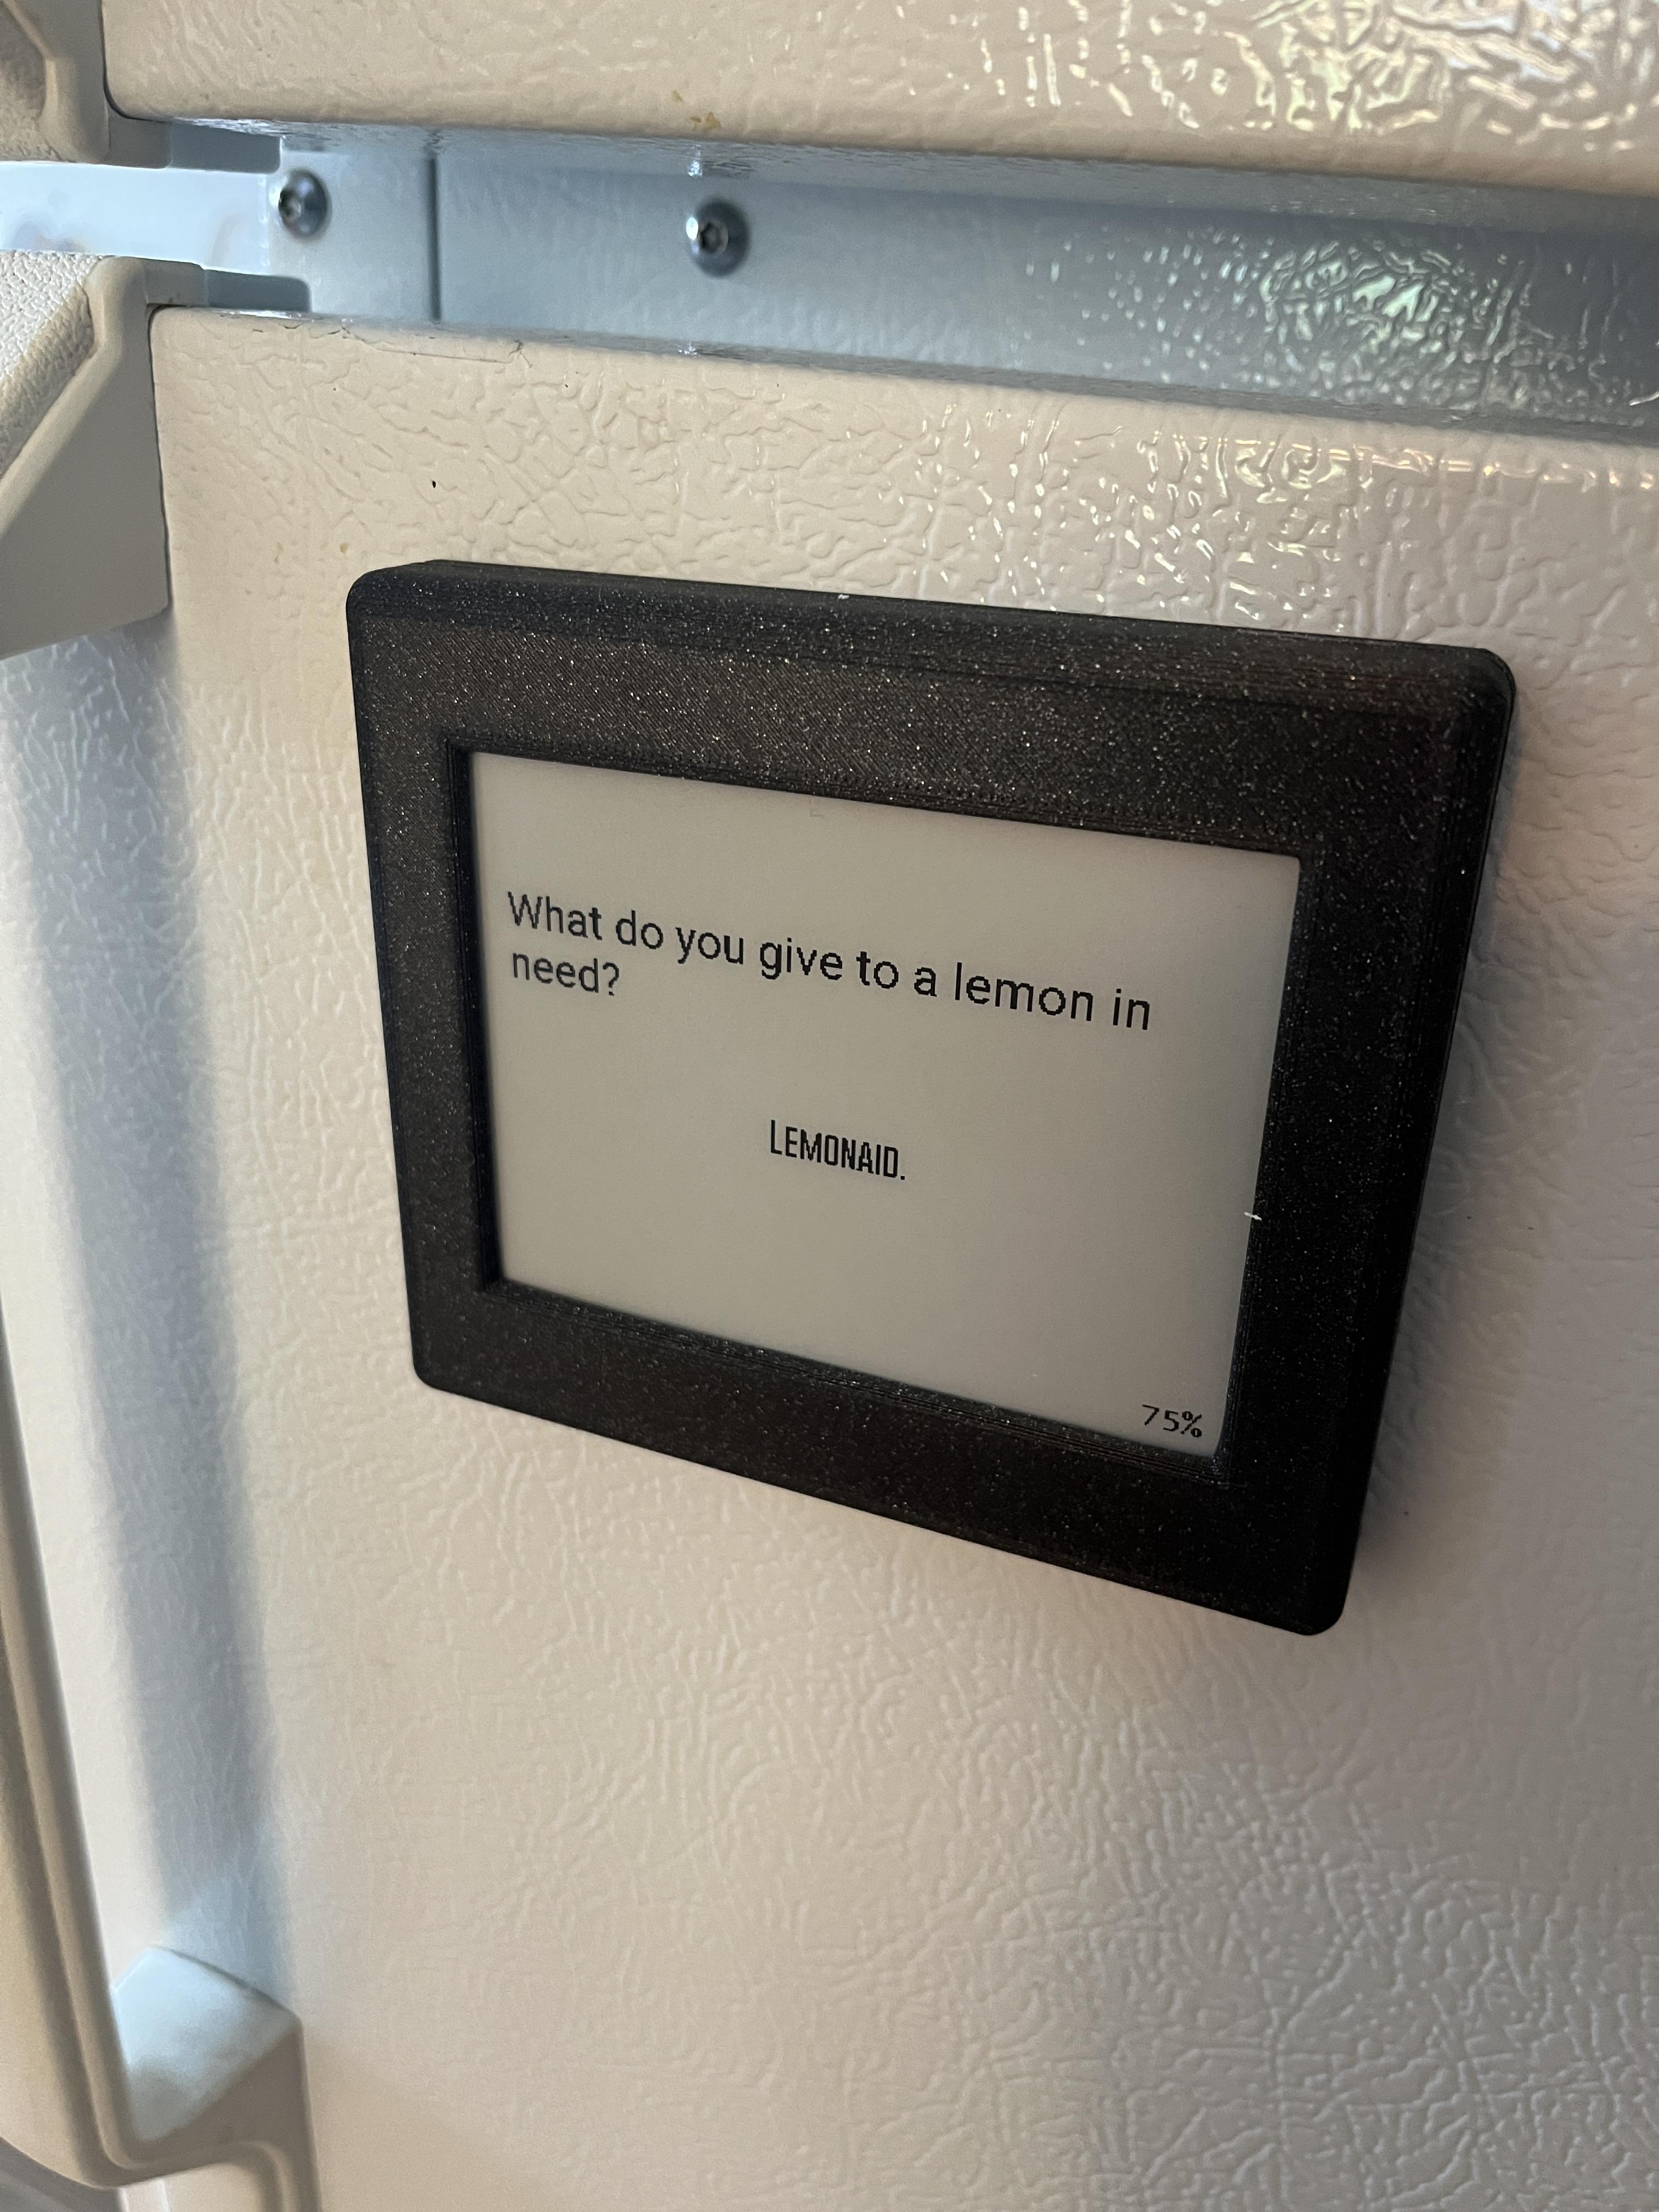
Use four M3x5 bolts to attach the back half of the enclosure to the front half and then stick it to your fridge. Enjoy your daily dose of dad jokes each morning!