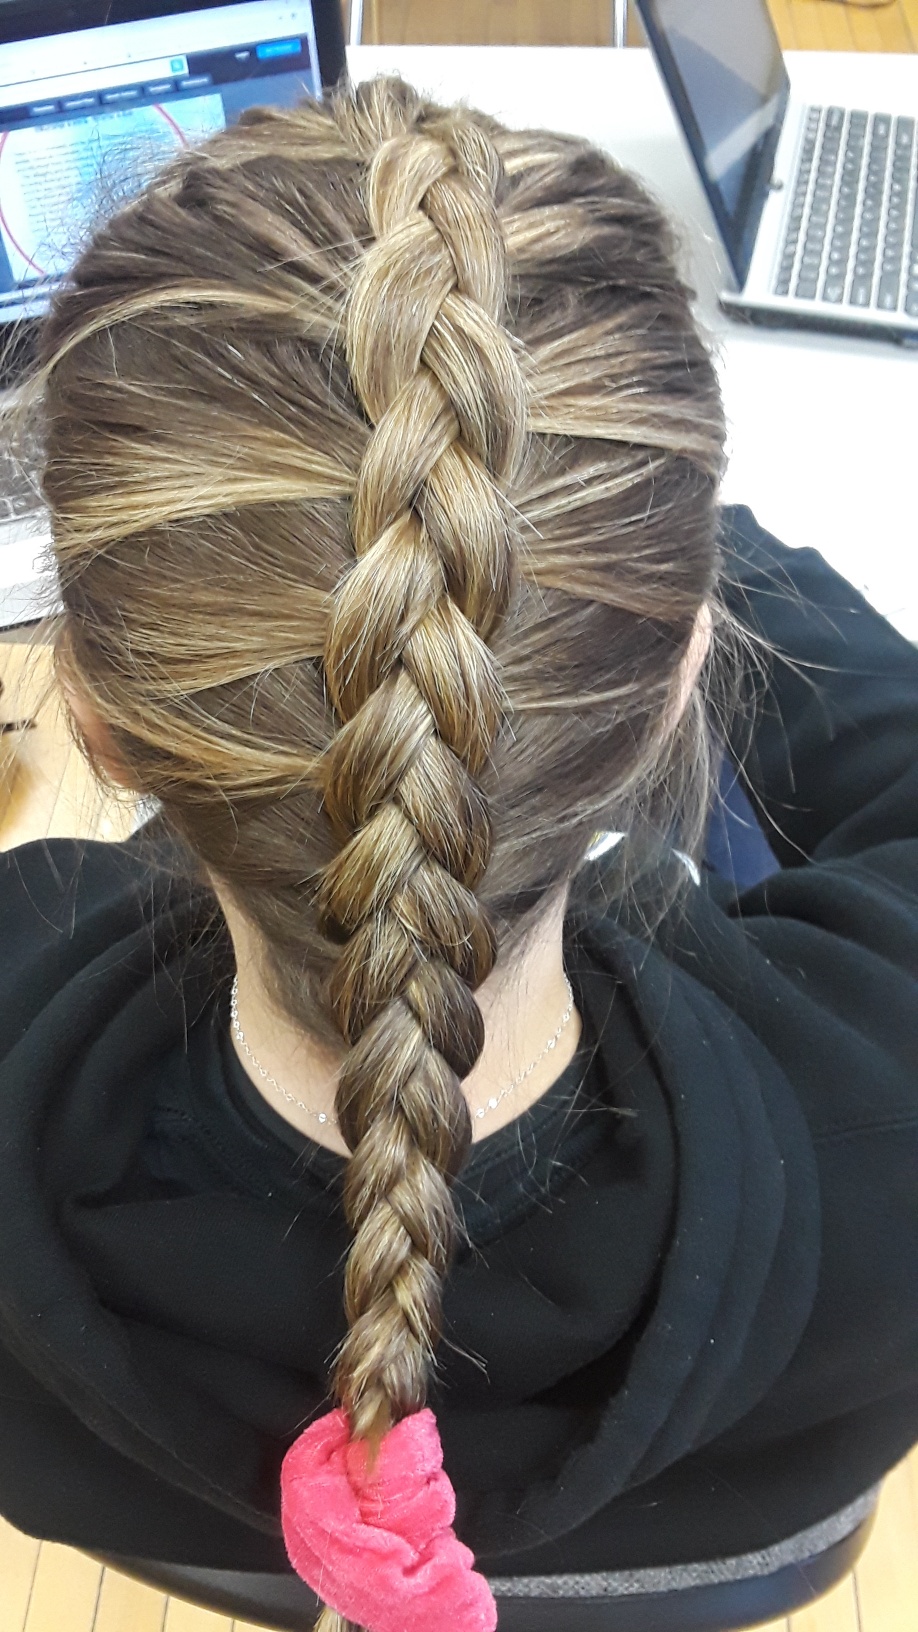
Dutch Braiding Hair

Braiding is something that can seem intimidating at first, especially Dutch braiding. For those that don’t know what Dutch braiding is, it is like an inside out French braid. It may seem intimidating, but in all reality, it is quite simple. These five steps will get you braiding like a pro. All you need to complete this braid is a brush and a hair elastic.
To start off the braid, put both pinky fingers on the temples of the head and pull them together on the top of the head. When that is complete split that chunk of hair into three sections and try to make them as equal as possible. It is important to try to keep the sections as equal as possible, so that the strands of the braid don’t make the braid seem lopsided.
Downloads
With those three sections it is time to start the actual braiding. Take the strand on the farthest left and put that under the middle strand then take the farthest right strand and put that under the middle strand. Make sure that the hair is going UNDER the middle strand. If it goes OVER the middle strand, then it will turn into a normal French braid and it will not look right.
In the hope that this step was done properly it is time to continue by adding in hair. Start by putting the hair in the left hand and try to keep the strands separated by putting fingers in between them. Take the right pinky finger and put it at the hairline on the right side of the head about a fourth of an inch from the bottom of the hair that is already pulled into the braid. Then pull the pinky finger towards the farthest right strand and add it in.
Downloads
Continue by going to the left side of the head, so put the braid in the right hand and separate the strands with fingers. It is just like the right side except on the left. Then take the left pinky finger and put it at the hairline on the left side of the head about a fourth of an inch from the bottom of the hair that is already pulled into the braid. Pull the pinky finger towards the farthest left strand and add it in.
When that is done, take the strand on the right and put it under the middle strand. After that, take the left strand and bring it under the middle strand too. The rest of the braid is just repeating the last two steps. Switching from one side to the other, adding in hair, and bringing the strands under the middle strand. With a little practice the braid will turn out great!
End Result

This is how your braid should look in the end. If it doesn't look like this, don't worry just keep practicing.