Durable Tire Inflator From 2 Stroke Engine
by DIY Amateur Projects in Workshop > Cars
4955 Views, 54 Favorites, 0 Comments
Durable Tire Inflator From 2 Stroke Engine

.png)
Inflators i had previously cannot even fill the tire upto 30psi even when car is jacked on. Those analog gauges are also not accurate. So This tire inflator made from old 2 stroke engine i had in my house for may years. Steps are given in following steps and there is the video i made for youtube. Thanks hope you enjoy.
Supplies
- Old 2 stroke engine (4 stroke also can be used with severala additional steps)
- 775 DC motor ( use more powerfull motor if possible like 895)
- One way valve 1/8 NPT
- 10mm penumatic hose
- Pressure gauge
- Brass connectors (1/8NPT)
- Air chuck
- Closed loop belt (GT2 6mm 200mm long)
- Pulley for motor shaft (GT2 16T 6mm width 5mm bore)
- Pulley for engine (GT2 60T 6mm width 10mm bore)
- Small metal plate
- Nut and bolts (M5)
- Air filter with sponge
- Crocodile clips
- 2squremm DC auto wire
- Solder
- Corrugated Conduit Pipe
- Hose clamps
A Little Video

Watch and enjoy.
Disassemble the Engine

.png)

.png)
.png)
.png)
This is a two stroke engine. You can also use 4 stroke engine with some additional steps. When disassembling, some bolts will not loose easily. I used a tool that can turn the bolt a litte bit by hammering on the tool. Carefull when hammering on it because engine made out from cast iron which could crack. When removing the magnet pulley remover need to be used. I used L bar with 3 holes. 2 bolts fixed into the holes used to attach centrifugal clutch and middle bolt used to push the crankshaft. Removing recoil starter will be easy while magnet is in place.
Clean and Assemble Engine Components
.png)
Use kerosene or something similar to clean the dirt deposited on components. Otherwise those dirt will block the one way walve or valves in tire. When assembly apply lubricants where necessary.
One Way Valve
.png)
.png)
.png)
.png)
.png)
.png)
.png)
One way valve need to attach close to engine head otherwise efficiency will be reduced because piston just compress and decompress lot of same air volume without passing through the valve. I soldered a sparke plug metal body to one way valve or you can diectly make a thread using lathe machine on to valve body. You can remove the ceramic body and electrode which is inside of ceramic by cutting off the rivet and push the ceramic. Spark plug must be some hardned steel and one way valve is nickel coated brass part. I sanded the nickel coating of the are which i was going to solder. Sources say you can solder dissimilar metals if you use correct flux. This is not a special flux i used because that is what had in the electrical shop but it works without any issue. Remove the rubber ring in the valve body befor soldering. You can turn the inside nut to remove it.
Note- If you have hard time turning the motor using battery power you can cut the spring to reduce the length or less lensioned spring can be used. It will make easier to pass air through
Making Key Hole and Taper on Pulley
.png)
.png)
.png)
.png)
.png)
.png)
.png)
.png)
.png)
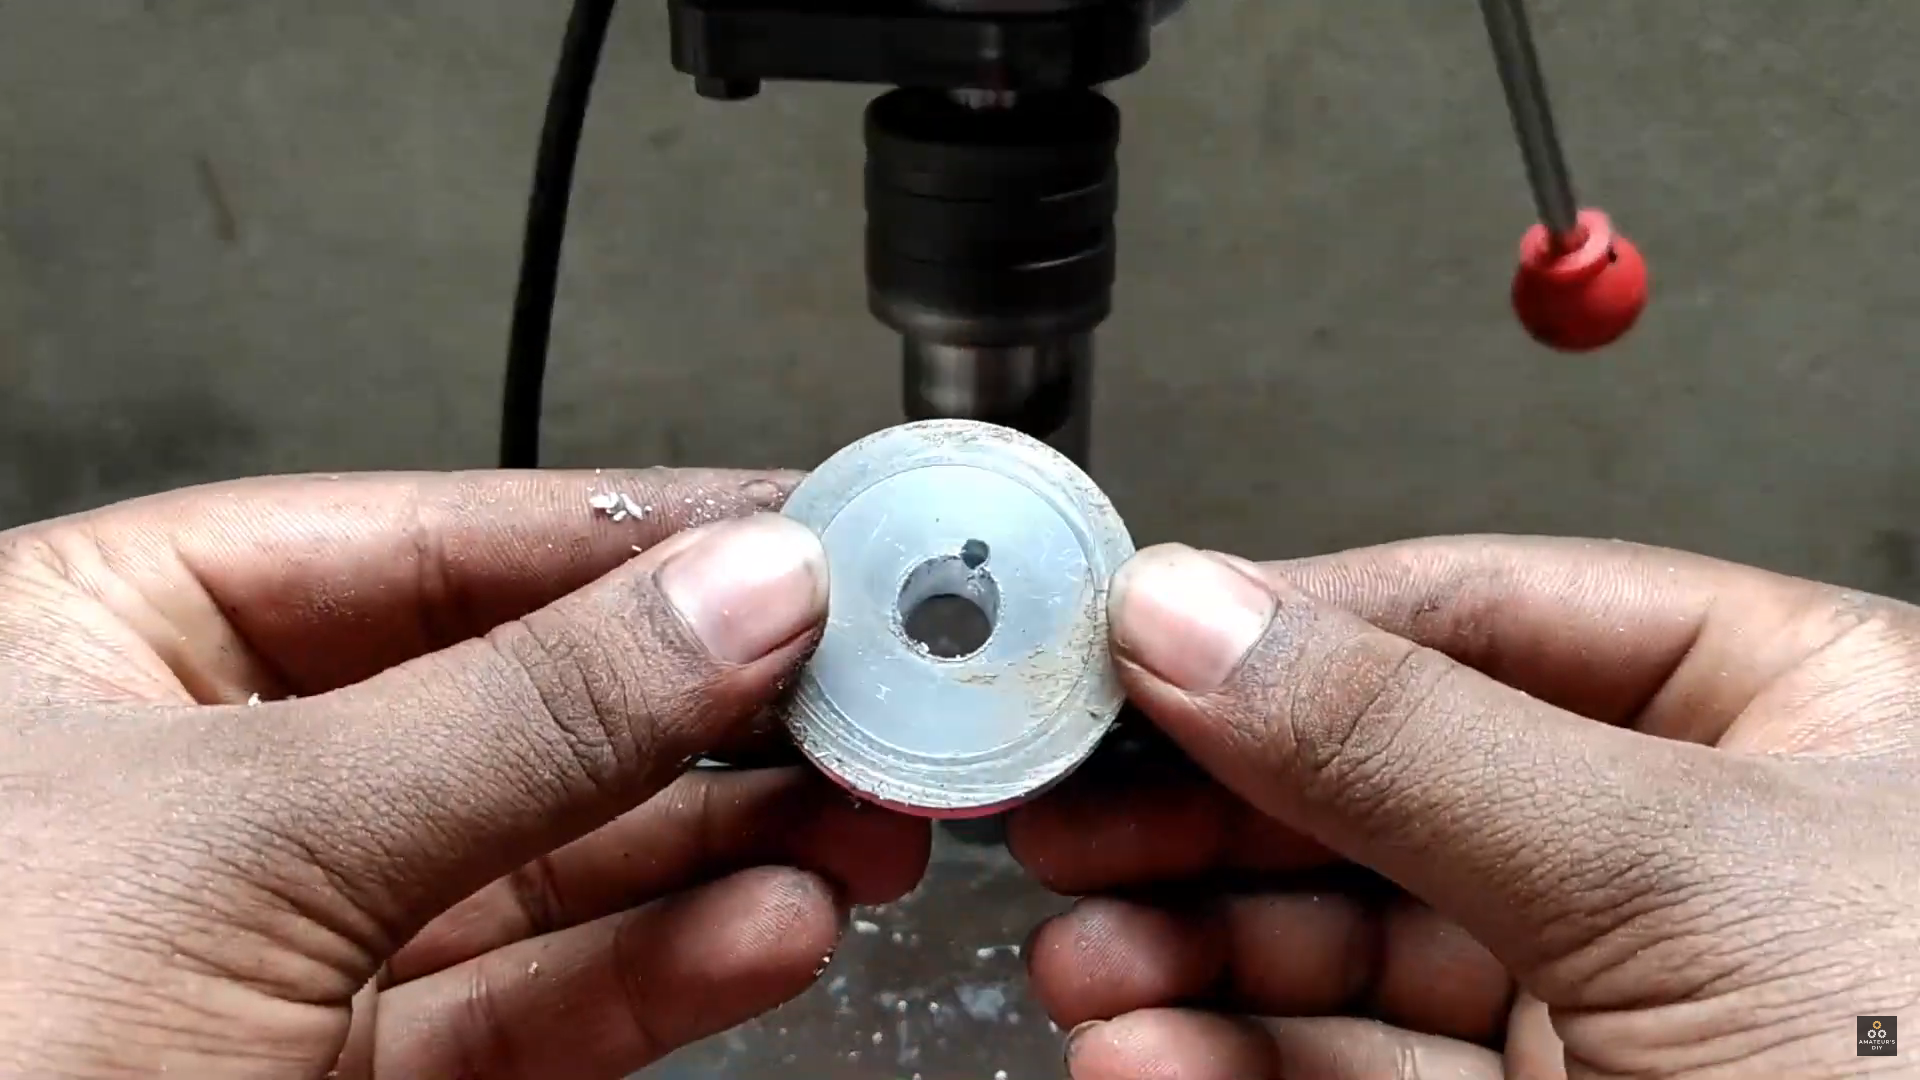
Crankshft has a taper and using side of the drill bit made acceptable taper in pulley bore. 3mm drill bit used to making key slot to place the key. First drilled and fles to make the key slot and finish using same bit like side milling.
Motor Bracket
.png)
.png)
.png)
.png)
.png)
.png)
.png)
.png)
Engine housing was cut to make are for the motor and motor bracket. Bracket also has a methods to tension the belt.
Belt Tensioner

.png)
Belt tensioner looks like this. A hole for attaching carburator was used and closed the intake port.
Electricals
.png)
.png)
.png)
Used a 775 dc motor because i had no other choise. I would choose a little bit more powerfull motor and more gear ratio when choosing pulleys. It is better to have belt width more than 6mm. But these are the only things i could find locally. It is better if you can use 100T pulley for crankshaft.
2 squeremm DC auto wired used. Wire lead has 4m length. Crocodile clamps soldered at end of wires. Switch is attached closer to motor.
Air Filter
.png)
I 3D printed a air filter housing.
Air Connection
.png)
.png)

This pressure gauge i bought from aliexpress and it can give fairly accurate readings. Most cheap analog gauges not not even provide close readings. Used 1/8NPT connections for all brass parts and 10mm pneumatic hose. Hose clamps used for hose. This air chuck is from an old compresure. You can buy these from online or locally. This does not have deflate button. It is better if you can get a chuck with deflate ability.
Testing

.png)
.png)
.png)
.png)

Connect crocodile clamps onto battery terminals and start the car. I didin't fully deflated tire. Only reduced to 8psi. When inflating gauge gives higher reading than actual this might be due to pressure pulse from the comprassor. Recommended pressure is displayed driver side on the door edge of vehicle body. I took about 2 minuts to fill the tire. This may looks like a lot but i'm satisfied because this is much more durable than cheap plastic compressors and can provide accurate readings.