Dunny Wrappers Become a Dunny
by Brooklyntonia in Craft > Reuse
1017 Views, 10 Favorites, 0 Comments
Dunny Wrappers Become a Dunny


Over the years I've bought a lot of art toys. Each blind-box toy comes in a silver wrapper inside a small cardboard box. For whatever reason, I've had a hard time throwing all these wrappers away. They've just been piling up in a drawer for years. I knew that I would find a purpose for them eventually.
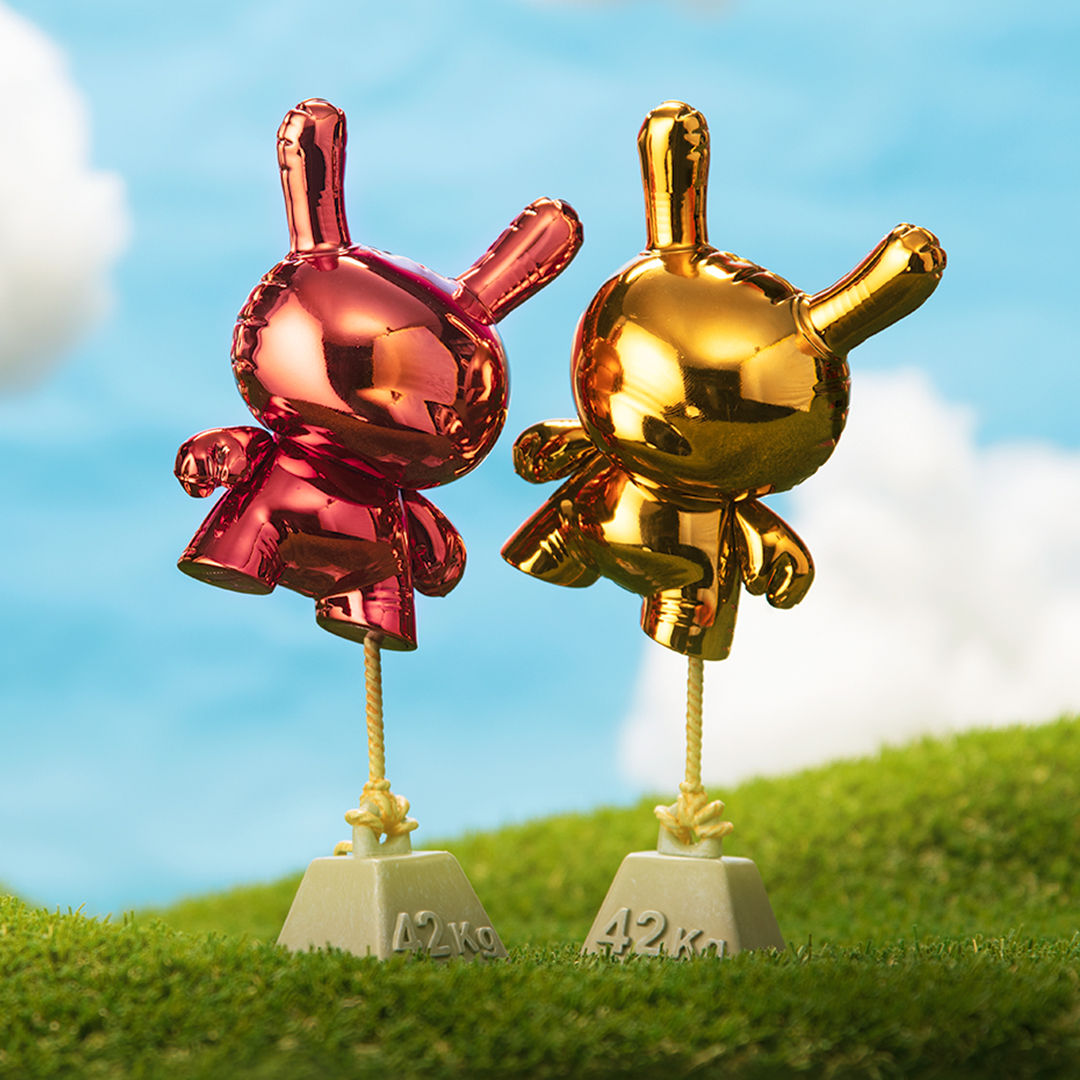
Many of these toys have been Dunnys and other Kid Robot brand toys, so I finally decided that what I needed to do with these wrappers was create a Dunny with them. Many people have created "fabrics" with wrappers to create small pouches or bags. I wanted to take that concept and do something different. Similarly, there's a popular Balloon Dunny toy that inspired the design.
Supplies
wrappers
sticker vinyl
clear contact paper
smoothing tool
rotary cutter
cutting mat
ruler
dunny stencils (in step 2)
boxcutter or X-acto knife
sewing machine
thread
masking tape
twine
thick aluminum wire
hot glue
parchment paper
iron
Sharpie
Preparing the Wrappers


Use a ruler and rotary cutter to cut each wrapper's fused edges off so that you're left with two squares/rectangles from each wrapper.
Preparing Sticker Vinyl


Print the attached Dunny stencils.
Cut out the full Dunny figure.
Cut a piece of sticker vinyl that is larger than the stencil.
Peel back each corner of the sticker vinyl and tape it down under the backing paper.
Peel the backing off the vinyl completely and adjust the taped corners so it's pulled tight.
Downloads
Place Wrappers


Place each wrapper on the vinyl so they overlap slightly.
Use a smoothing tool to press the wrappers firmly on the vinyl and remove any bubbles. I used the lid to a box of pins, but a credit card or other similarly stiff tool will work.
Cut off the excess vinyl.
Iron


Note: I tried this with multiple brands of wrappers. They were all similar in appearance, but the Kid Robot wrappers were far more resilient and responsive to the heat than the others. Most of the wrinkles came out without being damaged. Some of the other brands lost their shininess and others shrank up almost immediately, so be sure to test a scrap piece of your wrapper before ironing. If the wrappers aren't ideal for ironing, you can skip this step.
To really press these two materials together and get out wrinkles, I opted to iron them together.
Set your iron to a low-medium setting. I set mine to the nylon/silk setting.
Place your sheet between pieces of parchment paper and iron it for a few seconds in a circular motion.
Let it cool before moving it. It will be more likely to curl if moved while hot.
Flip it over and iron again.
Outline


Trace the full Dunny figure onto the wrapper side of your sheet with a Sharpie.
Draw a second outline about a 1/4" outside of the first.
Color it in.
Stencil Details


Cut out the rest of the stencil pieces. I cut mine out on my laser cutter, but paper versions will work just fine.
Use them to add all the Dunny details as shown.
Protect


To protect the drawing and the edges of the wrappers, apply a layer of clear contact paper to your sheet.
Start by cutting a piece that's about an inch larger than your sheet.
Peel down the first inch of the masking paper and tape the contact paper sticky side down with a piece of masking tape.
Grab the backing paper underneath, and place your sheet under the contact paper.
Slowly peel off the backing while pressing it firmly onto the sheet with your smoothing tool.
Don't trim off the excess contact paper.
Repeat

Repeat steps 1-7 for a second sheet, but skip steps 5 and 6. The likelihood that your stitches will line up perfectly on both the front and the back are low, so skip the outline on the back to avoid it looking messy.
Cut Out


Press the two sheets together with the vinyl sides facing inward.
Cut along the outside of the bold black outline with a boxcutter or X-acto knife.
Don't throw away the scraps just yet. You'll need a piece for the mouth of the balloon.
Sewing


Use your wire to place a piece of masking tape on the bottom right foot where it will enter the Dunny. Mine is pictured with a dowel, because I shifted to the wire in a later plan.
Tape around the edges a few times to hold the two pieces together instead of using pins.
Sew around the inside edge of the bold outline. Leave open the bottom edge of the feet to leave room for stuffing.
Stuffing

I opted to use fleece scraps for stuffing. Once it's stuffed, sew up the bottom, leaving the spot you marked for the wire open.
Be sure to backstitch around the hole.
Wire Base


Insert your wire into the foot and all the way up to the top of the opposite ear.
Twist it up as shown so that it stands on its own.
Cut and cover with twine as shown.
Balloon Mouth


Use a scrap to draw and cut a piece for the mouth of the balloon.
Stitch along the left and right sides. Leave the top and bottom open.
Create a piece of twine like you did for the wire to wrap around the mouth.
Slide the mouth over the wire and into the opening at the foot.
Use hot glue to keep it in place, and then glue the twine around the seam.
Enjoy

You now have a one-of-a-kind Dunny sculpture!