Dummy's Linkit One Getting Started Guide
by badarsworkshop in Circuits > Arduino
5949 Views, 120 Favorites, 0 Comments
Dummy's Linkit One Getting Started Guide
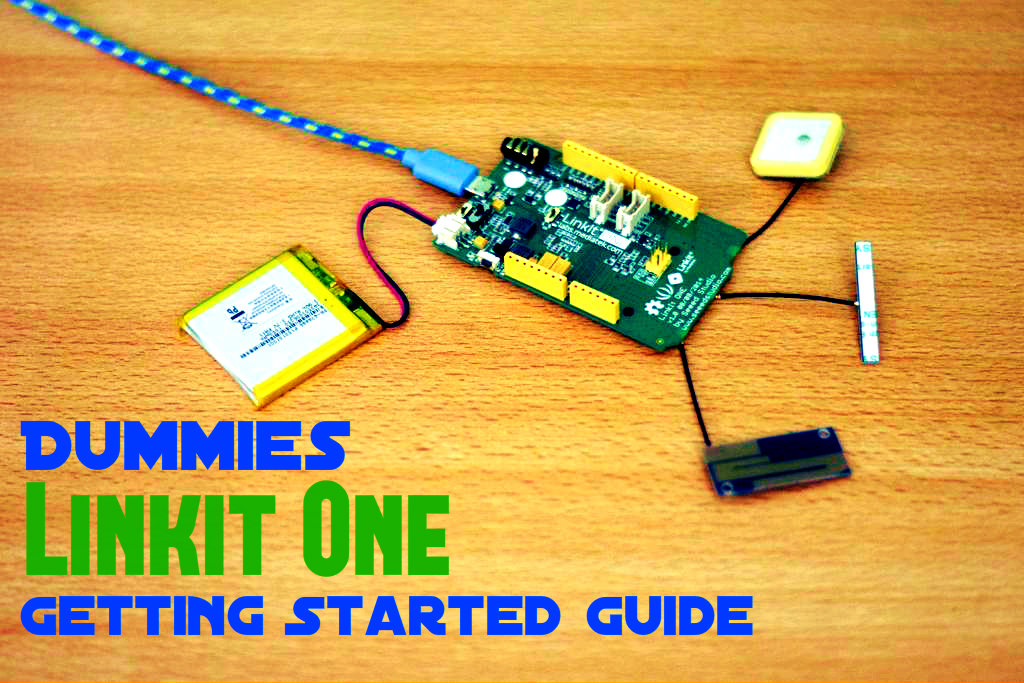
Ever since I received my promotional Linkit One Board, I have been playing around with it to get it to work and to explore its various features. At first I decided to publish my first ible using the Linkit One of a Car GPS Tracker but when I started ti begin using it, the installation was quiet a trouble and it took me a considerable amount of time. There are some problems with the guide on the website and its a bit difficult to understand. So at that point i decided to publish a simple getting started guide, like I did with the Raspberry Pi so that even the absolute beginner has no trouble getting started with his Linkit One Board.
Now I know that there are some similar ibles posted by people here but I am sorry to say that none of them are up to the mark. I think they are just a poor attempt to obtain the gift card incentive Media Tek has given. I think that it is unfair so I will put in my level best and as always, create an instructable for the benefit of the maker community and not my own selfish desire. So bear with me. Thanks.
Here is a link to the guide made available by the manufacturer. It is a great reference and can help you out a lot.
Here is a link to the user manual. It also has good info.
What Is It?
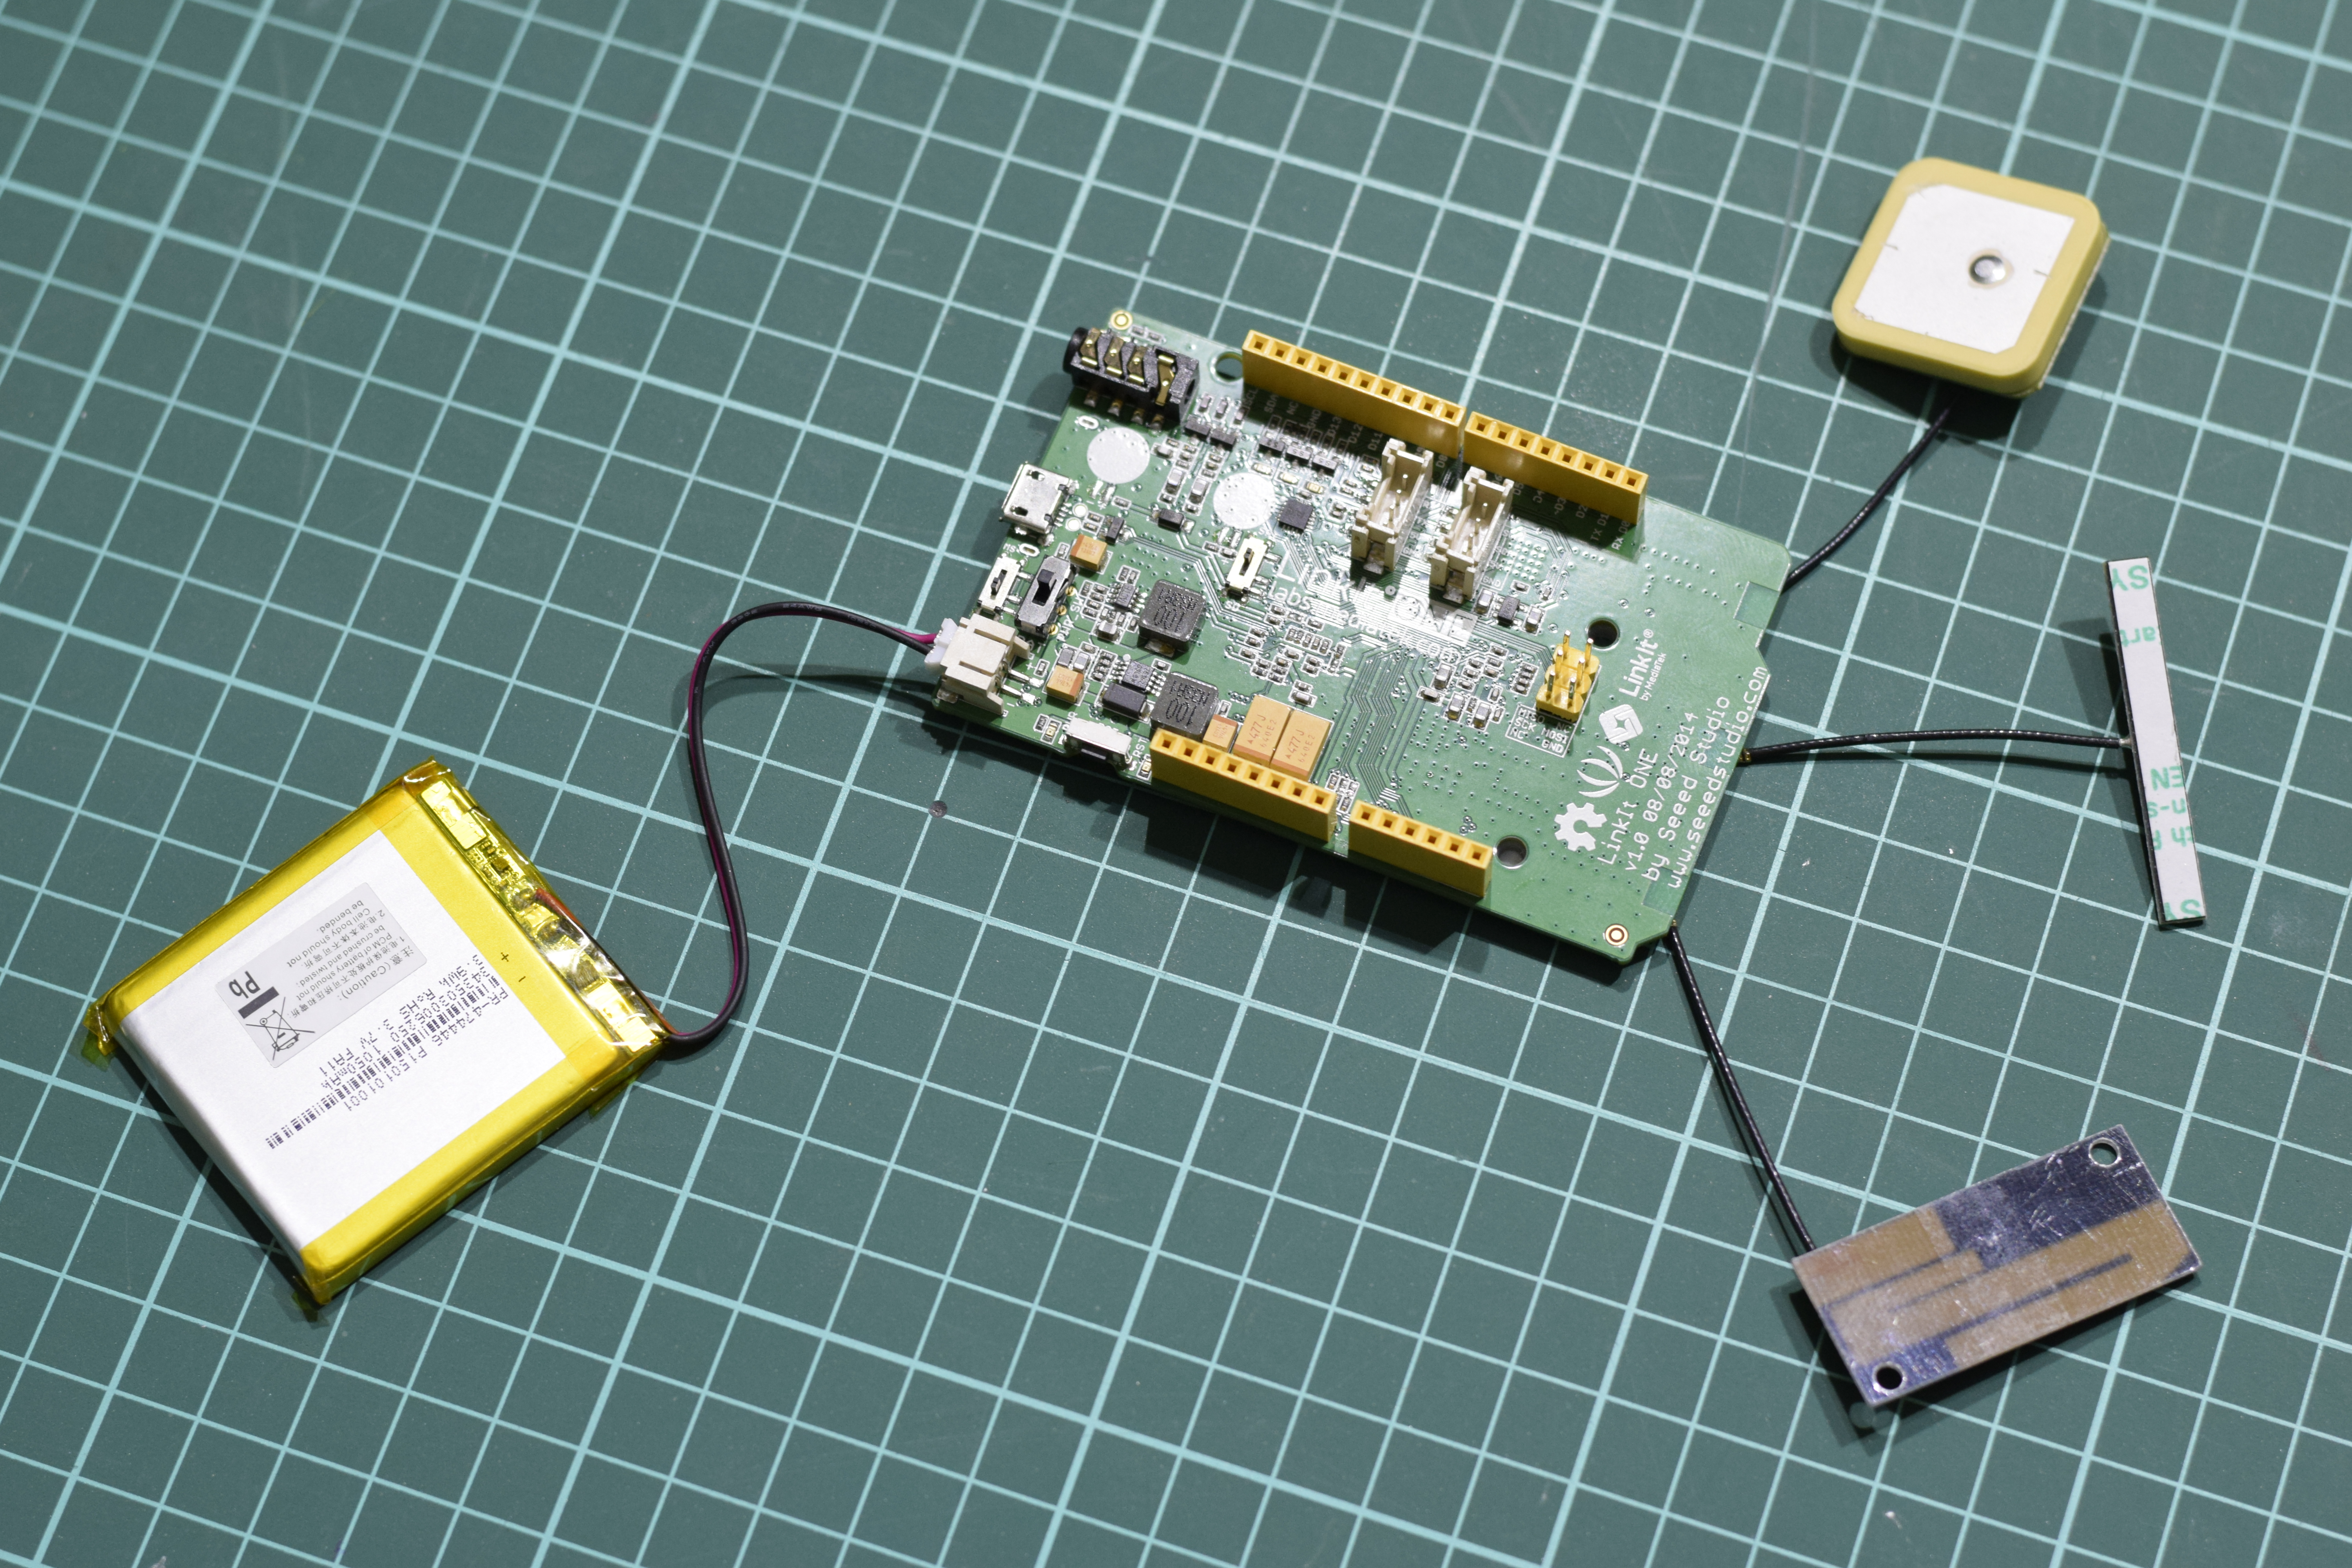
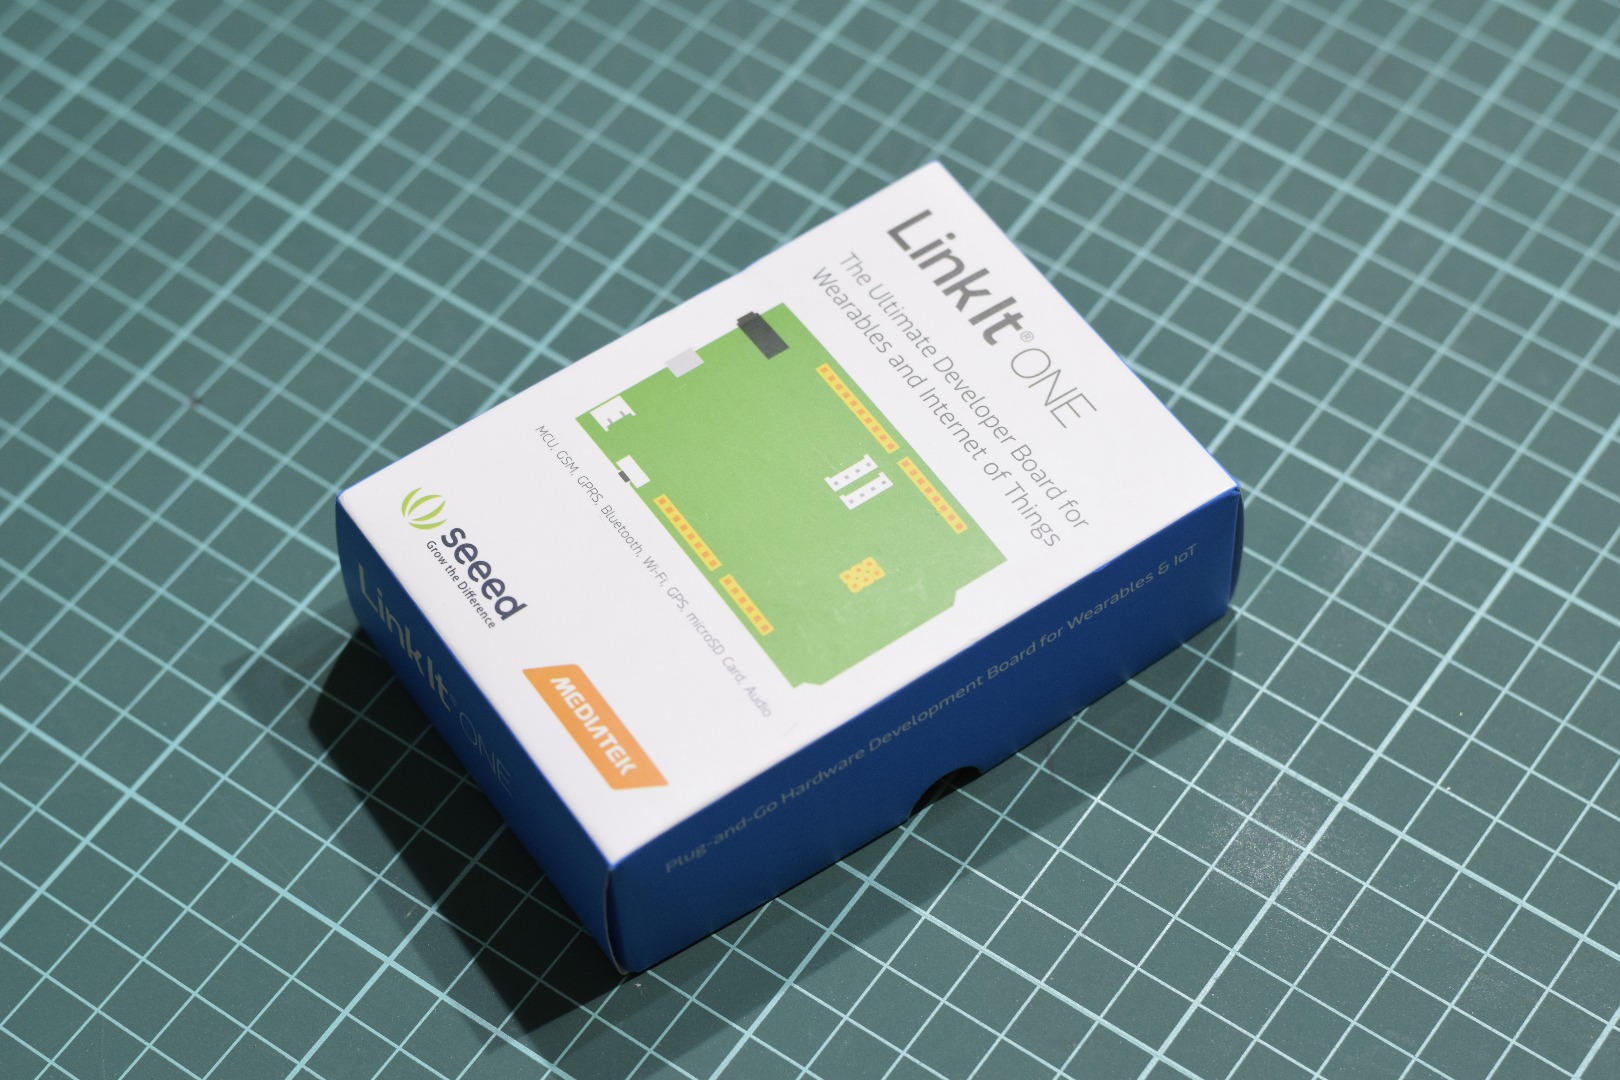
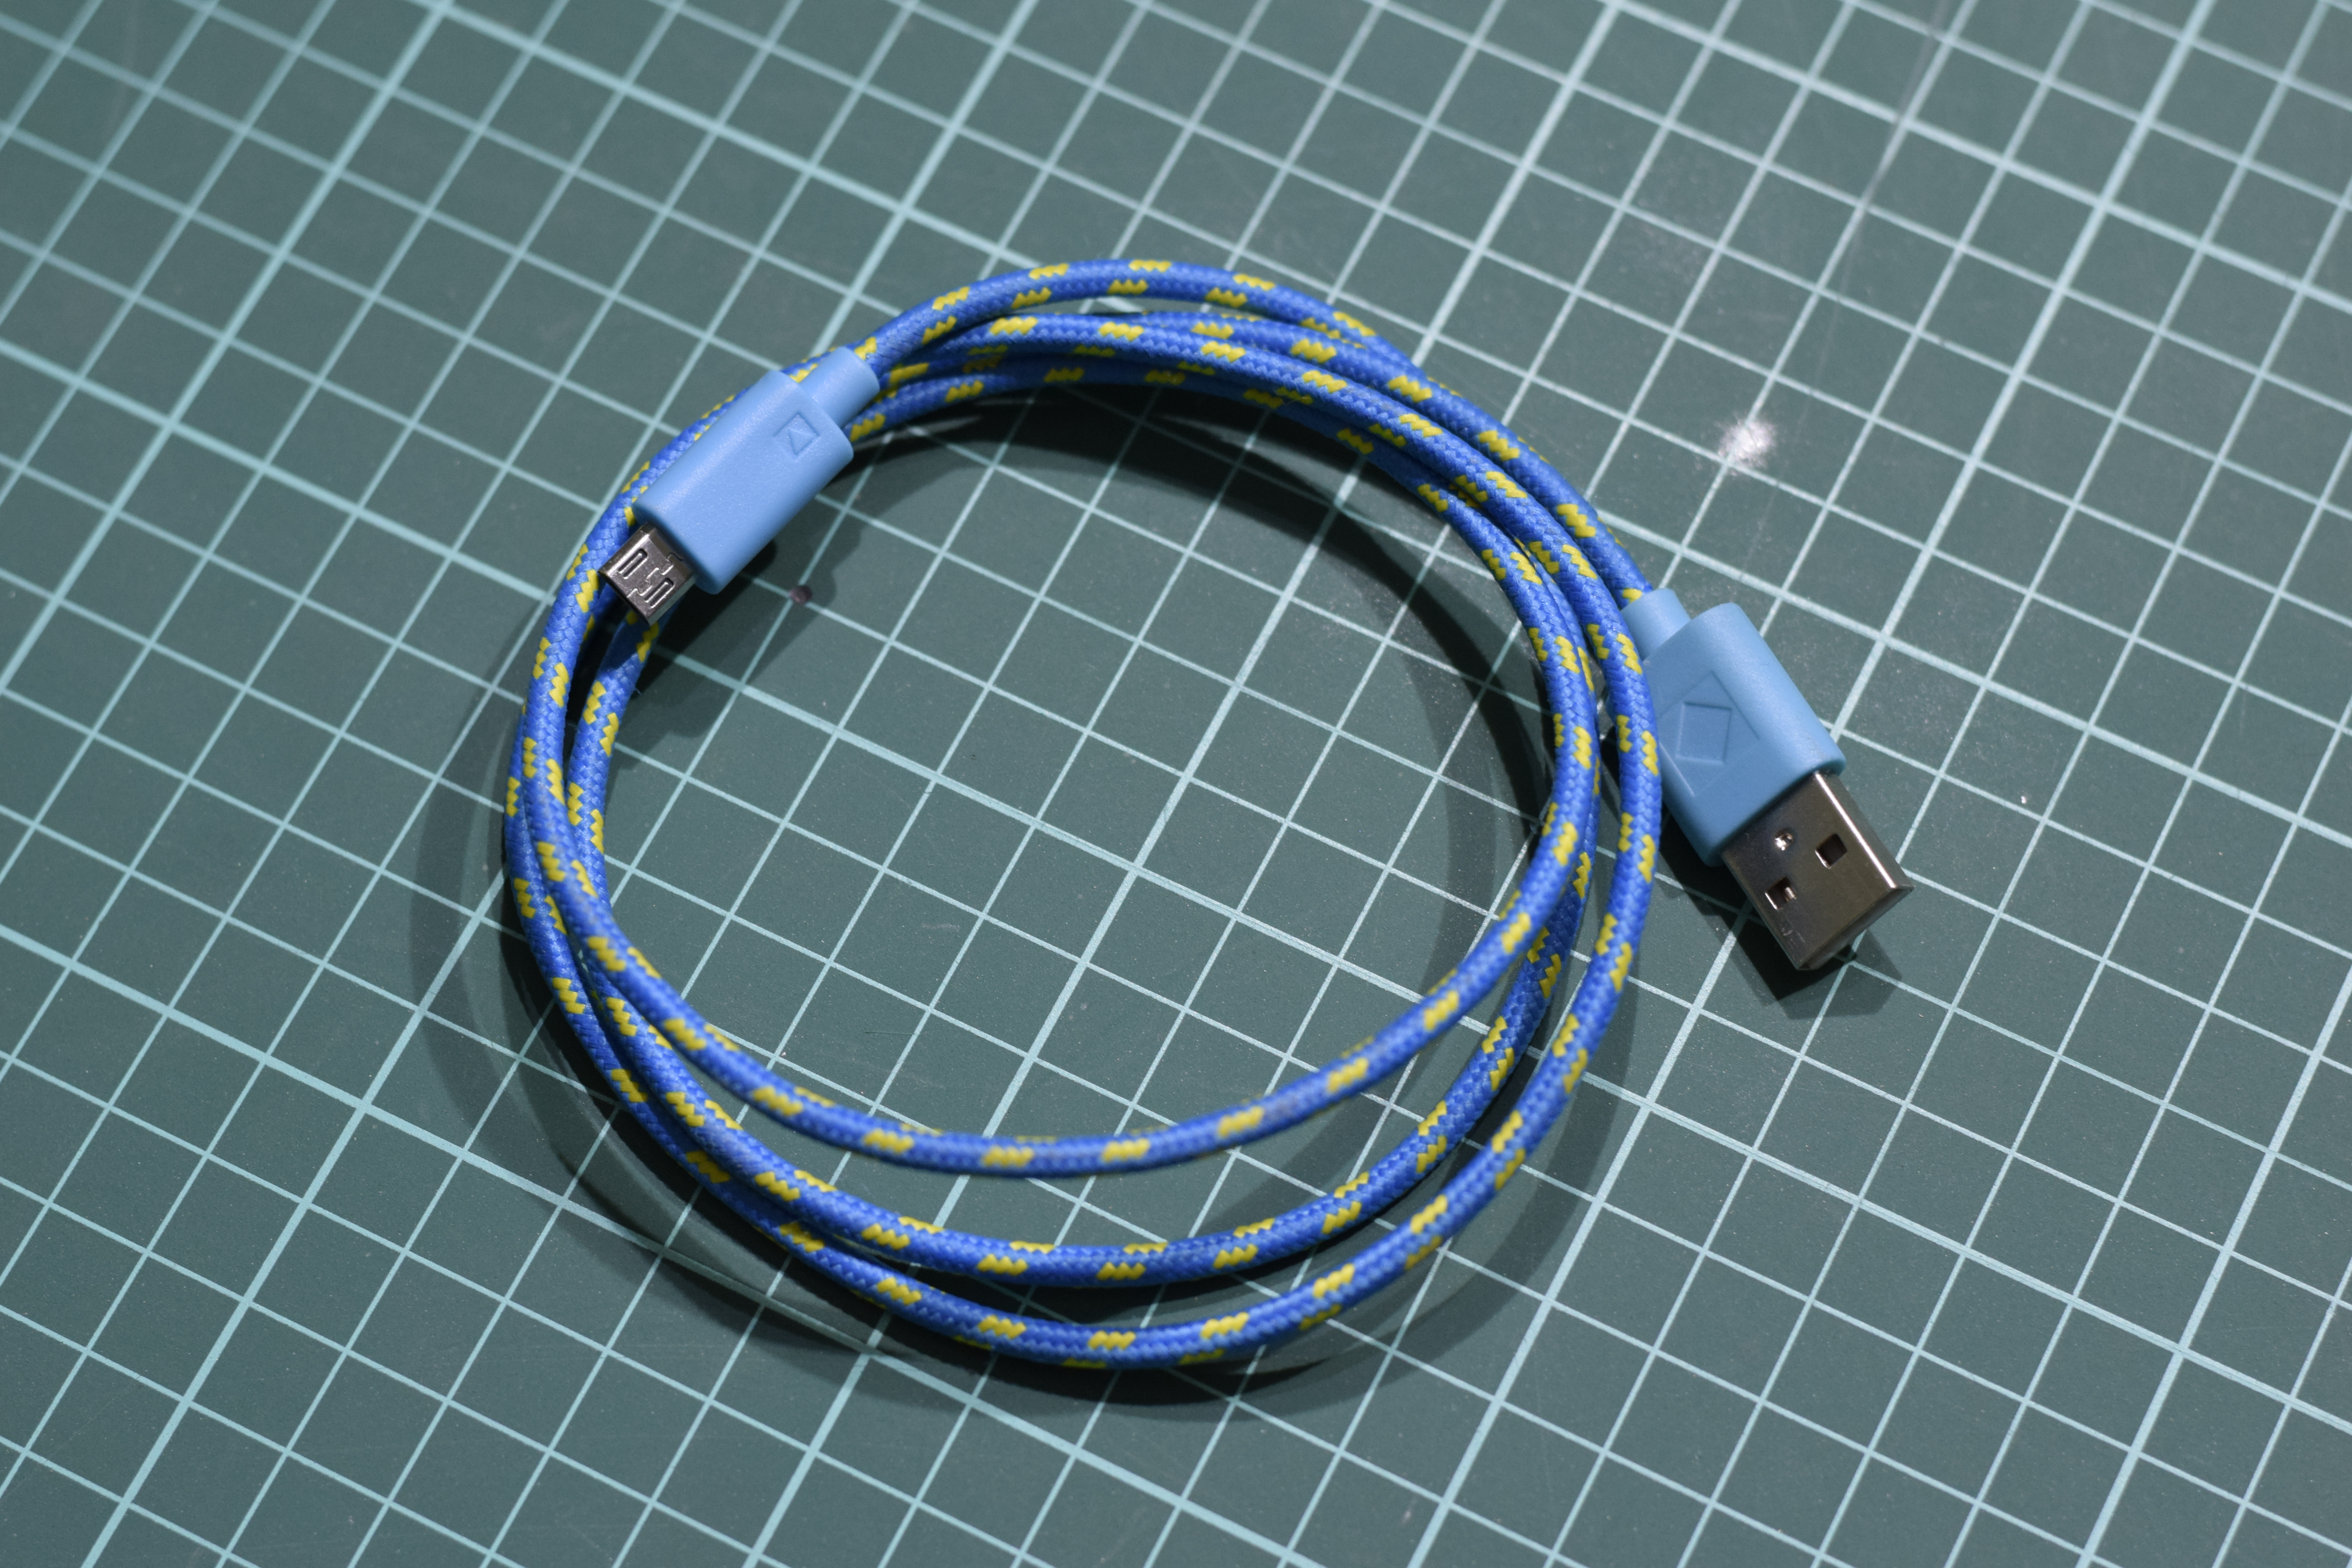
Every beginner guide starts with a very important question that what it is that we are getting started with. Well the the Linkit One board is a single board computer created by collaboration of Media Tek and Seeed Studio. It has a form factor similar to that of an arduino board and it has many feature inbuilt allowing vast capabilities.
Lets go over some of the most salient features. Bear in mind that this is all my original text and I have not copied it from any where.
Features
- Arduino Compatible: The headers are Arduino compatible and the programming environment is also the Arduino IDE making it easy to program and familiar to work with. The pin configuration is also the well known Arduino Uno style.
- GPS + GSM + GPRS + Bluetooth + Wifi: Yes you read it correct. The Linkit One packs all these communication hardware on its single board. No need for shields or extra hardware. Even the power electronics is built in and very stable.
- SD Card: SD Card support is also built in so you can log data or download files on the SD card. You can also store files on the SD Card.
- Audio Player: It has an on-board audio player which can play files from the SD card. Either plug in headphones in the audio jack or use speakers.
- Battery Backup: It has a battery supplied with it and on board charging circuitry so you dont have to worry about loosing power. The battery can work for up to two to three days.
There are a lot more features like Groove connectors, Battery monitoring etc but lets not get into those right now.
Specifications
- Chipset: MT2502A (Aster, ARM7 EJ-S (TM) )
- Clock Speed: 260MHz
- Dimensions: 3.3x2.1 inches
- Flash :16MB
- RAM: 4MB
- DC Current Per I/O Pin: 1mA
- Analog Pins: 3
- Digital Output: 3.3V
- Analog Input: 5V
- UART: Software based(Serial) ,also known as USB Modem Port and Hardware Serial(Serial1, D0&D1)
- SD Card: Up to 32GB(Class 10)
- Positioning: GPS(MT3332)
- GSM: 850/900/1800/1900 MHz
- GPRS: Class 12
- Wi-Fi: 802.11 b/g/n
- Bluetooth: BR/EDR/BLE(Dual Mode)
Understanding the Various Parts
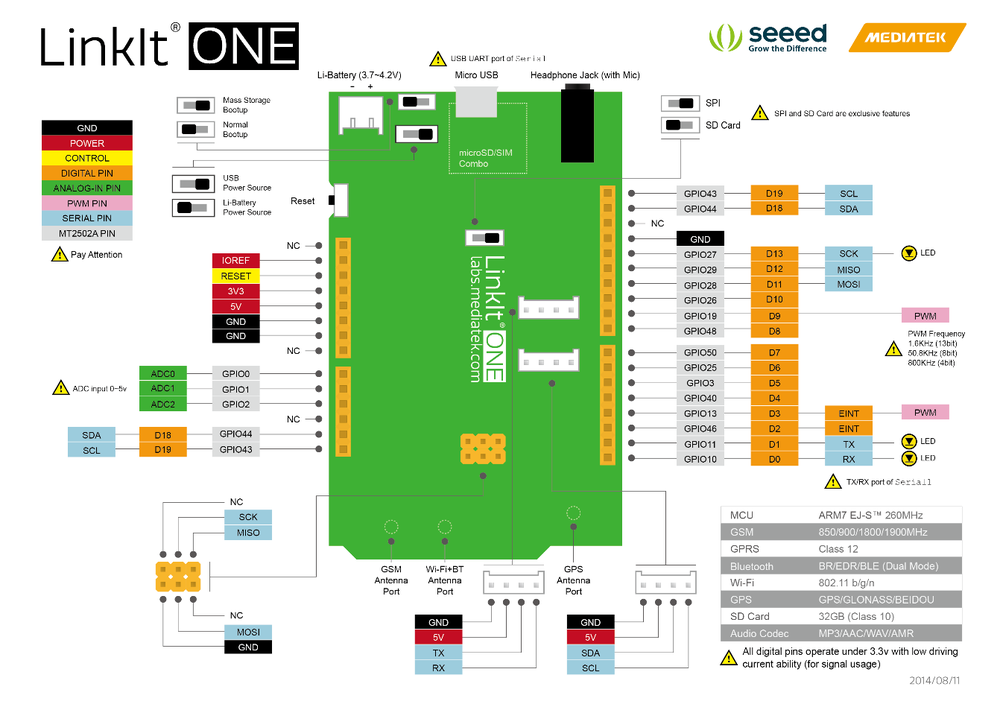
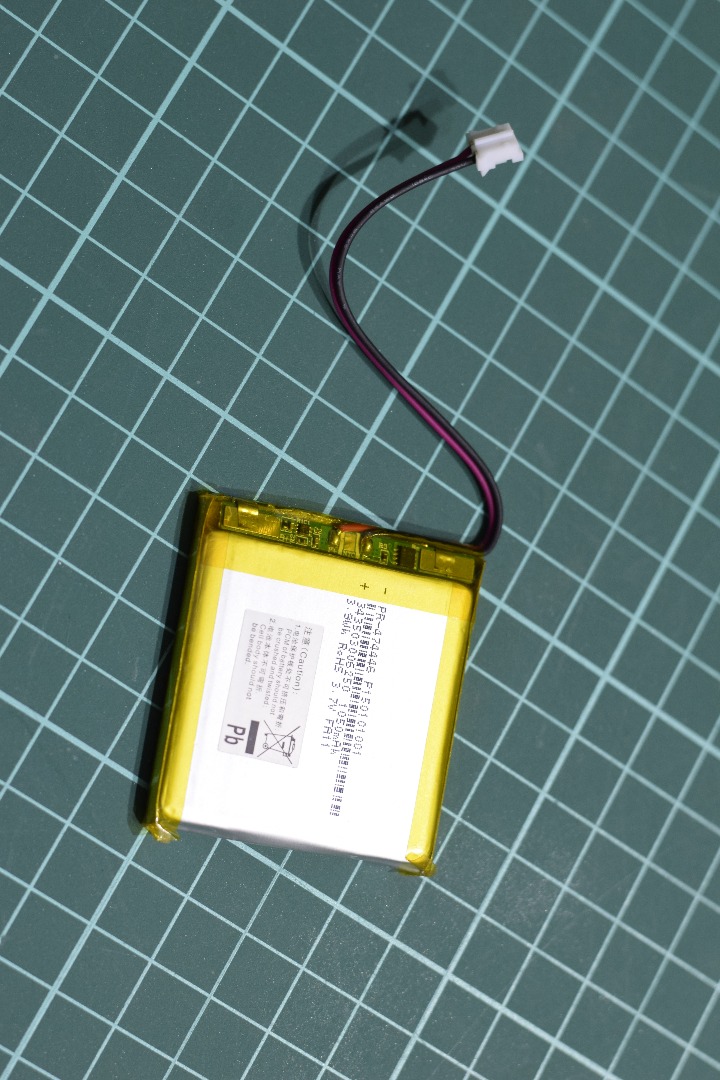
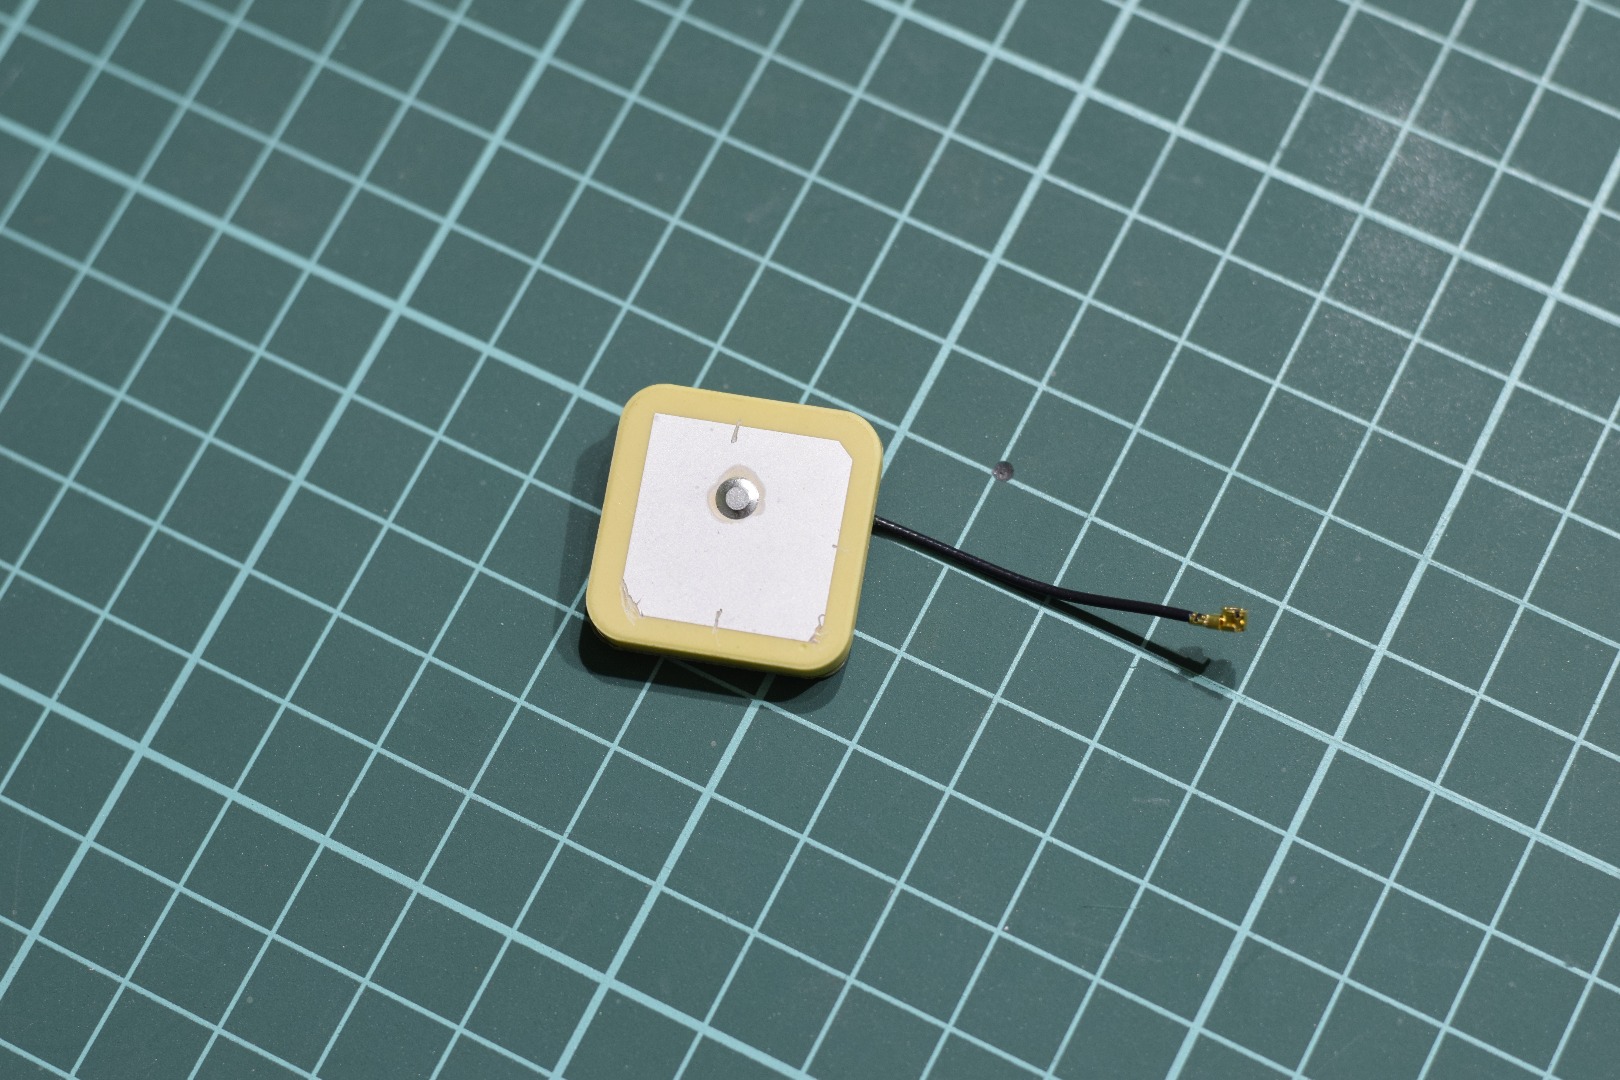
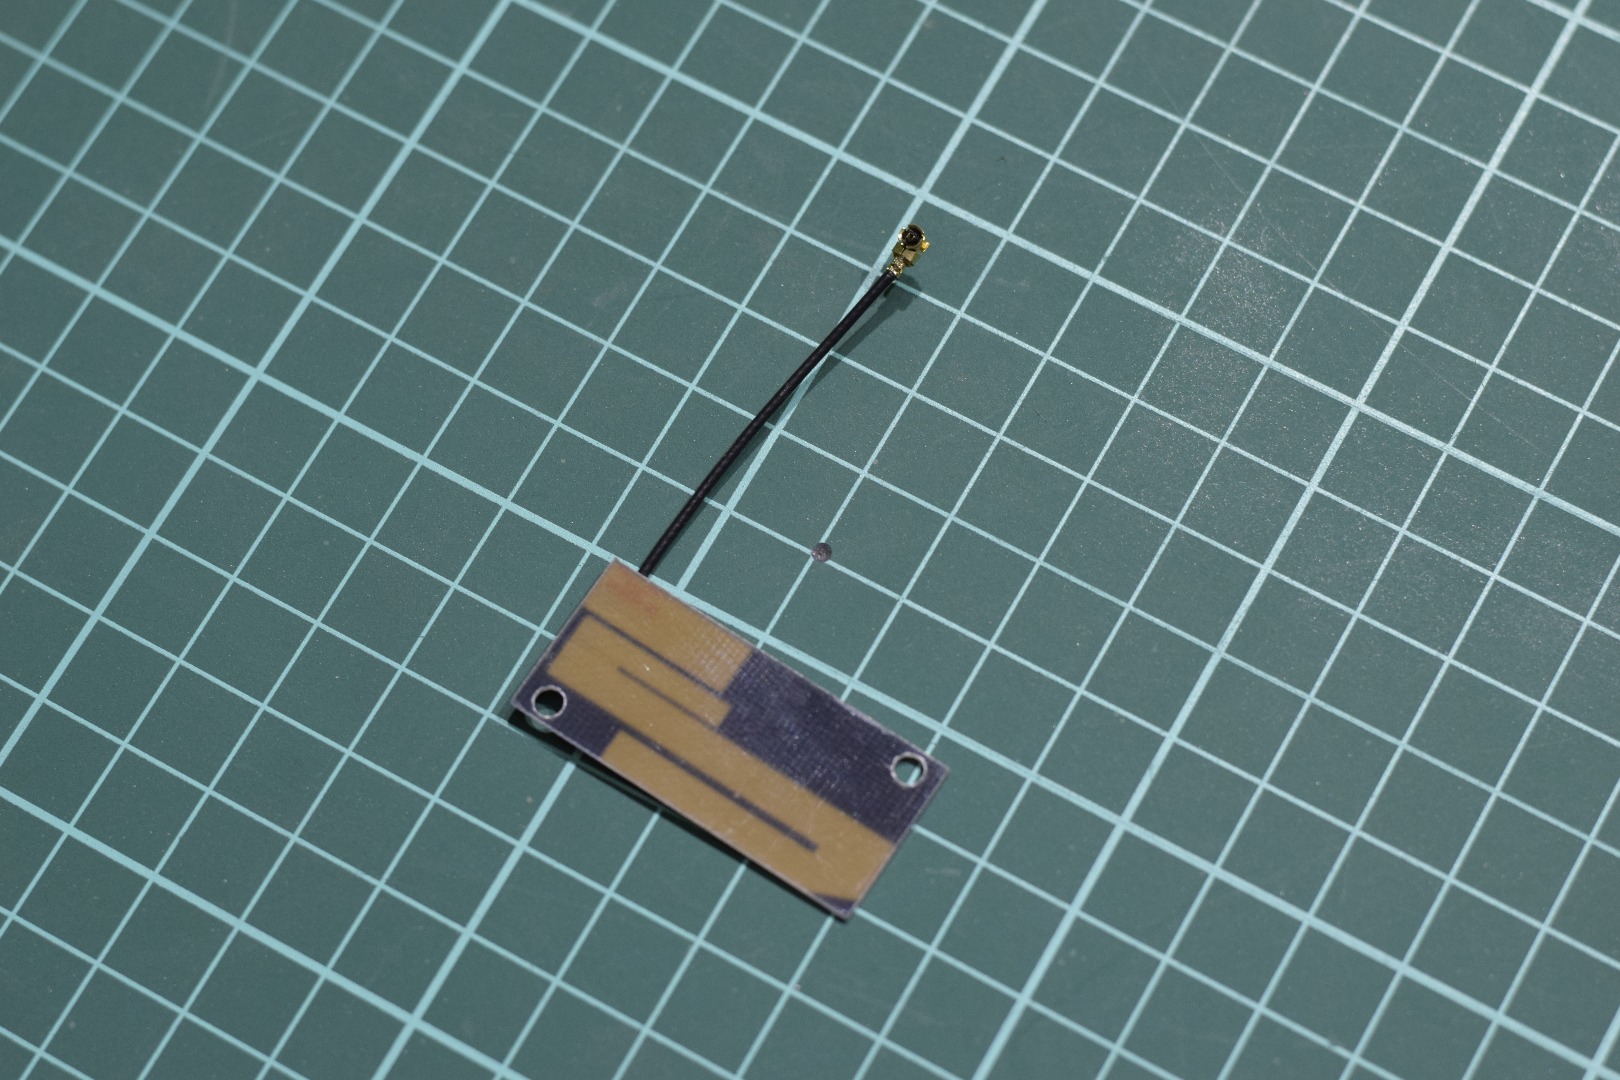
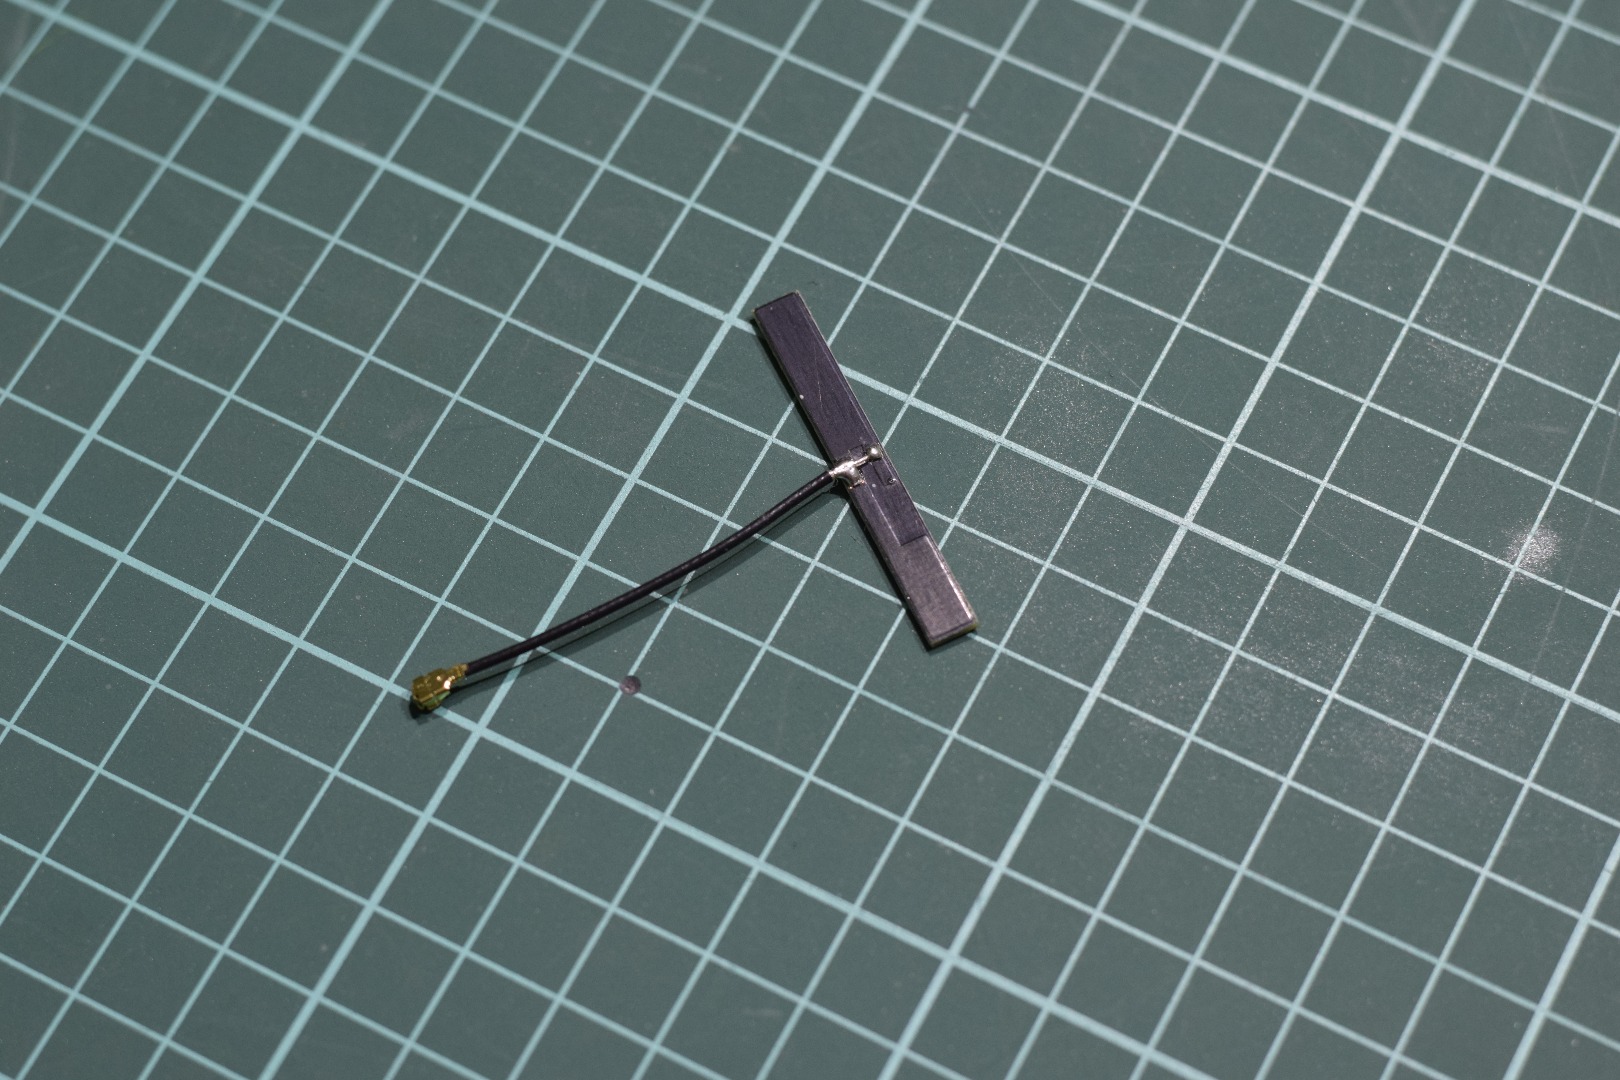
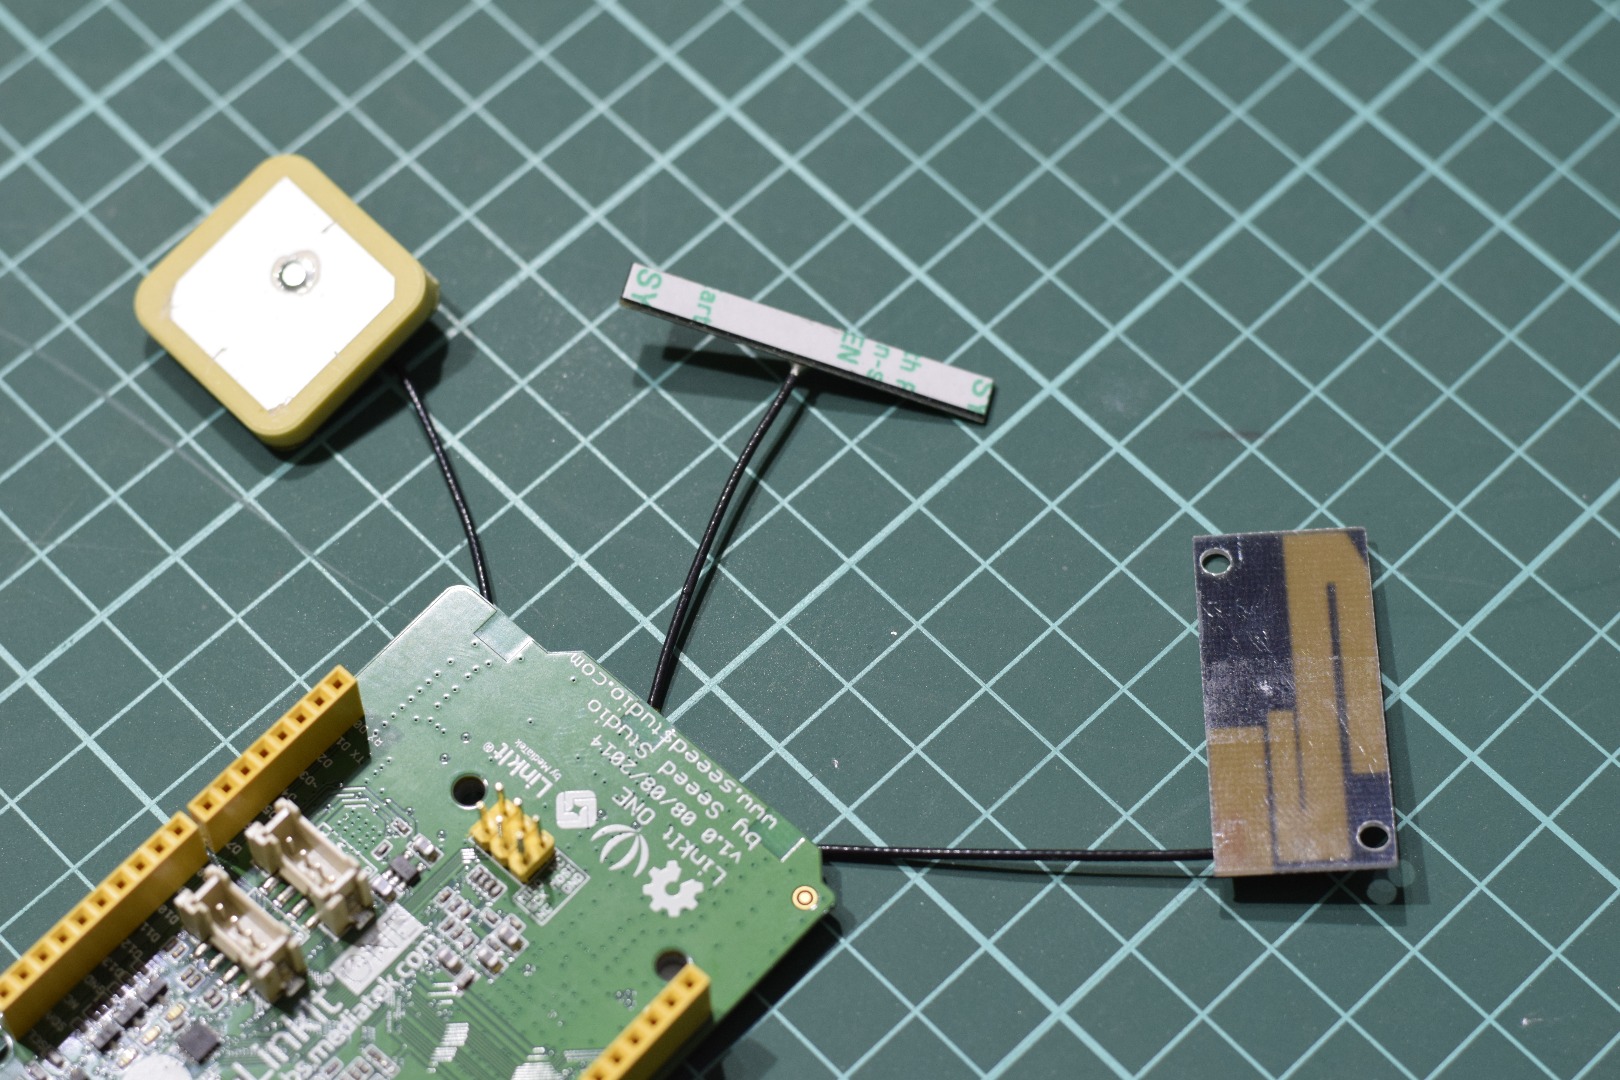
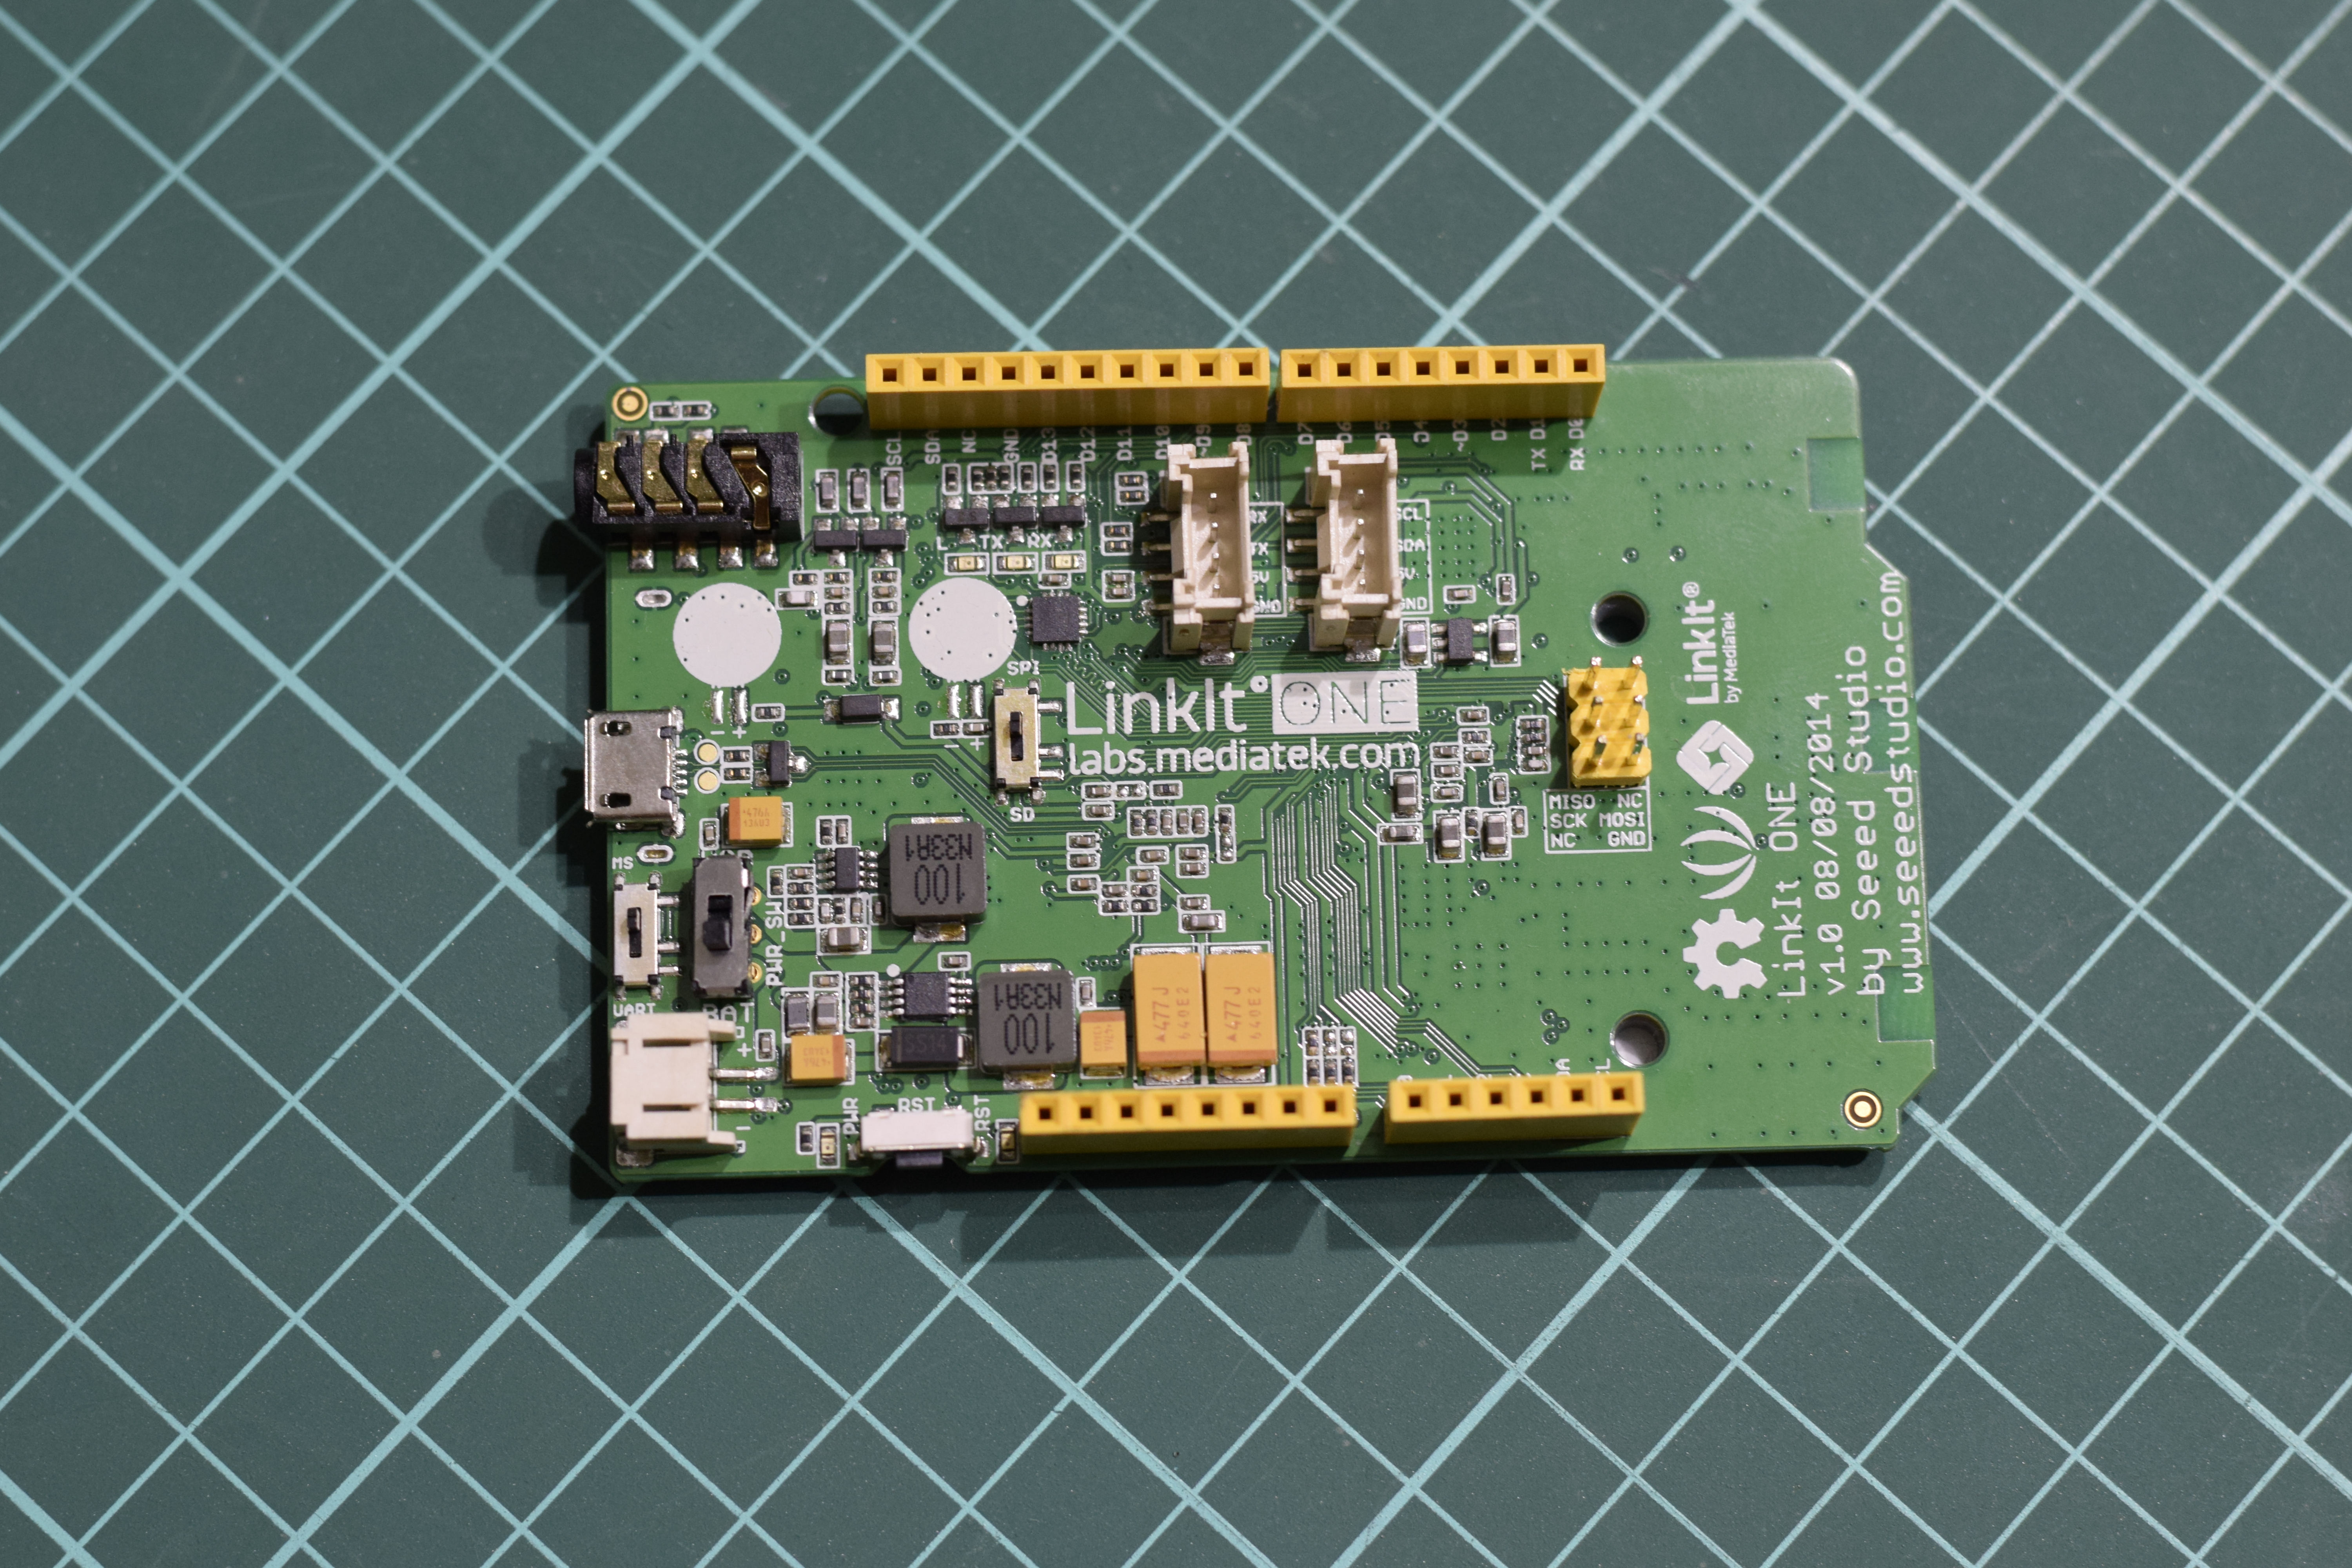
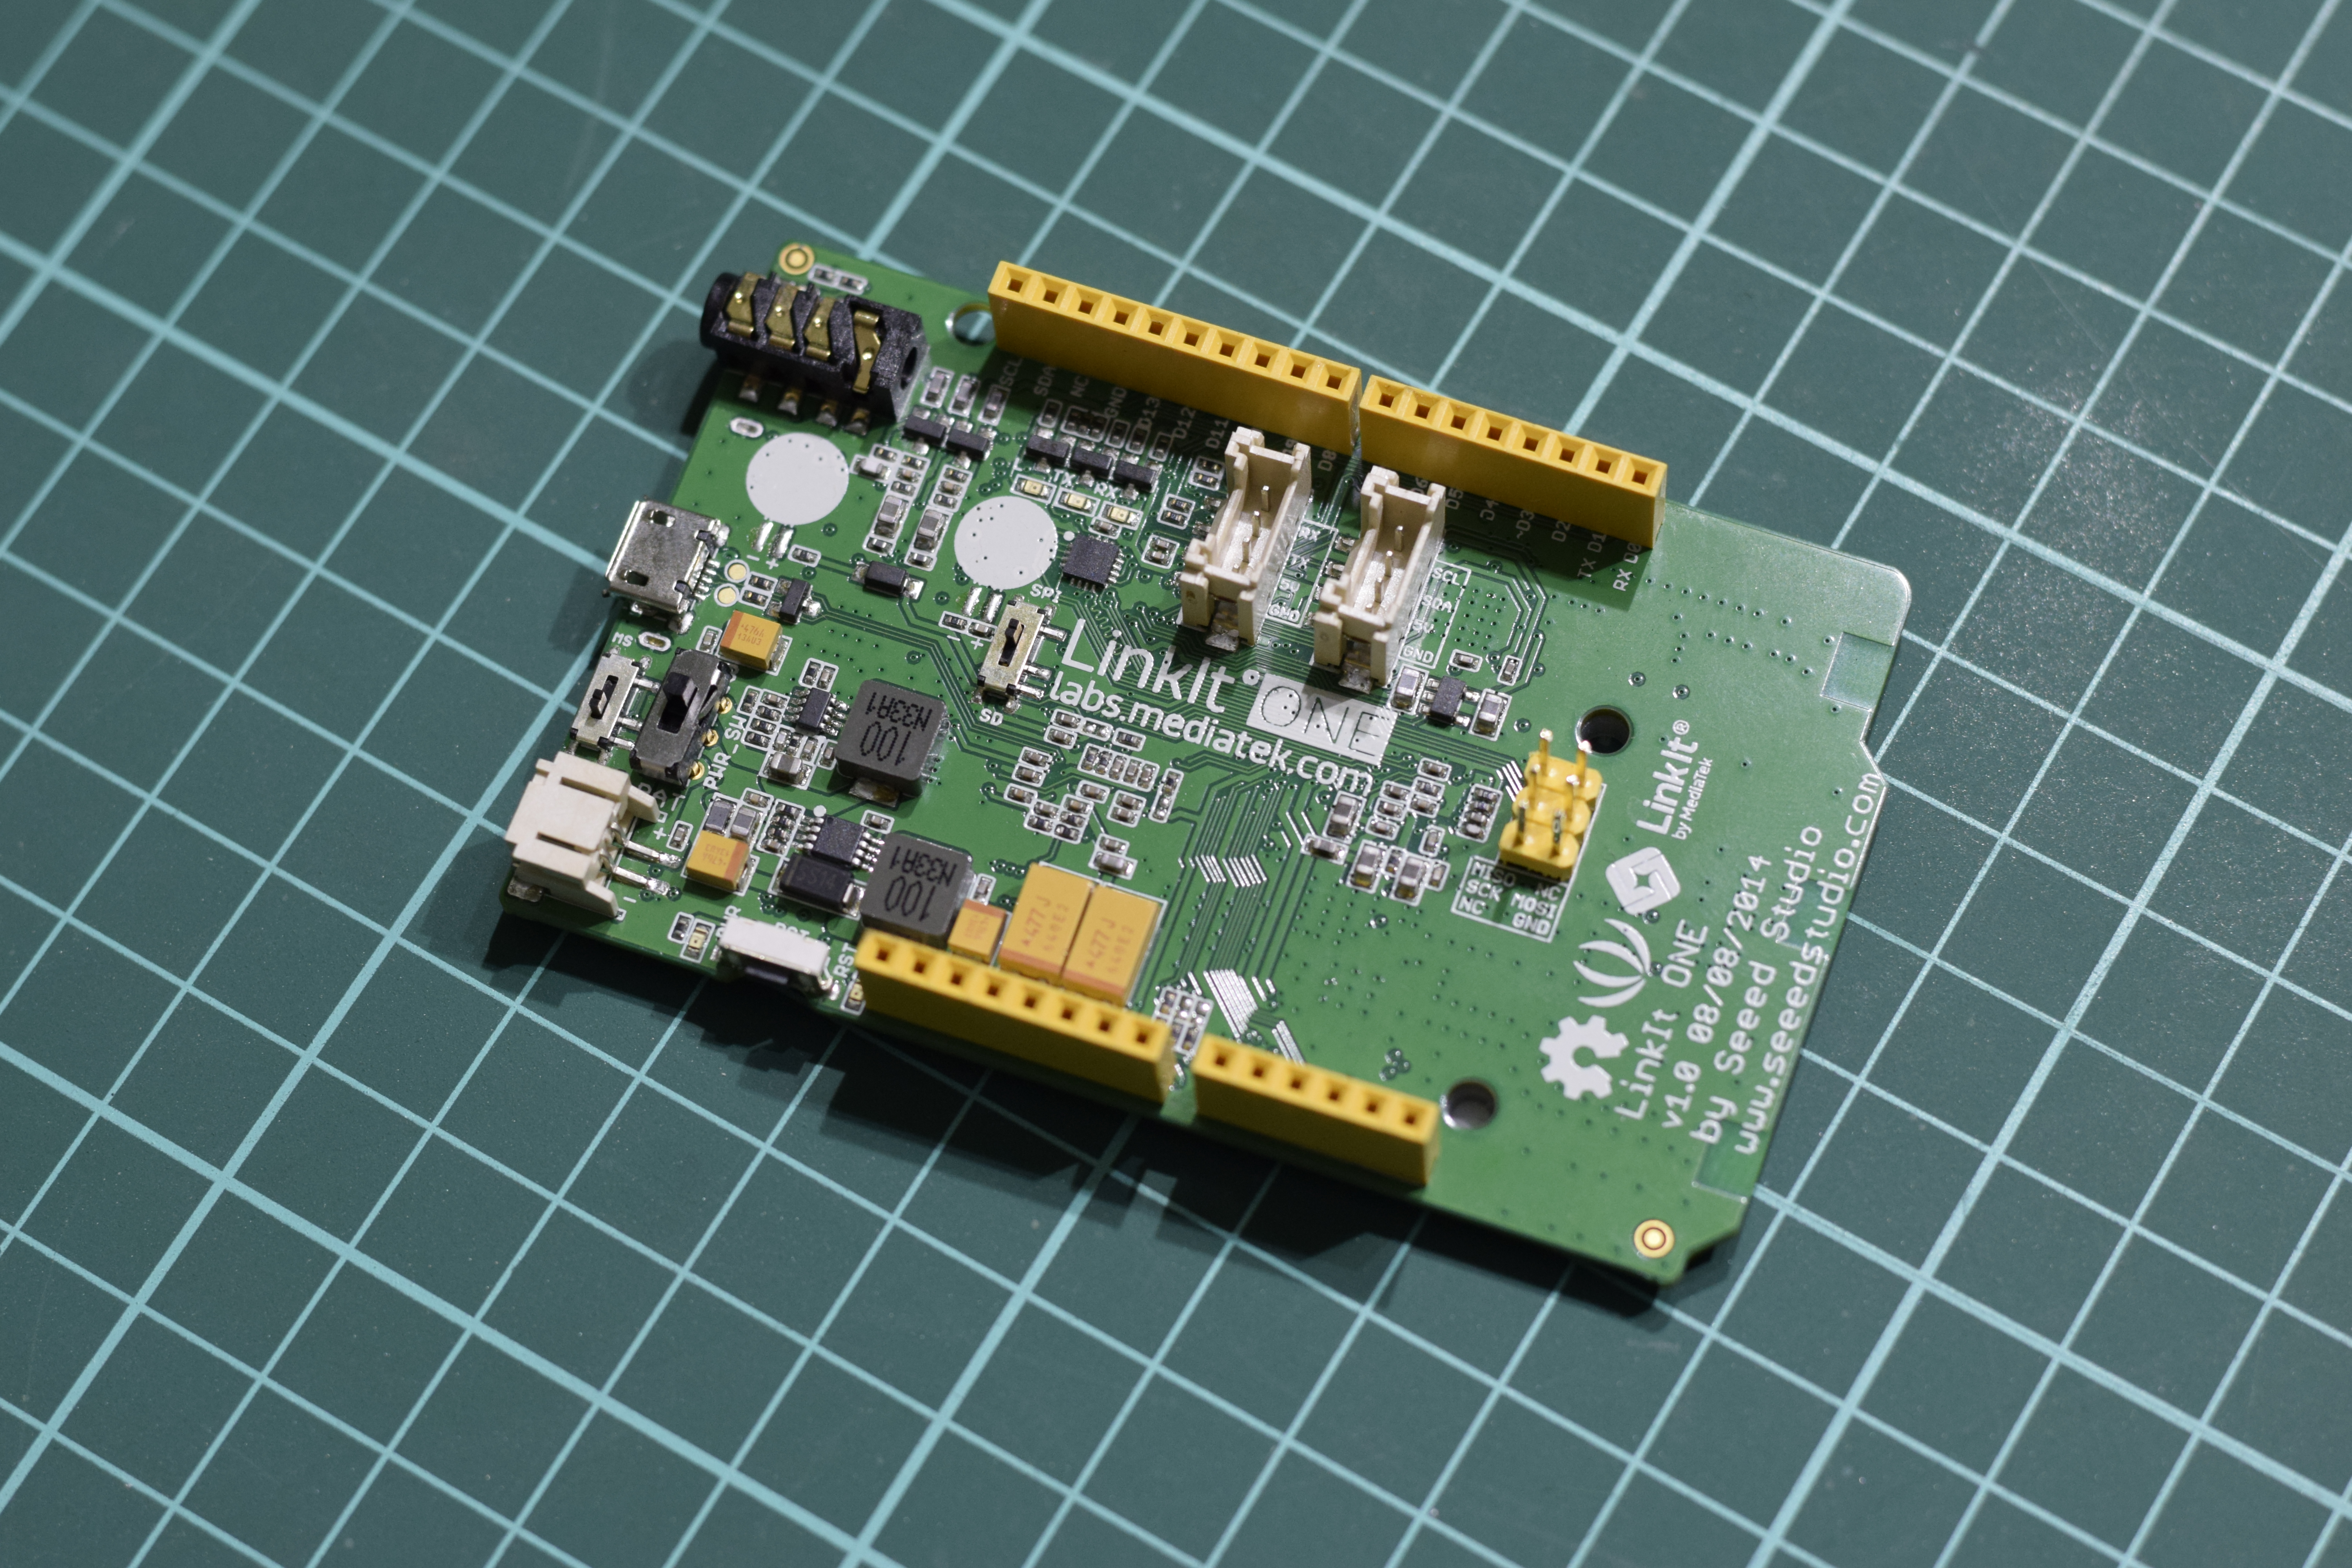
The image above will help you understand all the various parts of the board better. I will make references to switch positions in the future. You can look back into this to ensure that they are in the correct position.
The antennas are also labelled so you can just get idea that which antenna is for which communication.
Software Installation
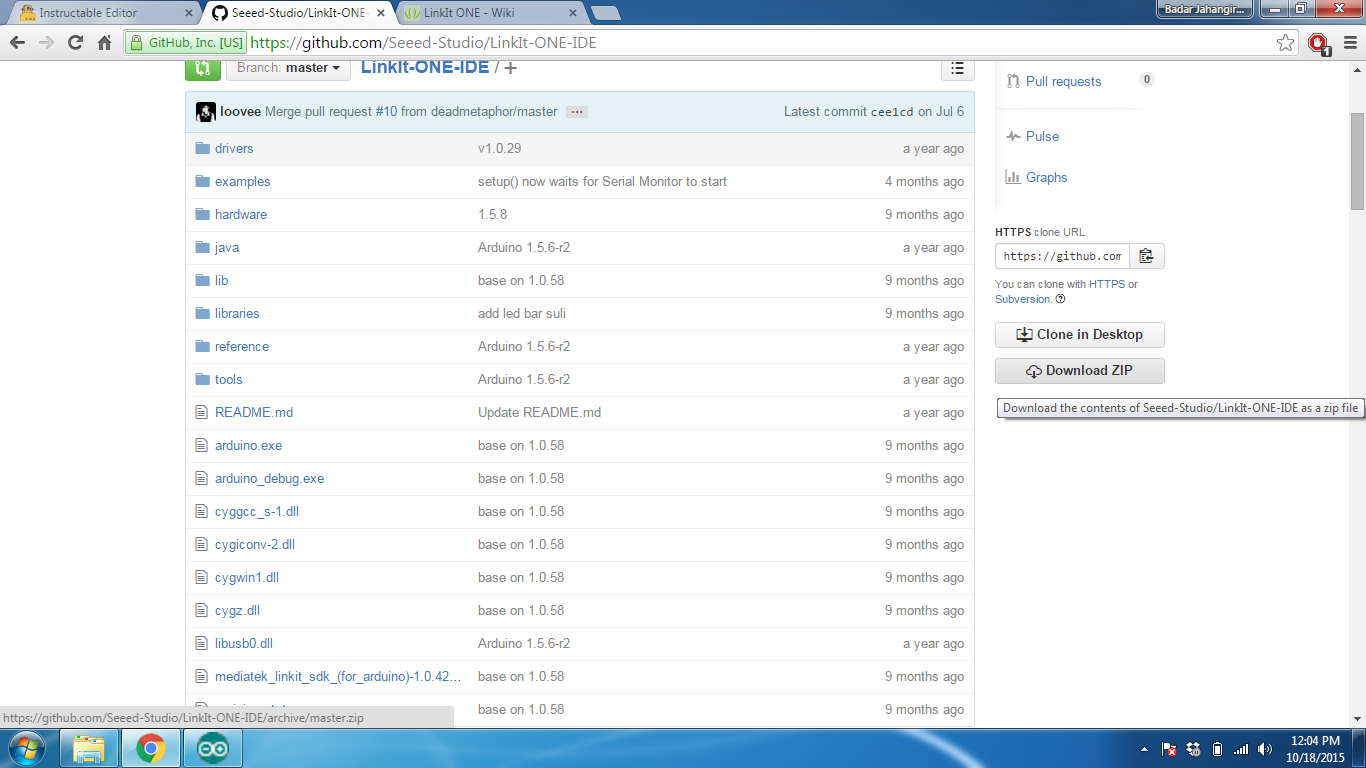
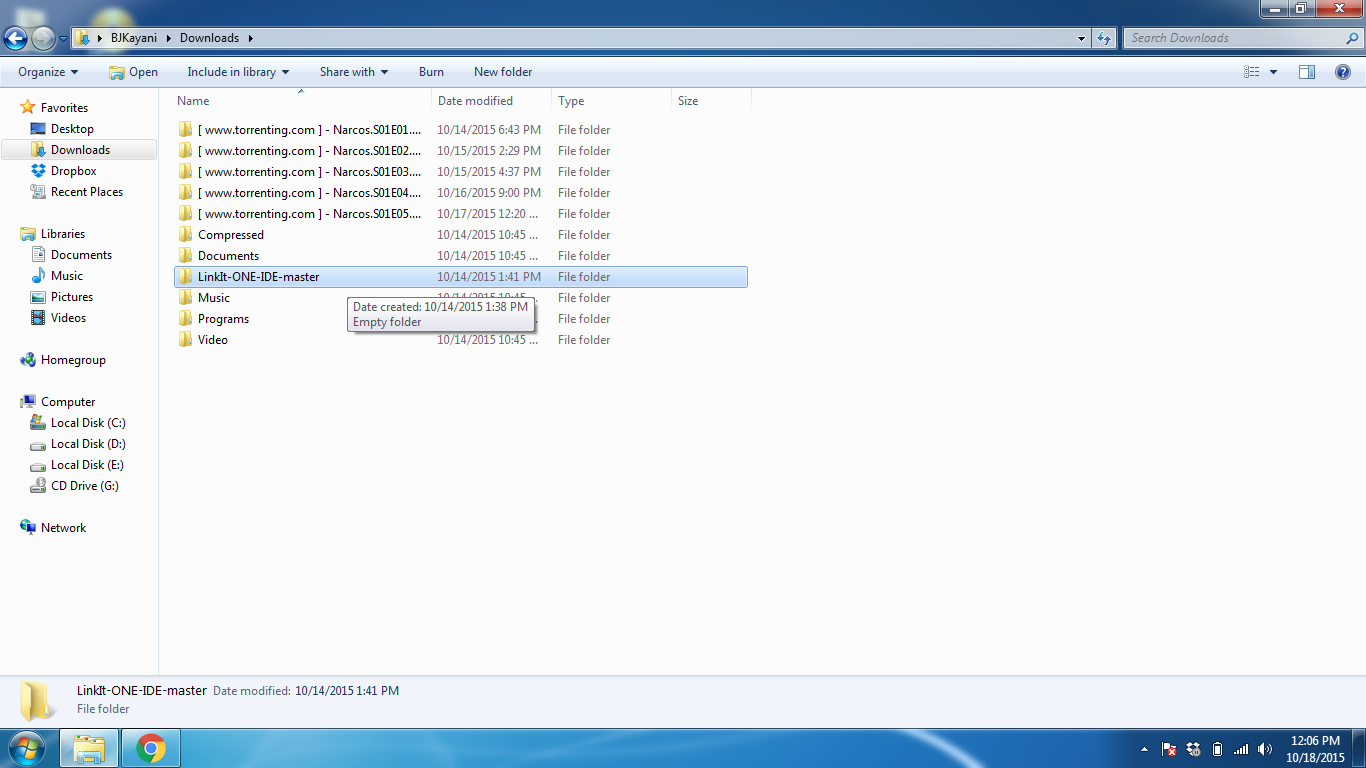
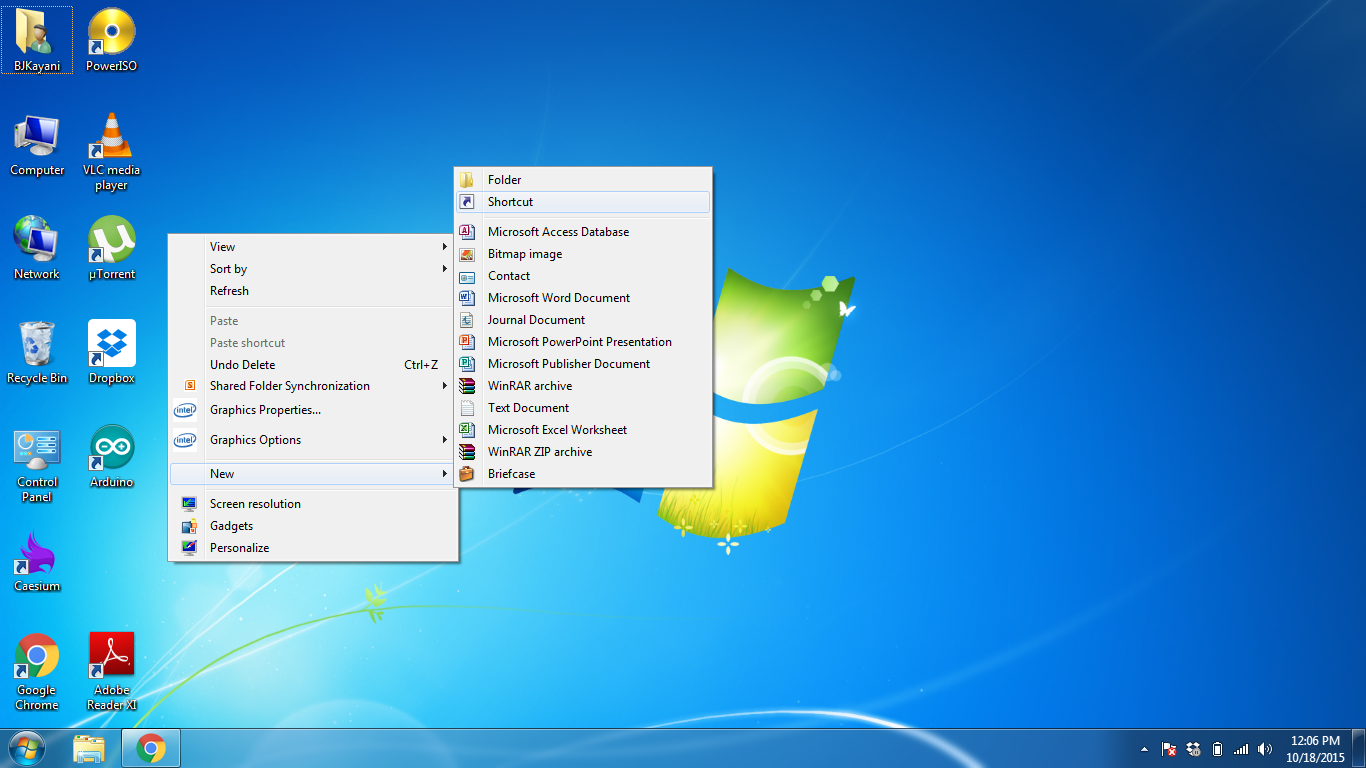
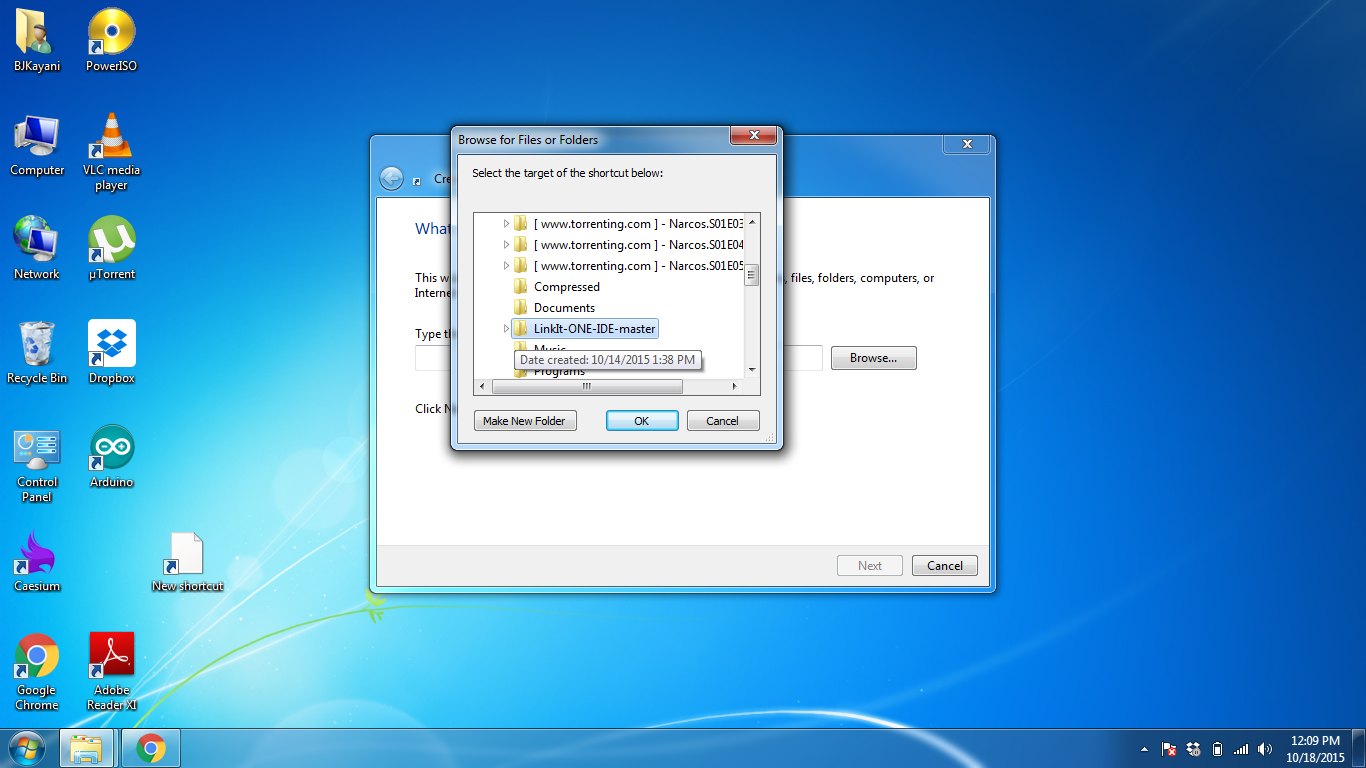
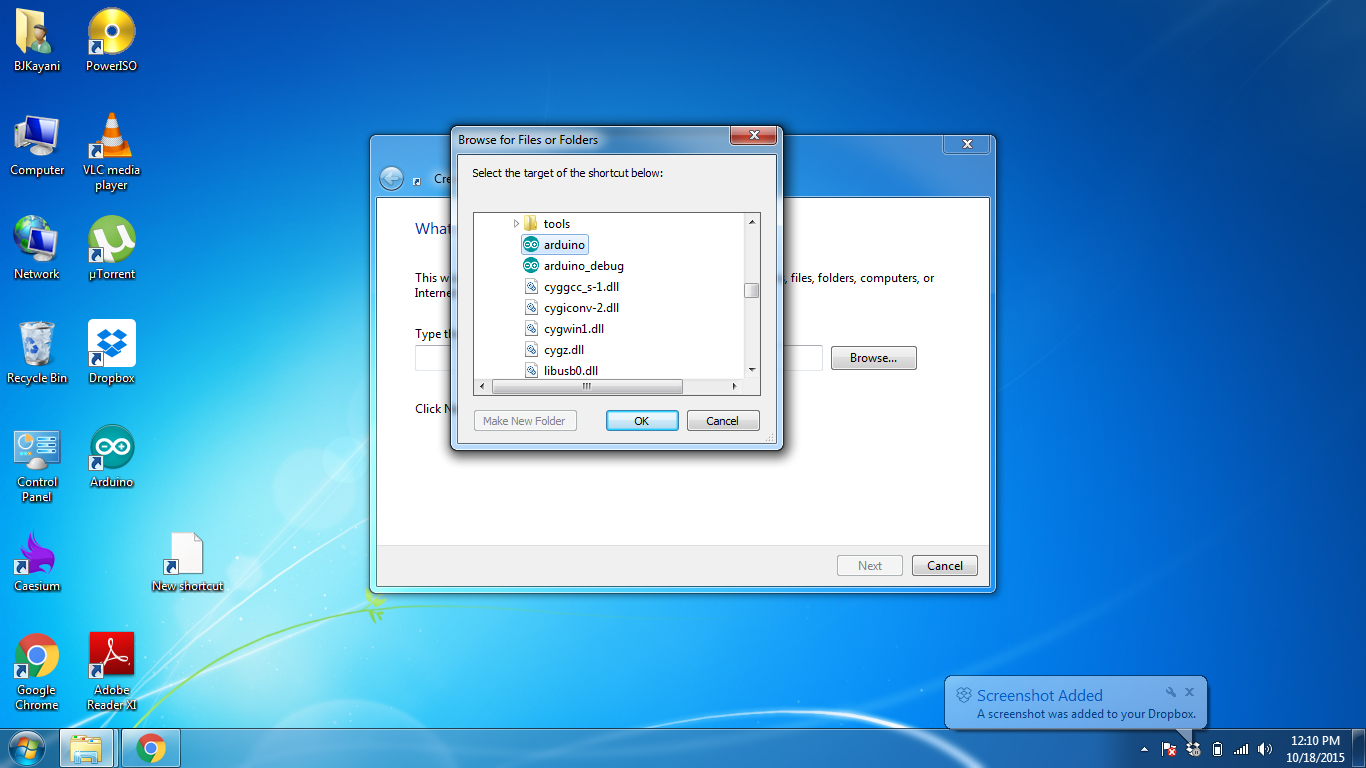
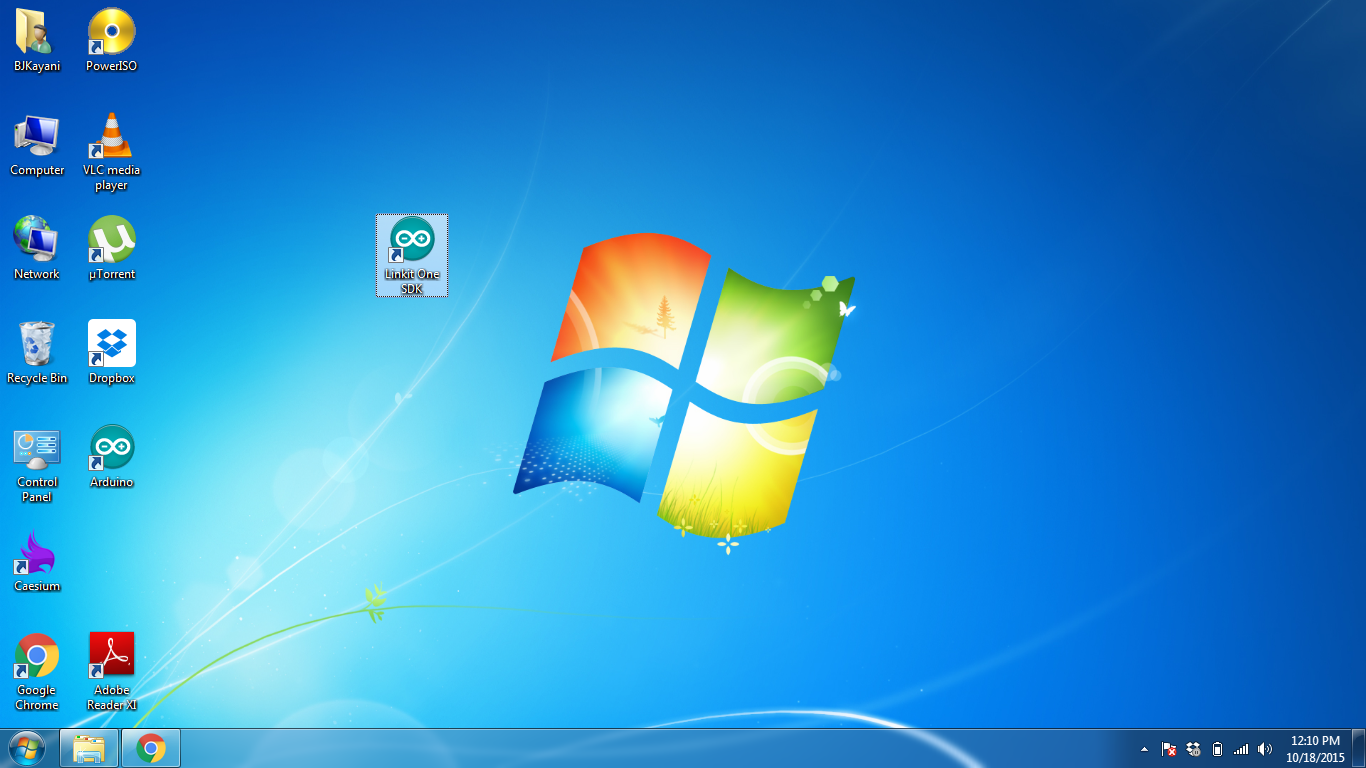
There are many guides on the internet but they all are complex. I have made this very simple for you guys. Download the IDE from the Github Link below and copy the downloaded folder any where safe on your computer.
Then just make a shortcut on the desktop and browse to where you saved the folder and select the Arduino icon file. And that is it. No fuss about installing software or anything.
Driver Installation
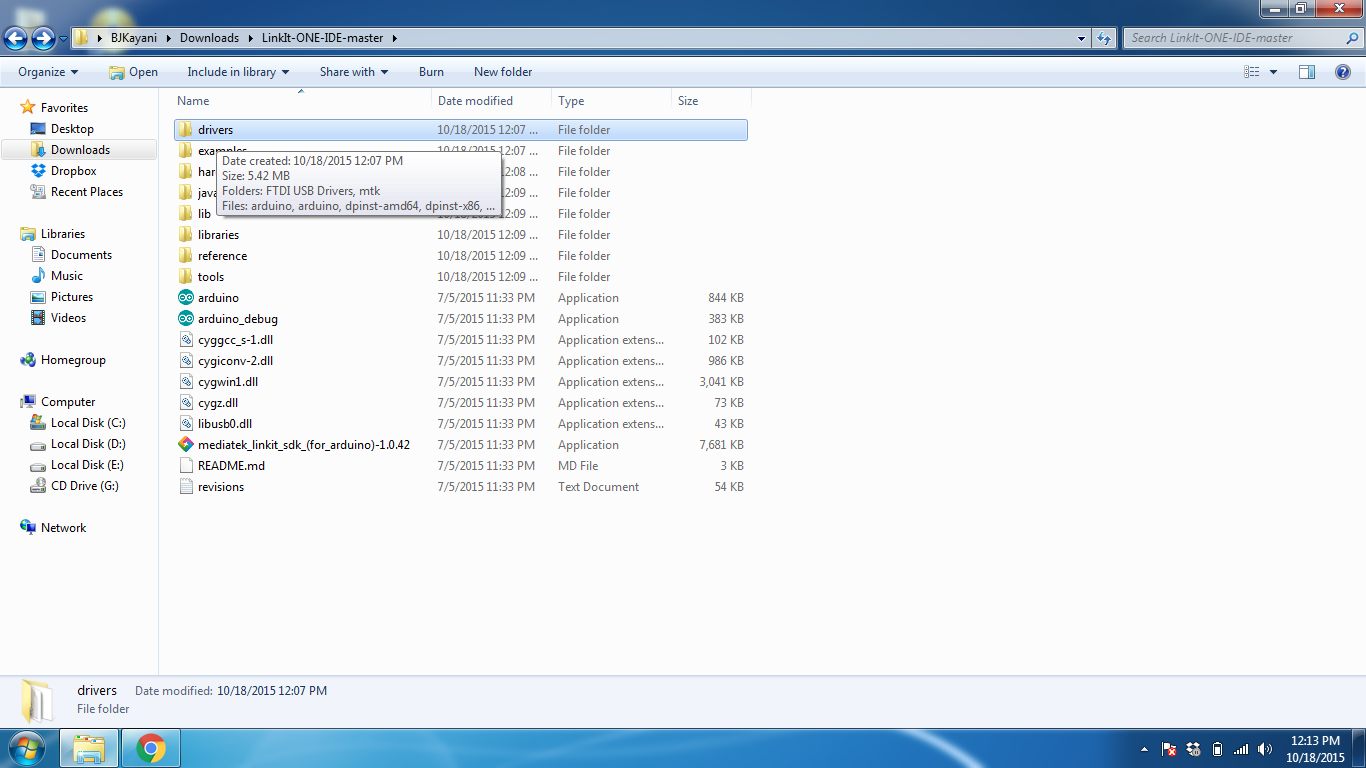
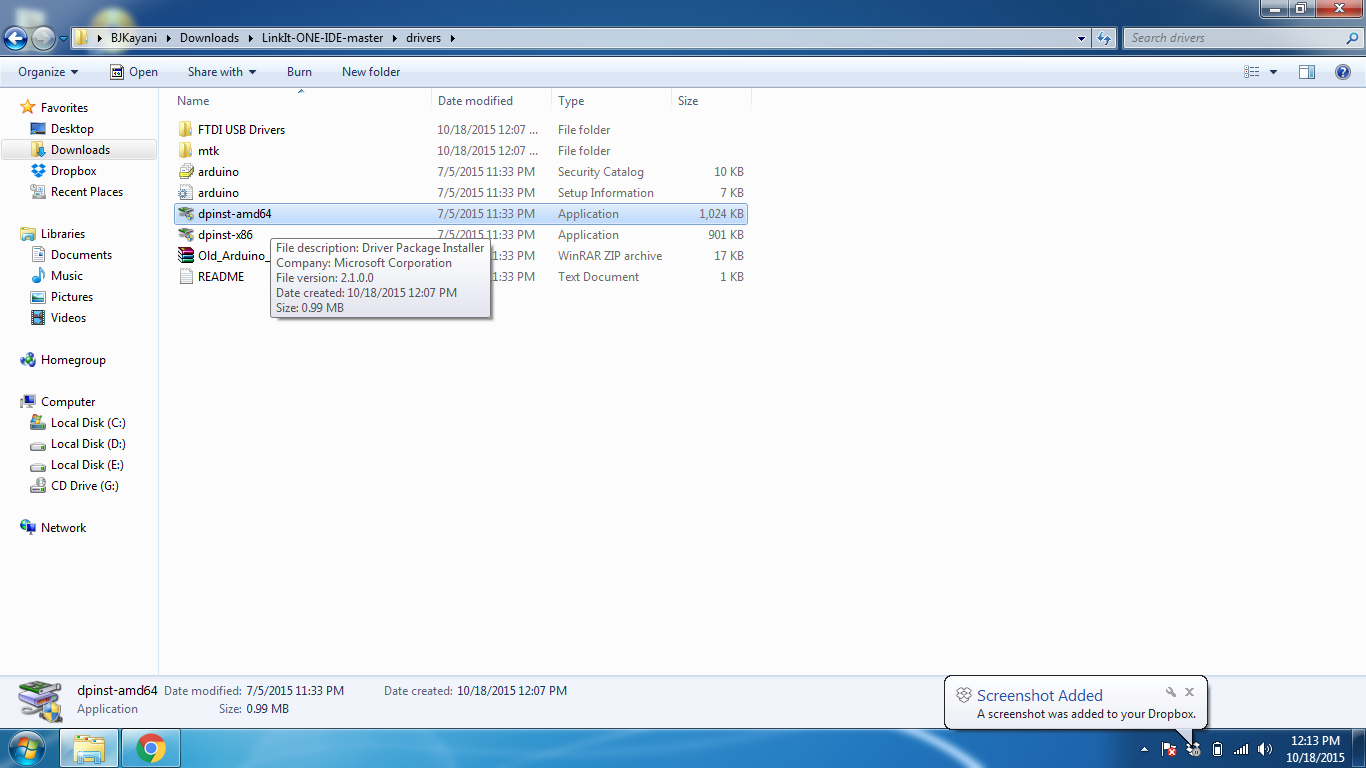
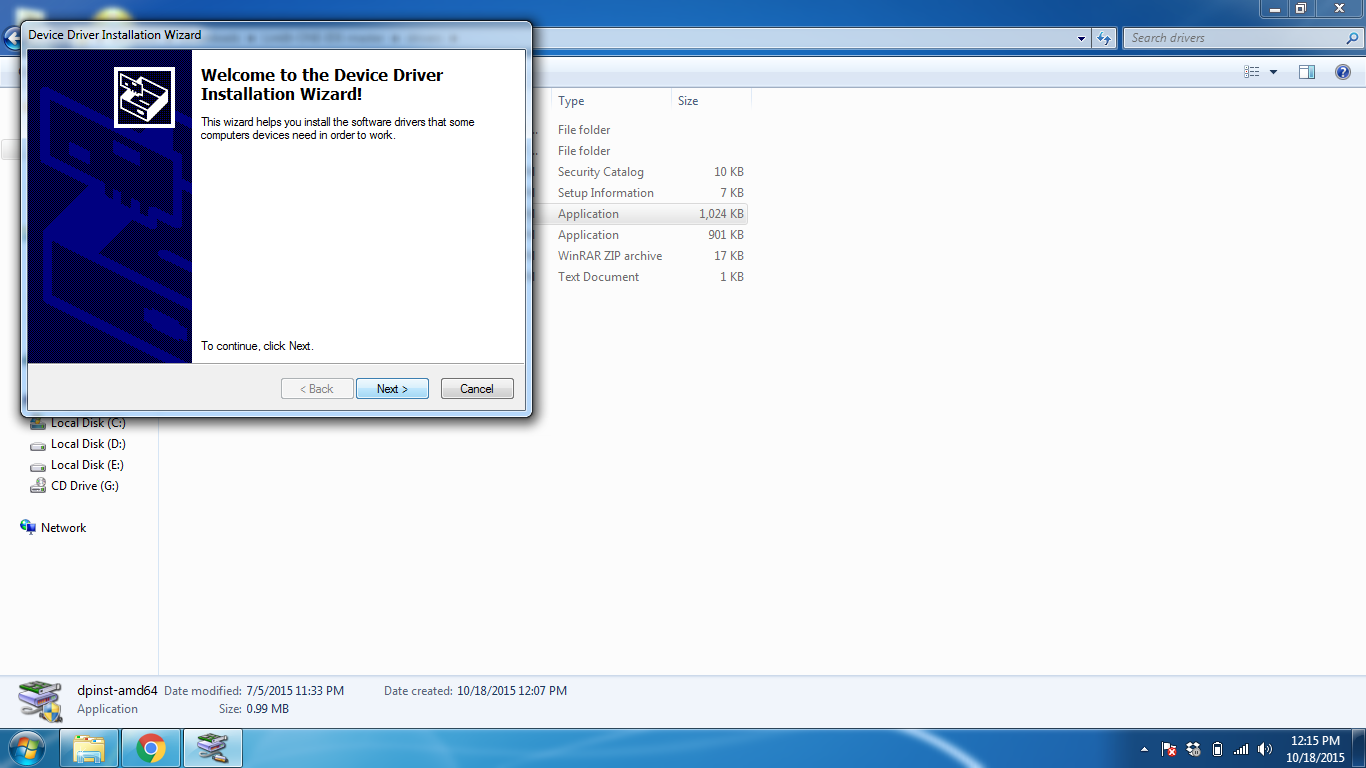
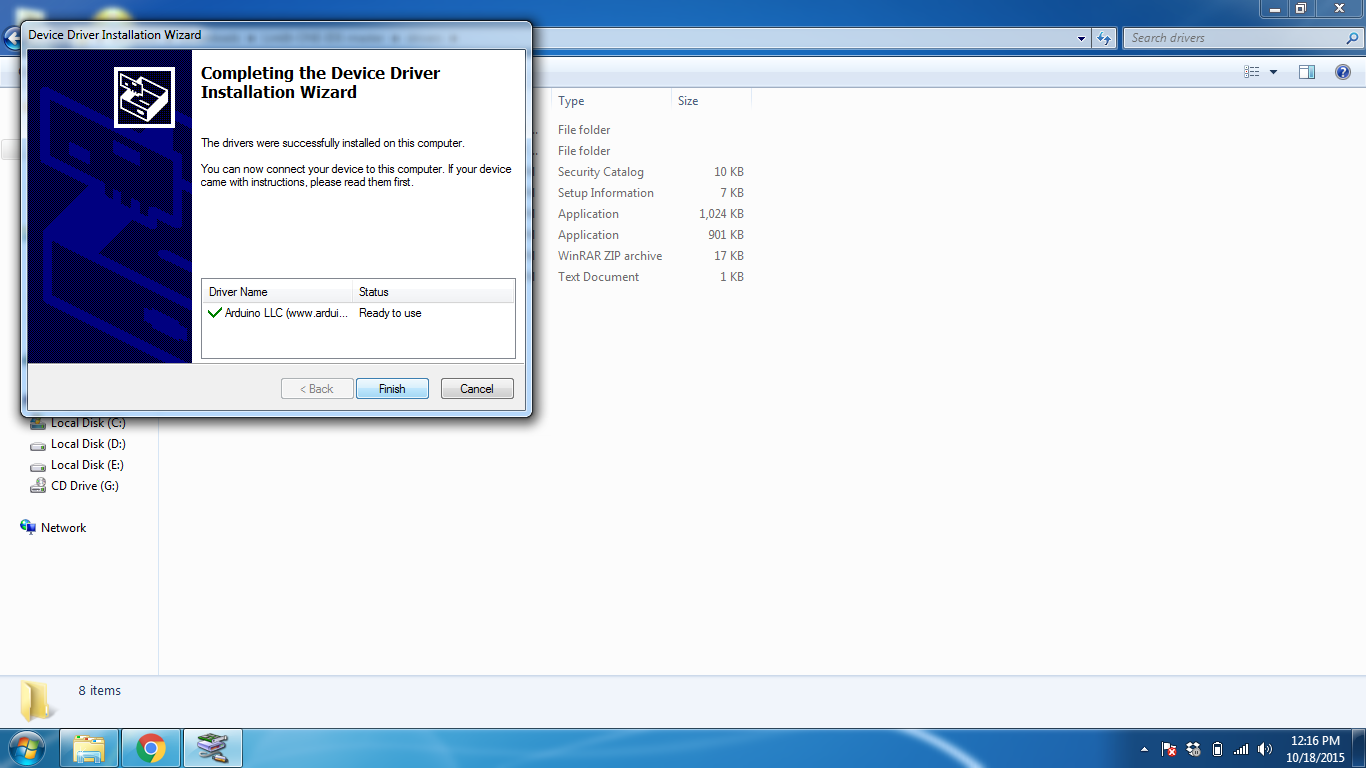
Now this is also very simple. Open the folder you just downloaded. There will be a drivers folder inside it. Open that folder and open the setup file. You have to chose the correct one based on your architecture. Either x64 or x86. Just click next on the prompt. If a security windows opens, just click allow and it will install the drivers.
That's it. Drivers are done. Now you can move on to the next step.
Firmware Update
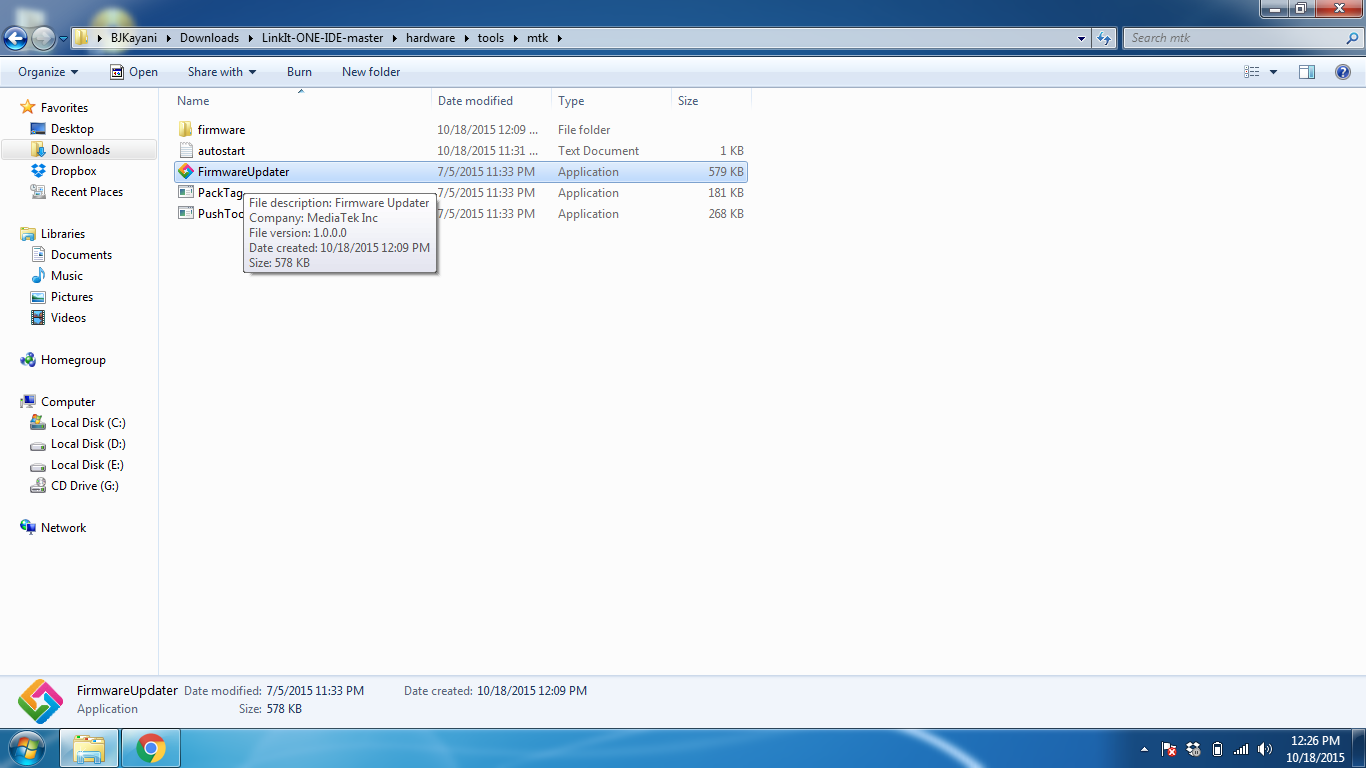
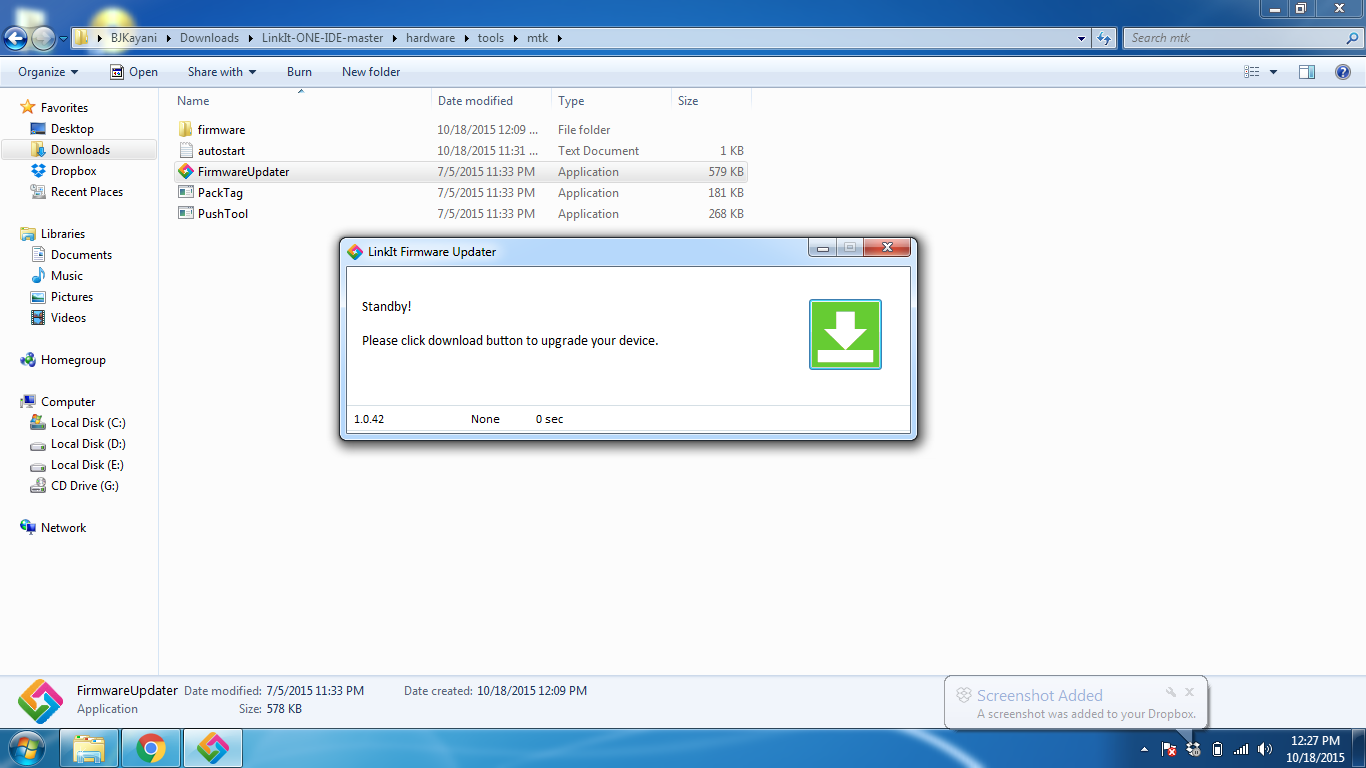
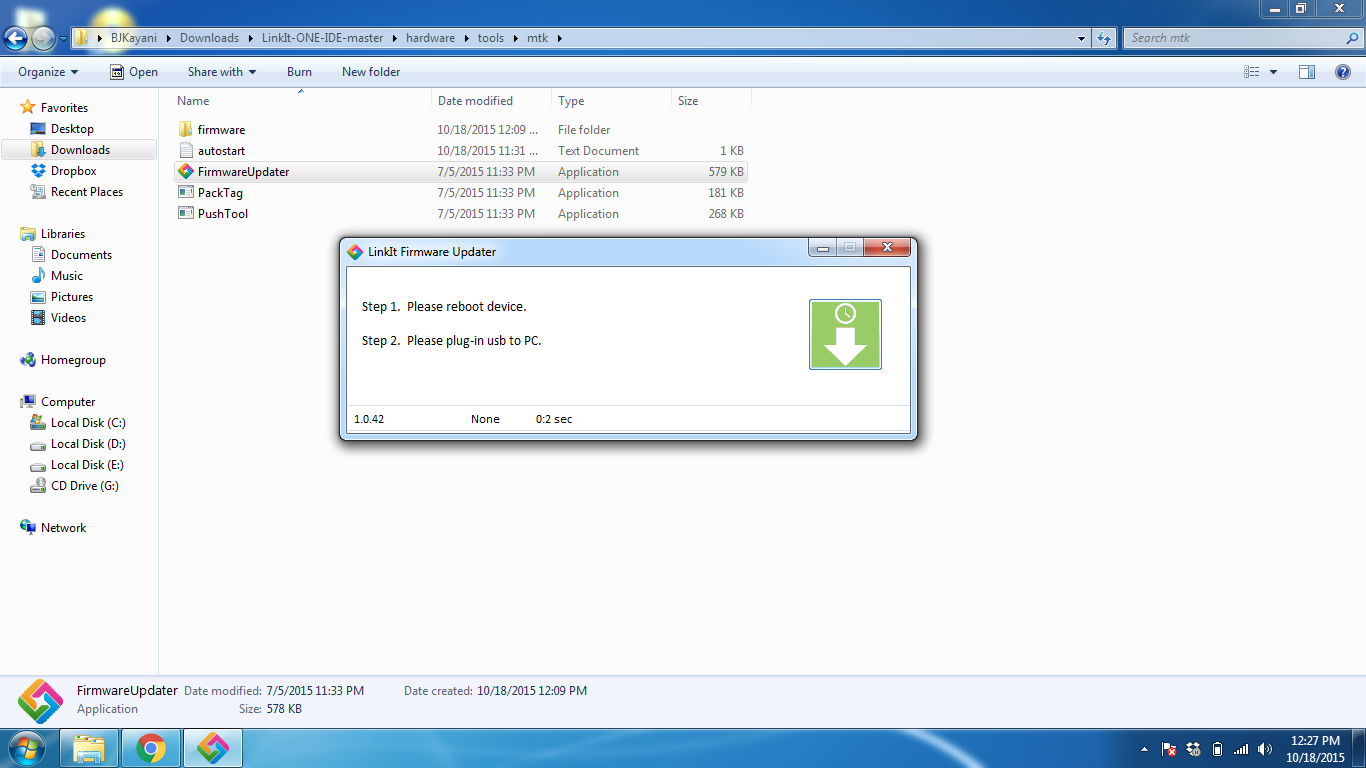
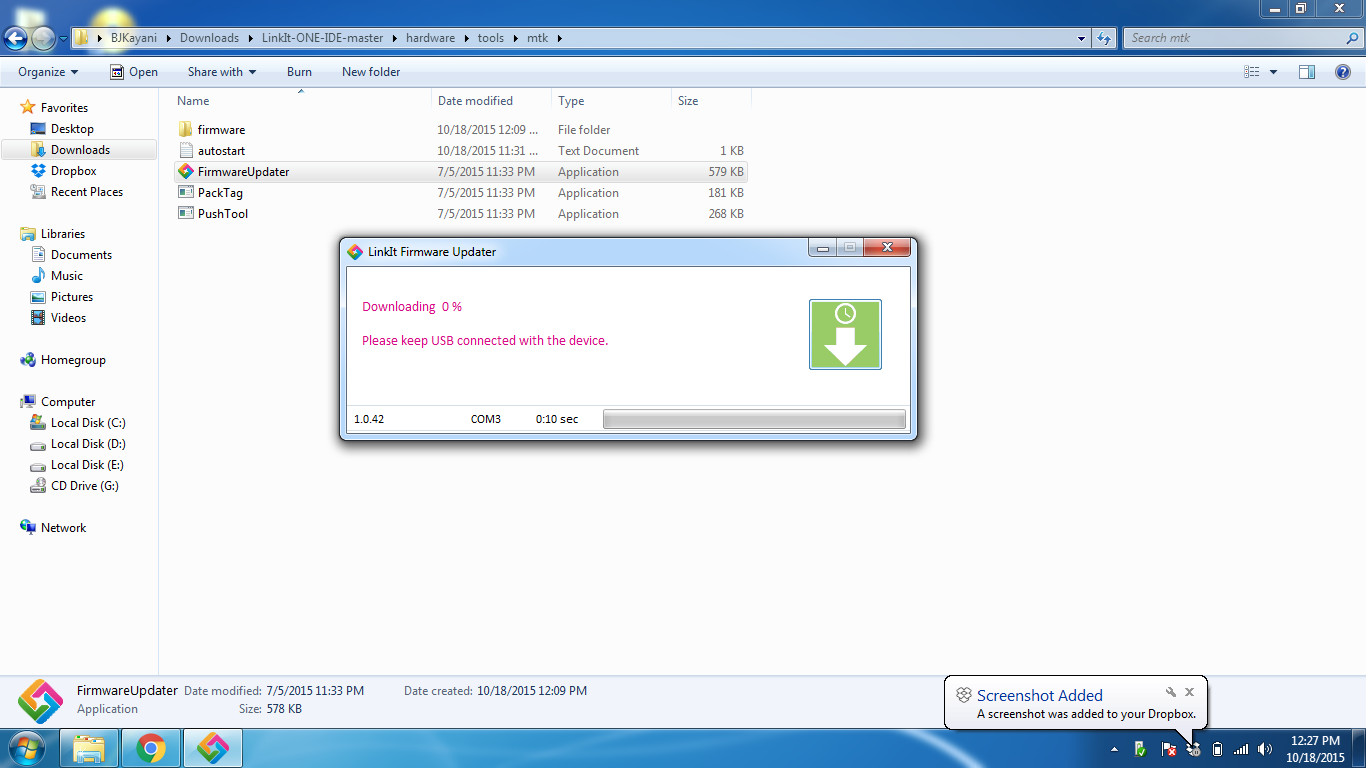
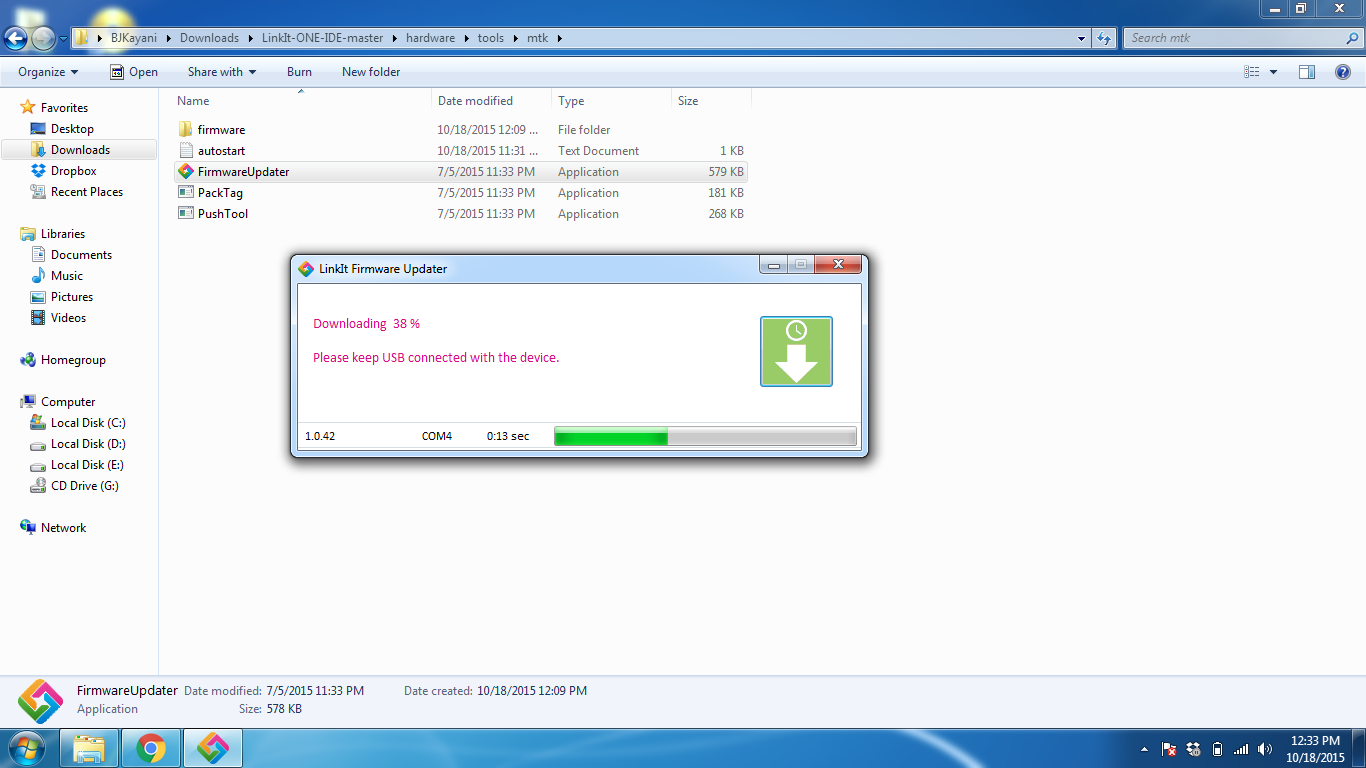
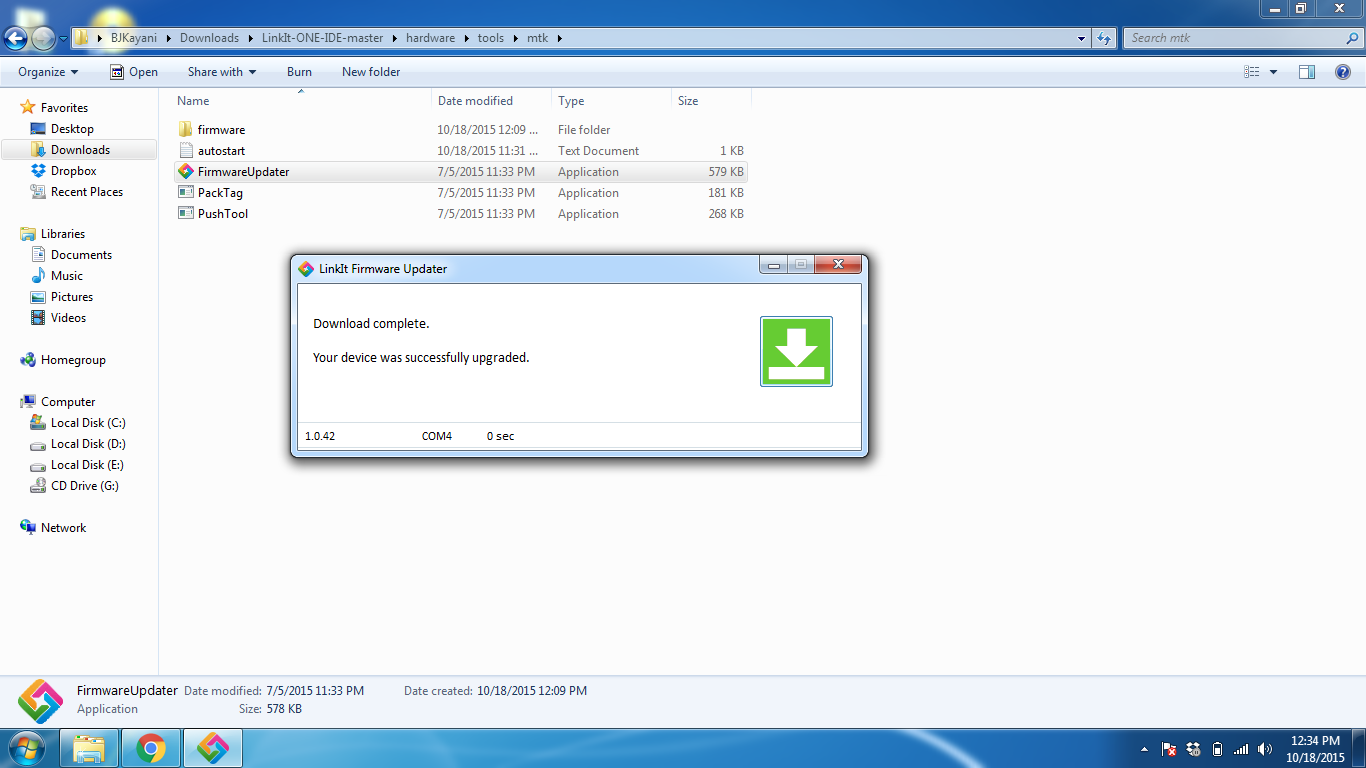
So this is an optional step but I recommend you do this. First make sure that your Linkit One Board has the correct Switch Positions. Set it in SPI and Mass Bootup Positions. Then browse to the firmware update setup. It will be inside the software folder.
LinkIt-ONE-IDE-master\hardware\tools\mtk
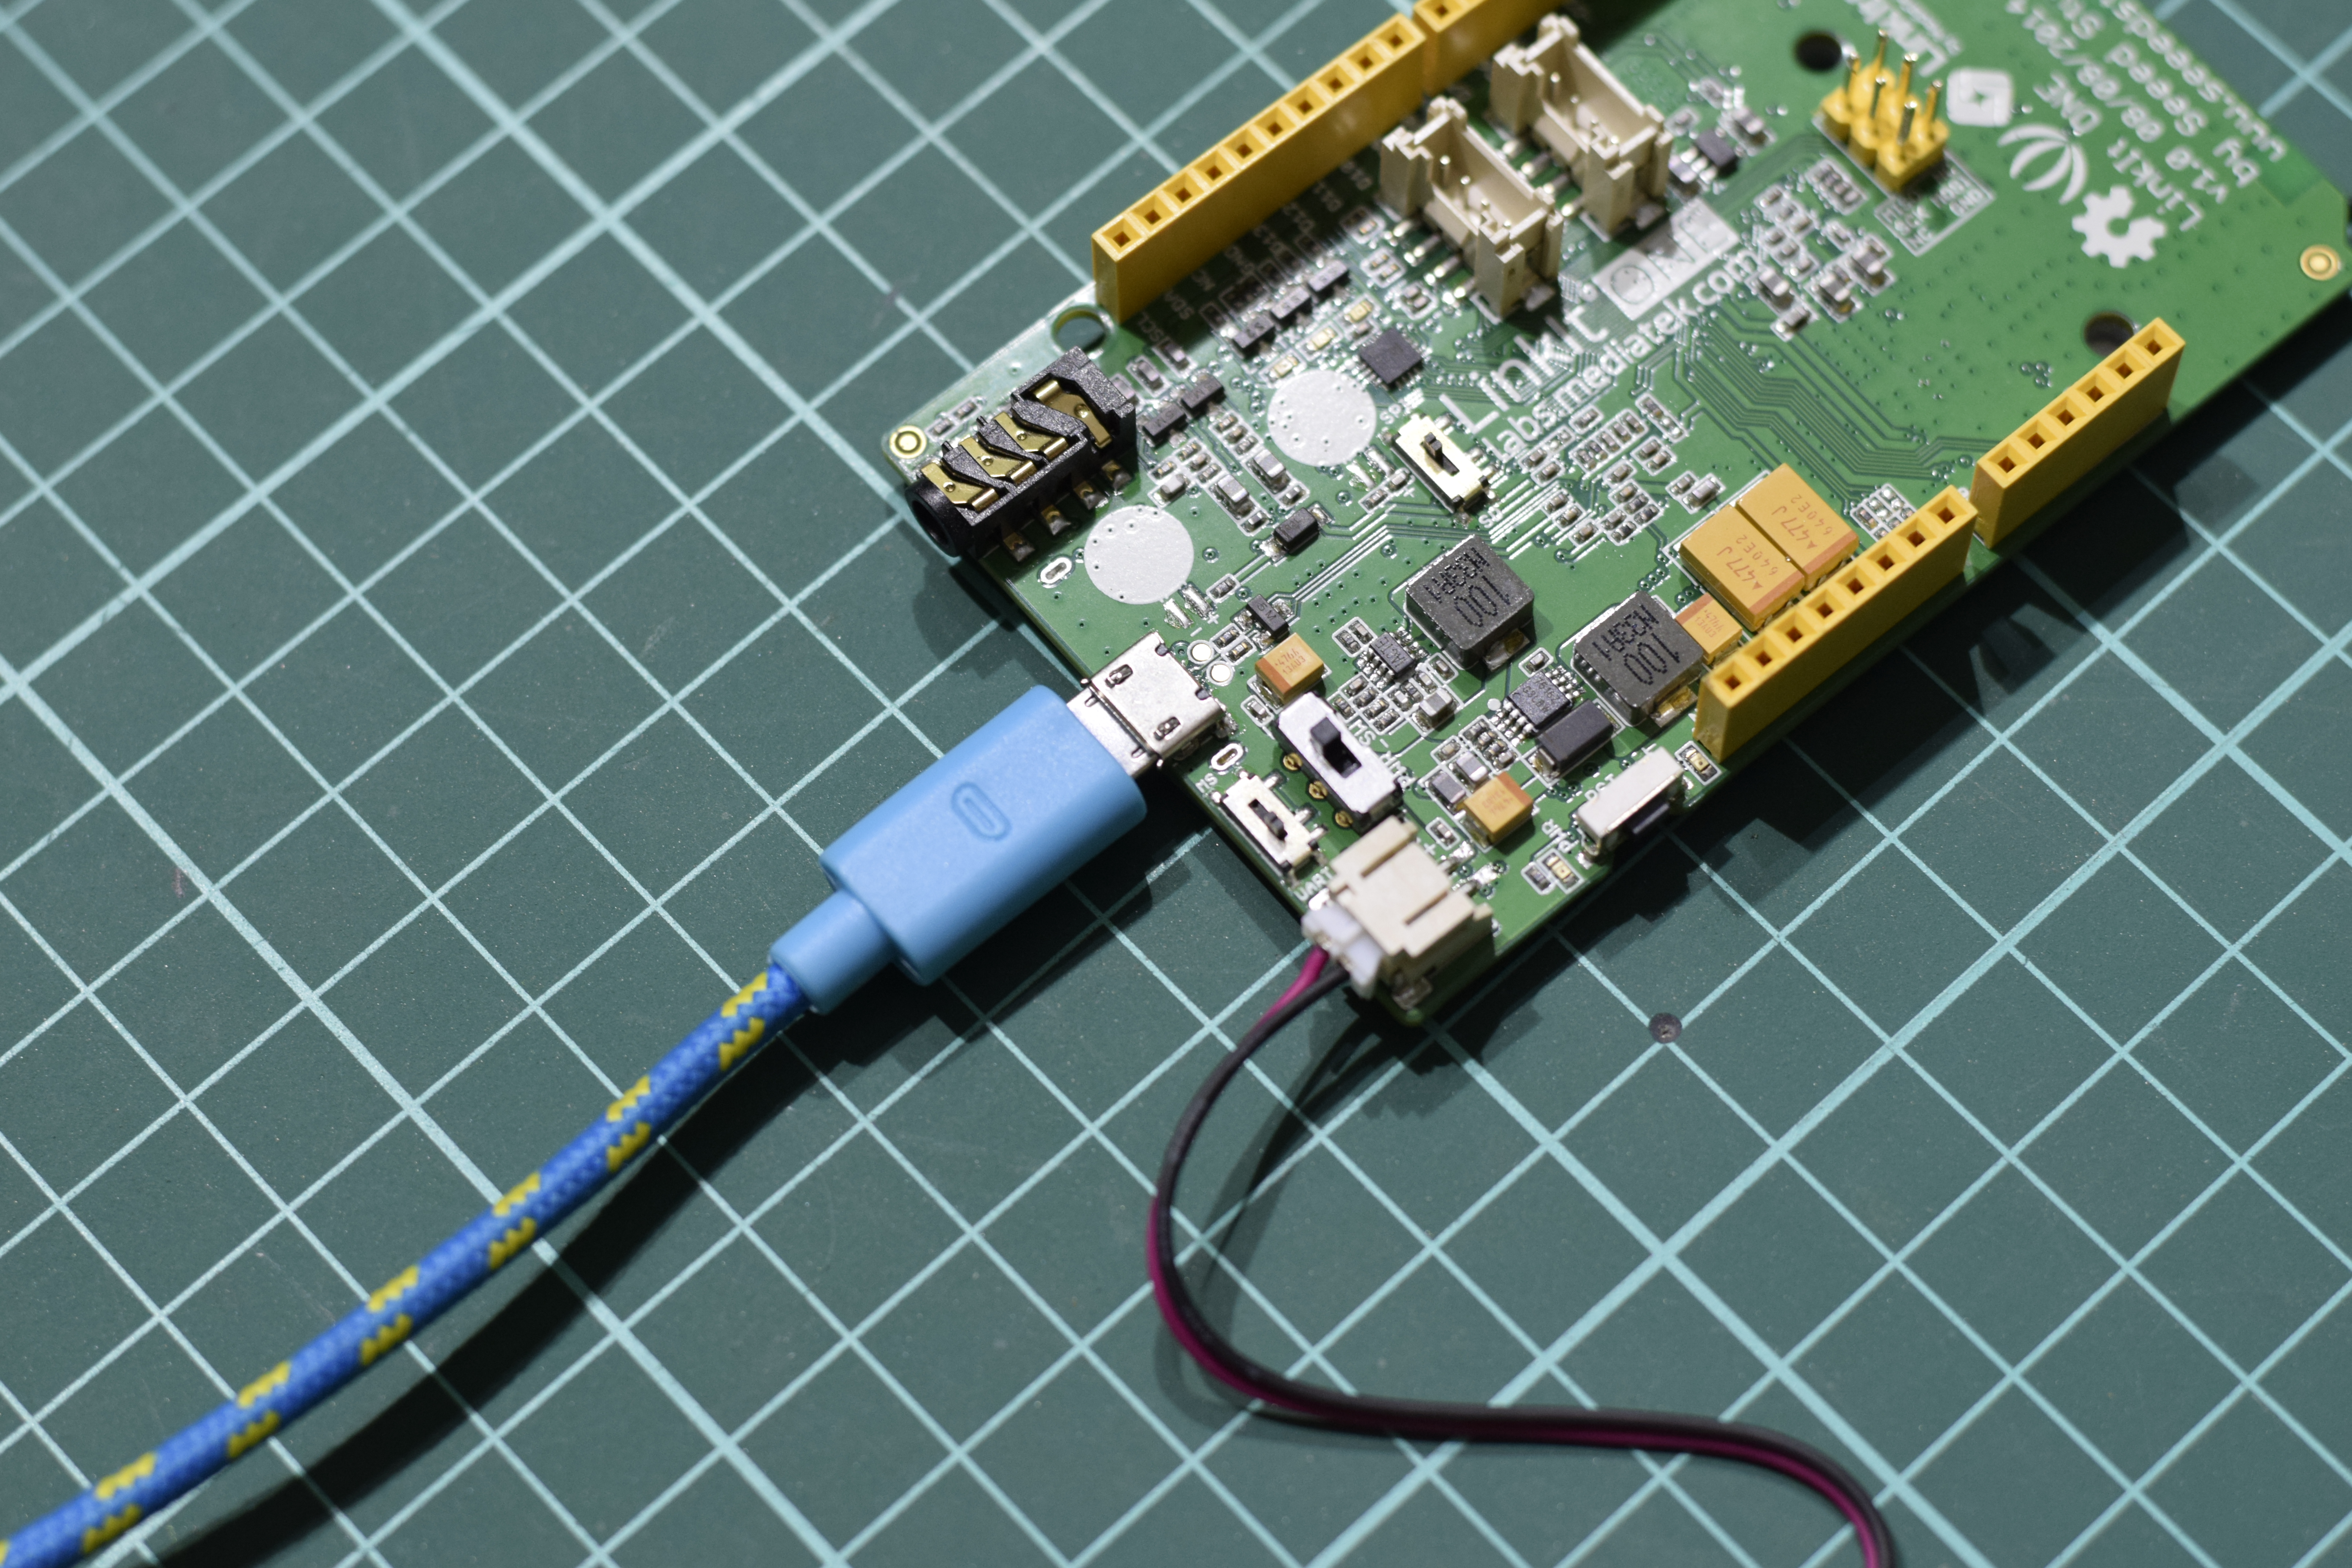
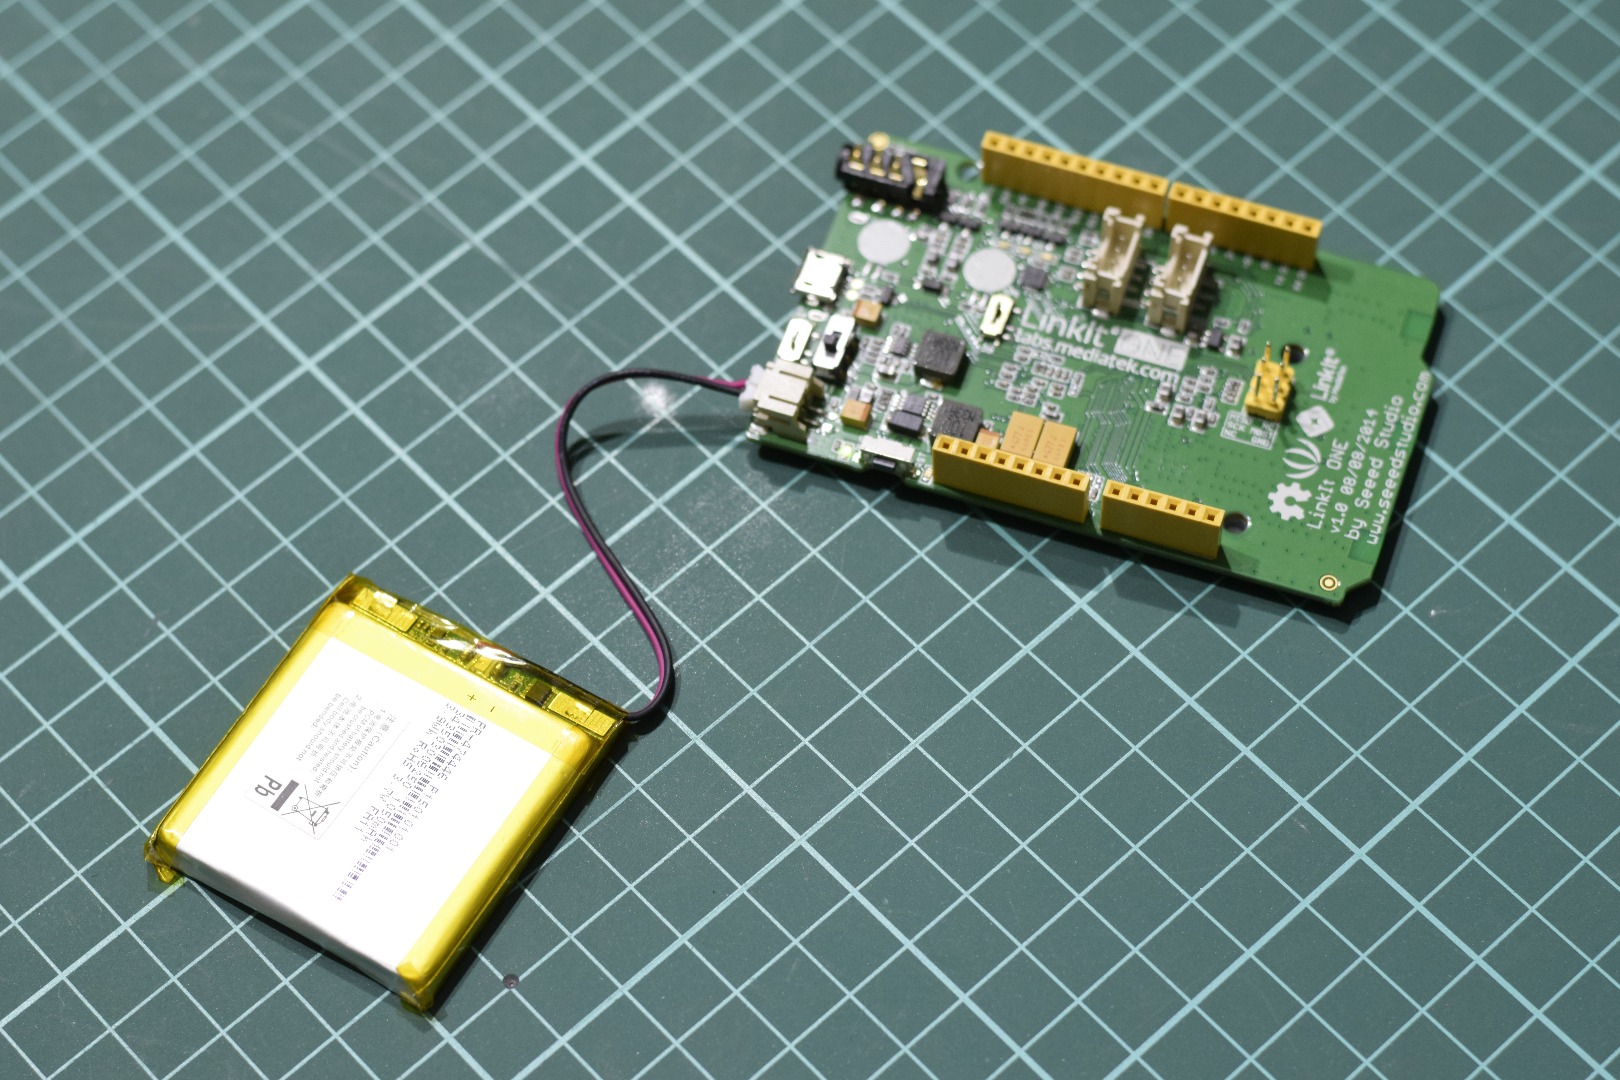
Make sure the battery is connected and the power switch is in the Batt position. Launch the update software and click on the start icon. At this point you Linkit One will be disconnected from USB but powered on using battery. When it prompts you, click the reset button and connect to the PC using USB cable. It will automatically detect and update the firmware. You have to this quickly before the session timeouts.
If you fail, do it again as it may take a couple of tries to get it just right.
First Program: Blinky
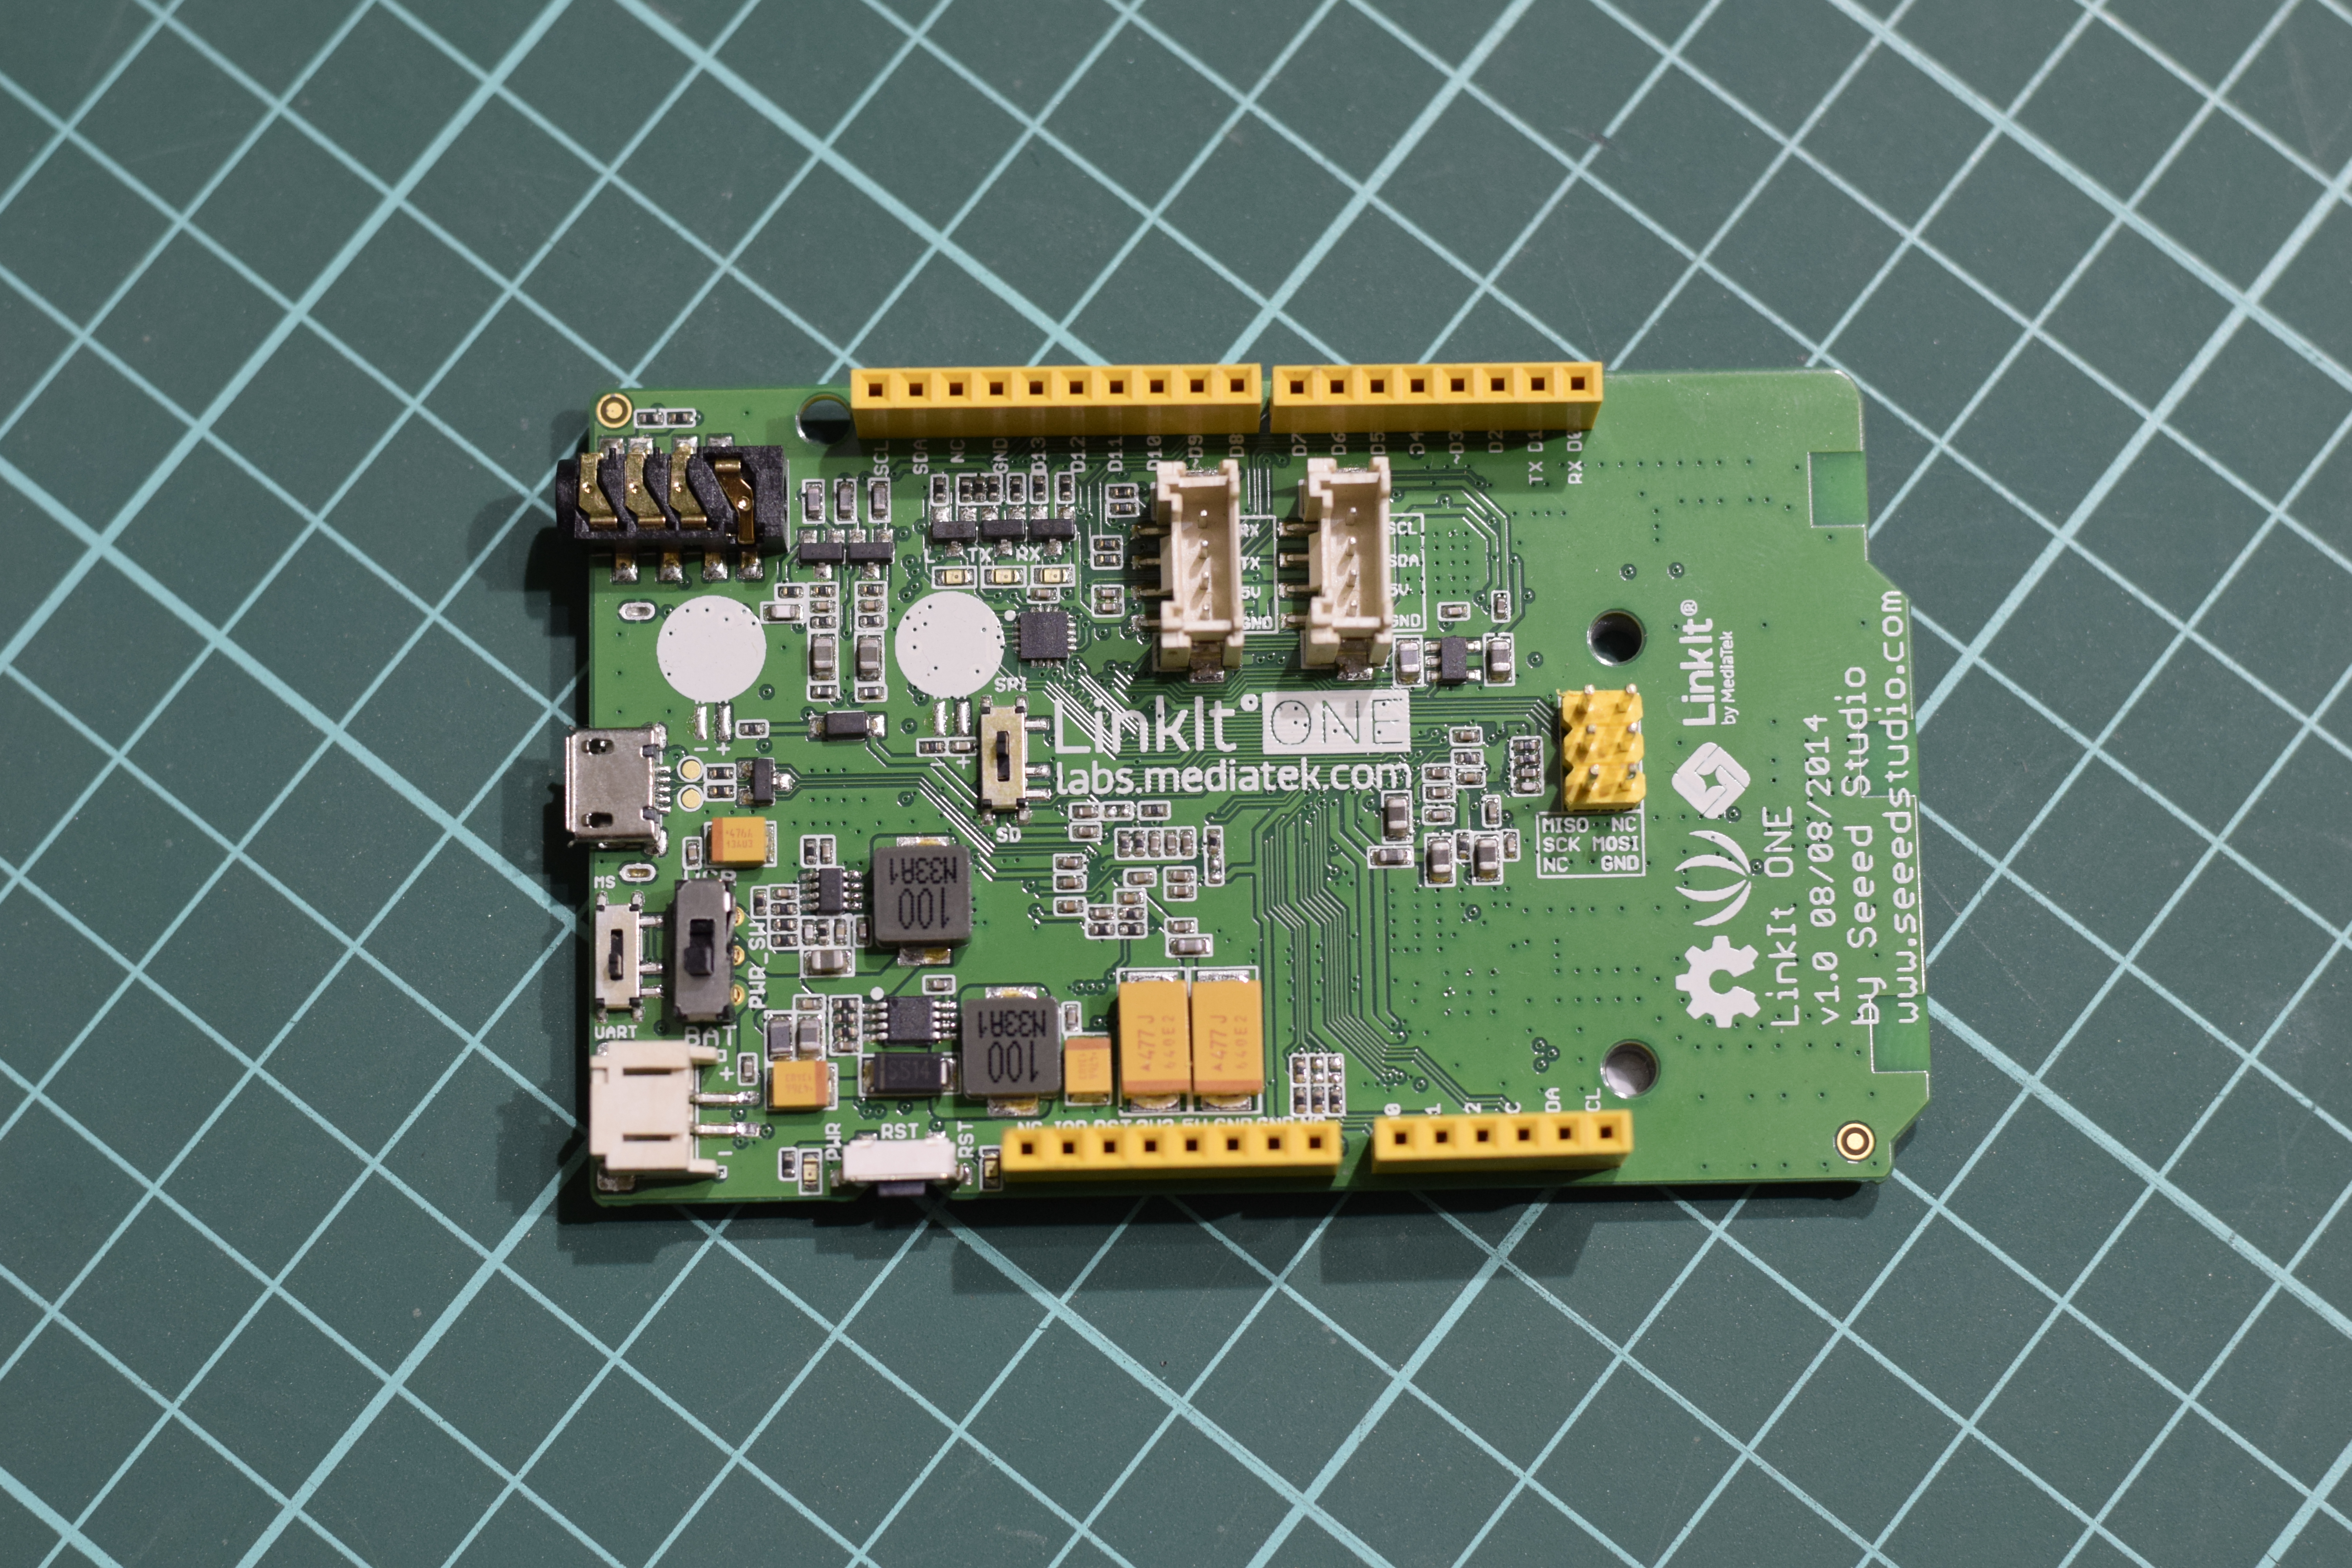
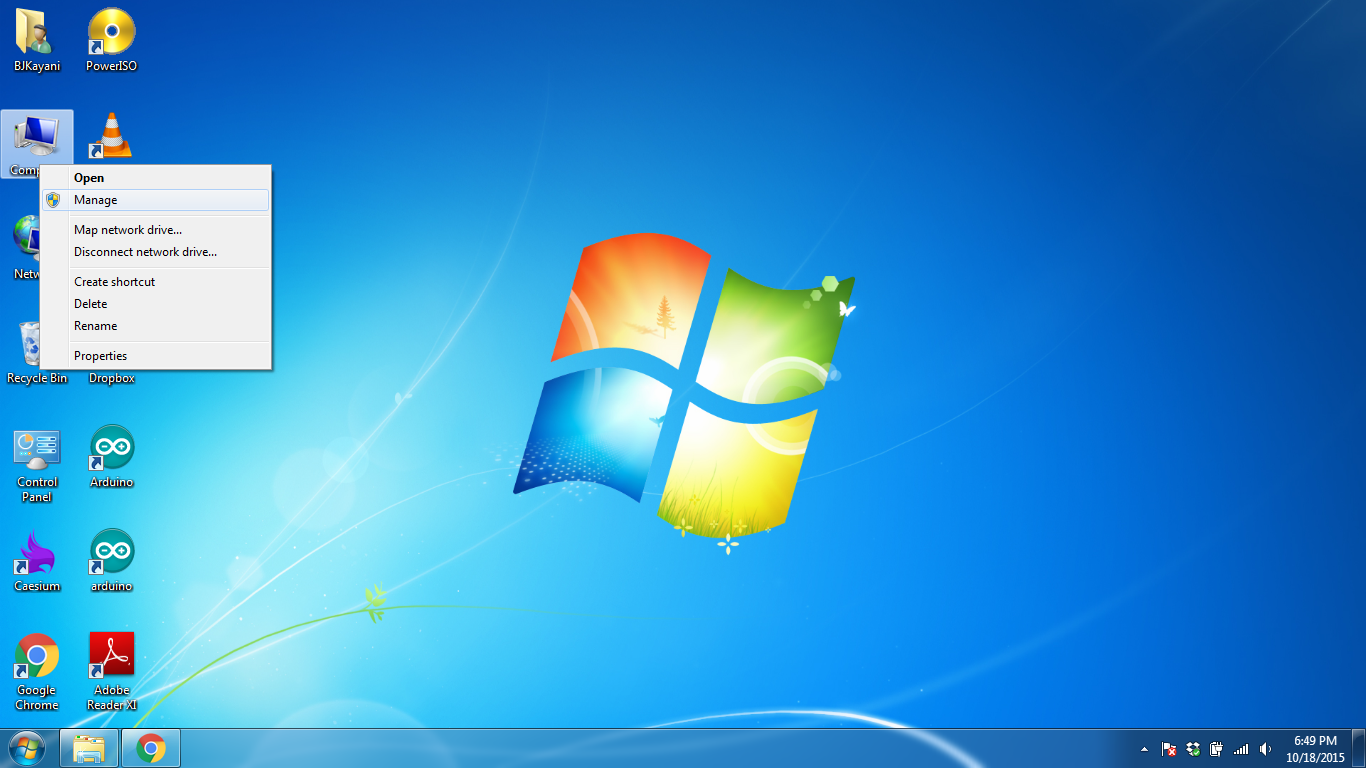
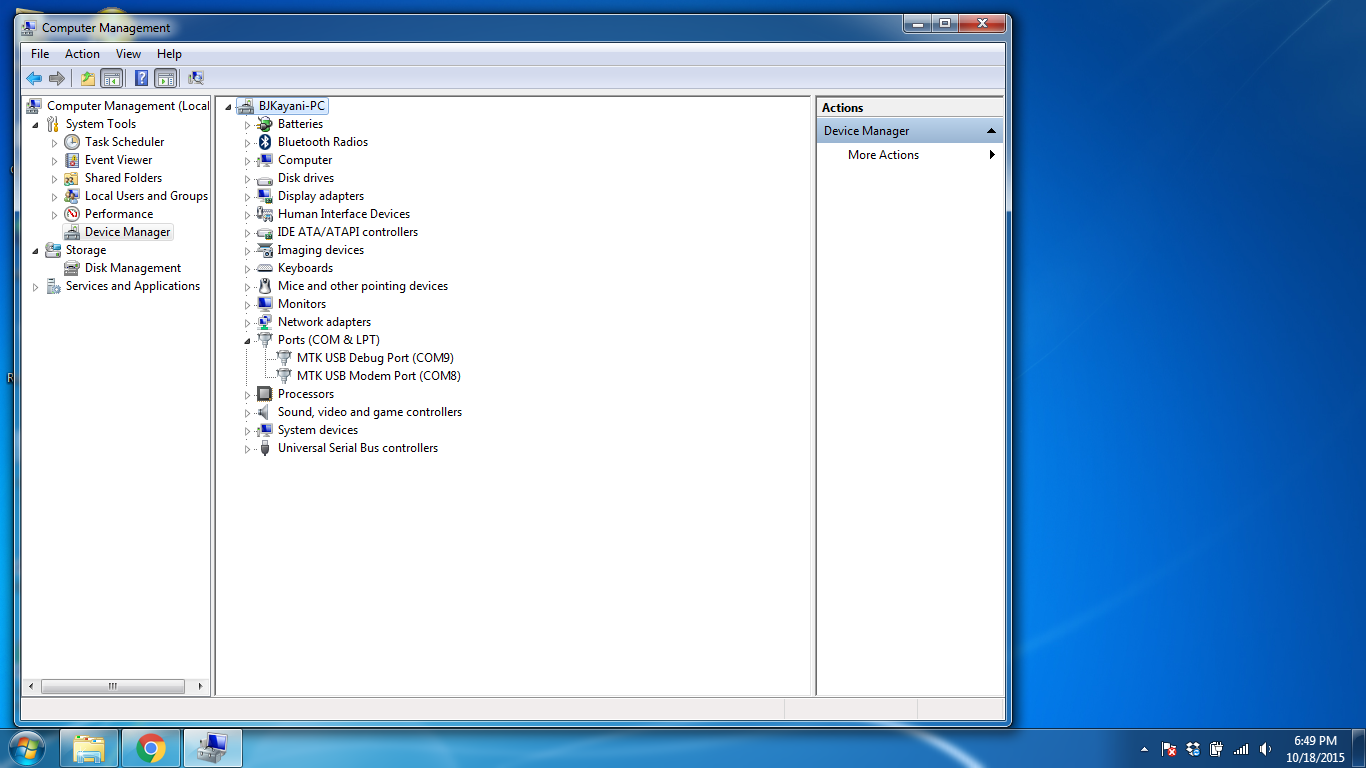
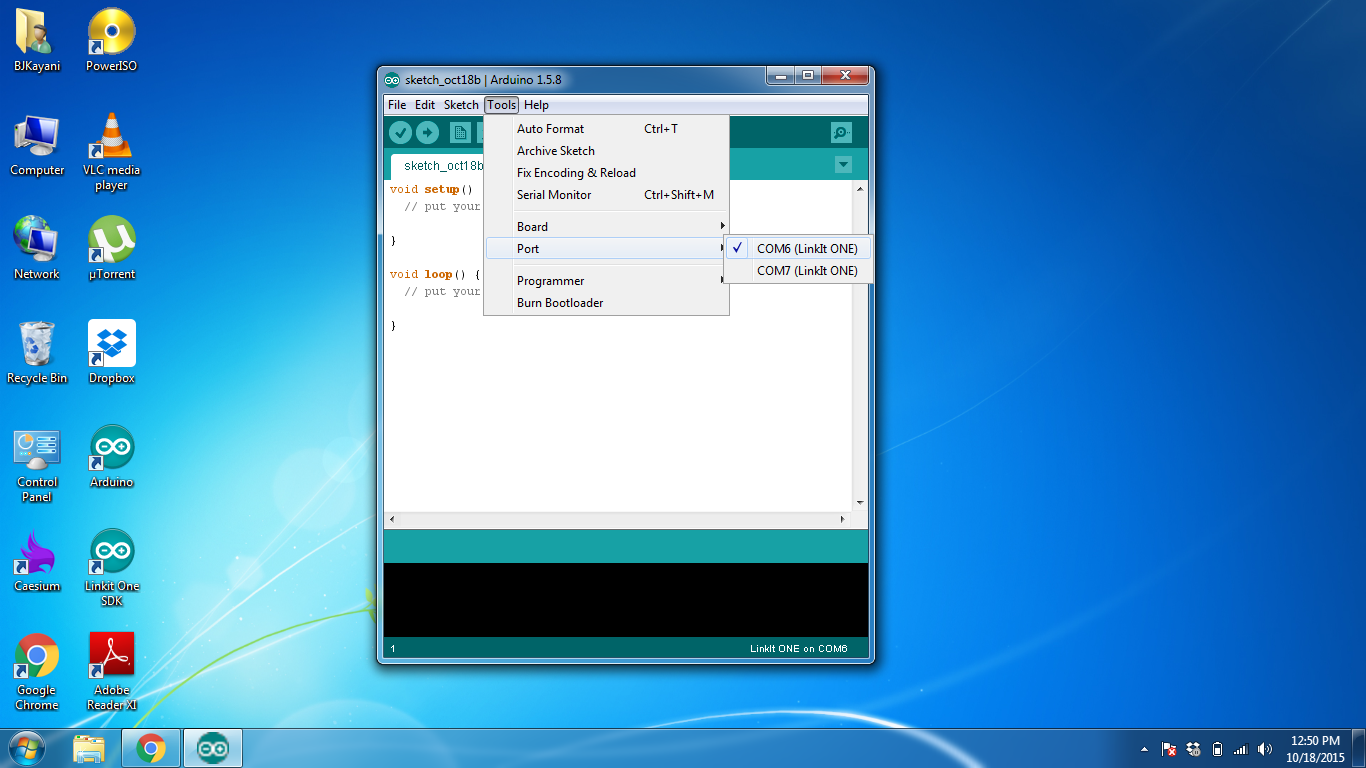
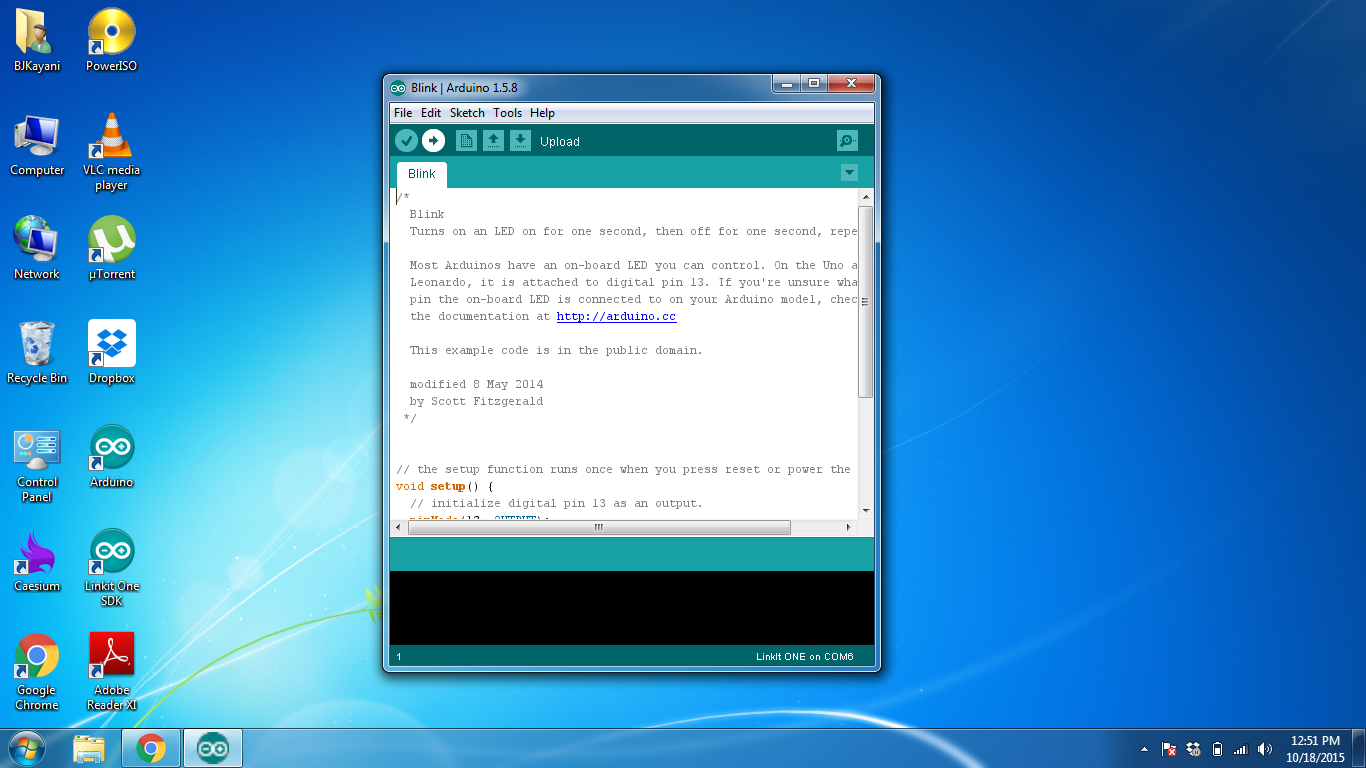
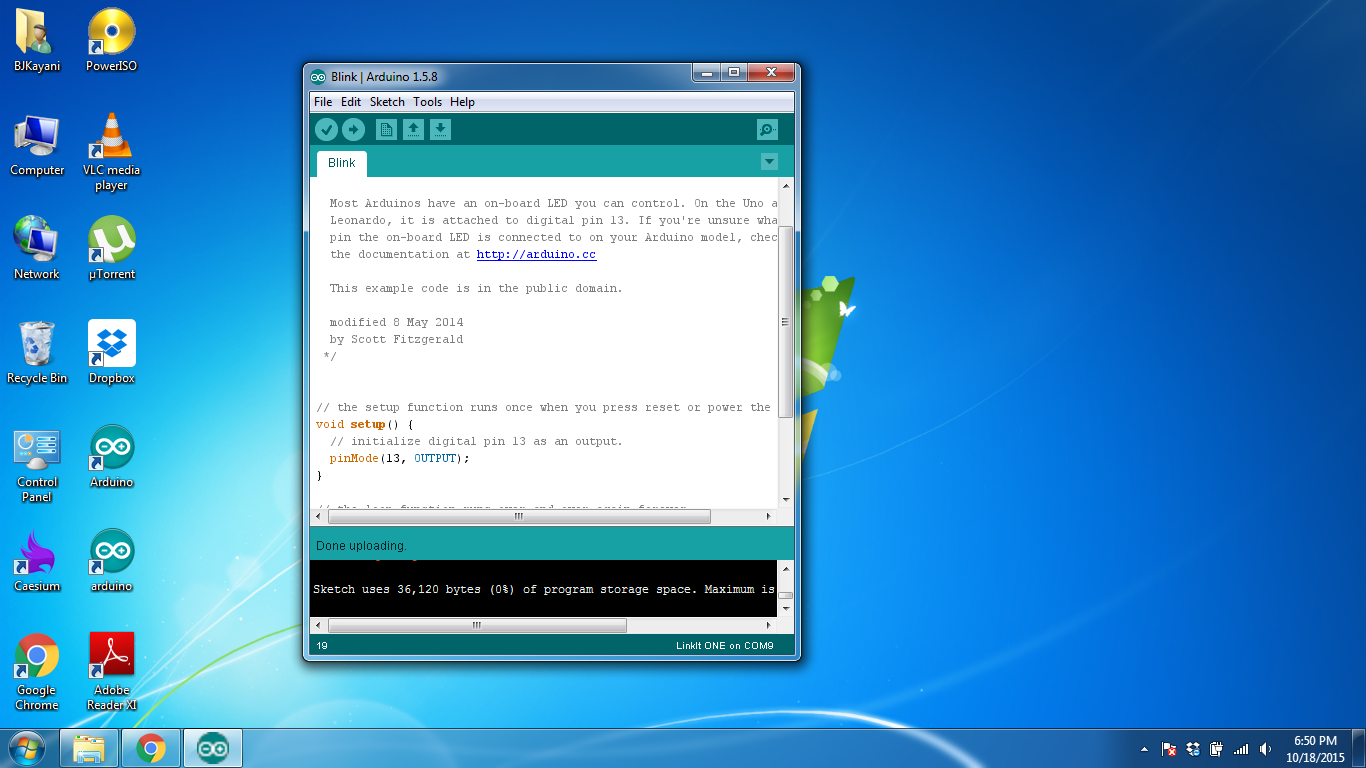
Now that all the installations are done. We can get to the programming. For the first program, we dont need to connect any antenna as the first is always the blinky which will blink the LED labelled "L" on the board.
- The switches should be in SPI and UART Mode.
- Open the IDE Shortcut you created.
- Connect the Linkit One Board to your PC.
- Go to Device Manager and check the port number of the Modem Port and select that on Arduino IDE.
- Open the blink example and upload.
- It will take longer than usual to upload so be patient.
Second Program: GSM Test
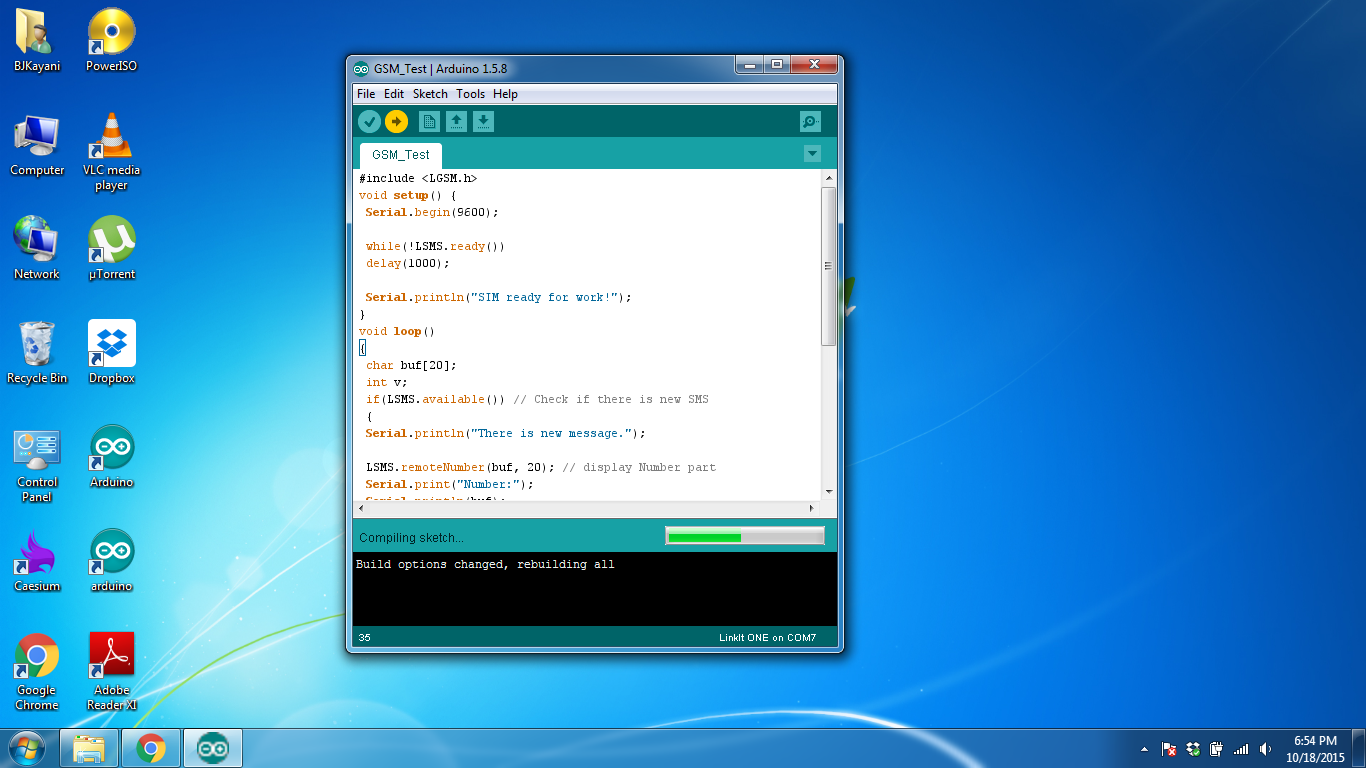
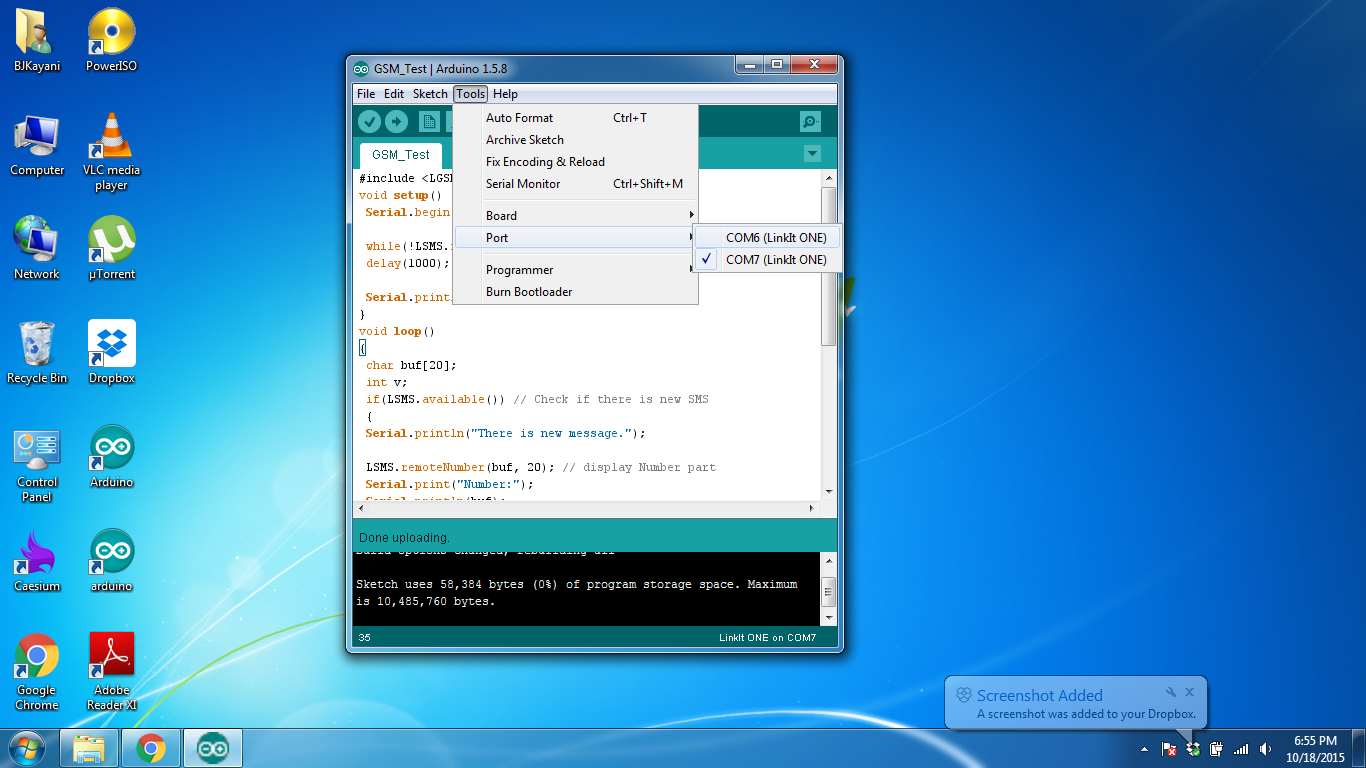
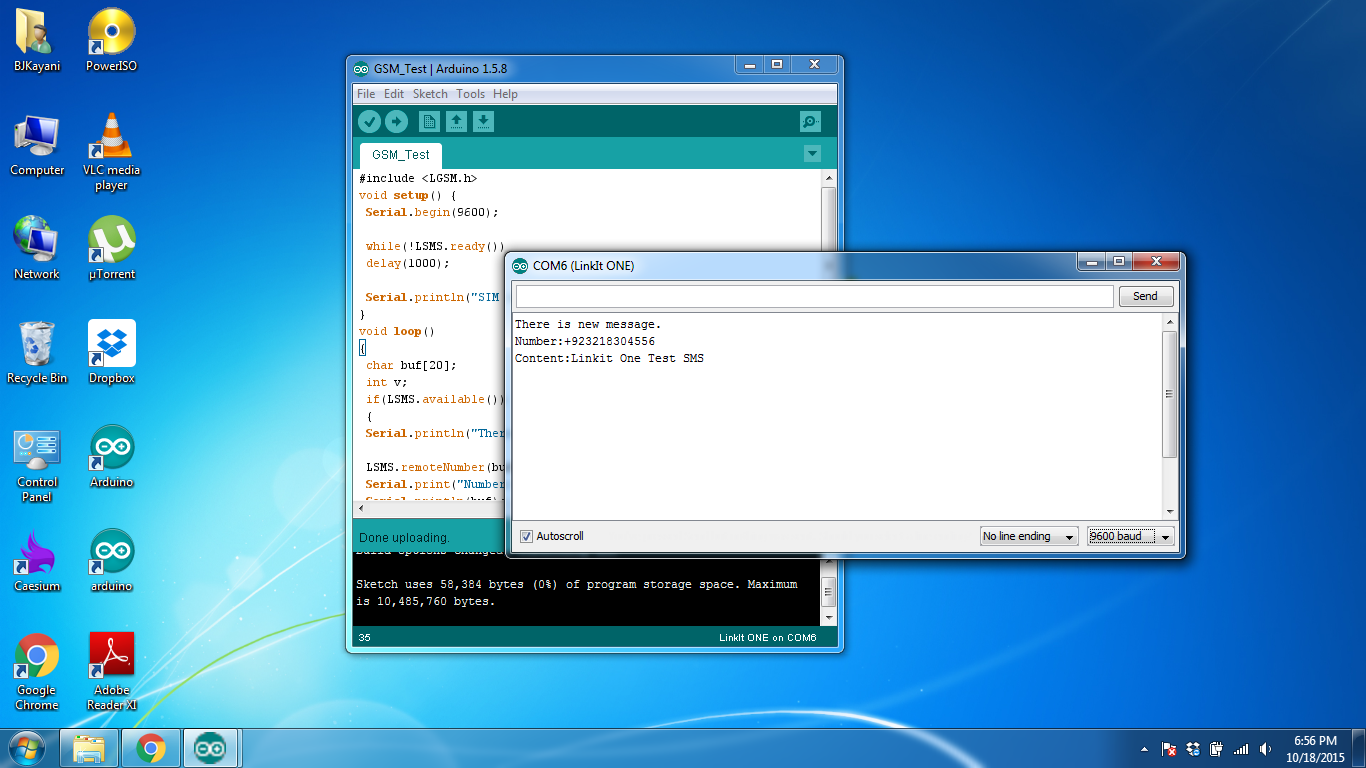
For this use the supplied code below. Insert a SIM card and connect the battery. Connect to PC and upload the code. Then change the COM port and open serial monitor. Send an SMS to the inserted SIM and see it appear on the monitor.
Now there are many things that can be further explored such as sending a text or making a voice call but I wont go into that detail because this is just the beginner guide. Refer to the Guide on Step 1 for further details.
Downloads
Third Program: Wifi Test
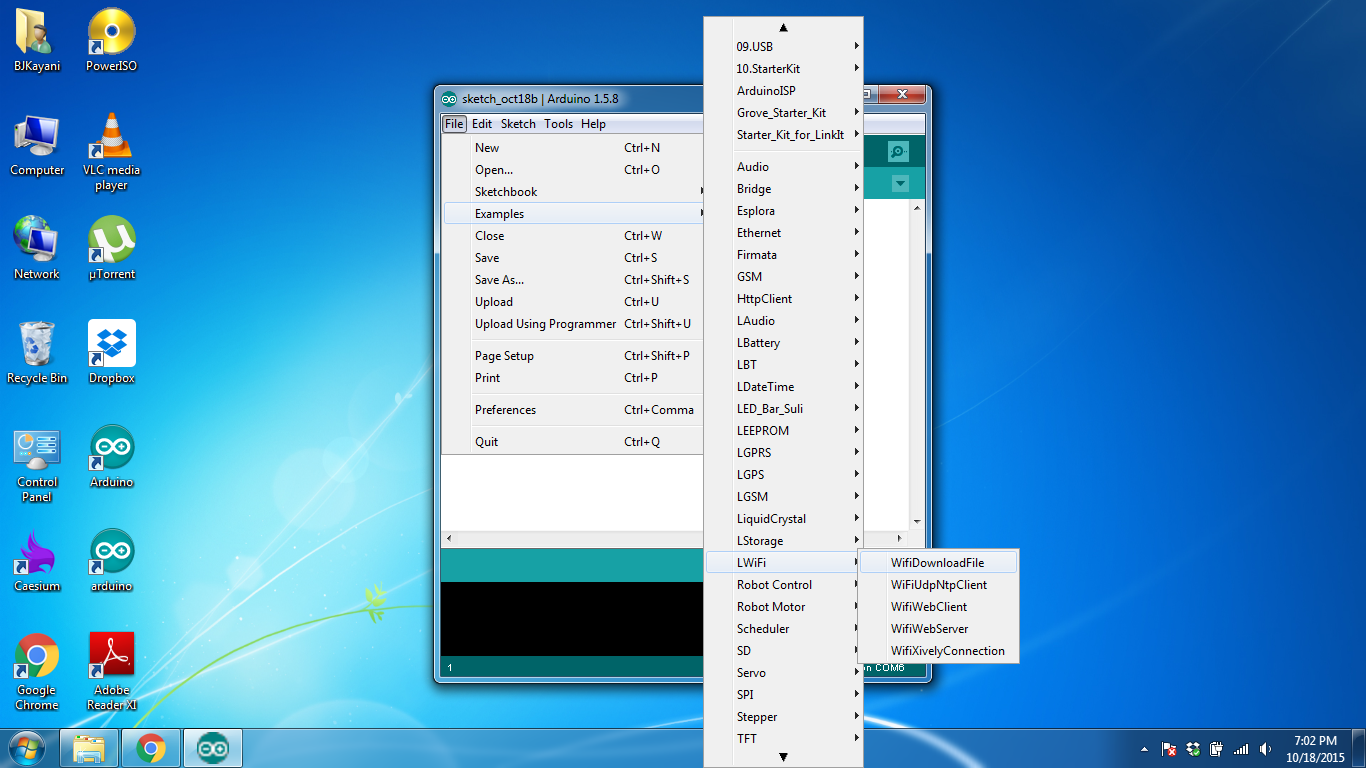
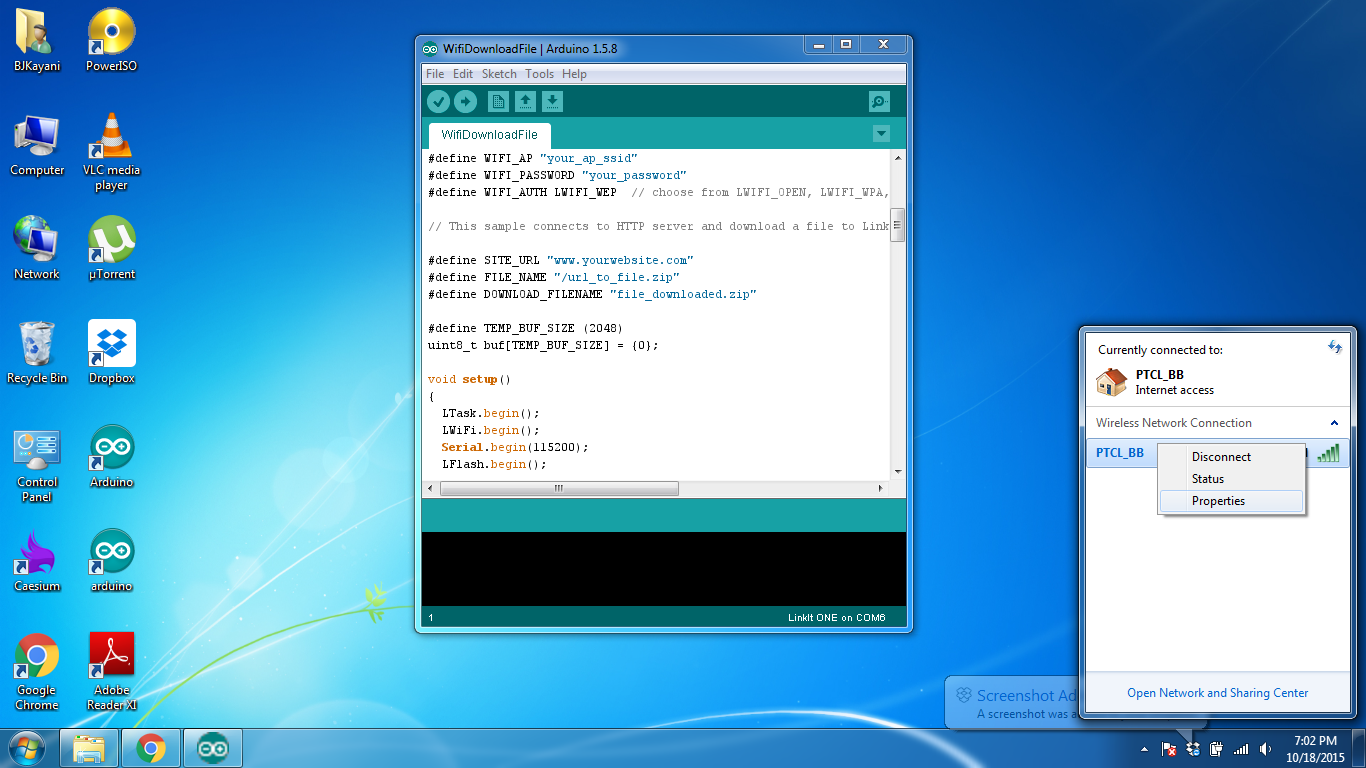
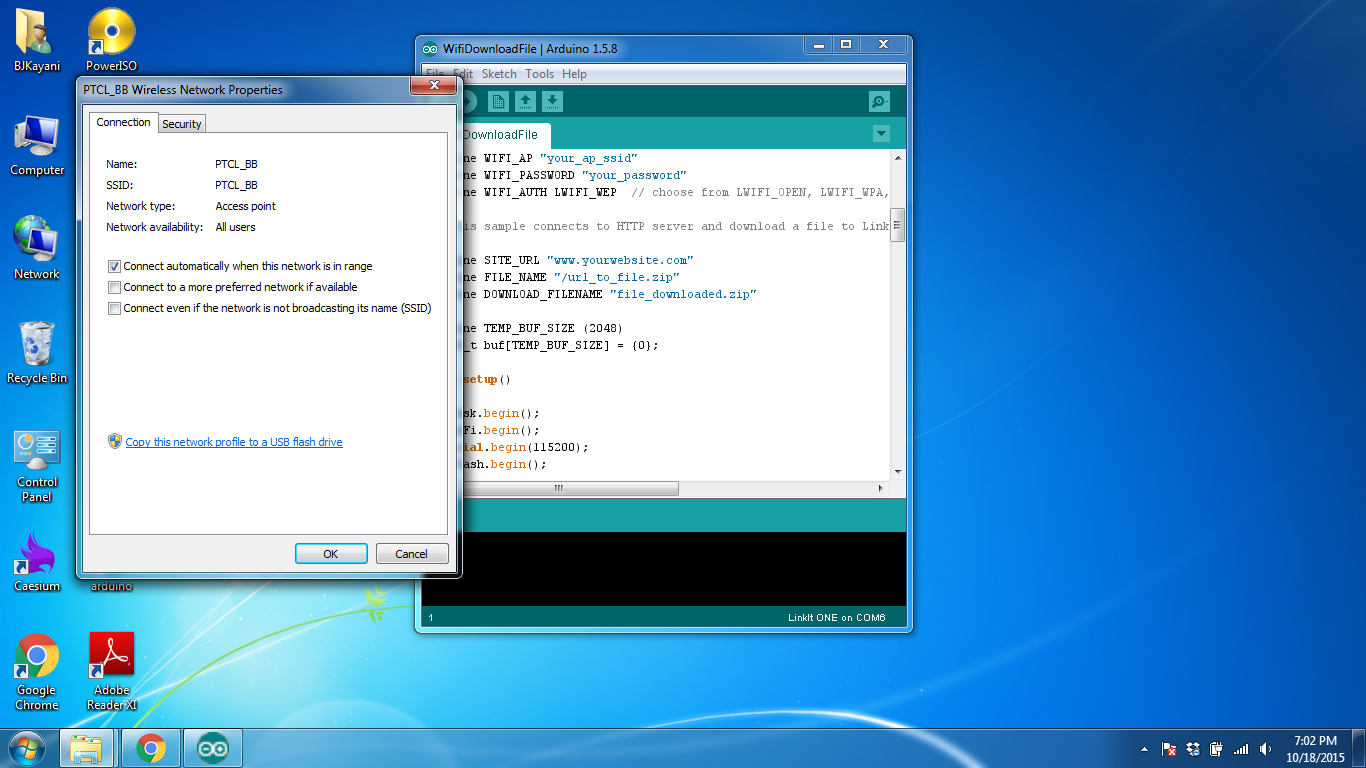
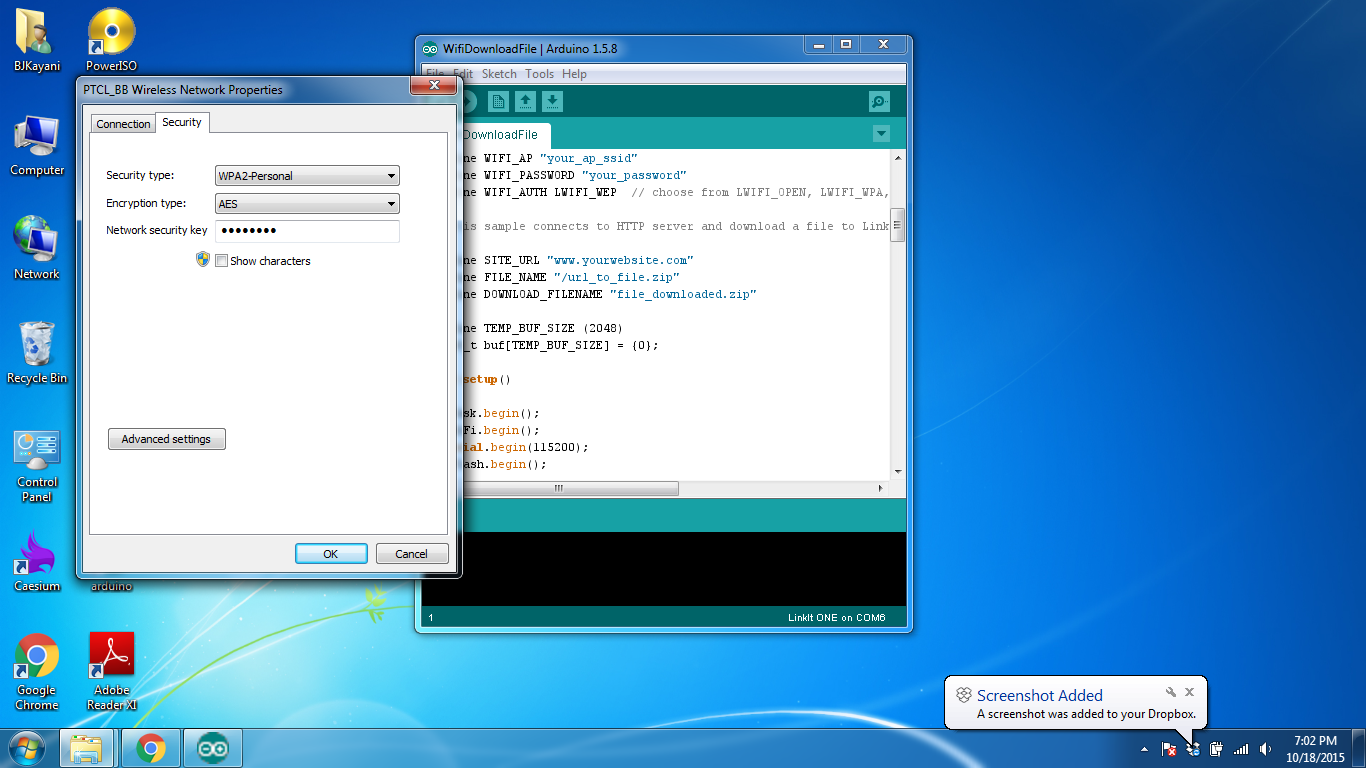
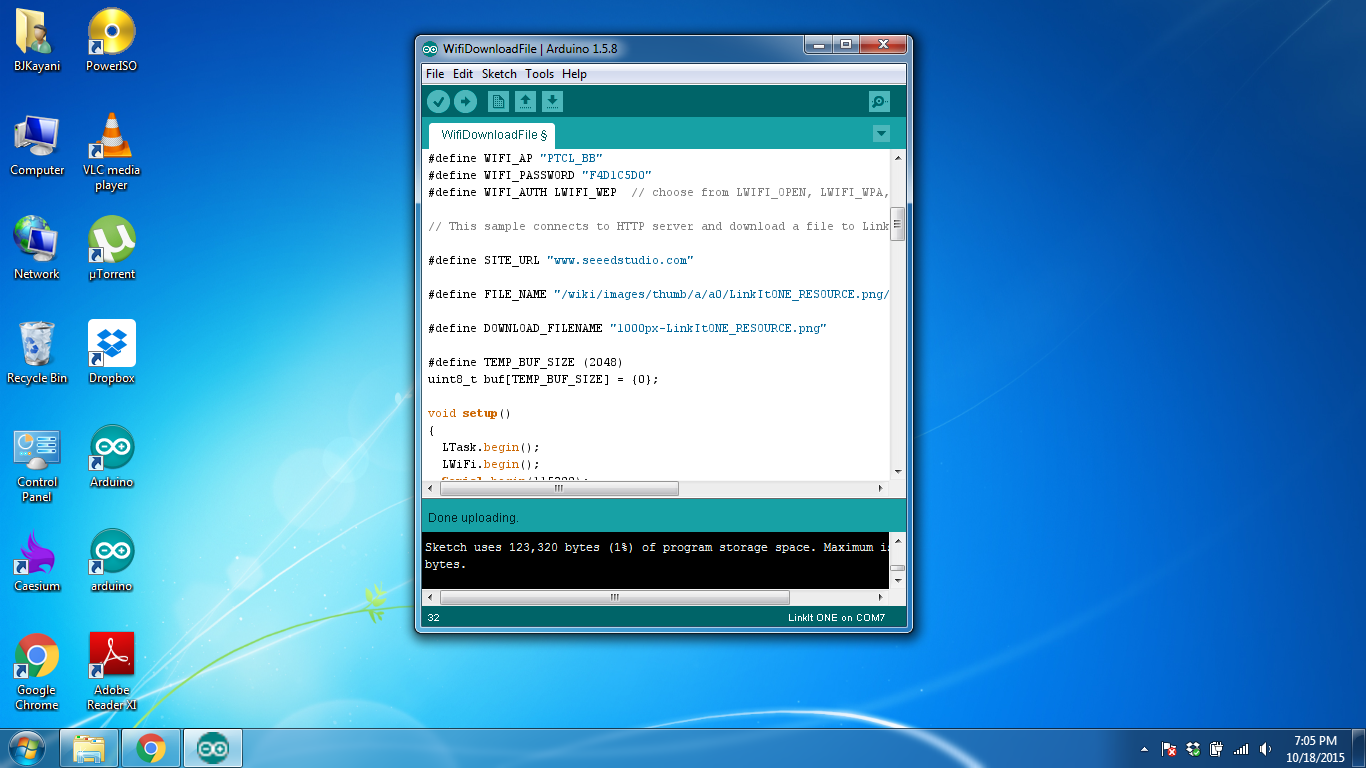
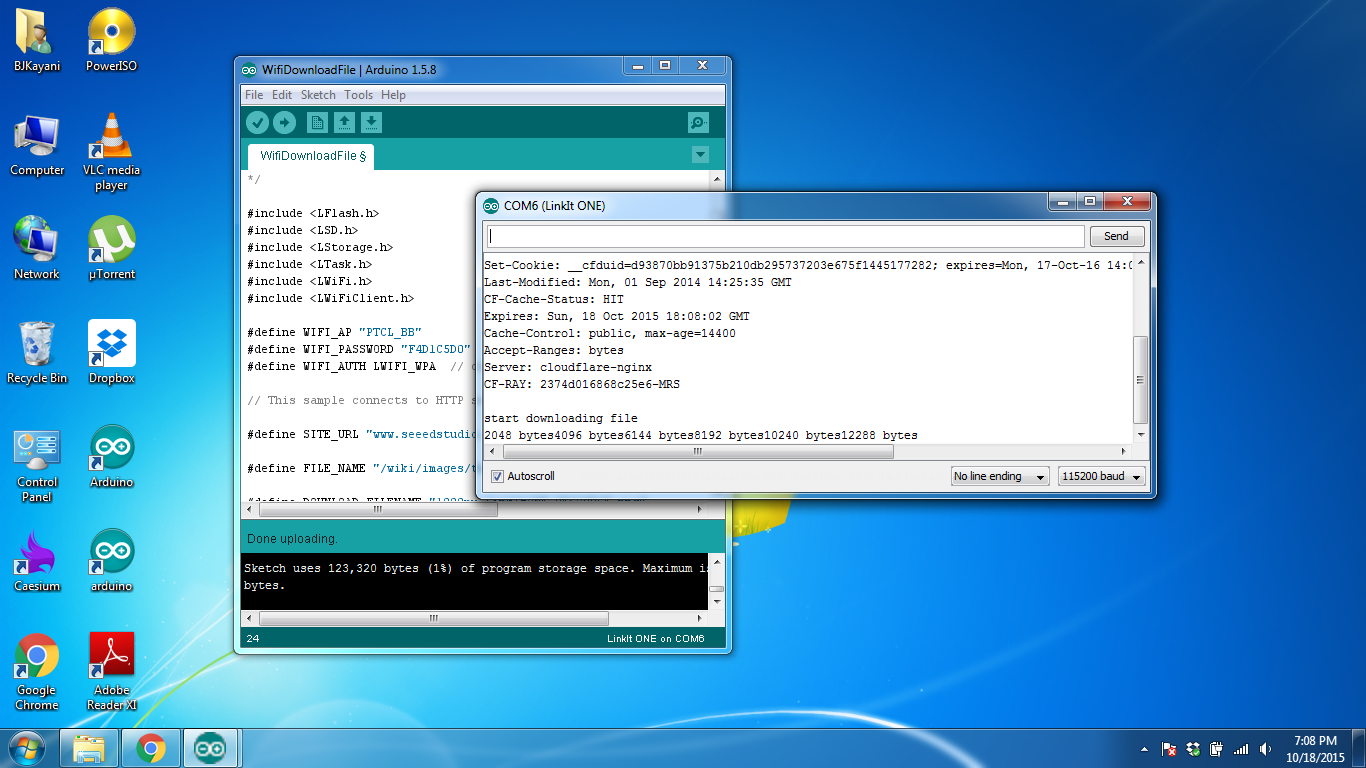
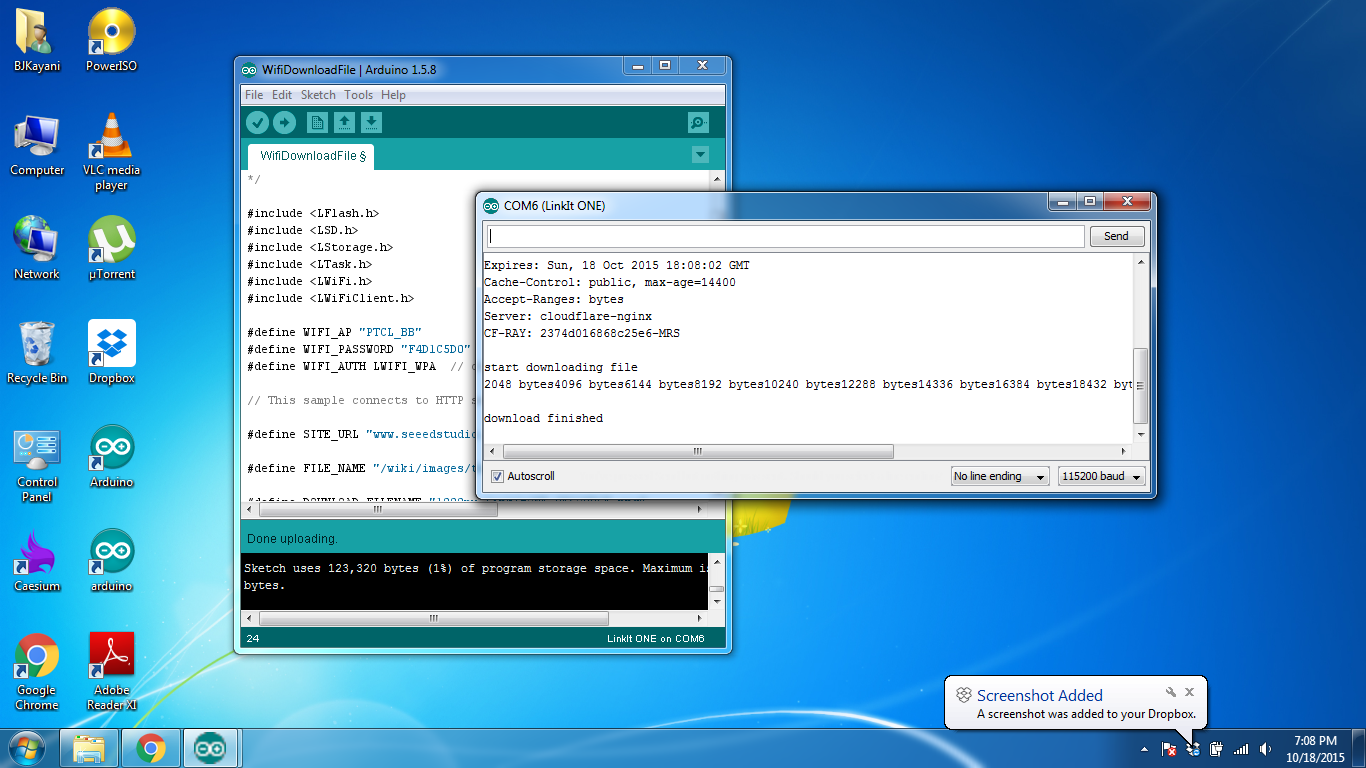
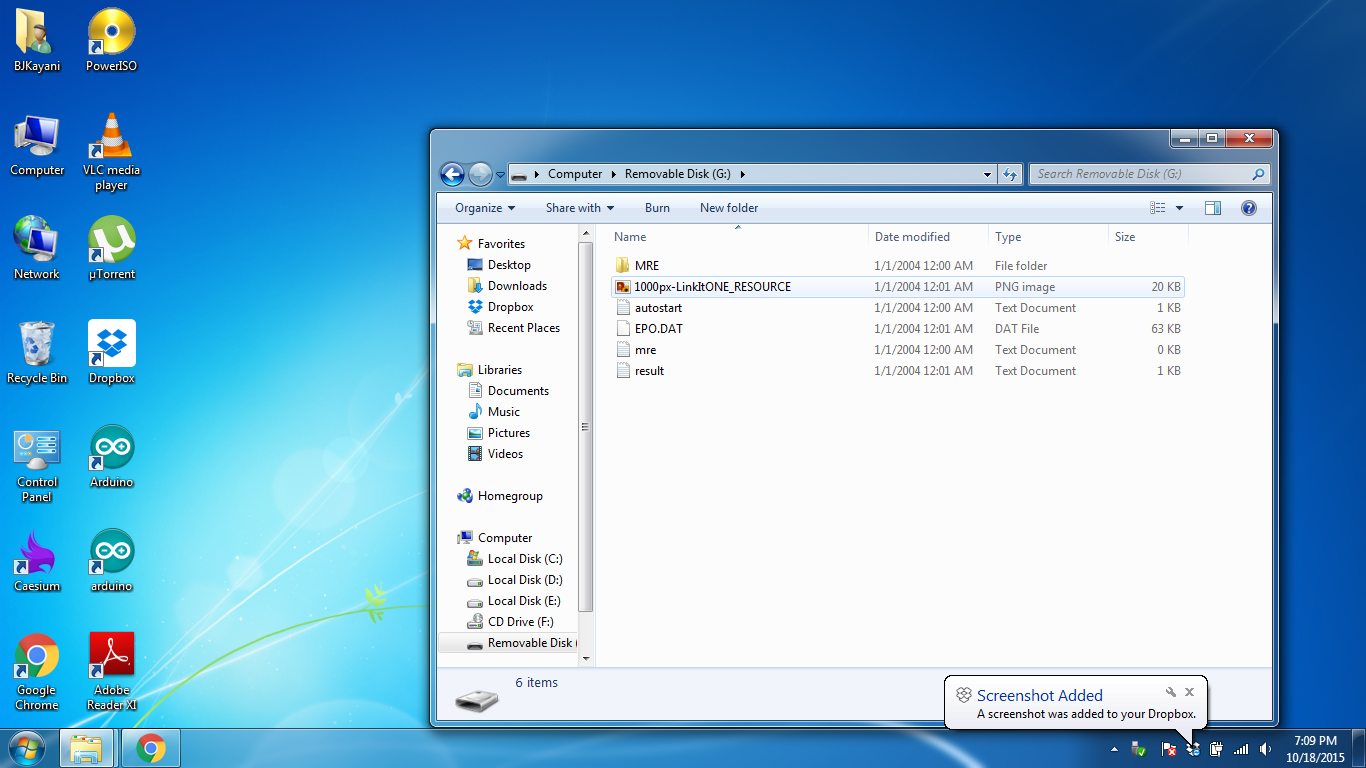
For this open the Wifi Download example in the IDE. Enter your network name and password. Also the security type. You can find this out by opening the network settings. Then enter the download link as shown below
#define SITE_URL "www.seeedstudio.com"
#define FILE_NAME "/wiki/images/thumb/a/a0/LinkItONE_RESOURCE.png/1000px-LinkItONE_RESOURCE.png"
#define DOWNLOAD_FILENAME "1000px-LinkItONE_RESOURCE.png"
Upload the code. It may give some error below but it wont affect the upload process. Change the COM port and open serial monitor.
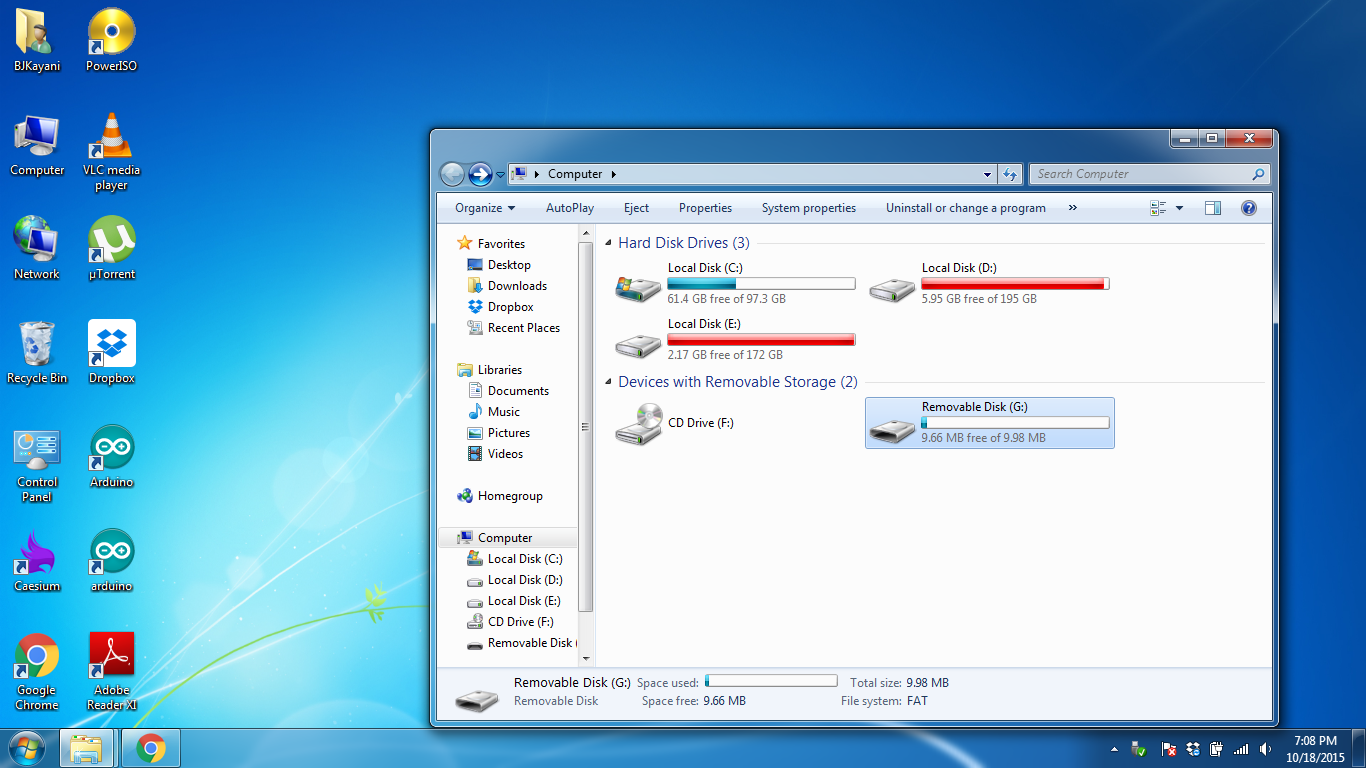
Now you can switch to storage mode on the board as you did when upgrading the firmware. And see the downloaded file there.
Fourth Program: GPS Test
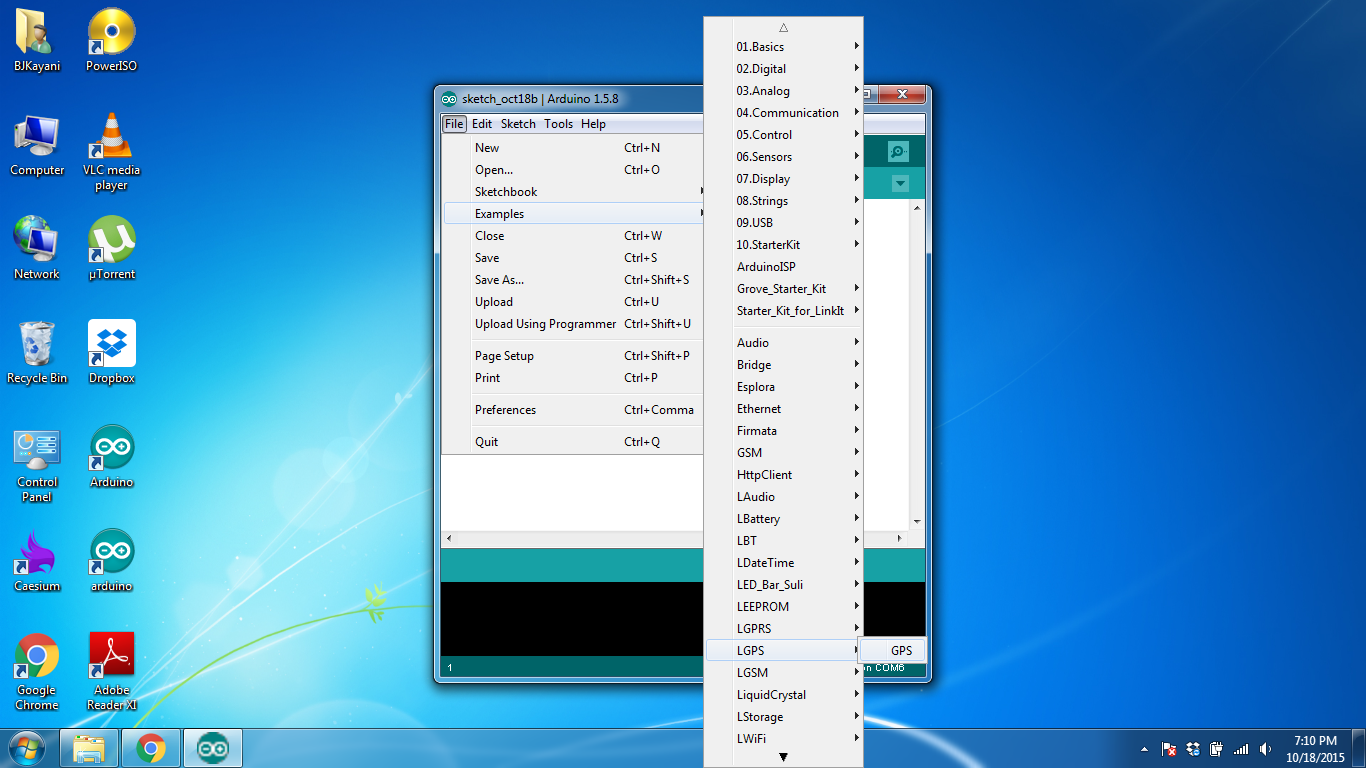
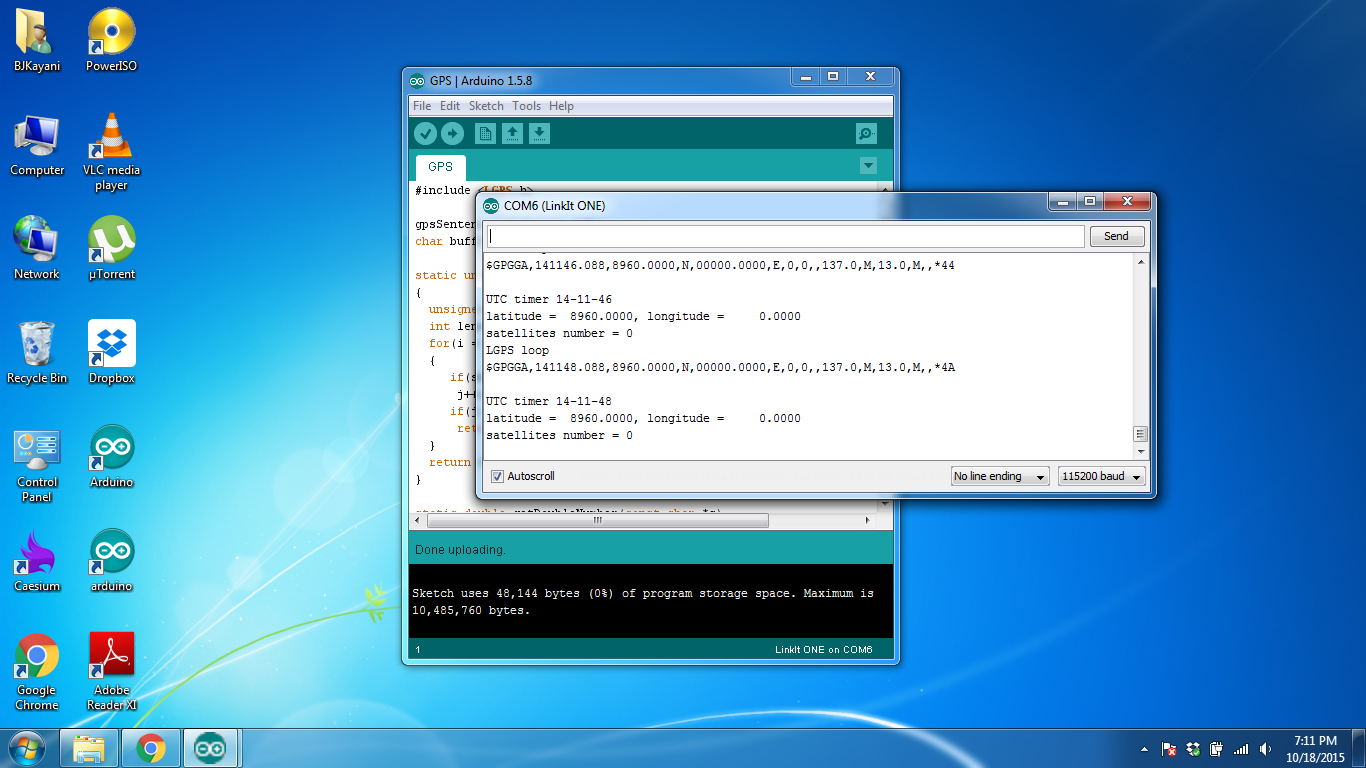
For the GPS, just upload the GPS example from the examples. Upload it and open the serial monitor after changing the COM port. You should get connected to a satellite after few minutes. It wont work indoors. I was indors at the time so couldn't take a screen shot of it connected. But I have tested it and it works.
Concluding Remarks
Thank you for viewing my ible and i hope I have made a good getting started guide and earned the gift card in a honest manner. I promise to continue bringing good projects using the Linkit One board. I will be focusing on complex projects from now on, not the simple servo test or light blink or anything but proper Home Automation Devices and Solar Monitor etc. I appreciate comments. Once again thanks.