Dumbbell Stationary Case


As part of final week's assignment we had to design a pair of objects that press-fit with each other. This was a really fun assignment that led me to deeply think about the various closing and opening terminologies of objects of our daily life.
So, let's get started!!
Supplies:
1. Fusion360
2. Ultimaker Cura
3. Printer Used: Creality Ender Pro 3 + Hatchbox PLA filament
The Ideation Process


So, I decided on this design that would go completely in the other (giving the illusion of a non-openable box). Then I did some calculations around the size of the box (height and diameter) for my crayons to fit. The important part was the joint. The detailed dimension can be seen in the above image. I first tried with a test print. It didn't fit well as can be seen in the image above. It didn't get closed completely. It used to flip open from the opposite end when pressed on one end.
The Correction and Final Design


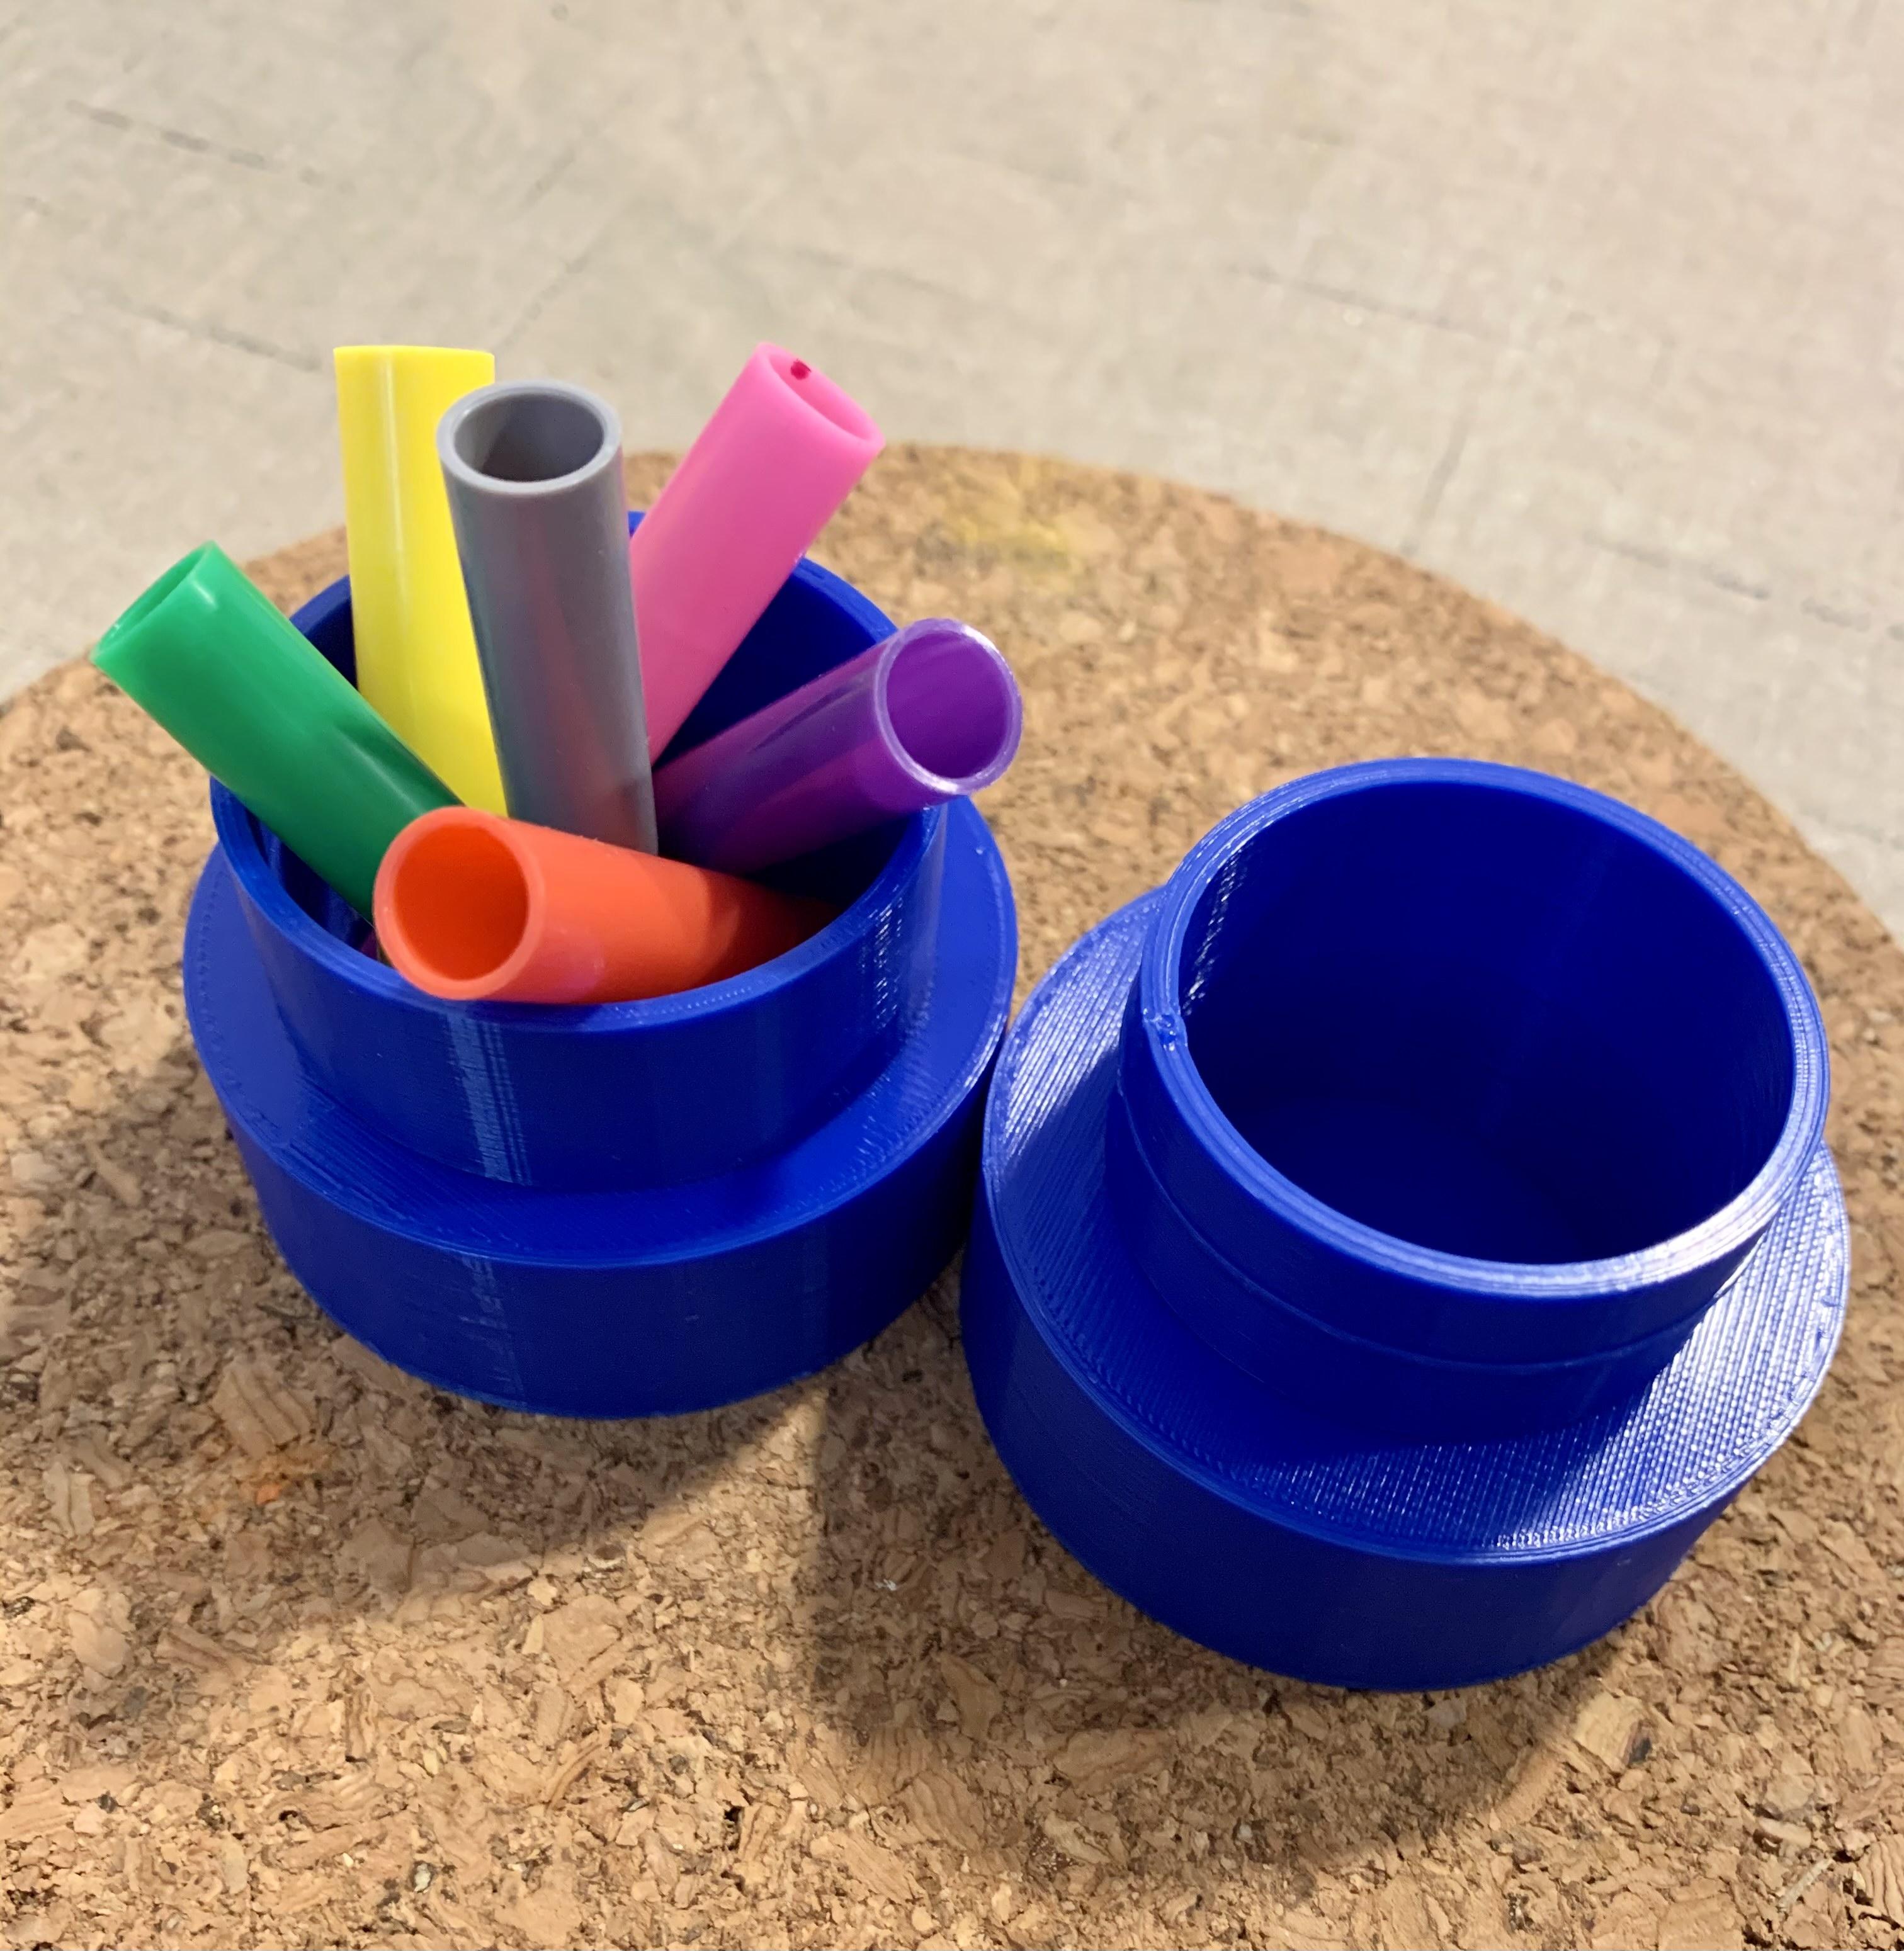
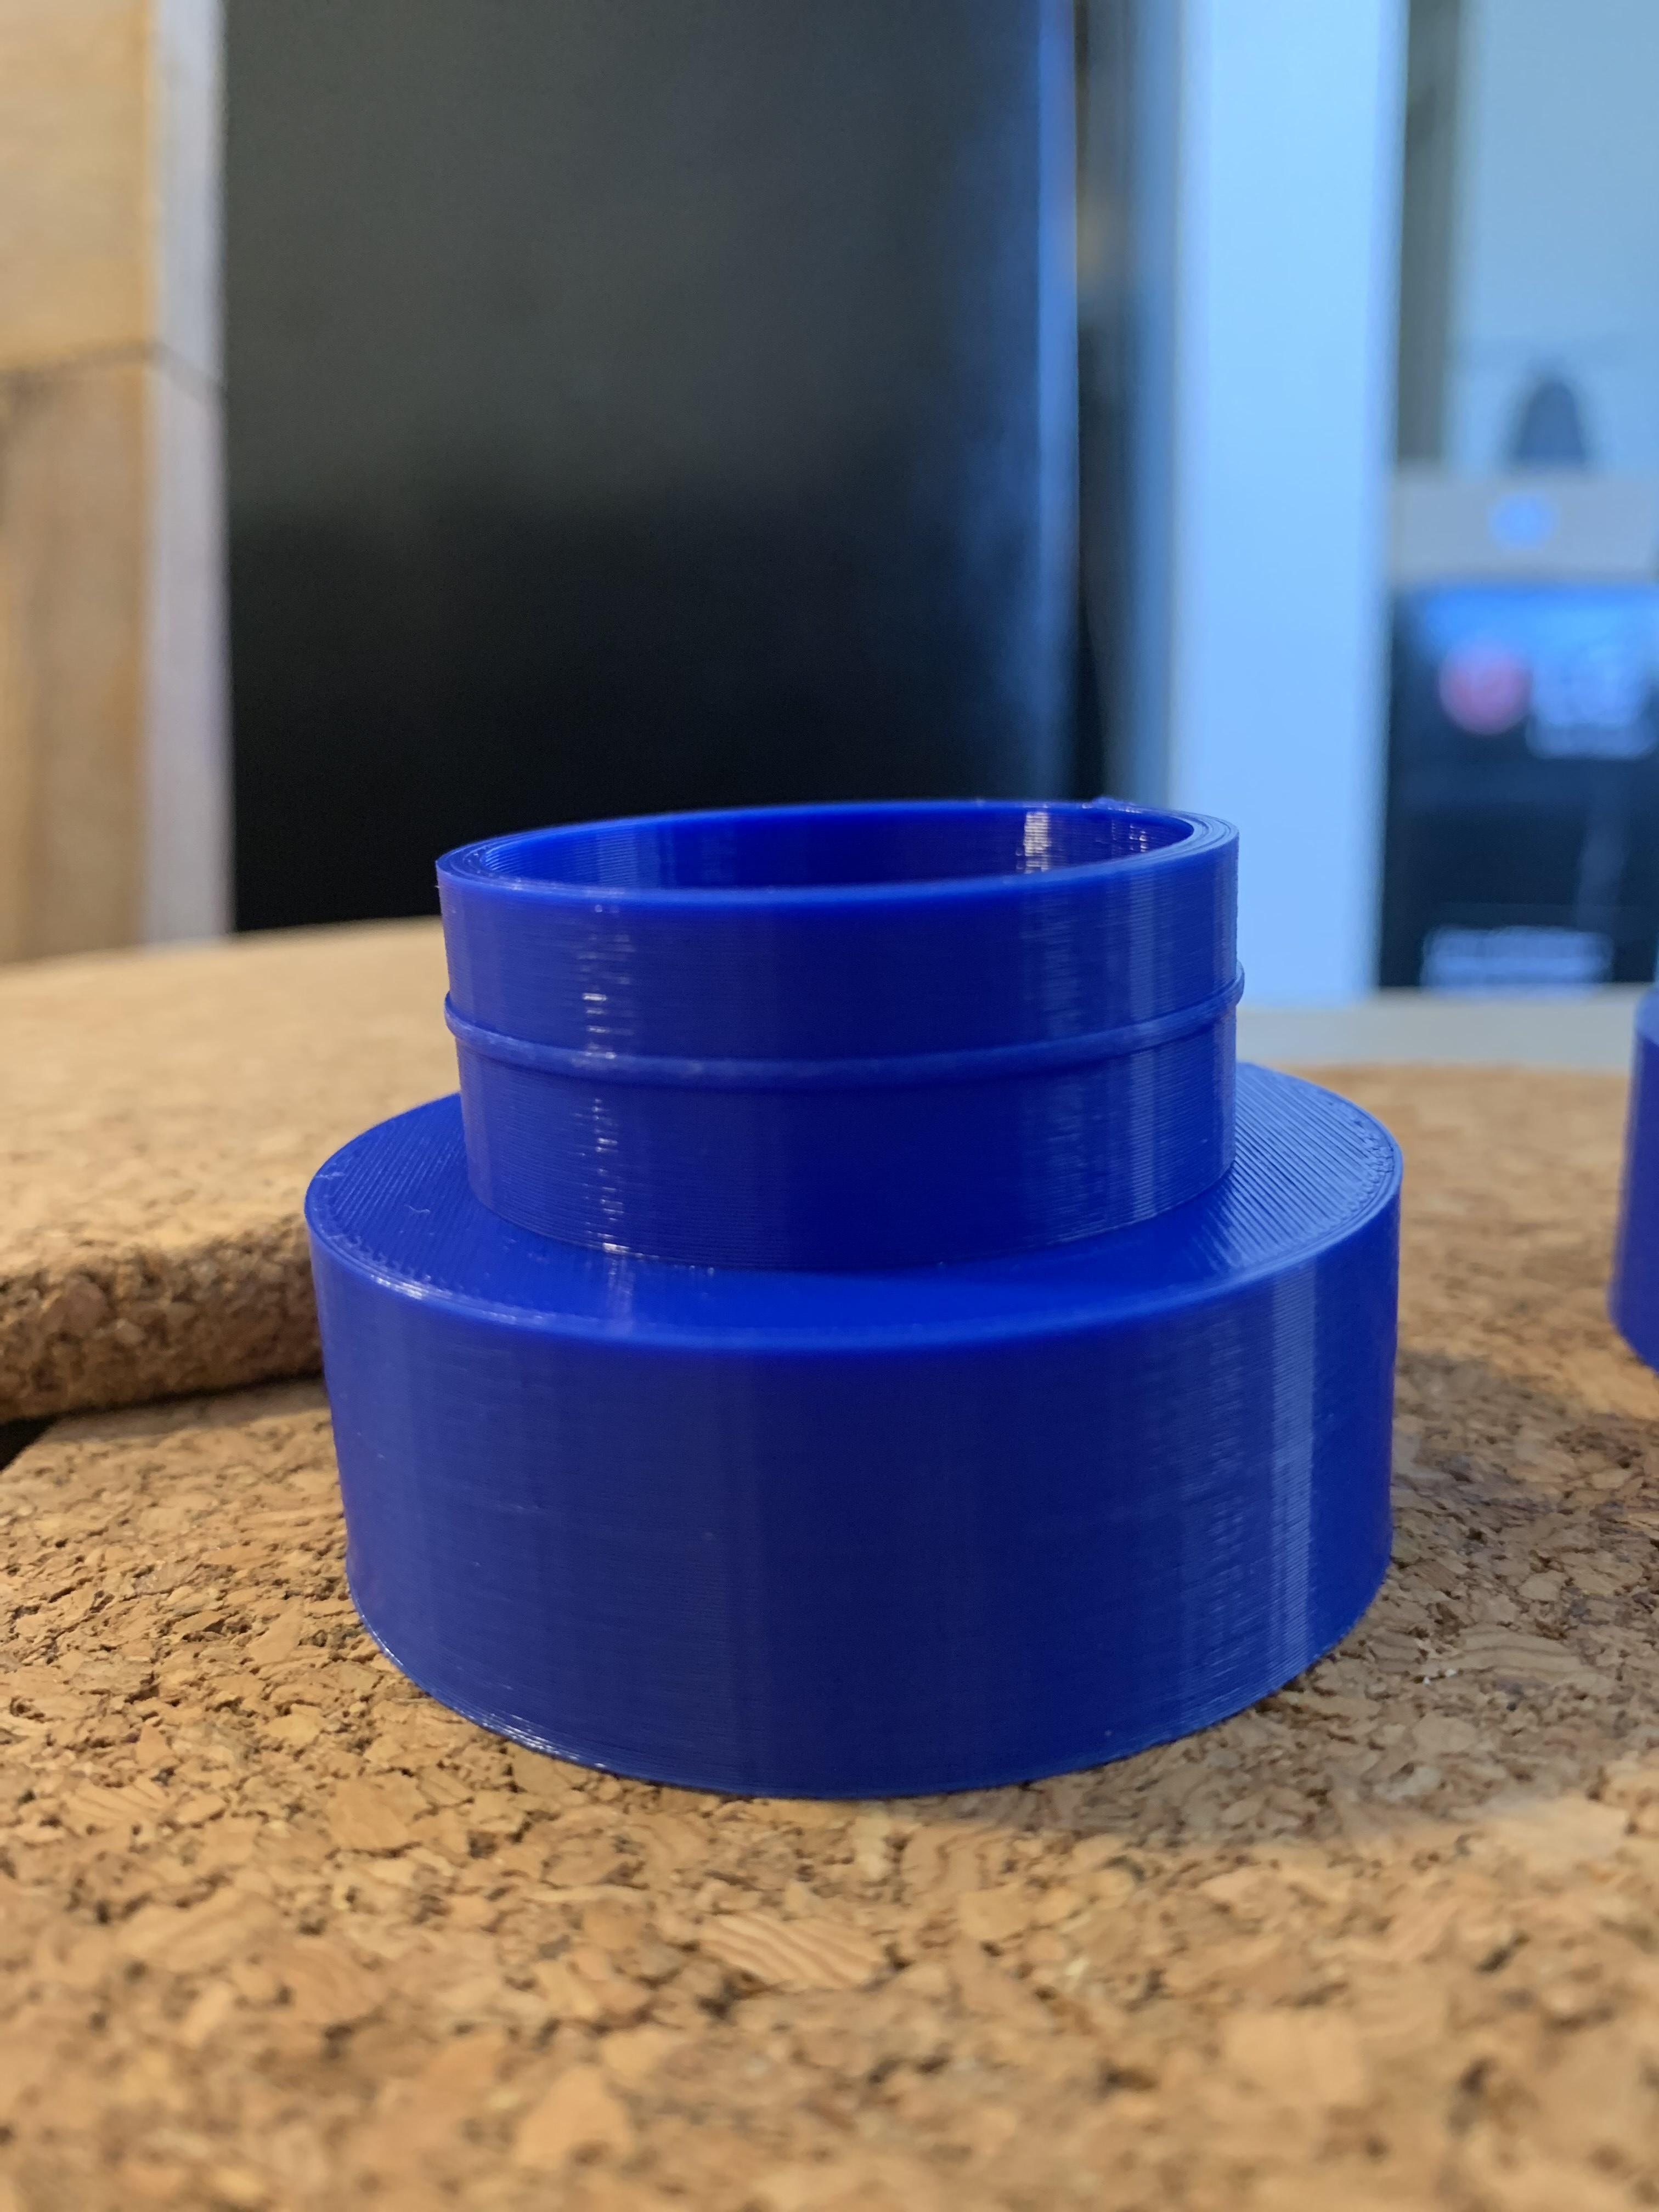
So, I decreased the tolerance by 0.125mm and designed my final object. I chose to design it like a dumbbell. The outer ring of the bottom part and the inner ring of the top part can be seen above. The print came proper.
Time to Press Fit


Finally, the last stage to press fit each other to check on the tolerance levels.
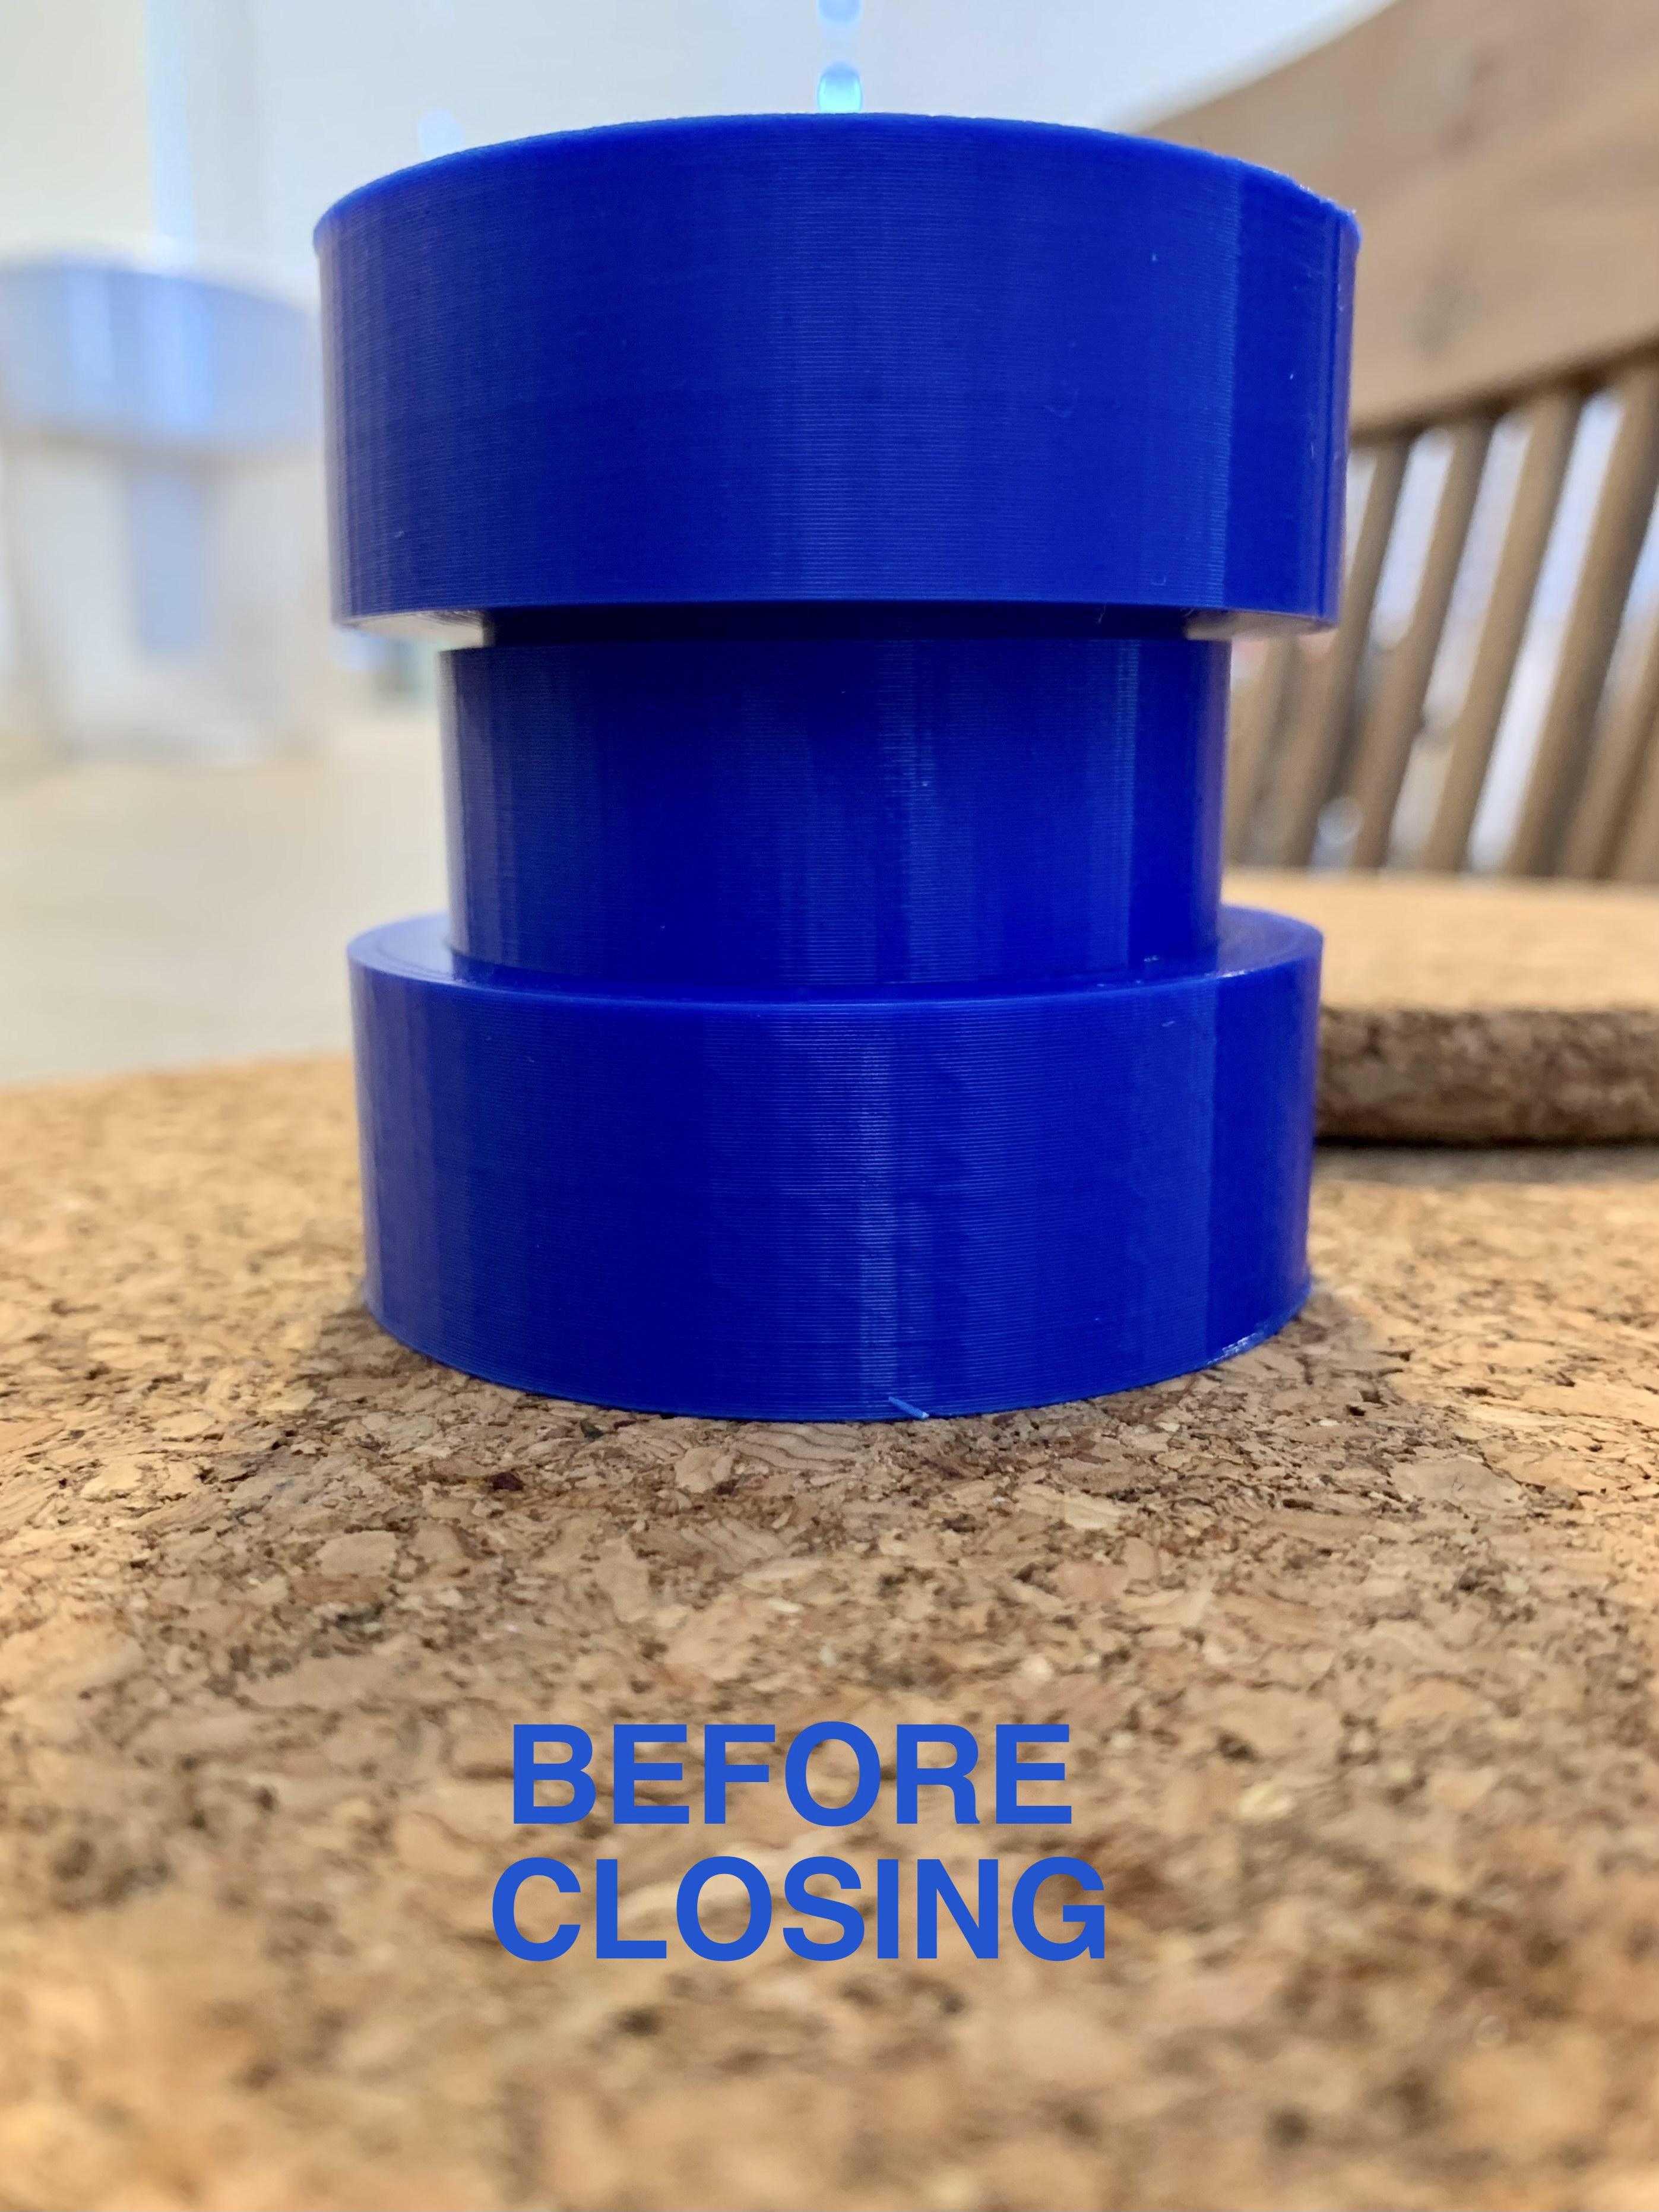
The position of one above the other can be seen (BEFORE and AFTER). The gap in the "Before" is when the inner thread of the top part rests over outer thread of bottom part. They fitted really well as can be seen the "After" pic.
Design Terminology

Few important points taken into consideration while designing:
1. Illusion of non-openable case
2. Height of top and bottom part were calculated and made same whose bases blocked each other from moving further.
3. Fillet on the thread so that the curved edges slide over each other. Edges would have blocked each other from sliding in.
4. Can be opened either way
Finally, it is complete and the sound it made while opening and closing was oddly satisfying!
The stl files are attached here!