Duct Tape Wallet


When everything fails, duct tape will fix it, no matter what. And if it still fails, then you haven’t used enough duct tape. A lot of people don’t know that duct tape is sometimes also used for other purposes, so let’s turn a bunch of duct tape strips into a fully functional wallet that will last you years.
This is an easy and fun project to make, even if you have never worked with this kind of material before.
Gather Your Materials

You will need:
- two different colored/patterned rolls of duct tape
- scissors (or cutting knife)
- ruler (or other measuring device)
- hard, clean surface to work on
Decide on Your Primary and Secondary Color

I have one roll of blue duct tape and a roll of duct tape with a flower pattern. I decided to use the plain blue as my primary colour and the flower pattern as my secondary colour.
Cut Three Strips of Your Primary Coloured Duct Tape

Each strip should be 18 cm long.
You can also make these strips longer or shorter, depending on which currency you will want to fit into your wallet.
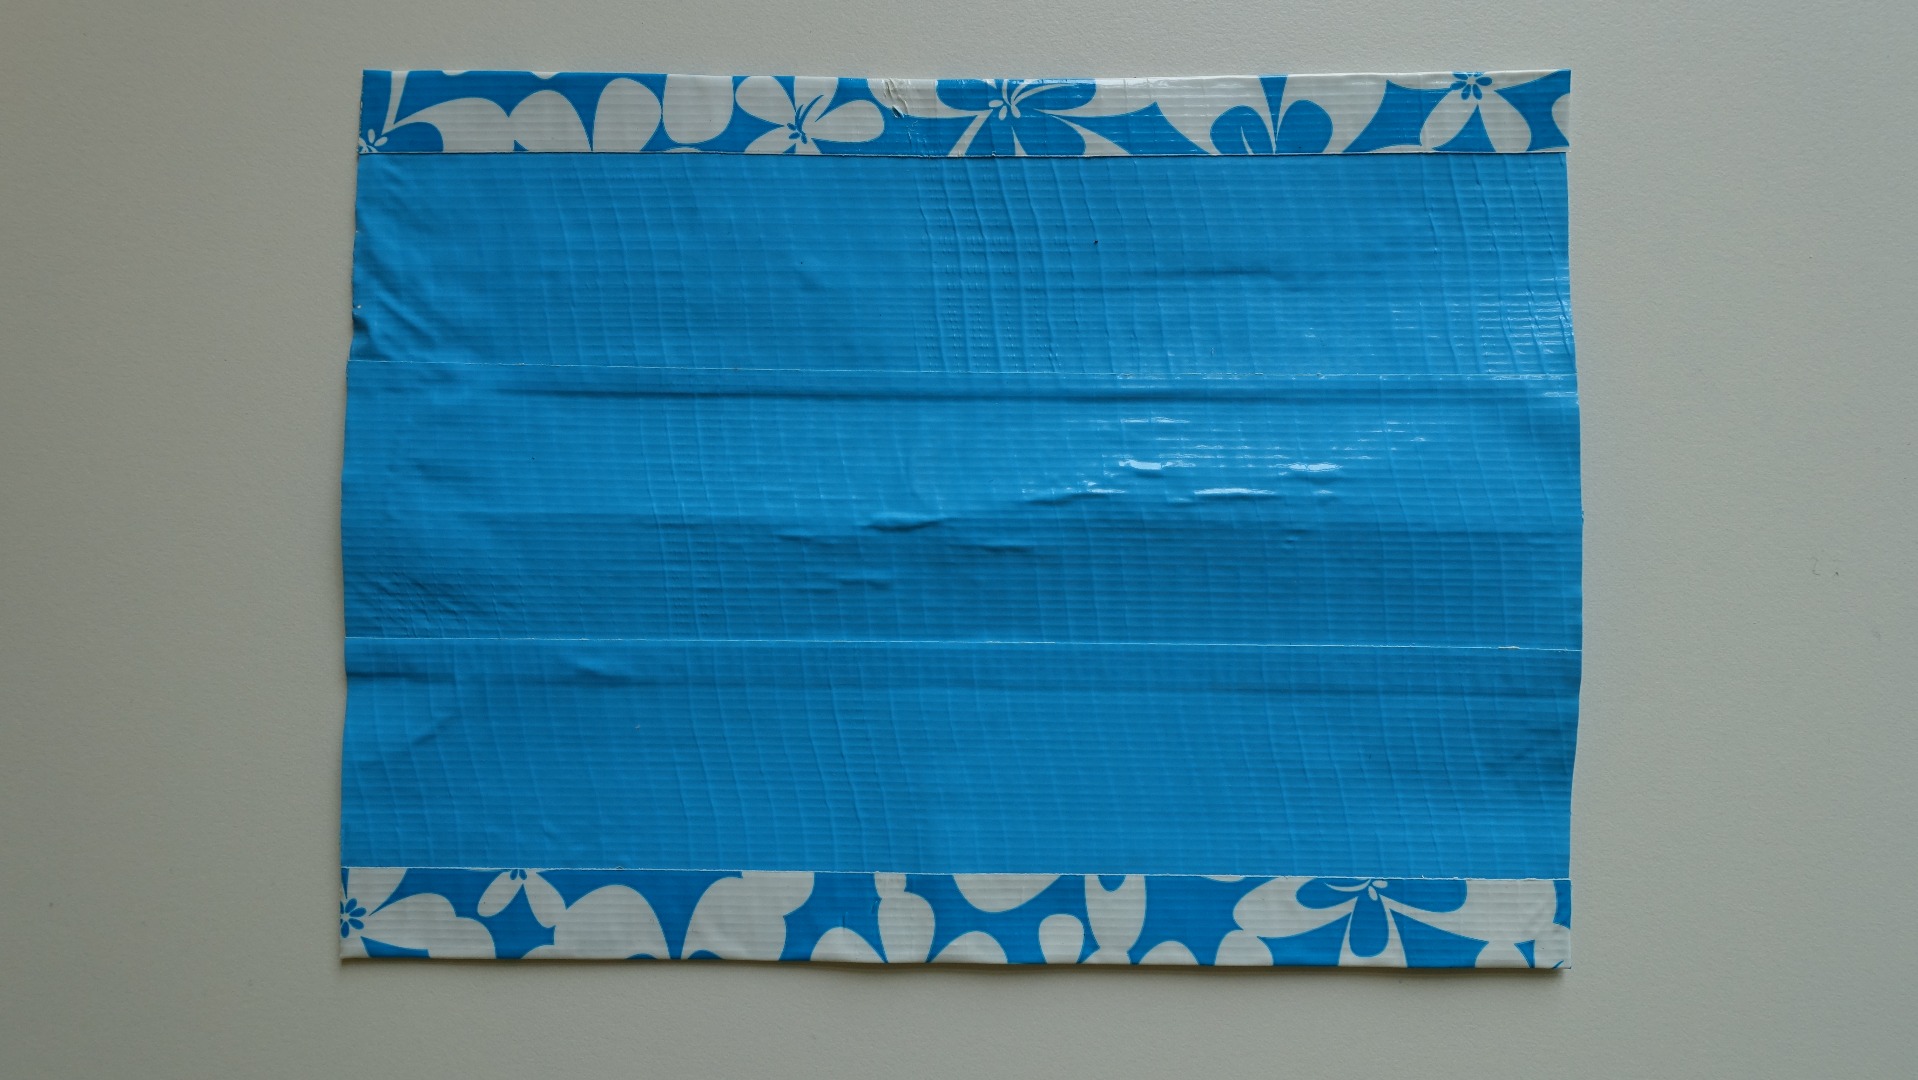
Arrange the three strips to make a sheet of duct tape, as shown in the picture.
Cut Three More Strips of Your Primary Coloured Duct Tape

Arrange them into another sheet of duct tape and stick both sheets together (so that the adhesive sides cover each other).
Cut One Strip of Your Secondary Coloured Duct Tape

This strip should be 18 cm long.
Cut this strip in half lengthwise, so you end up with two, thinner, strips of duct tape that are both the same length.
Tape one of the thin strips onto one end of your first, big, sheet of duct tape and the other thin strip onto the other end of your first sheet of duct tape. This will help make a smooth, clean edge. If there is any excess duct tape that is going over the edges, cut it off.
Fold Your Sheet of Duct Tape in Half

Fold it in half so that the clean edges cover each other.
Cut One Strip of Your Secondary Coloured Duct Tape

This strip should be 7 cm long, or the height of your folded sheet of duct tape.
Cut this strip in half lengthwise, so you end up with two, thinner, strips of duct tape that are both the same length.
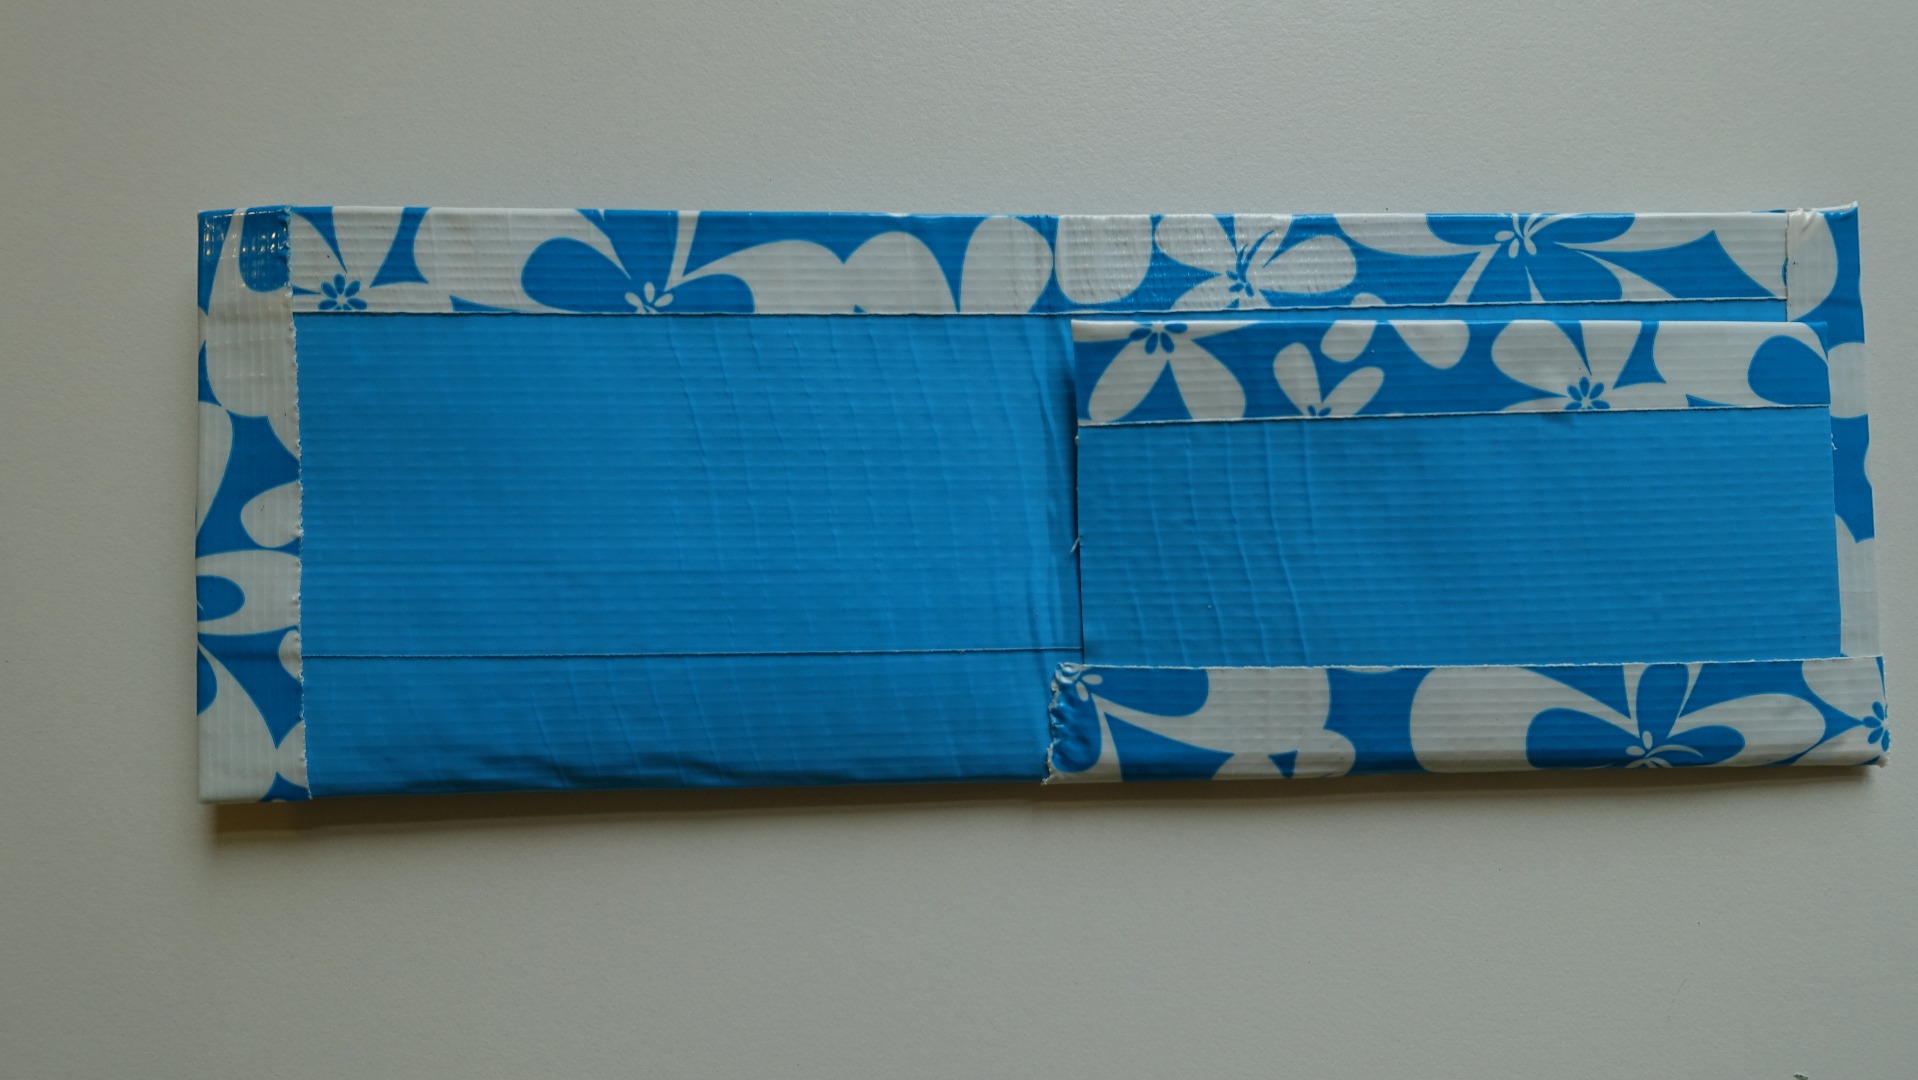
Tape one of the thin strips onto one end of your folded sheet of duct tape and the other thin strip onto the other end of your folded sheet of duct tape. This will create the pocket where you can put in the banknotes.
Fold Your Sheet of Duct Tape in Half

You may stop here if you wish to, but we are still going to add an inside pocket.
Cut Two Strips of Your Primary Coloured Duct Tape

Each strip should be 9 cm long, or half of whatever length you made your first sheet of duct tape.
Stick both strips together, so that the adhesive sides cover each other.
Cut One Strip of Your Secondary Coloured Duct Tape

This strip should be 9 cm long, or half of whatever length you made your first sheet of duct tape.
Cut this strip in half lengthwise, so you end up with two, thinner, strips of duct tape that are both the same length.
Lay one of the strips aside.
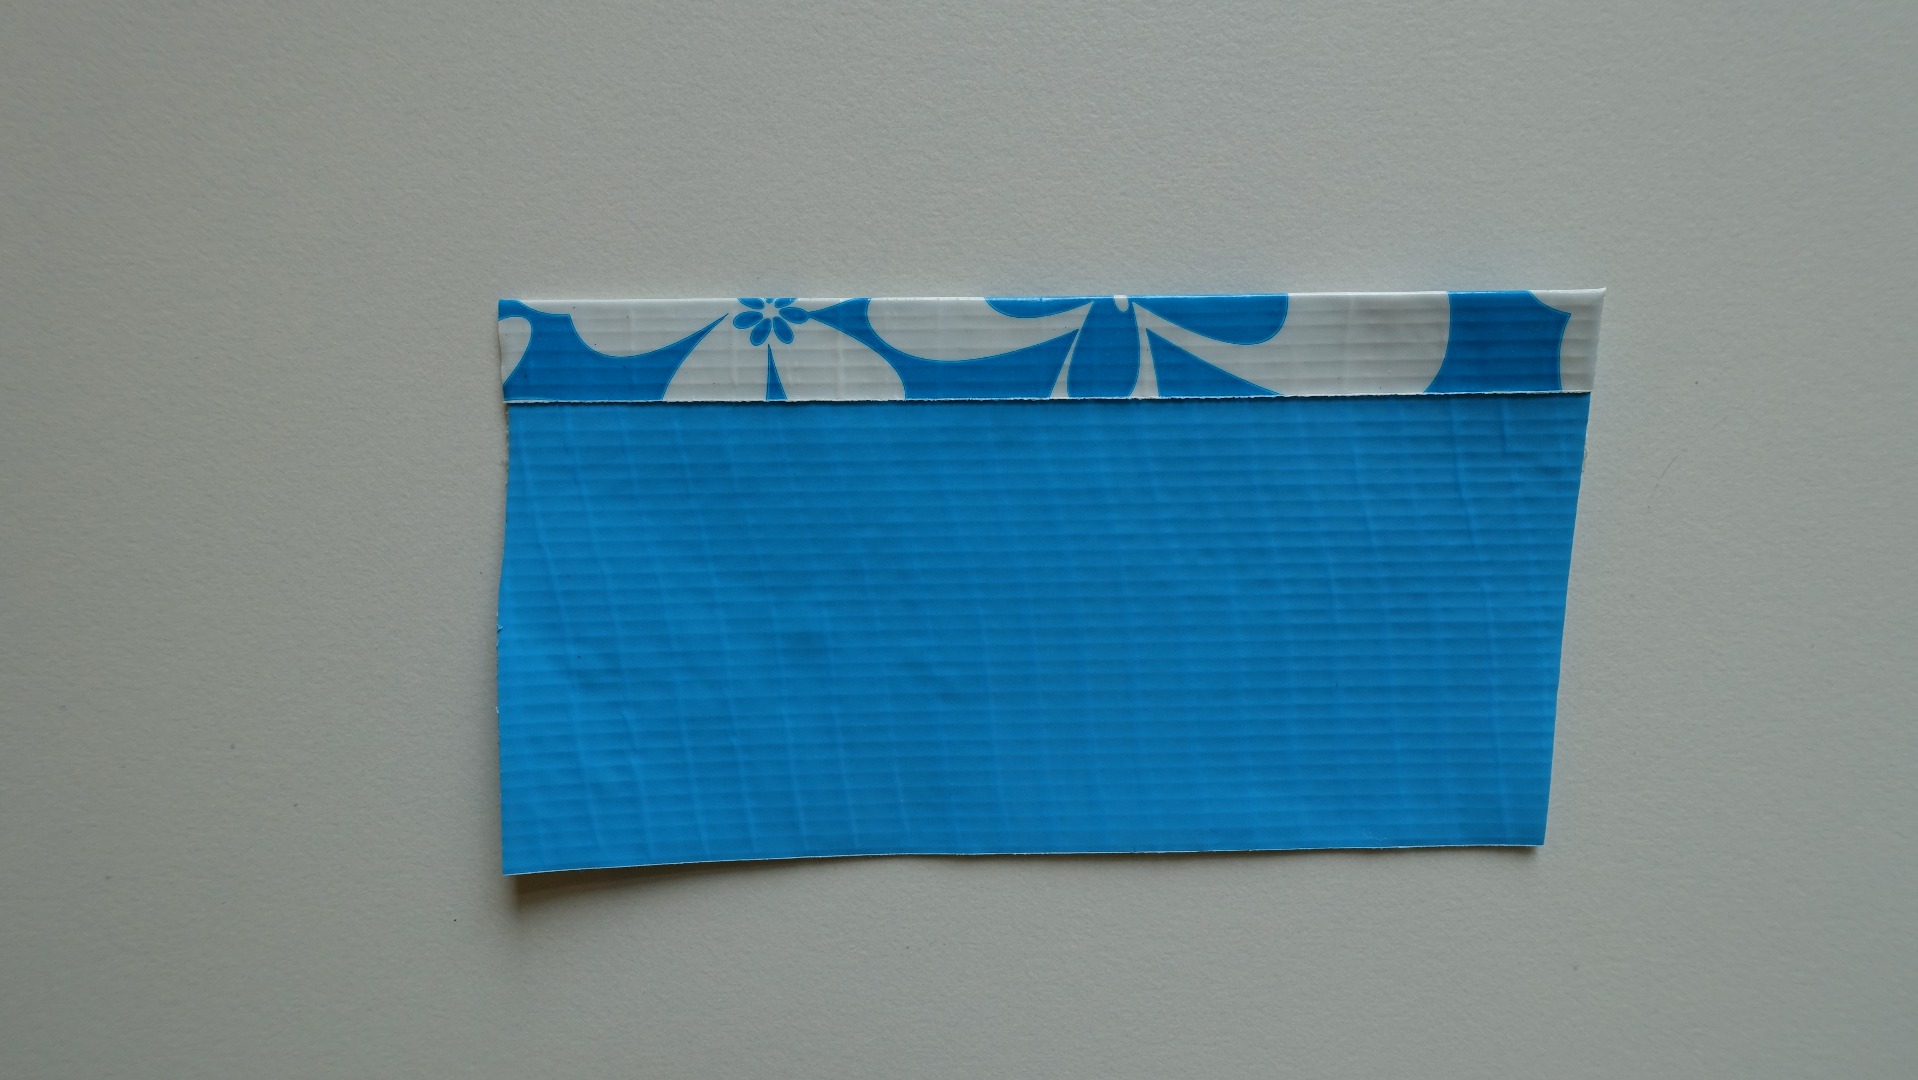
Tape the other strip onto the top edge of the smaller sheet of duct tape.
Use the Left Over Strip of Duct Tape to Tape the Bottom of Your Inside Pocket in Place

Use the duct tape strip you just lied aside to tape the bottom of your inside pocket in place.
Cut One Strip of Your Secondary Coloured Duct Tape

This strip should be 7 cm long, or the height of your folded sheet of duct tape.
Cut this strip in half lengthwise, so you end up with two, thinner, strips of duct tape.
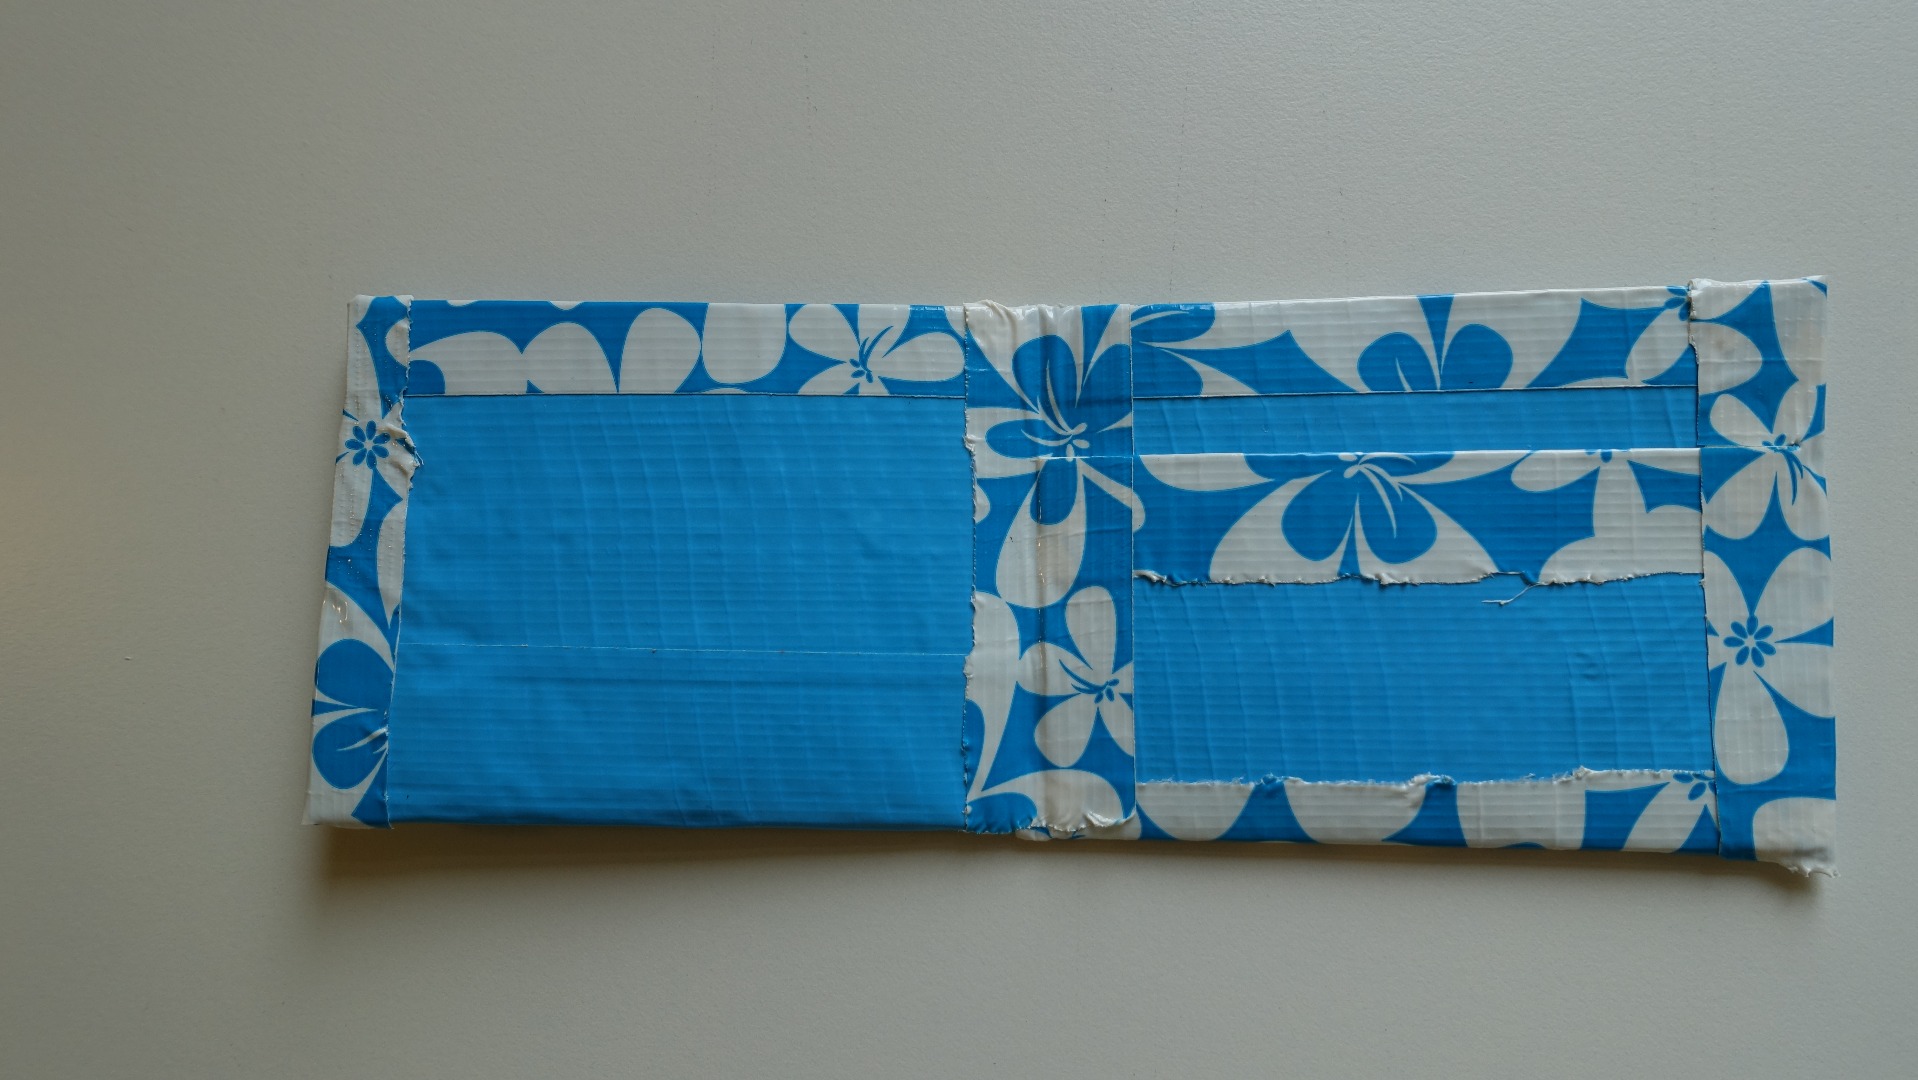
Use these strips to tape the sides of your inside pocket in place.