Duct Tape Art With Measurements
by 23tiklassen in Craft > Duct Tape
346 Views, 1 Favorites, 0 Comments
Duct Tape Art With Measurements
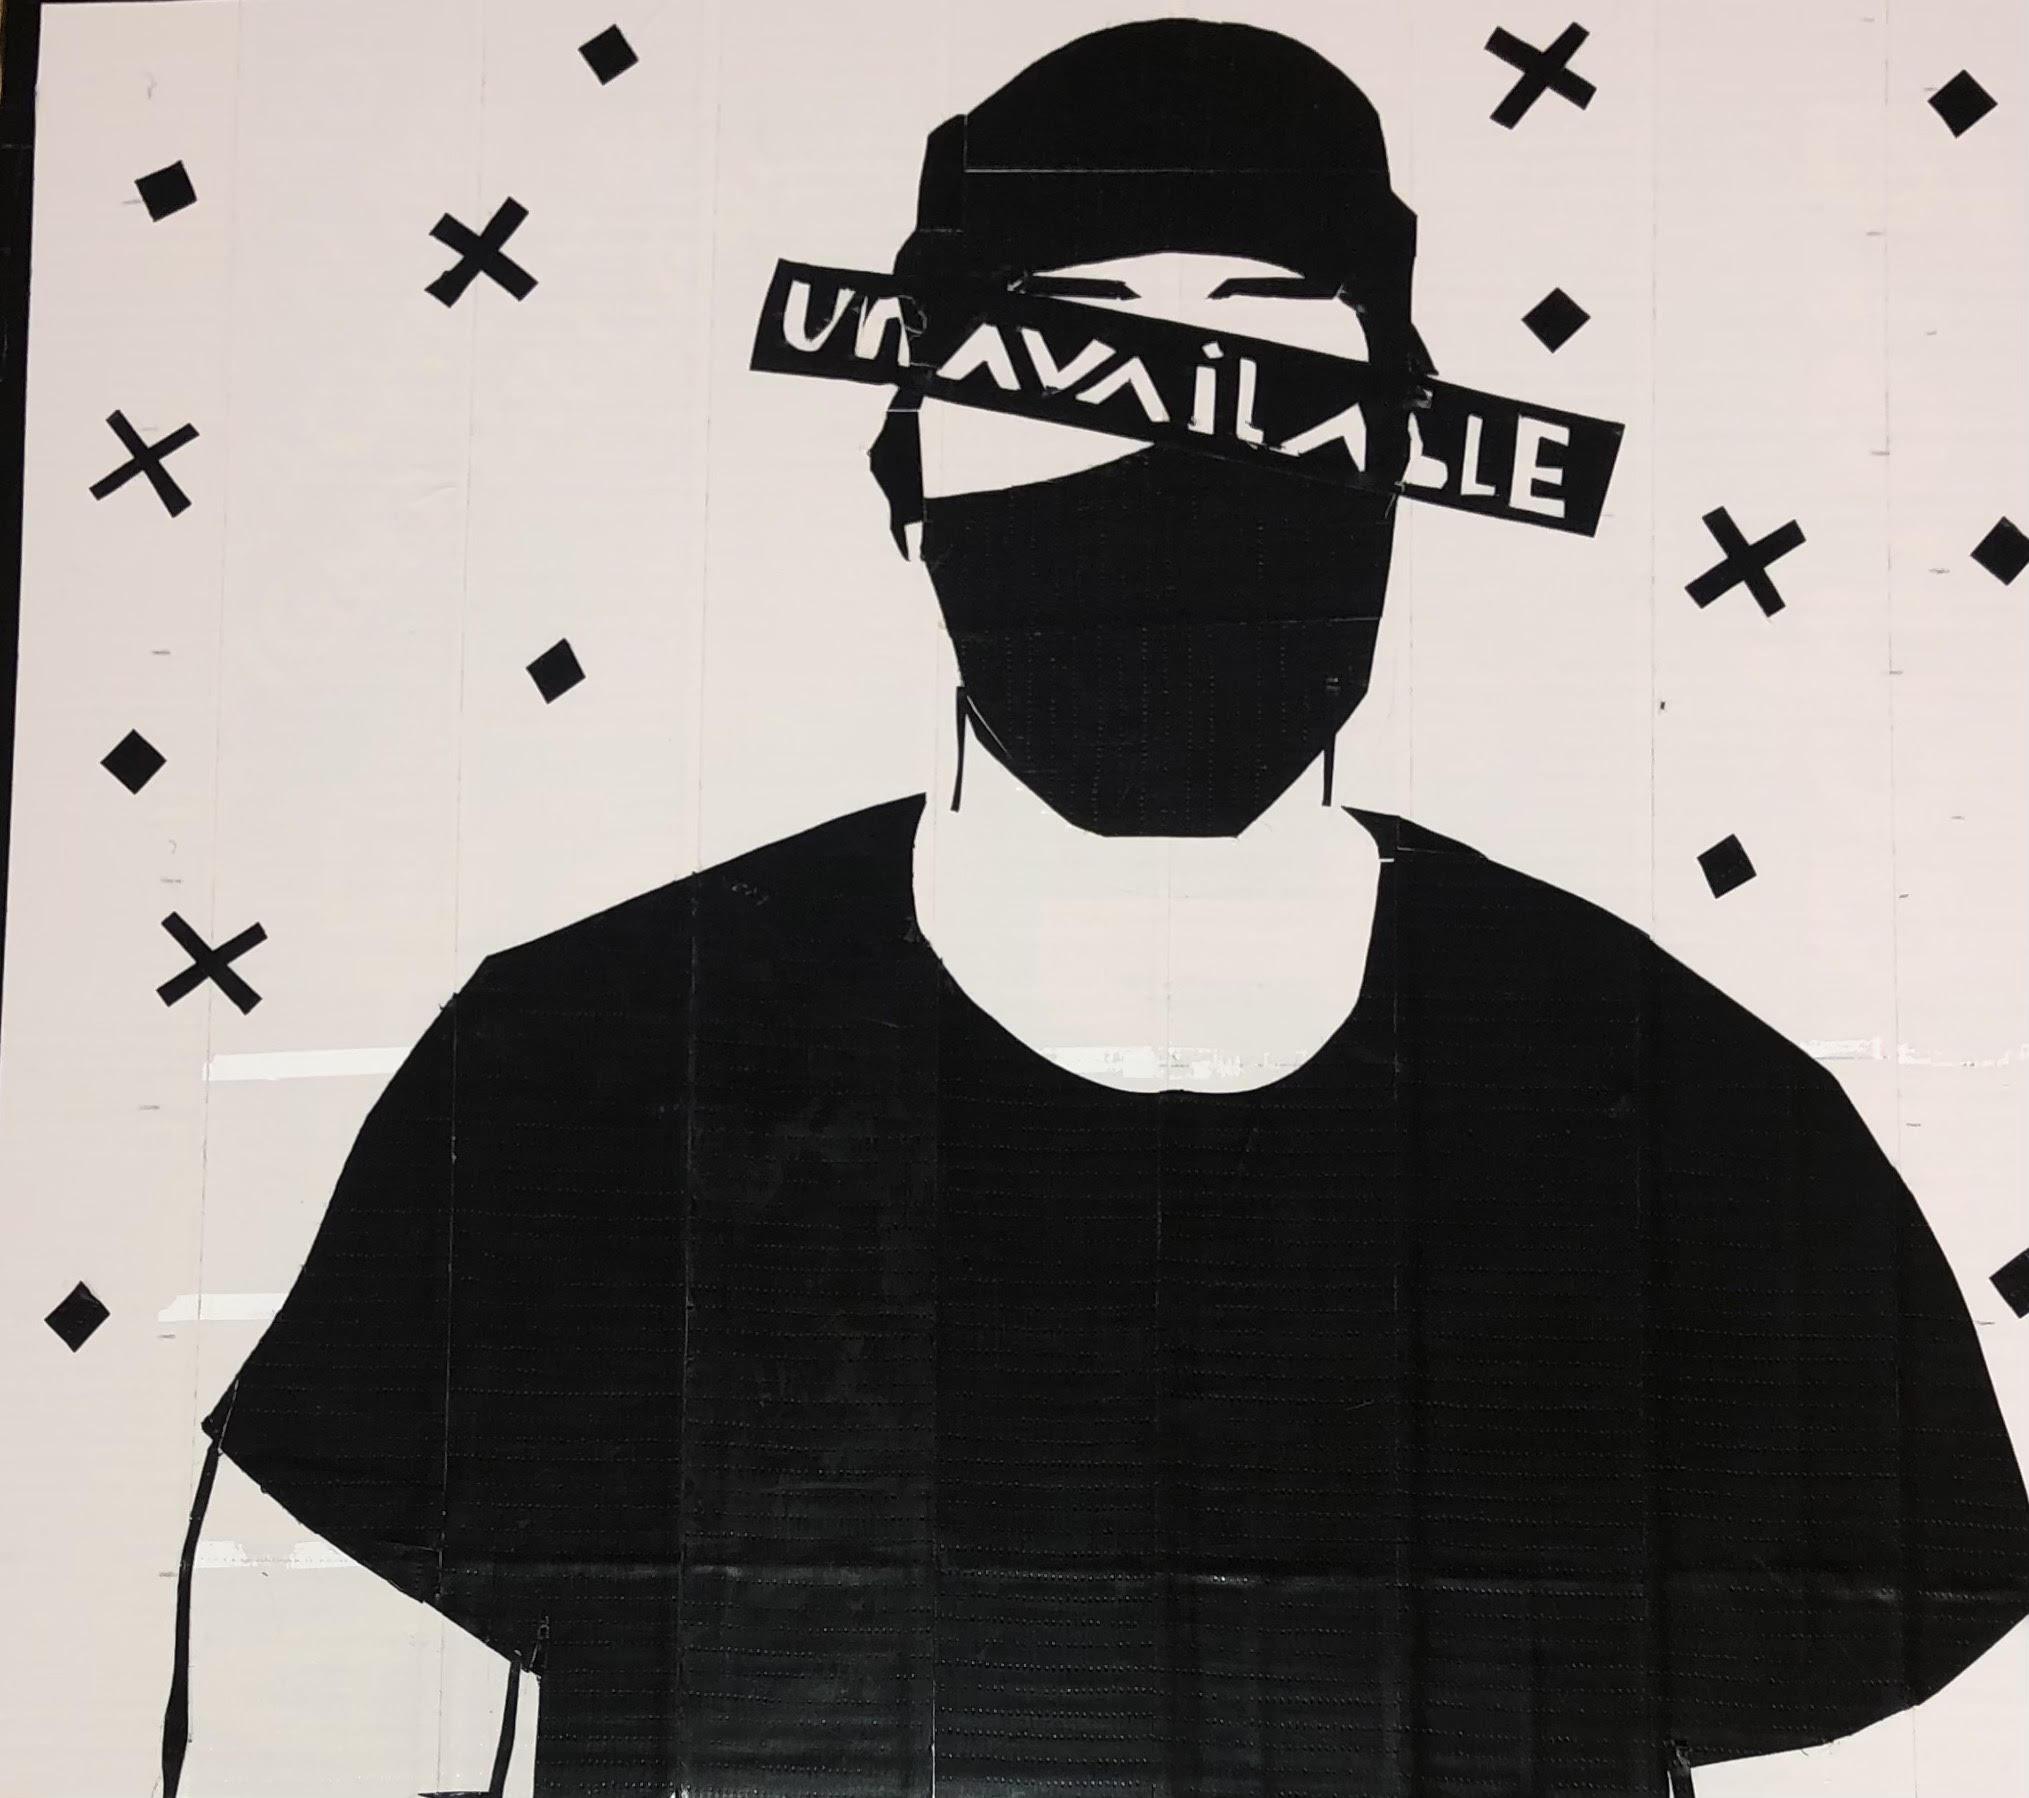
I decided to do this because, this is a simply easy way to do some art, while doing a bit of math.
Doing this could add some decor to your home, while learning how to take measurements.
This can be done by all ages (younger ages do with the help of an adult)
Start Off by Finding an Image of Your Choice
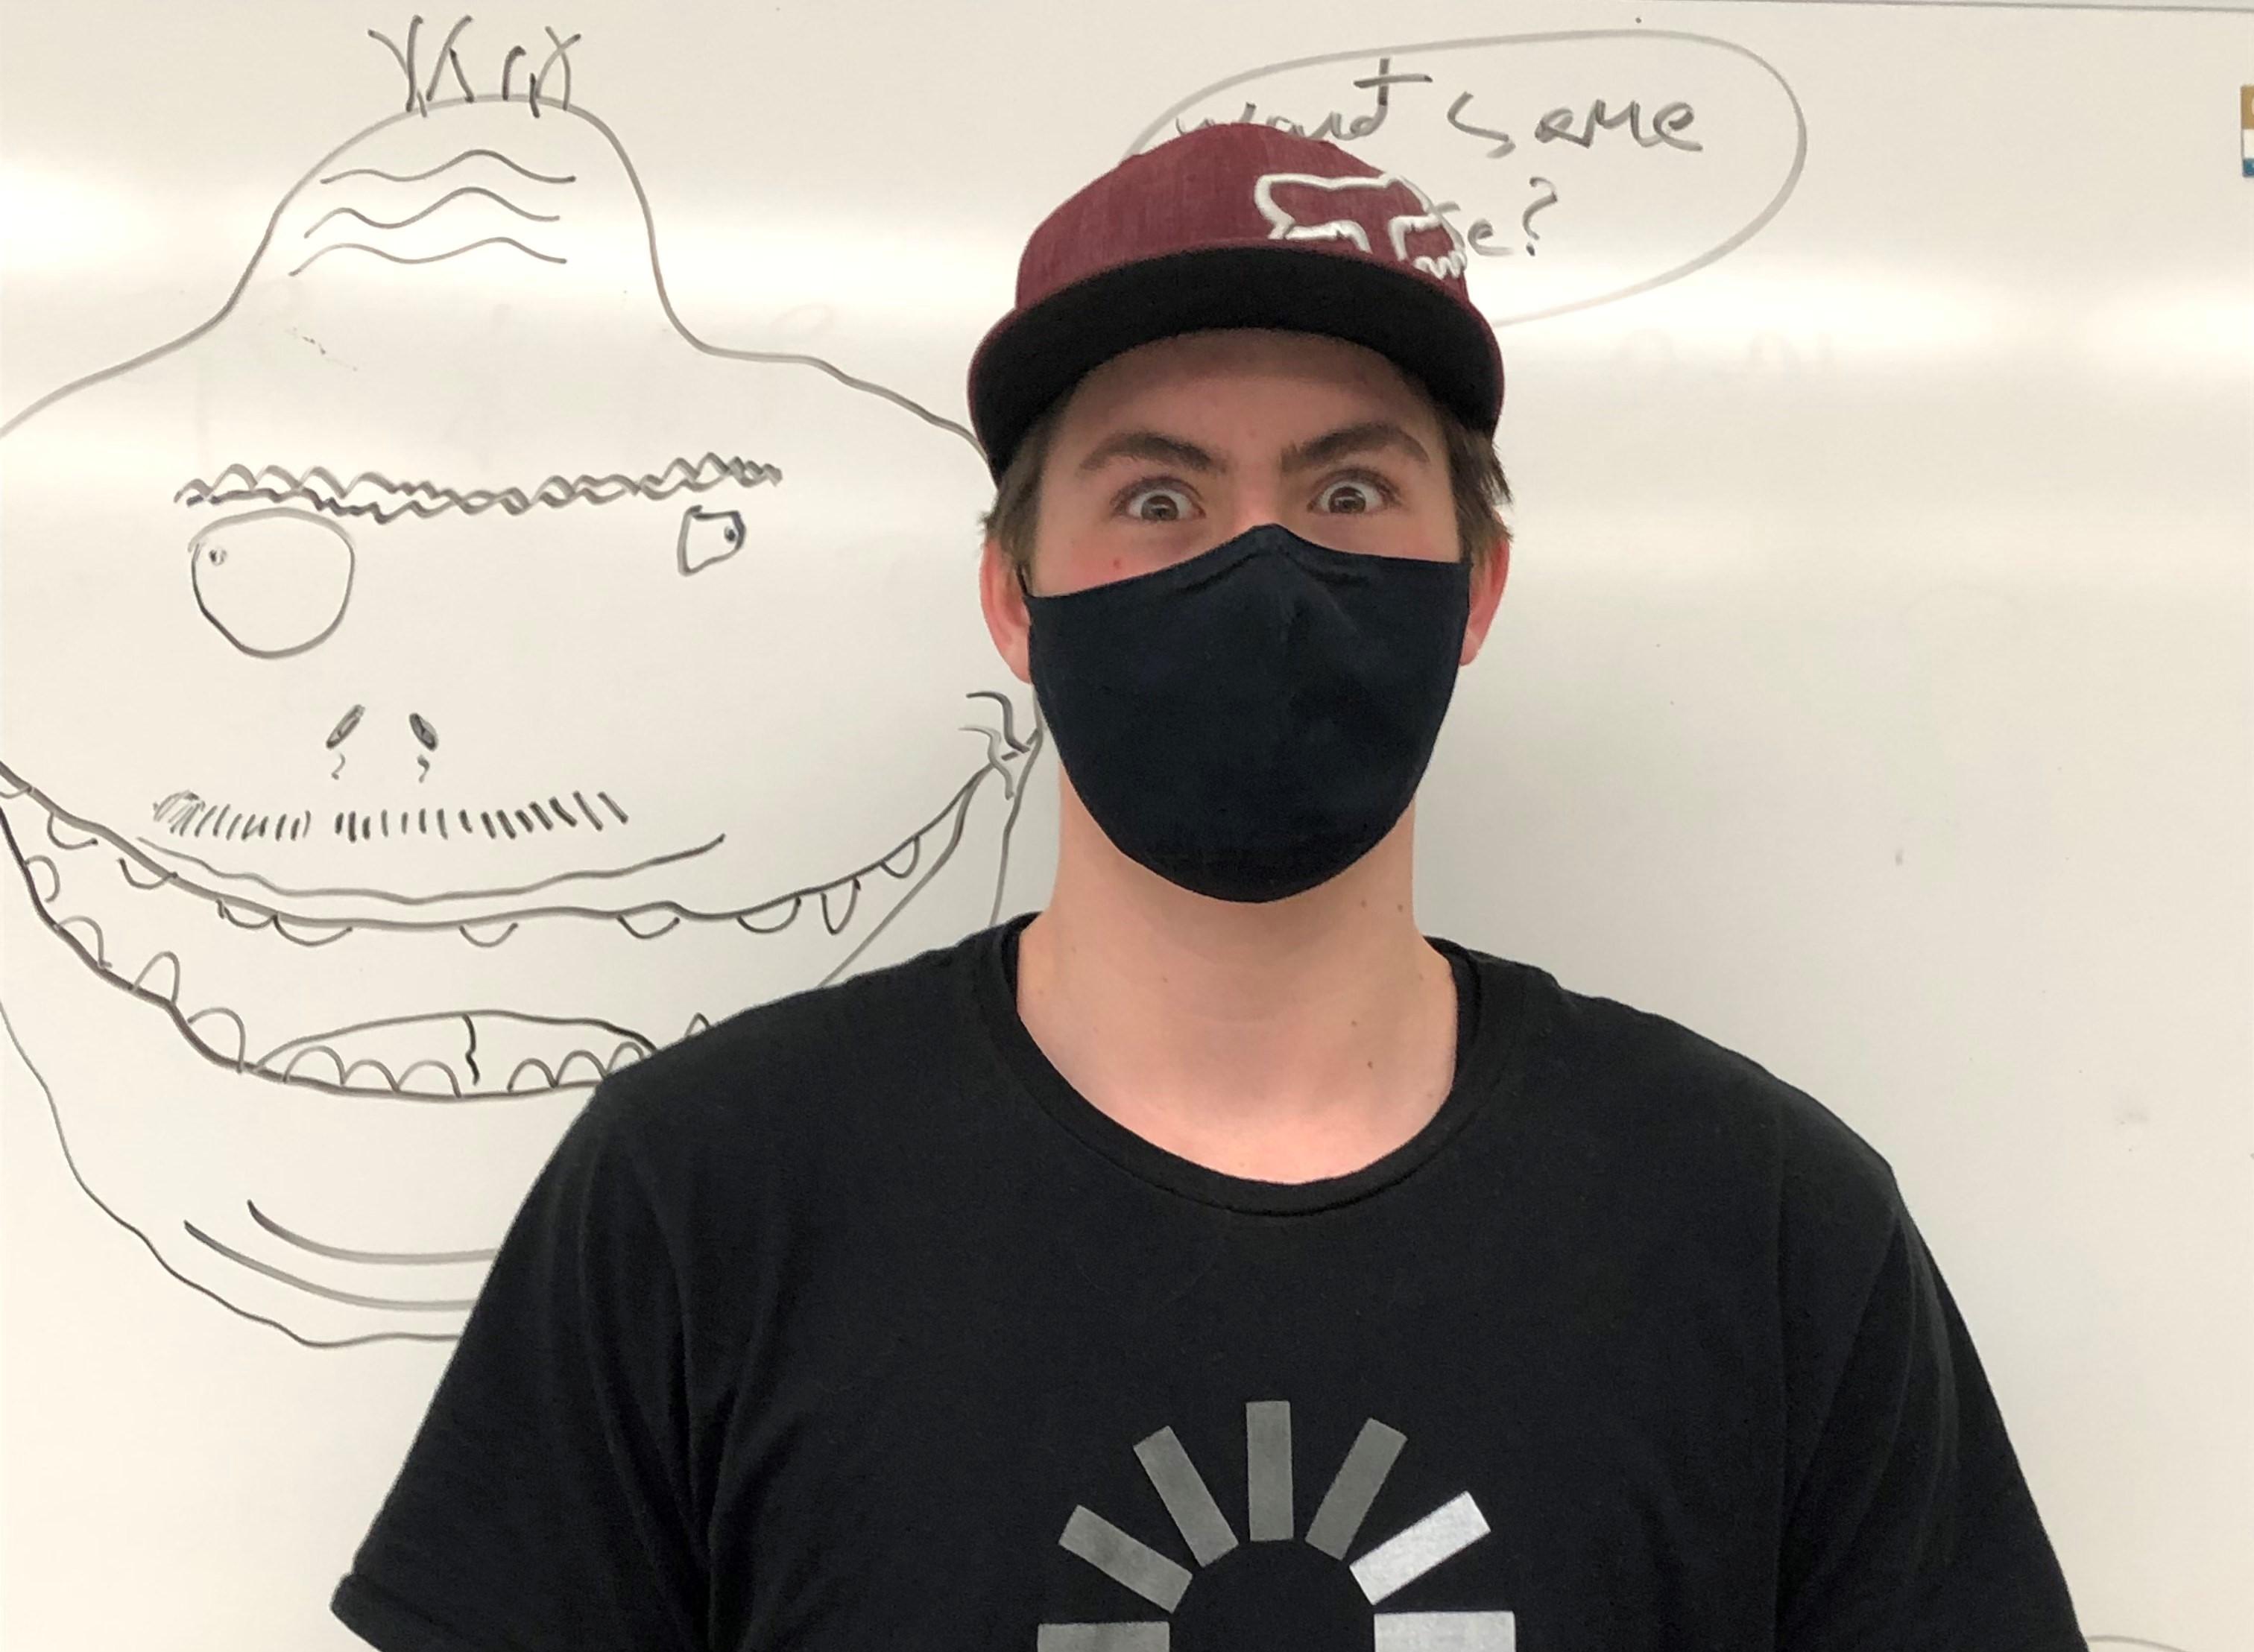
Here I decided to do myself for the image of my choice. Be sure it is not something too overly complicated, if you do, it will just be more work to do, the choice is yours.
Photo Editor Programme
![_[Untitled]-3.0 (Grayscale 8-bit gamma integer, GIMP built-in D65 Grayscale with sRGB TRC, 1 layer) 3024x2589 – GIMP 2021-11-09 9_24_53 AM.png](/proxy/?url=https://content.instructables.com/FR6/K2LY/KWOYYWZ9/FR6K2LYKWOYYWZ9.png&filename=_[Untitled]-3.0 (Grayscale 8-bit gamma integer, GIMP built-in D65 Grayscale with sRGB TRC, 1 layer) 3024x2589 – GIMP 2021-11-09 9_24_53 AM.png)
.png)
![_[IMG_0708] (imported)-5.0 (Indexed color 8-bit gamma integer, Display P3, 1 layer) 3024x2589 – GIMP 2021-11-05 9_57_27 AM.png](/proxy/?url=https://content.instructables.com/F1C/9OIB/KWOYYX03/F1C9OIBKWOYYX03.png&filename=_[IMG_0708] (imported)-5.0 (Indexed color 8-bit gamma integer, Display P3, 1 layer) 3024x2589 – GIMP 2021-11-05 9_57_27 AM.png)
![_[Untitled]-3.0 (Indexed color 8-bit gamma integer, GIMP built-in sRGB, 1 layer) 3024x2589 – GIMP 2021-11-09 9_53_05 AM.png](/proxy/?url=https://content.instructables.com/FFG/WE8D/KWOYYX04/FFGWE8DKWOYYX04.png&filename=_[Untitled]-3.0 (Indexed color 8-bit gamma integer, GIMP built-in sRGB, 1 layer) 3024x2589 – GIMP 2021-11-09 9_53_05 AM.png)
![_[Untitled]-3.0 (Indexed color 8-bit gamma integer, GIMP built-in sRGB, 1 layer) 3024x2589 – GIMP 2021-11-09 9_53_48 AM.png](/proxy/?url=https://content.instructables.com/FIY/P56F/KWOYYX05/FIYP56FKWOYYX05.png&filename=_[Untitled]-3.0 (Indexed color 8-bit gamma integer, GIMP built-in sRGB, 1 layer) 3024x2589 – GIMP 2021-11-09 9_53_48 AM.png)
Use a photo editor program to simplify your colors. Here I used Gimp https://www.gimp.org/ and altered the image to the amount of colours that I was comfortable using. For example, if you are prepared to use 10 different shades of duct tape, chose ‘10’ as your # Number of Colors.
Start off by going to Image-Mode-Indexed-Generate Optimum Palette- # Number Of Colors
If there is something you do not like about how the photo turned out, try experimenting with it a bit or editing the photo yourself.
These are some of the photos I took. I chose to do the first one with only 2 colours. You can choose as many colours as you like.
Fill in the Whole Background
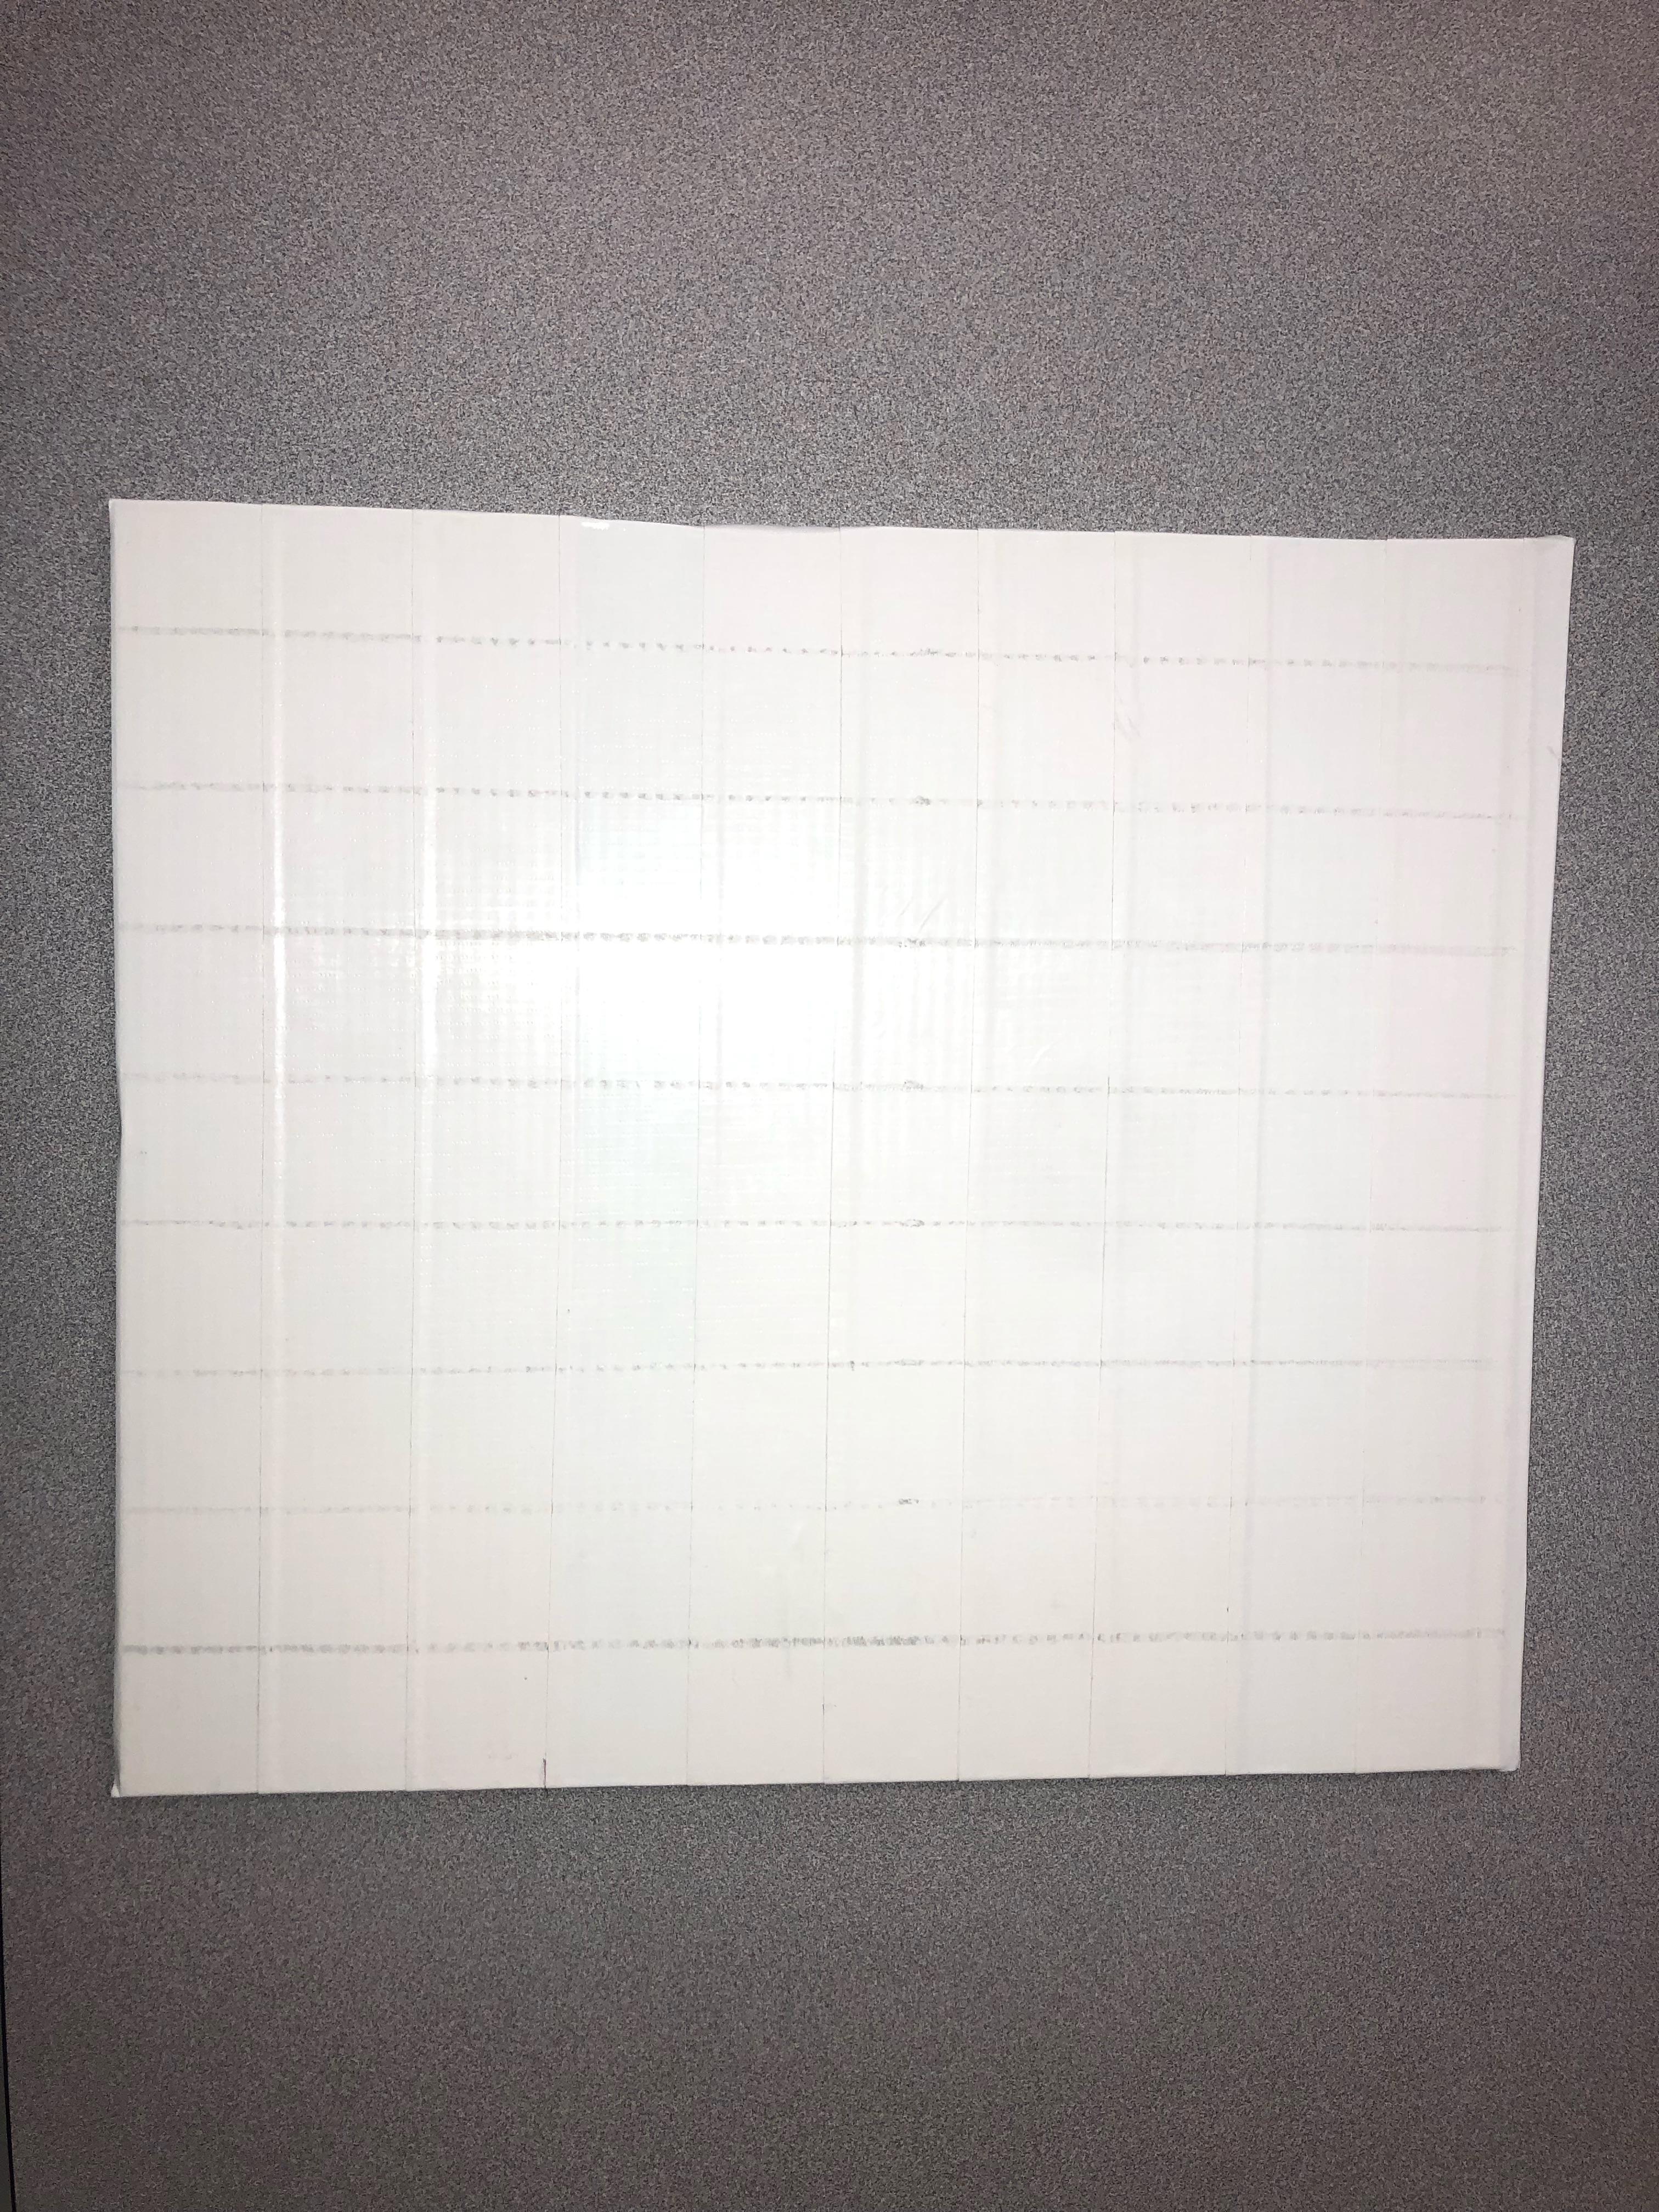
Here, you are going to grab the background colour that you will be using and then fill in the whole surface board that you have.
for myself my background was white.
Start Your Layers
.jpeg)
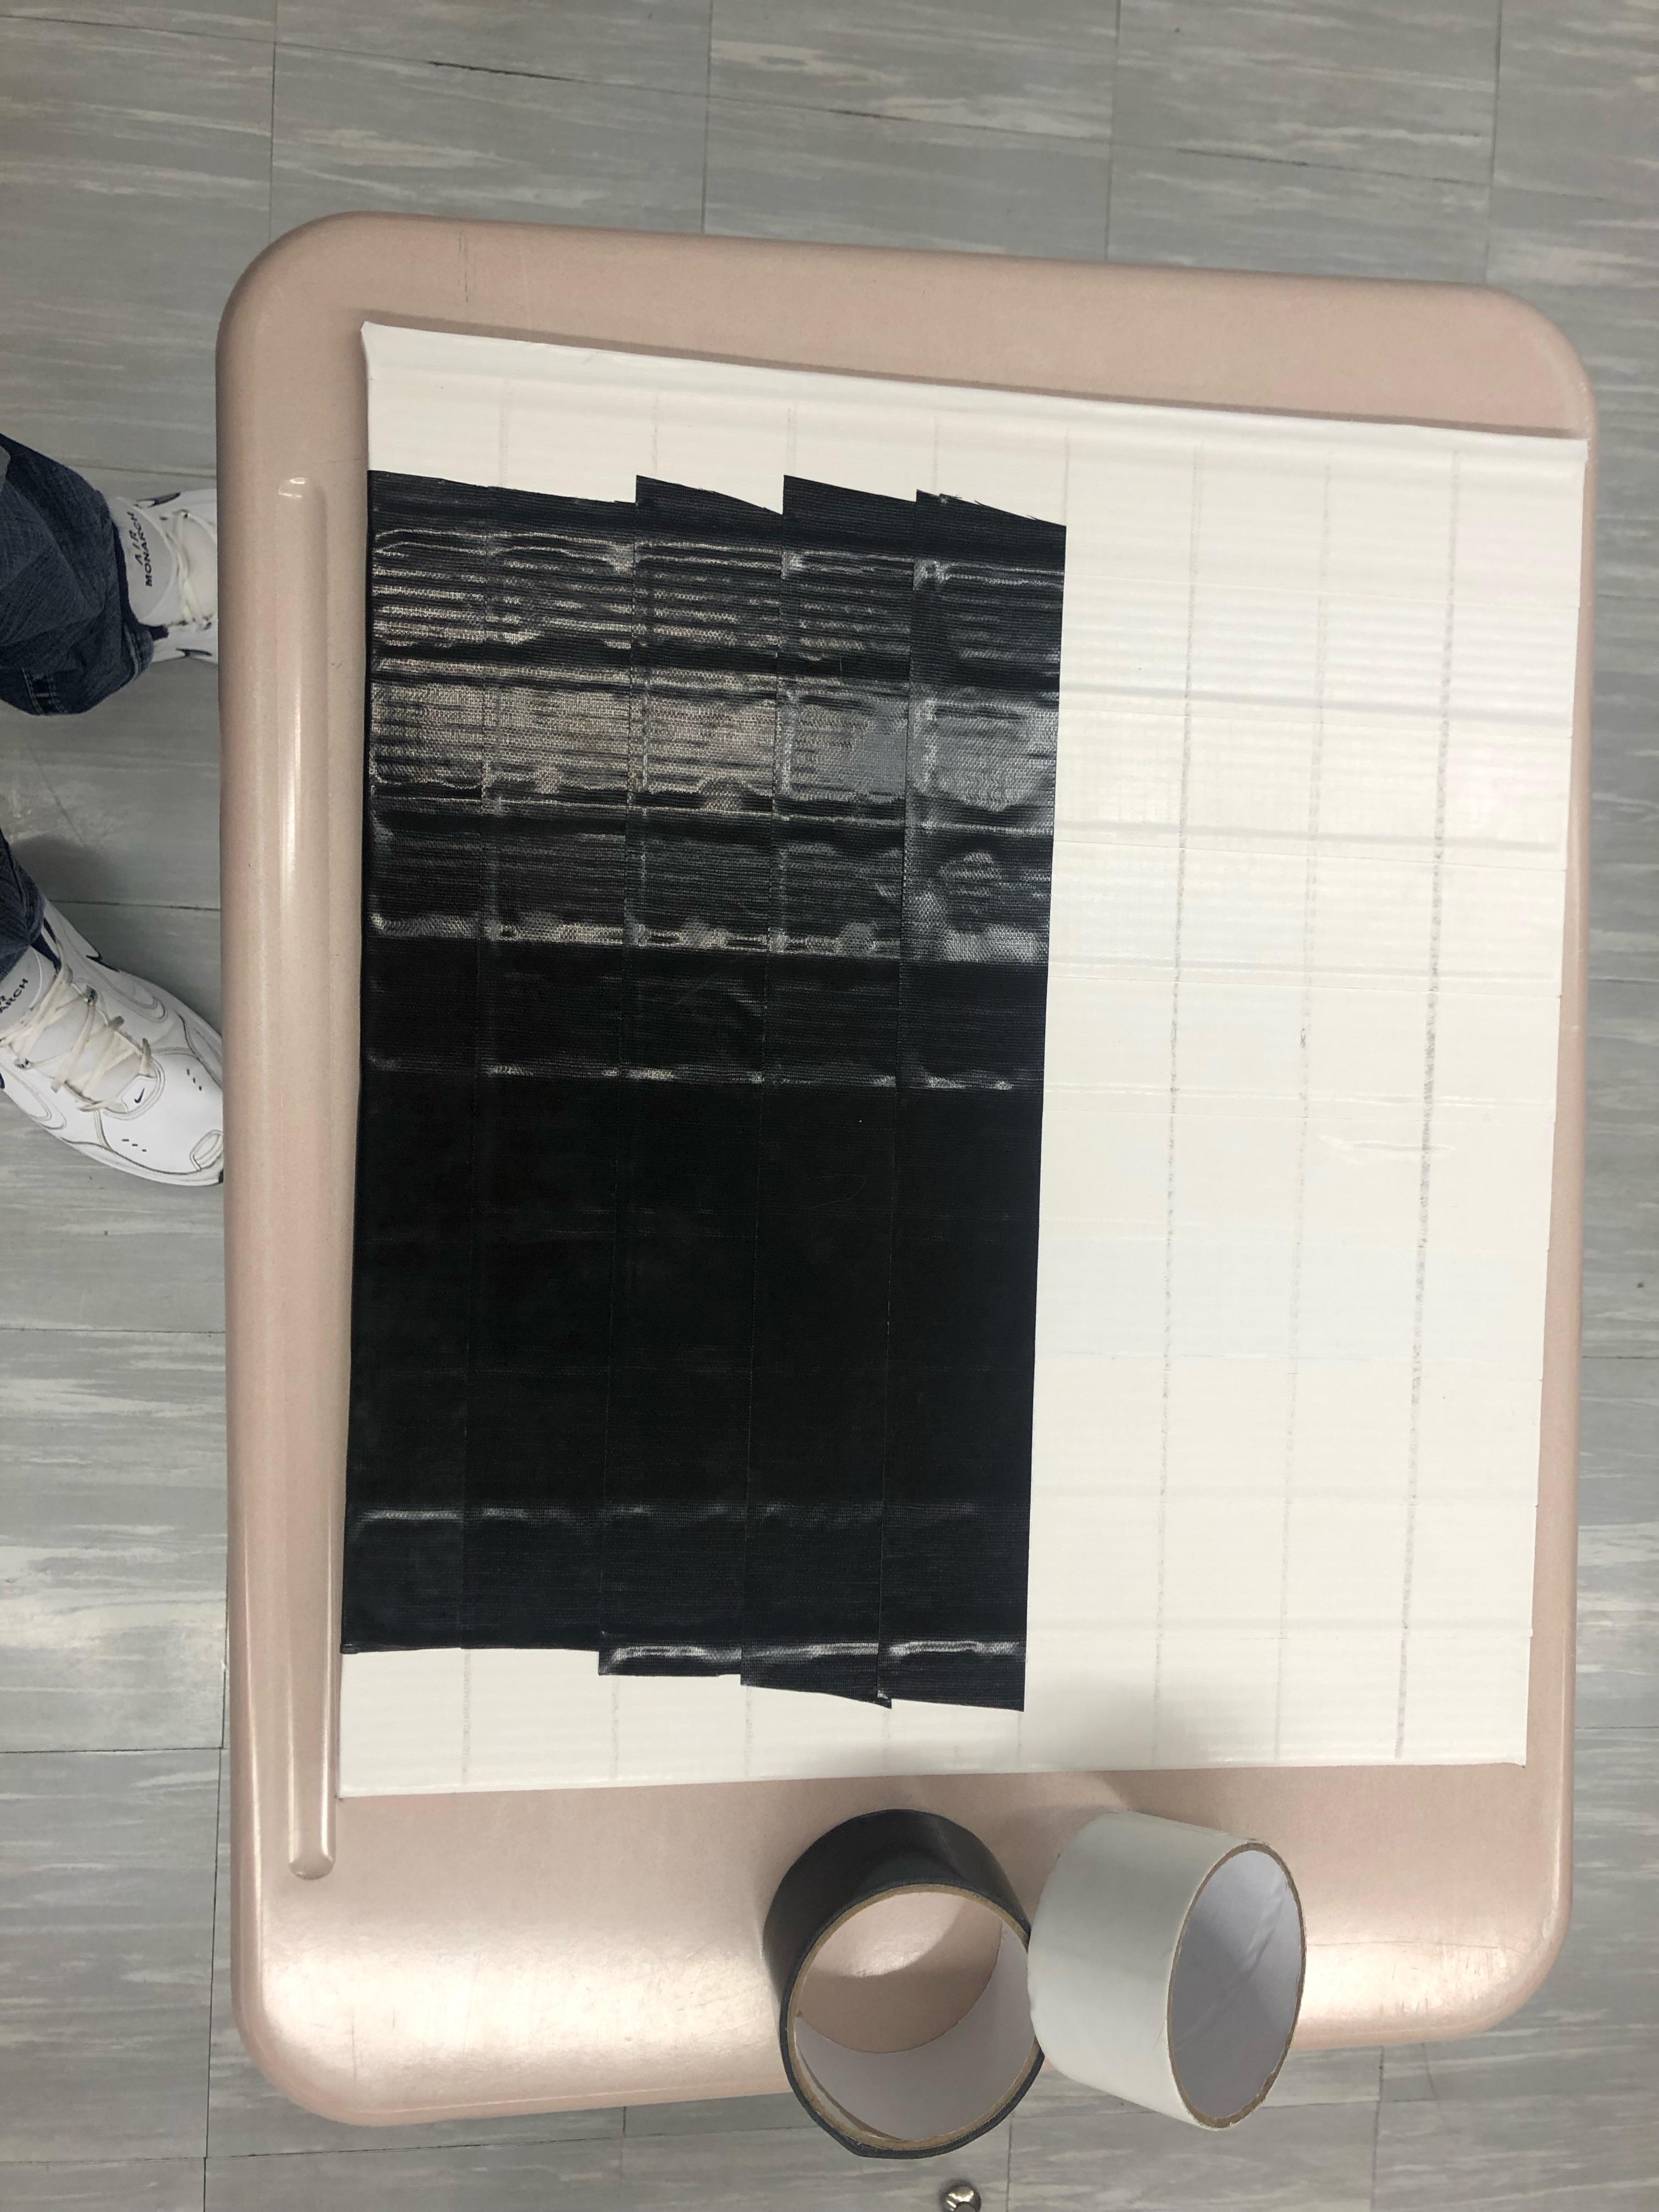
After you have your whole back ground covered, start layer your secondary colour. Be sure that you keep your second layer intact with your measurements and guides.
Here my secondary colour is black for my image.
Cut Out Your Desired Shape of Your Image
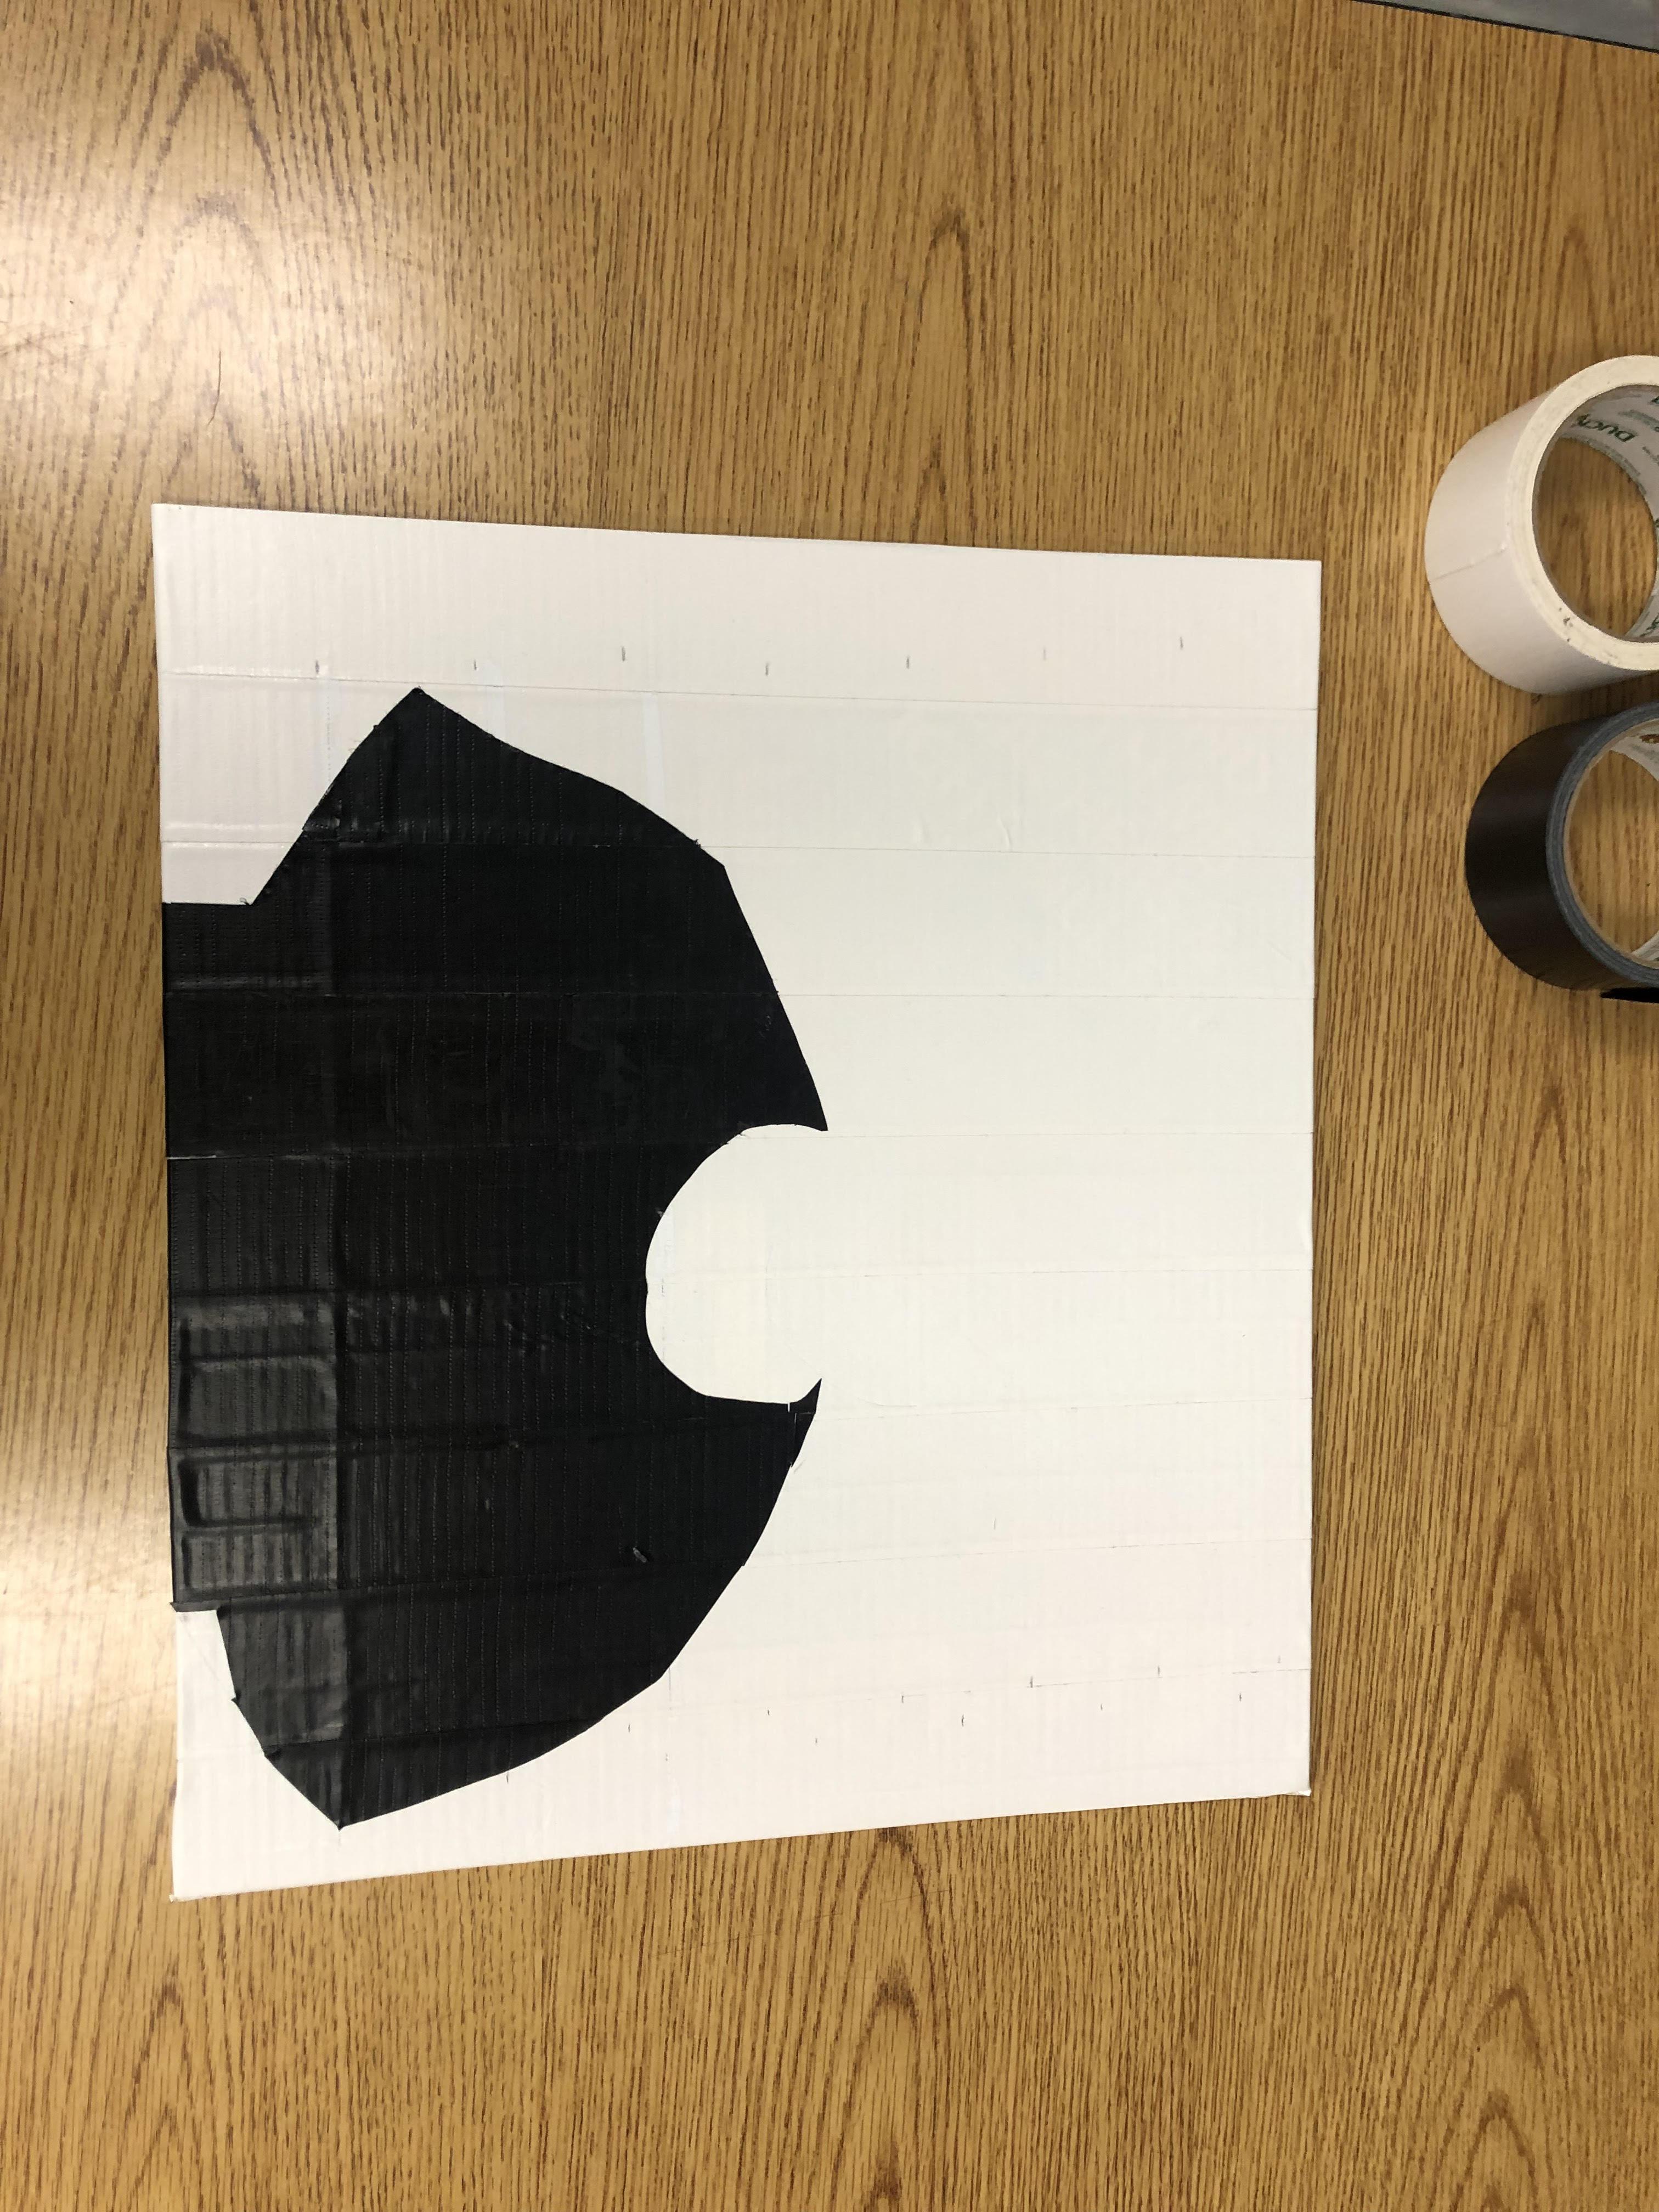
Once you have your secondary layer placed, start cutting out the edges and area that correspond with your image and guidelines from the grid.
Here I cut out the outline and image of my shirt using a knife, after placing down my secondary layer.
Continue Adding Detail to Your Image
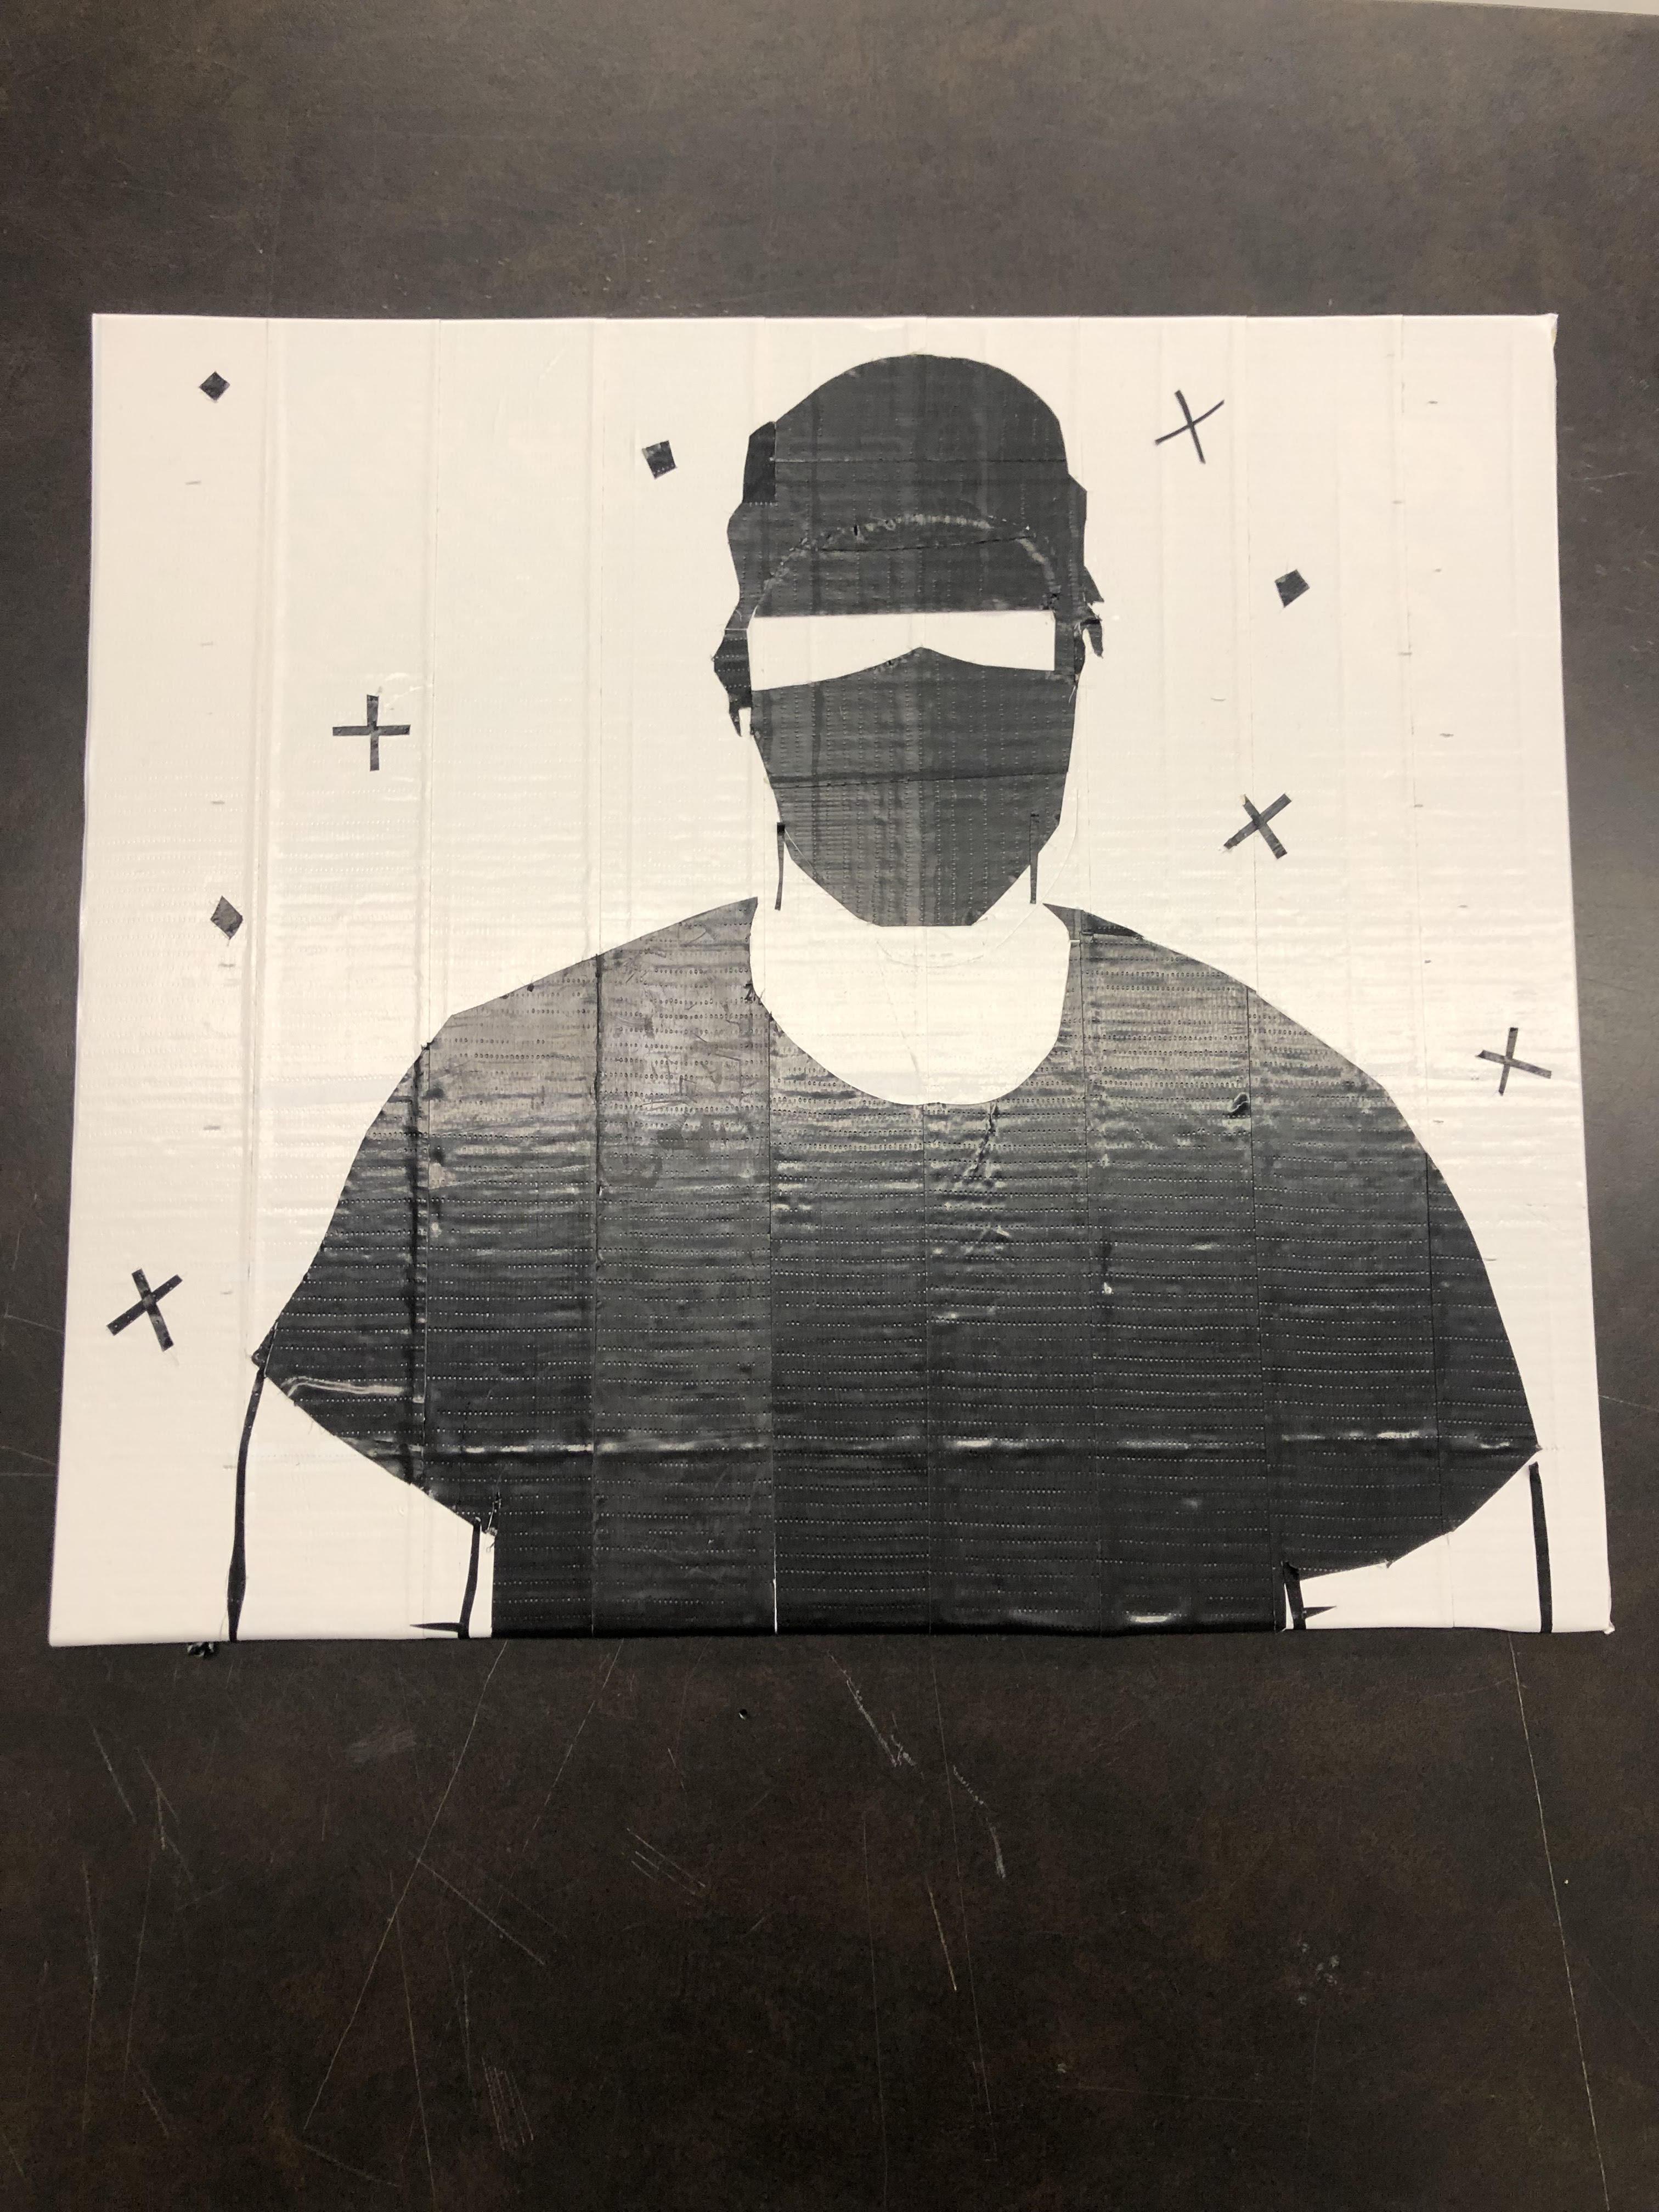
Keep adding little details and add some more of your own if you would like, this here is me after I got the rough image that I wanted and then added some more detailed edges to it
Finishing Touches
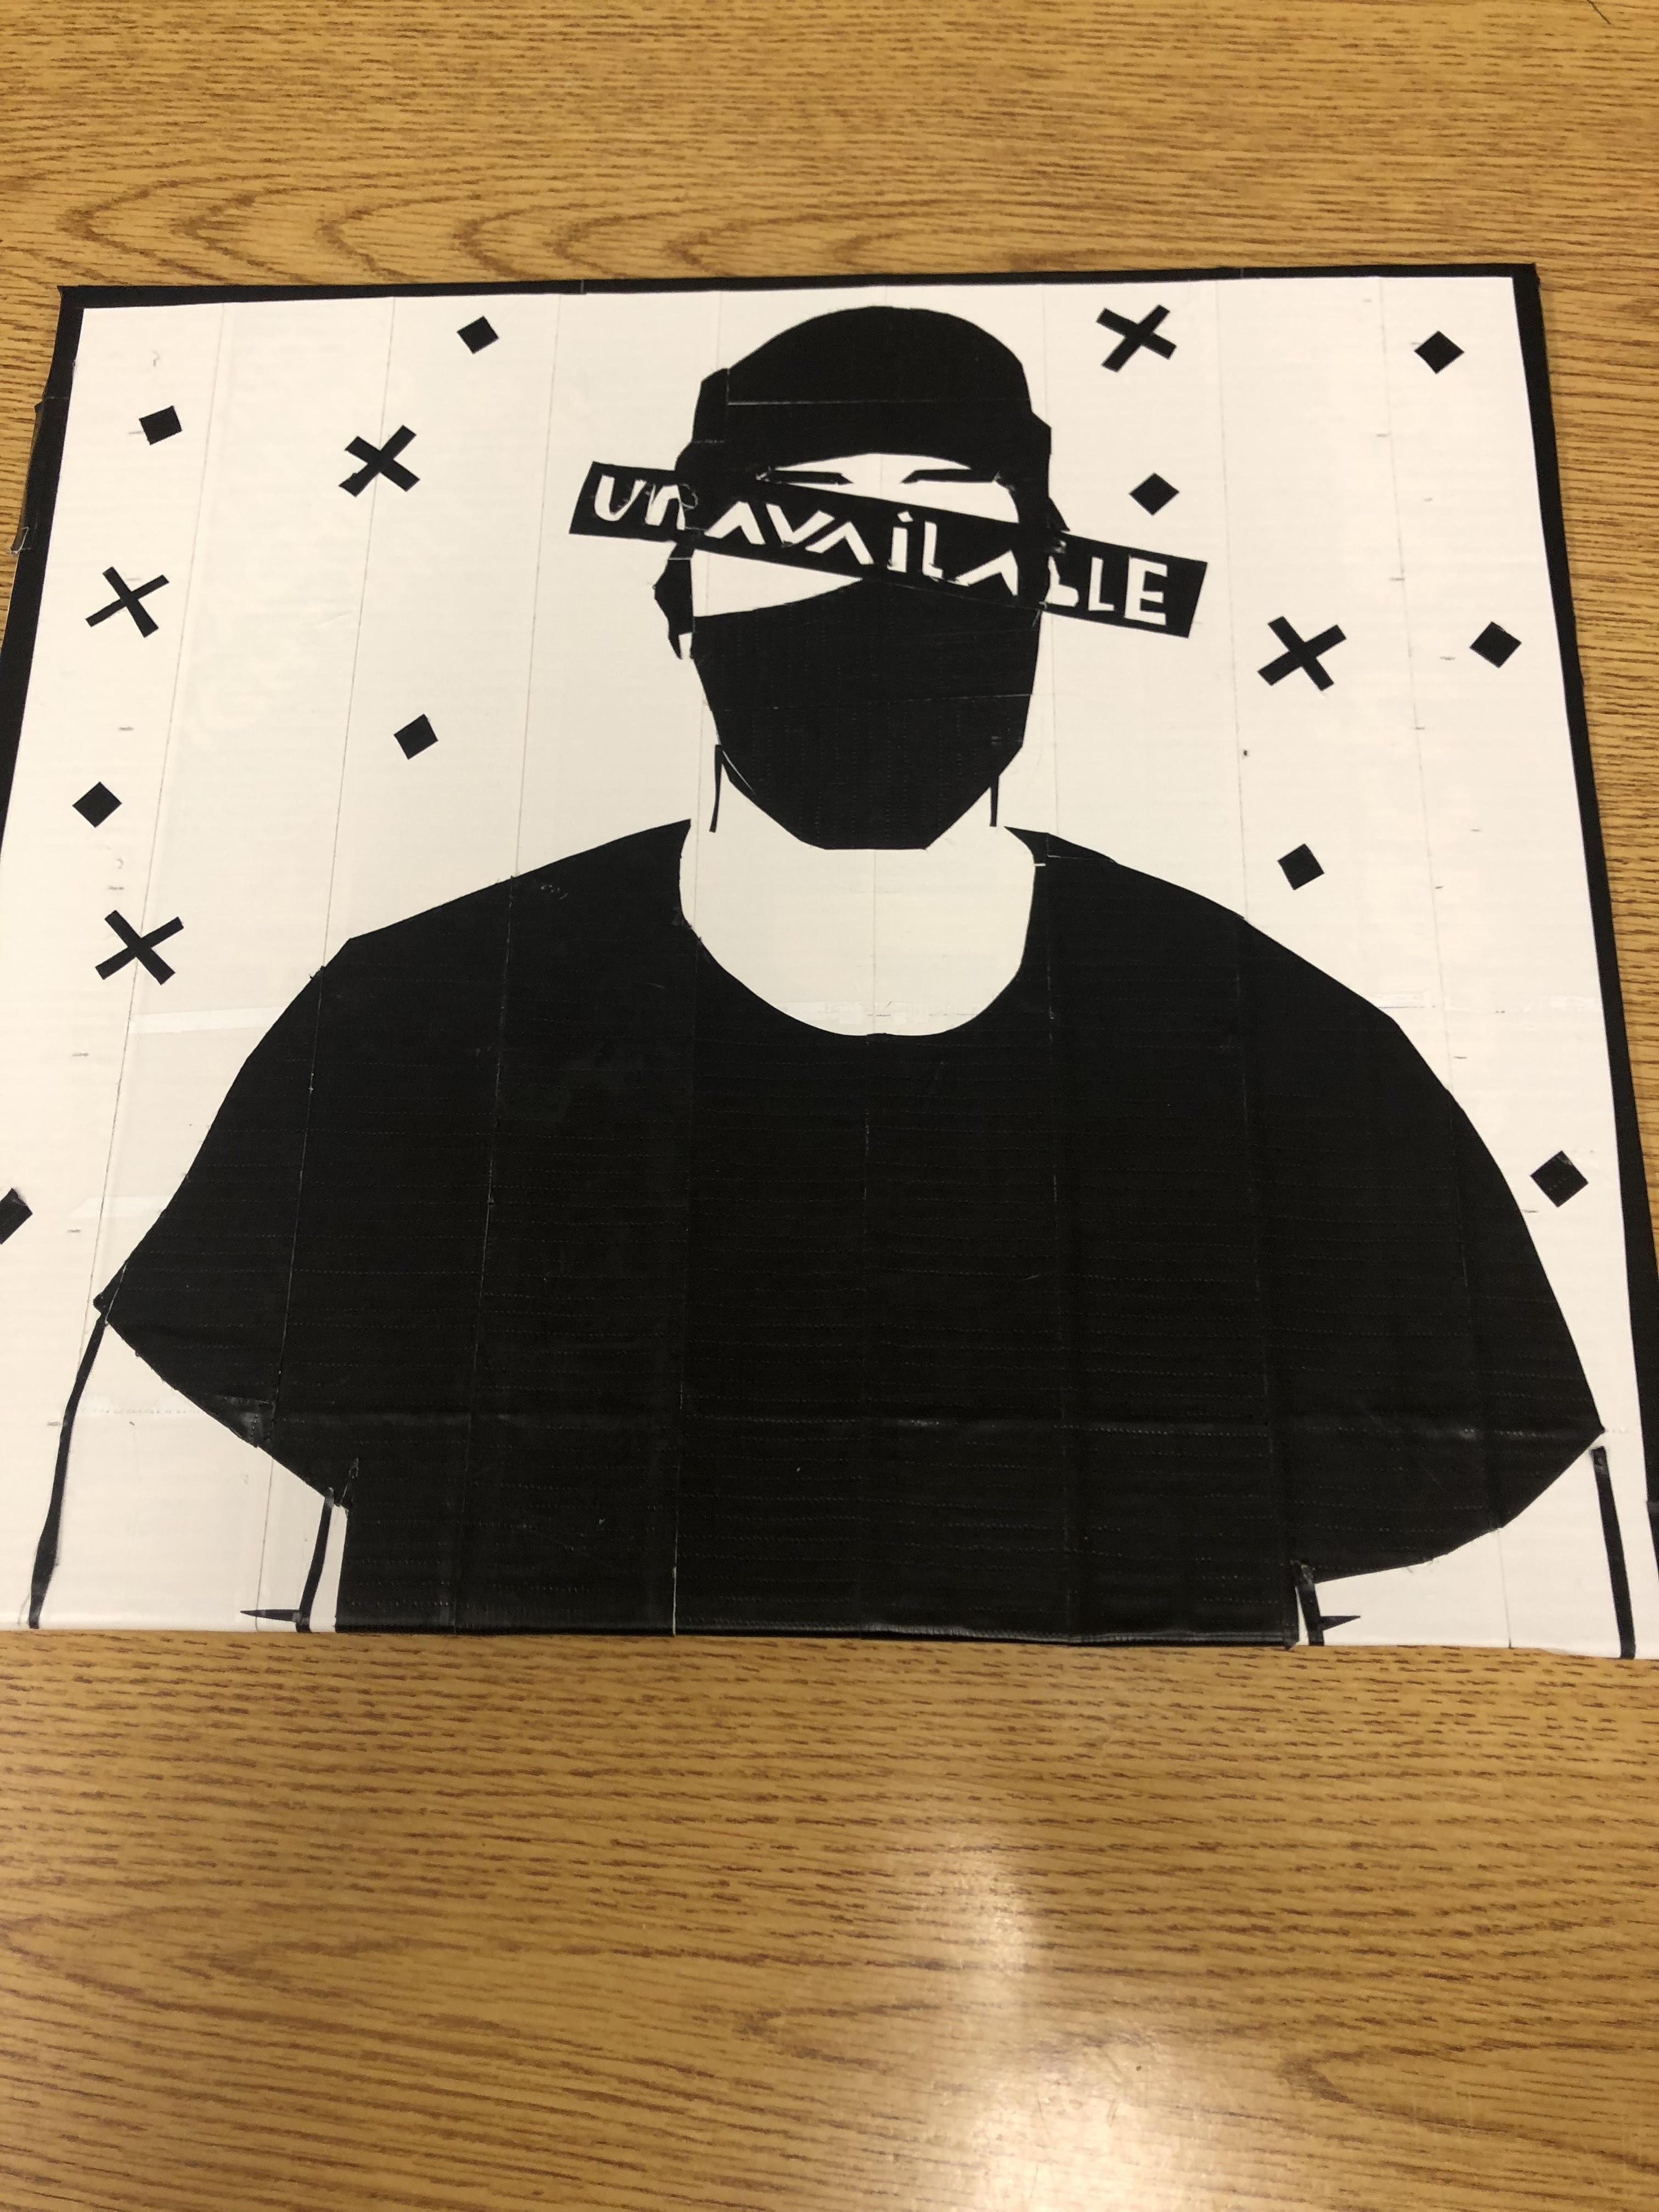
Feel free to add whatever you'd like, and now you have your finished product!