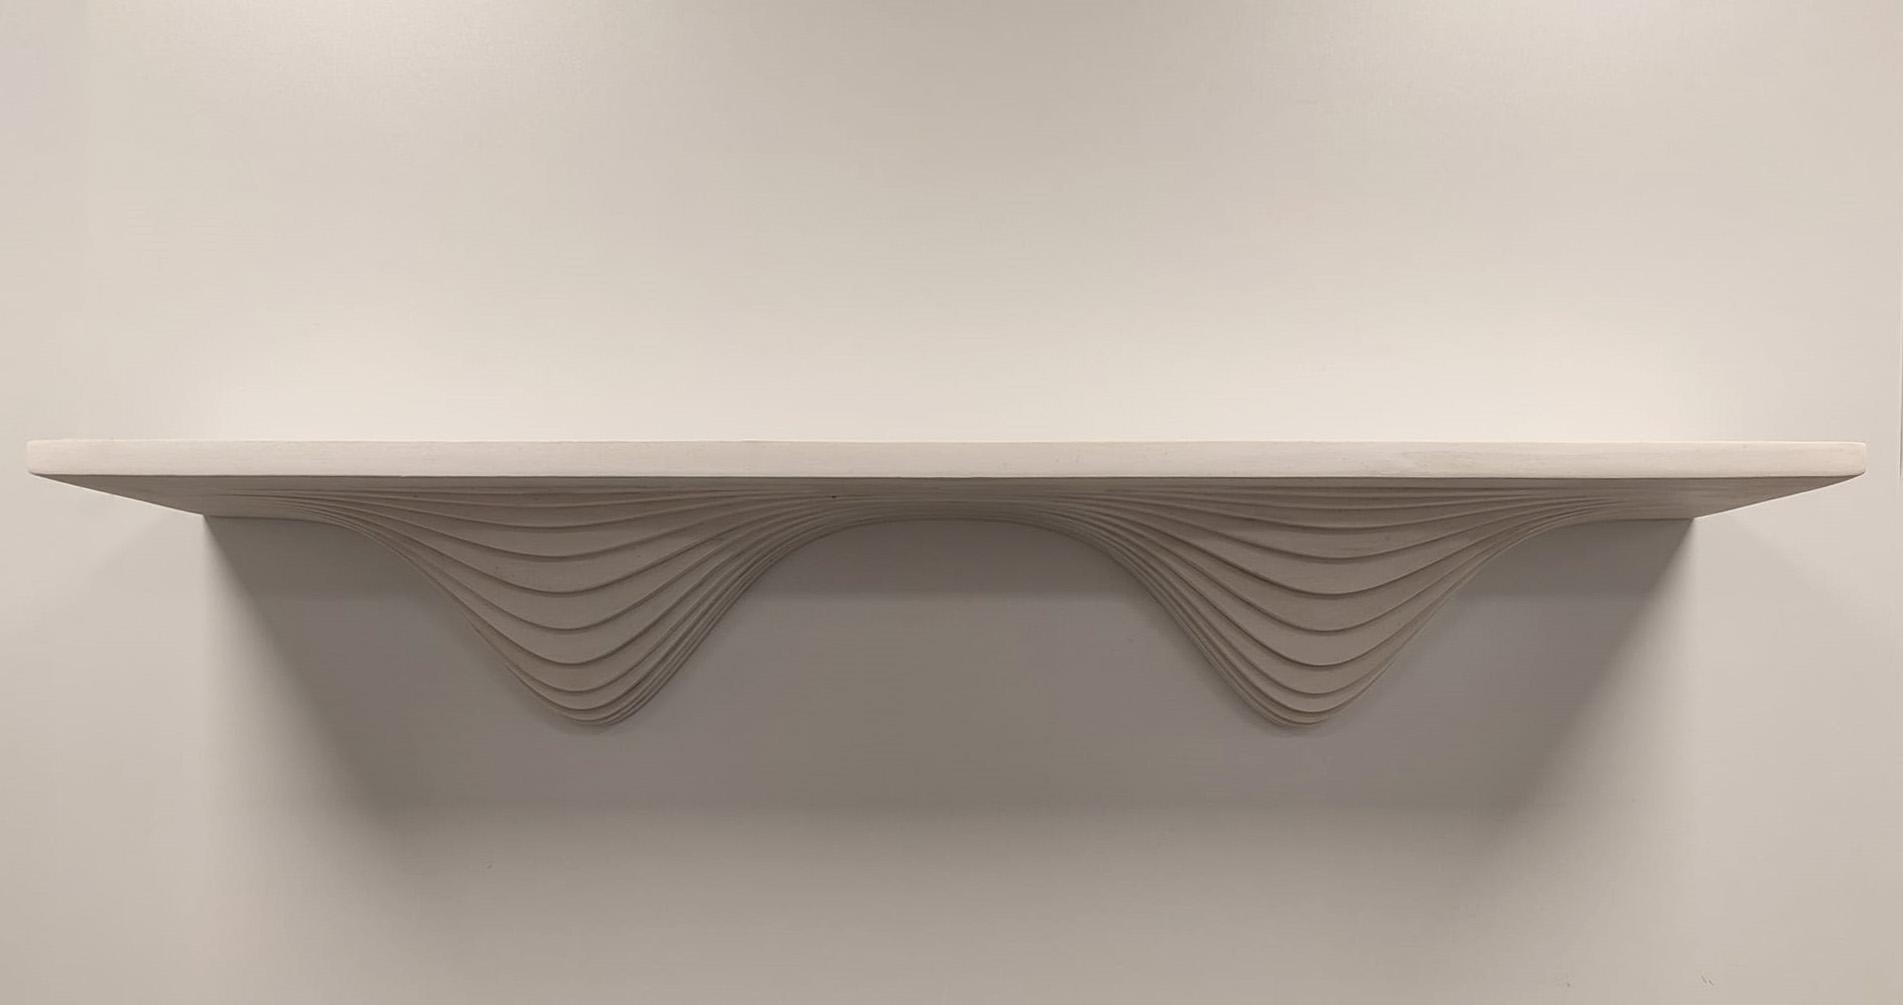
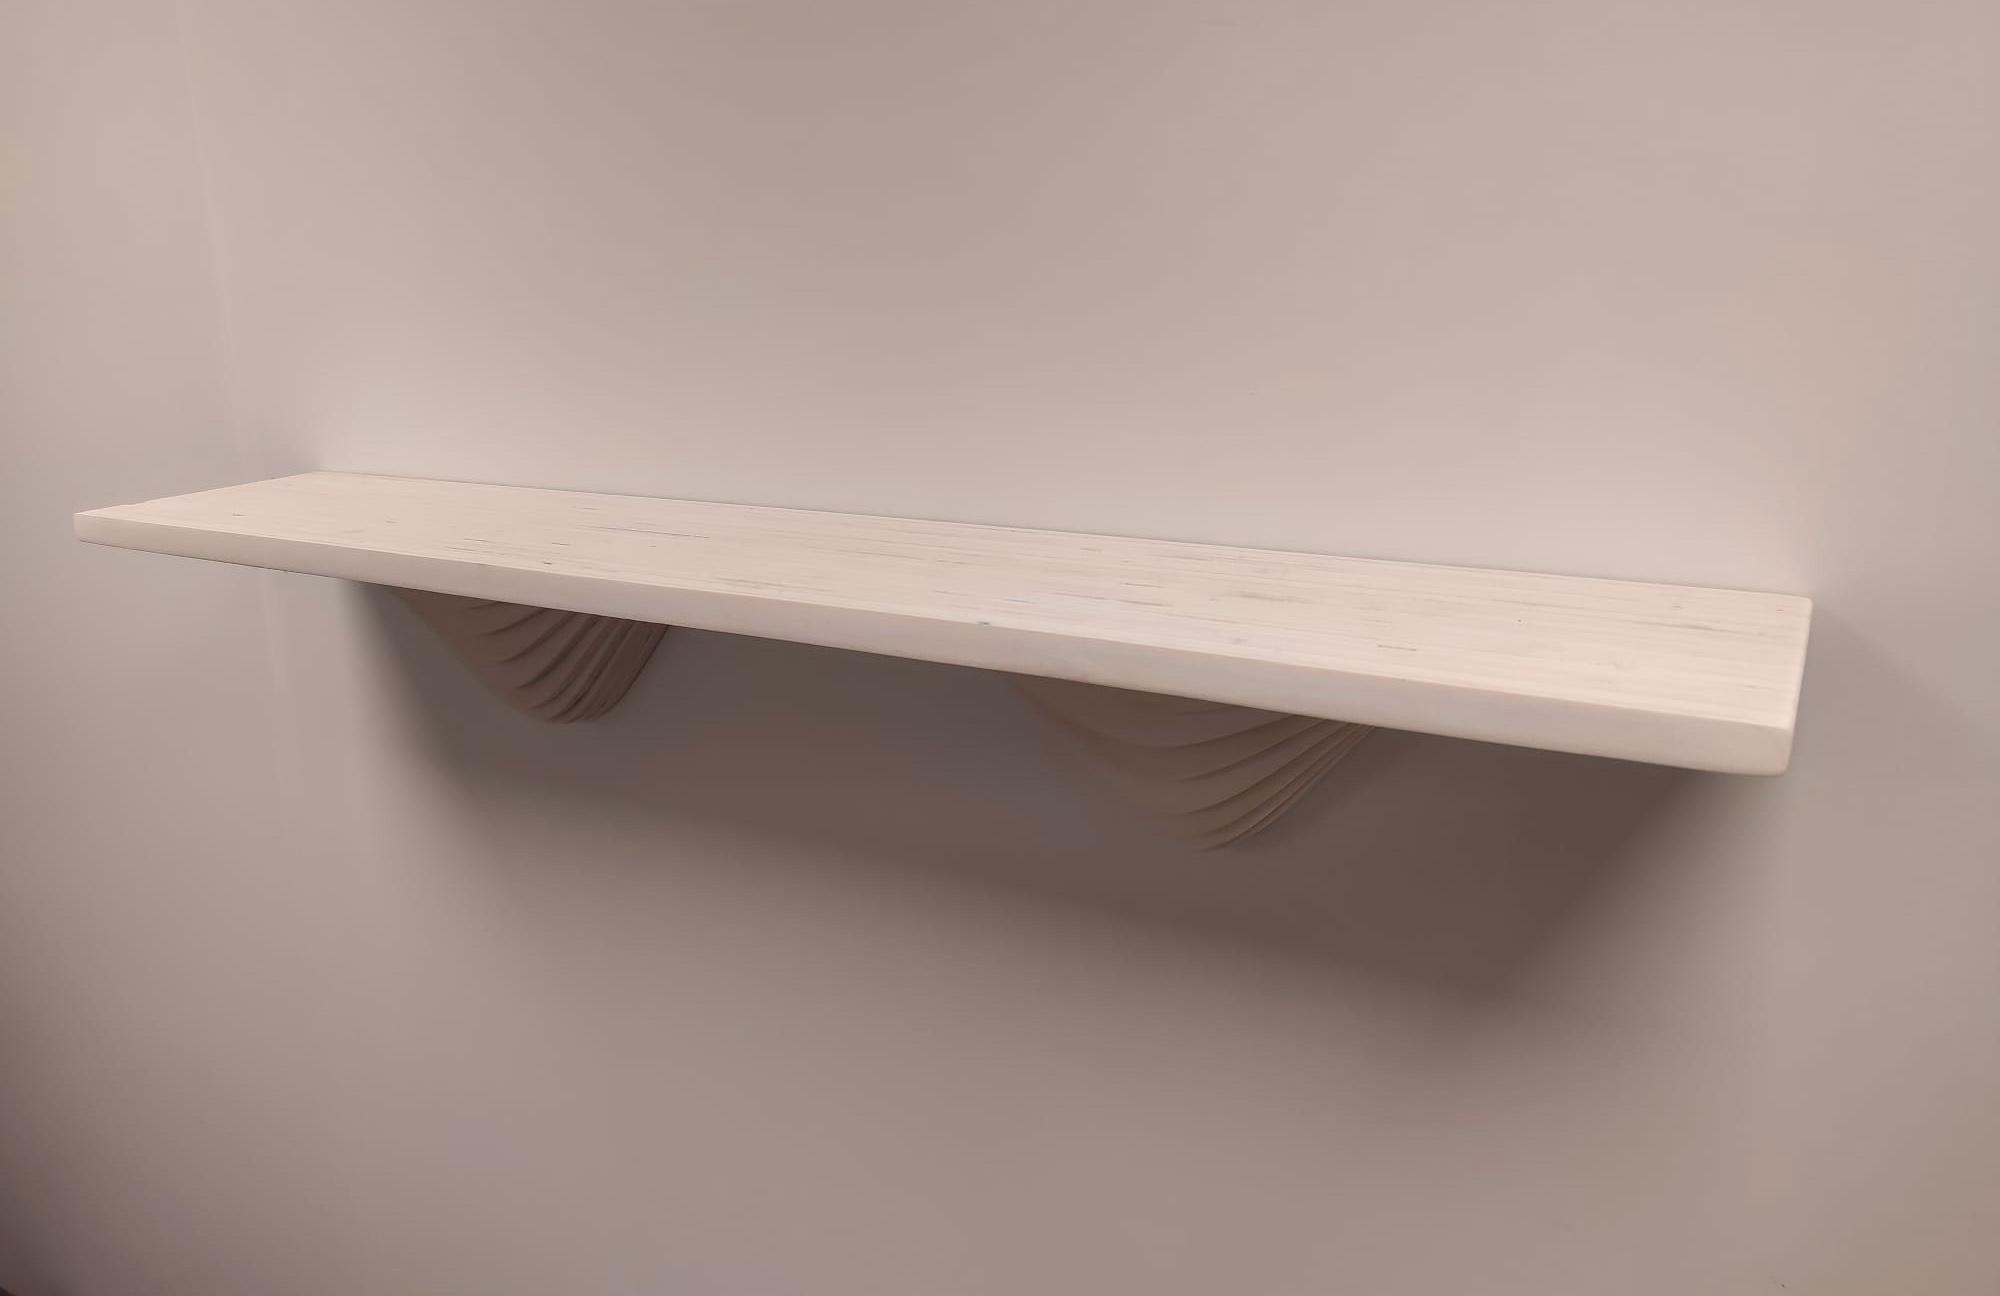
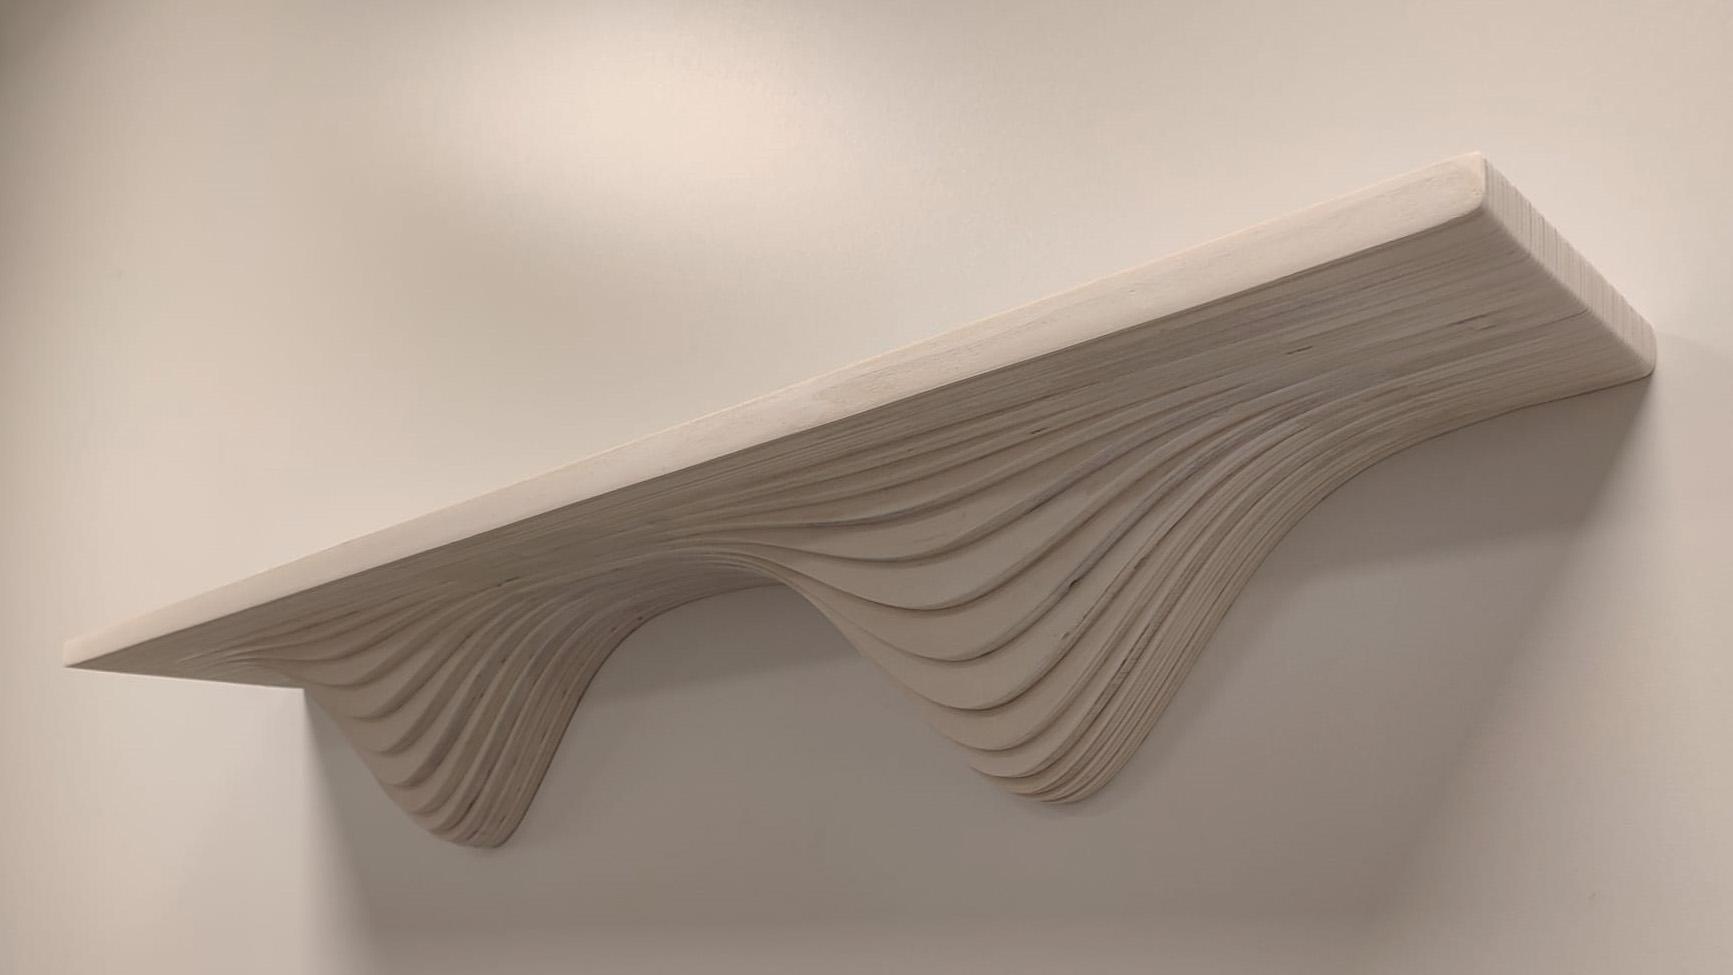
Dual Wave Bookshelf
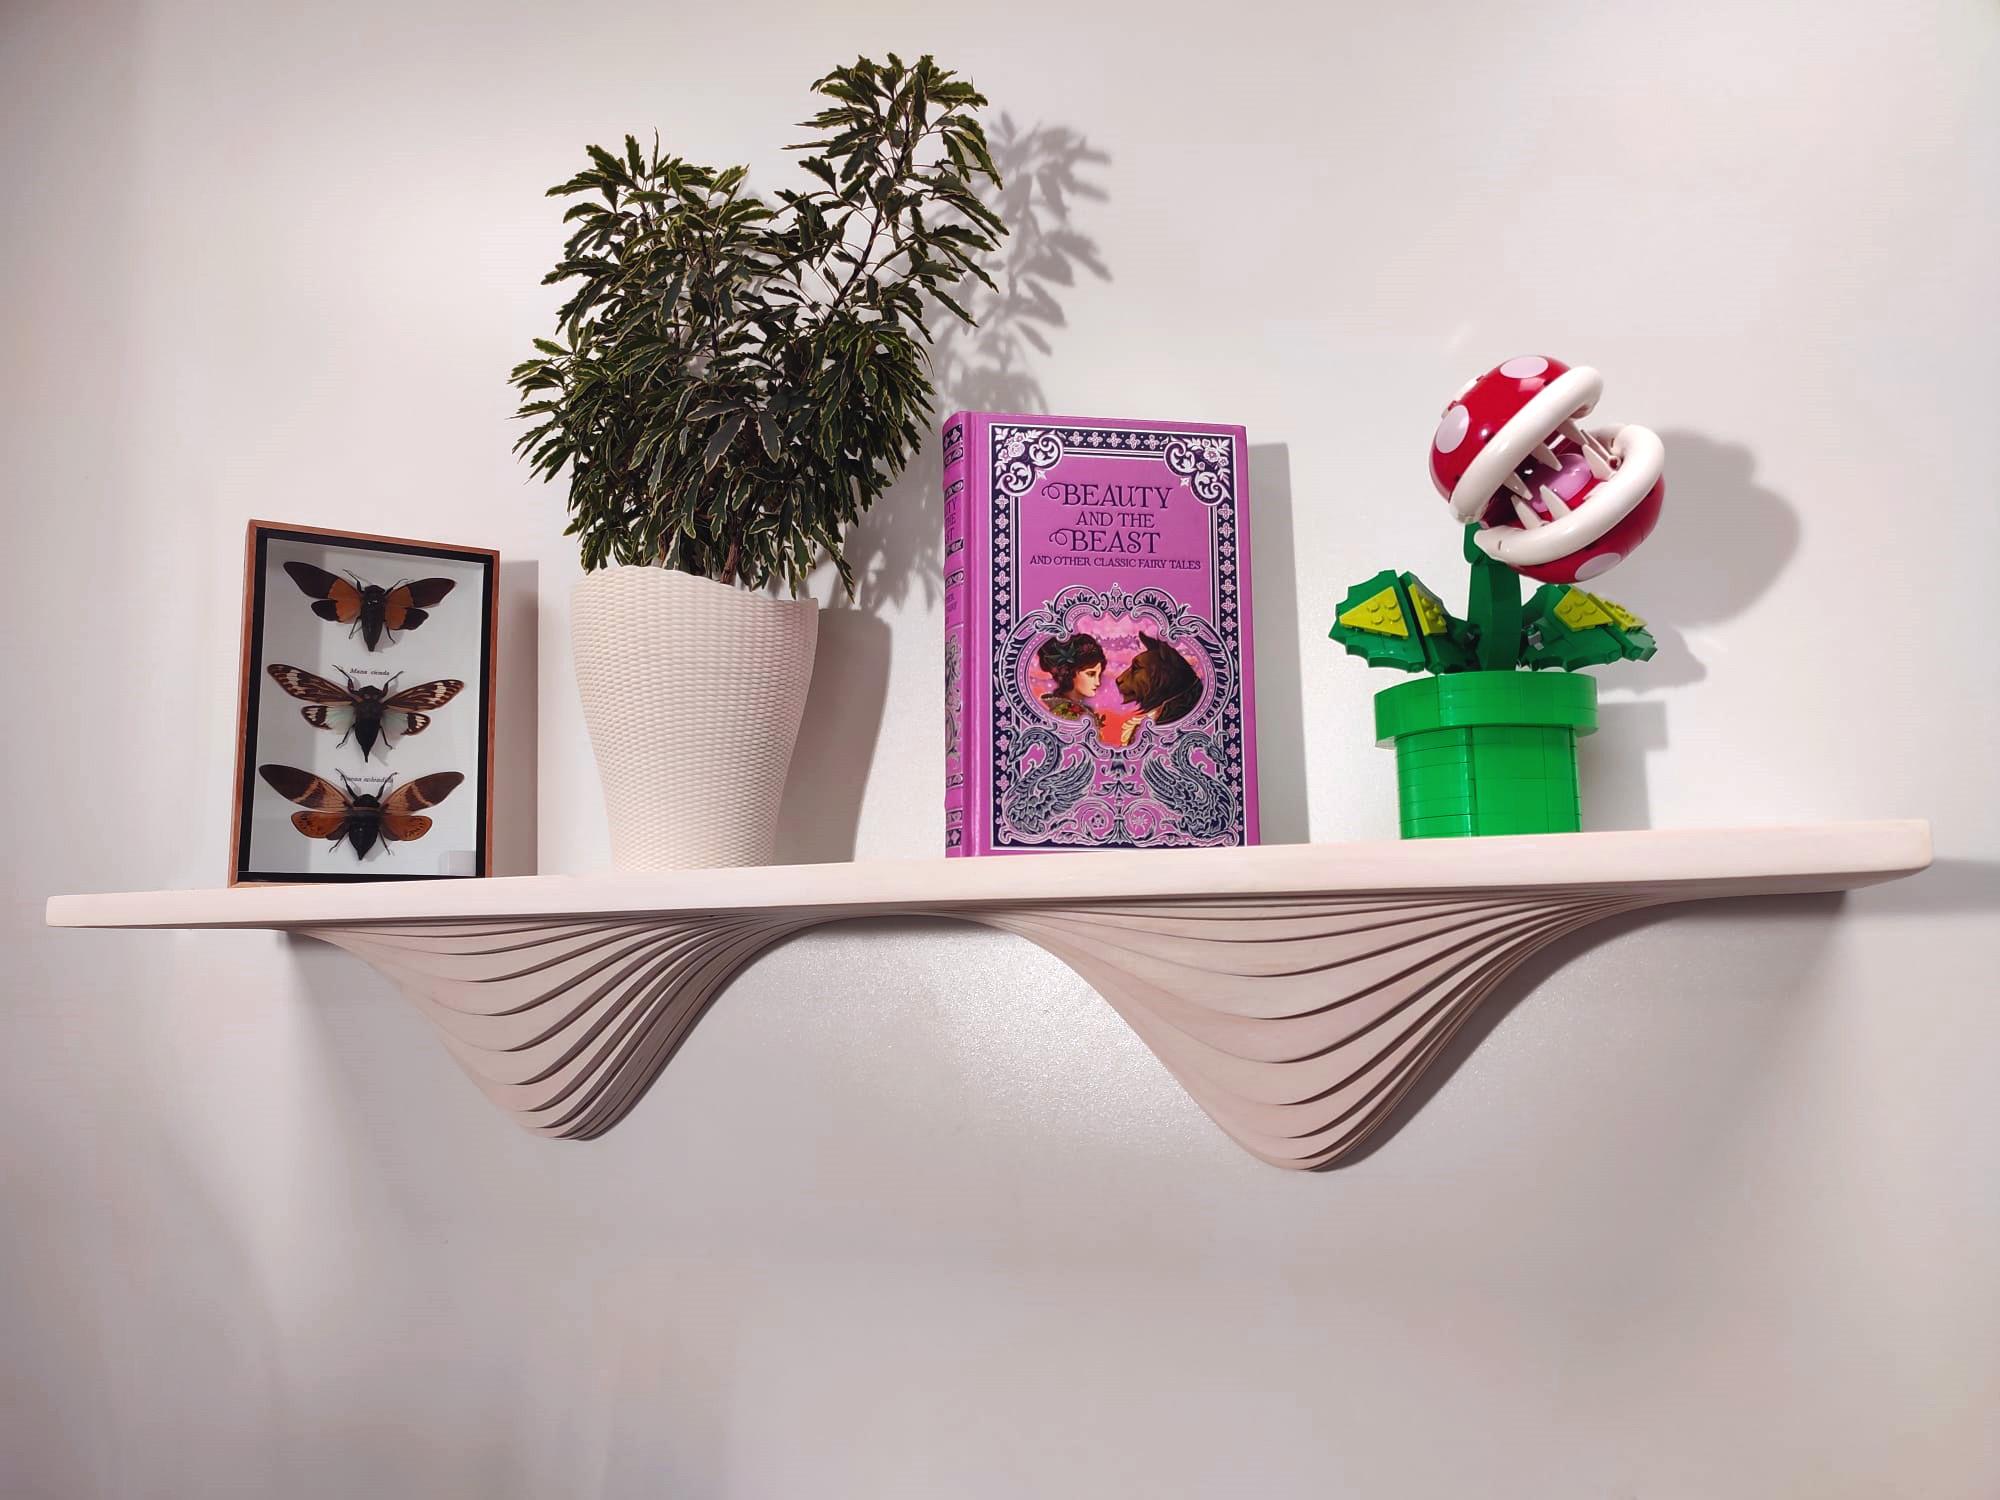

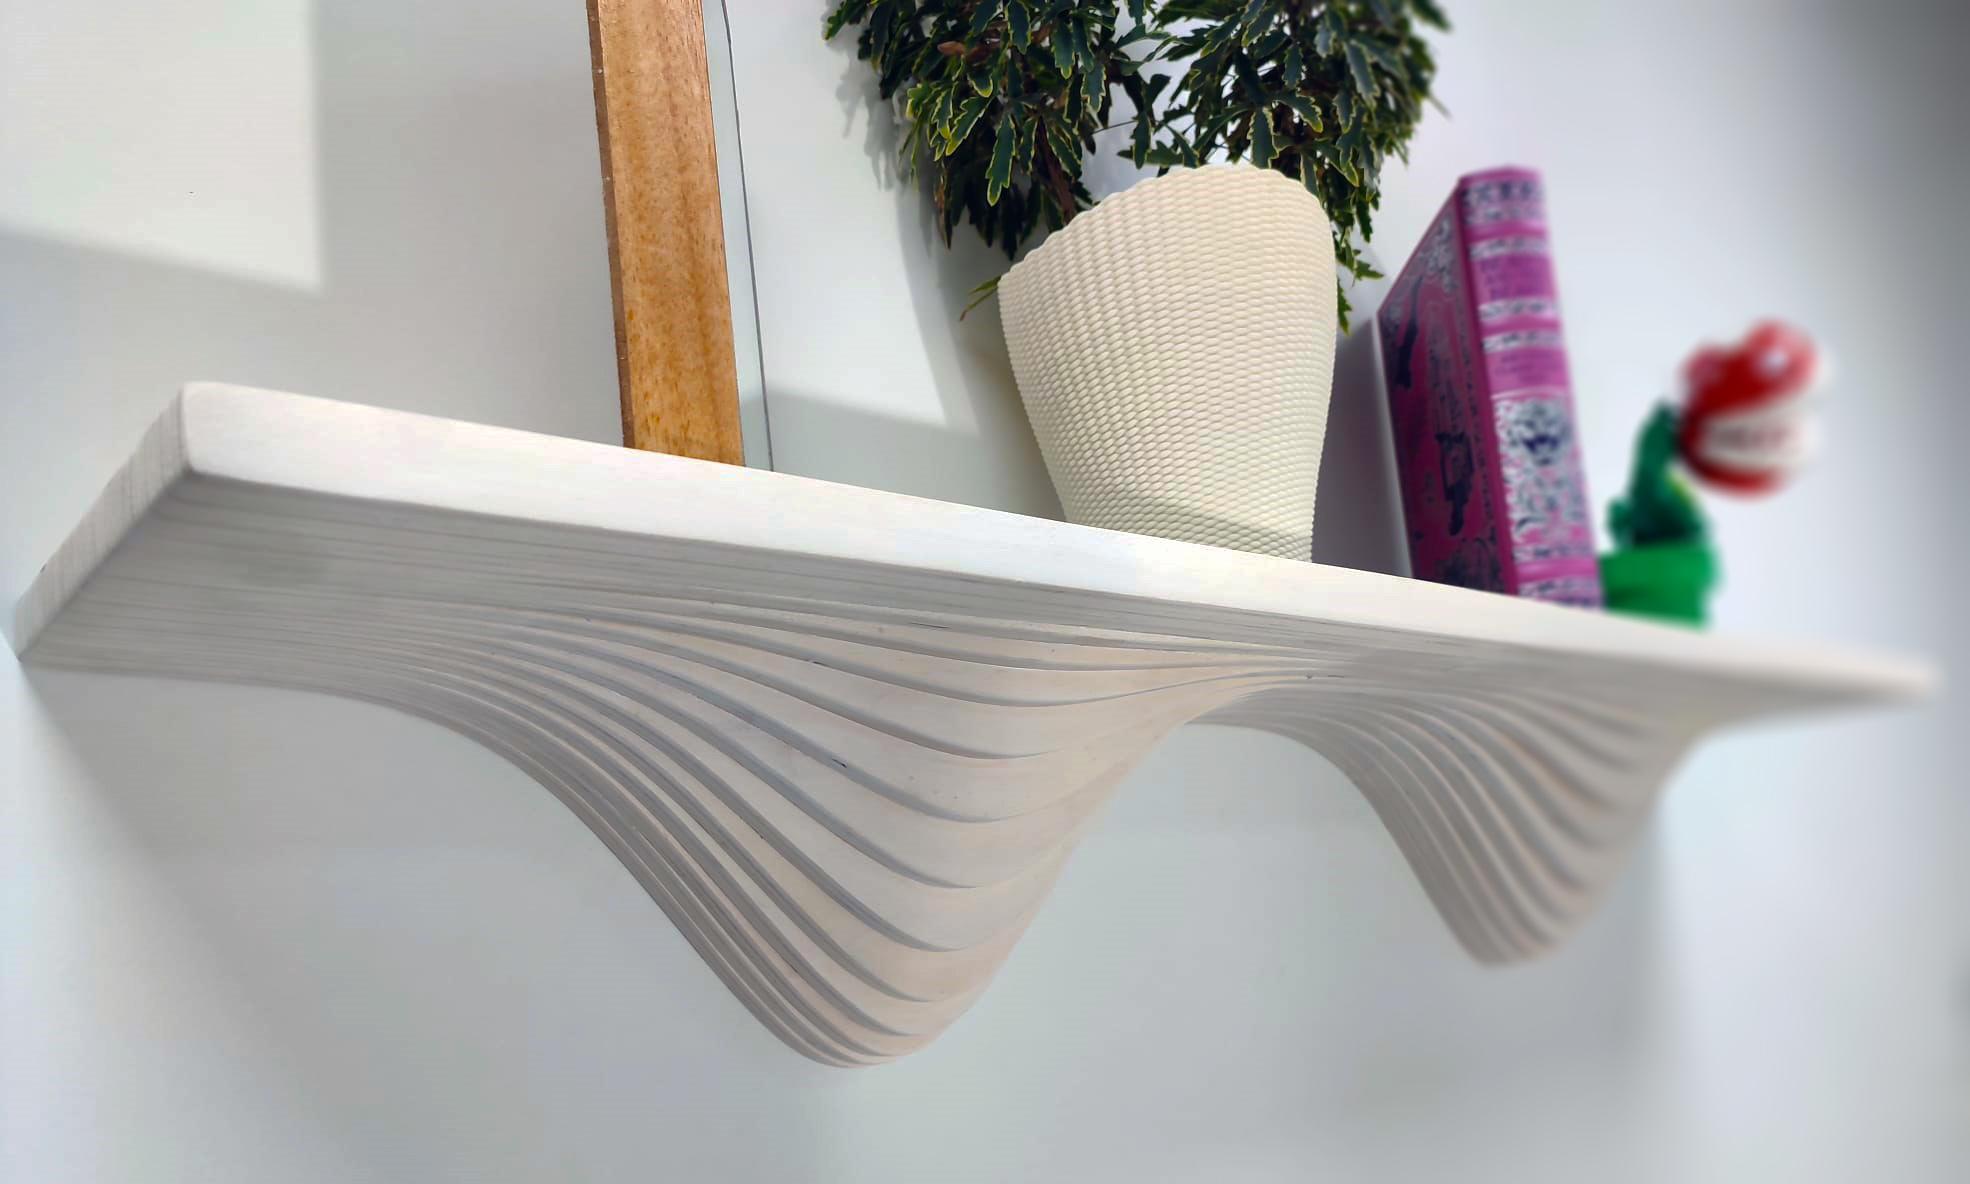
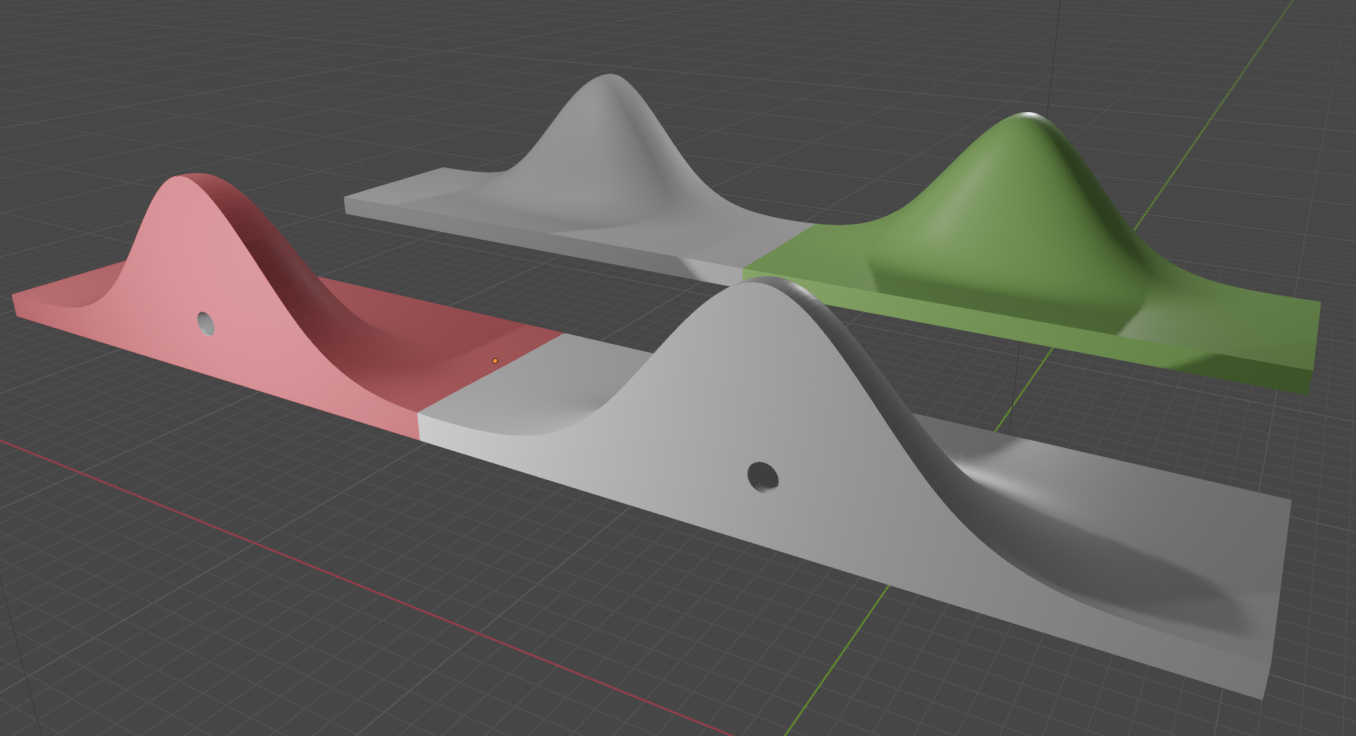
In this Instructable I created a (book)shelf with cutouts of plywood to create a nice sliced, dual wave shape underneath the shelf. Let's get started!
Supplies

- Wood glue
- Some screws
- Plugs, depending on the wall you're attaching it to
- Glue clamps
- Jigsaw / bandsaw (/laser- or waterjet cutter if you're feeling fancy)
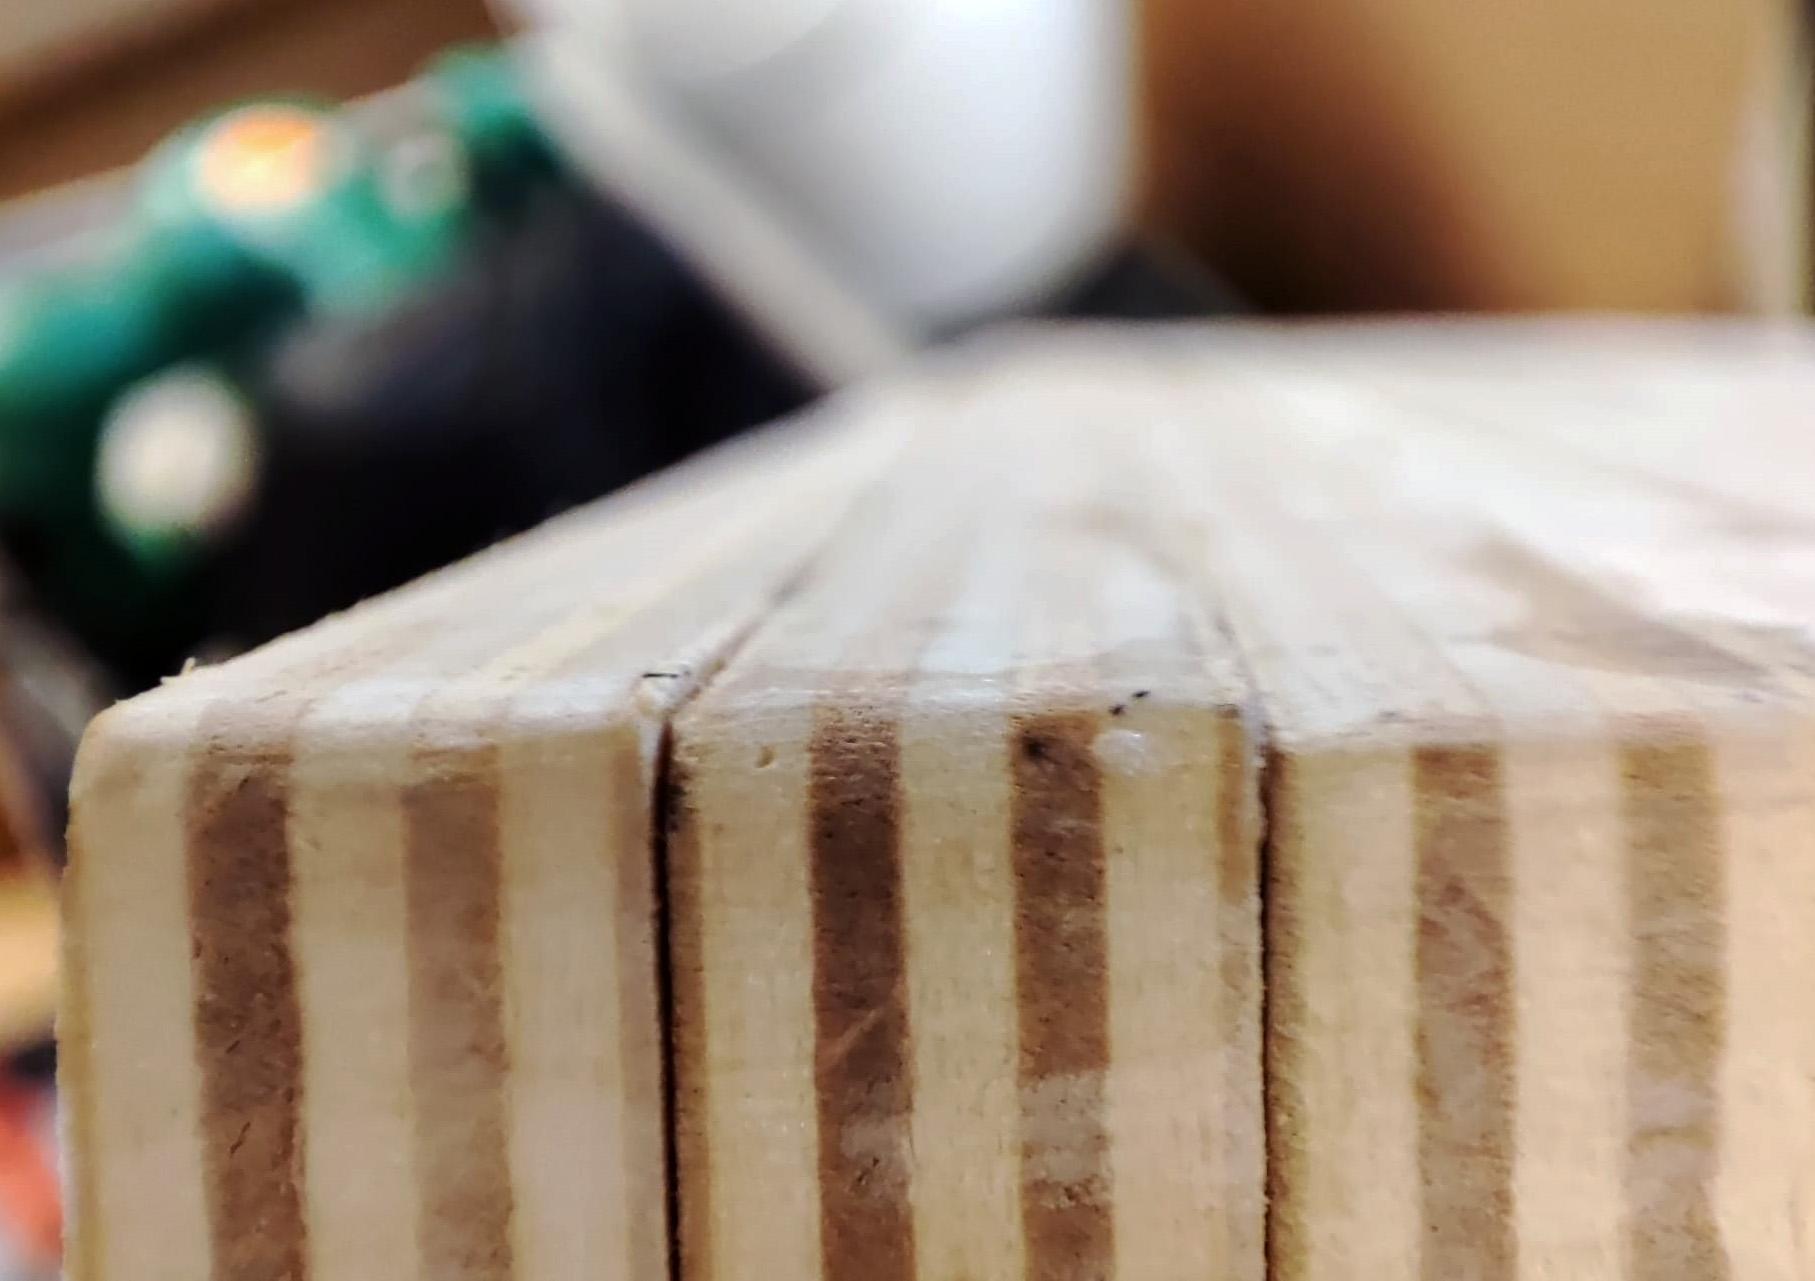
- plywood of choice (12mm for this particular drawing in the Instructable)
- paint / lacquer / varnish
- Software: Blender and Autodesk Slicer for Fusion 360
3D Model Design
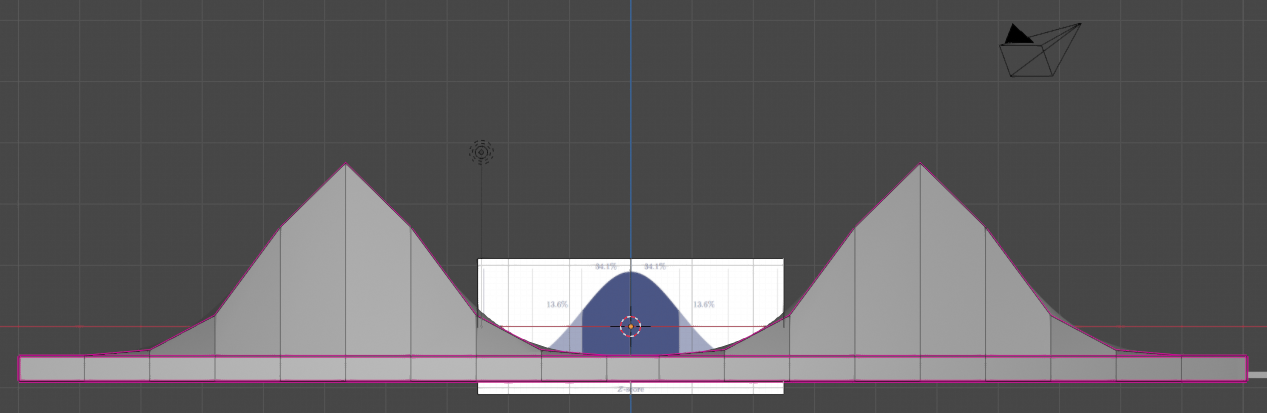
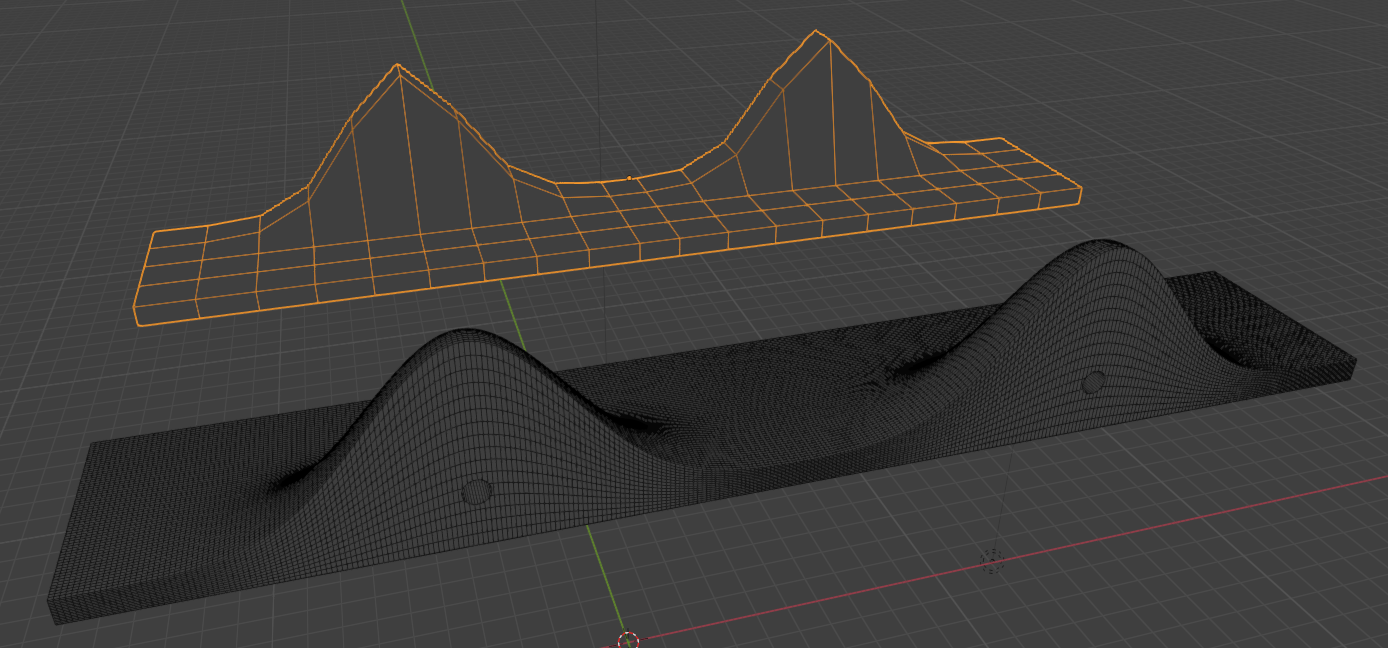
I designed the shelf in blender. Blender is totally free and super powerful software. The model I made is a simple model and blender makes excellent use for making smooth curves in an easy way. Blender can be intimidating to start with but YouTube is full of excellent tutorials that help you to start out in no-time.
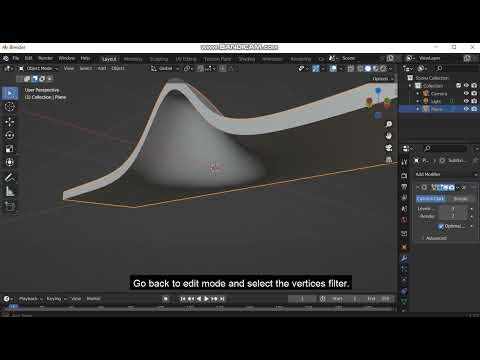
In the video I explain how to easily get a shape that is like mine or similar to create a usable mesh file. Run the Blender software and it will show a standard layout with the classic cube. Follow the instructions in the video in this step.
To create a mesh 3D model from Blender, just go to file -> export -> Stl and save your model with a referred name.
The file I created, different from the my tutorial video, can be downloaded here.
Downloads
Slicing 3D Model to 2D Cuts

To be able to go from a 3D model to sliced or stacked 2D shapes, Autodesk has a great tool to do that super easily. With this tool, you can load a 3D model, choose a material thickness you want to use, etc. A standalone version can be downloaded with the following link:
Link to Slicer software for Fusion 360 standalone installer
Open the exported STL file in the software.
Click the pencil under the manufacturing settings and add the material you're using. I used 12 mm plywood.
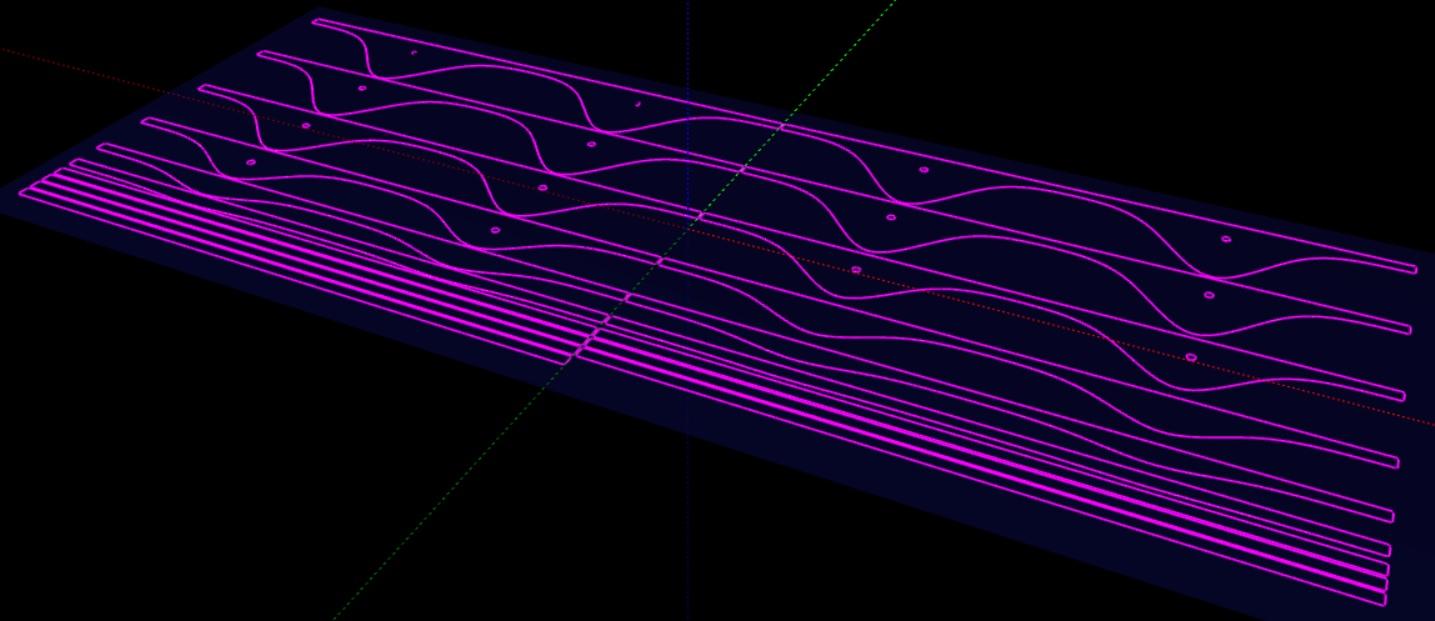
Under there you want to use stacked slices in the case.
Next up is to change the direction of the slices if that's necessary depending on your model orientation.
Select dowels to make holes in the back to be able to attach it to a wall in the next step. I already fitted holes of 12 mm in the STL model and the DXF file in this instructable.
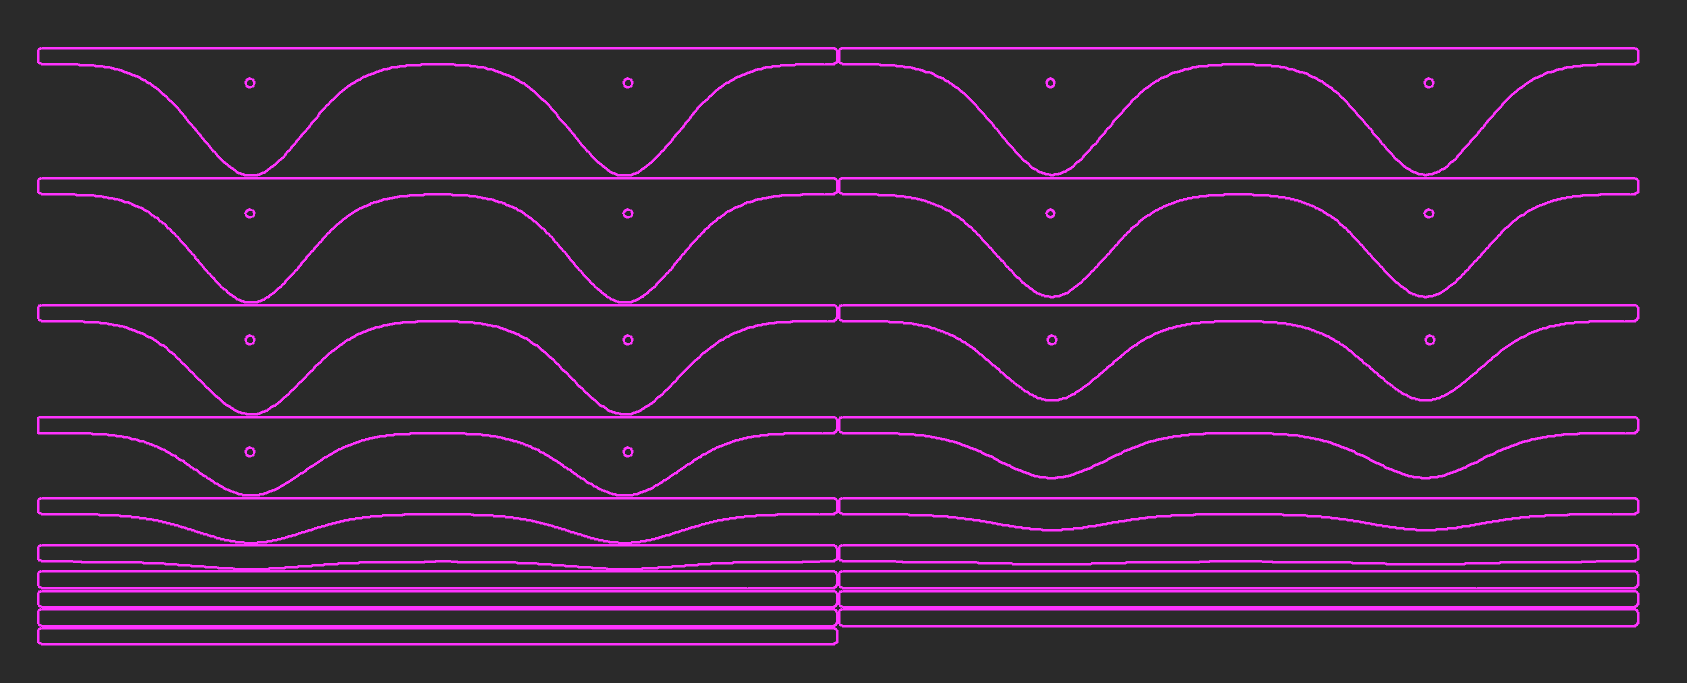
Get plans is the last step to create a DXF or PDF to create a vector file with all the 2D shapes needed.
The DXF I made can be downloaded from here.
Downloads
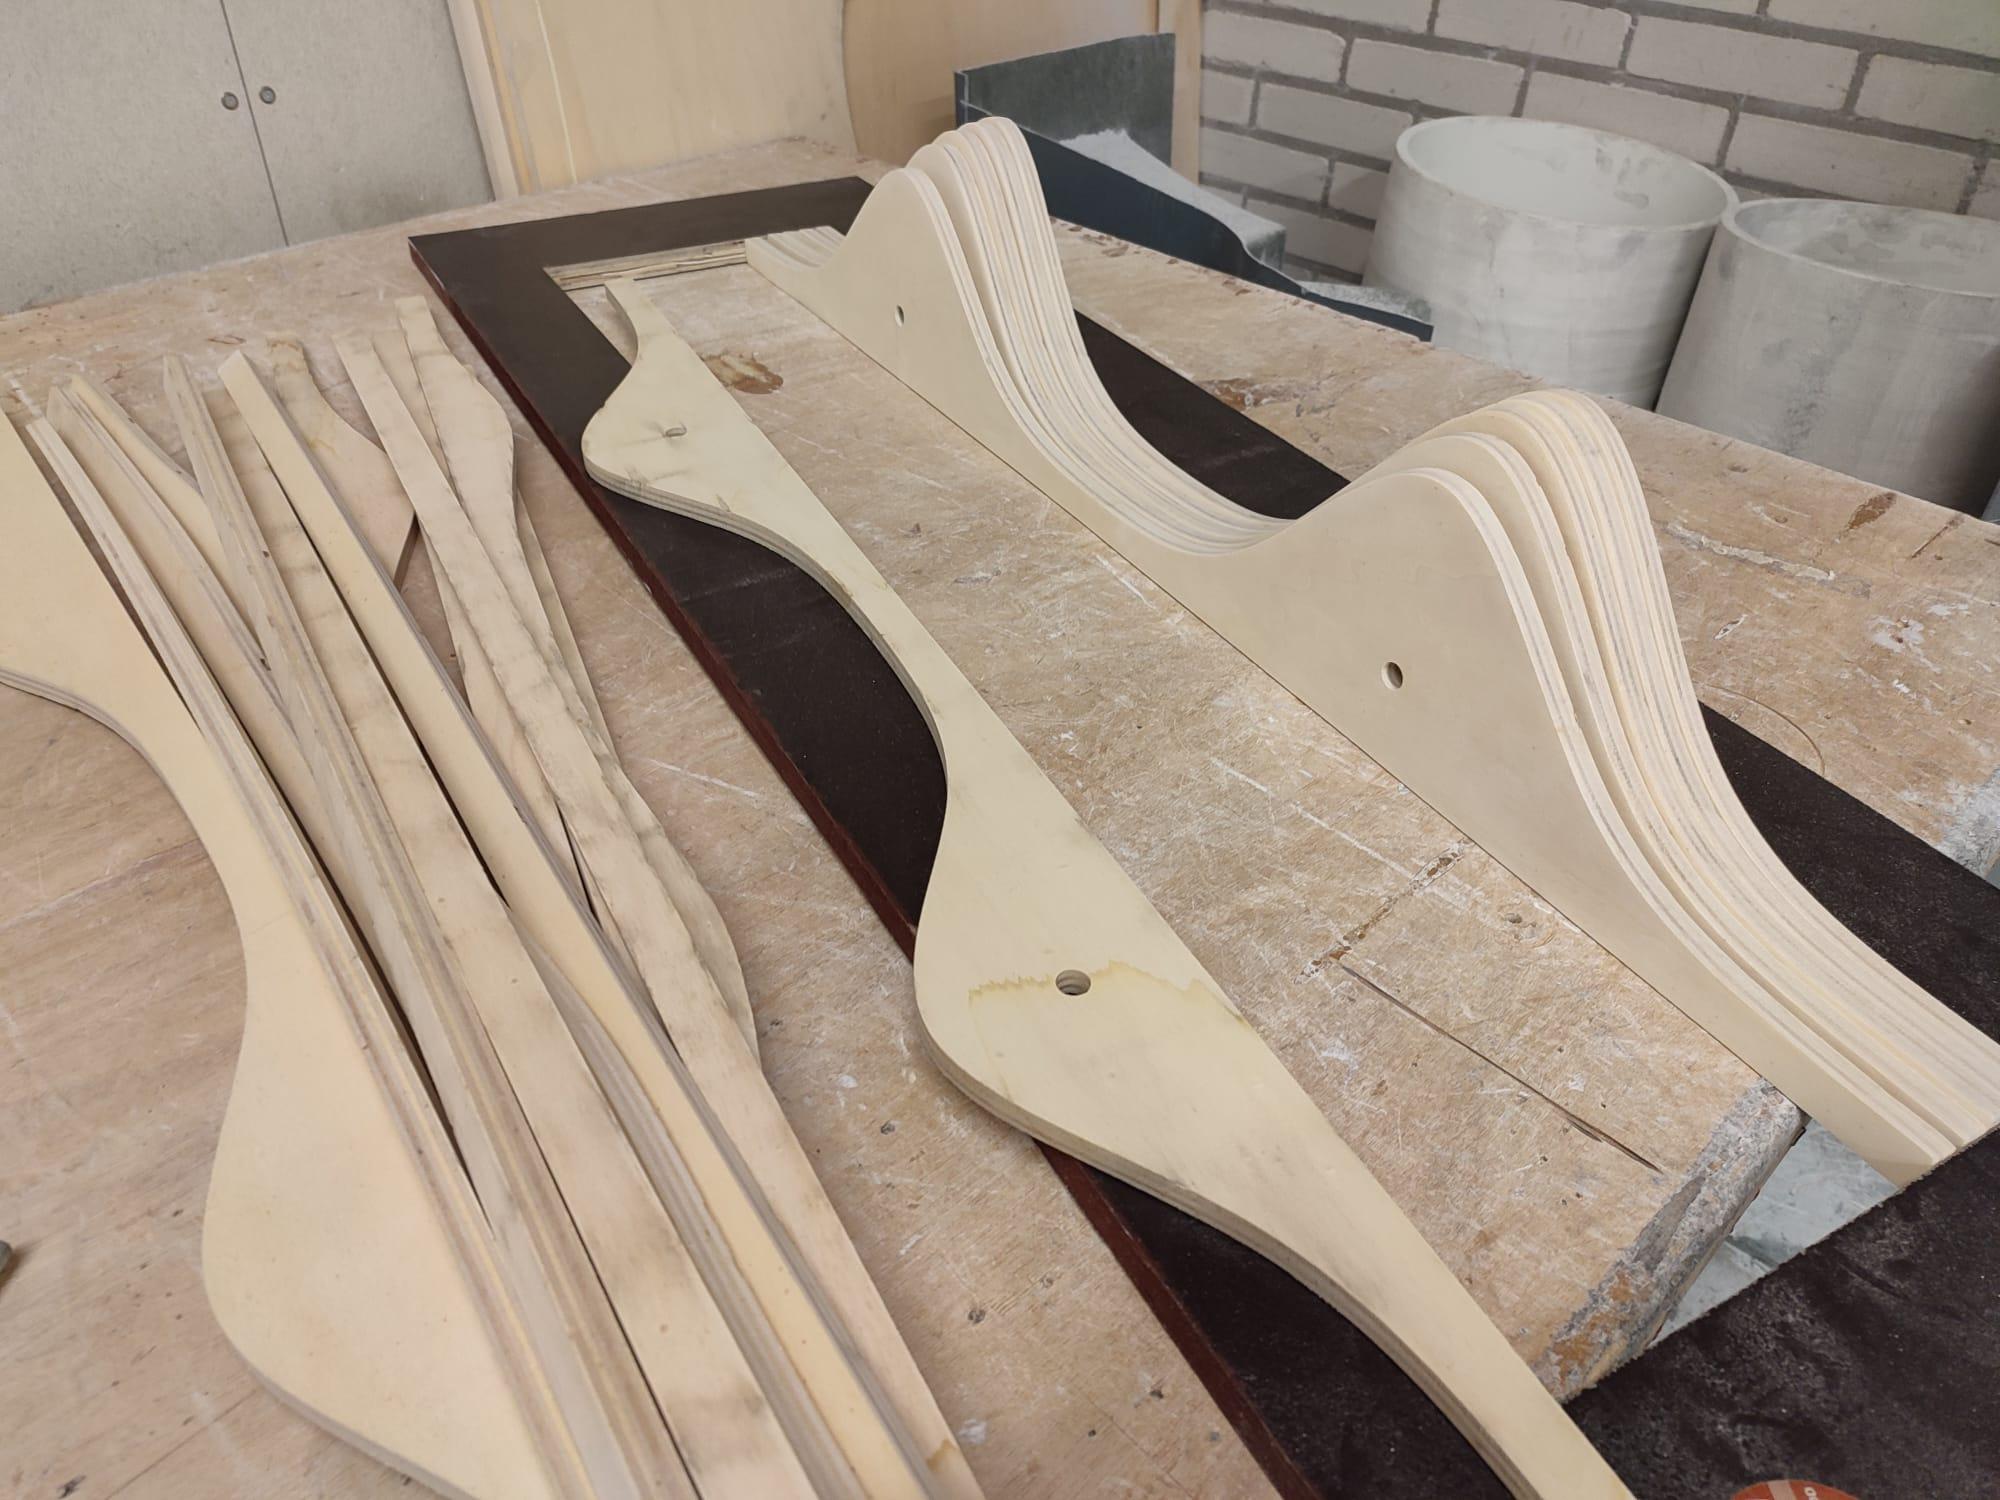
Jigsawing, Cutting or Bandsawing Parts
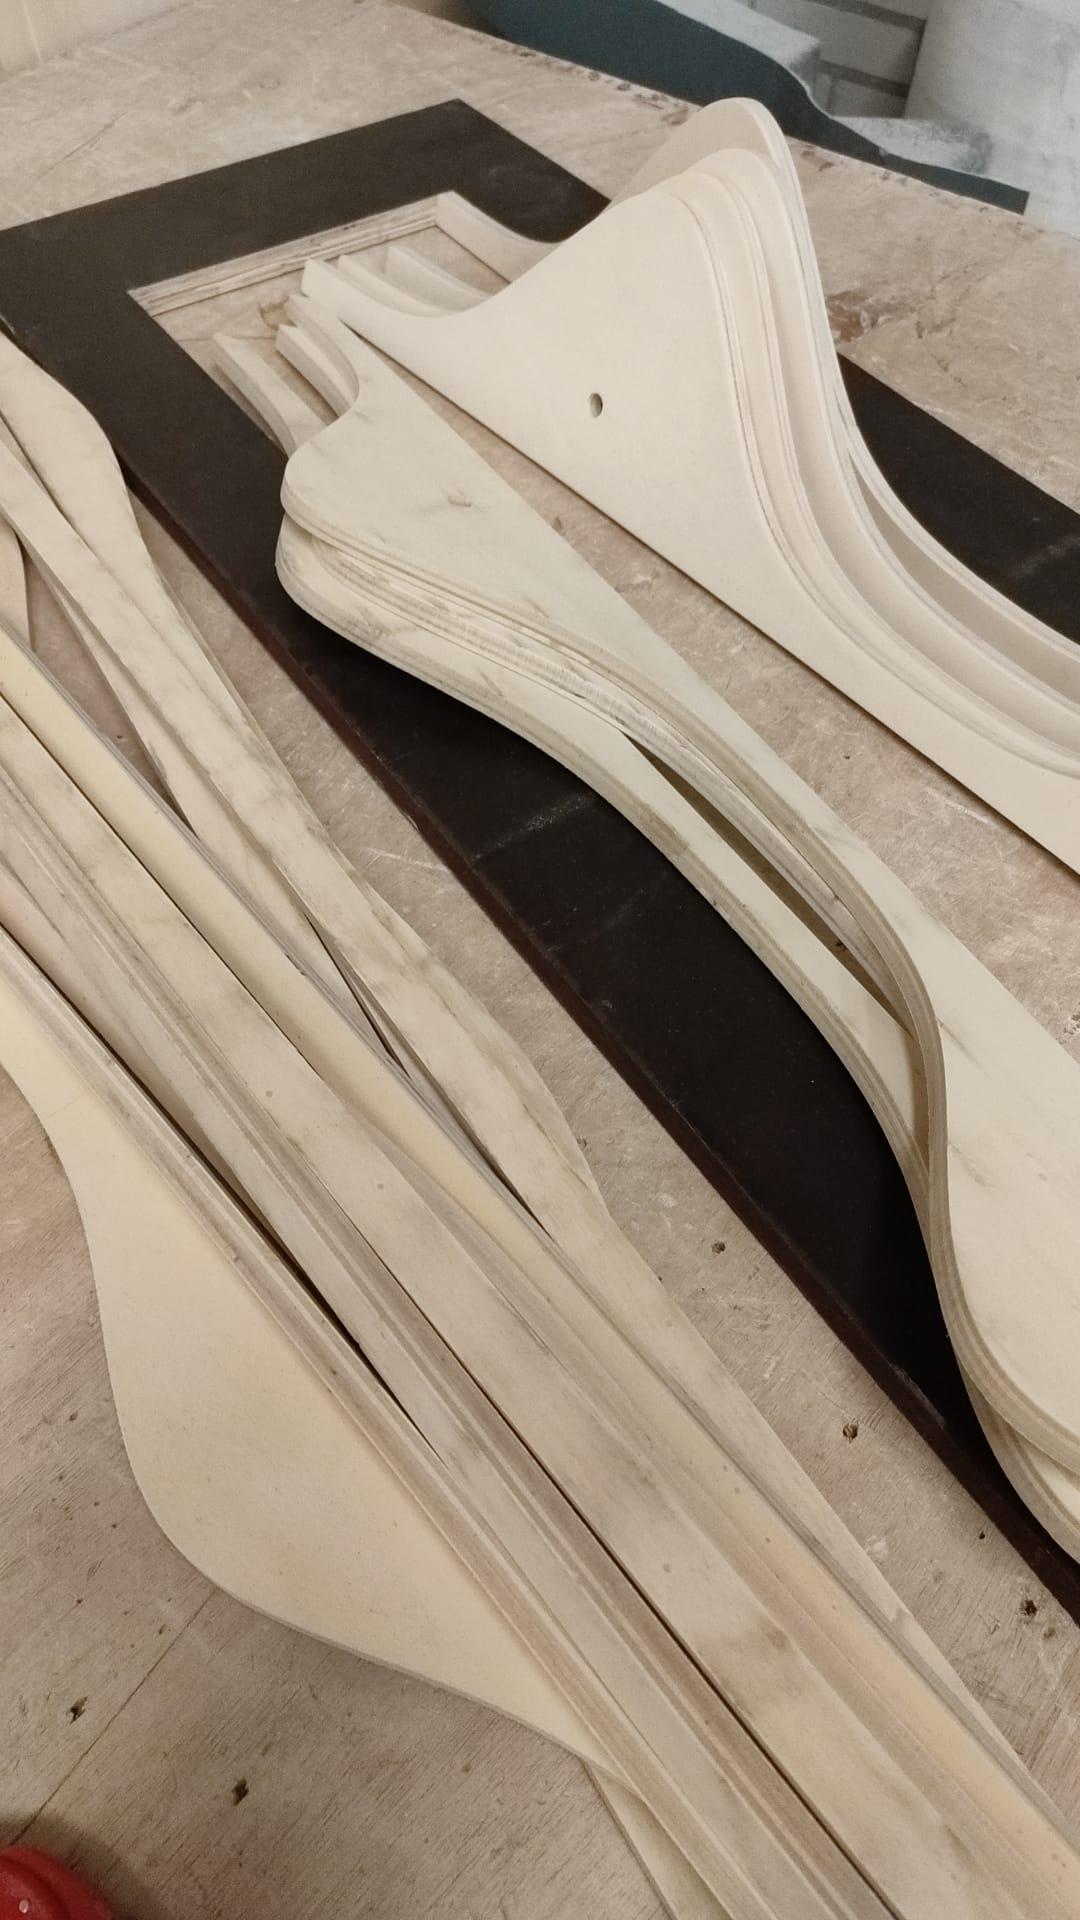
I used spruce wood for the shelf, cheap and easy to cut.
The 2D vector image that is exported from the Slicer tool can be used in many ways. I personally used a water-jet cutter to do my work, it is super easy to setup and cuts through wood like butter.
Of course using a jigsaw or a bandsaw for example is perfectly possible to create a good result. The printed PDF or DXF templates can be directly applied on the plywood with some diluted woodglue.
Now carefully trace every curved shape with a jigsaw and preferably the straights in combination with a jig. Ideally you want to inkjet print the templates on the biggest available size of paper you can to minimize the amount of sections.
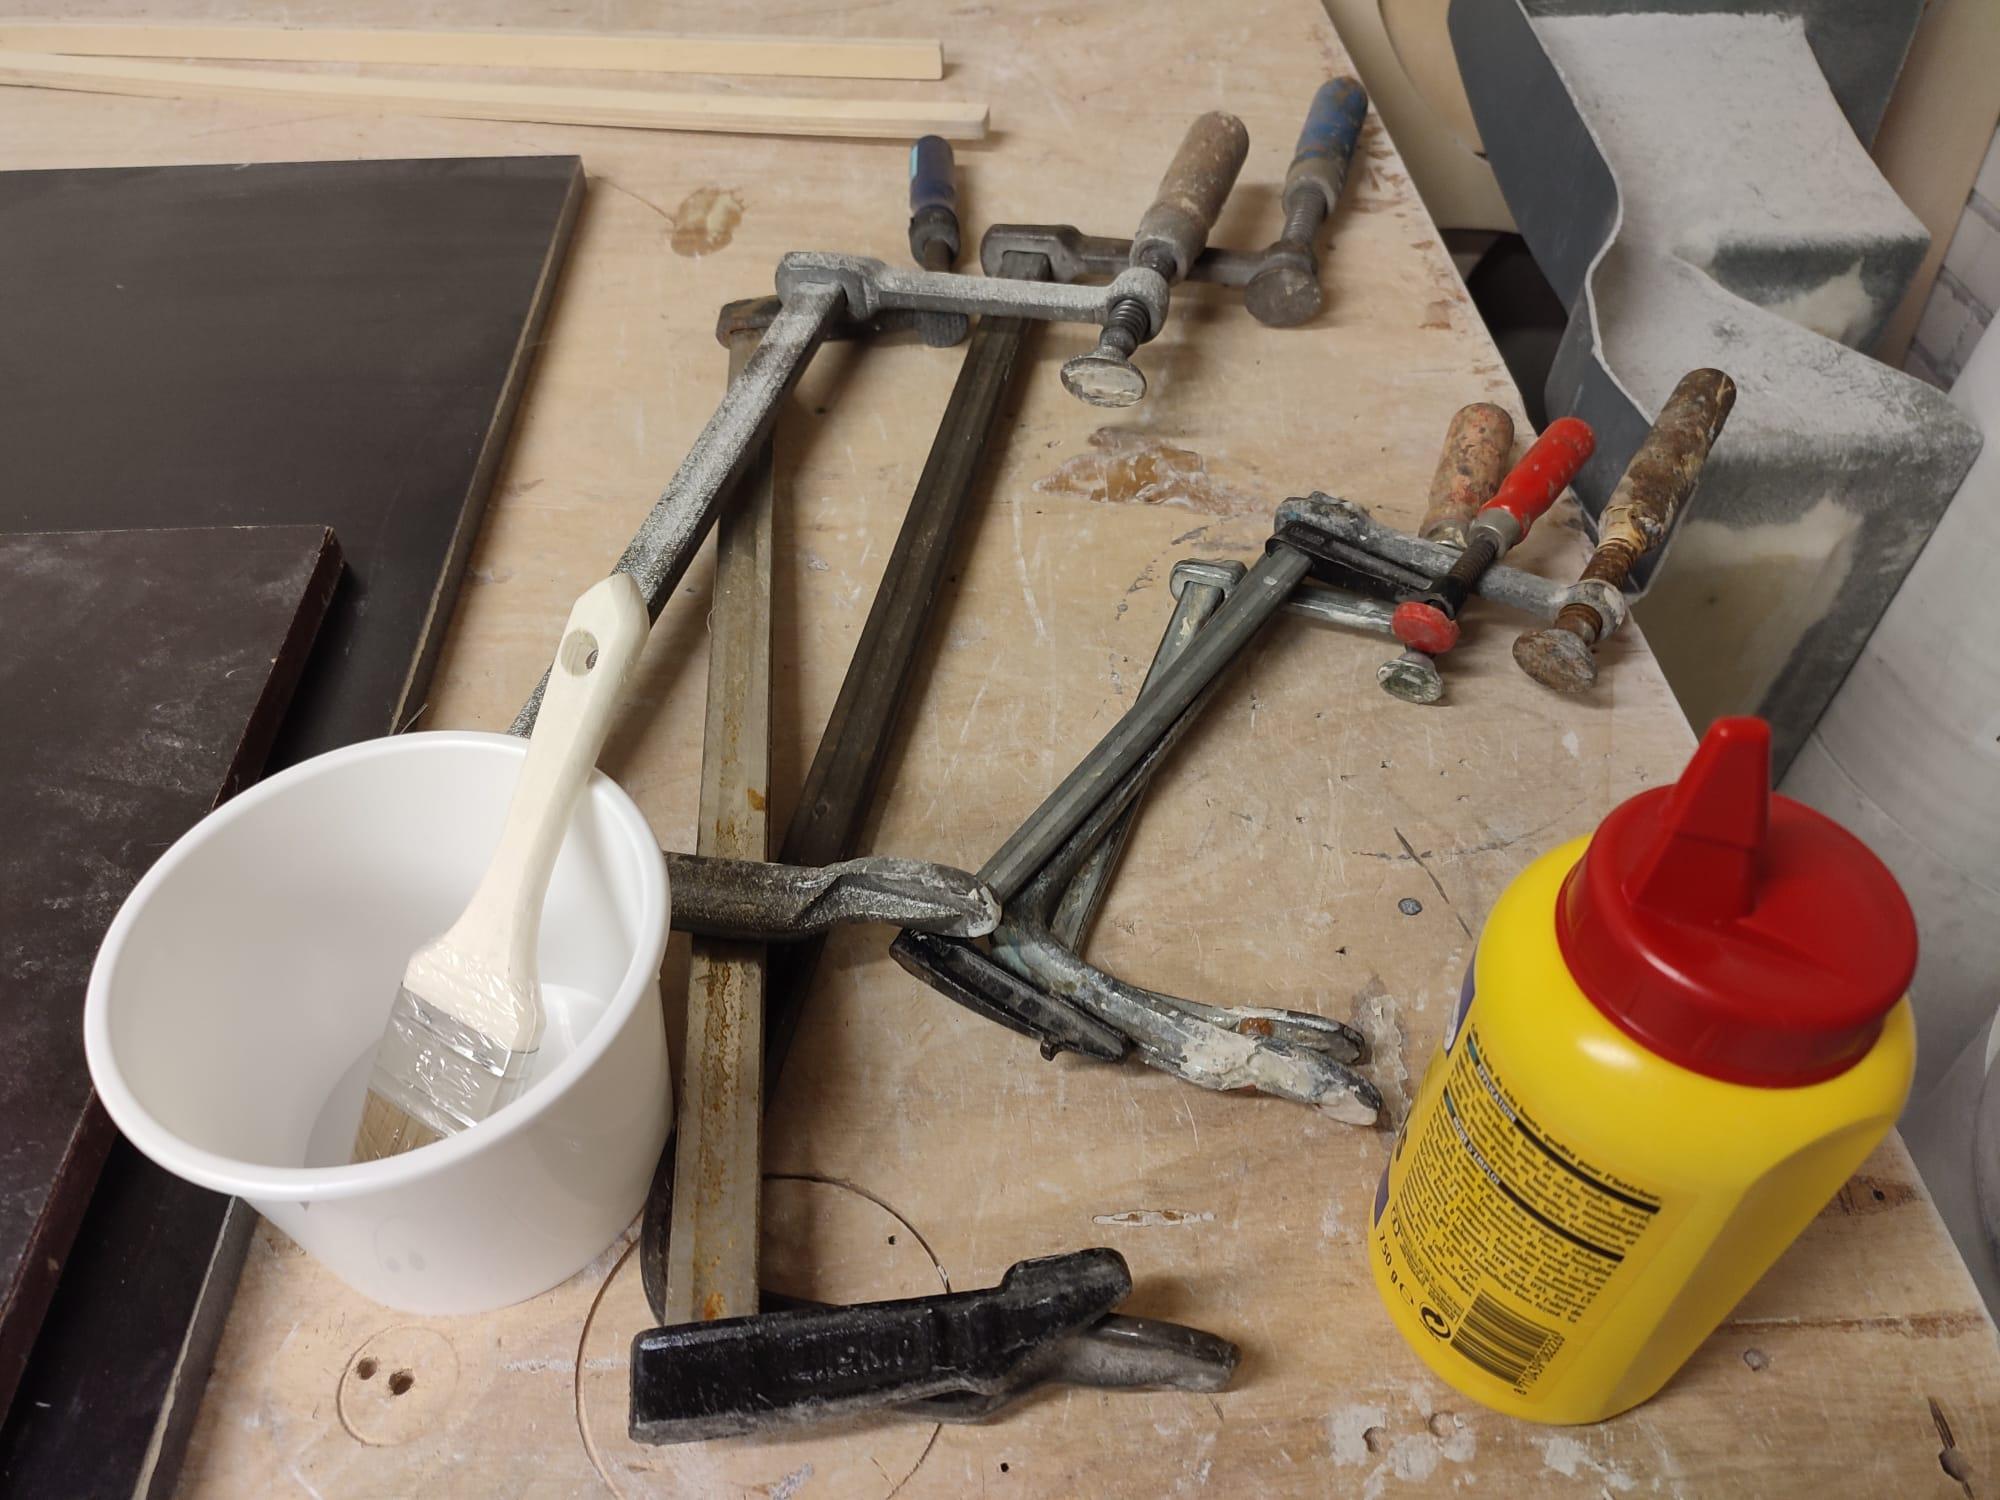
Sanding and Assembly
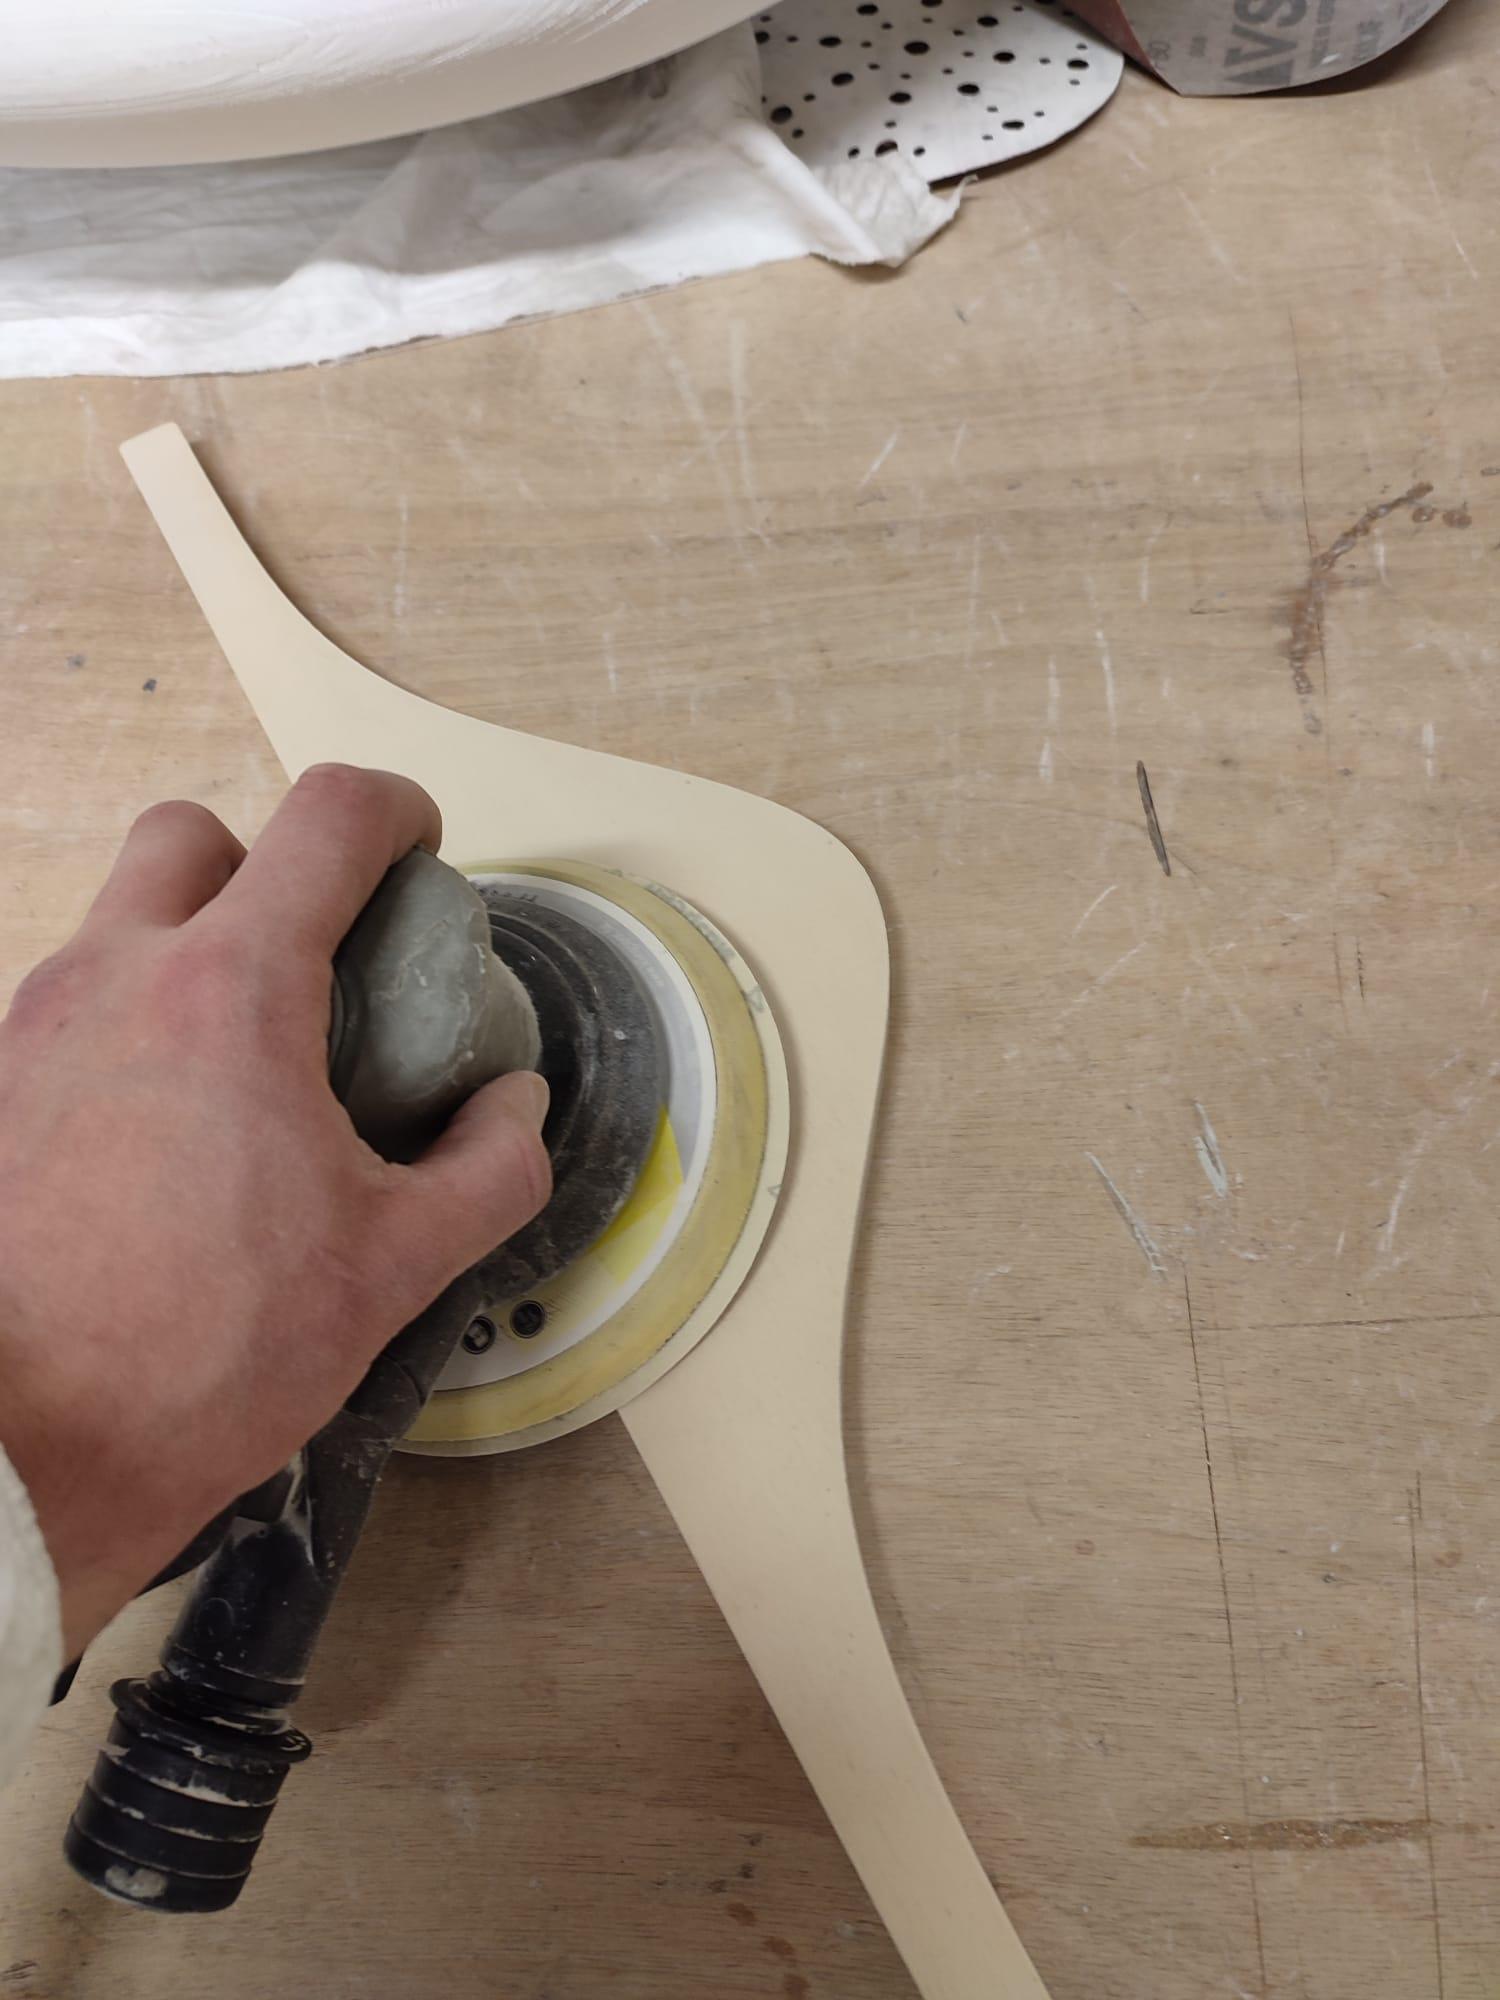
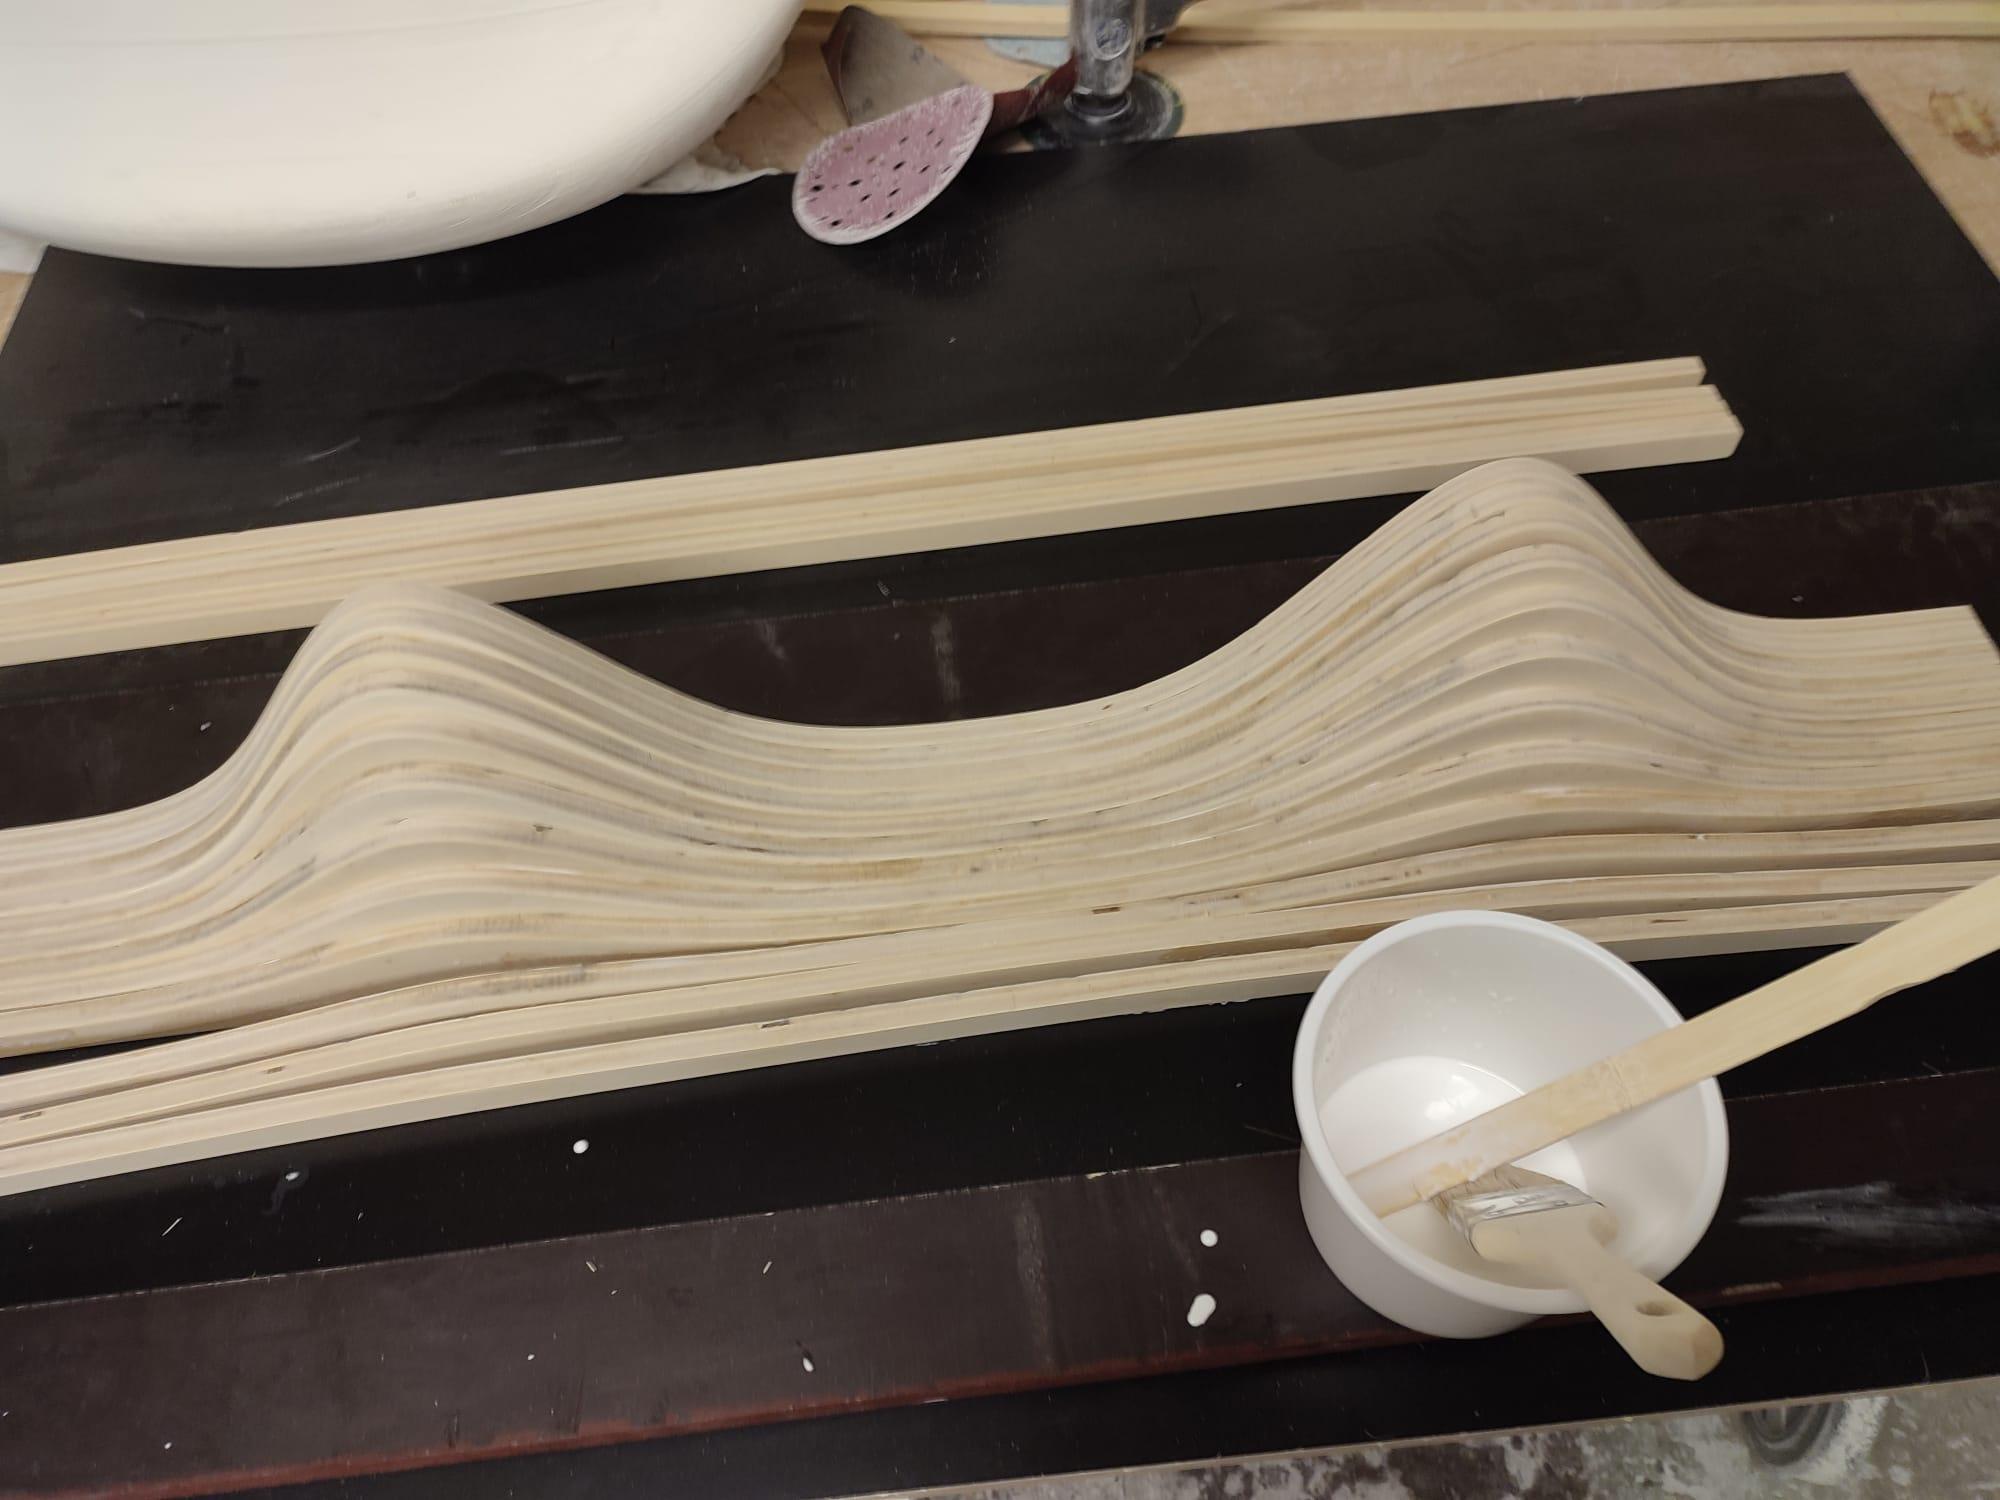
Before gluing all the parts together I sanded every visible surface of the curved parts and the undersides down with grid 100.
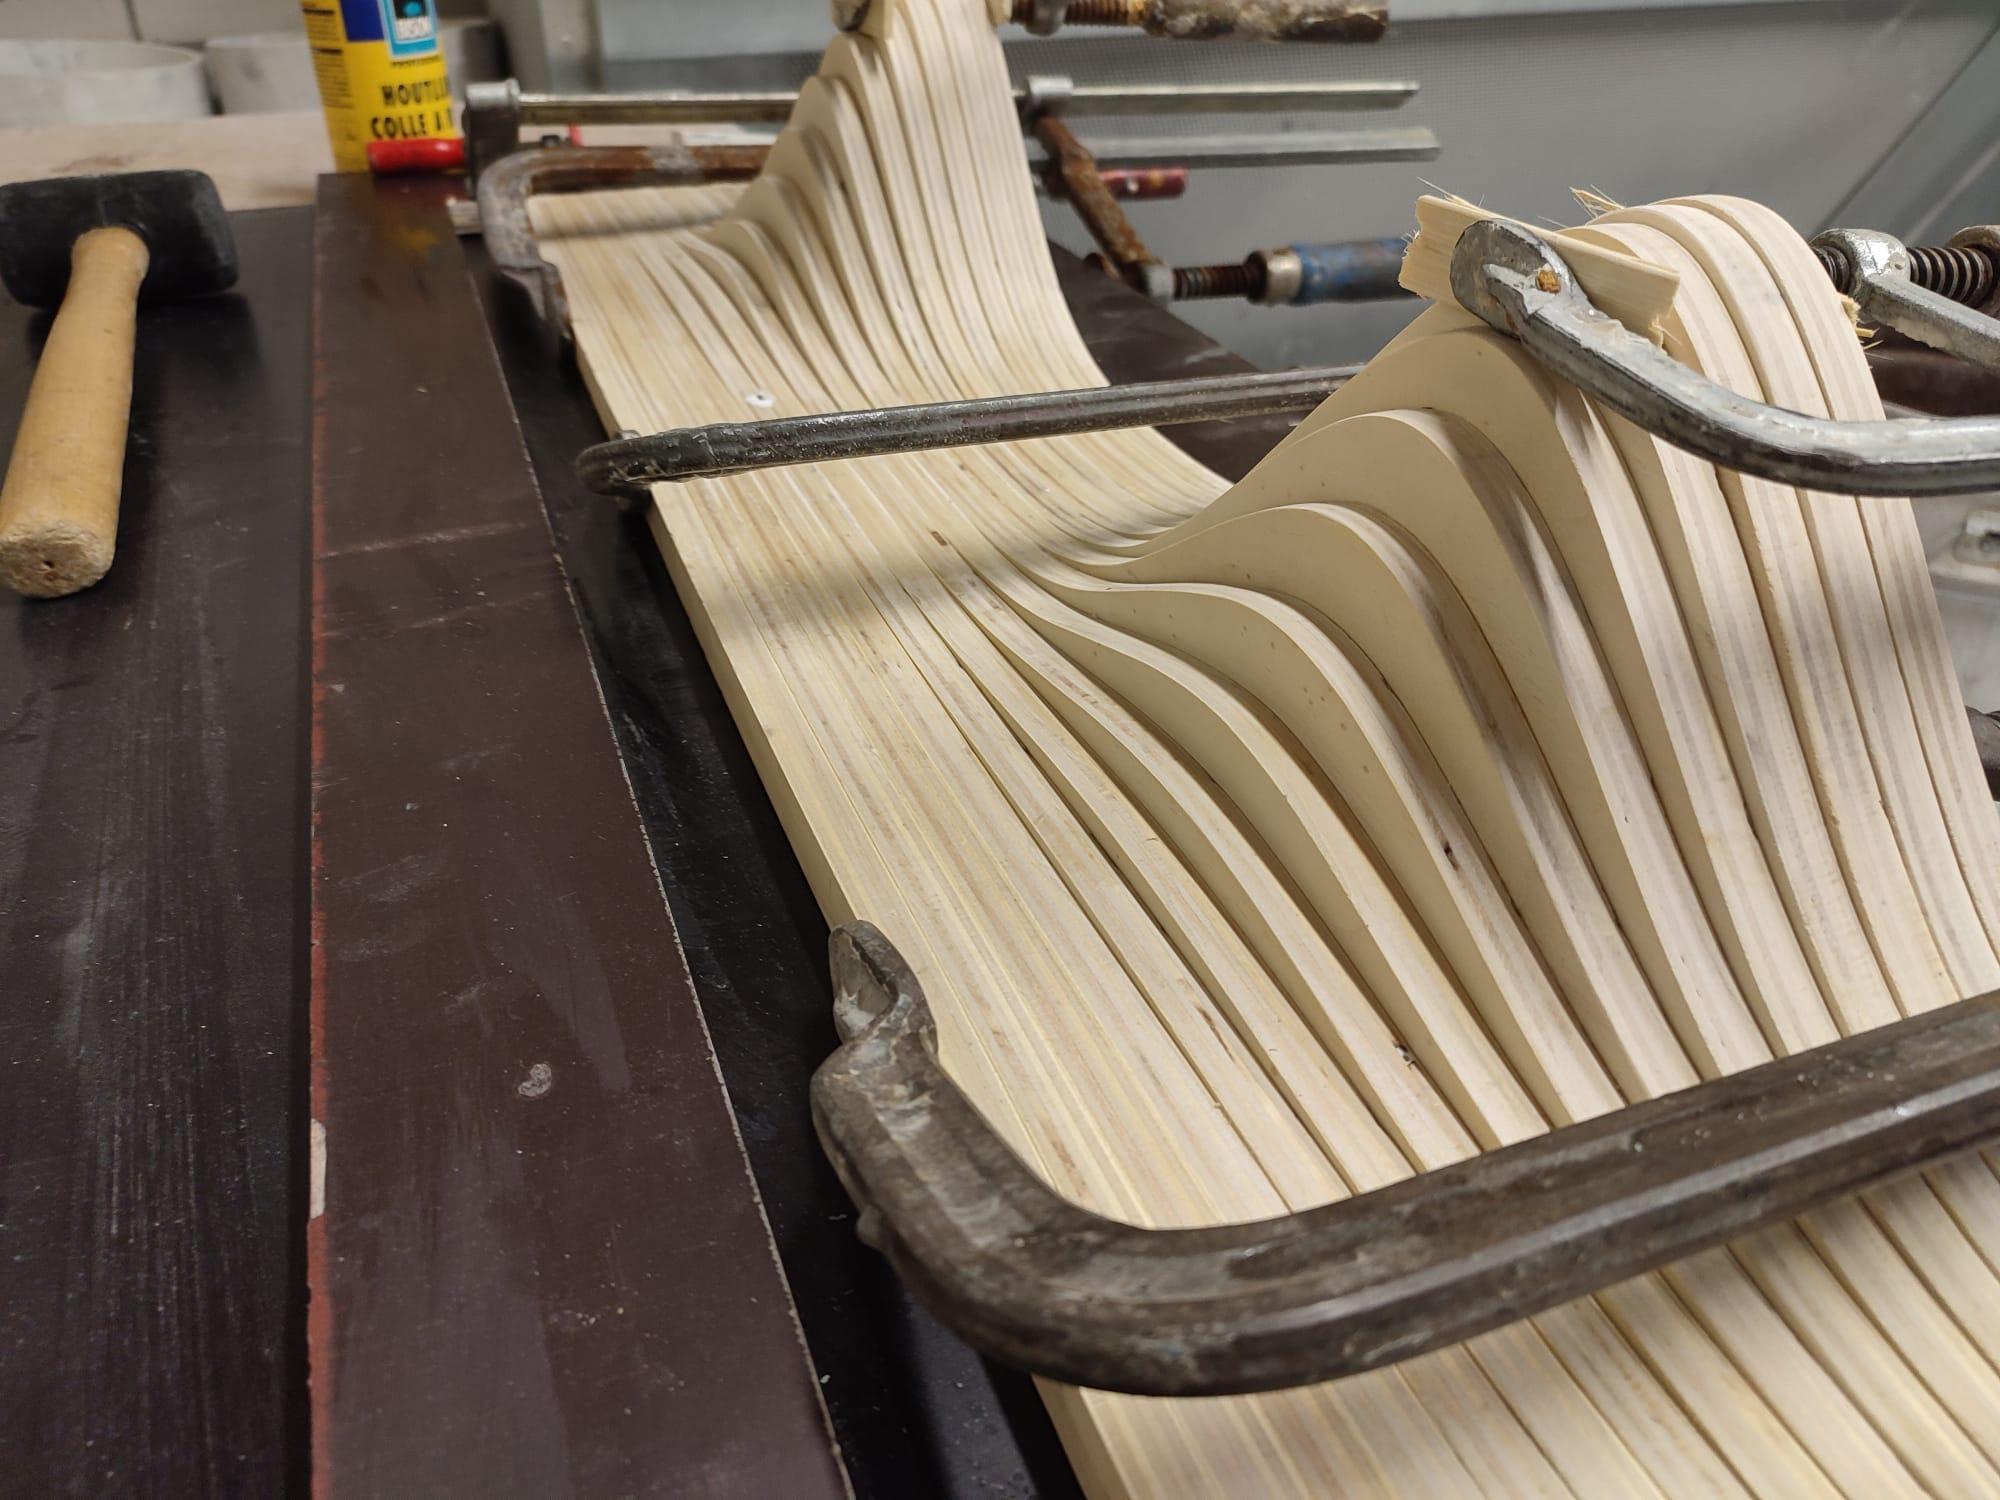
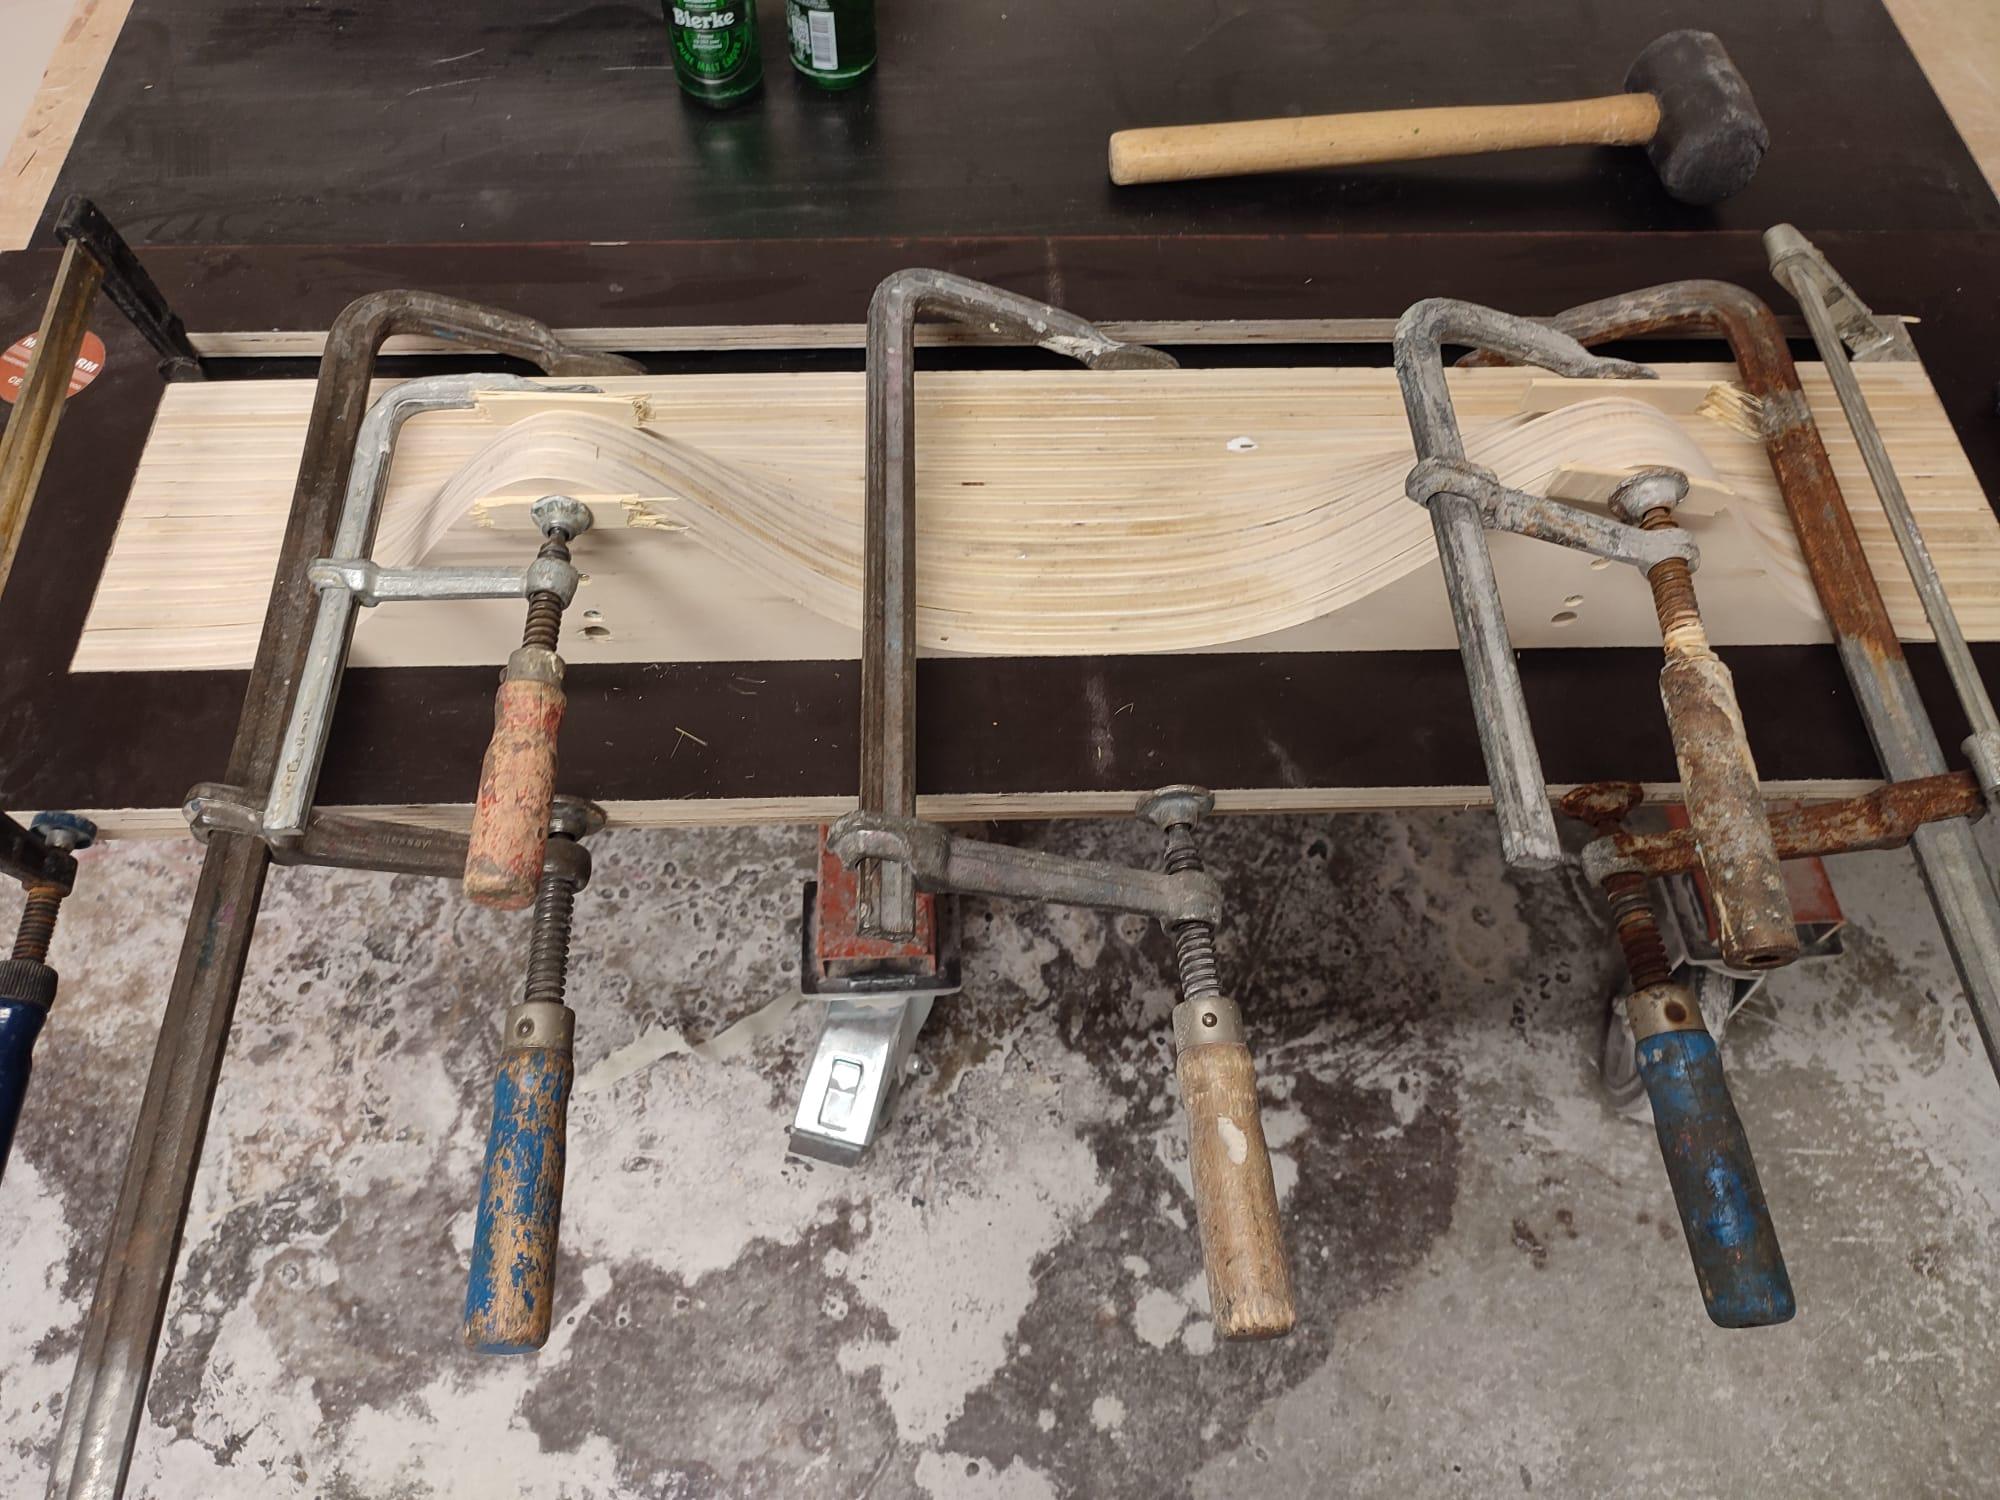
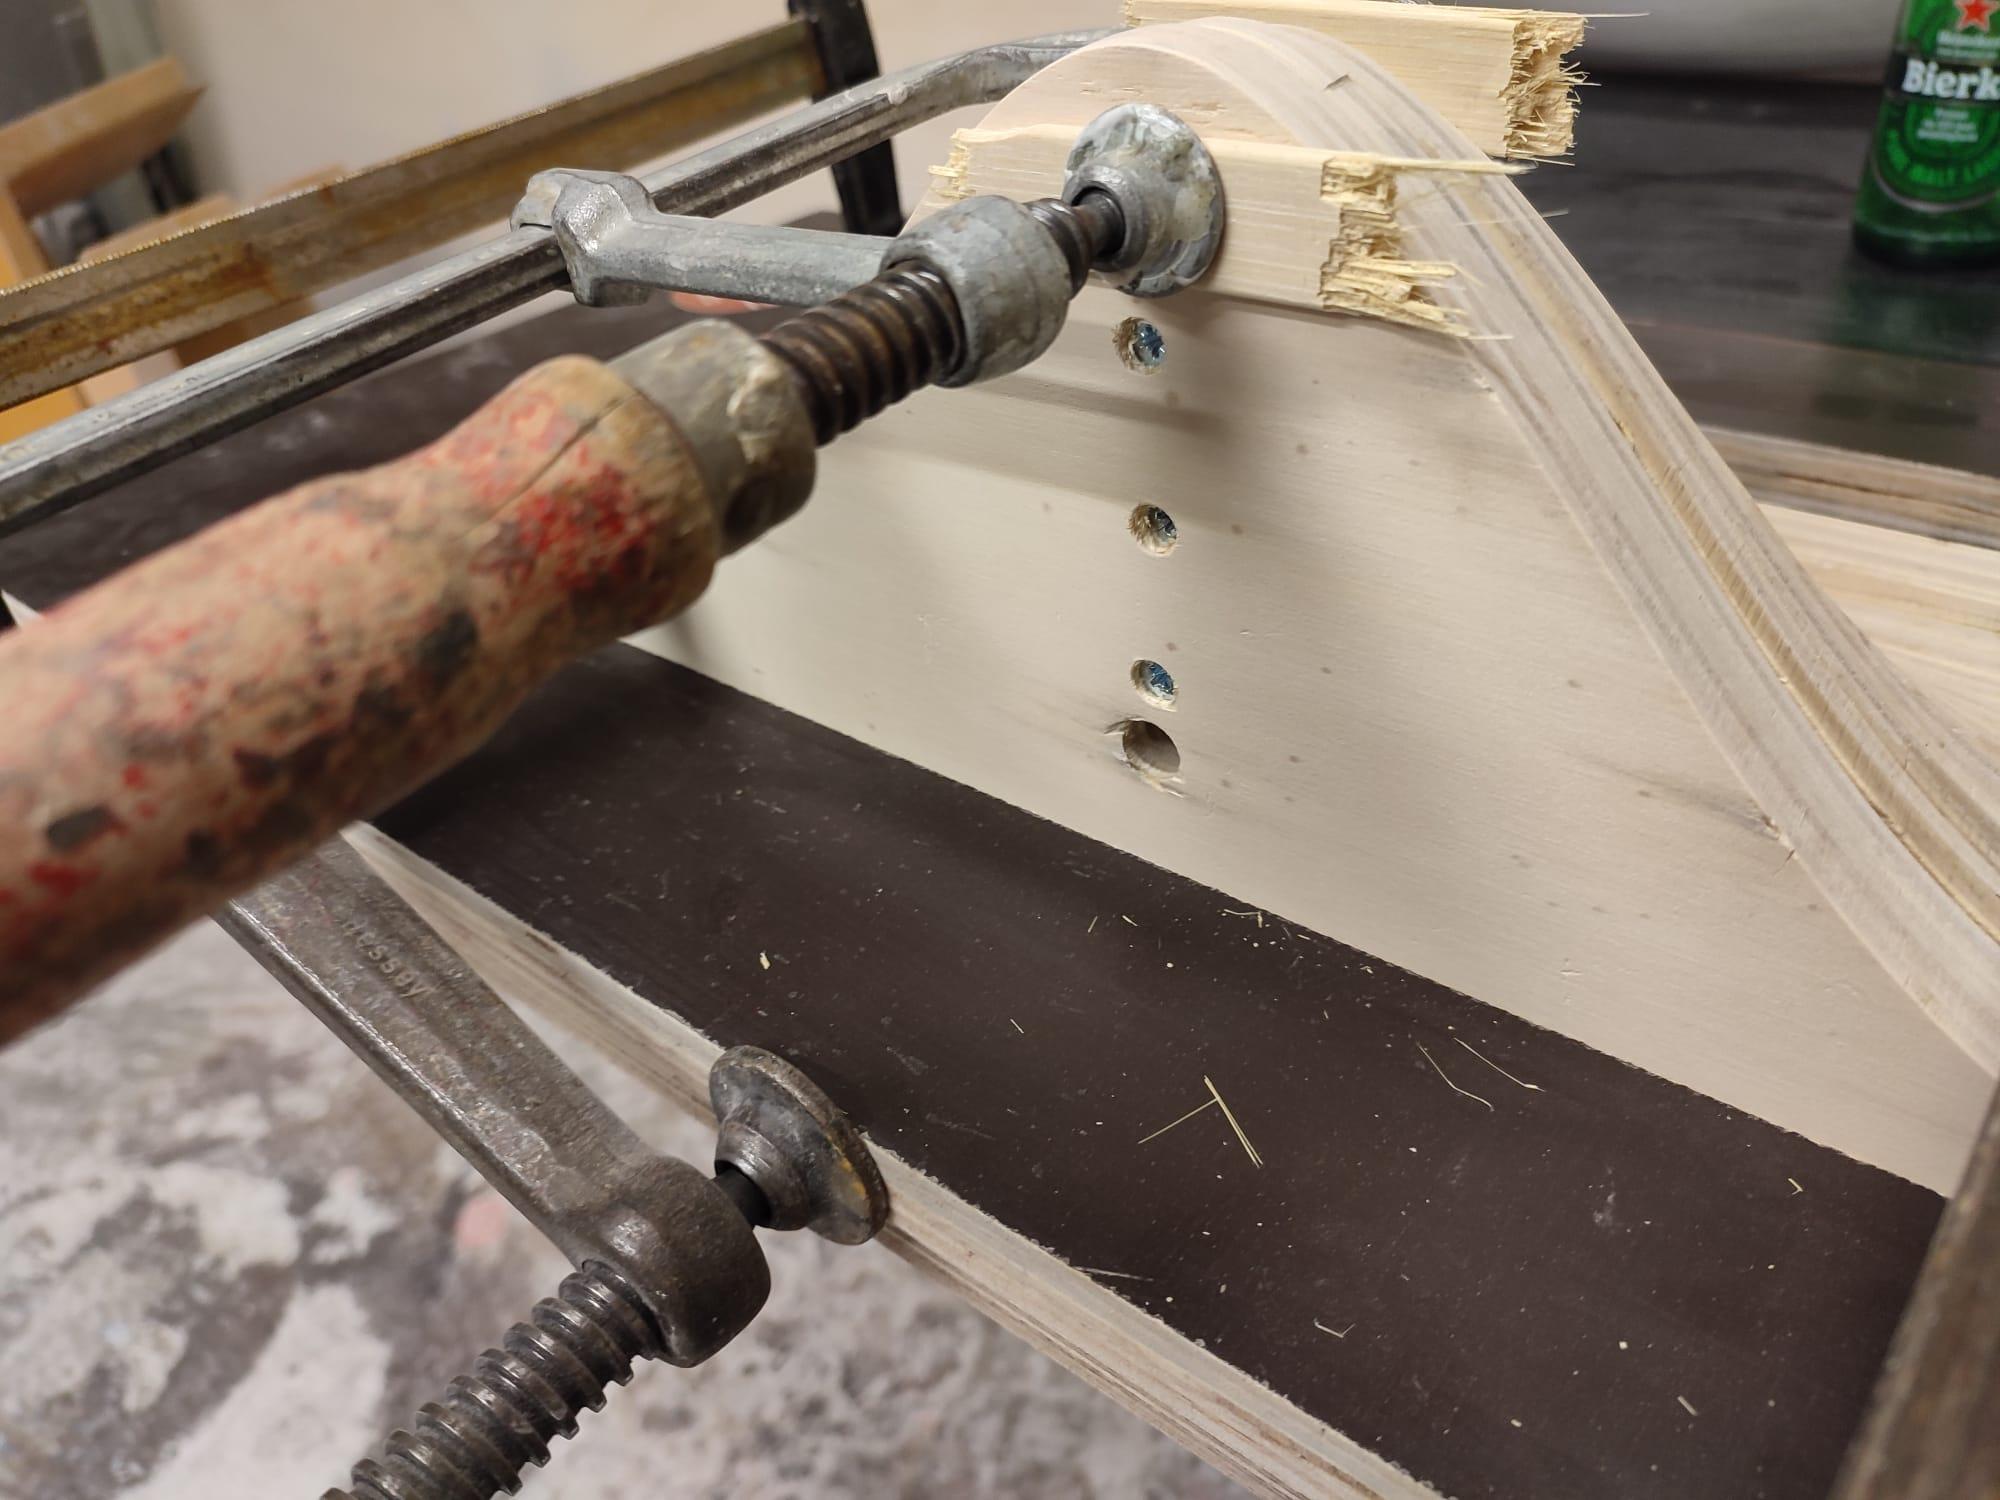
I made a frame for the wooden parts to hold it restrain it at three sides and clamp it all around.
After checking the alignment of all the parts, I glued every part to the next with wood glue. Make sure all connecting surfaces are properly covered.
Clamp everything down properly and add some screws at the back here and there to get rid of any potential creaks.
Sanding Again, Paint / Varnish / Lacquer
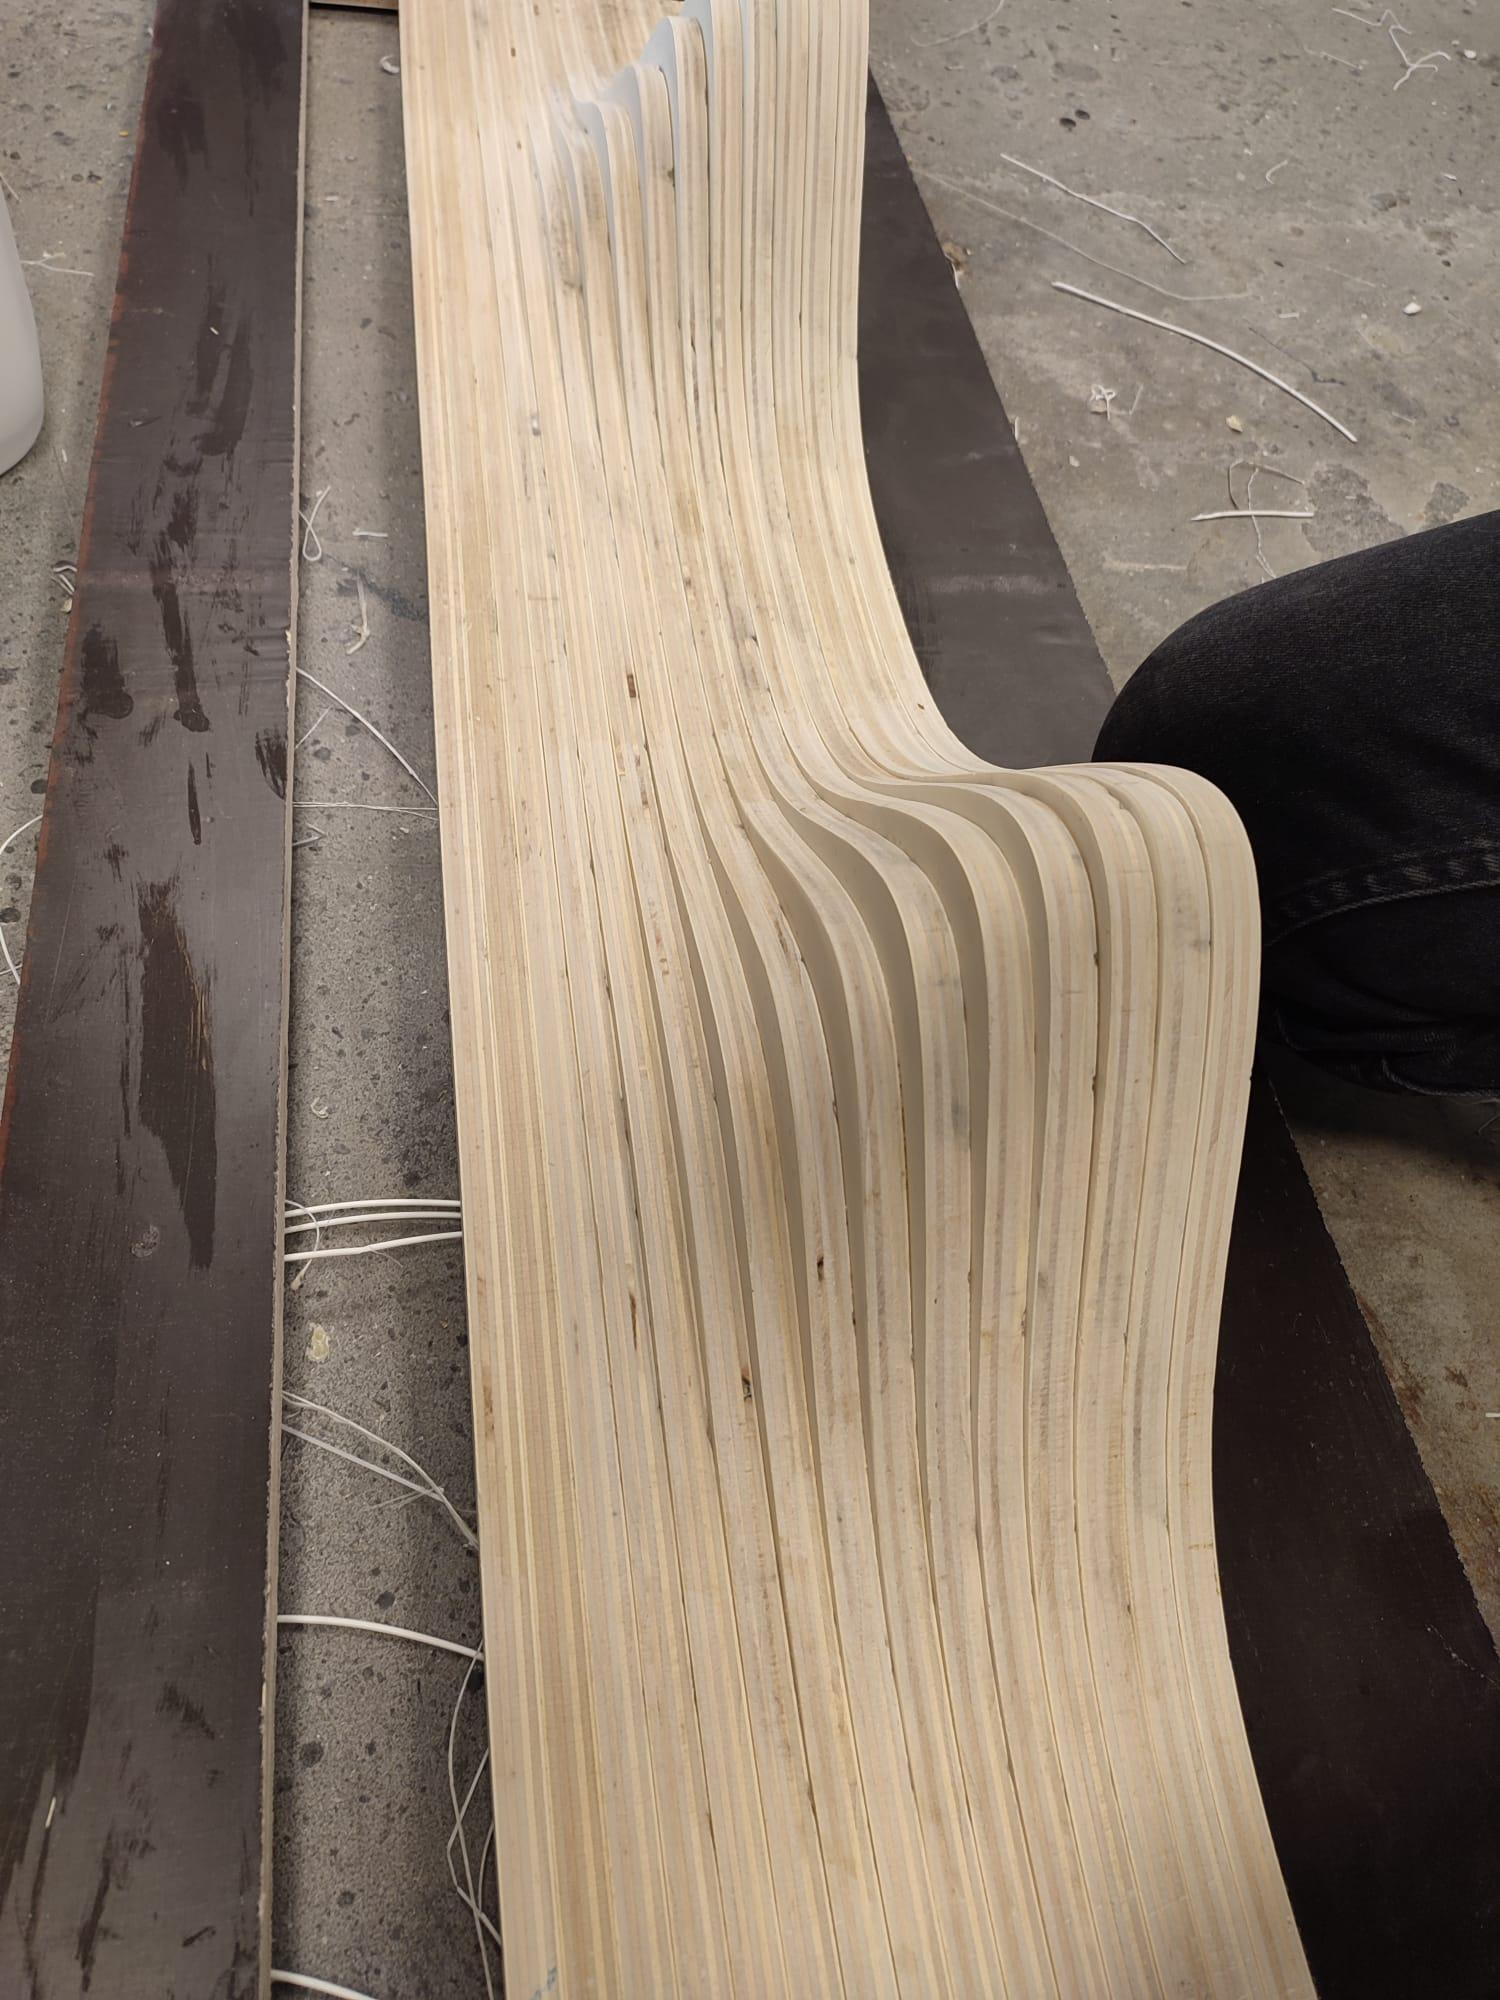

After letting the glue dry overnight, the clamps and frame are removed.
Due to some movement over drying time, the surface of the shelf is not flat here and there. To make it smooth and to remove all glue residue, I sanded all around 'till things look good with a coarse grit. Finishing with a bit finer grit like 240 before moving on.
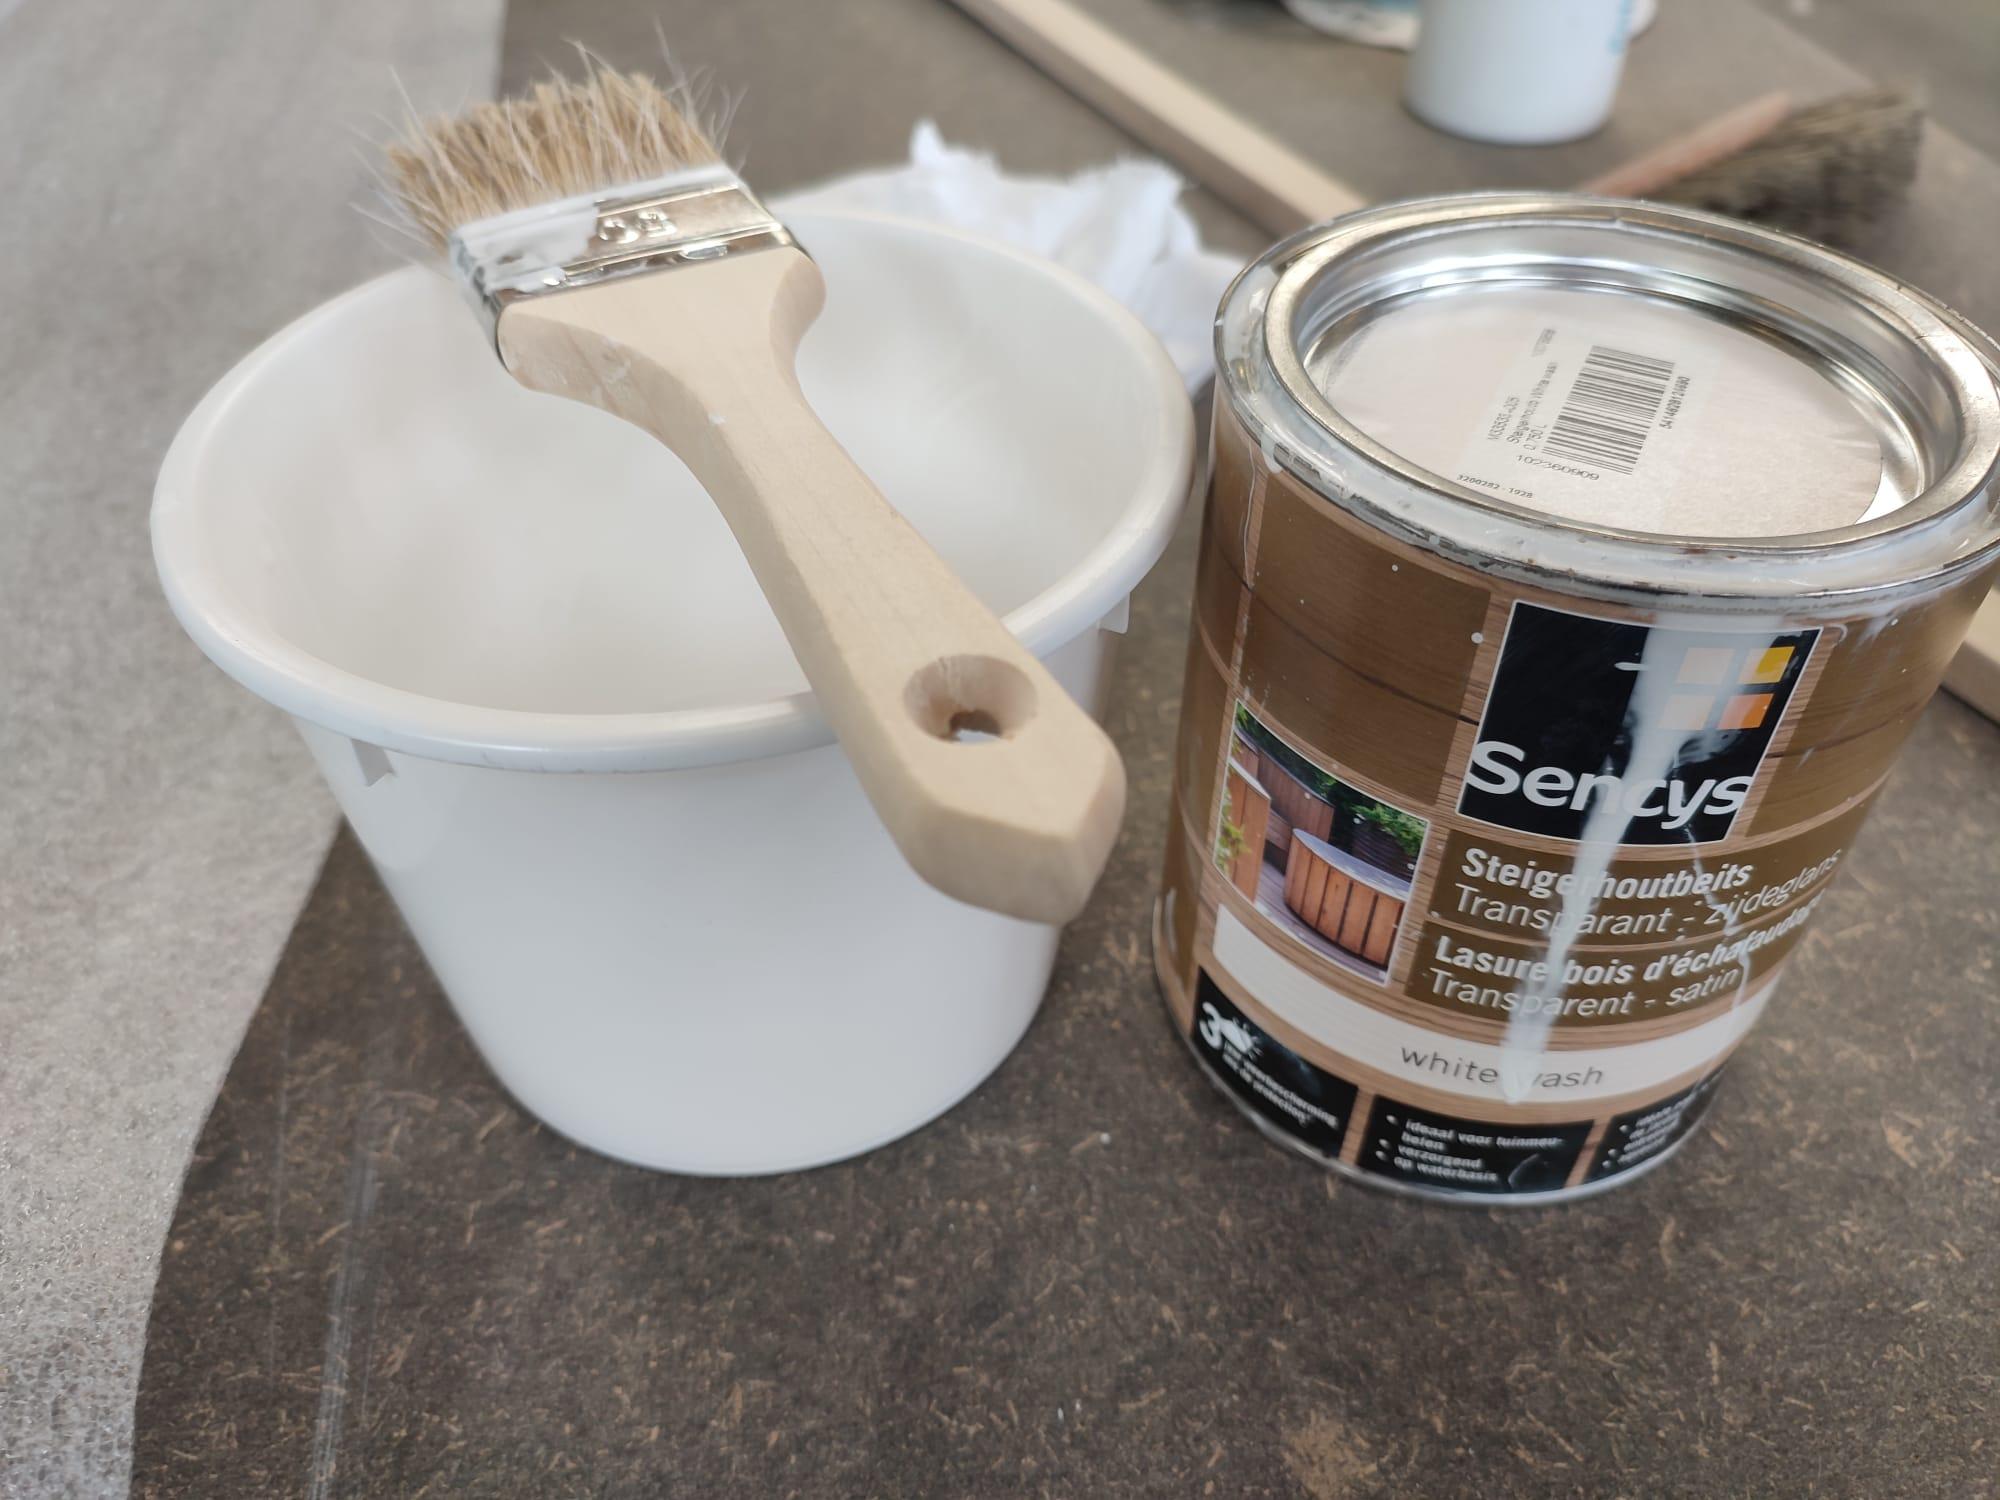
Now paint, varnish and lacquer to your liking. I chose to give it two layers of white wash varnish.
Wall Assembly
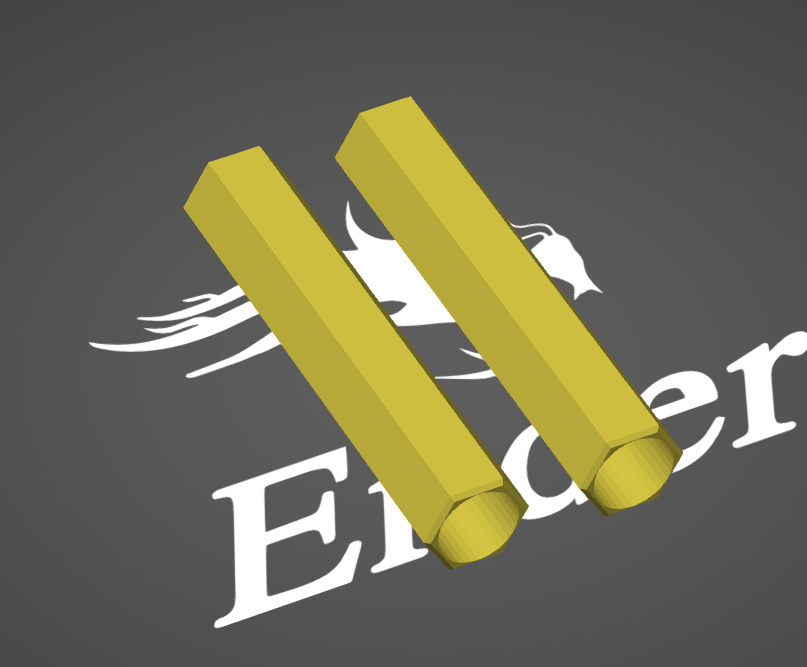
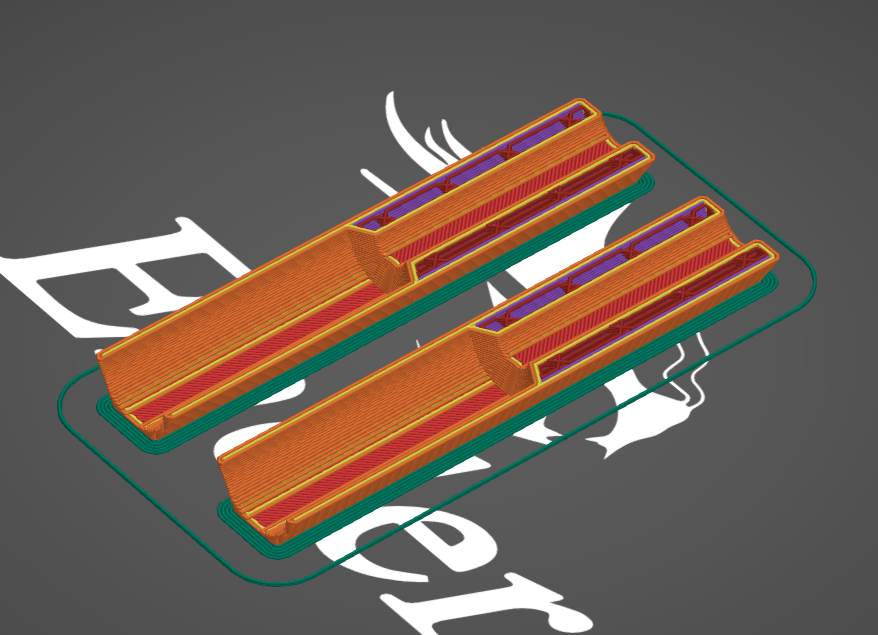
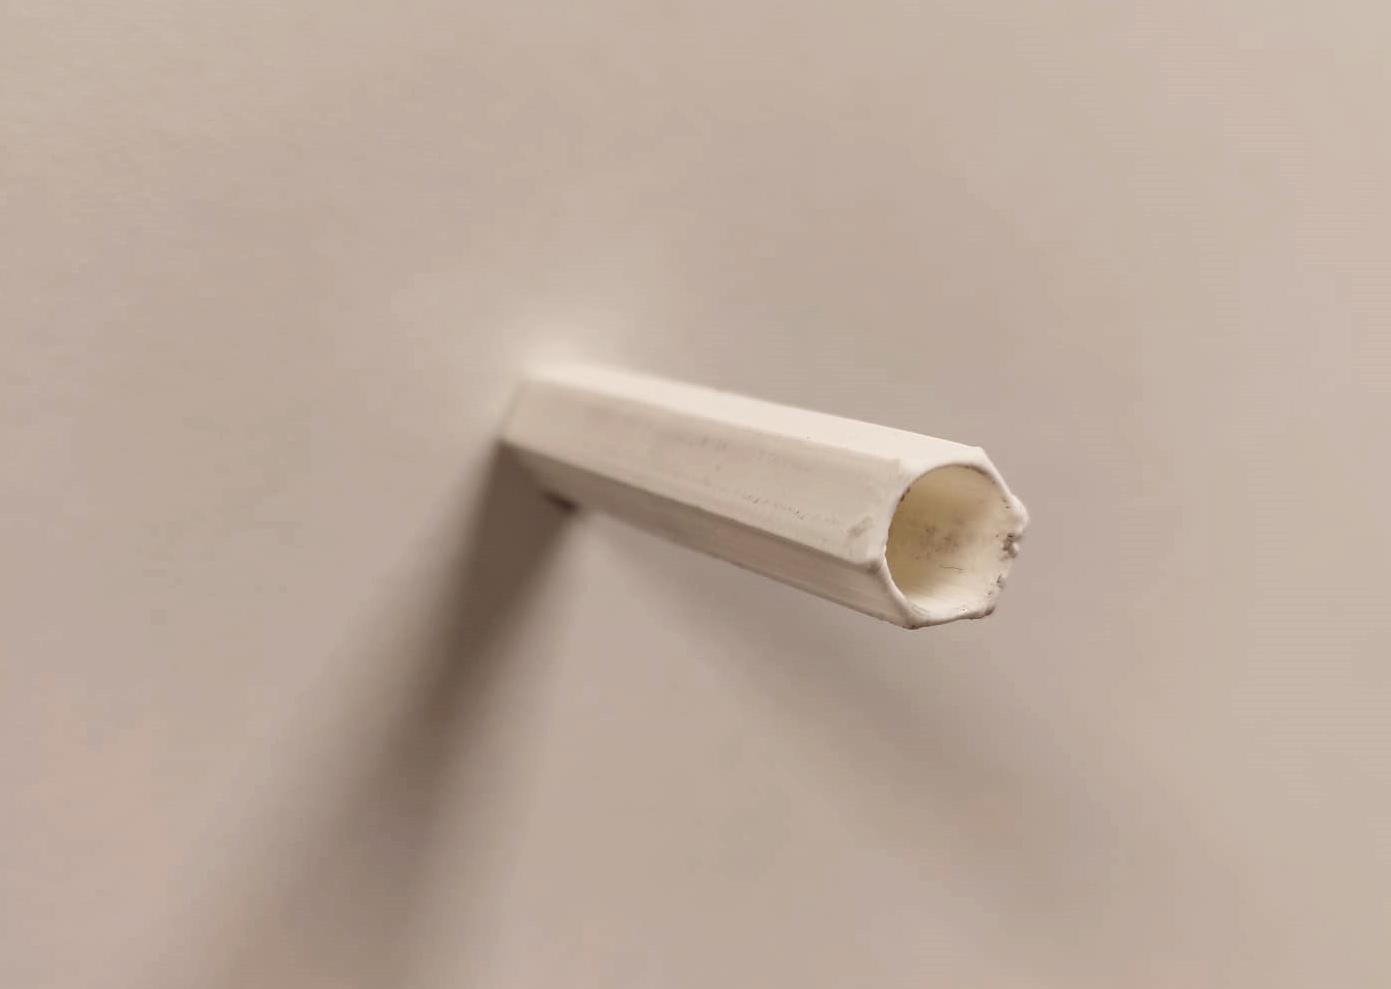
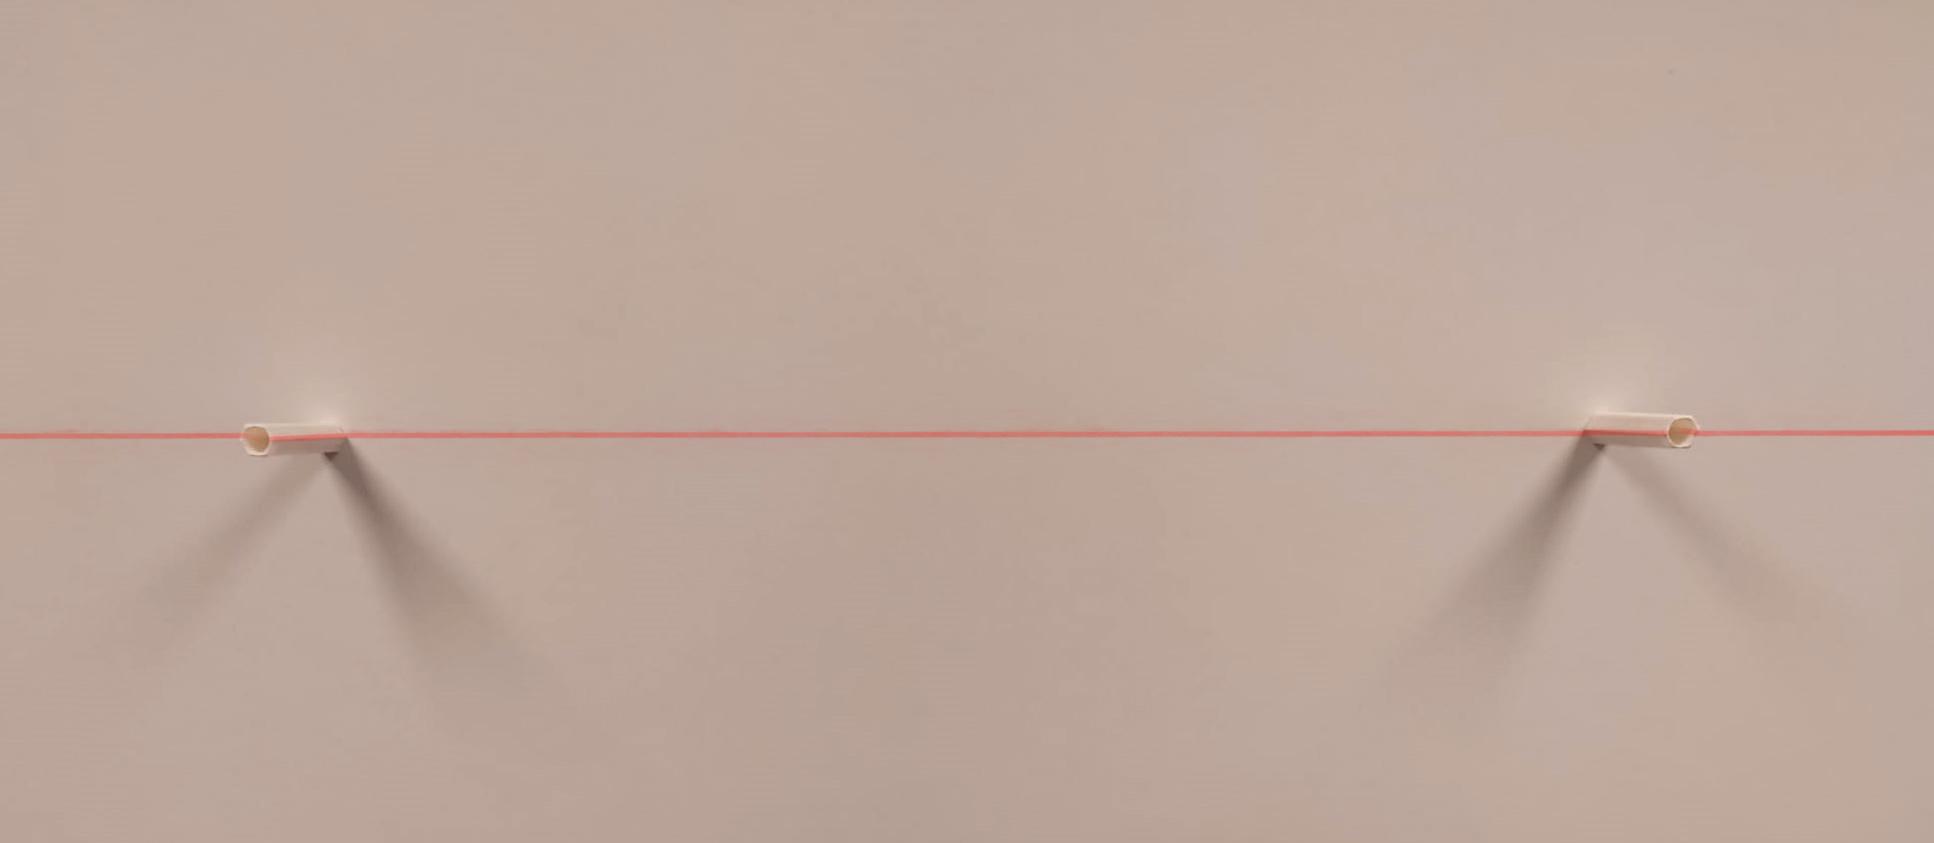
To easily attach the shelf to the wall, I modeled a hexagon shaped insert that is directly screwed in the wall and enables the shelf to be shoved over two of them. These are 3D-printed with preferably a tough material.
The 3D model can be downloaded at this step.
The wall I attached it to is made from a thick wood plate material so I was able to screw directly into it after correctly marking the center points. Use wall plugs if your wall material requires.
If you're using the DXF from step 2, the center points of the plugs are spaced 474 mm apart. Make sure the holes drilled or center have the same distance as the holes in the wood have. Use a laser or a level to make sure they are nicely horizontally aligned.
Two screws are inserted in them en tightened half trough the part, as far as it goes. If the inserts are properly attached, align the holes over the them and shove it all the way down to the wall. Make sure there is no play between the wall and the shelf to have the best support.
Downloads
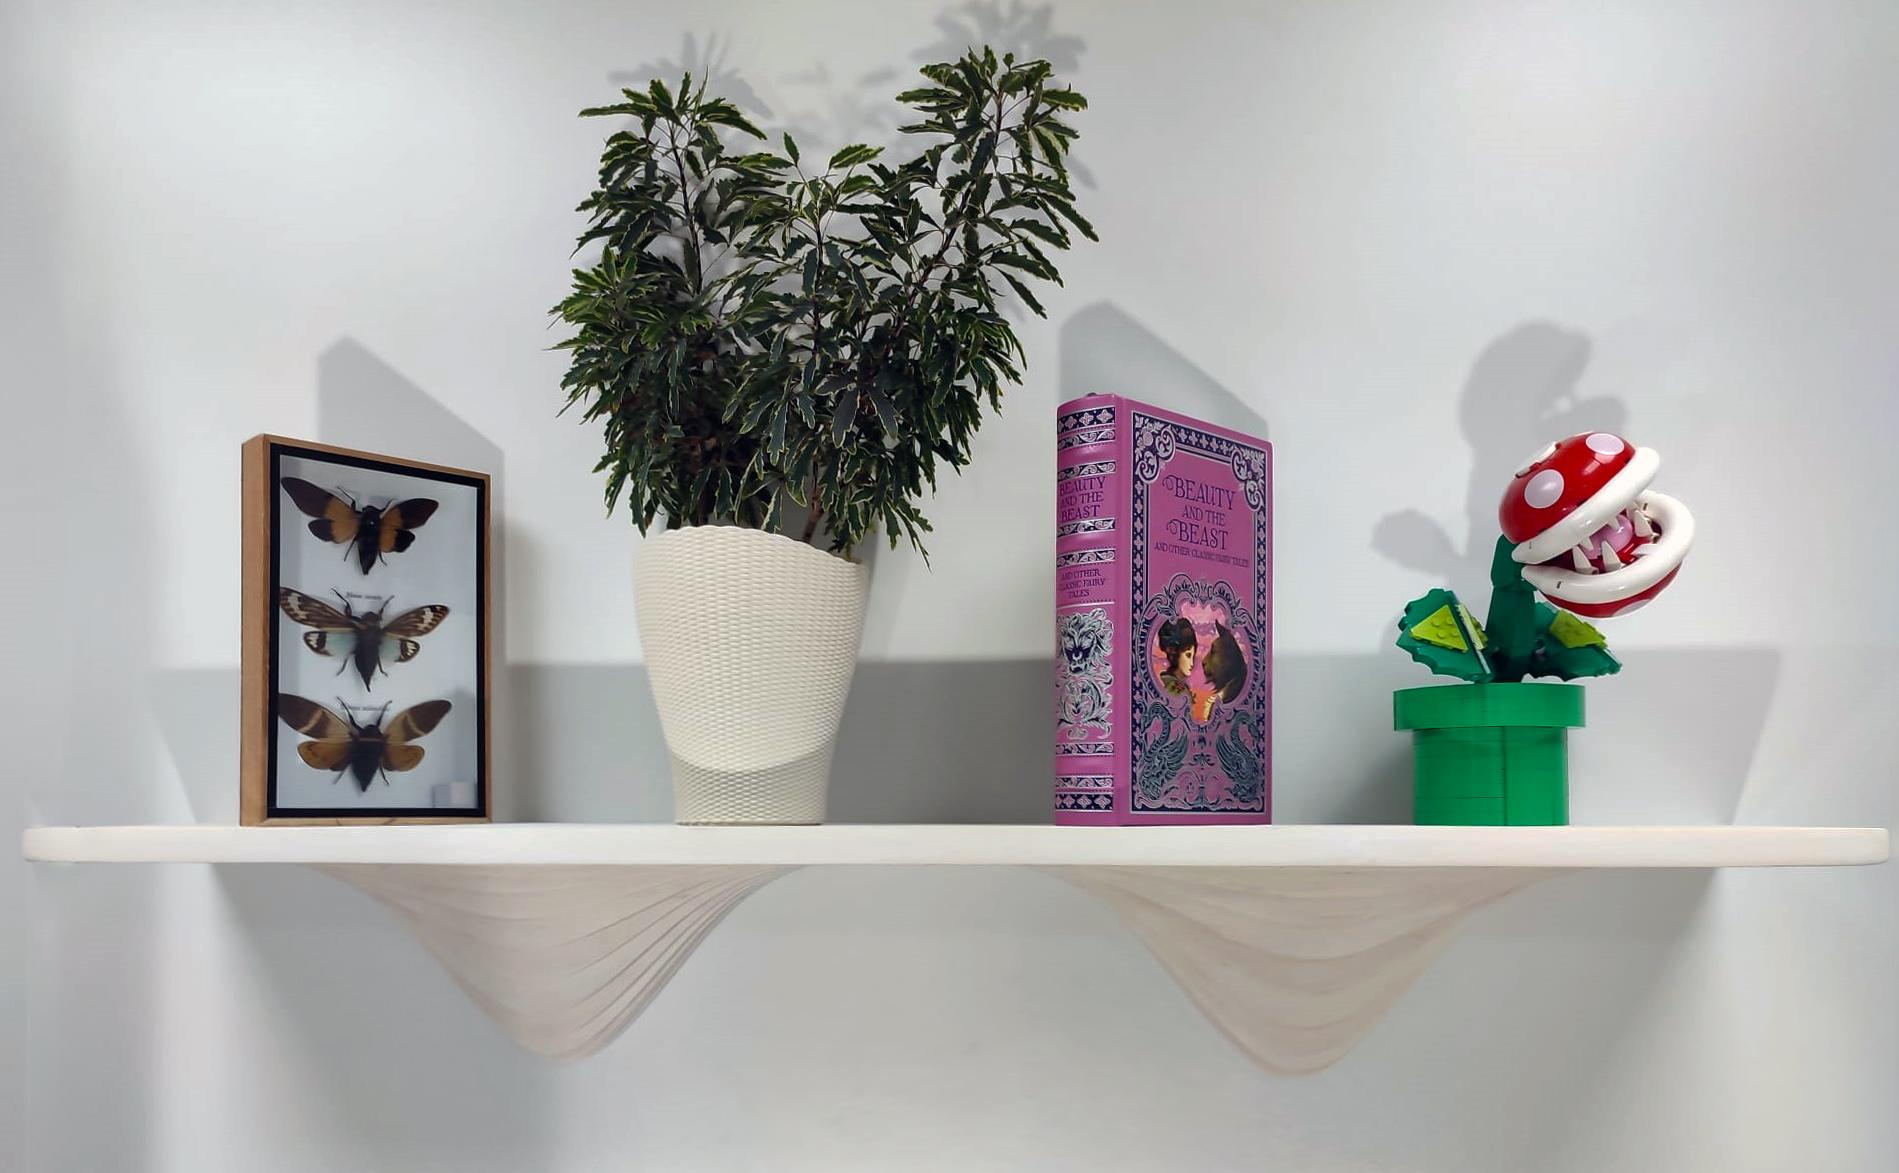
Enjoy!
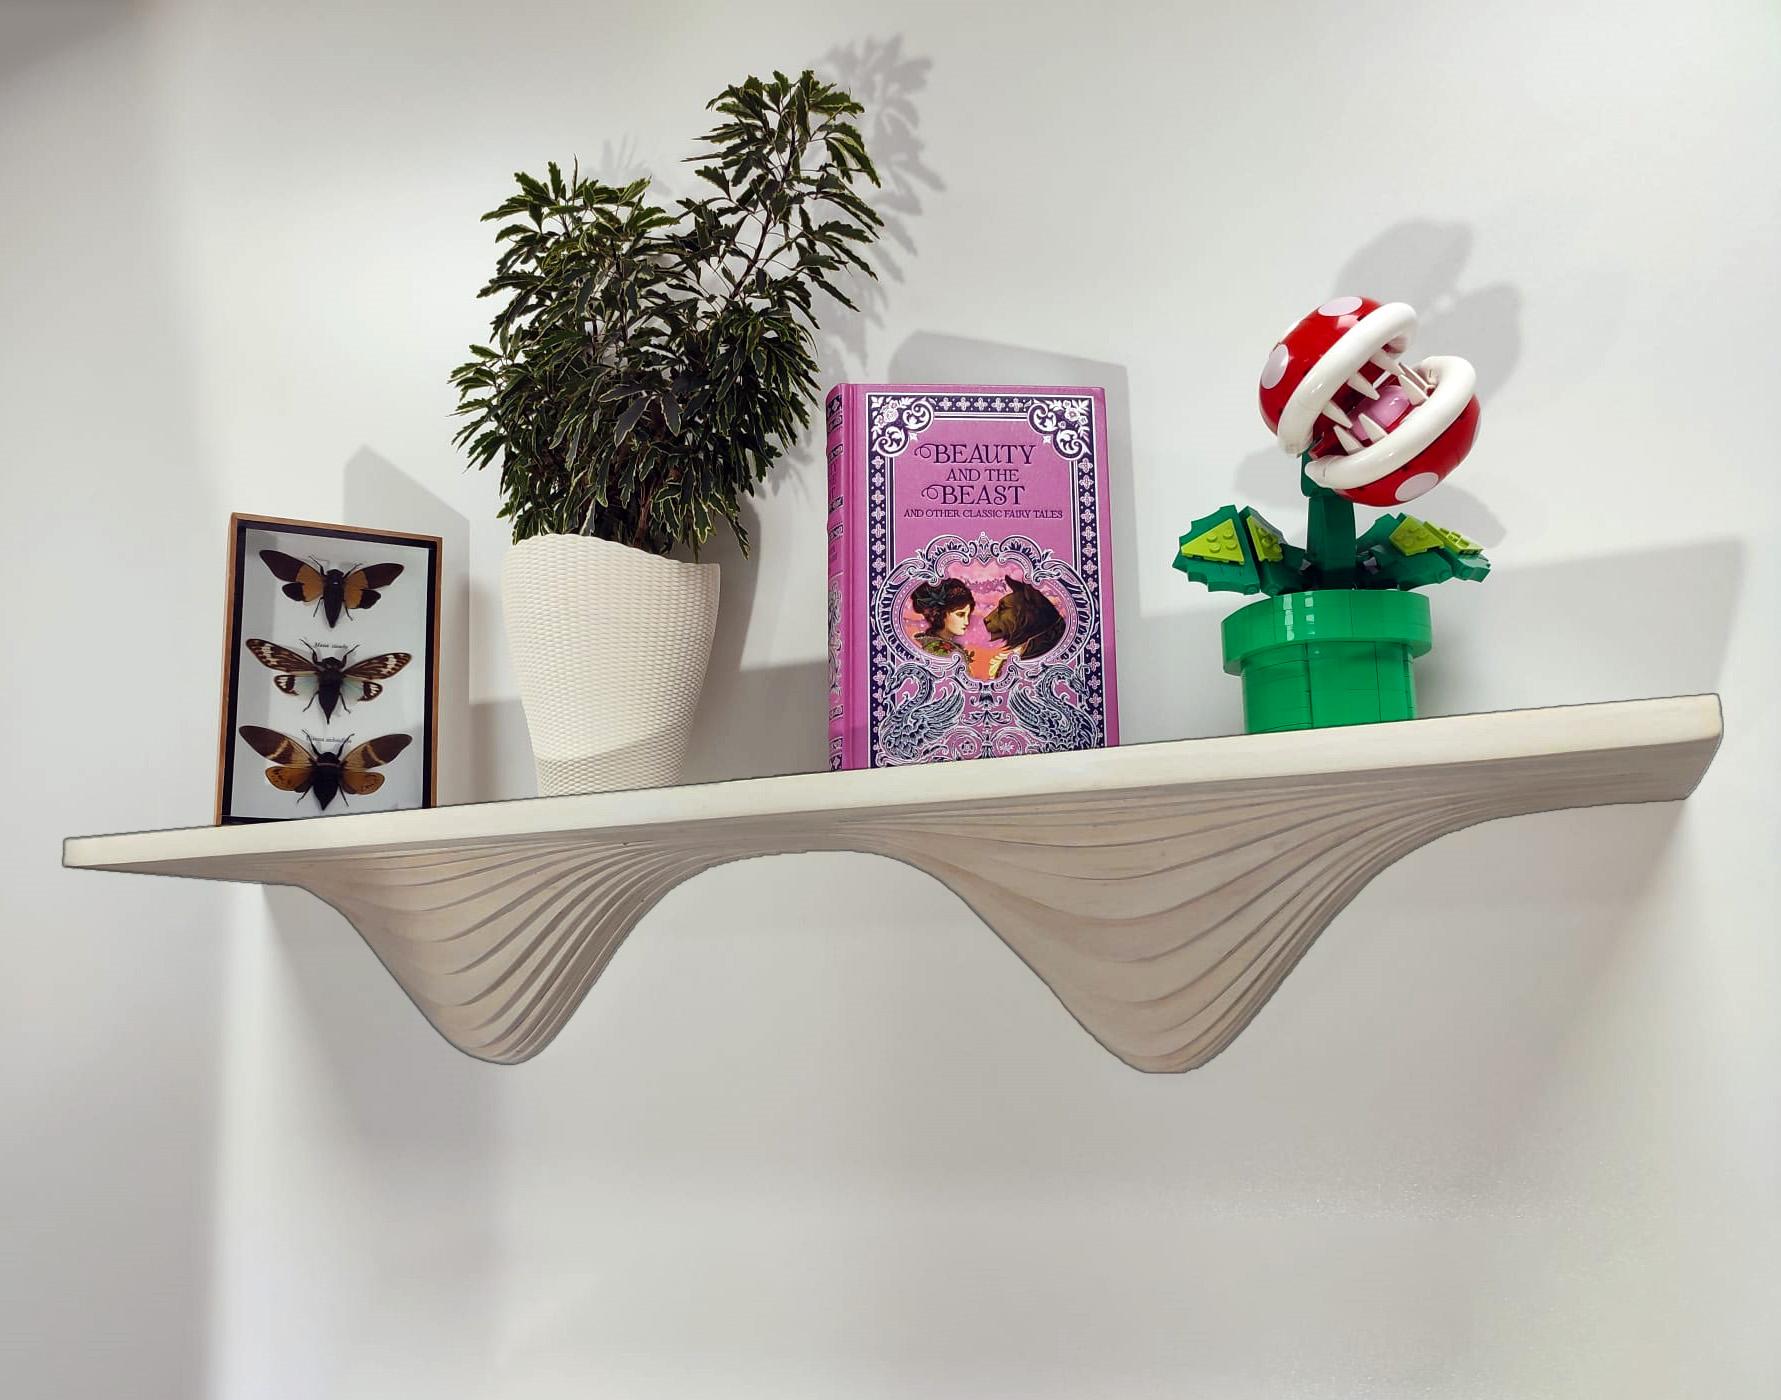
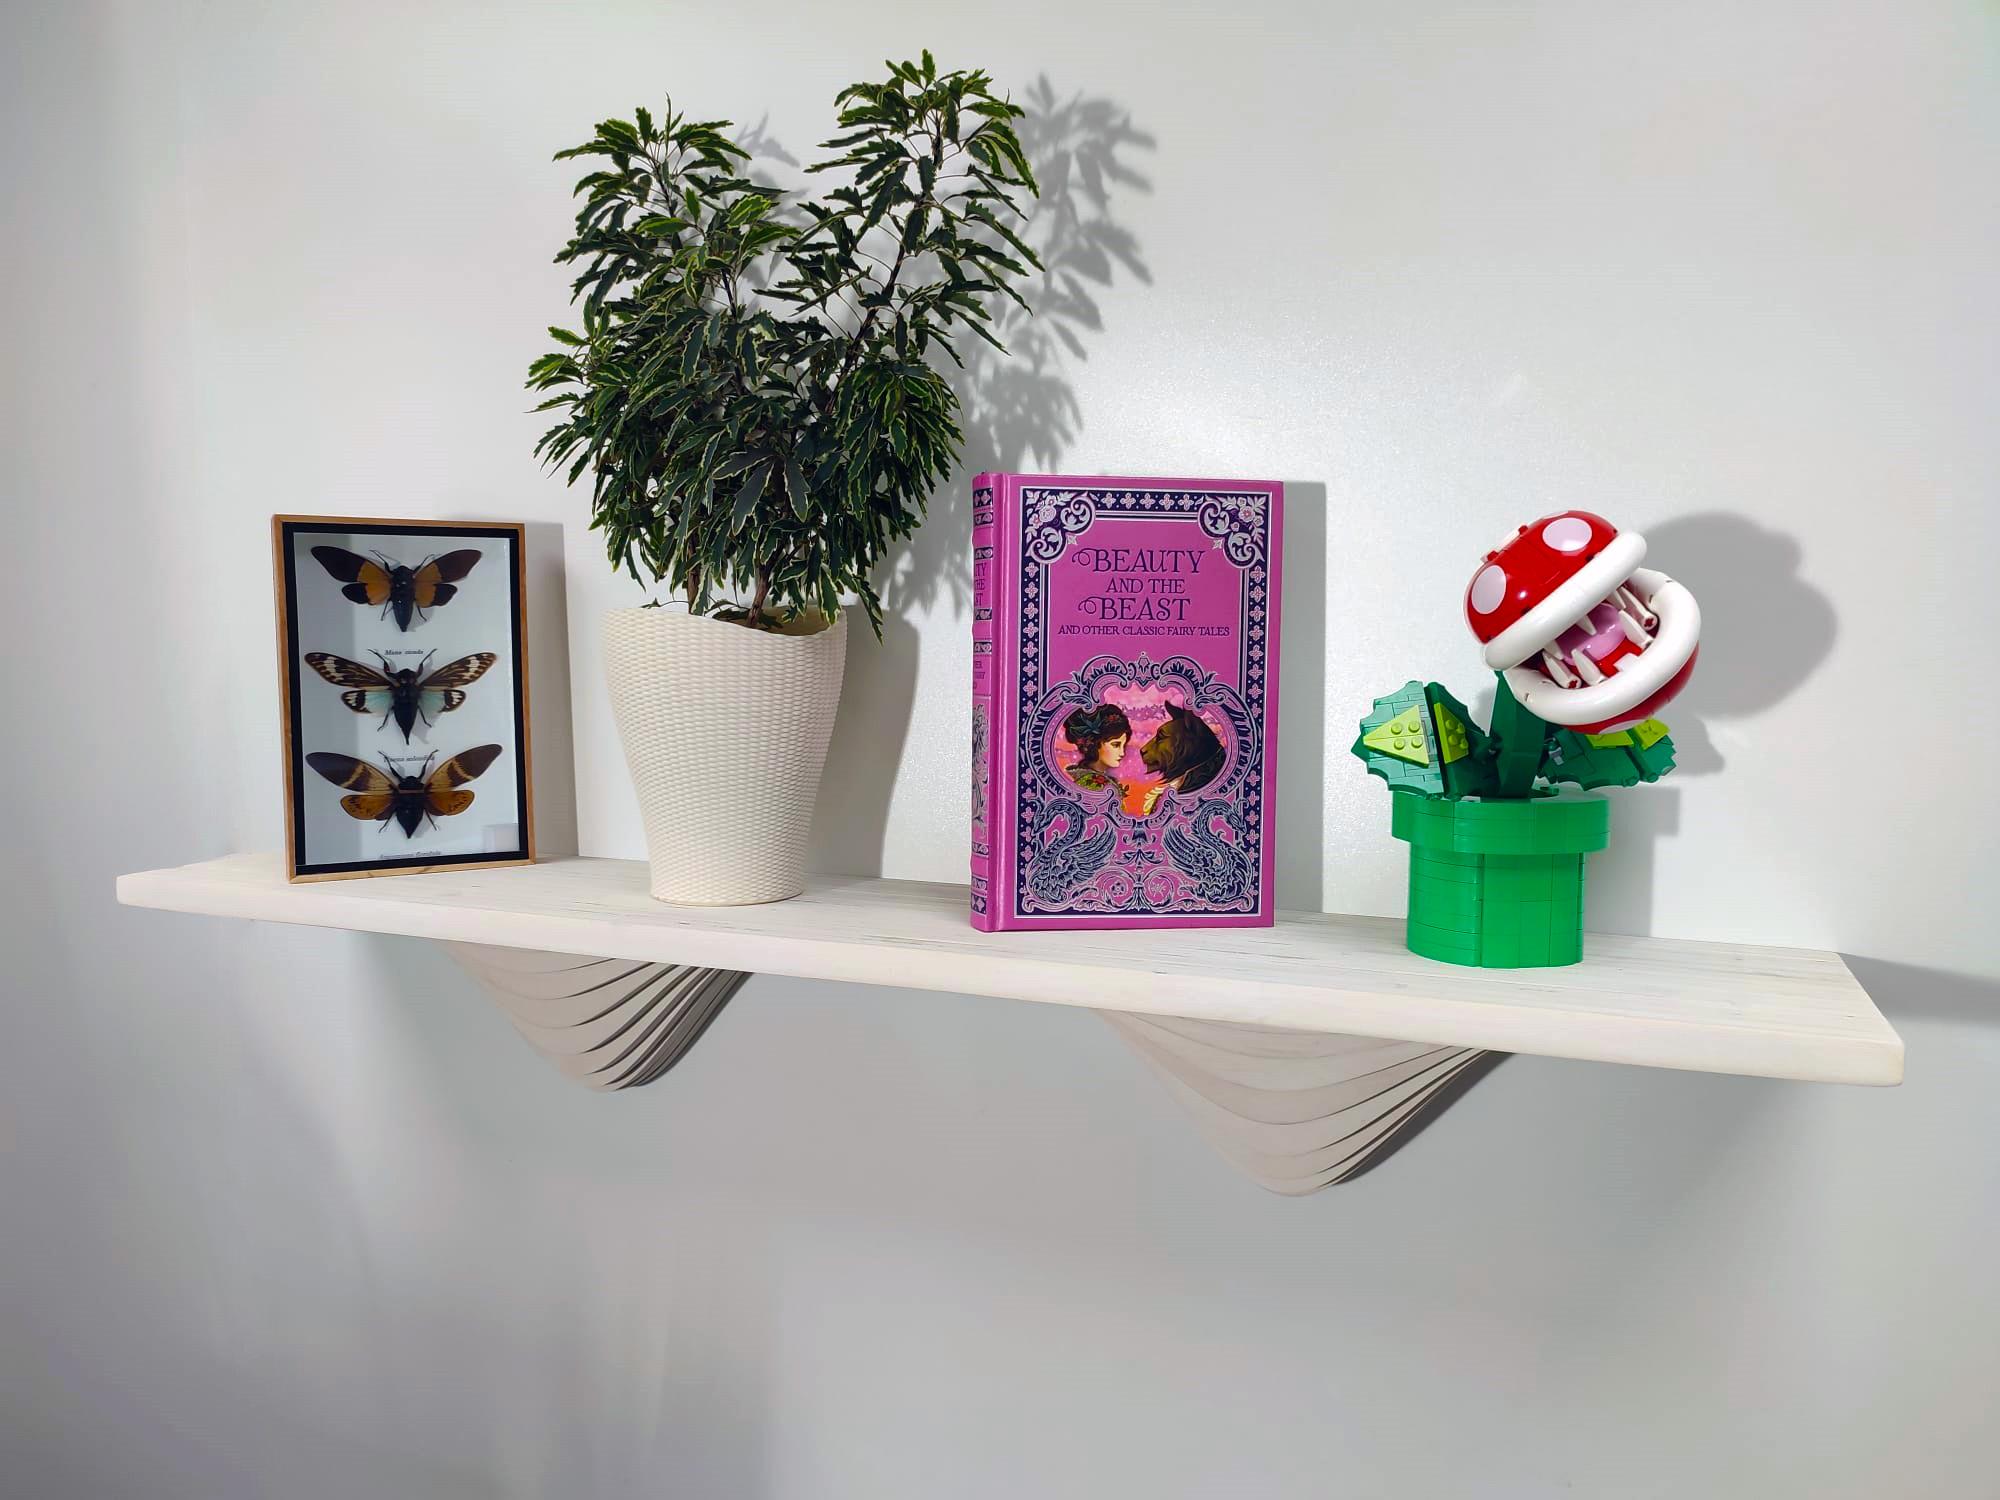
Et voilá! Put some items on there and enjoy your new shelf.