Drive RGB666 Display by Raspberry Pi Dpi Interface
by yaozong in Circuits > Raspberry Pi
2286 Views, 3 Favorites, 0 Comments
Drive RGB666 Display by Raspberry Pi Dpi Interface

I was planning to make my own handheld game console. In my opinion, the display is the most essential component for retro game consoles. I tried the SPI display before, but the performance is limited due to the speech of the SPI clock. DSI interface would be a neat choice if the motherboard is raspberry pi 4/3b/cm4 etc. But the price of these models is crazy recently, so I chose the raspberry pi zero 2w.
Unfortunately, this model doesn't contain a DSI interface, so I am trying to drive the RGB666 display by DPI interface consisting of 40PIN GPIOs.
Supplies
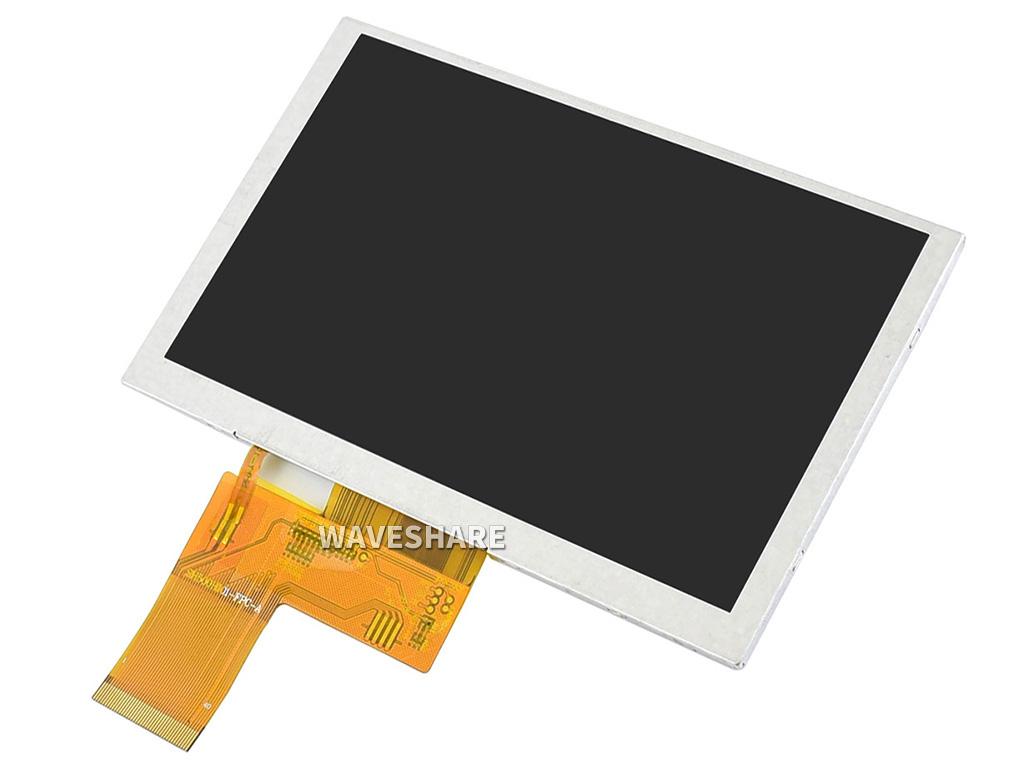

- WaveShare DPI 5inches 800*480 display
- Pins converting board
- Raspberry pi zero
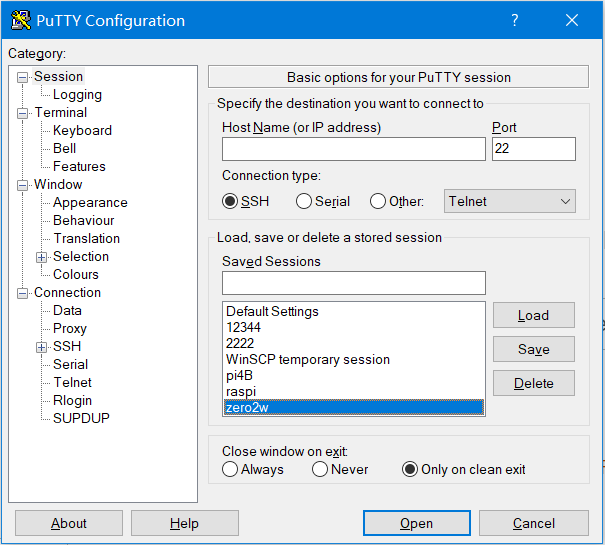
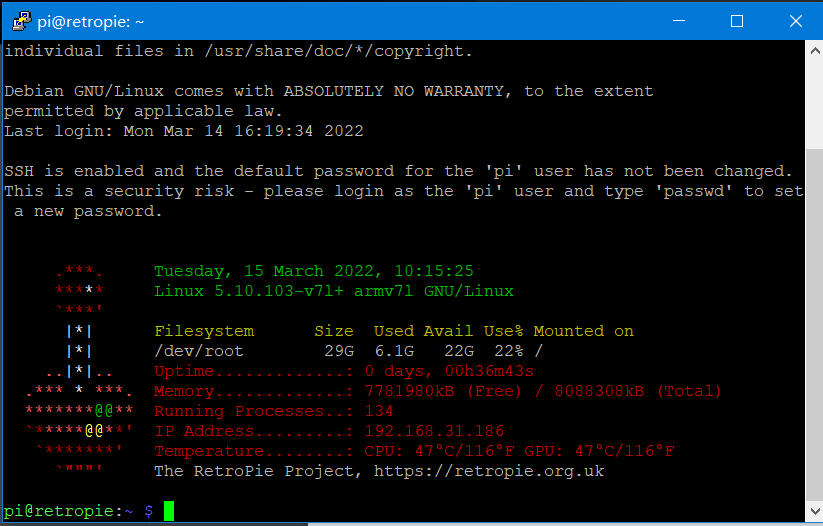
- Connect SSH service via Putty to the raspberry pi.
sudo nano /boot/config.txt
- Edit the file as below
[pi4]
# Enable DRM VC4 V3D driver on top of the dispmanx display stack
dtoverlay=vc4-fkms-v3d
#dtoverlay=vc4-kms-DPI-5inch
#max_framebuffers=2
dpi_timings=800 0 40 48 88 480 0 13 3 32 0 0 0 60 0 32000000 6
[all]
#dtoverlay=vc4-fkms-v3d
overscan_scale=1
dtoverlay=dpi24
enable_dpi_lcd=1
display_default_lcd=1
dpi_group=2
dpi_mode=87
dpi_output_format=0x6f005
hdmi_timings=800 0 40 48 88 480 0 13 3 32 0 0 0 60 0 32000000 6
disable_overscan=1
- The parameters explanation:
- CTRL+X to save the changes
- Then reboot the system
Sudo reboot
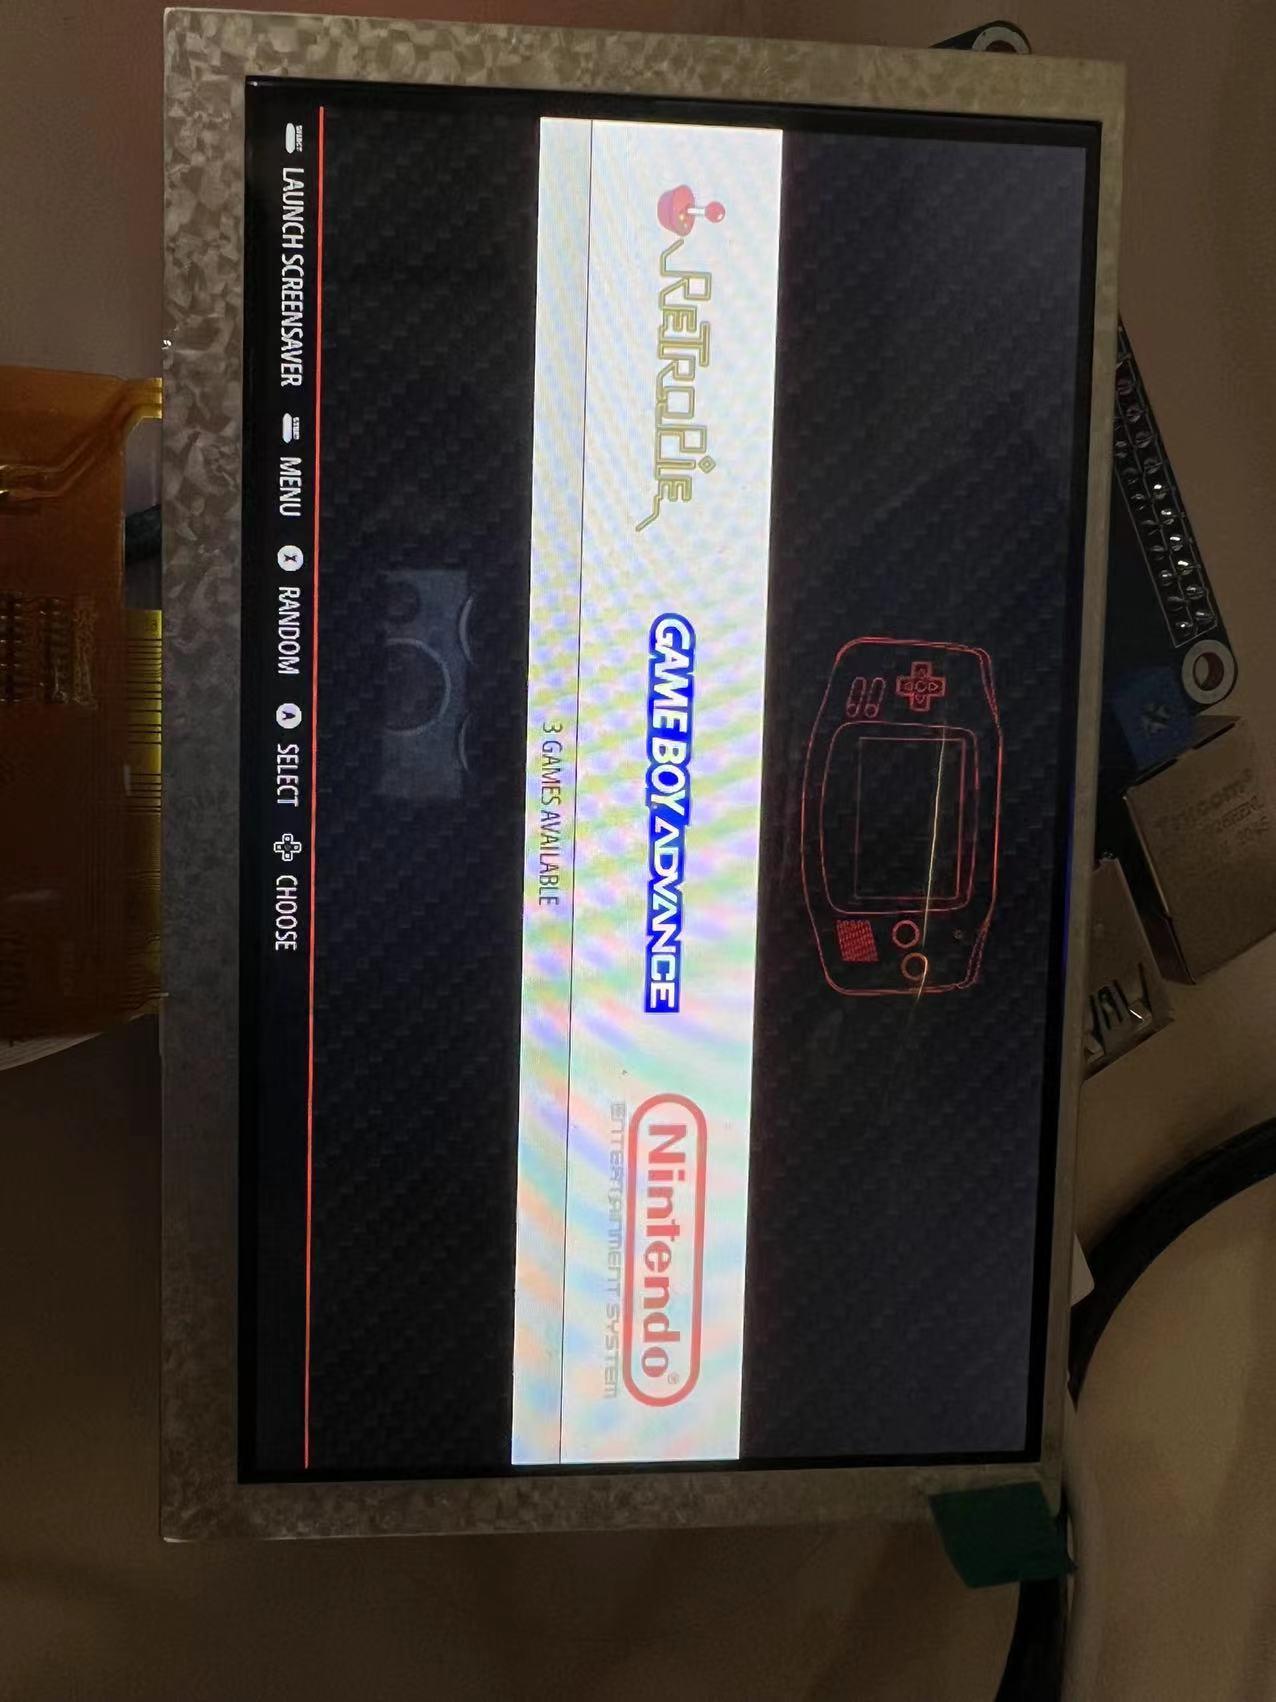
After a while, the 800*480 60Hz display is here. It's capable of playing the ACT games!
tAnd that would be a good foundation for my console. See you in PCB making part.