Drill Precise Holes for Mounting Electronics Controls and Boards
by haslettj in Circuits > Tools
3545 Views, 18 Favorites, 0 Comments
Drill Precise Holes for Mounting Electronics Controls and Boards
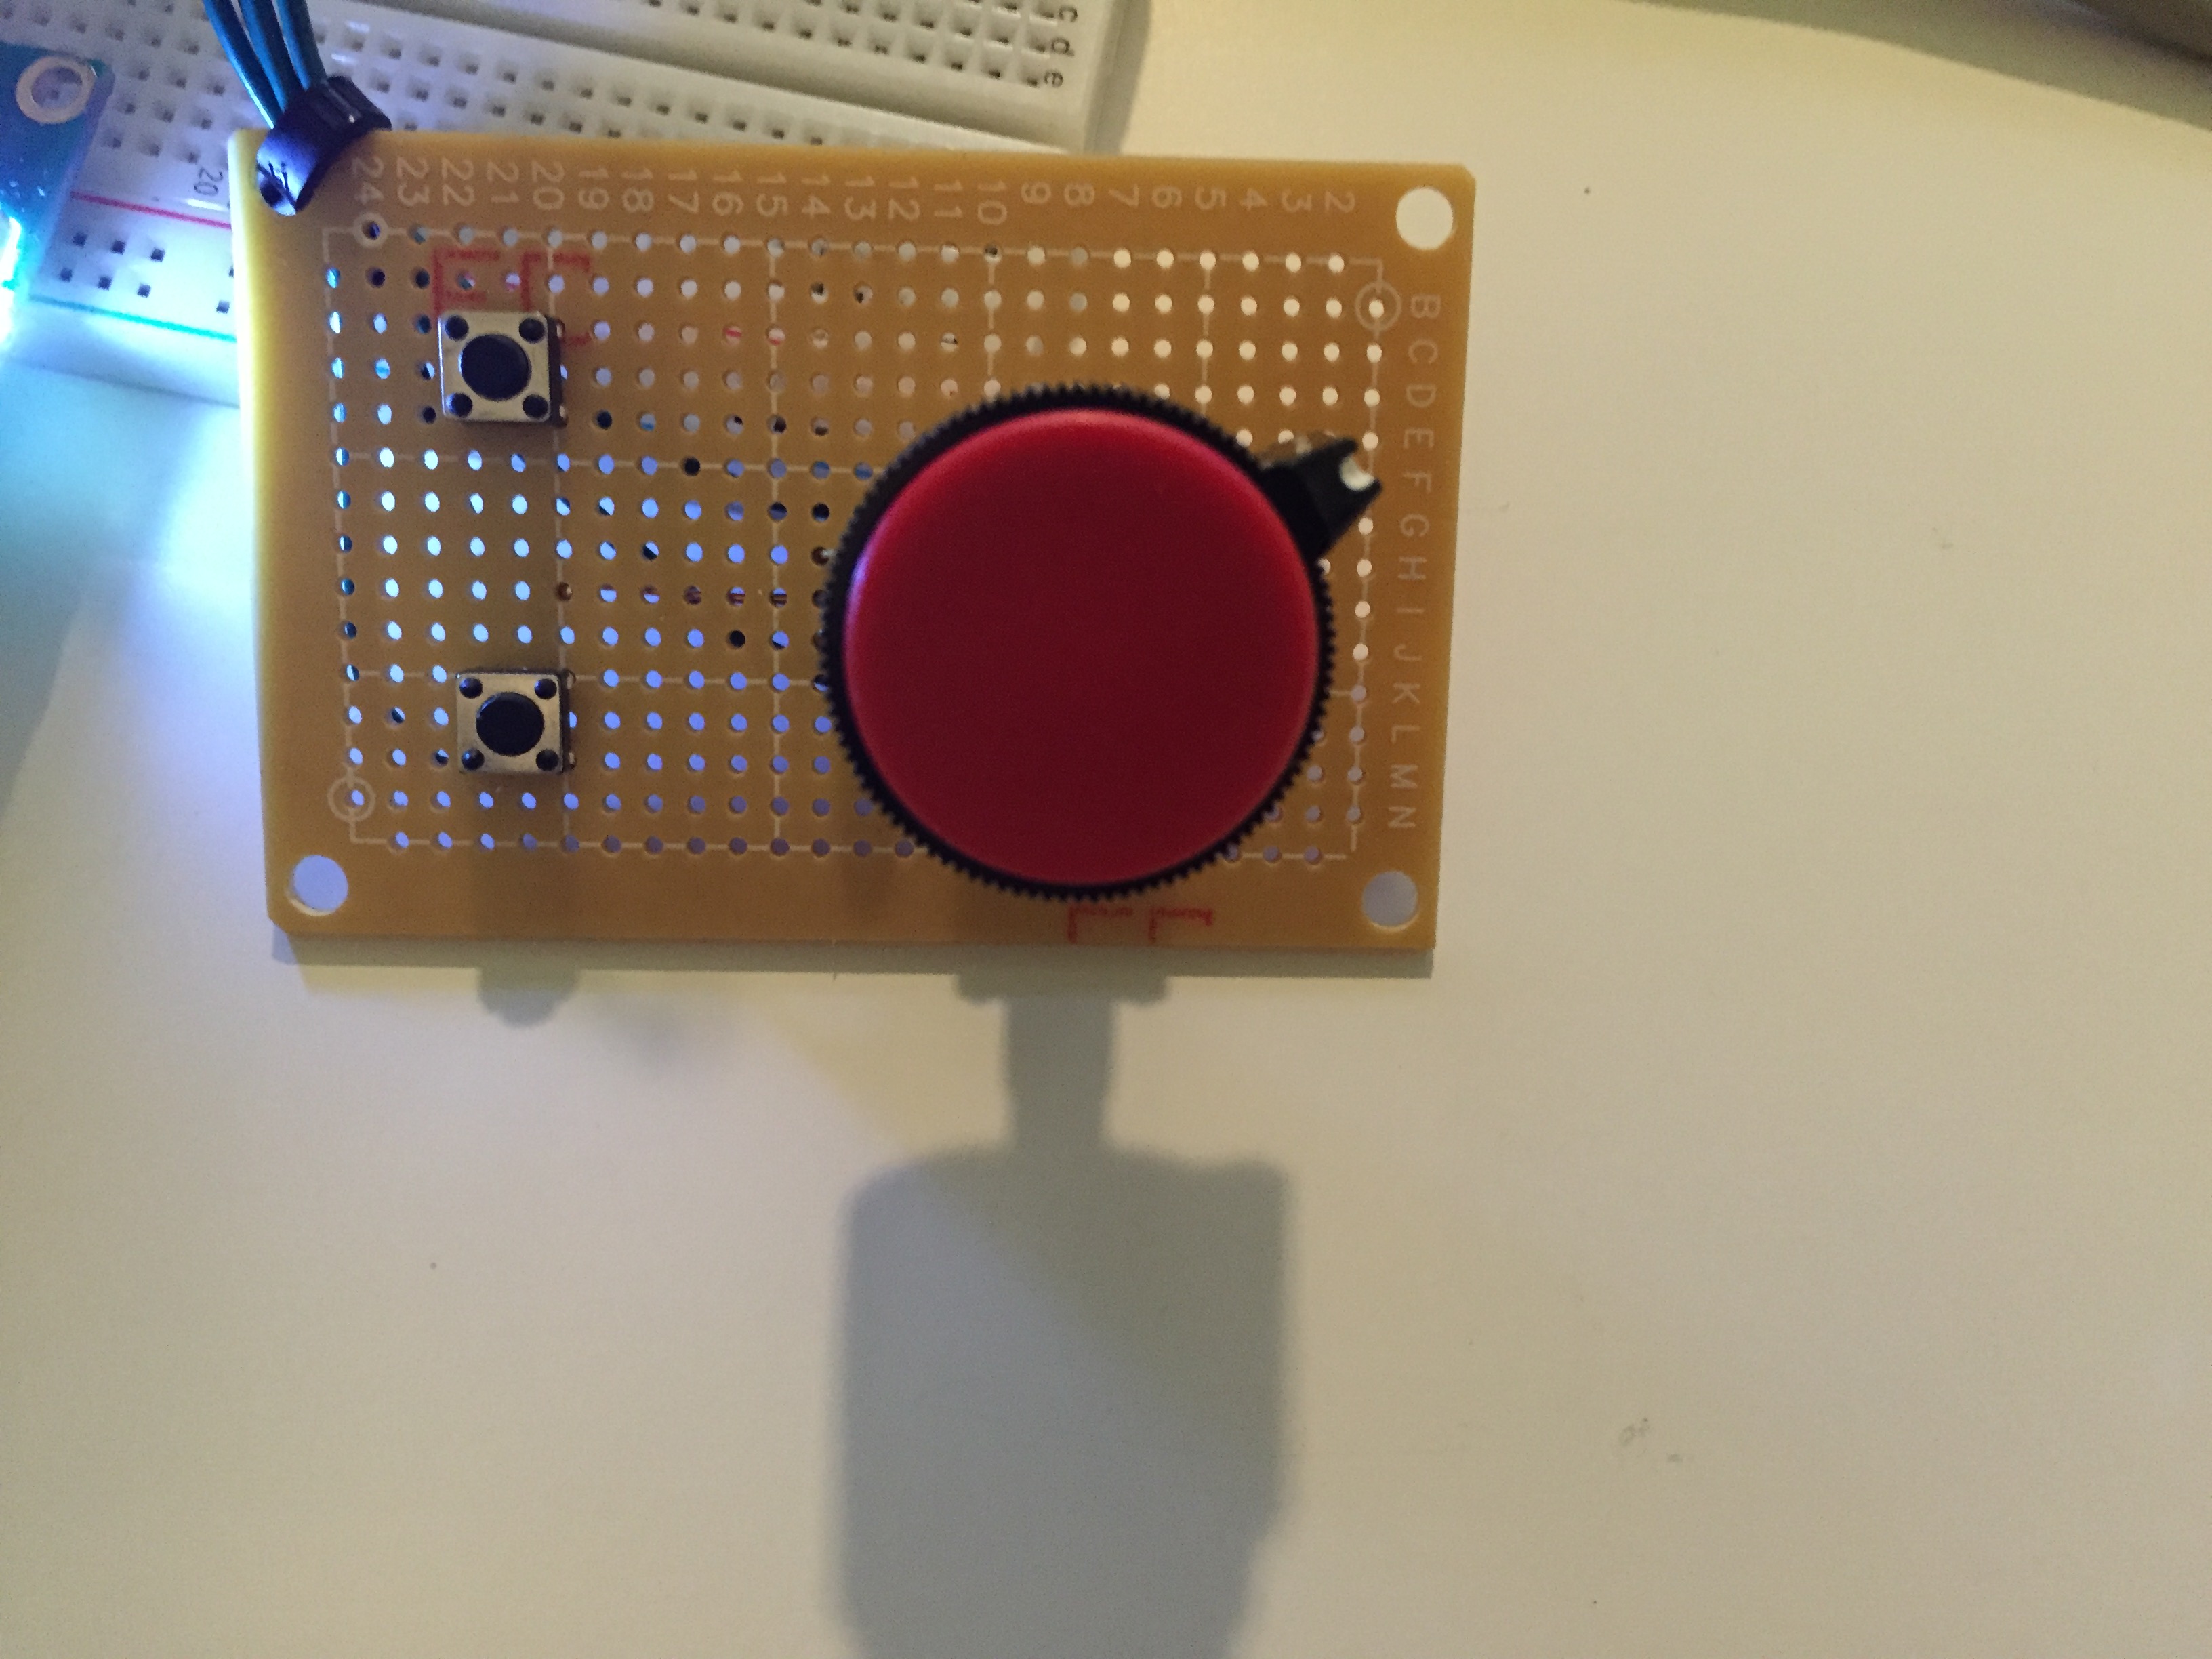
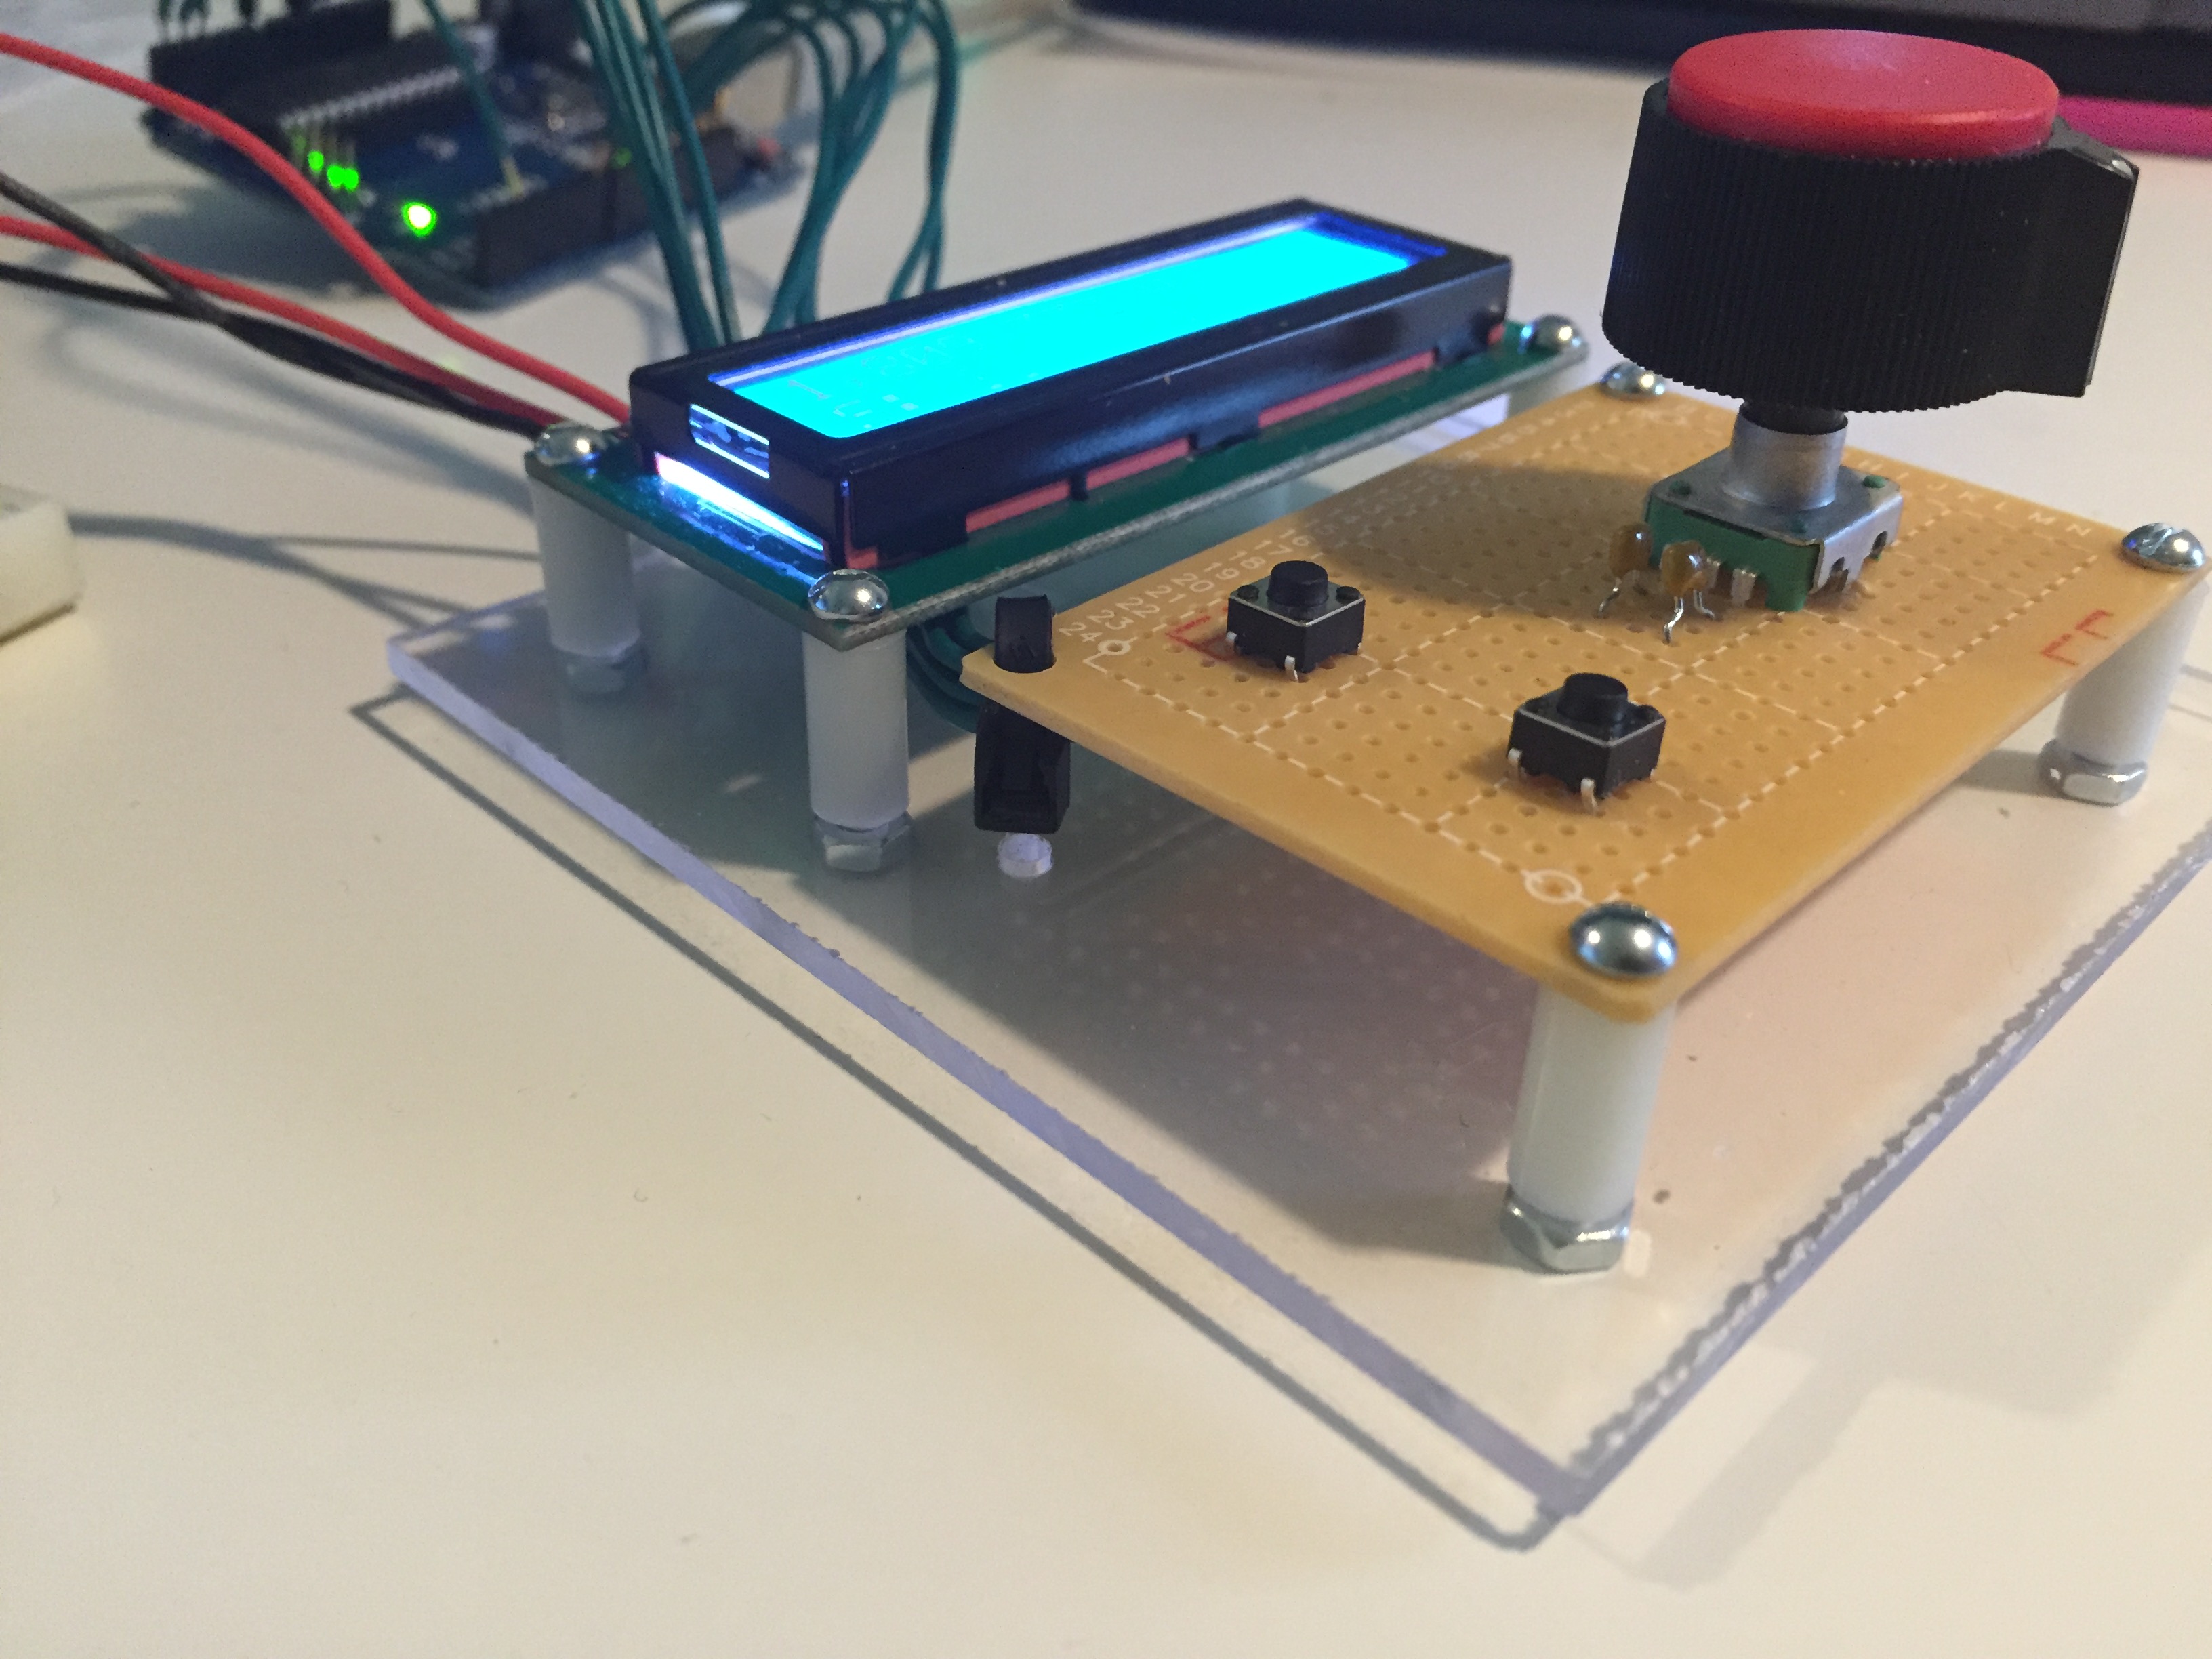
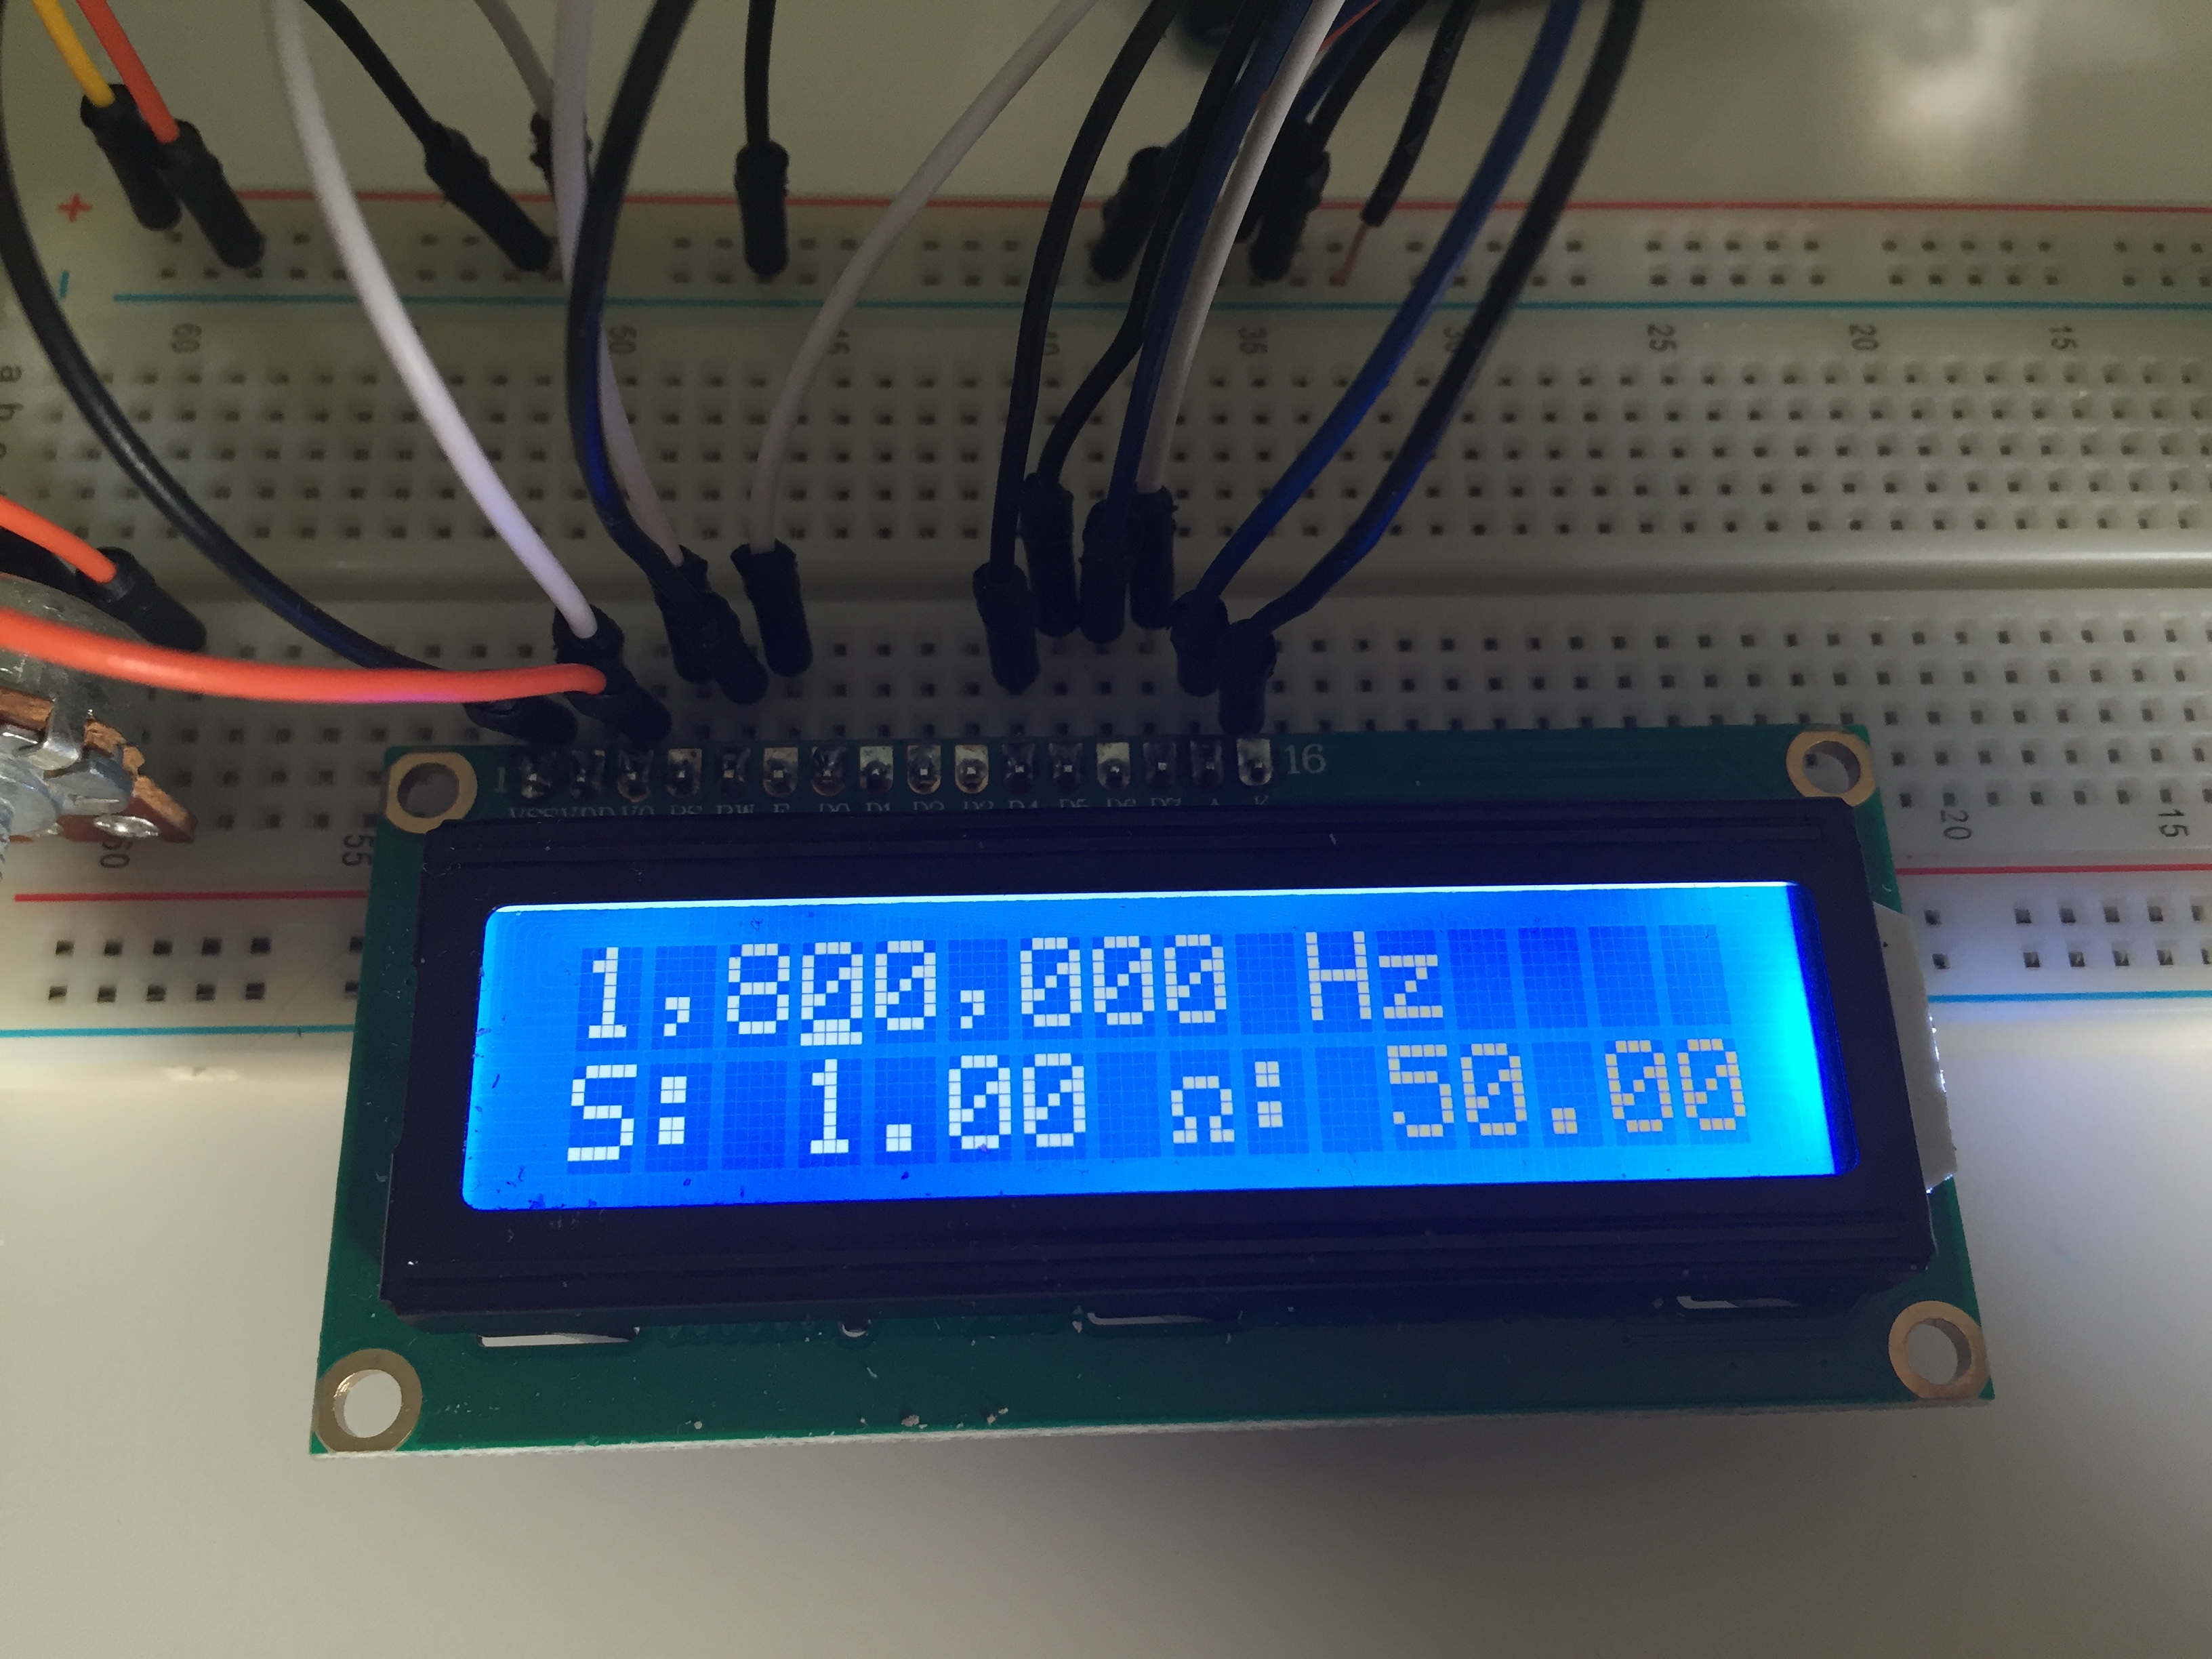
I've been building an Arduino project. I built myself a control board, with some buttons and a rotary encoder. I have an LCD display. As I added more elements to the project, these two boards kept getting in the way. They were flopping around my desk. I needed a way to contain them. So, I mounted them to a piece of acrylic.
If you are working with electronics, you likely have, or will have, this issue. Maybe you want to mount your Arduino inside a project box. Maybe you want to put a row of buttons on piece of acrylic and want them to be lined up. Maybe you are making a video game cabinet, and want all the control buttons to be perfect. This is the Instructable for you!
I'll go through the process of how to layout and drill precise, repeatable holes in just about any material for mounting electronic controls and boards (and just about anything else that has precise mounting holes).
Measure and Plan Your Layout.
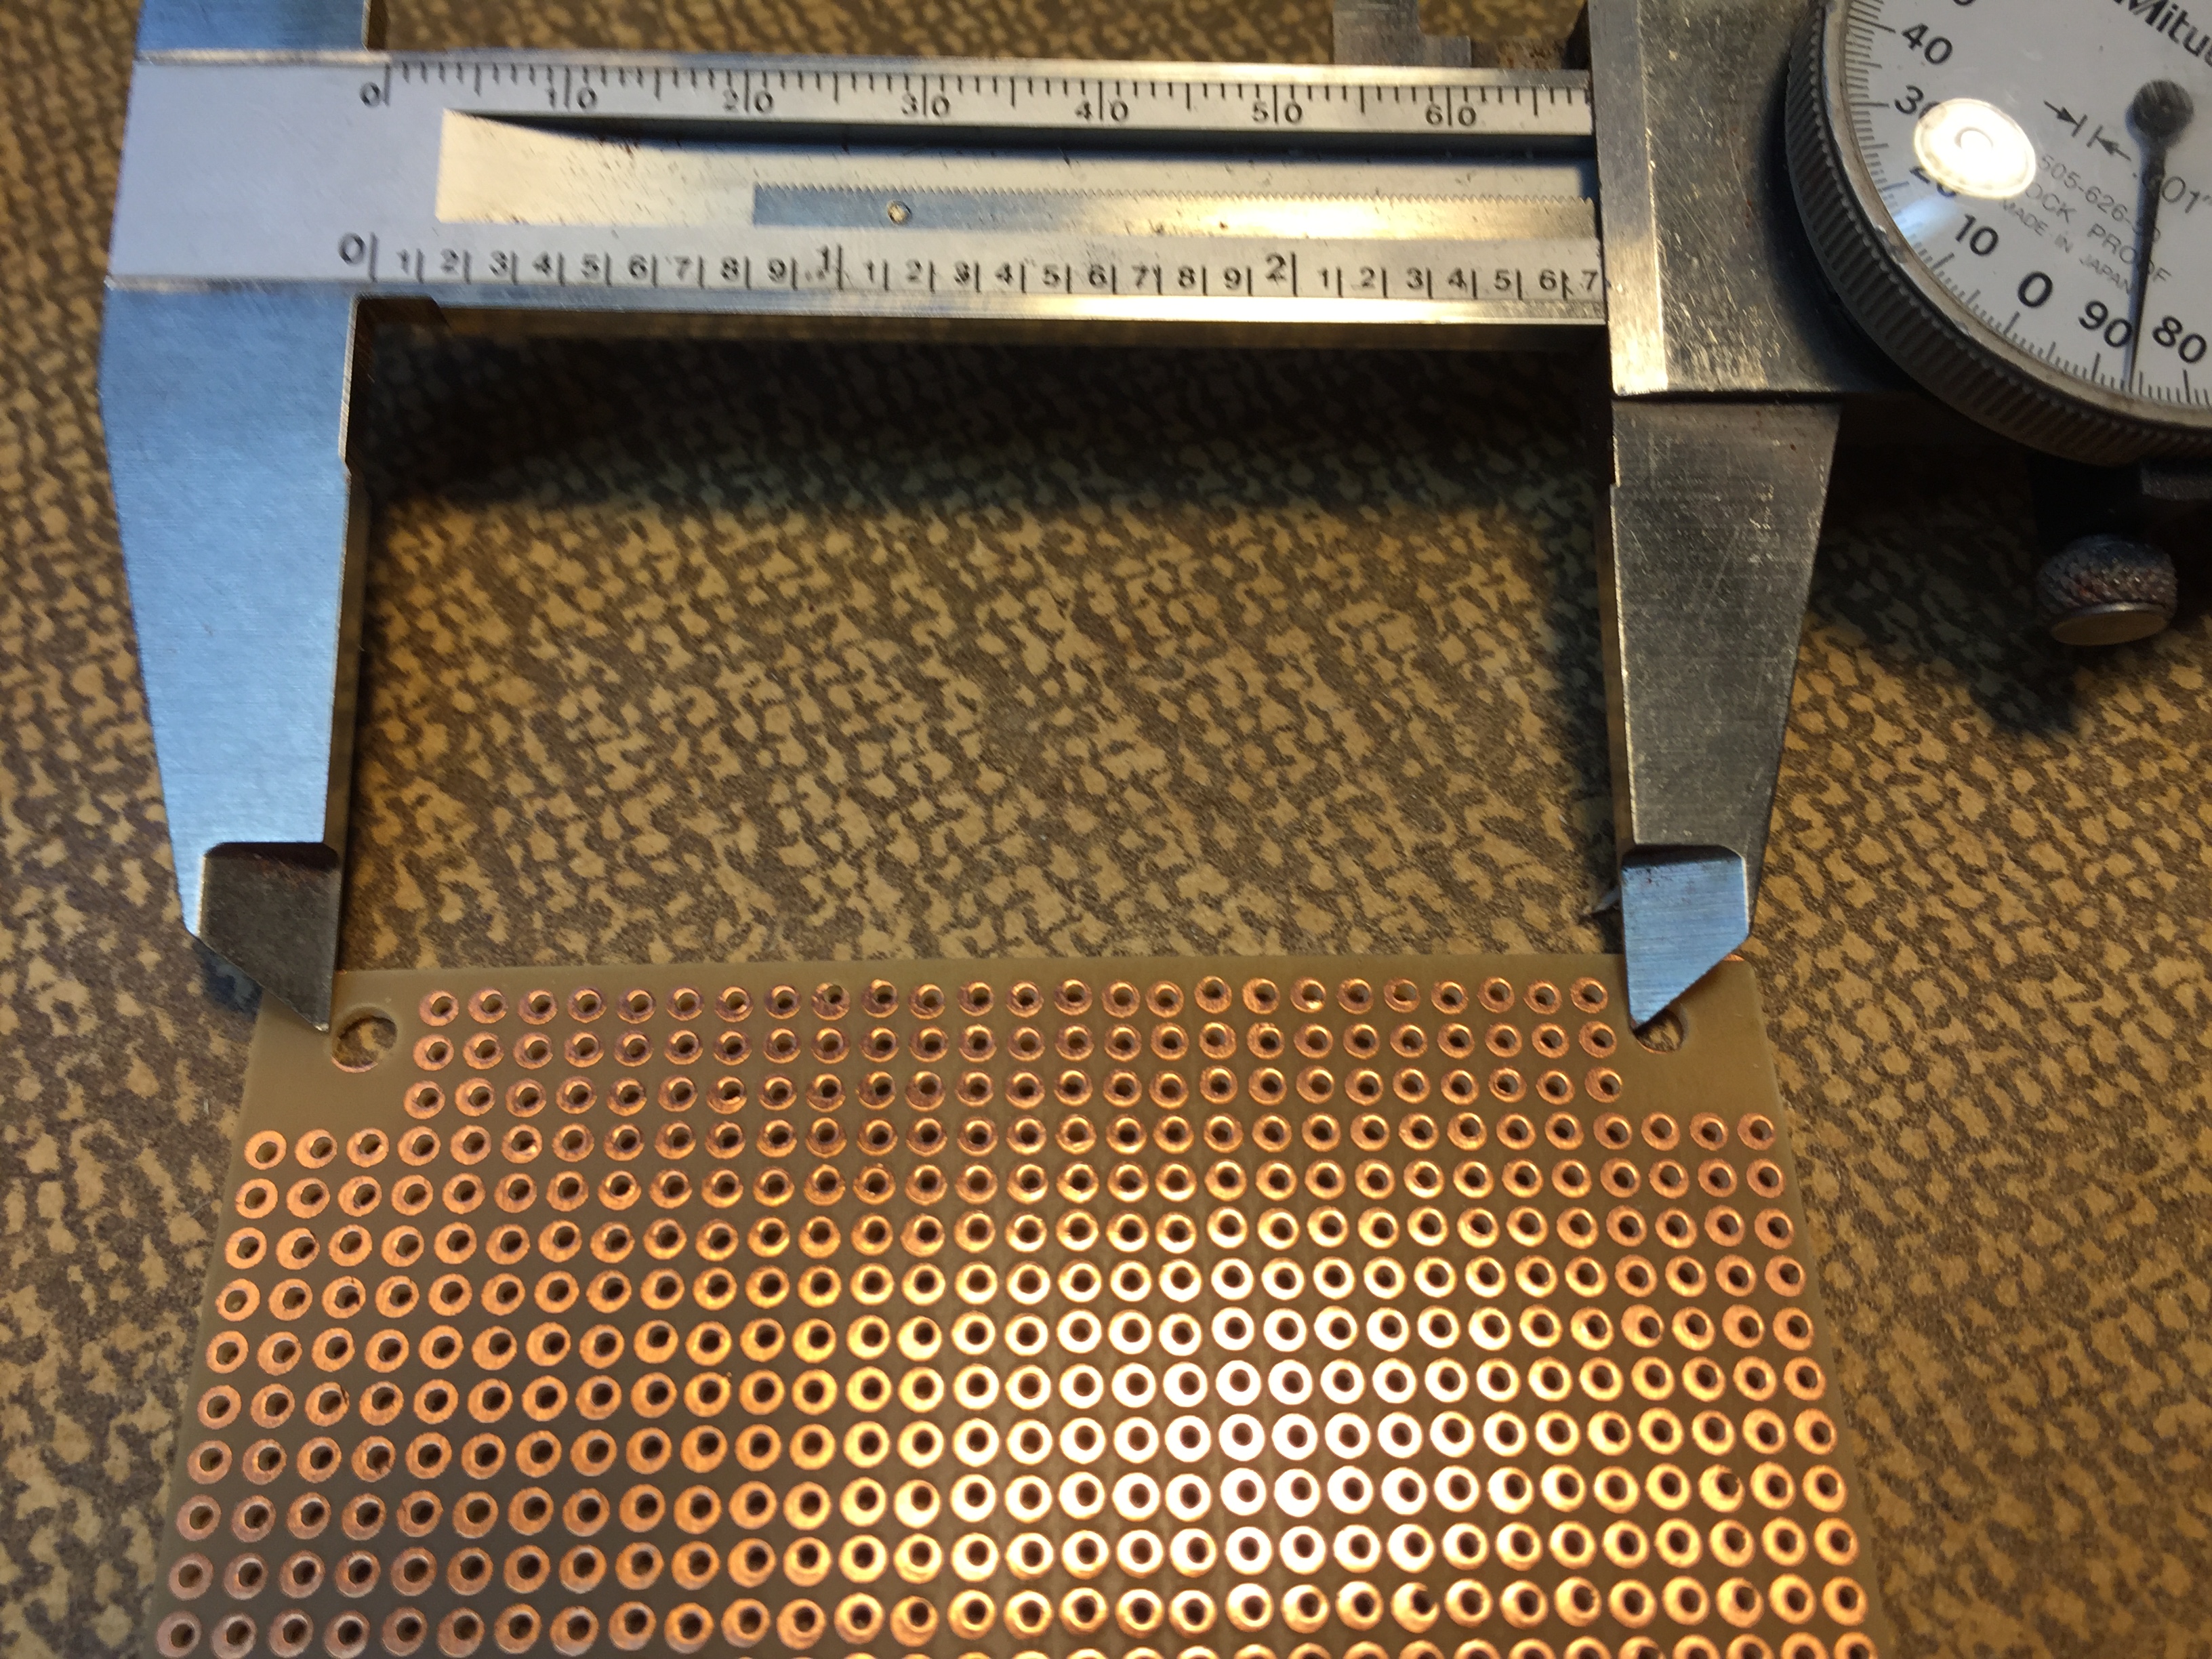
If you can get dimensions for your pieces from the manufacturer, go for it. If not, you need to take some pretty precise measurements here. For the pieces I was using, I had to measure myself. I own a set of dial calipers that make this very easy. If you don't own a set, you can certainly use a ruler, but you won't get as accurate of a result. I recommend getting yourself a set of calipers. You can pick up a set with a digital readout as cheap as $15 on Amazon. Vernier scale calipers are even cheaper.
TIP: If you are trying to measure the distance between the centers of two holes that are the same diameter, you can measure the distance between the left side of both holes (or right side). It's the same measurement as the center, but it can be more easily measured. See attached picture
You can work in metric (mm) or imperial (inches) here, the process is the same.
Open up your favorite CAD program and draw your layout. I prefer Sketchup. It's easy to use, extremely powerful, and best of all: FREE! I'm not going to go into how to design your layout, or how to use Sketchup. There are plenty of excellent tutorials out there already.
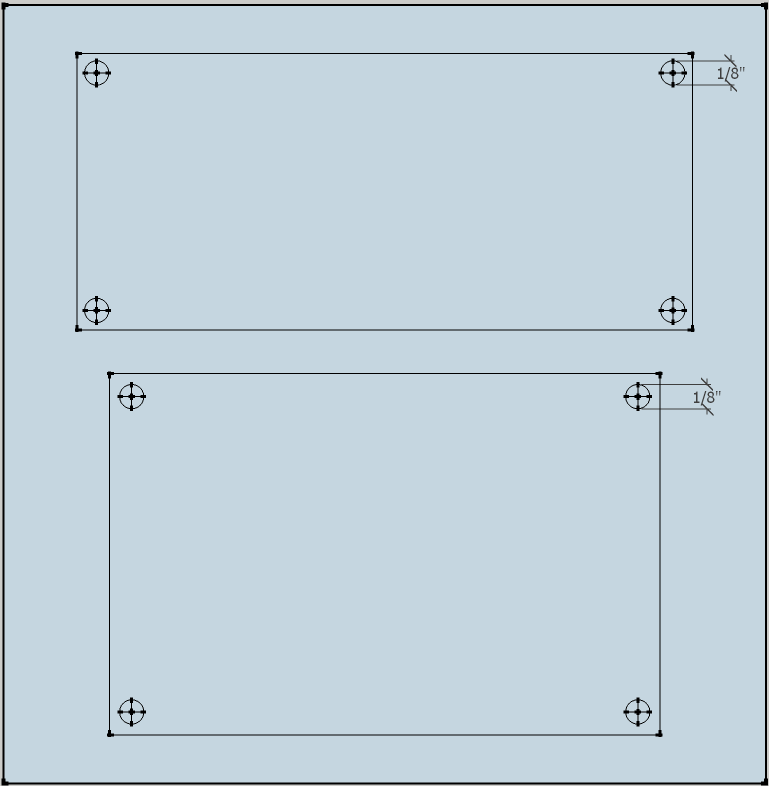
One of the keys here is when you lay out where your holes are, make "cross hair" lines through the centers. See the attached picture for an example. This will make lining up your drill bit much easier. It's also a good idea to put dimension markers on the drawing for the hole sizes, especially if you have different sized holes. It doesn't cost anything to do, and it will be a good reminder when you are drilling.
Be as precise as possible. Don't round off. Sketchup lets you enter values by typing them in. Do that! If you can measure to within 0.01 inch or 0.1 mm, enter your values that way. The more accurate you are, the more accurate your end result will be.
Print Your Layout to Scale
Once you have a layout that you are satisfied with, print it to scale. This step is the key. If your printout is not 1:1 scale, the rest of this process won't work.
If you are using Sketchup, follow these instructions. If you are using some other CAD program, you'll have to find instructions for printing to scale elsewhere.
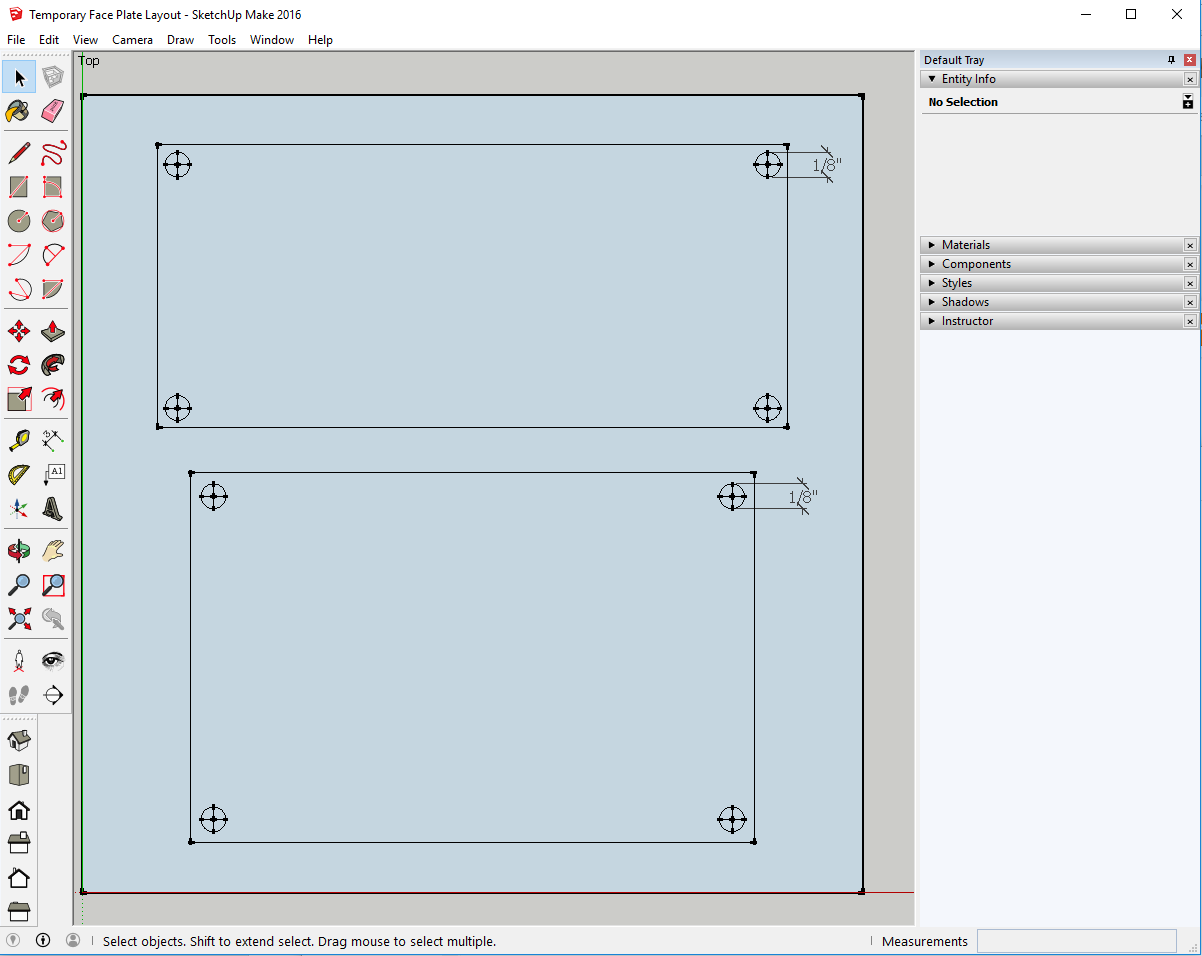
It can be tricky to get Sketchup to print what you want, let alone print it to scale. One of the tricks to printing with Sketchup, is that Sketchup prints the entire window that is visible in the editor. So, you want to zoom in as much as possible, and shrink your window around your model so there is as little space around the edges of the model as possible. See the first photo in this step for an example of what I mean.
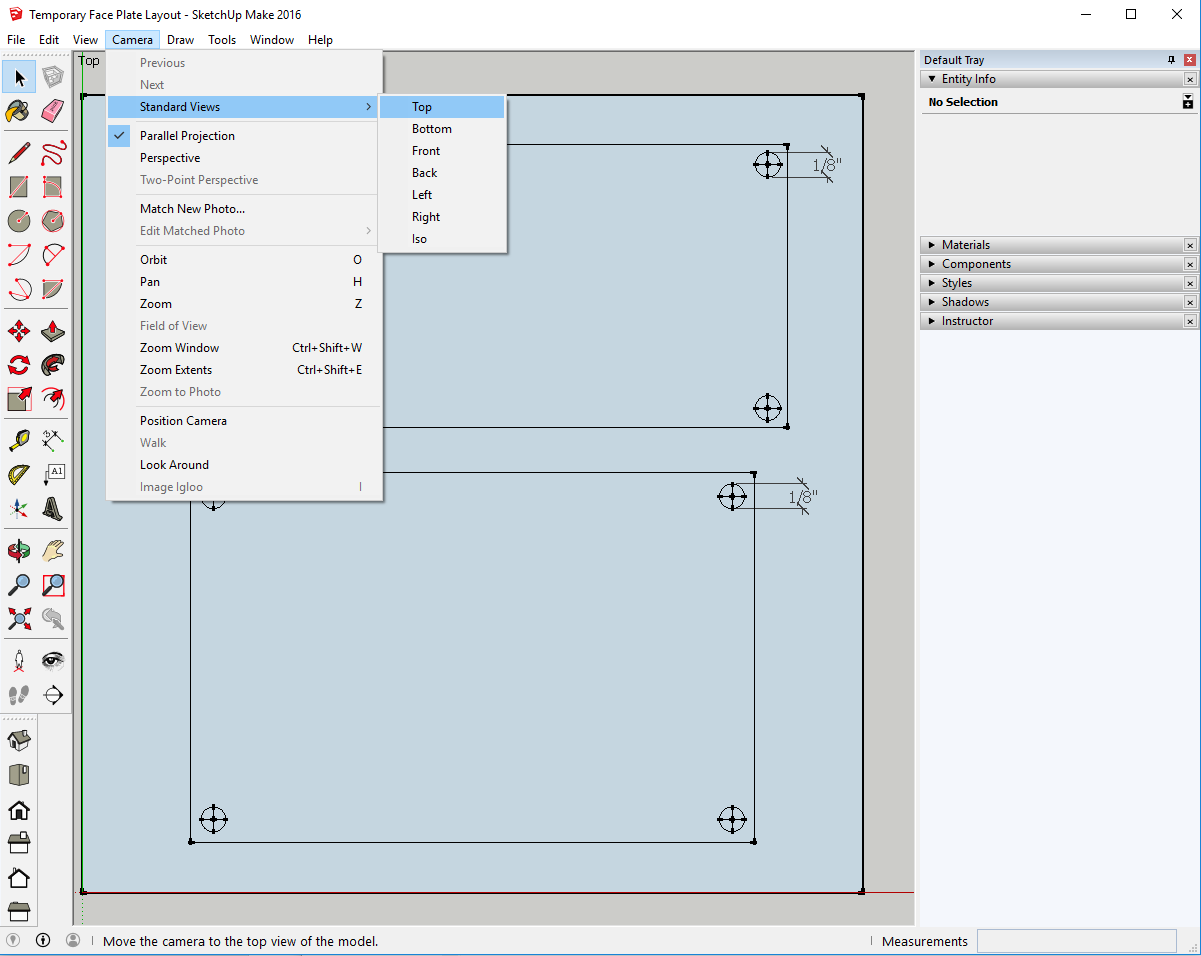
In order to print to 1:1 scale, you must be in a parallel projection camera with a standard view. For this type of work, I usually use a top down view. Under the camera menu, make sure Parallel Projection is checked and select Top from standard views. See the second photo for details. If you drew your design using the front or a side view, select that instead of Top.
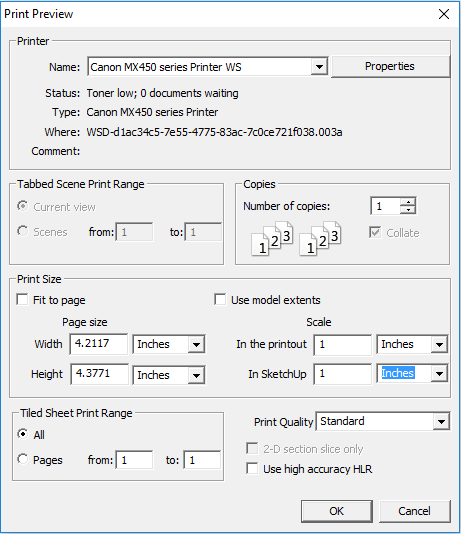
Finally, you are now ready to print. I recommend using print preview first to make sure you are not just wasting paper. From the print preview menu, make sure Fit to page is NOT checked. If you've done everything right, then the Scale section should be usable. Make sure that In the printout and In SketchUp are both set to 1. See the third photo for details. Then click OK.
If the Scale section in the print preview window is greyed out, then you likely are missing something related to the parallel projection, or top down view. Go back and double check those.
You should now see the print preview. If everything looks good, click the print button at the top. If something doesn't look right, go fix it and come back.
Glue Your Printout to Your Material
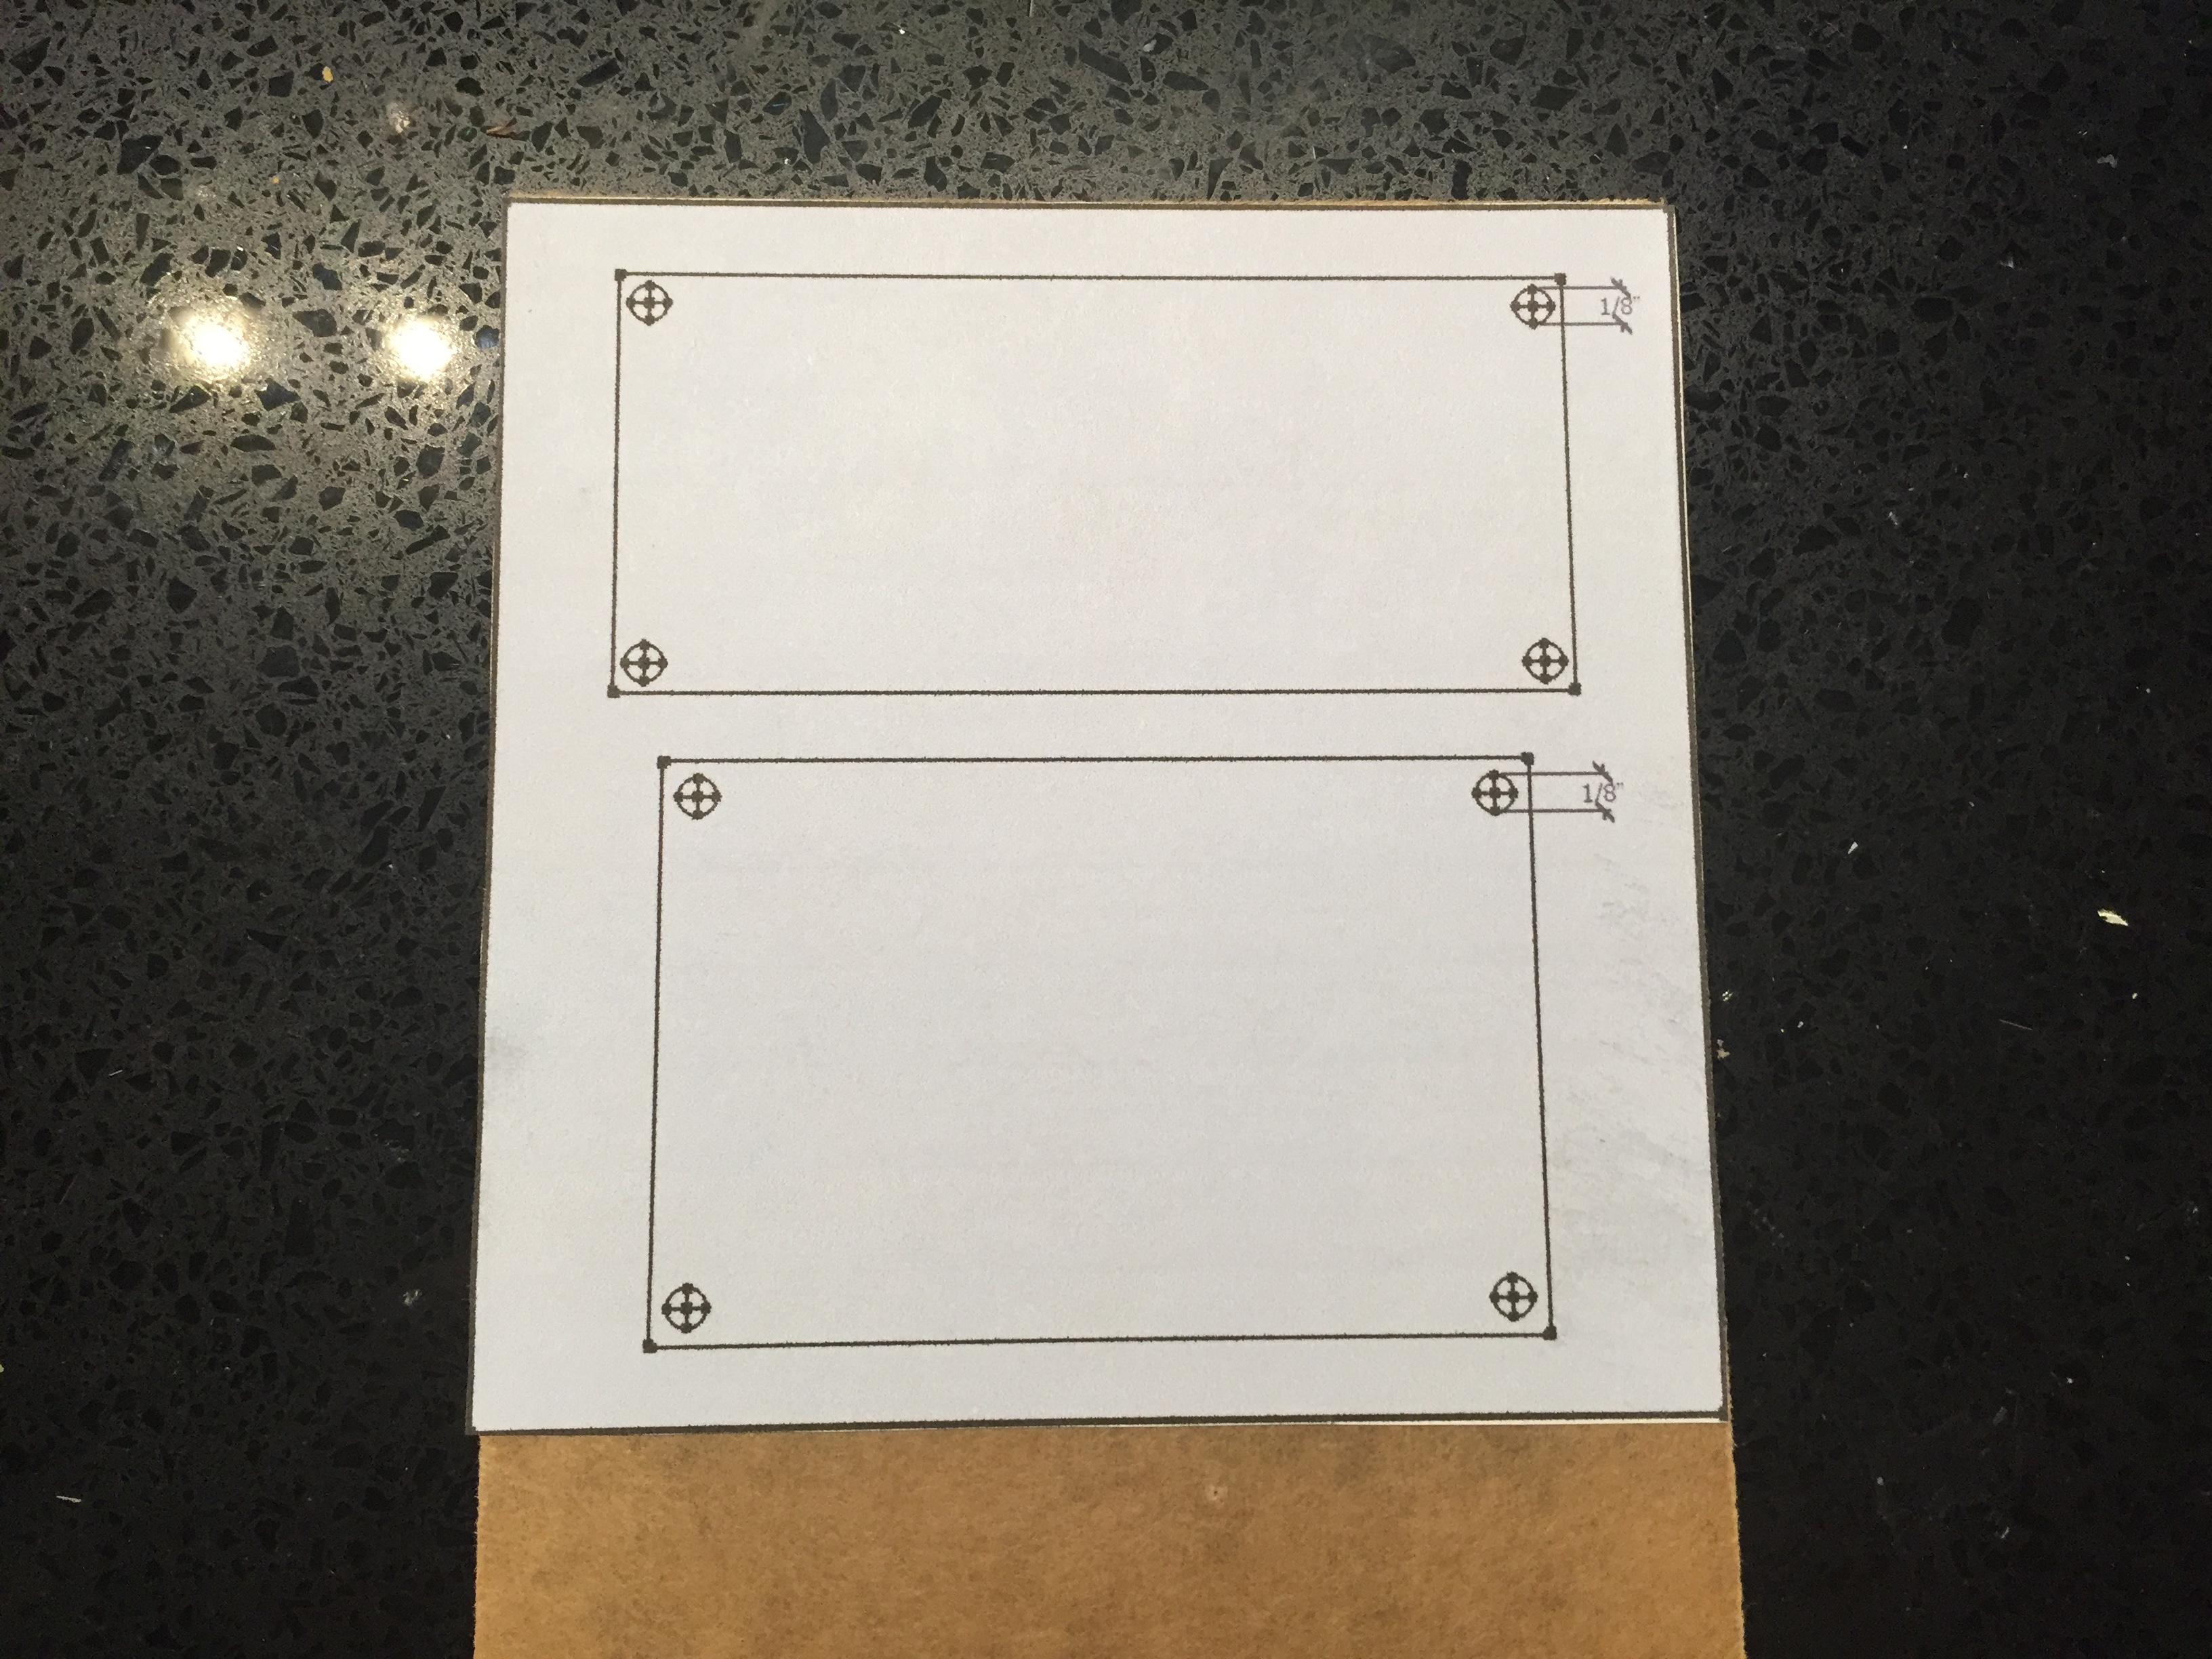
Now that you have a scale printout of your layout, carefully align it to your material and glue it in place. If you are drilling in acrylic (or lexan, or styrene) it likely has a paper or plastic coating on it. Leave it in place and glue right to that. If there is no protective coating on your material, glue right to the material.
Choose a glue that will hold the paper in place, but will be easy enough to remove. Glue sticks and spray adhesive work well. Hot glue doesn't work that well because it is too thick. Traditional wood and white glues will work, but they are kind of permanent, and take a long time to set. I prefer a spray adhesive. It sets quickly and is fairly easy to remove.
It's a good idea to check the glue you are using to find out what solvent will remove it. Then make sure that solvent is safe for your material. You don't want to use acetone on acrylic (it can melt it).
Make Some Holes!
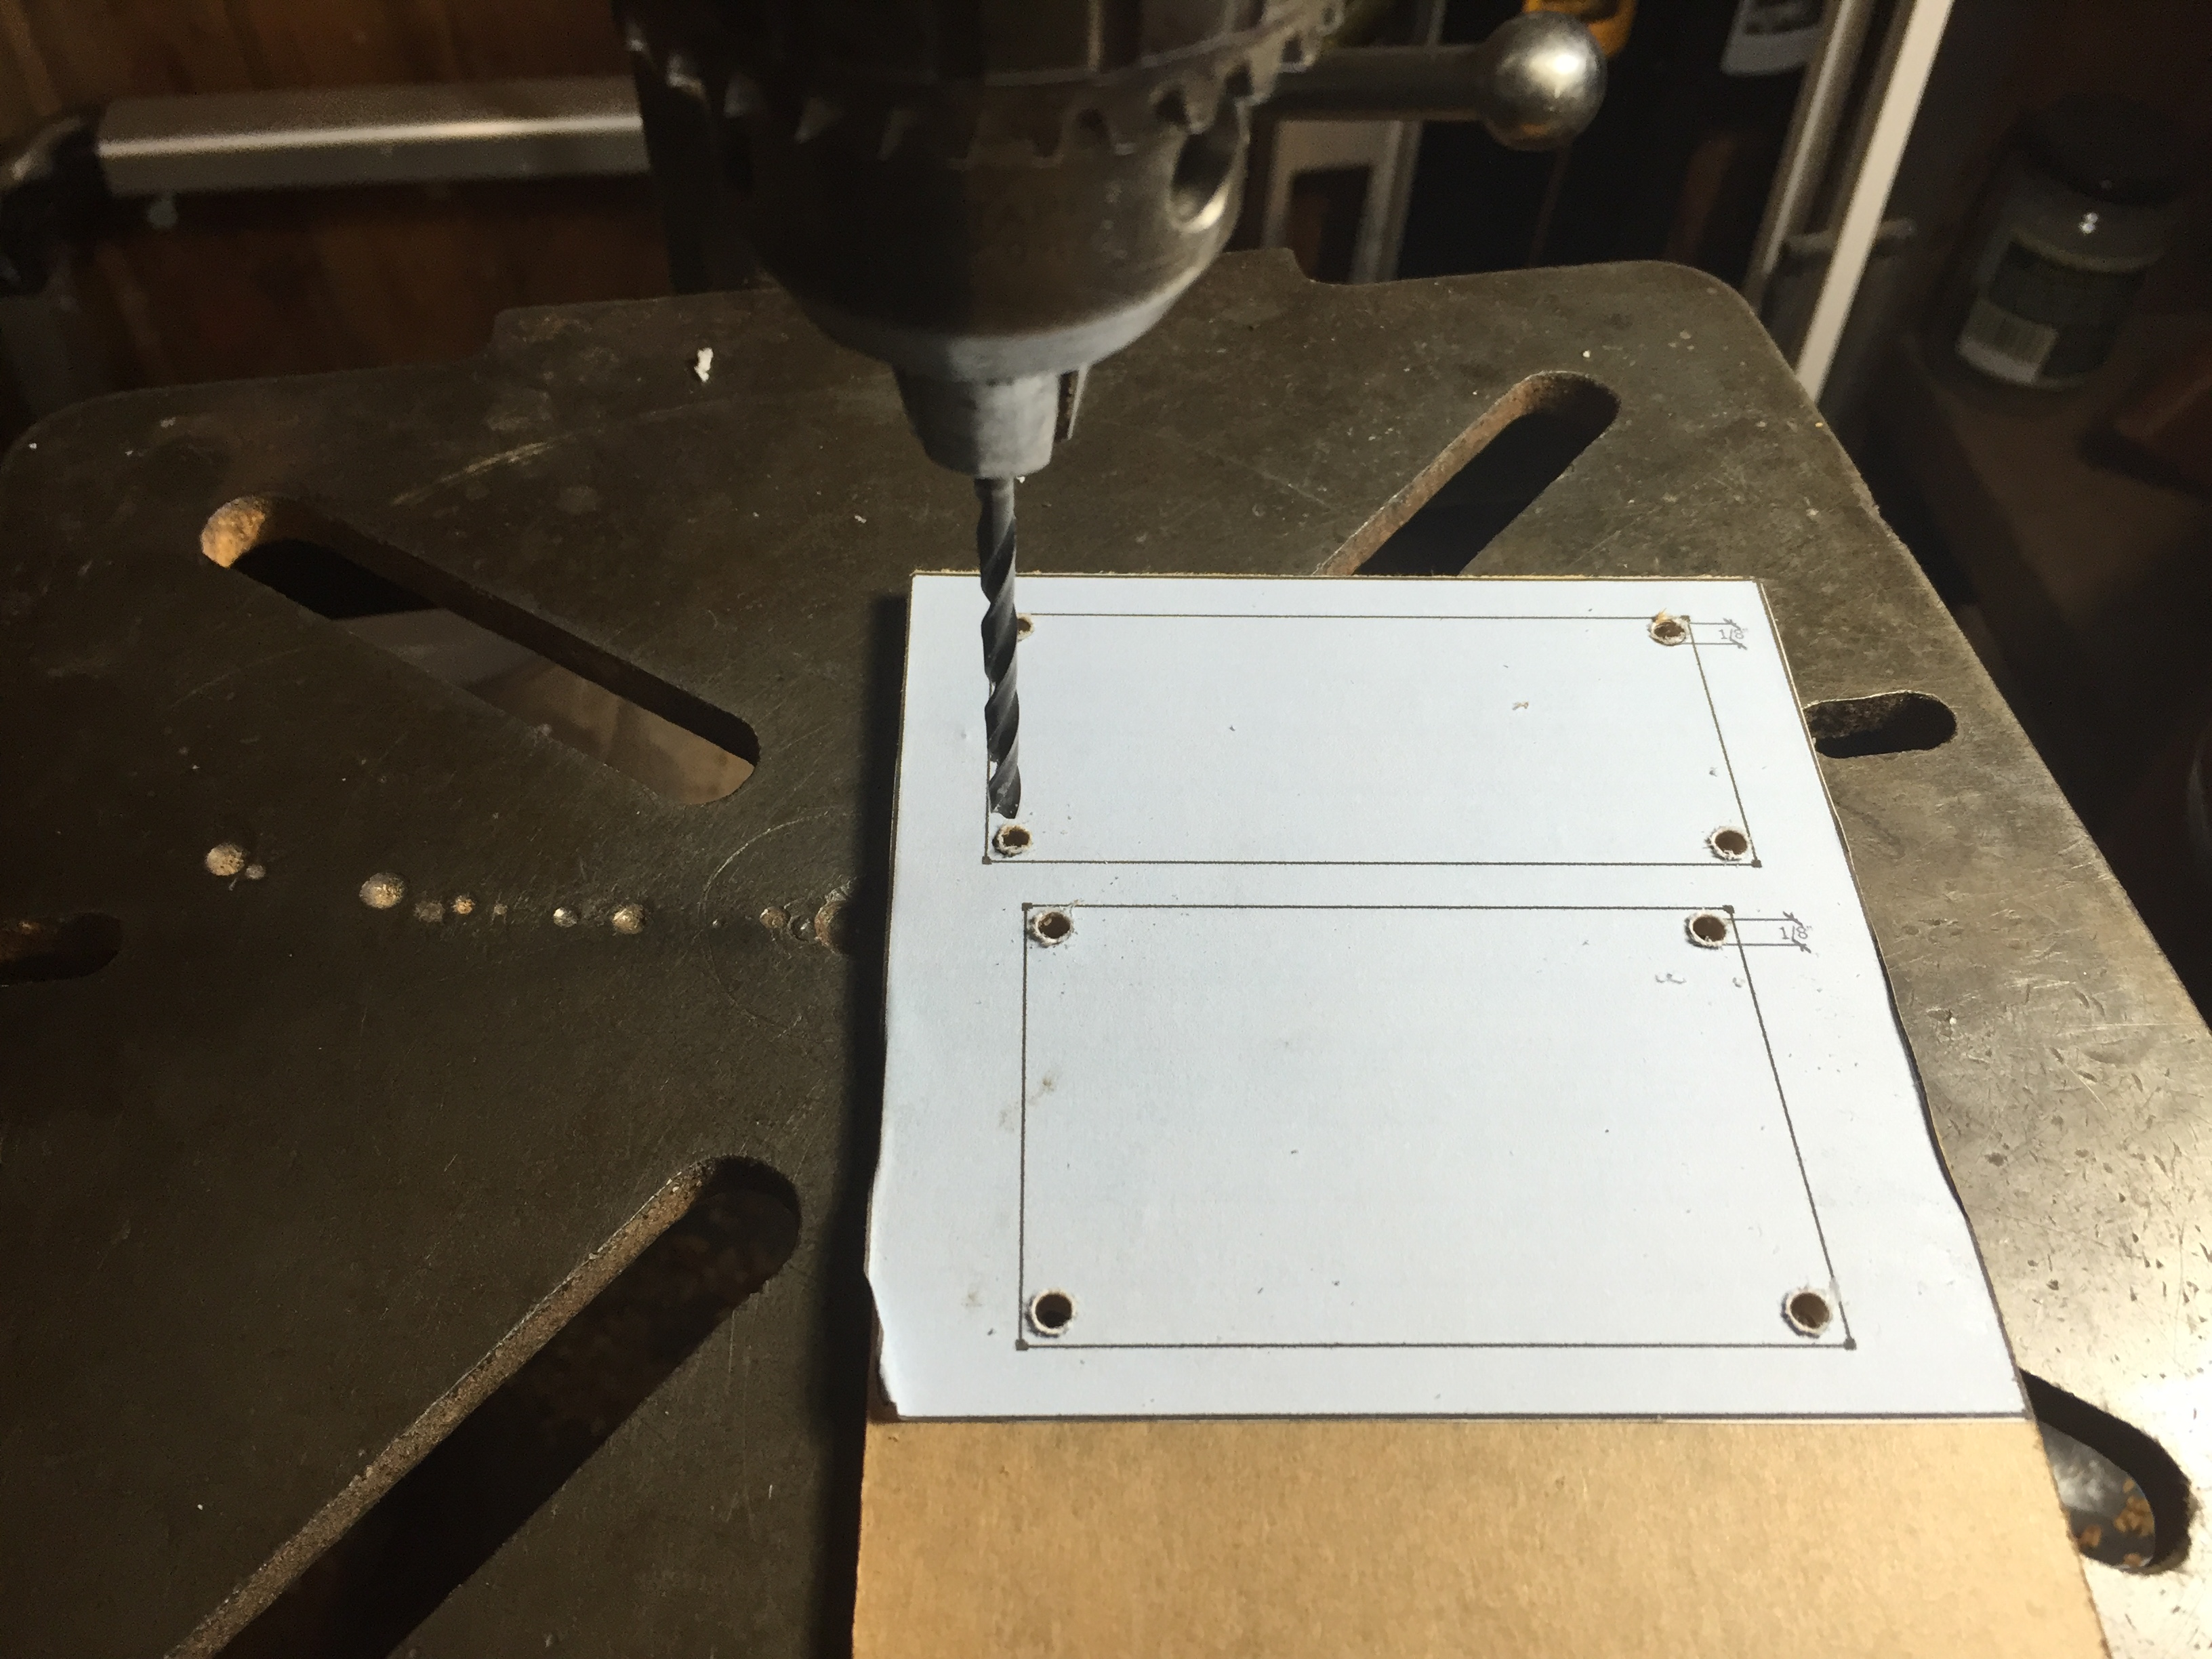
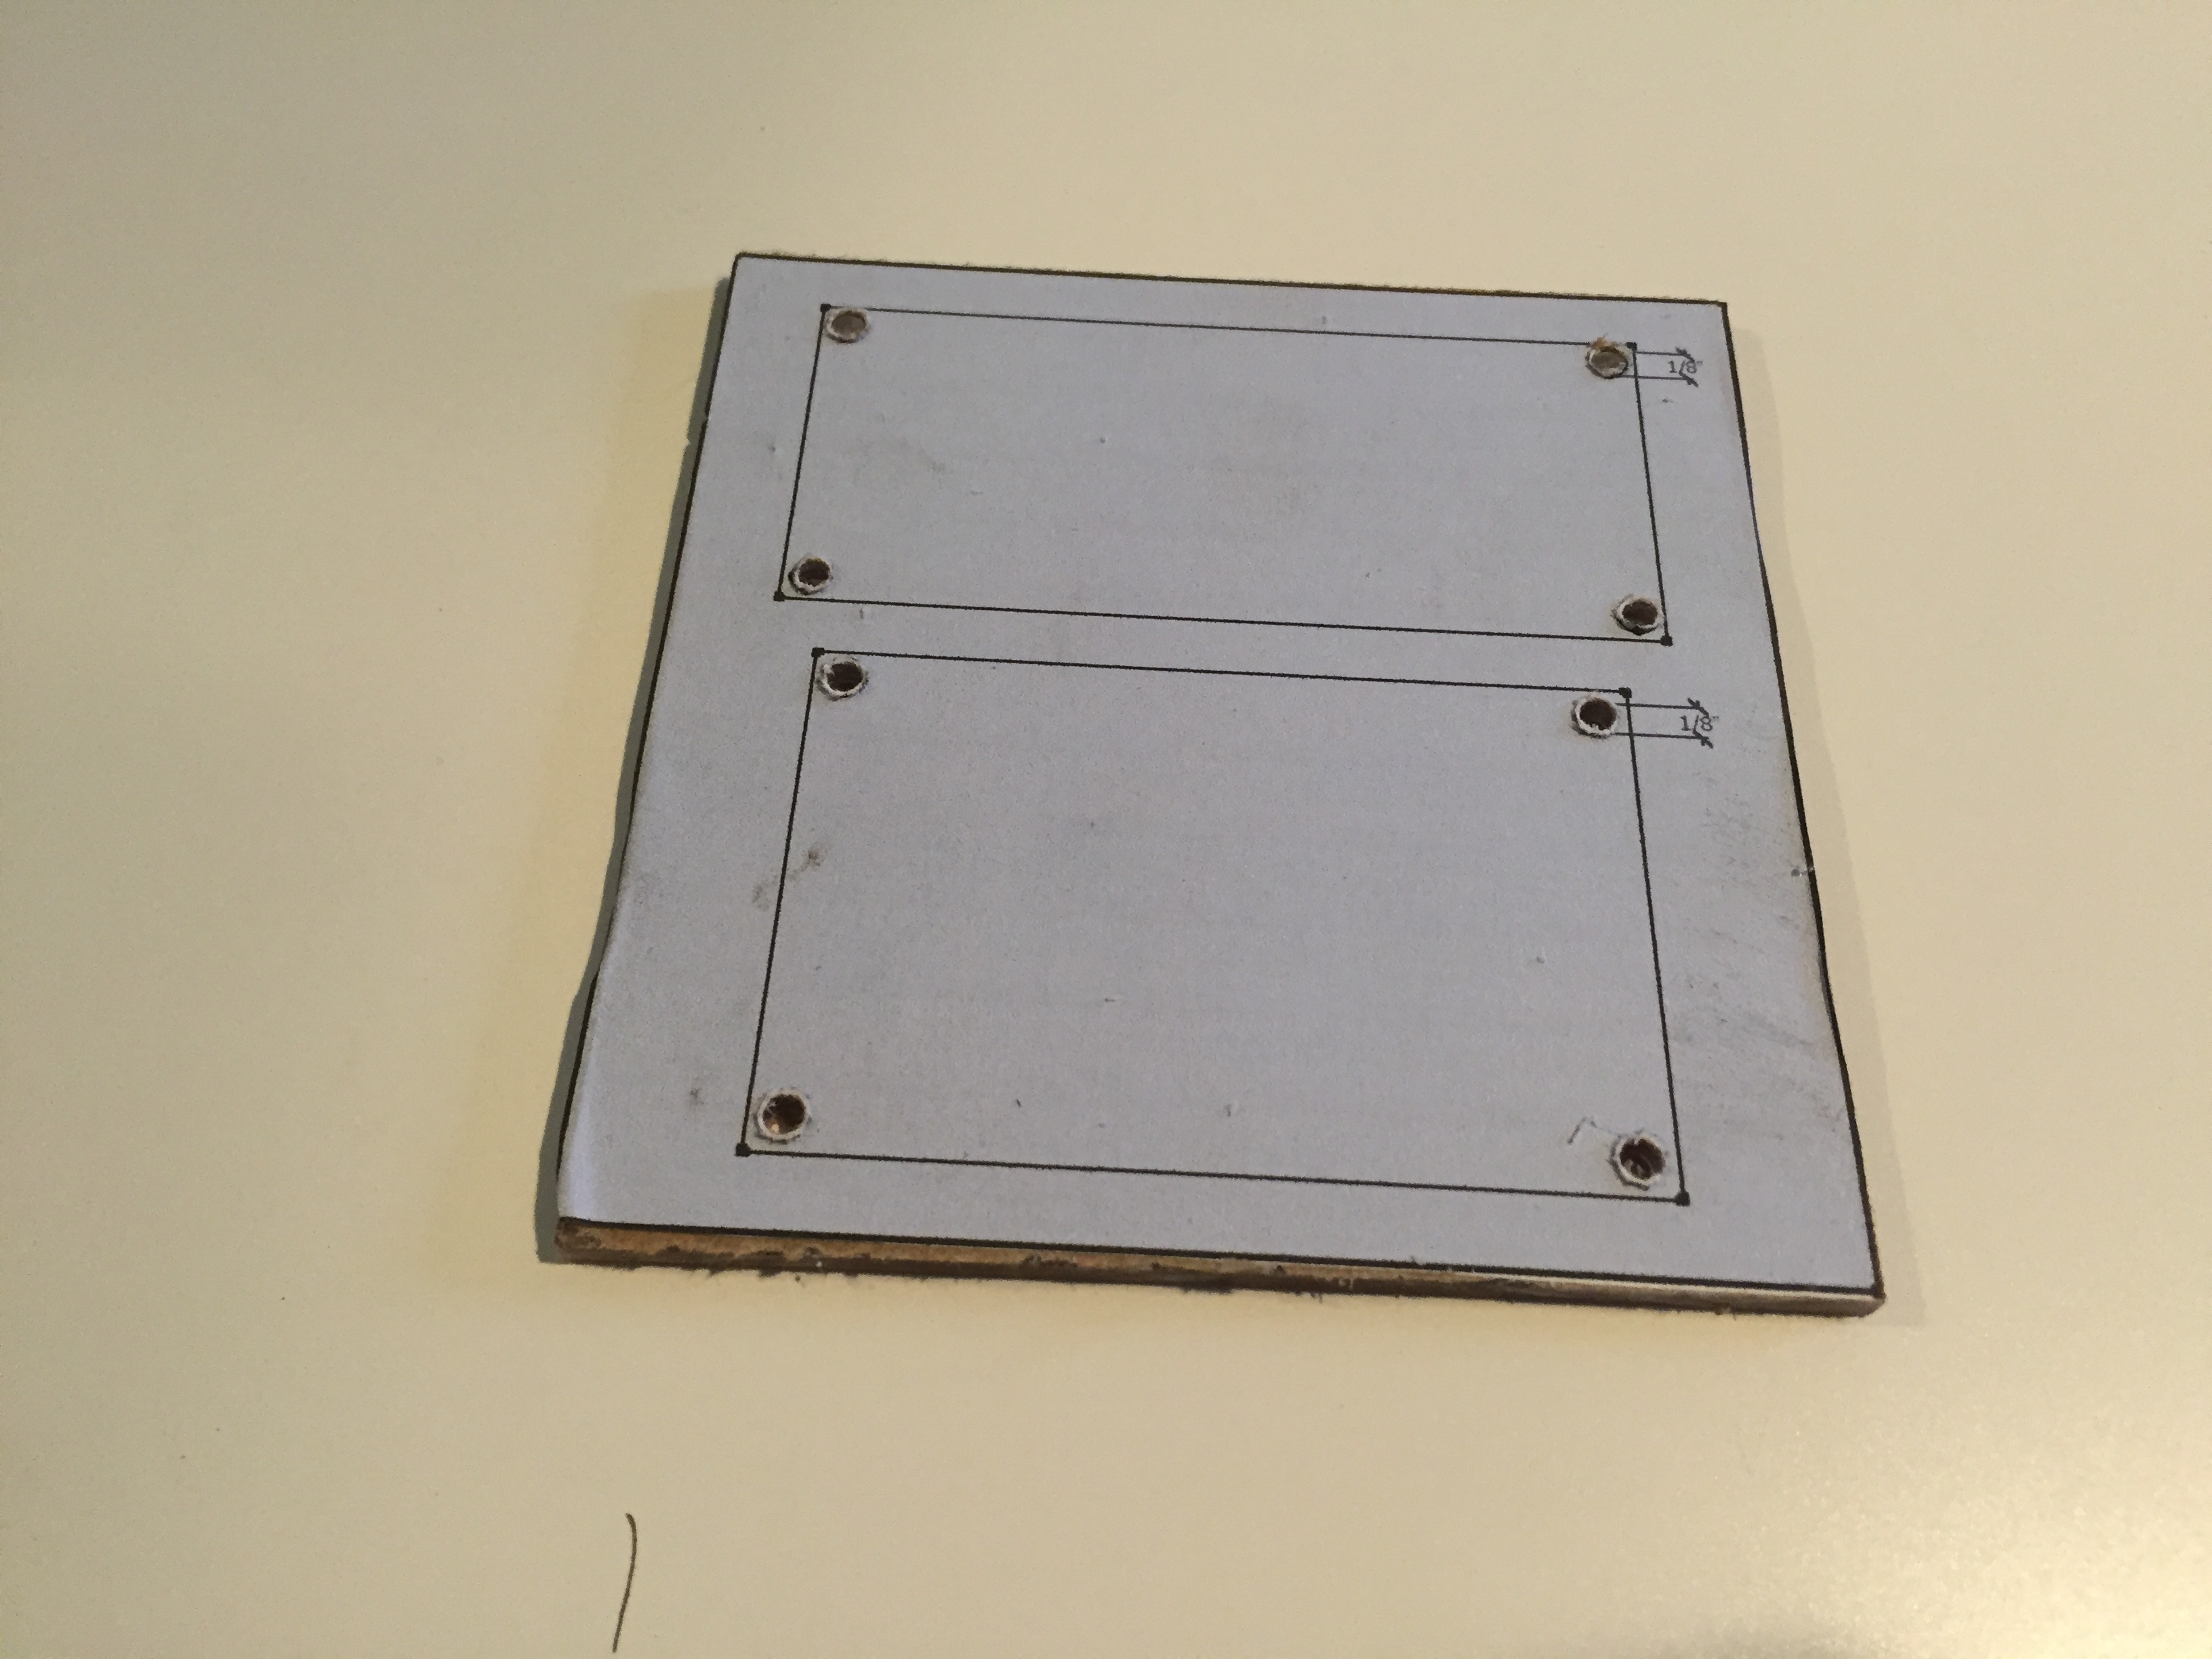
Time to drill!
If you have a drill press, then use it. If not, you can drill very accurate holes with a hand held electric drill (battery or corded). Heck, you can even get by with an egg-beater style drill if that's all you've got. Just take it slow and don't force the drill.
Be mindful of your material and tools. If you are drilling in wood, and have a good drill bit (brad point, forstner, etc) you can drill the actual size hole right away. If you are working with metal or plastic, start small and work your way up. Your placement will be more accurate, and you'll get cleaner holes.
Take your smallest bit, 1/16" is usually pretty good here. Very carefully line up with the "cross hair" mark on the drawing. If you are working in metal, make a mark with a center punch before the first bit for even more precise locating of the hole. Drill the hole. If you are not using a drill press, hold the drill as straight as possible.
Now get your next size bit and work your way up, one size at a time, taking it nice and slow. Don't be in a rush here and wreck the whole project. (Yes I meant that pun!)
You can also use the drawing on your work piece for cut lines. I used the bottom line on mine to cut off the acrylic on my table saw after the holes were all drilled.
Clean Up
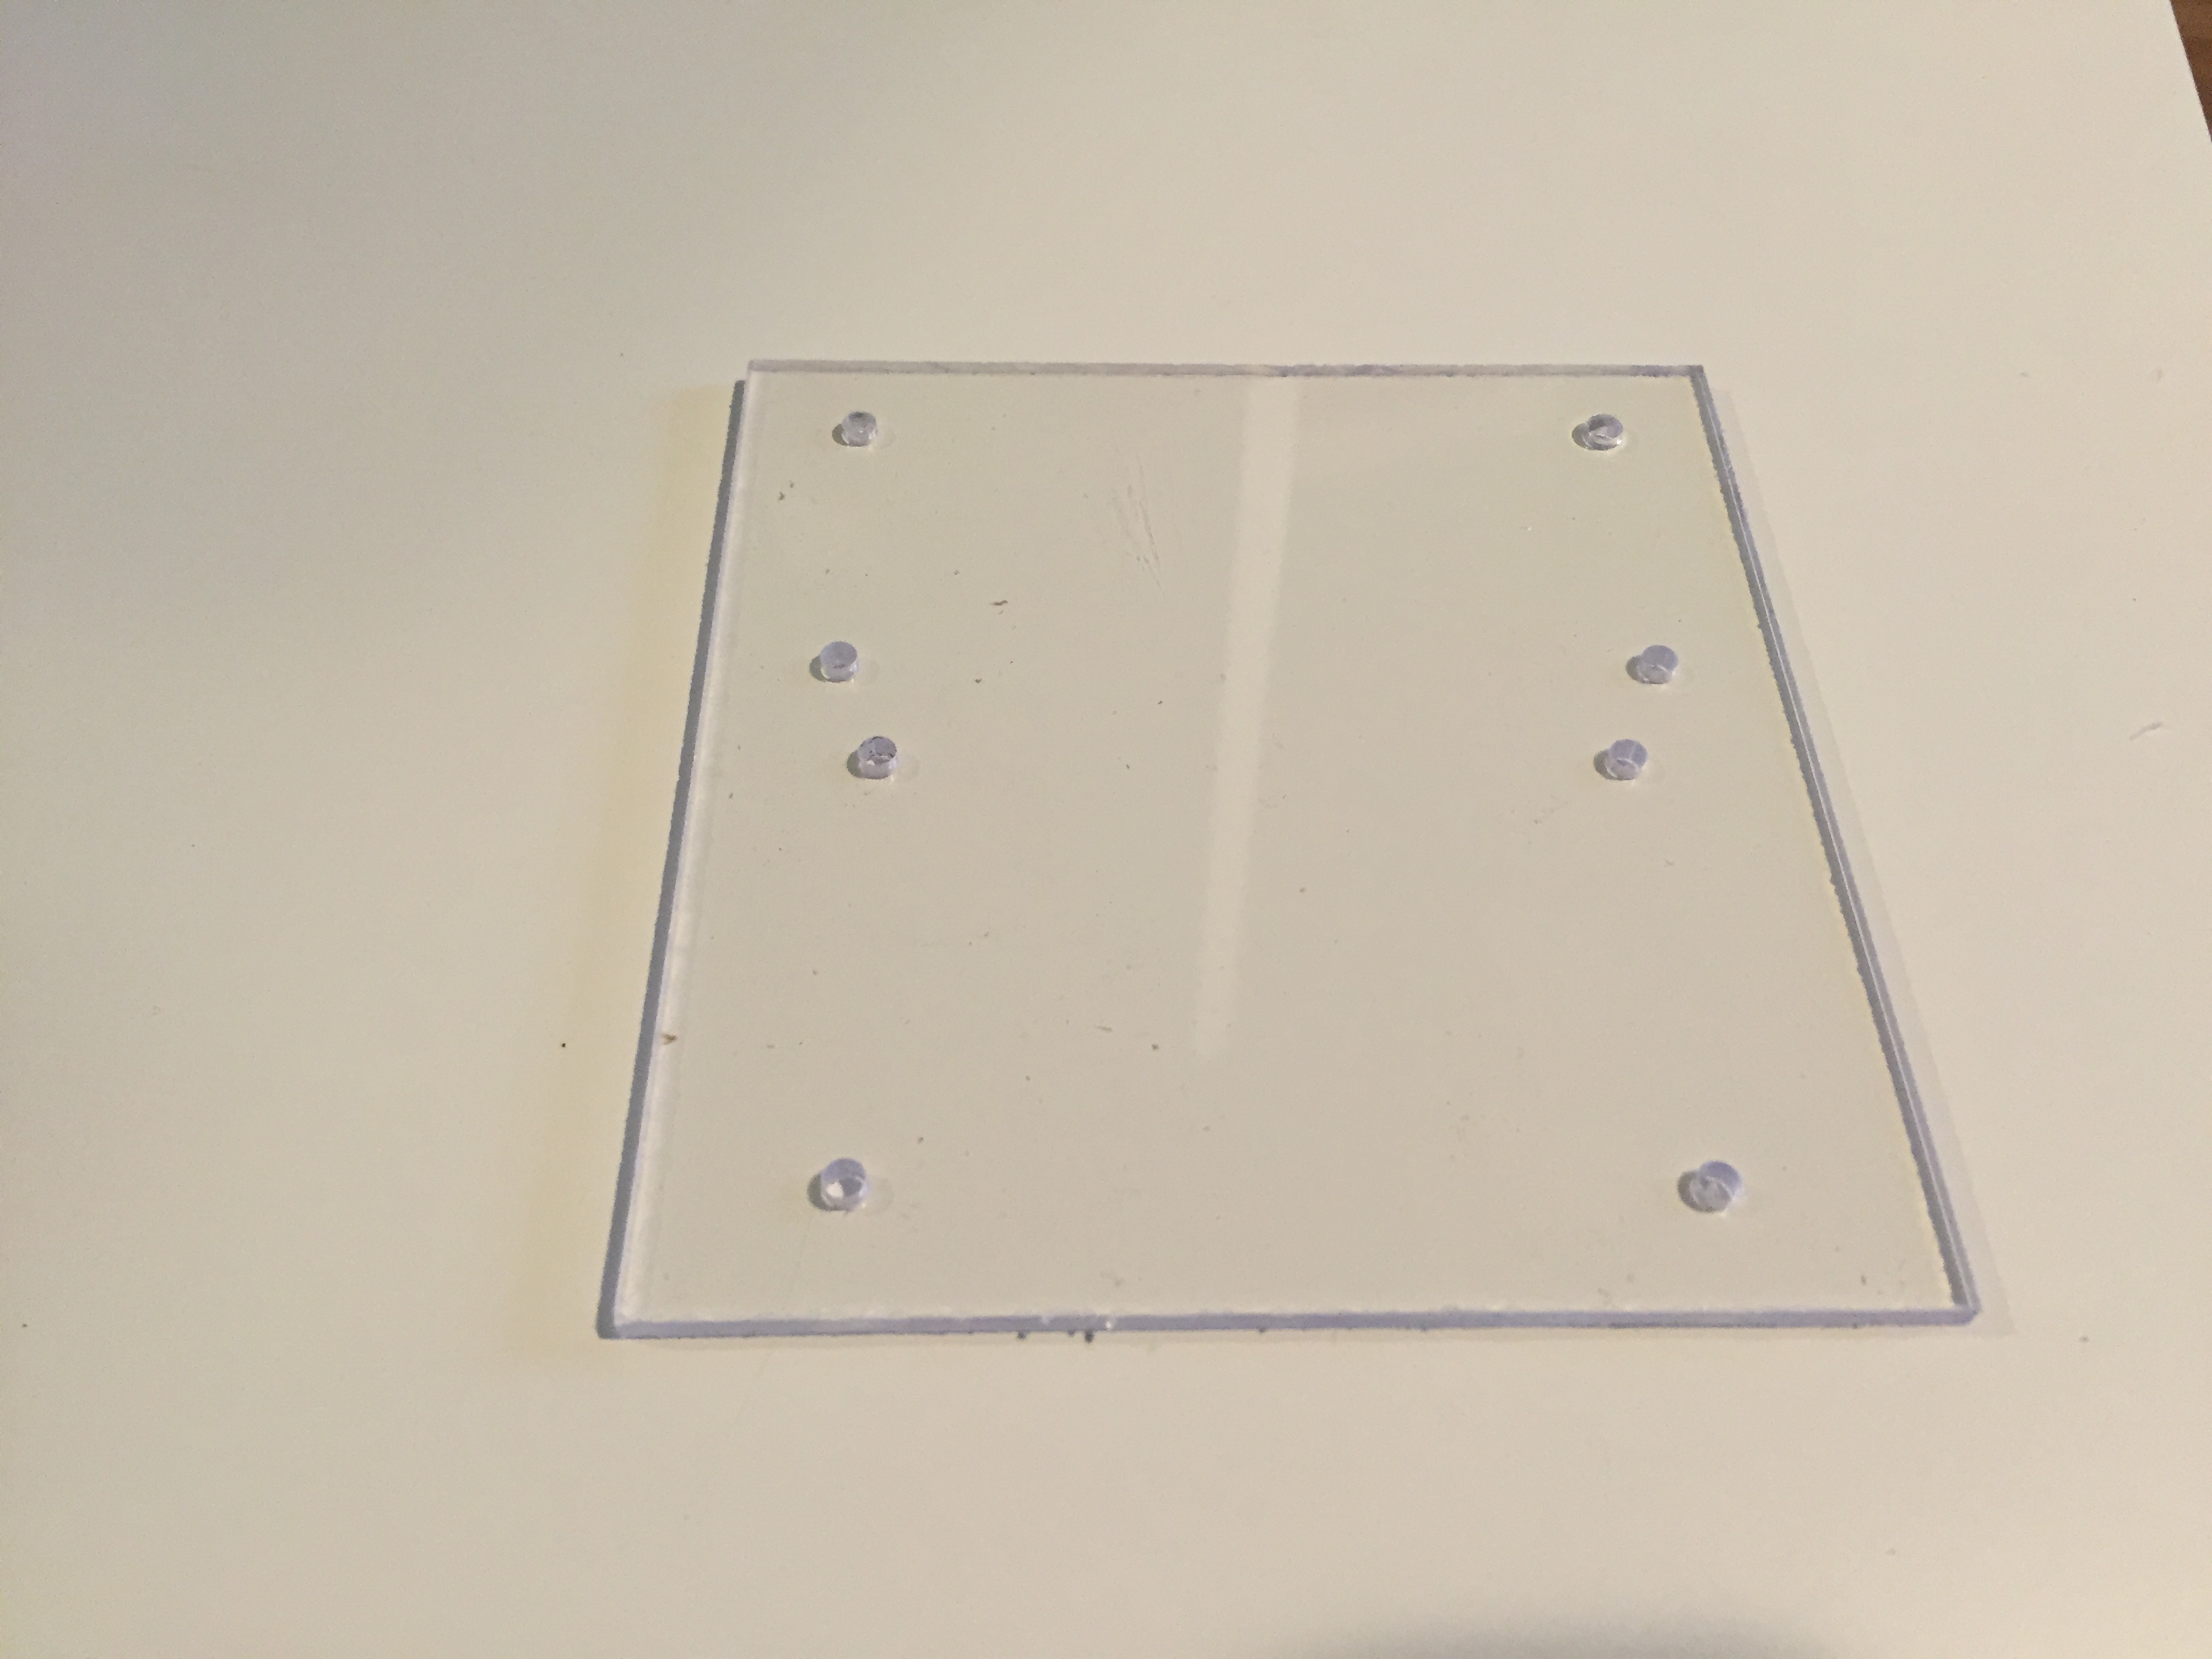
Time to clean up.
If you had a protective material on your work piece, like I did, then cleanup is easy. Just peel off the protective layer and you should be good to go.
If you glued directly to the work piece, then carefully scrape off as much of the paper as you can. You can use a solvent to remove the residual glue. Be careful of the solvent and material choice, acetone is fine on wood or unpainted metal, but it will melt acrylic and remove paint. Denatured alcohol is a good choice on most materials. Whatever you use, make sure you do it in a well ventilated area. A little elbow grease goes a long way here.
Mount Your Pieces
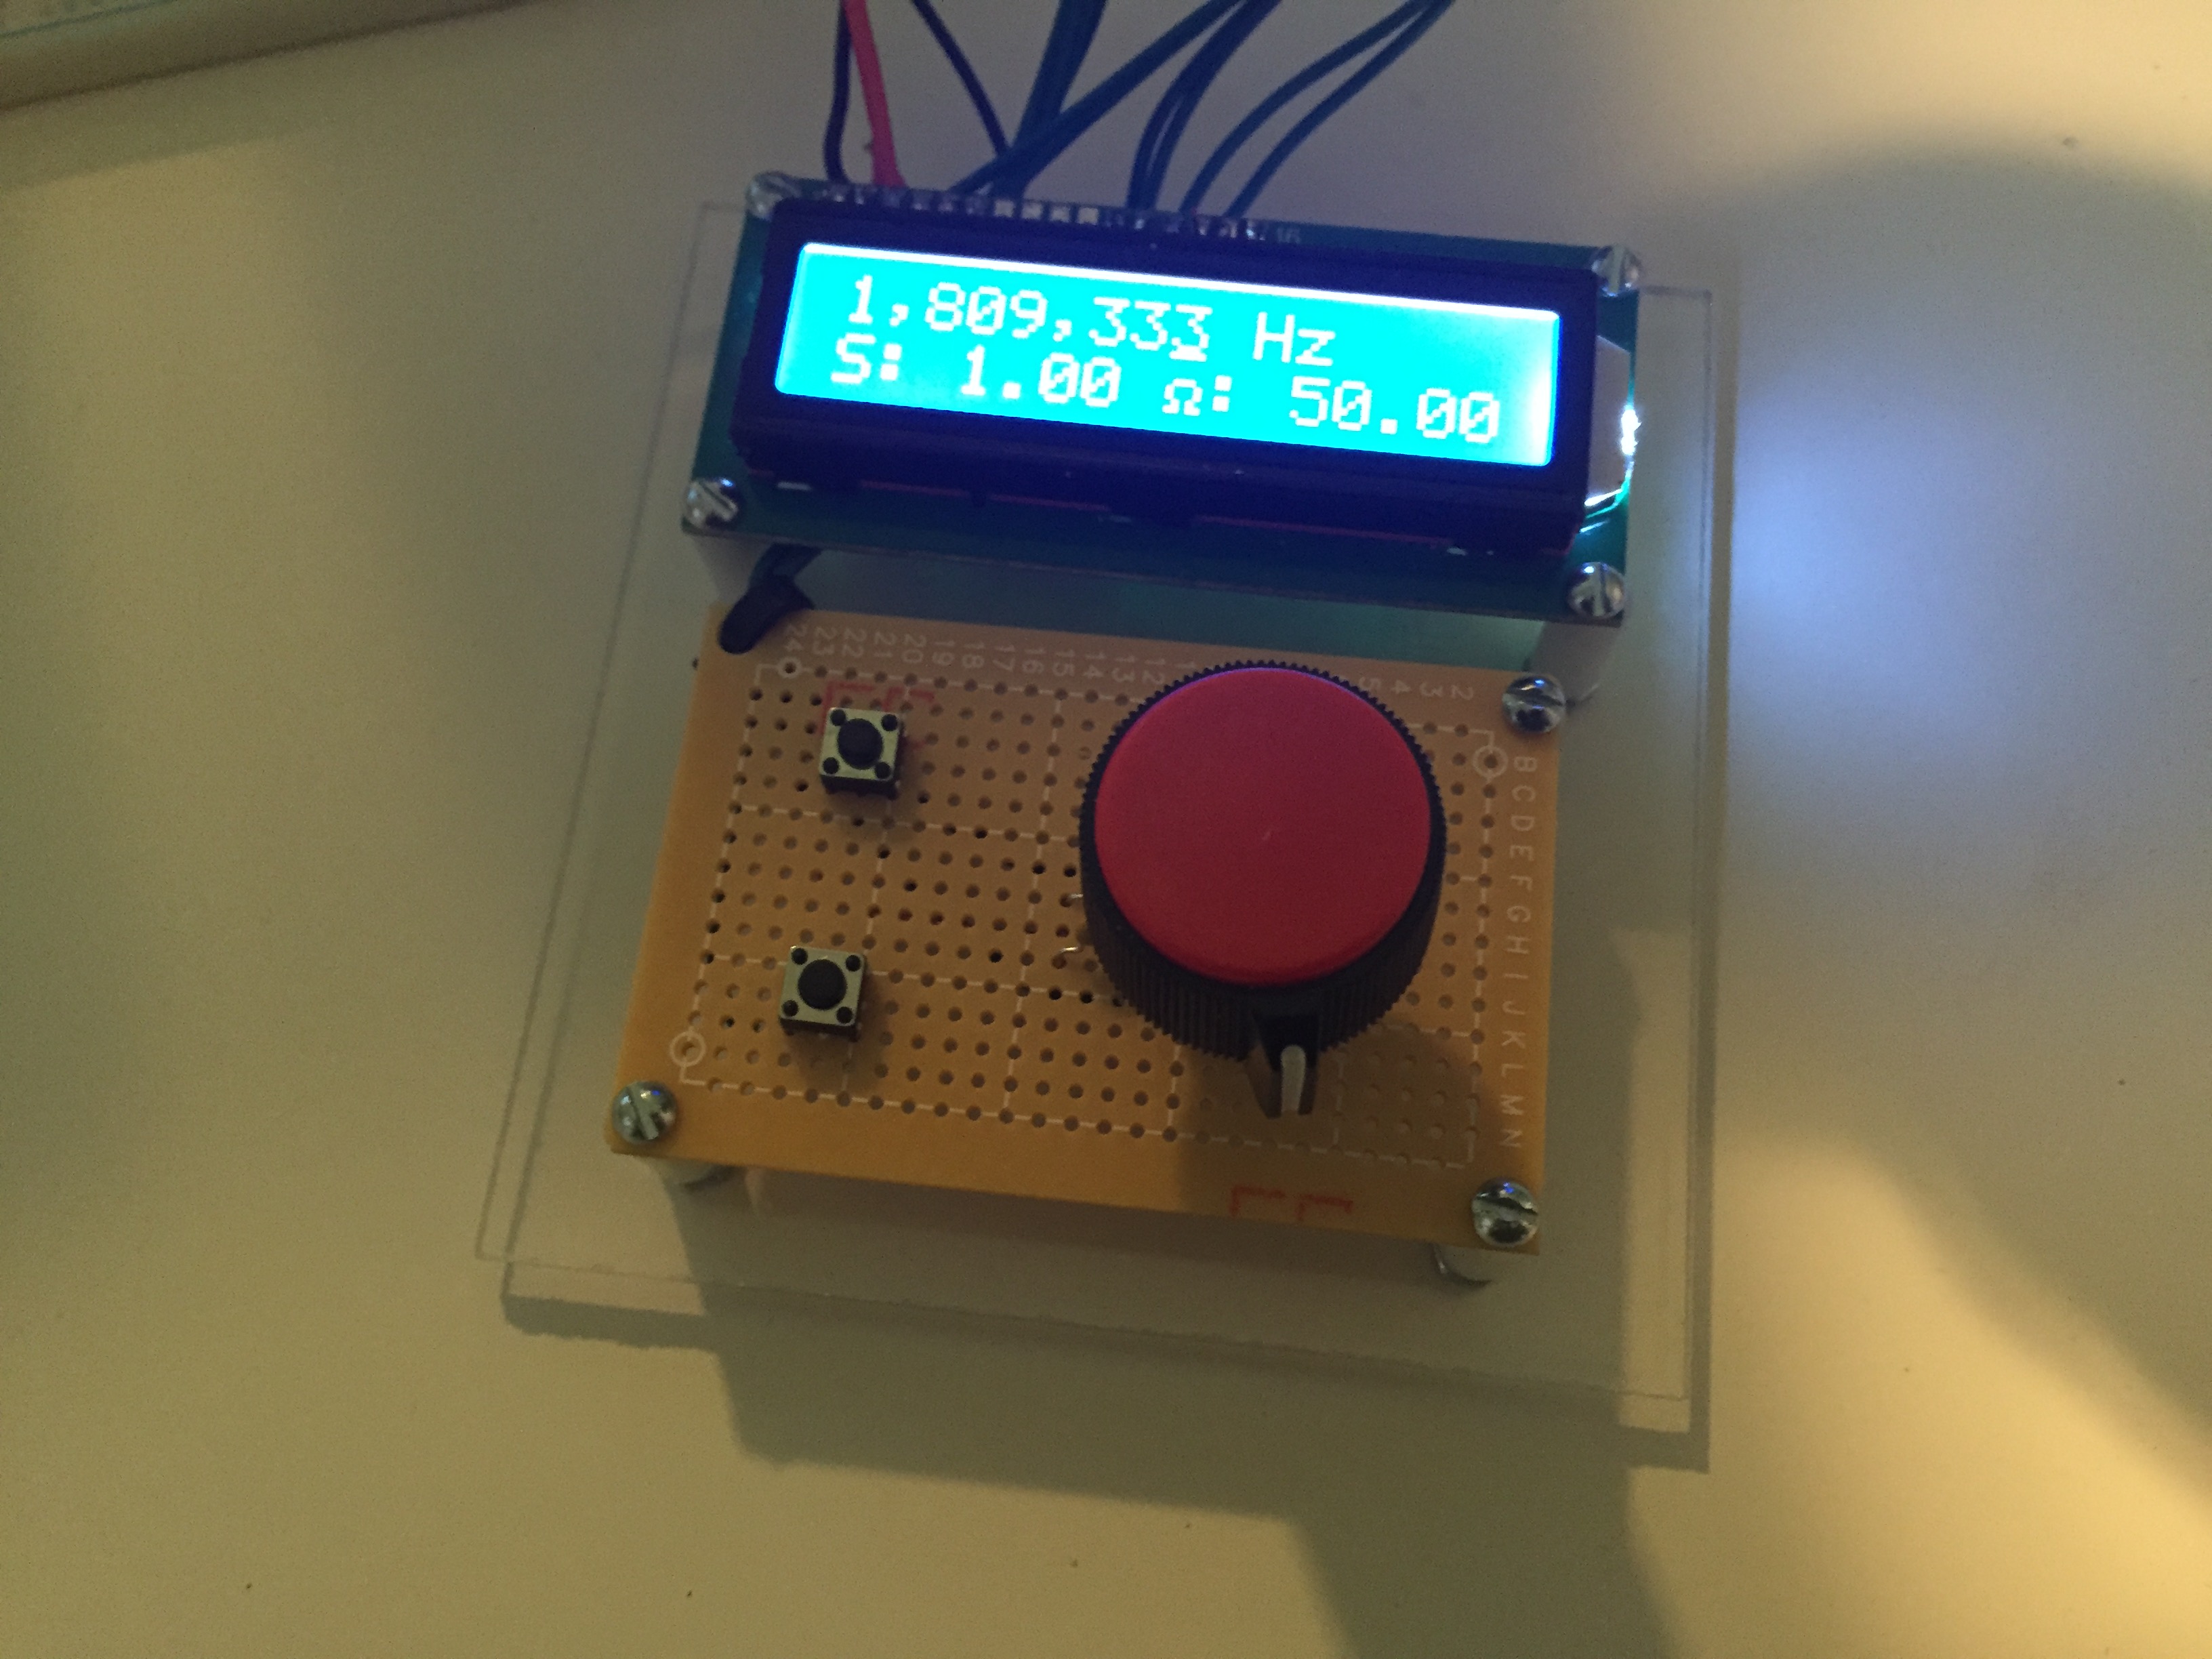
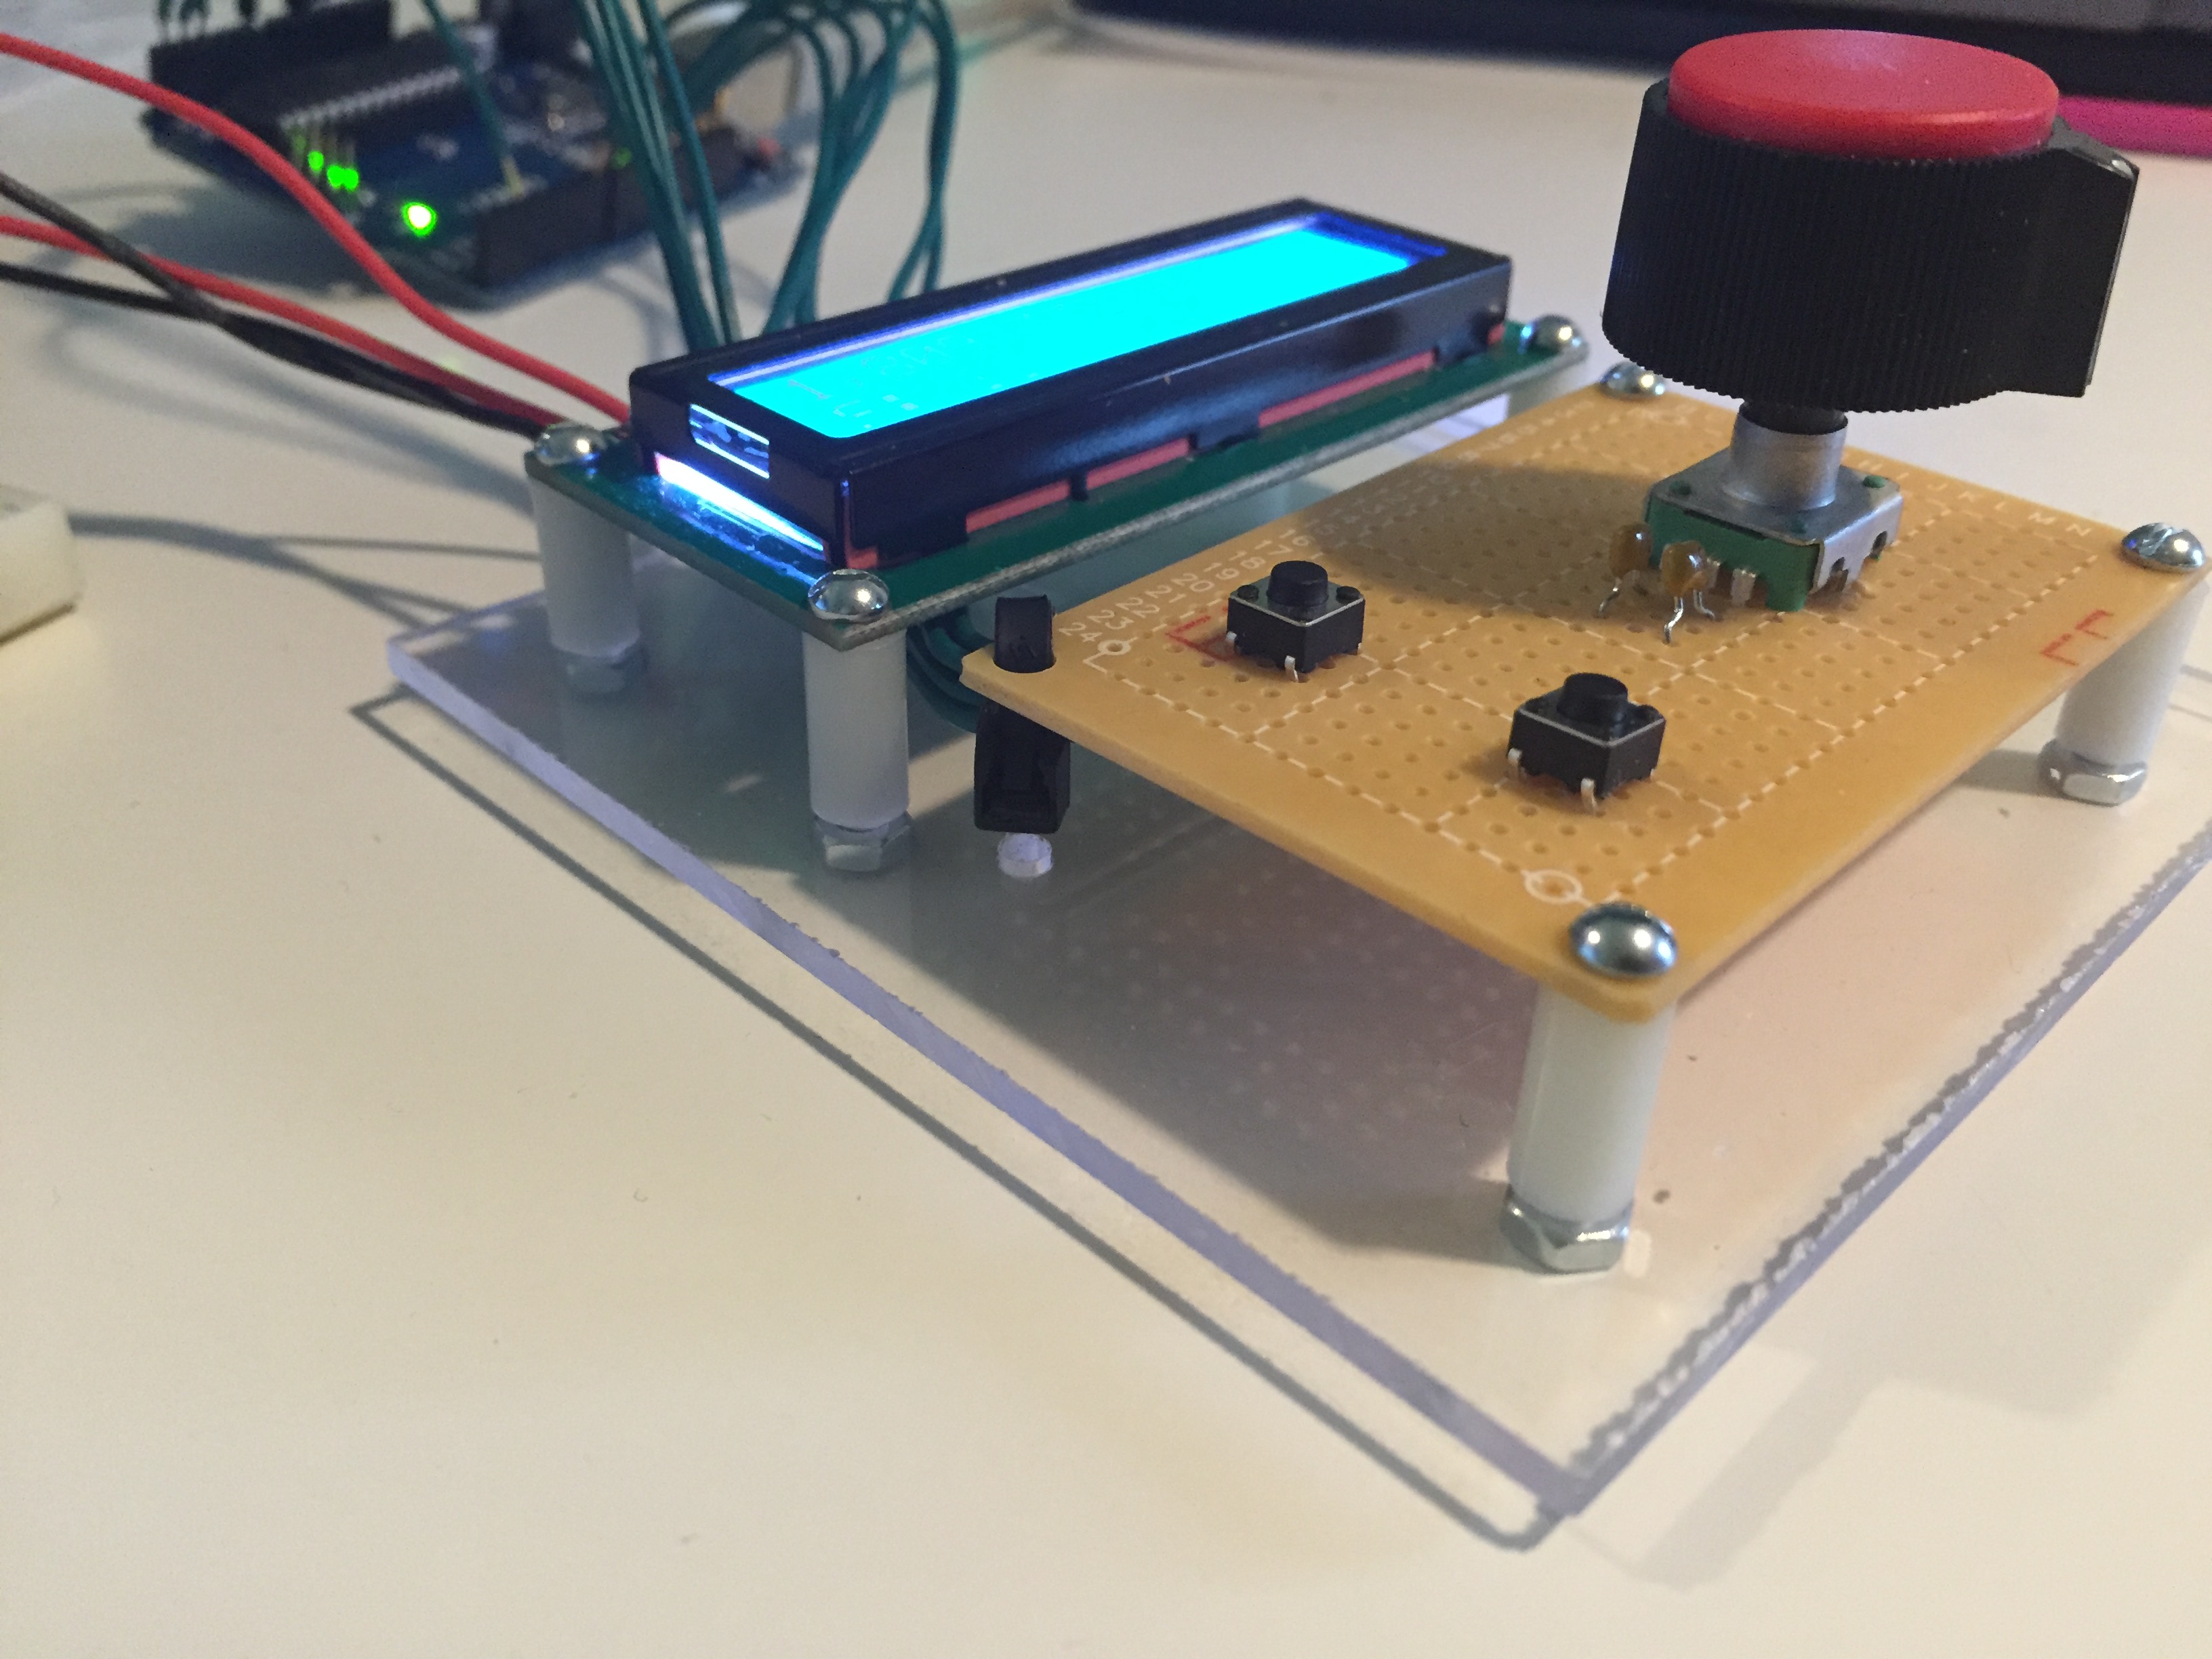
Get some mounting hardware, if needed, and mount your pieces. Most of these types of boards, like prototype board, Arduino, etc use #4 US screws or M3 metric size screws. If you can't find the appropriate size at your local hardware store, try Amazon, or some other online hardware outlet.
Now you tidy, professional looking mounting solution to your electronics problem.