Dream Island Mapping Project
by The Oakland Toy Lab in Living > Education
9579 Views, 86 Favorites, 0 Comments
Dream Island Mapping Project
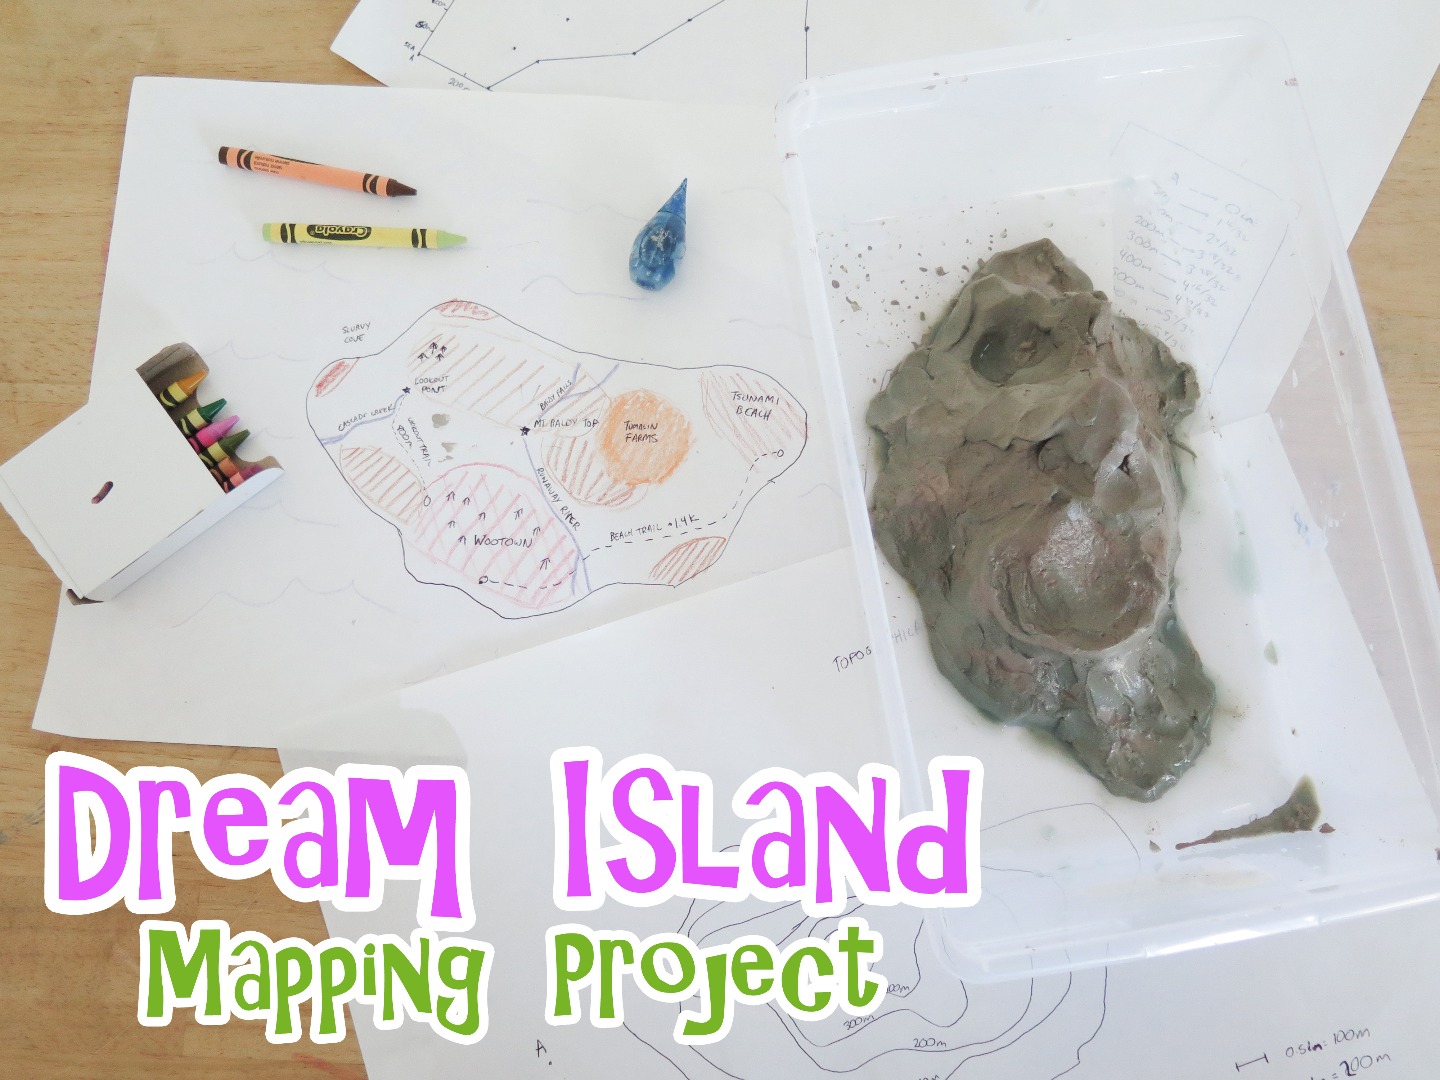
Well ahoy!
You've set sail for the seven seas, and your barge has just bumped into a beautiful bay. It's your dream island of course! This is a project to make, model, and map out your landscape involving everything from math to art to science. It is also a great way to learn how to make and read topographical maps.
Got that cabin fever? Let's go!
- What: Dream Island Mapping Project
- Where: your dreams
- Concepts: math, geometry, cartography
- Time: ~ 1.5 hours, depending
- Cost: ~ $3 per group, all re-usable
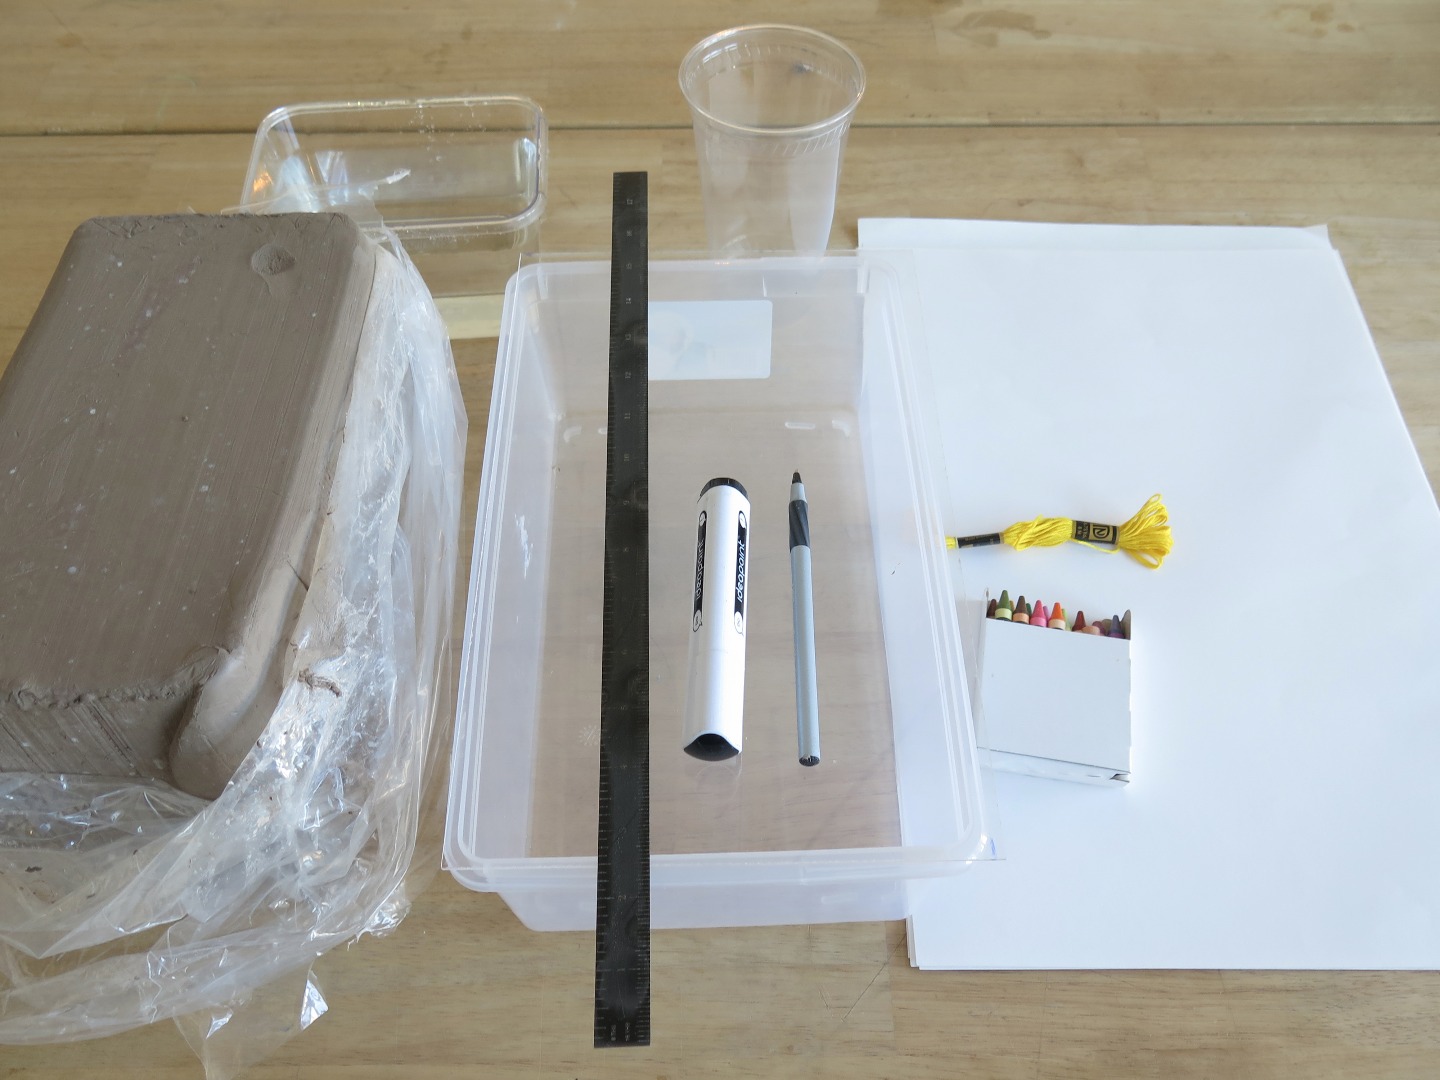
- Materials:
- Clay (regular sculpting clay is great)
- Clear Tupperware
- Permanent Marker (for marking plastic, can erase with isopropyl alcohol)
- Colored pencils or pens (for mapmaking)
- Paper
- Grid paper or plastic (optional for calculating area)
- Ruler
And we're off!
Mold Your Island
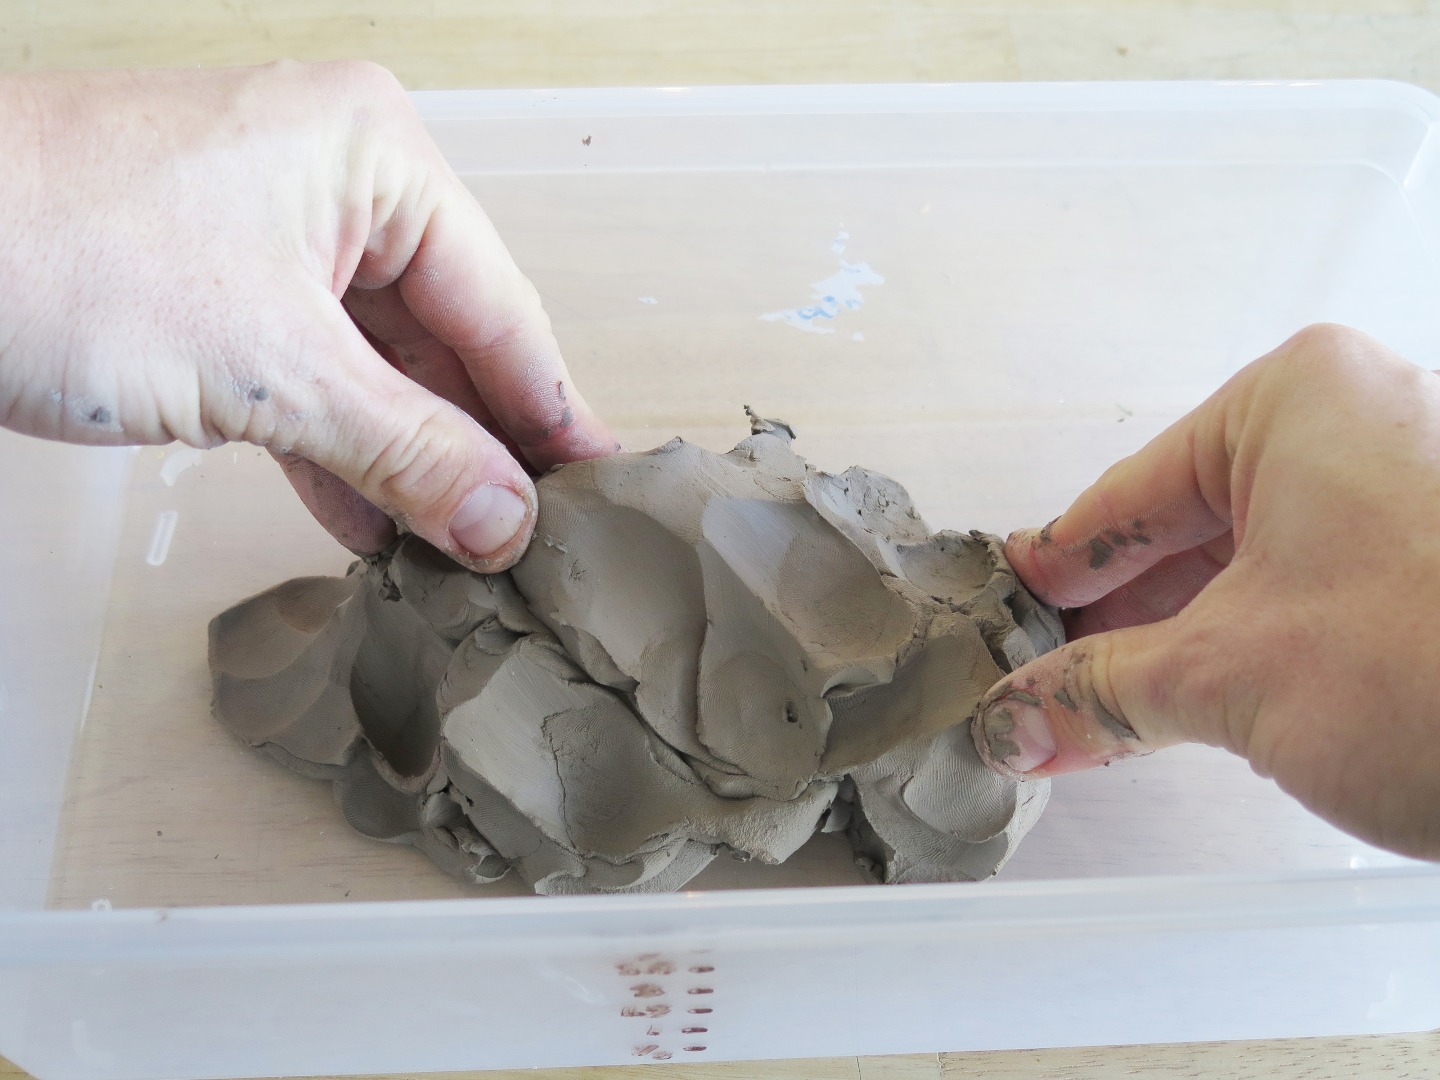
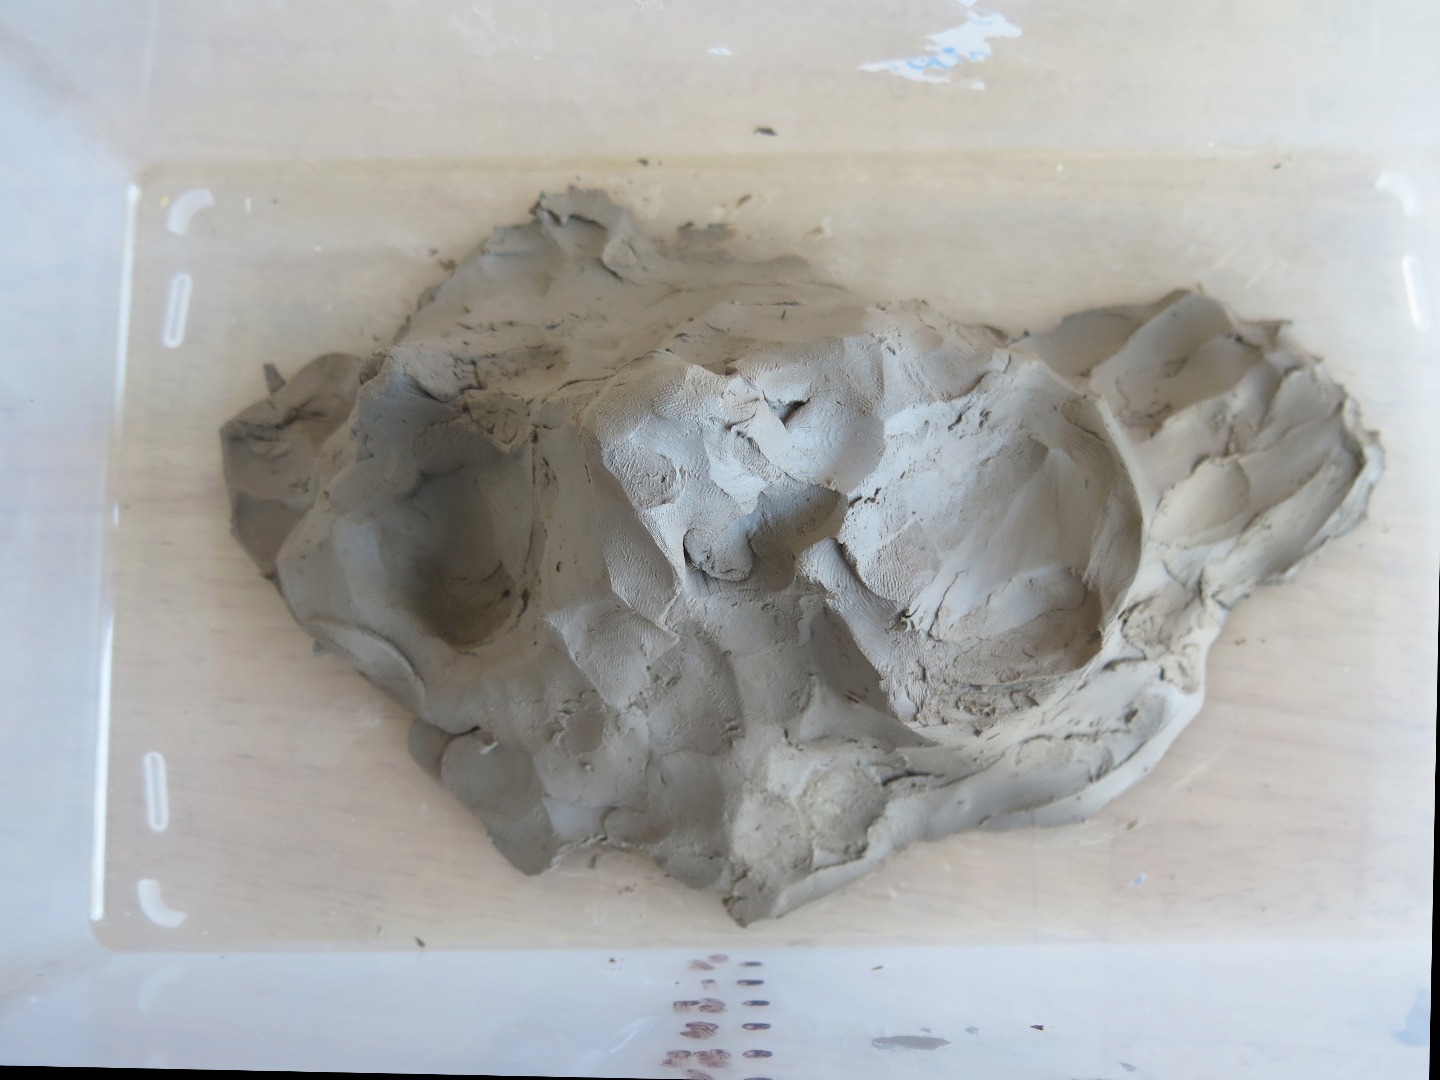
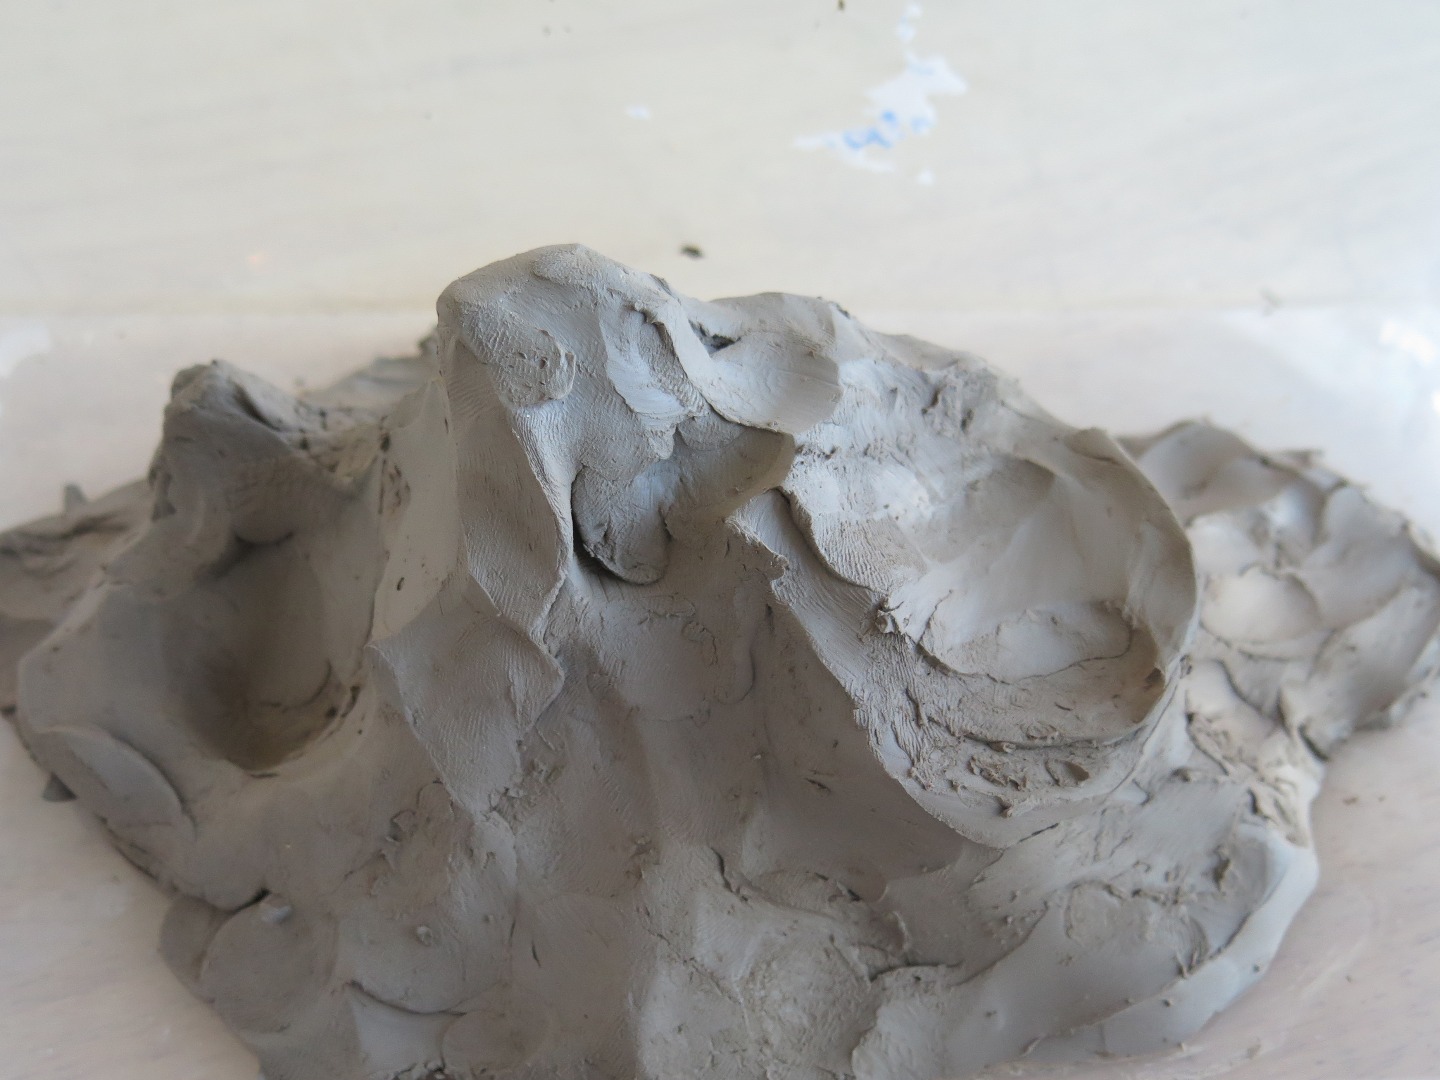
Time to speed up some earth processes!
Give each student or student pair a chunk of clay, and let them know that they can make whatever shape island they want, or even make multiple islands. Sculpt them in a water-tight shoebox. You can talk about peaks, valleys, canyons, drainages, lakes, cones, or any other geological formation to pepper them with ideas.
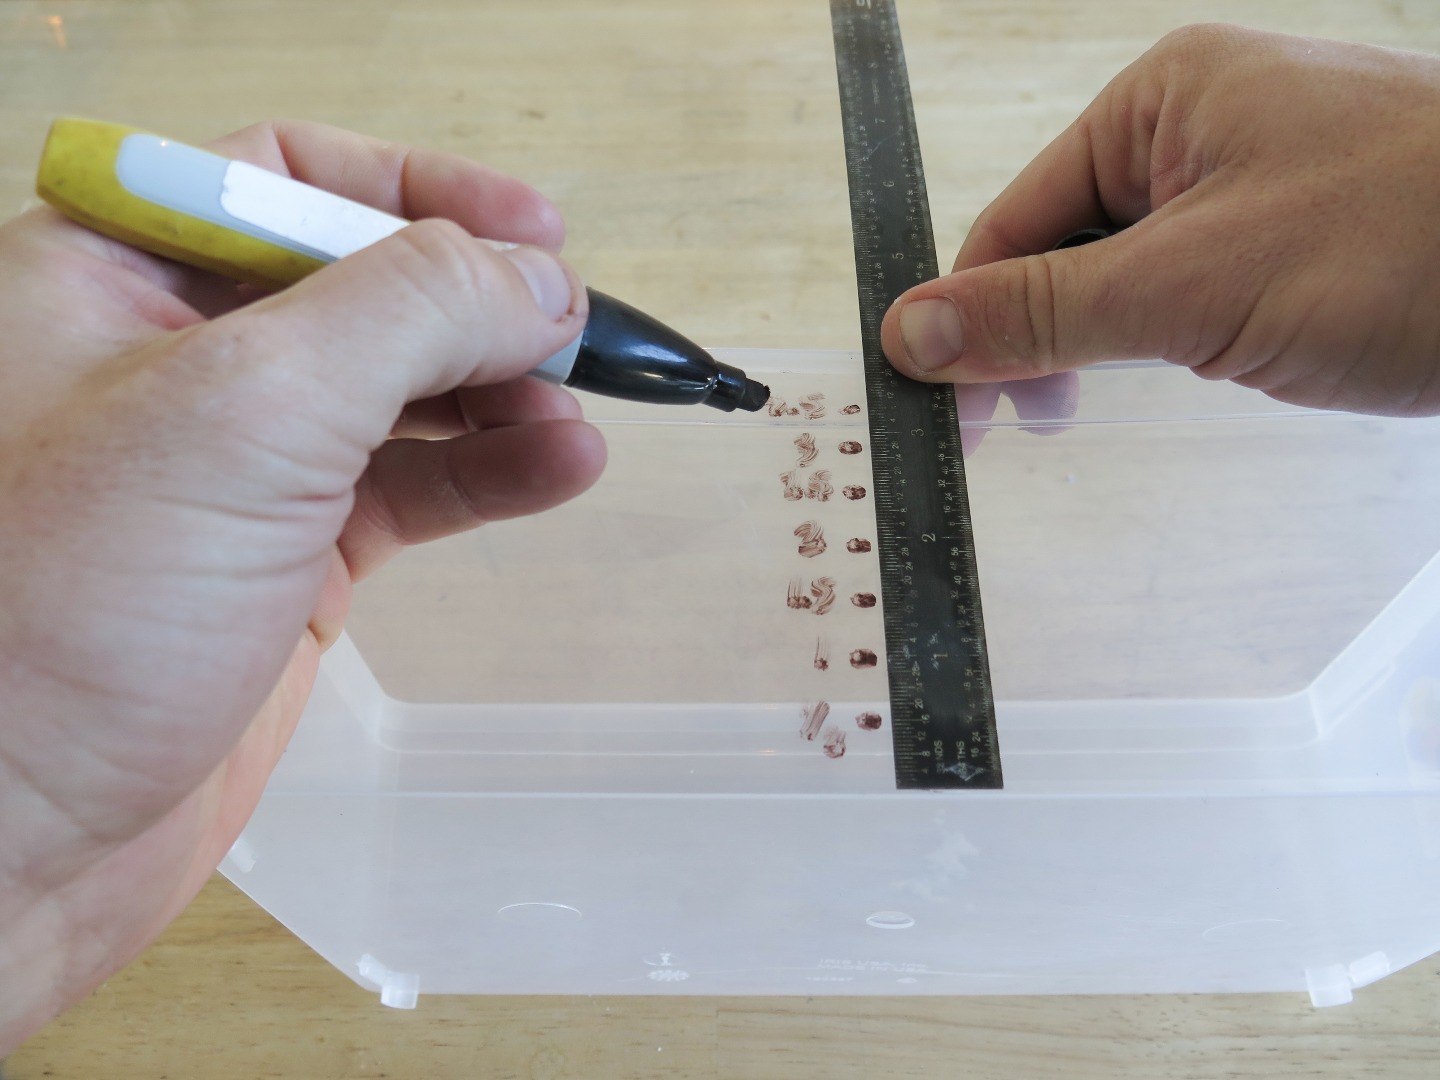
Either before or after, use a ruler to mark every 0.5 inches or 1 cm on the side of the shoebox.
Take Topo Readings
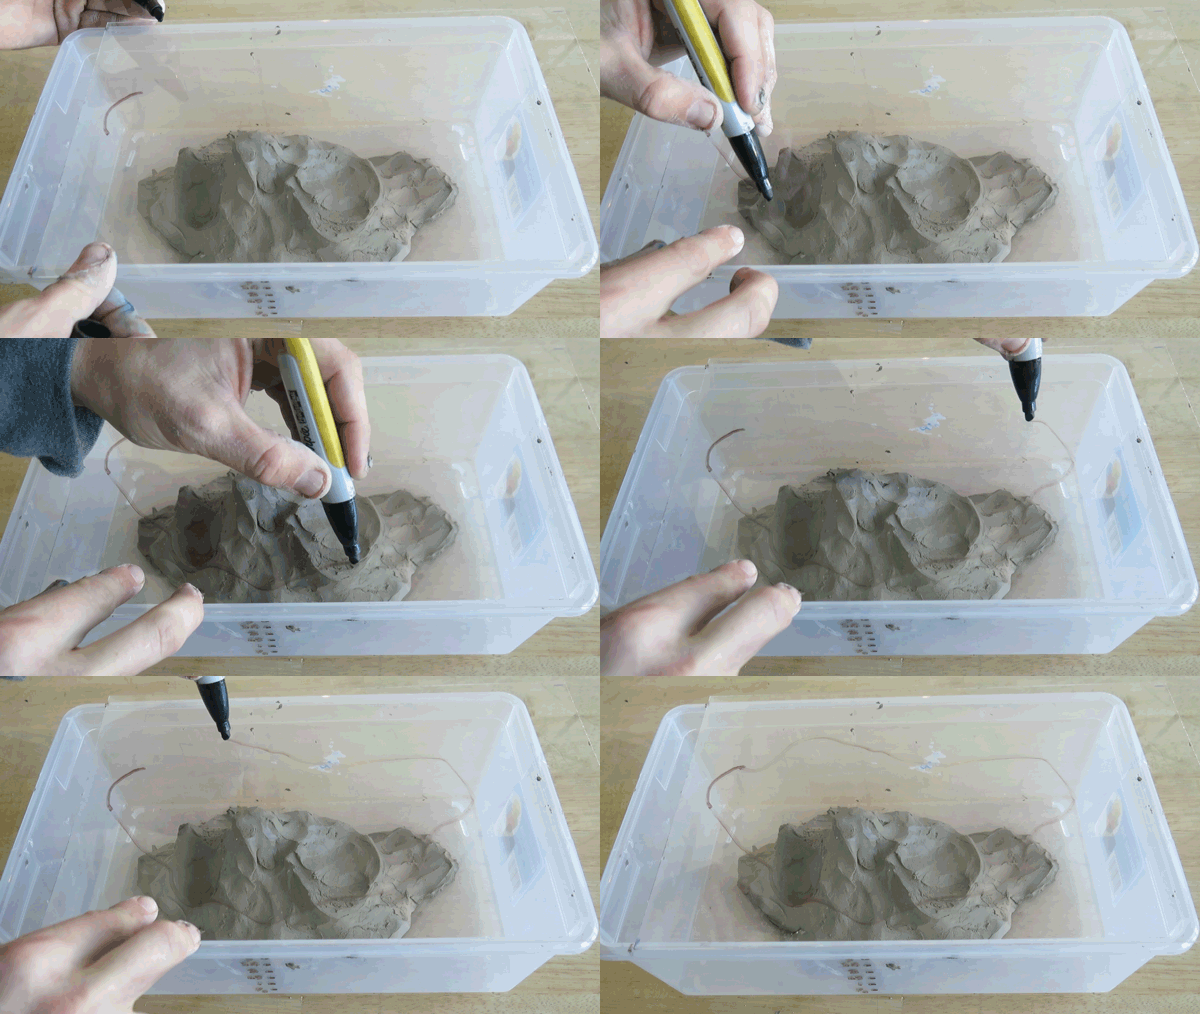
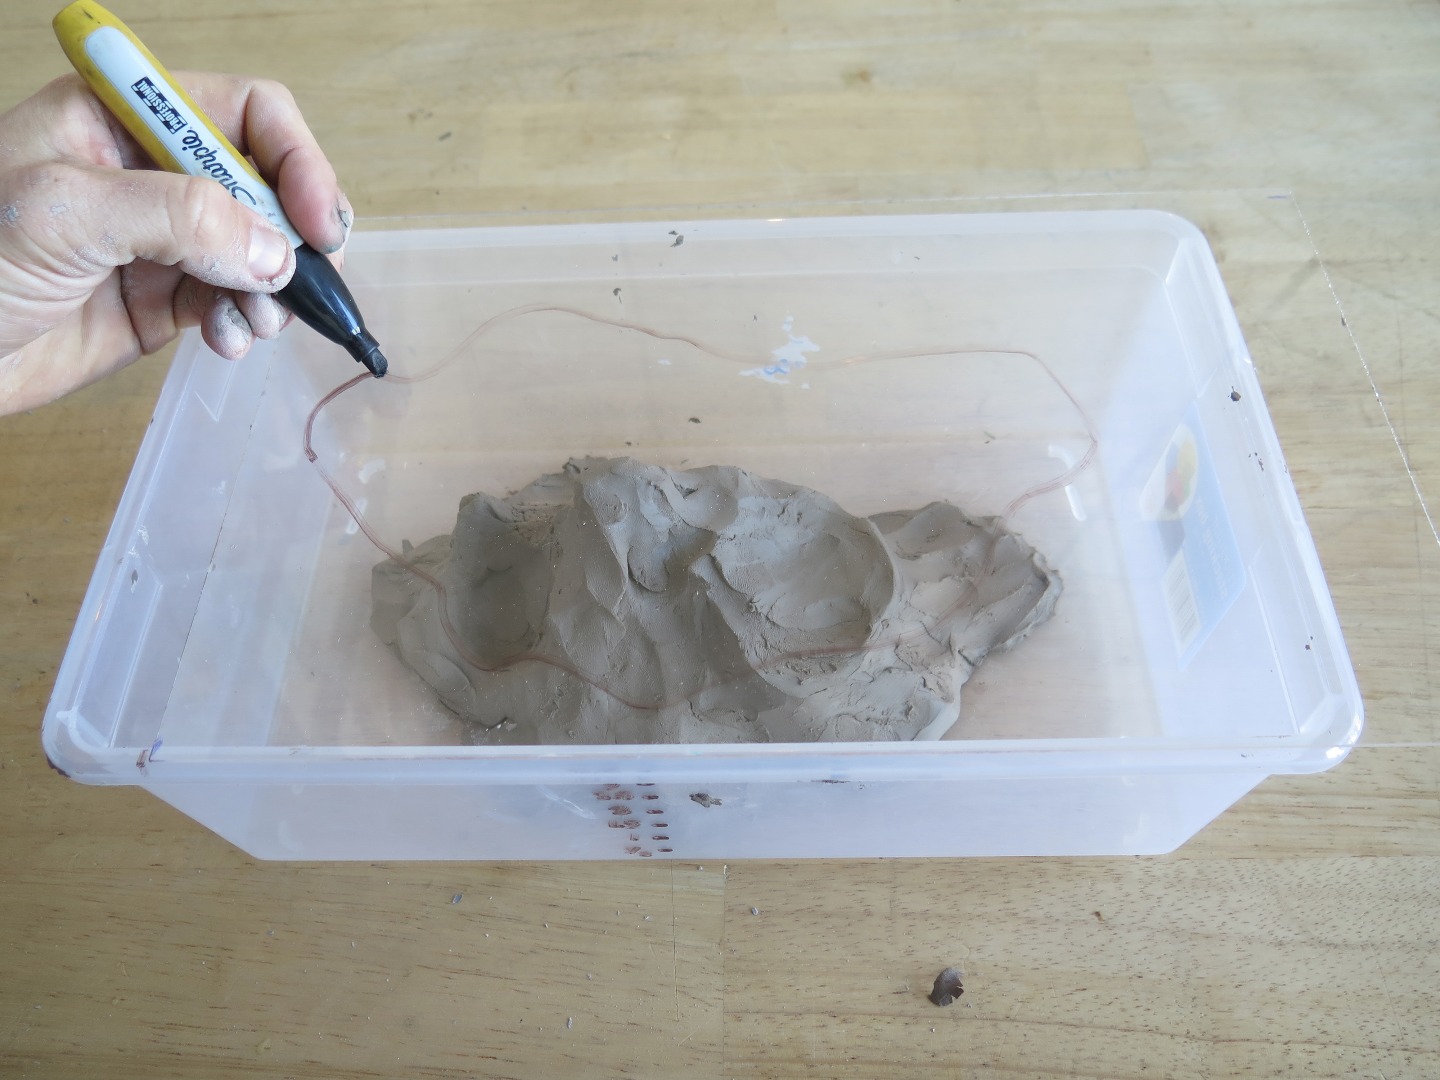
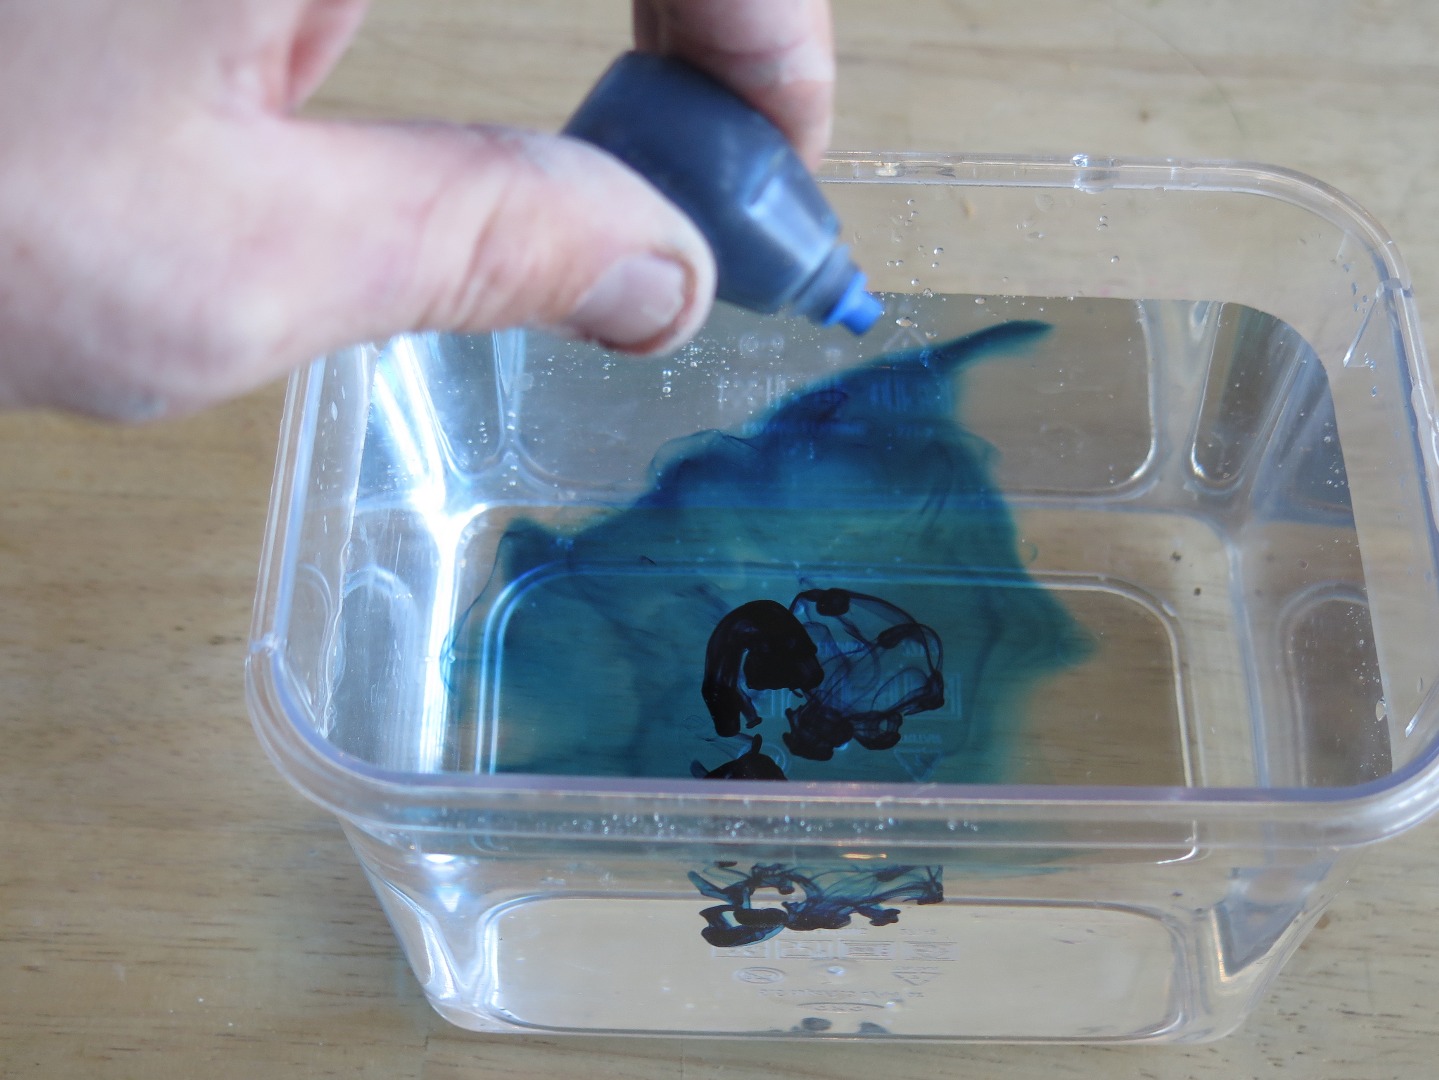
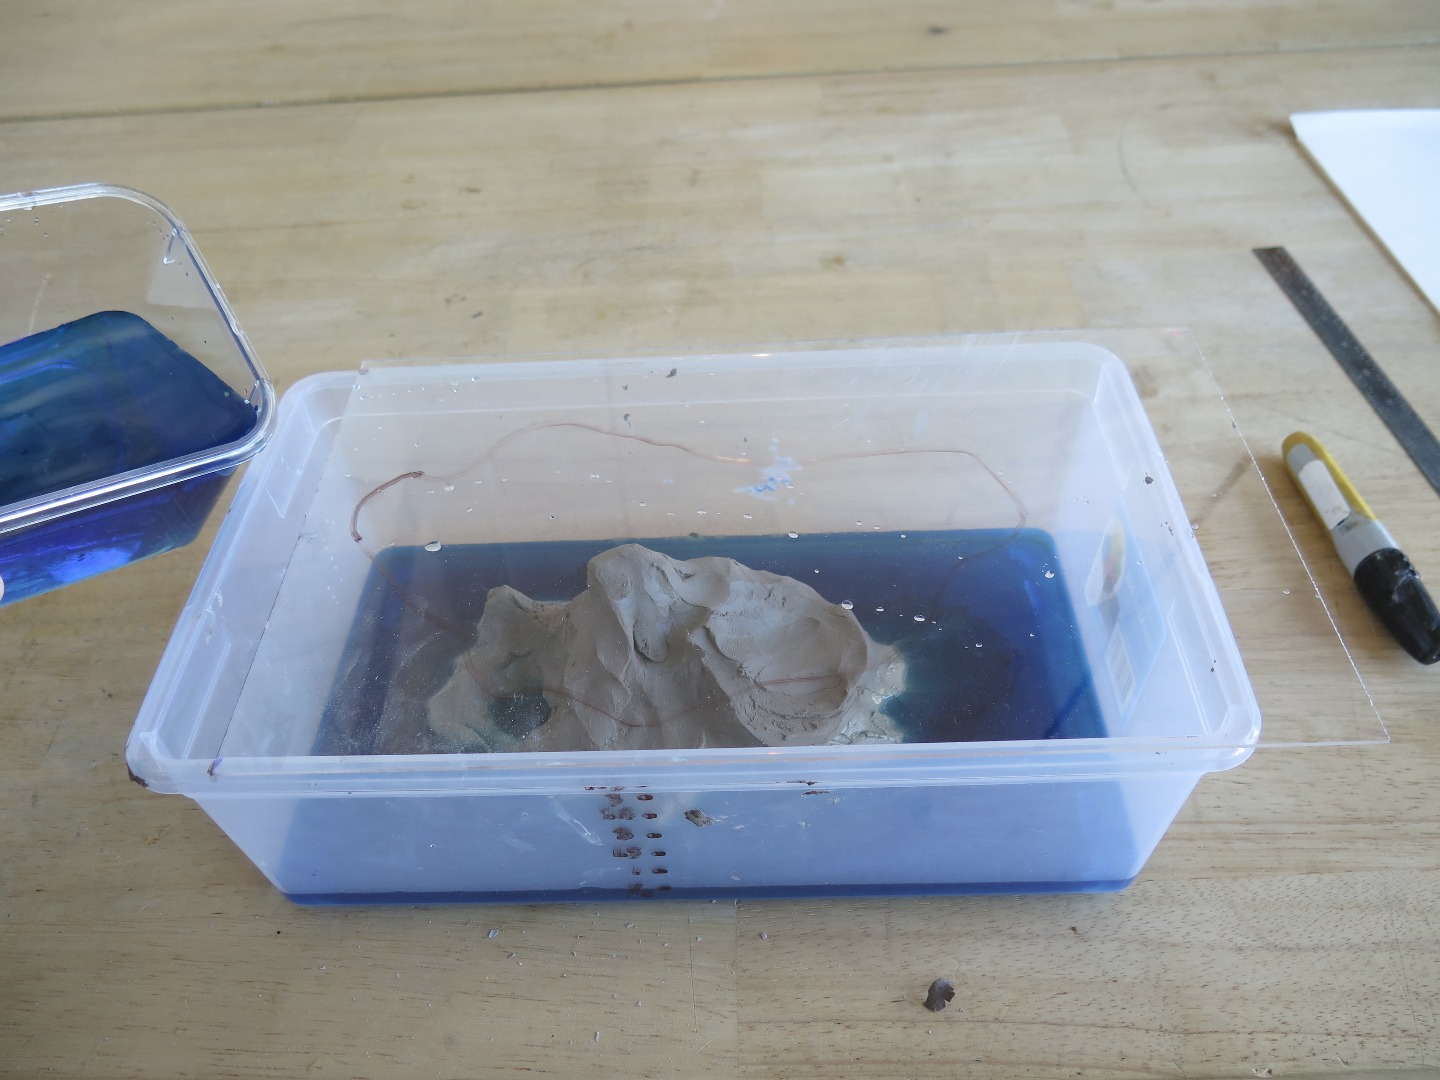
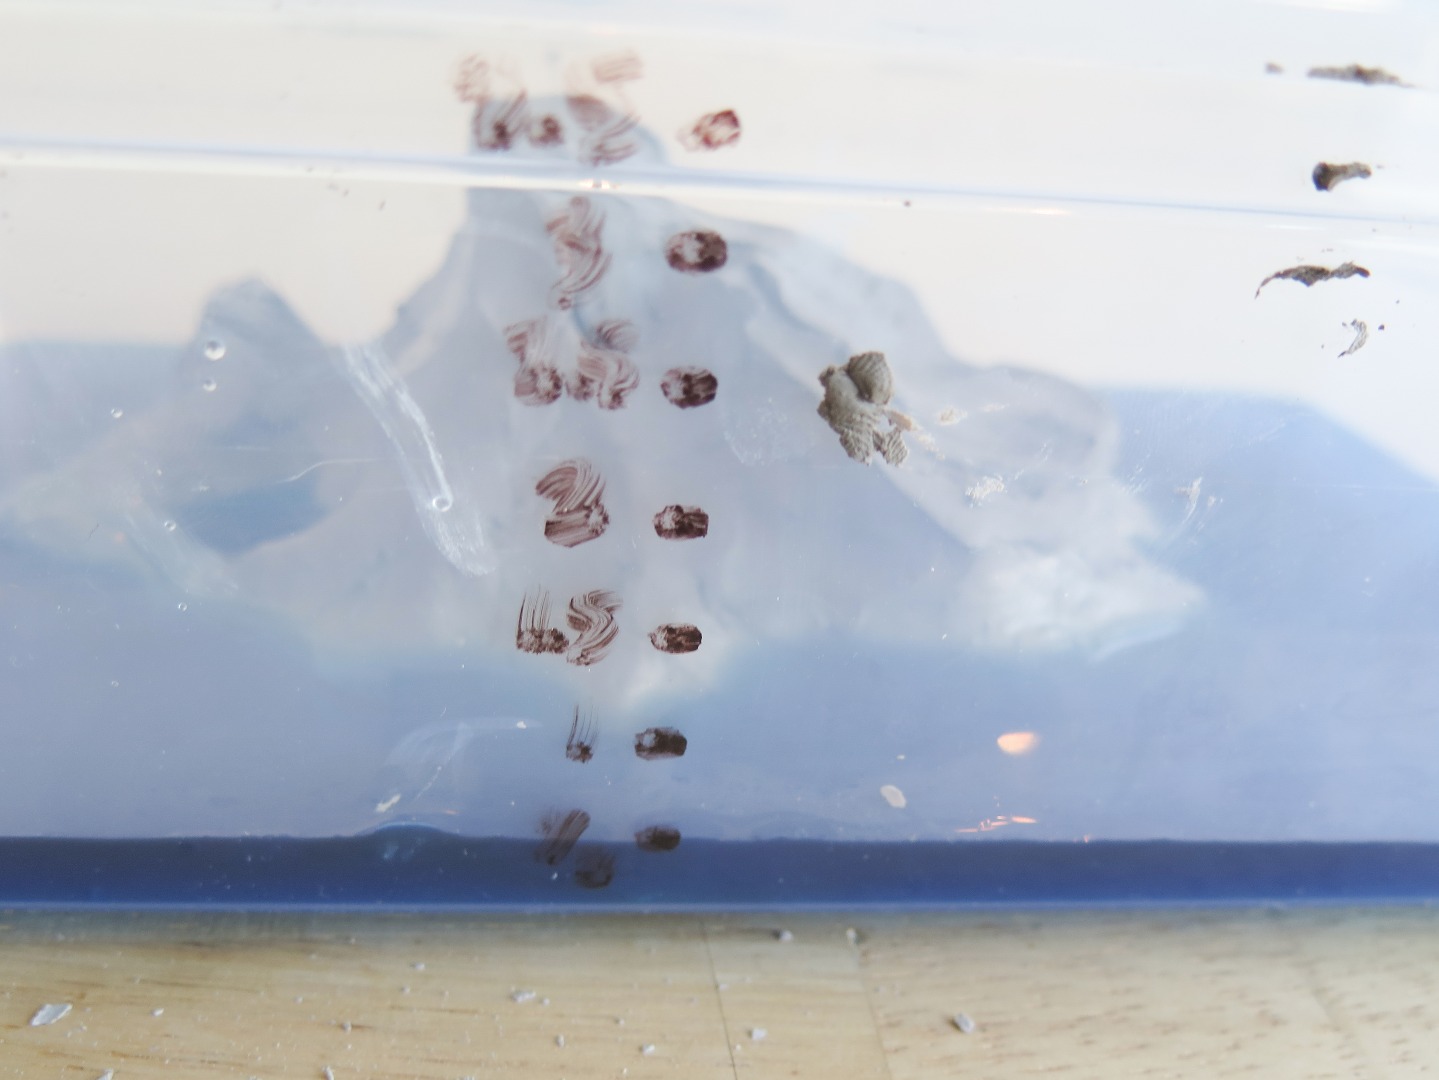
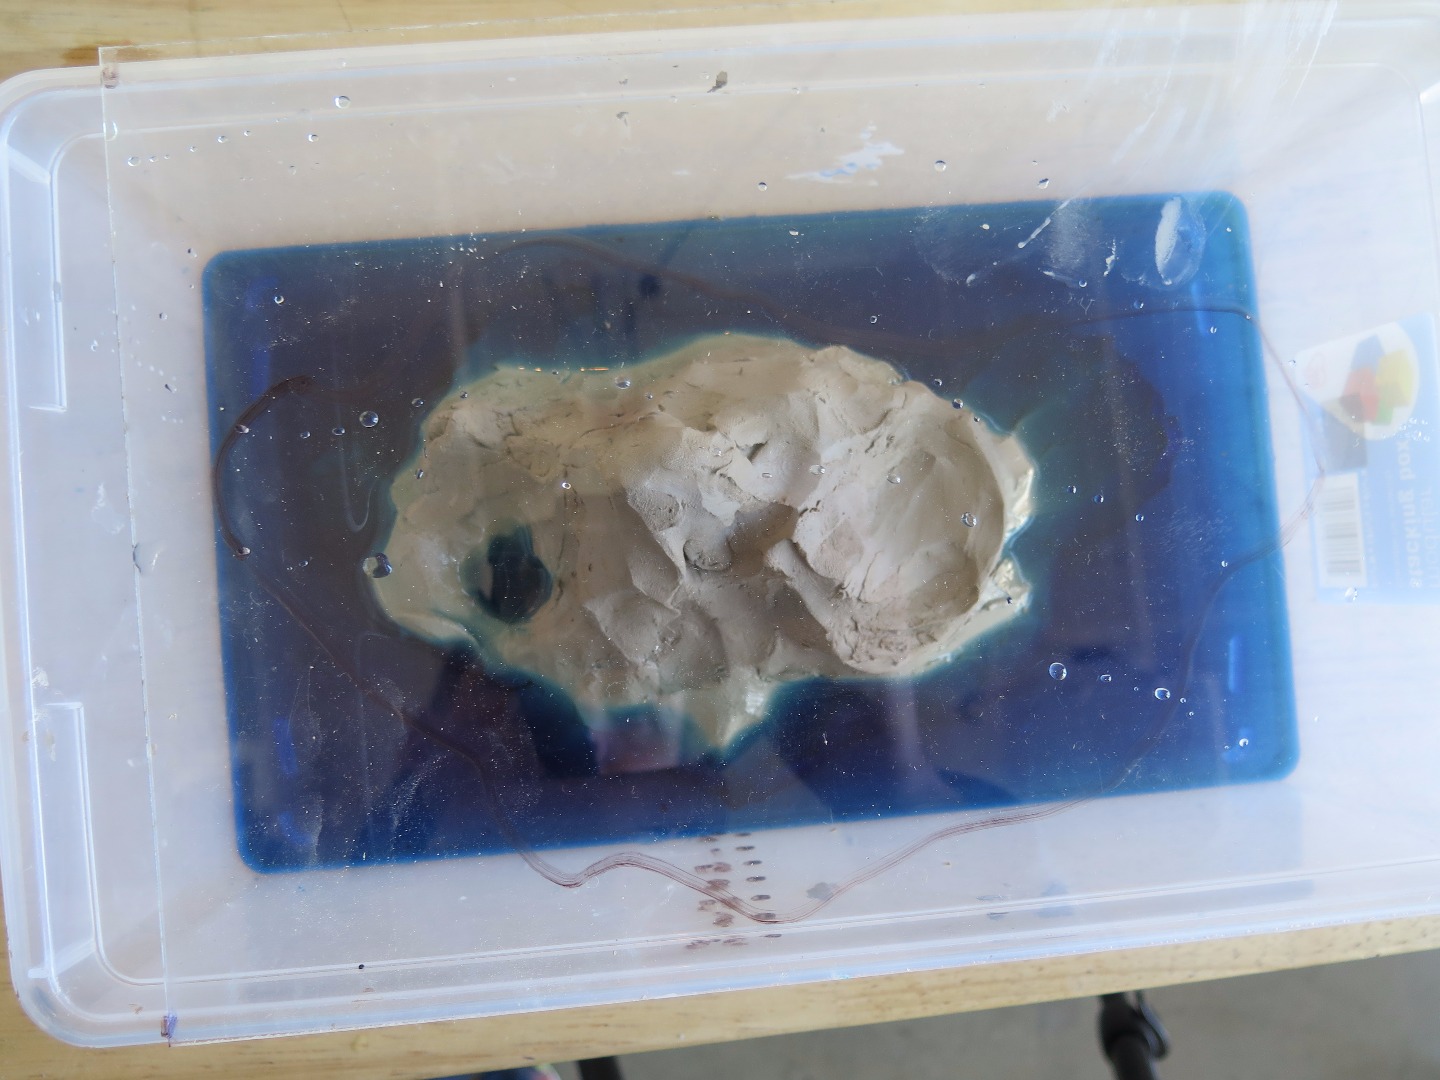
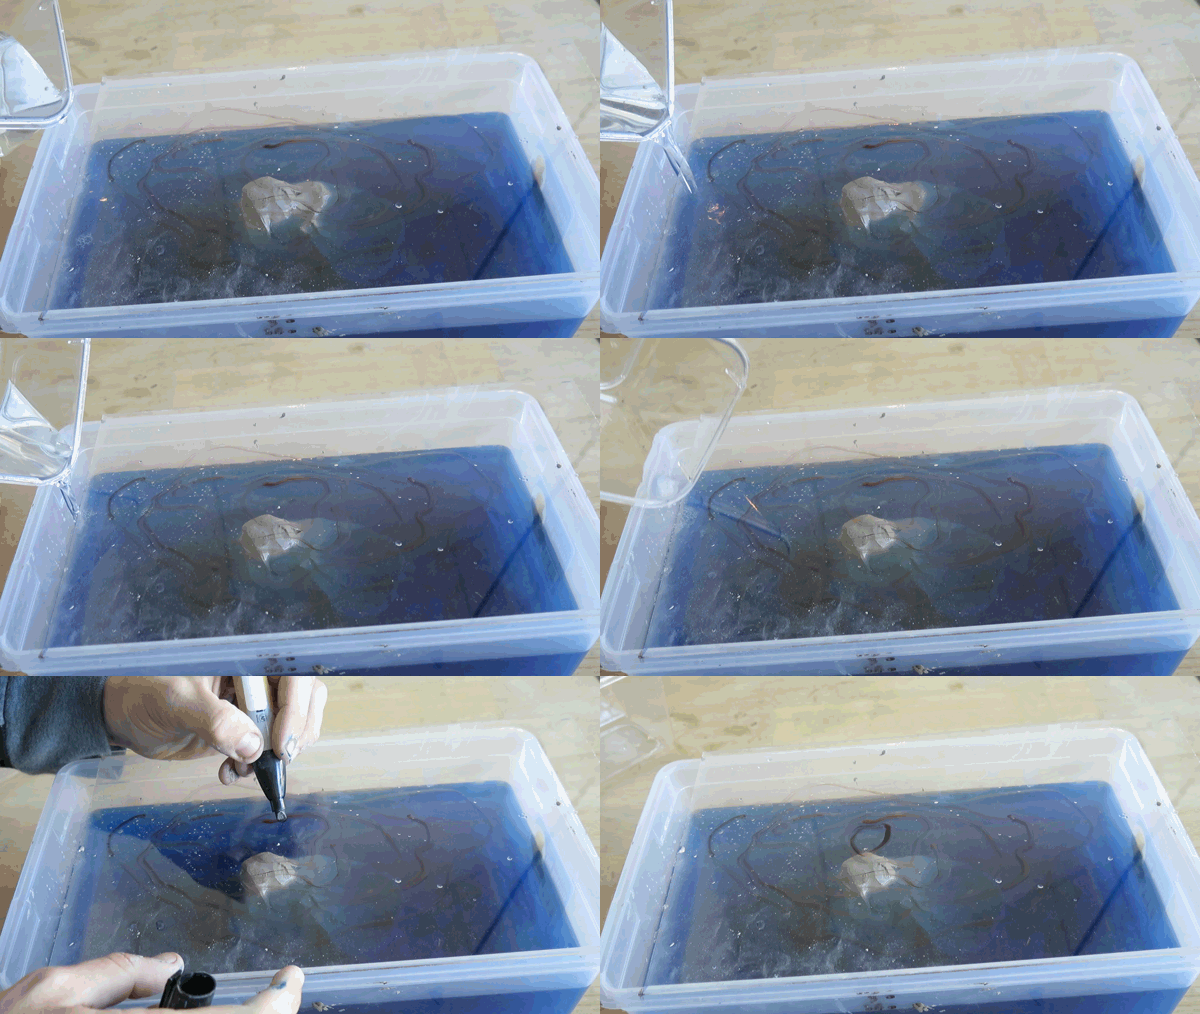
This is an easy way to learn how to make and read topographical maps!
Use the top of the shoebox or another piece of clear plastic as your marking plate. Look directly down on your island, and trace what you see on the plastic, making a closed loop.
Then add some deeply dyed water, and pour until it reaches your first measurement mark (for me, it's 0.5 in). Now outline the part of the island still above the water on the plastic, giving you a new smaller shape.
Repeat the process for each level, making a series of concentric blobs on your plastic. This is going to be your topographical map!
Make Altitude Profile
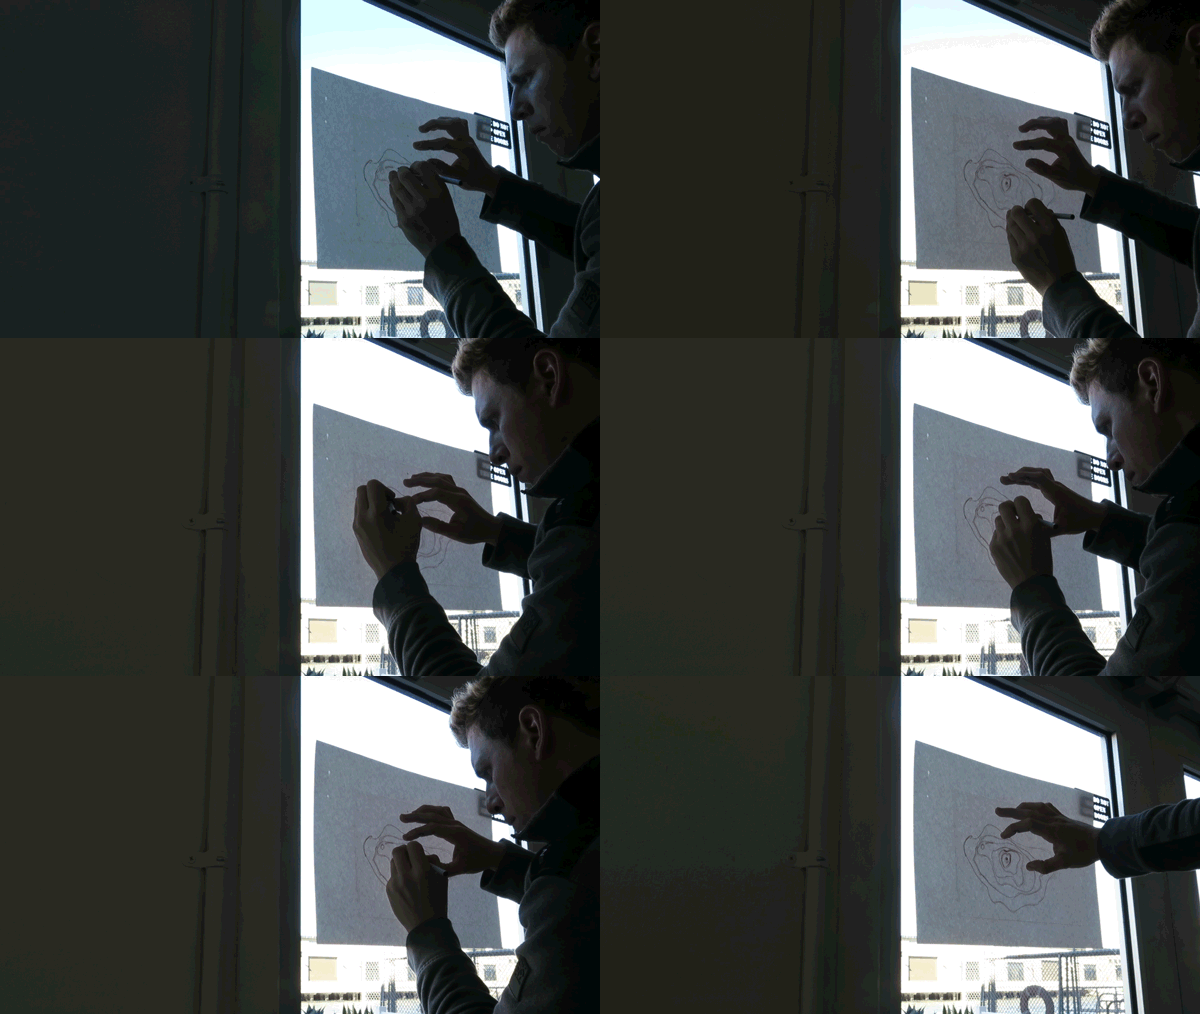
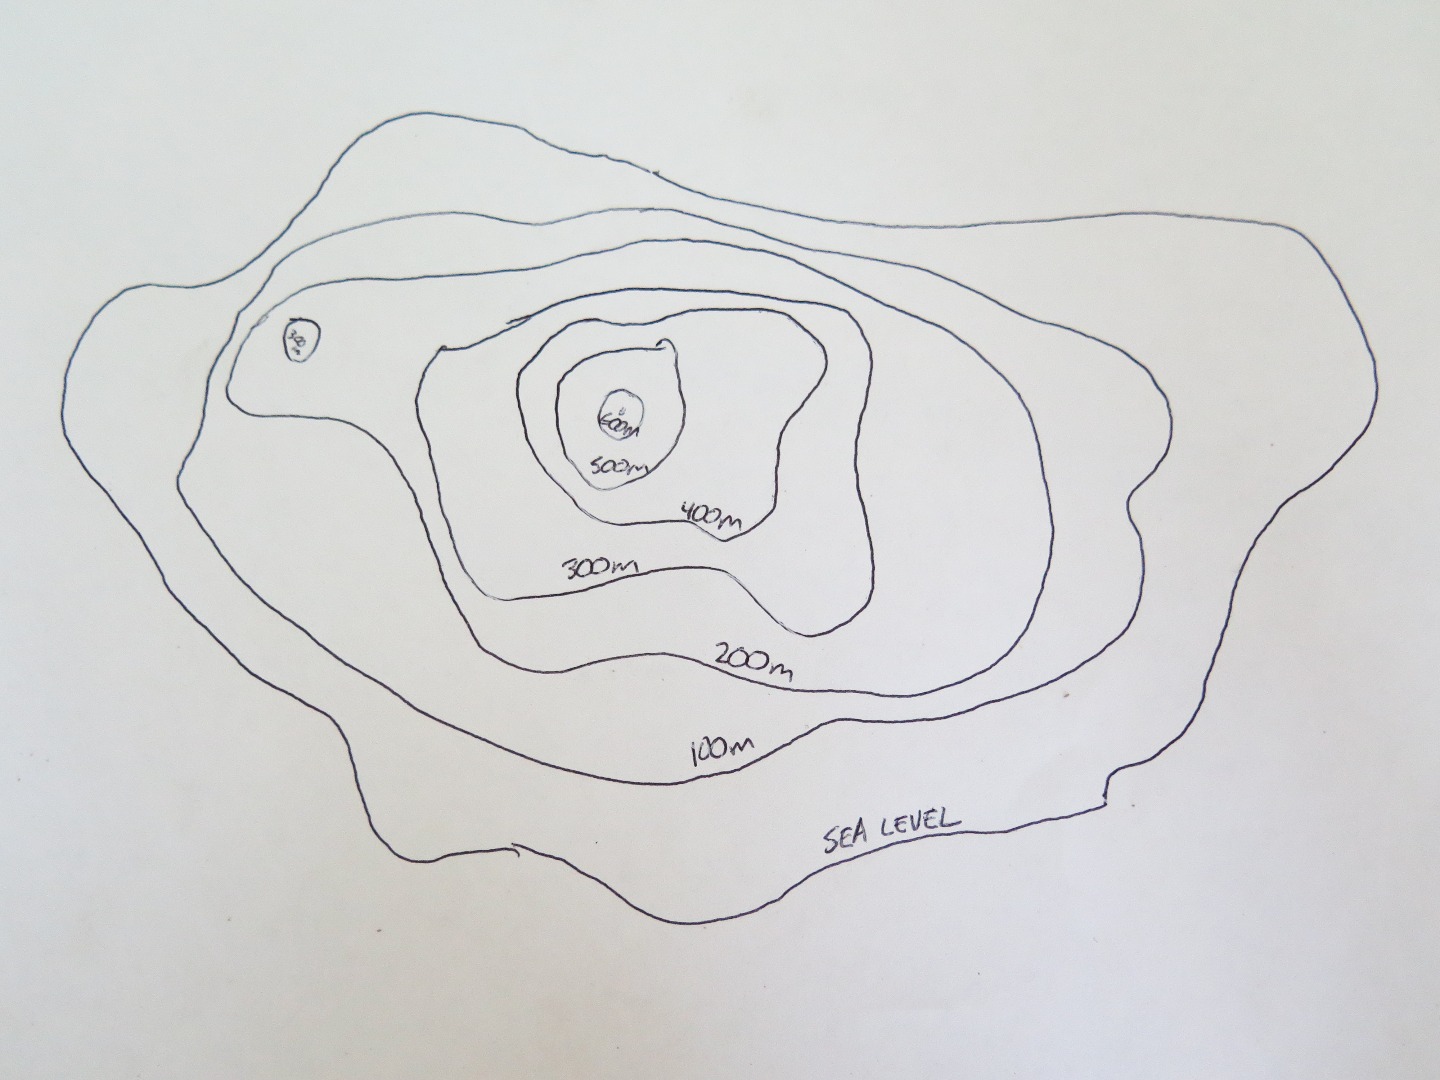
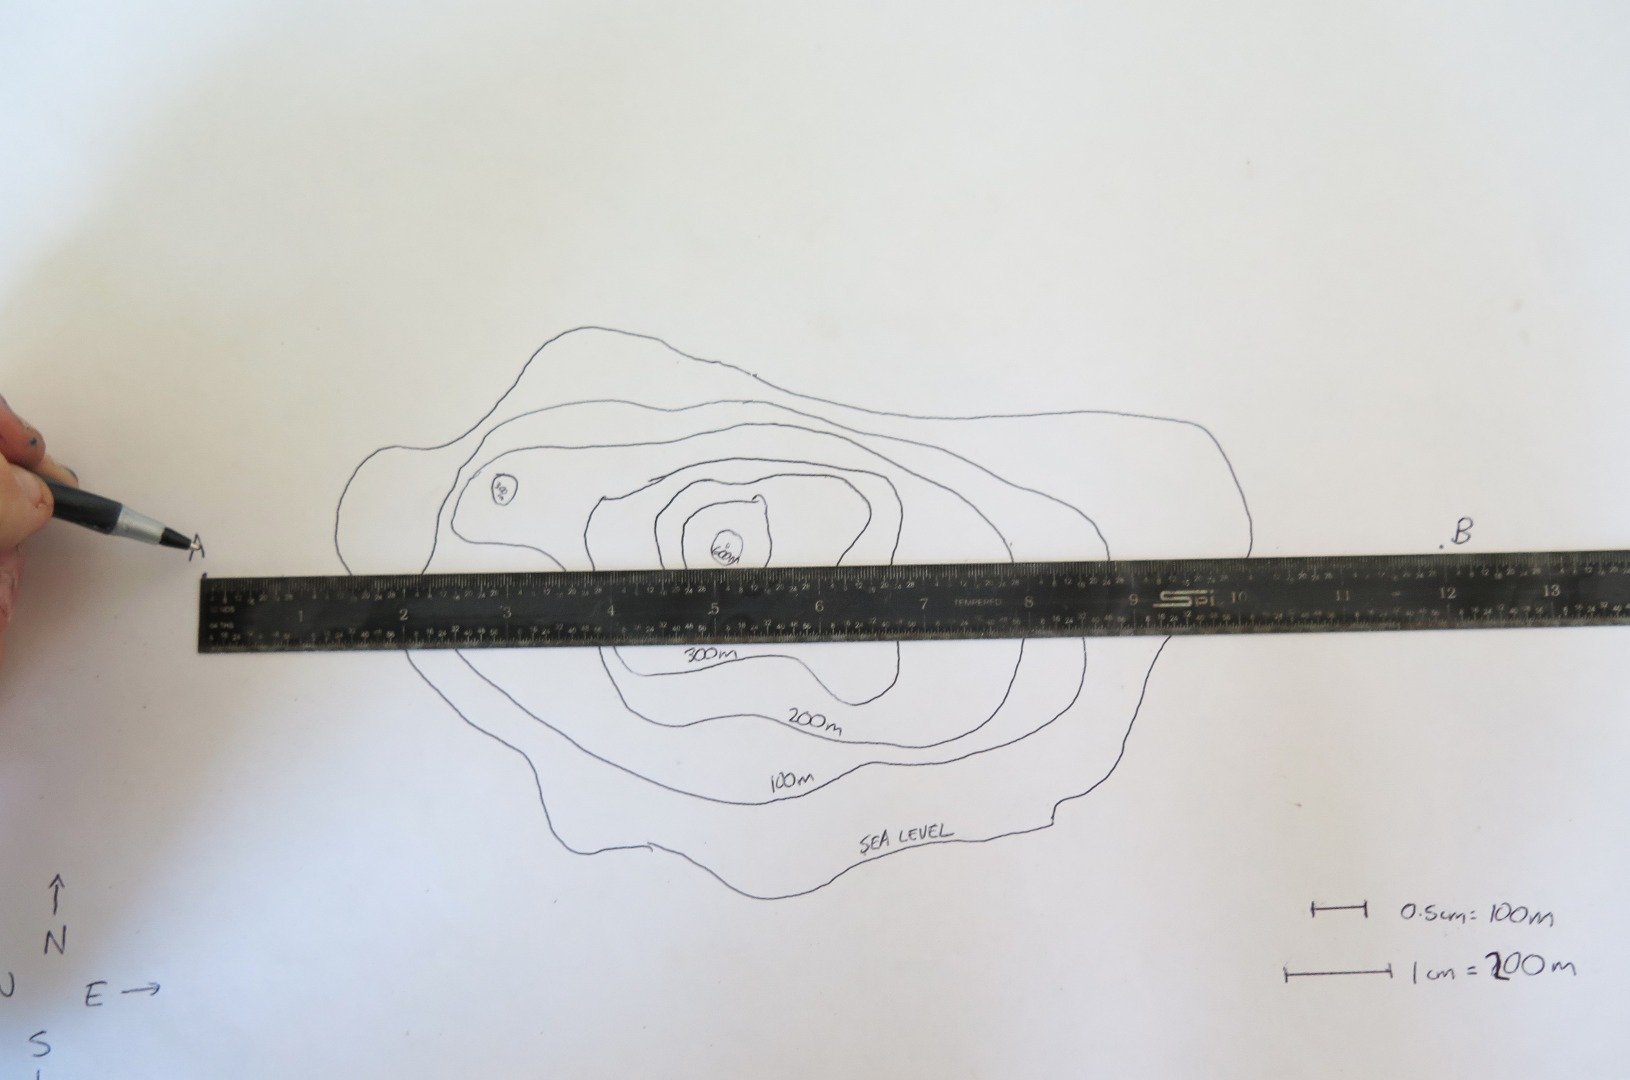
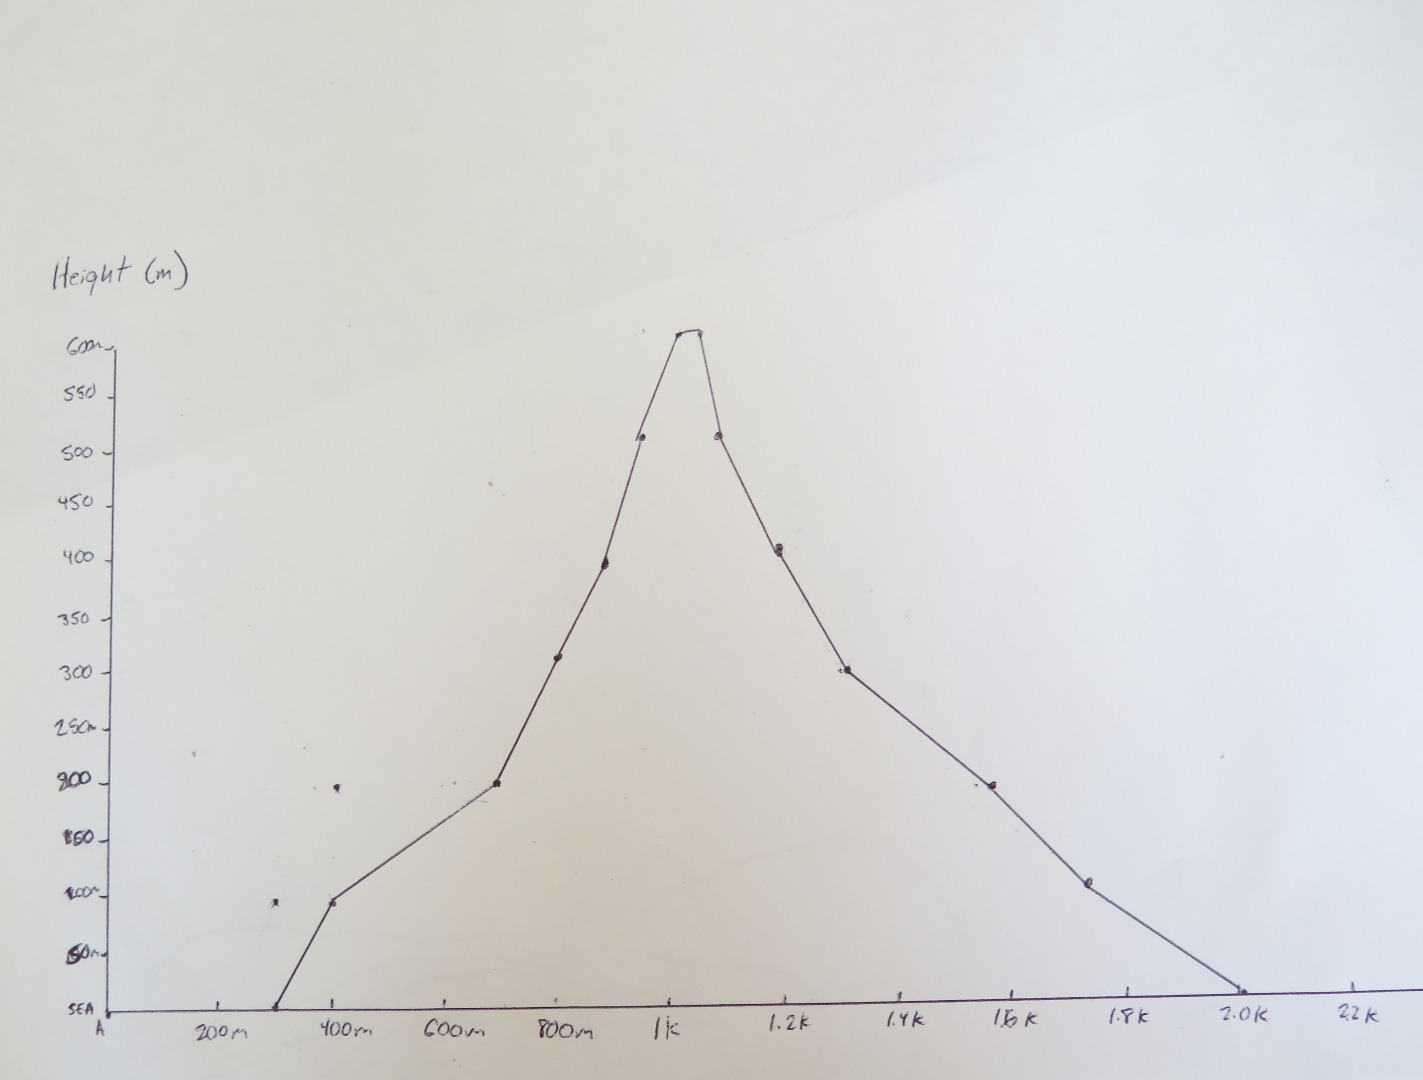
Once you have it all mapped out, transfer your map to paper by holding up paper and plastic to glass or a lightbox. Trace the lines, and fill out elevations according to the scale you made. For me, I chose an incredibly difficult scale, but feel free to pick your own. (1 cm = 100m is a good one).
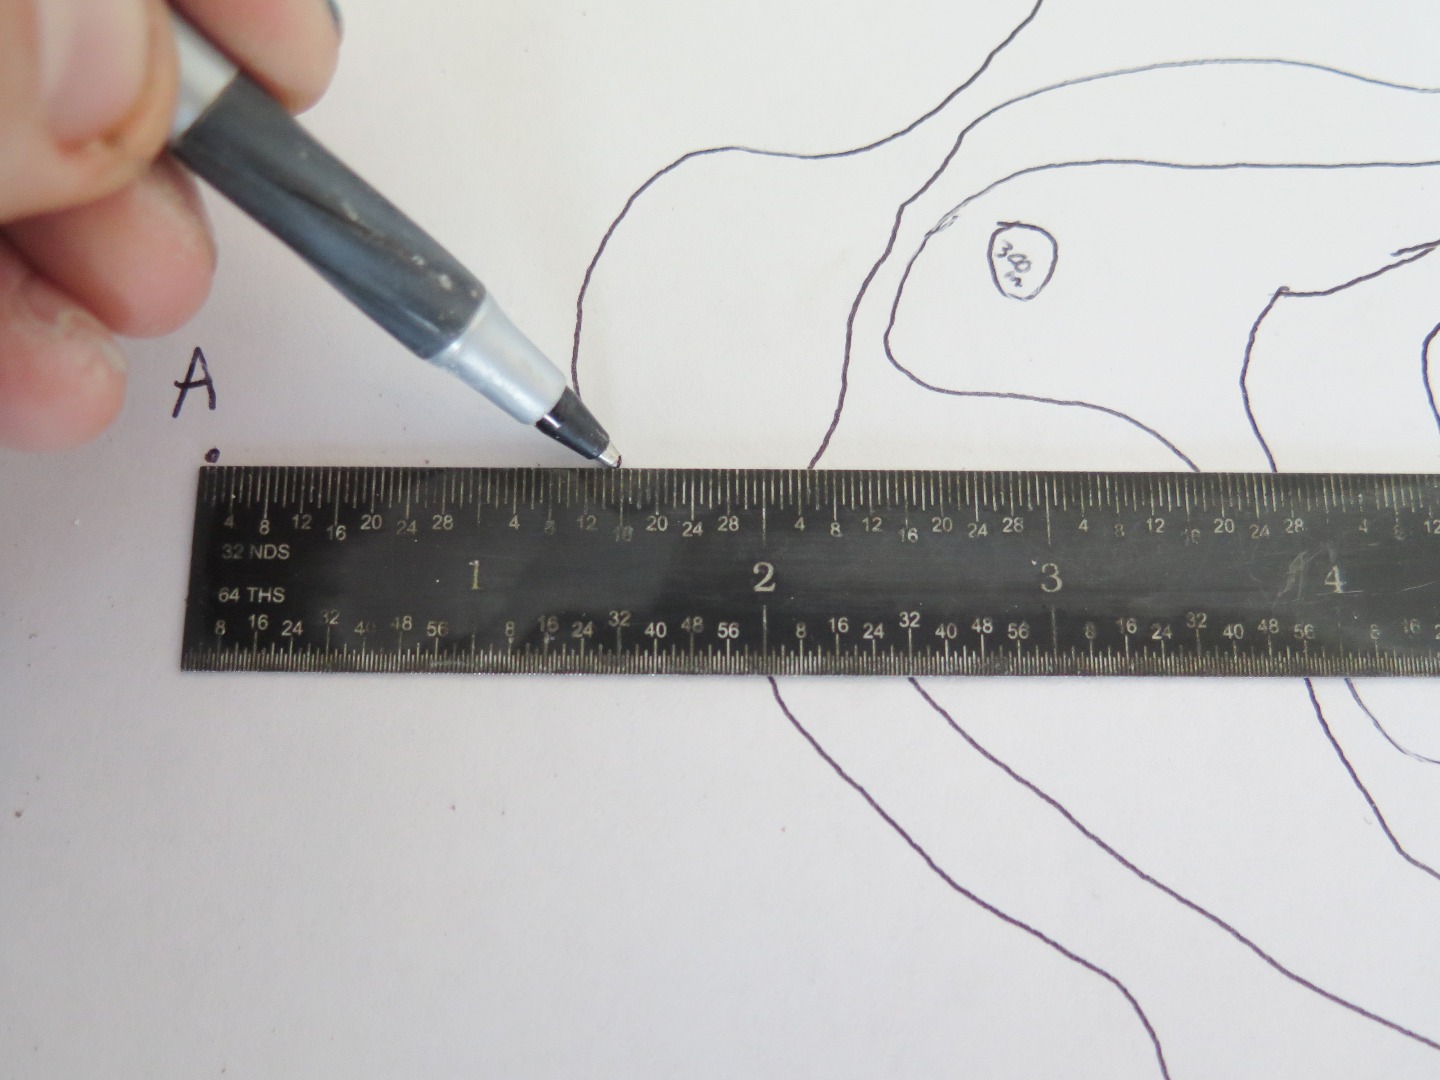
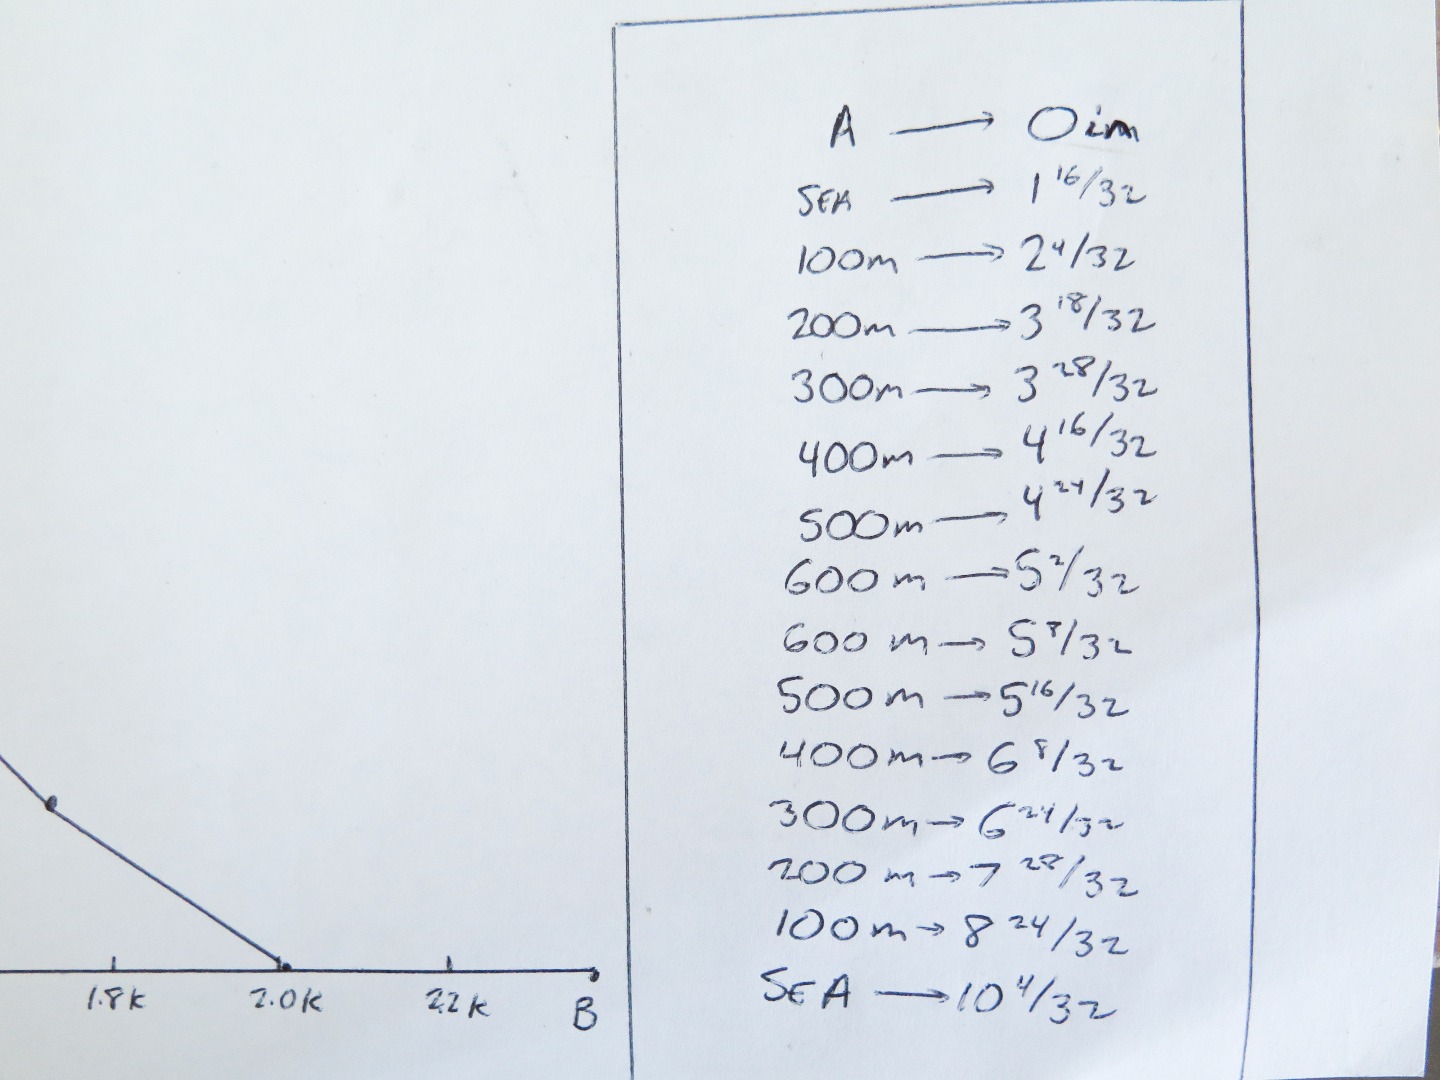
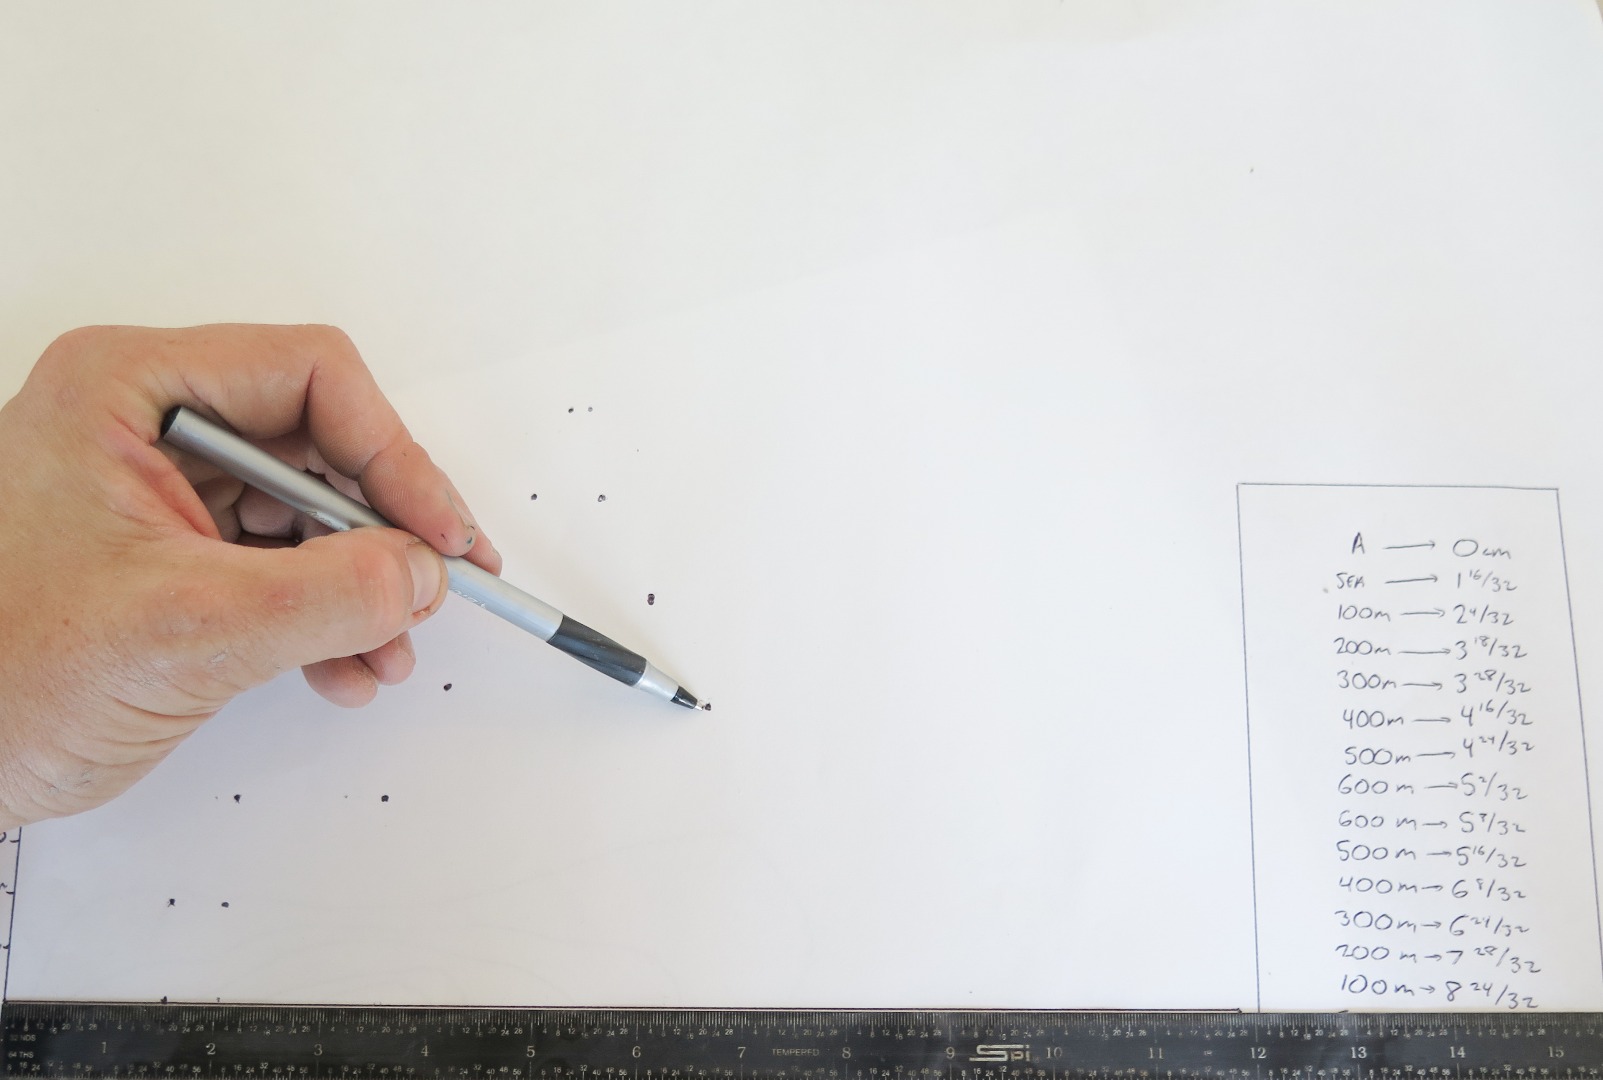
Choose two points "A" and "B" which will be the start and end of our profile. Use a ruler, and measure at what distance each topo line intersects it. This will be our data for the profile. Map it out on a graph with x being horizontal distance, and y being height. You should be able to see what your island might look like in profile. Yikes! Mine is steep!
Lay Out Your Island
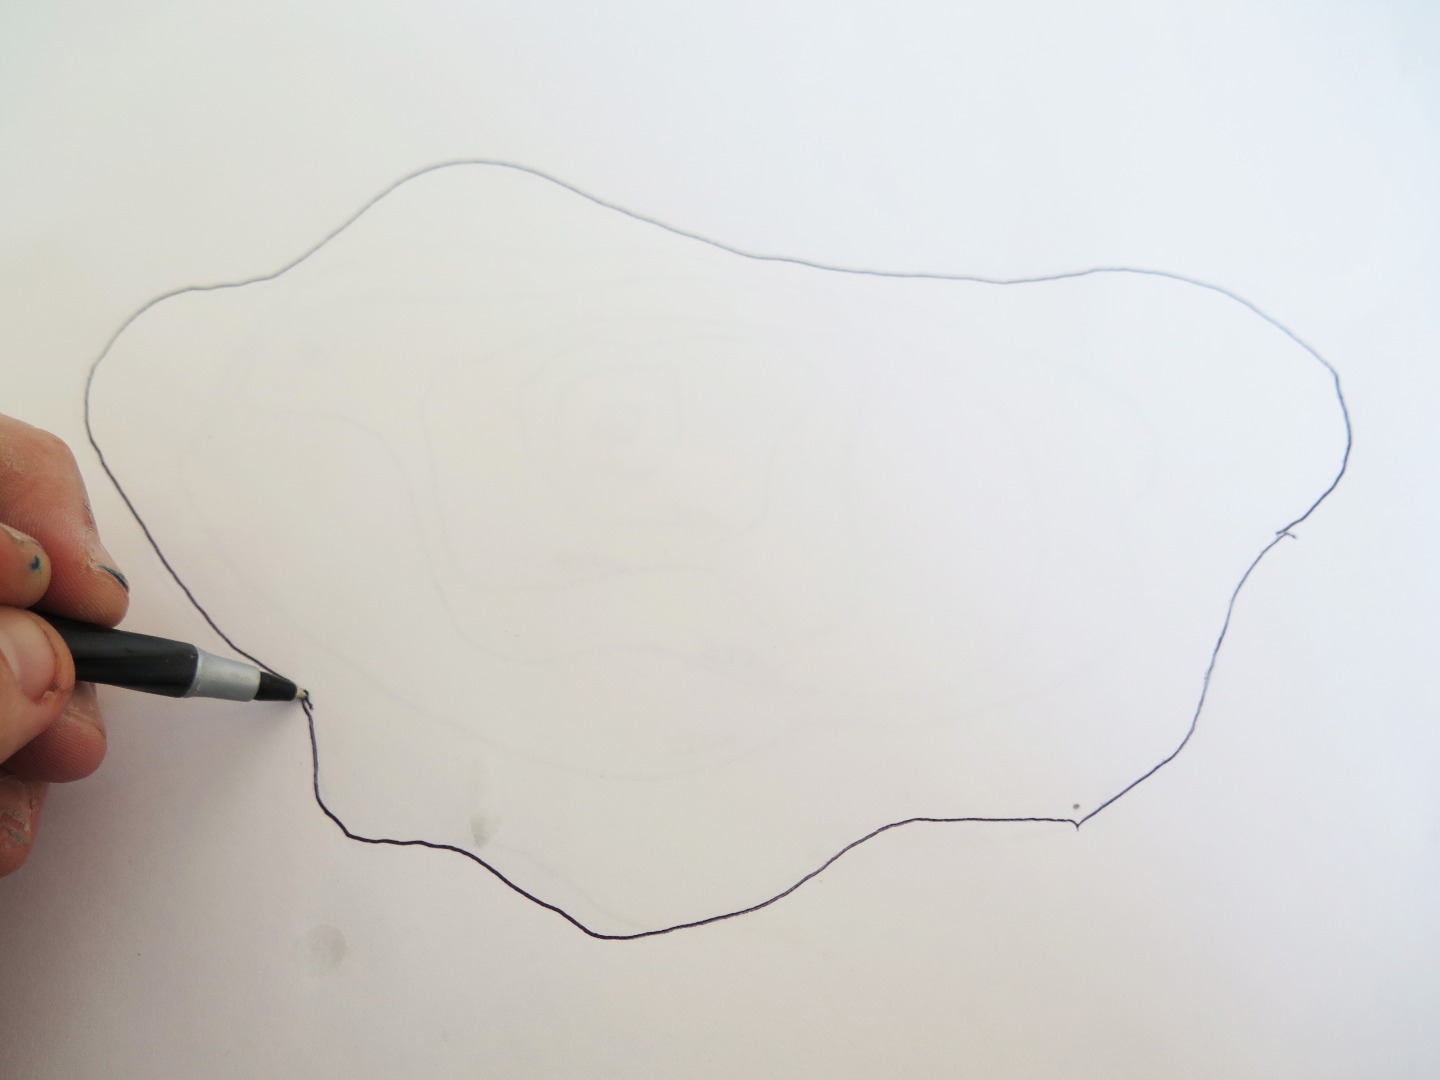
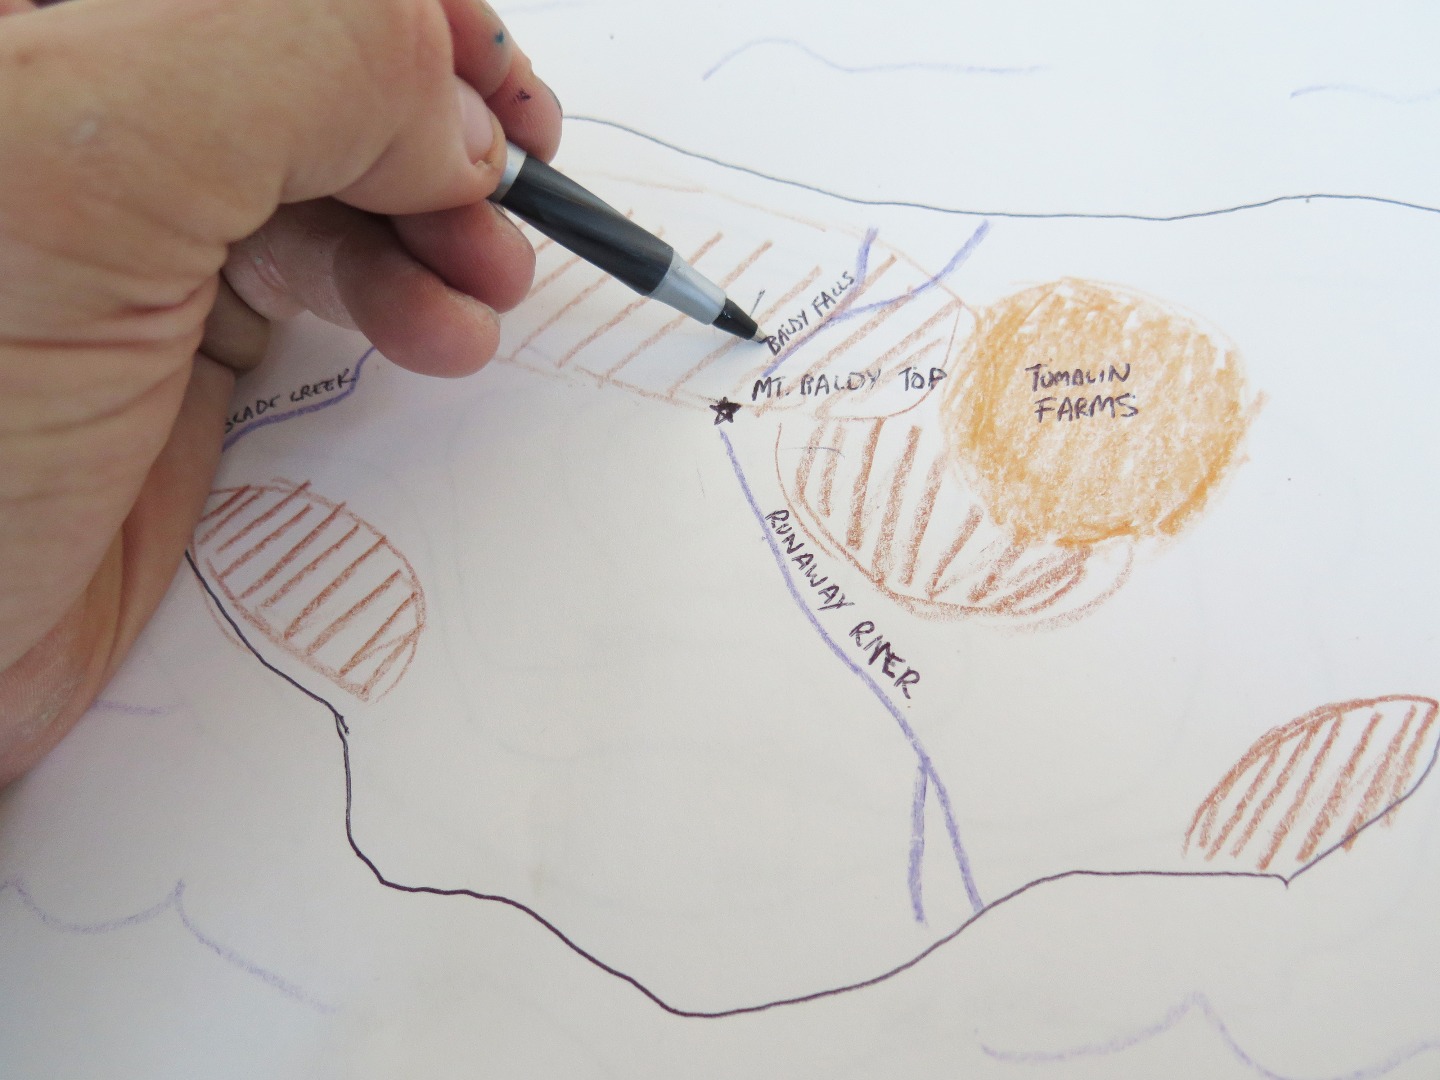
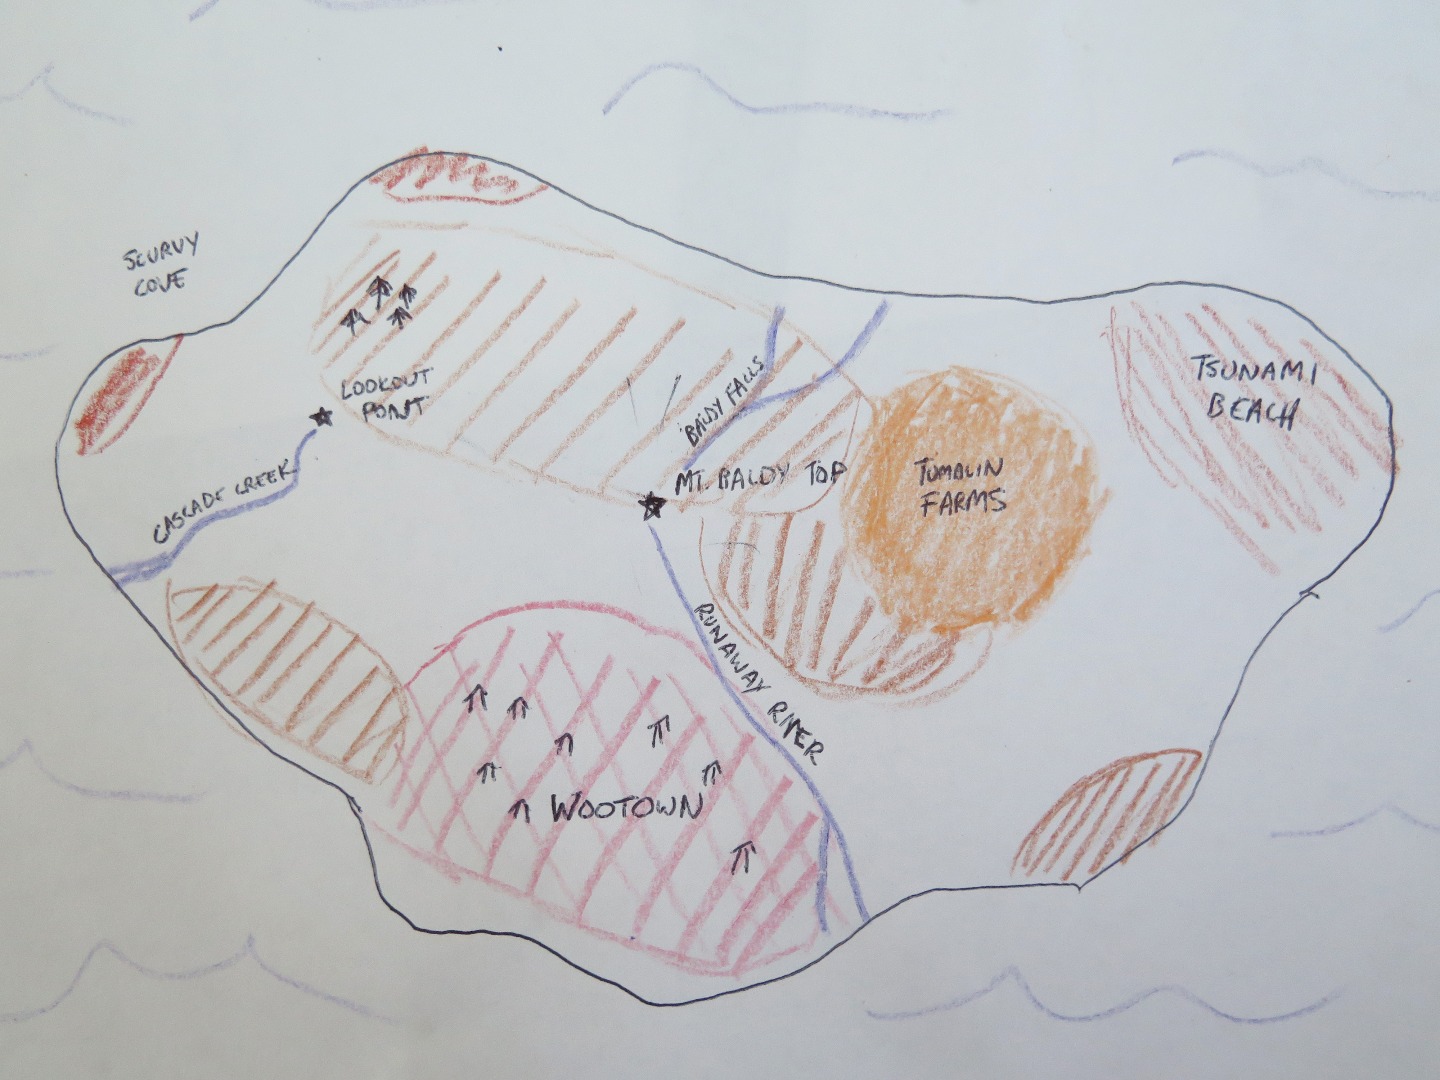
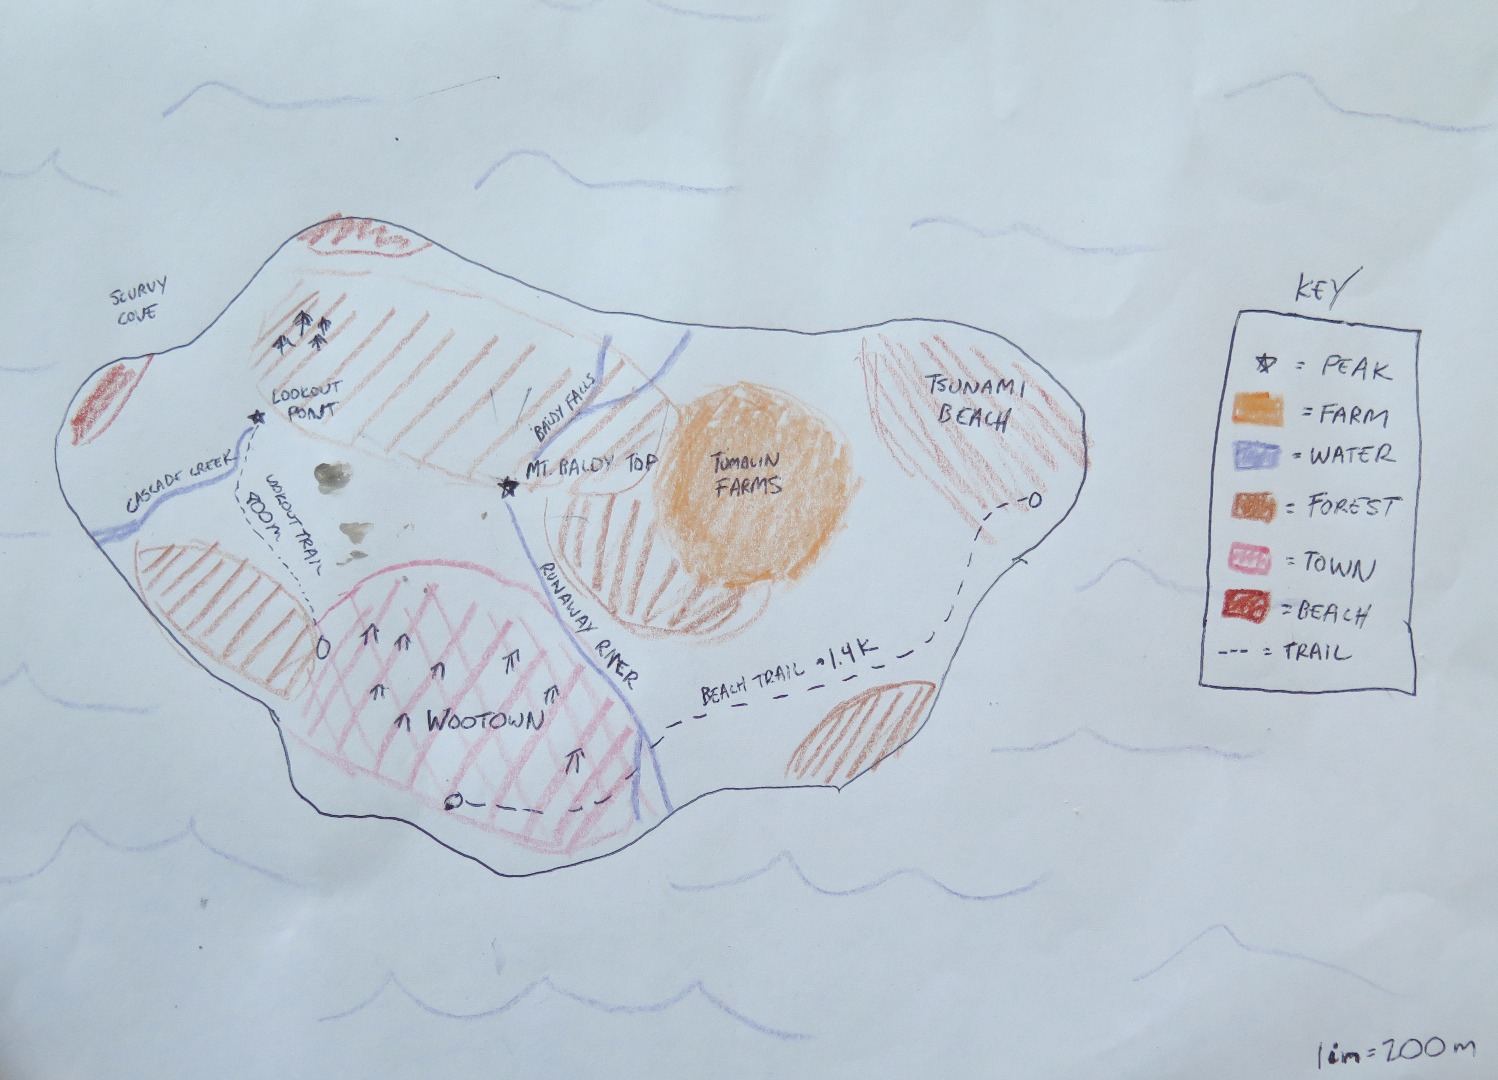
Dream some schemes!
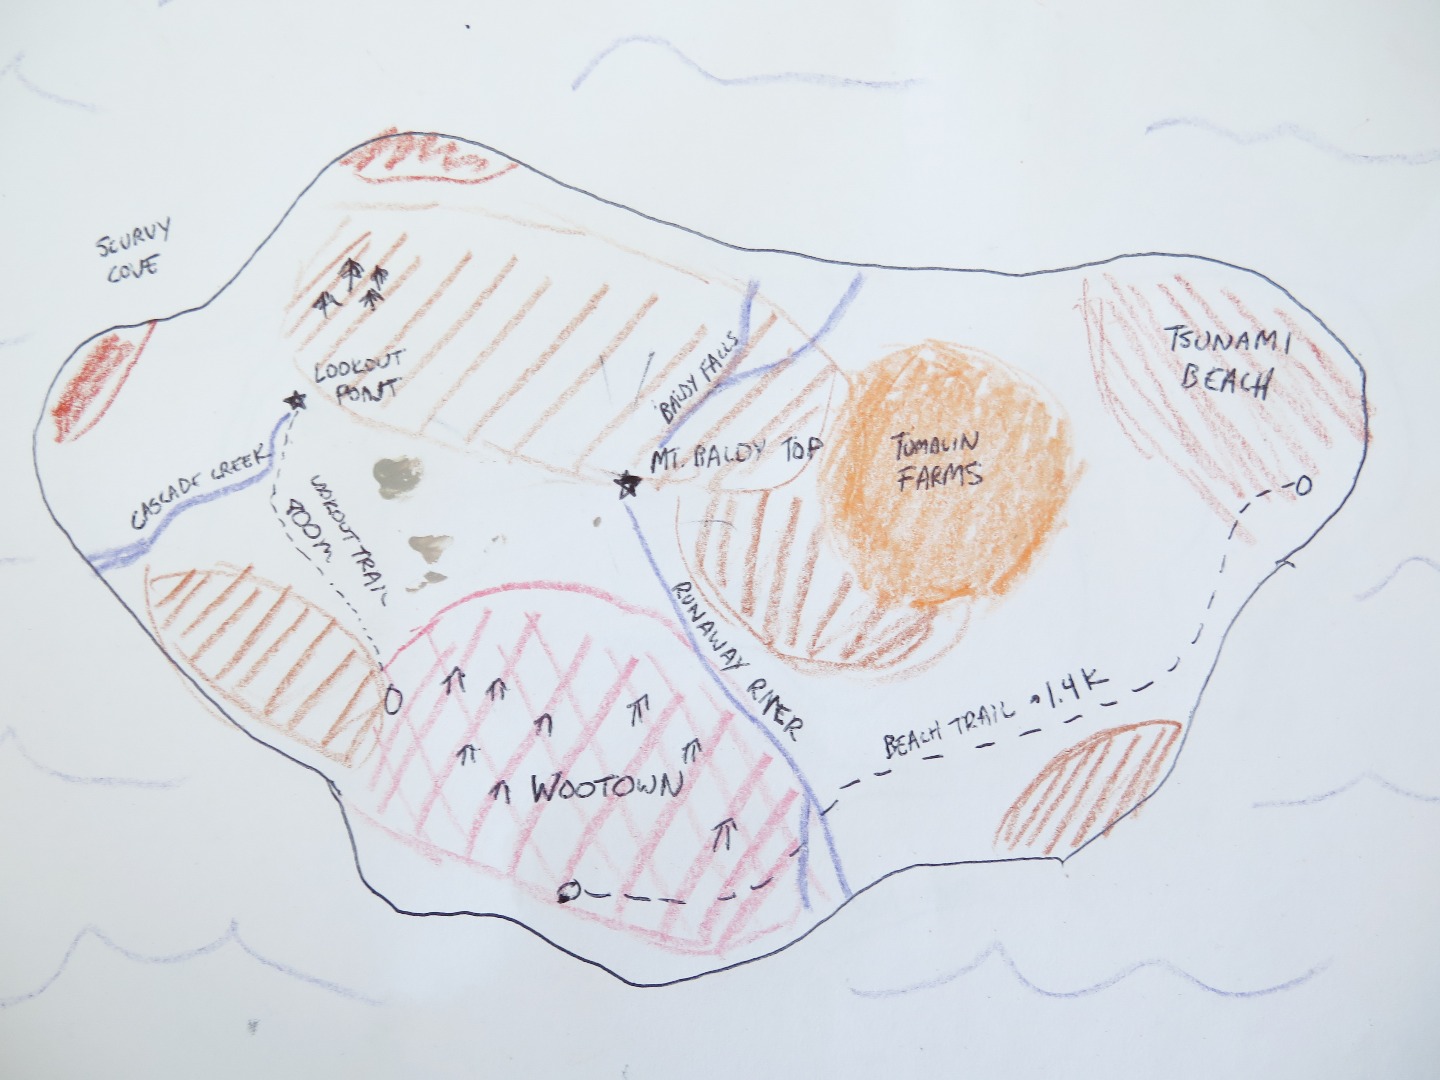
Trace the outline of your island on another page, and it's time to make your island the way you want it. Write place names, and make a key with what different map symbols mean. Also, now's a great time to choose which way is north.
If you are teaching, you can add parameters like:
- Include at least one trail
- Make a key for and use at least three types of terrain
- Mark all of your peaks
Have fun with it!
Make Trails or Roads
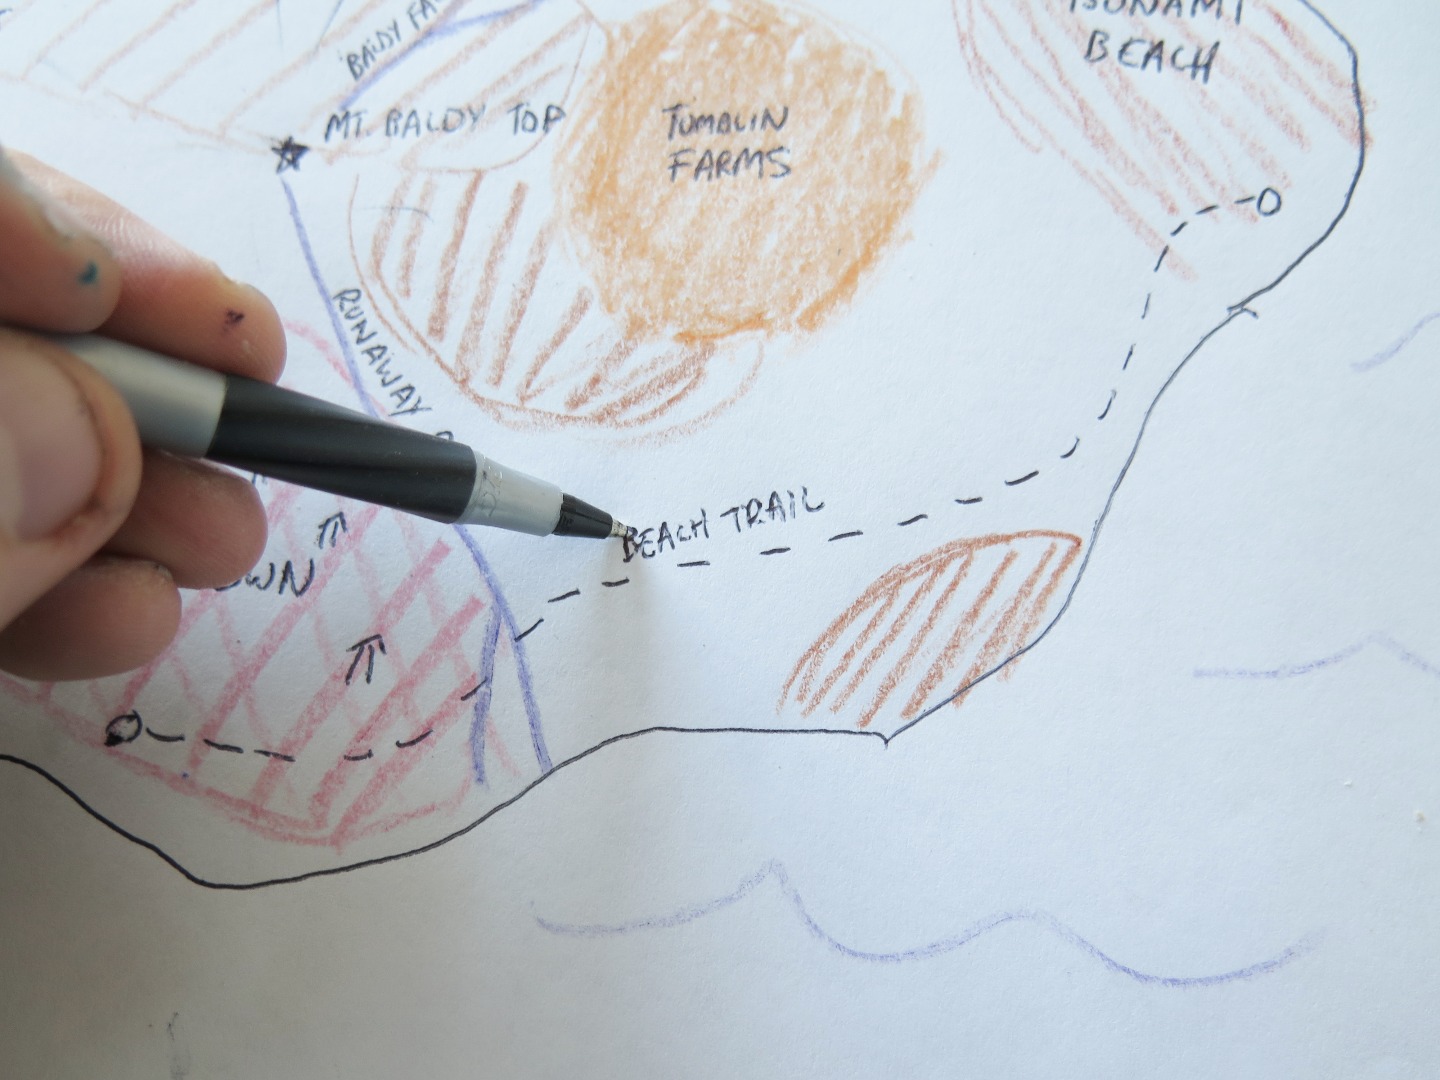
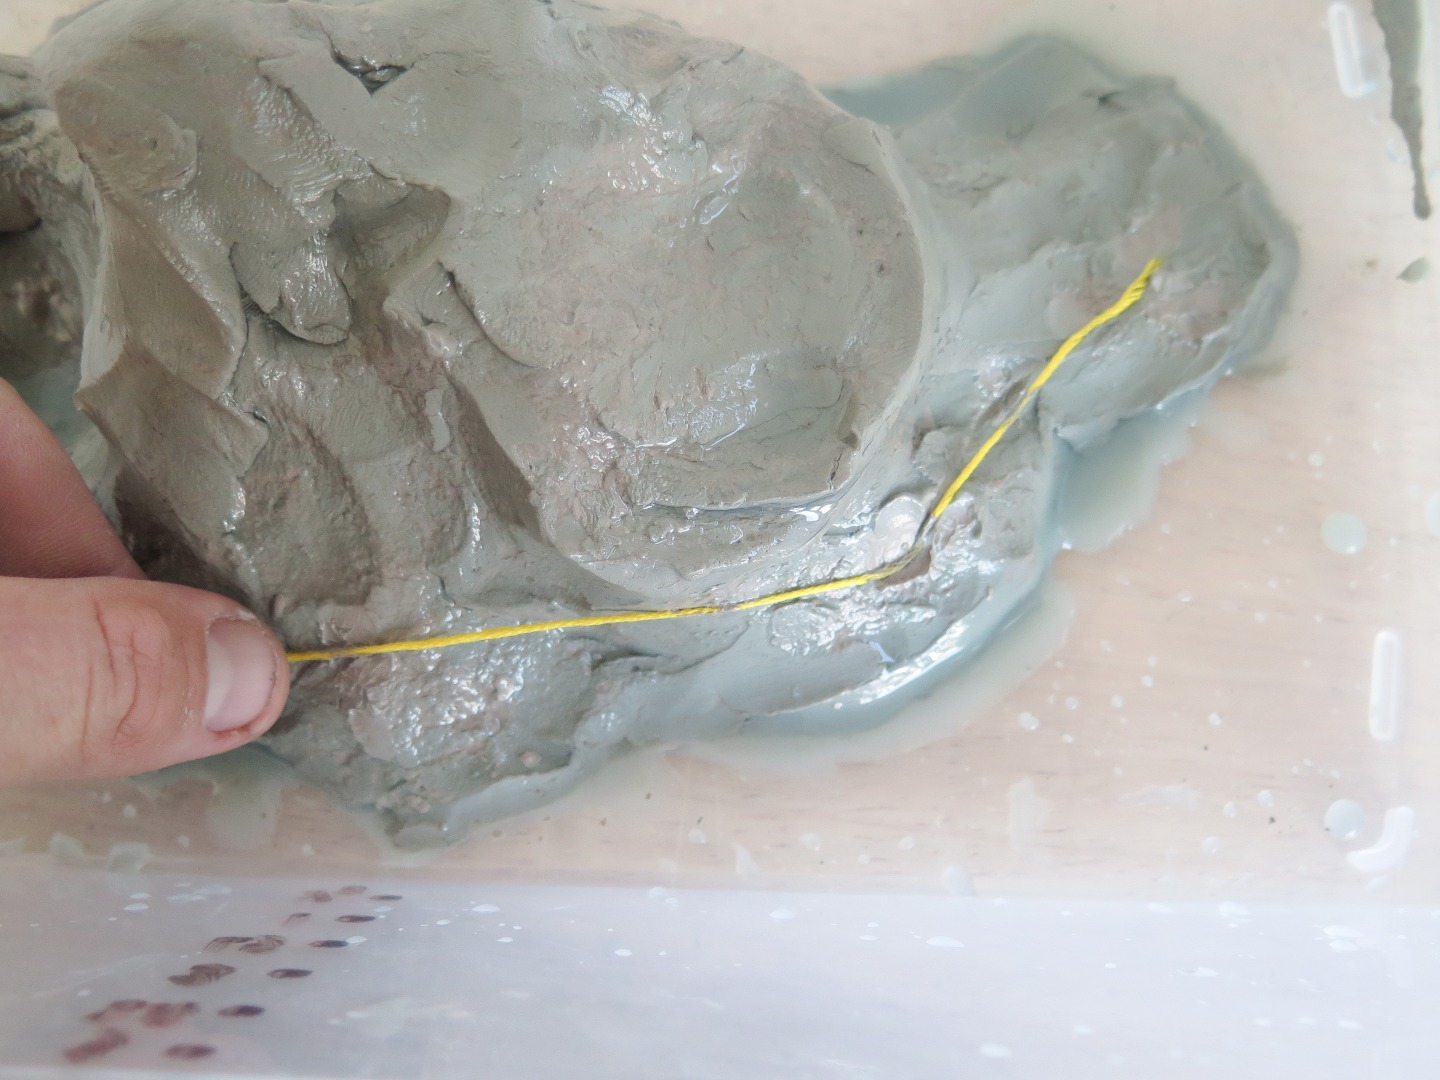
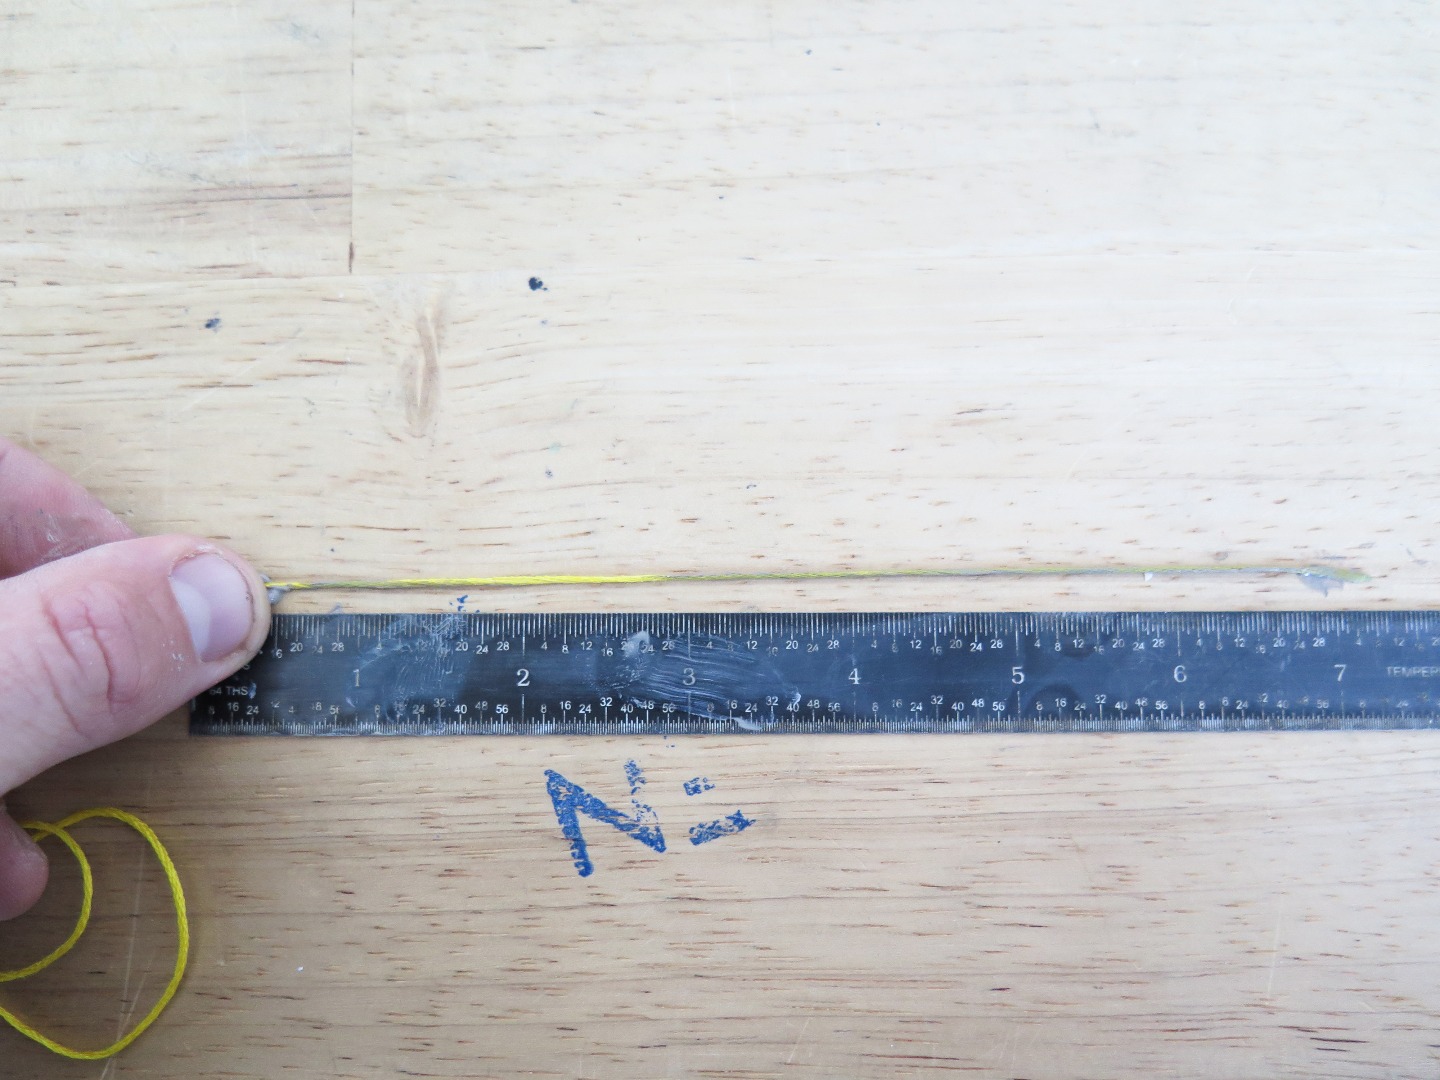
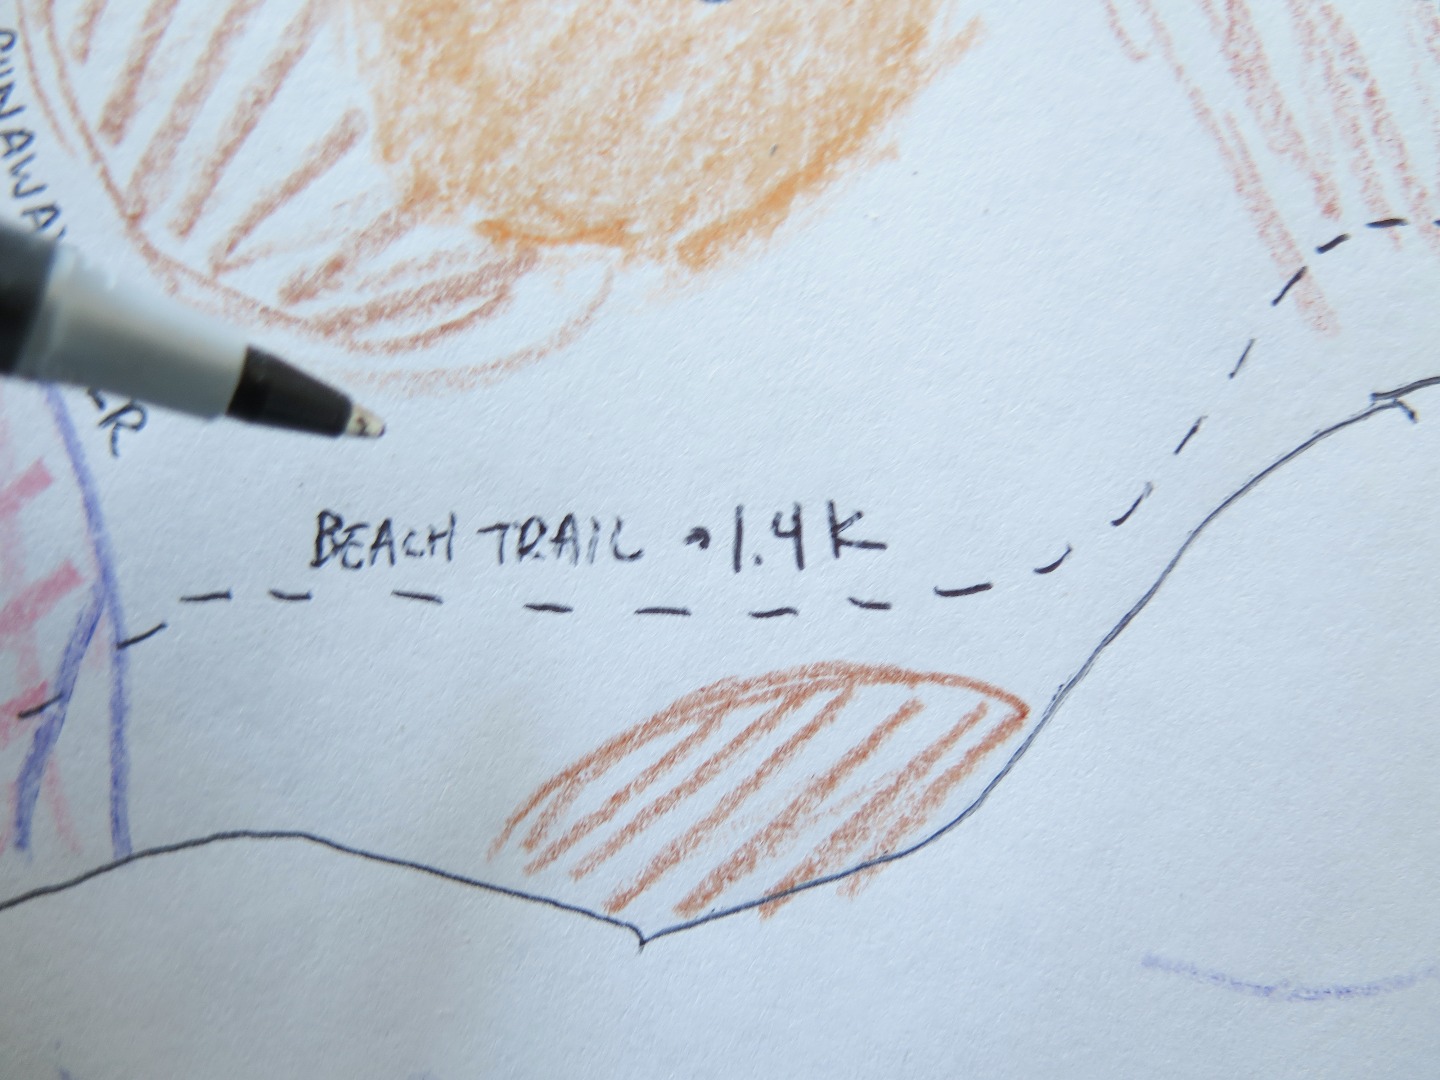
Let's get moving. Map out desired trails or roads, and then measure out how far they would be. Use a string on your island to map out the trail, and then measure how long it is against a ruler. Do your conversion, and then voila, you have a new trail!
Measure Your Peaks and Coastline
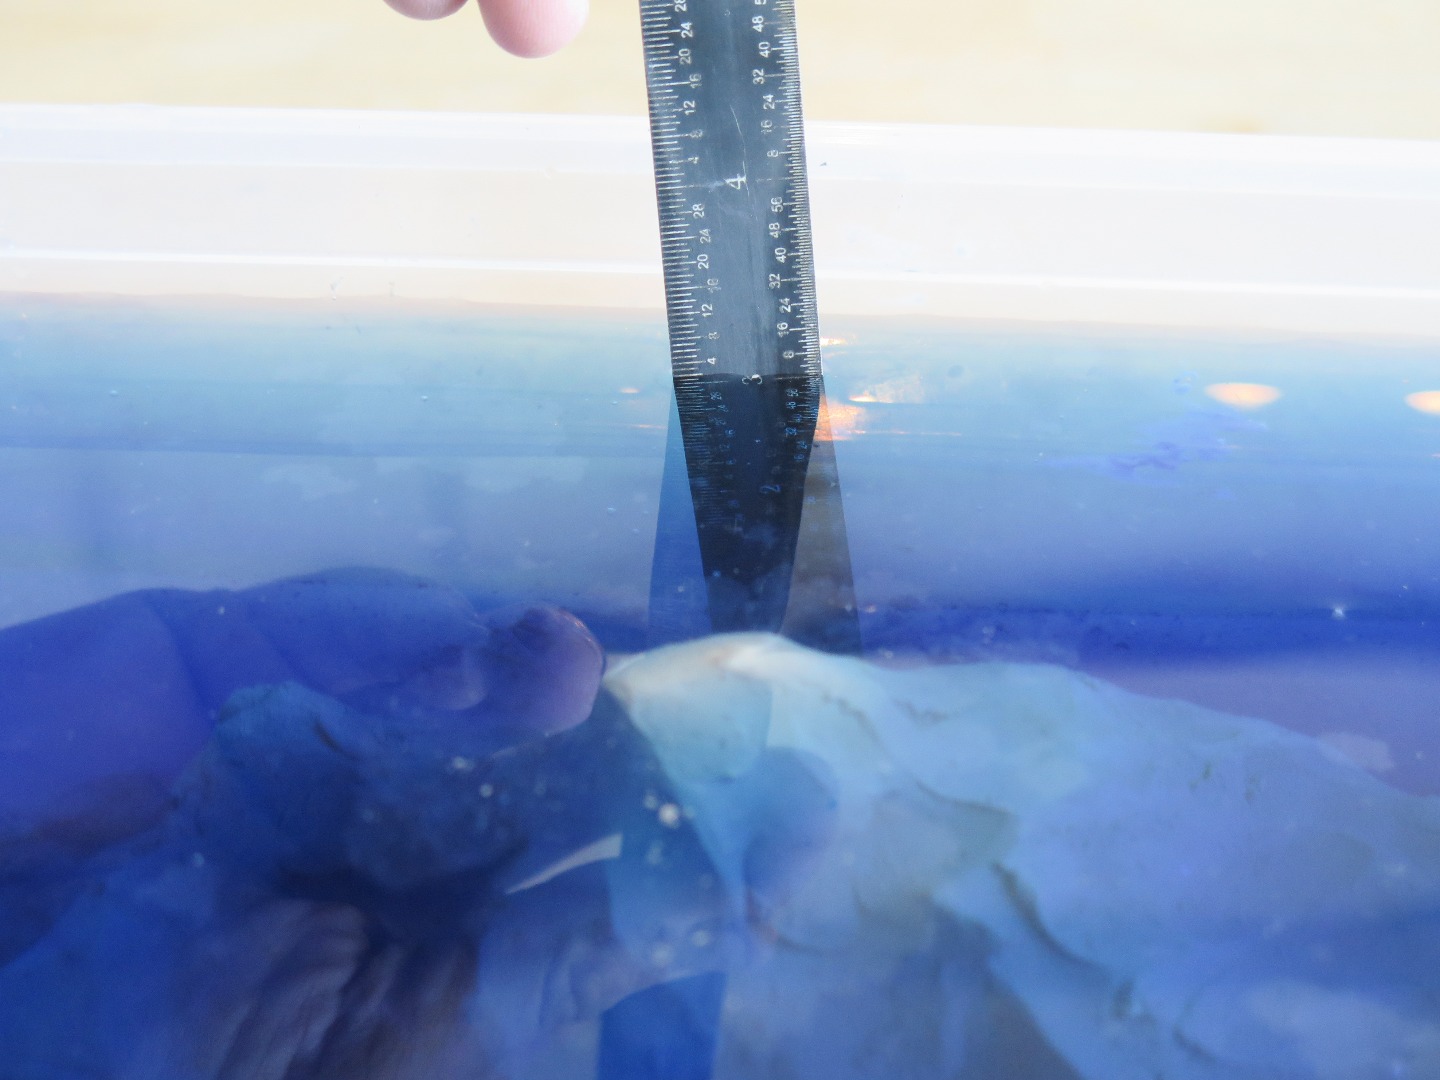
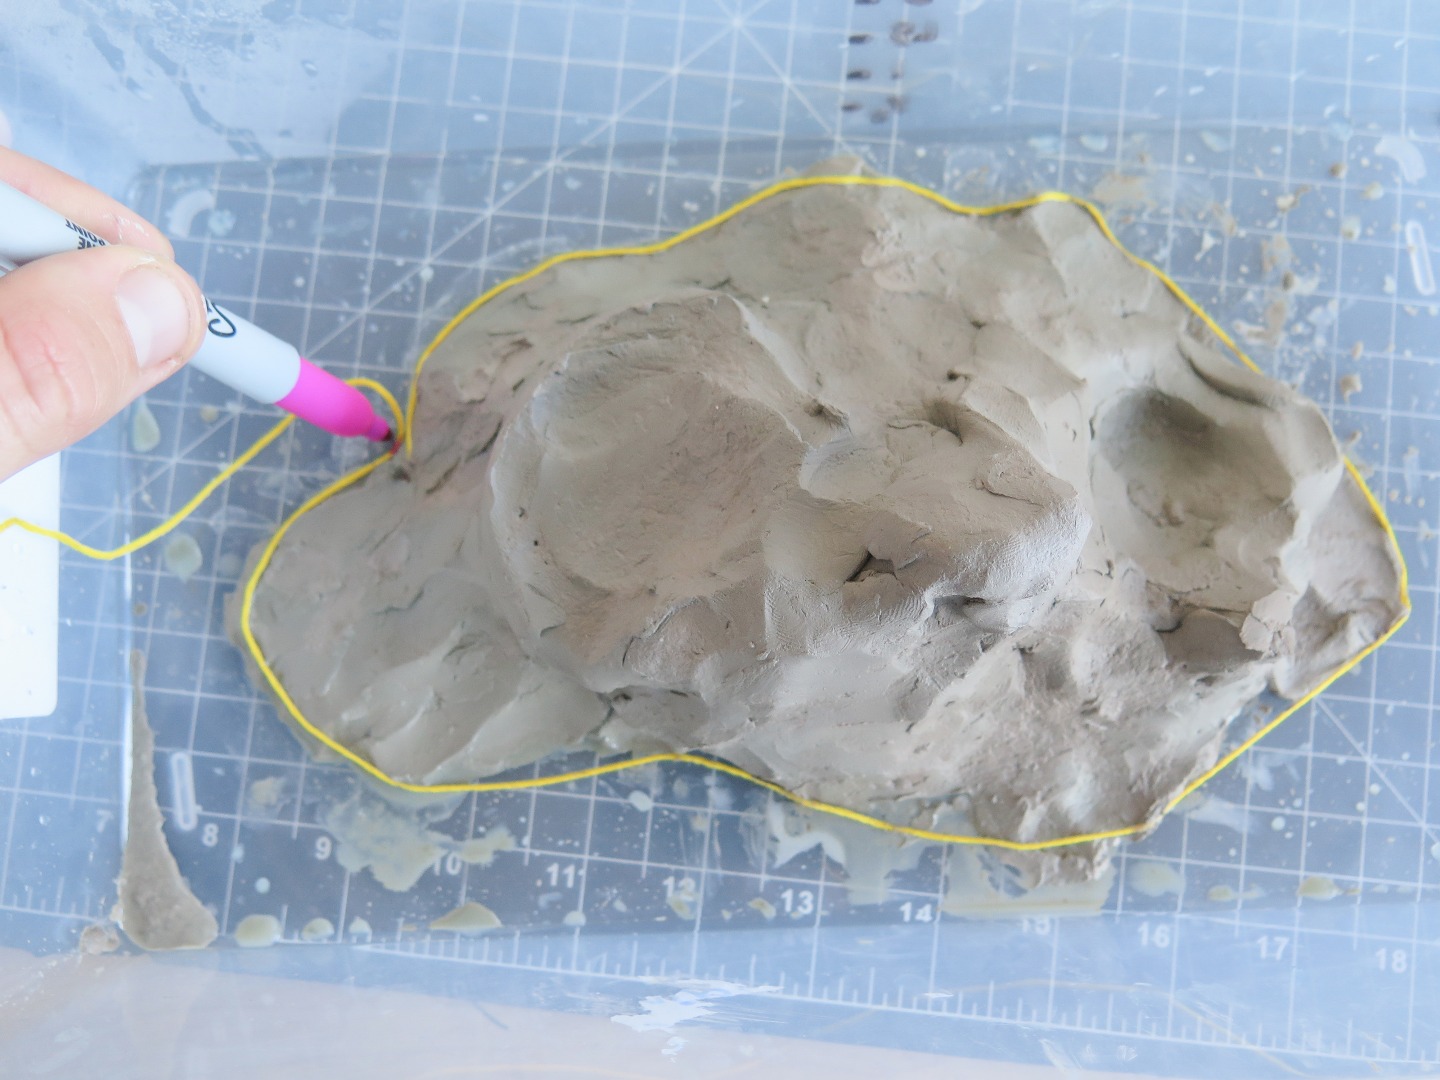
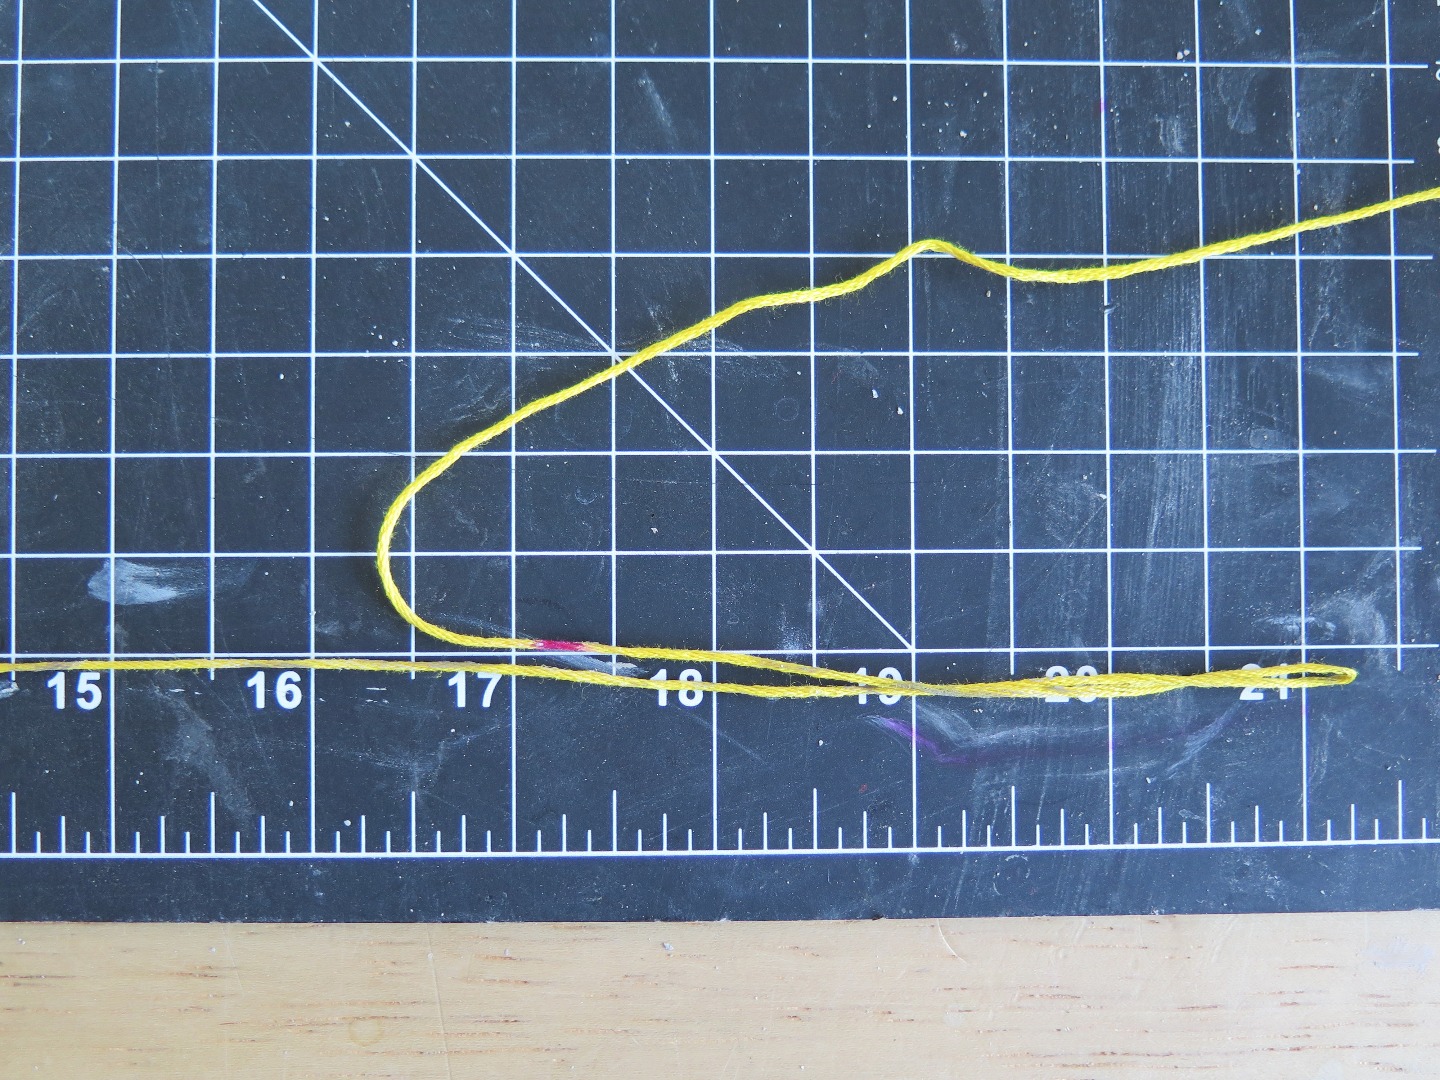
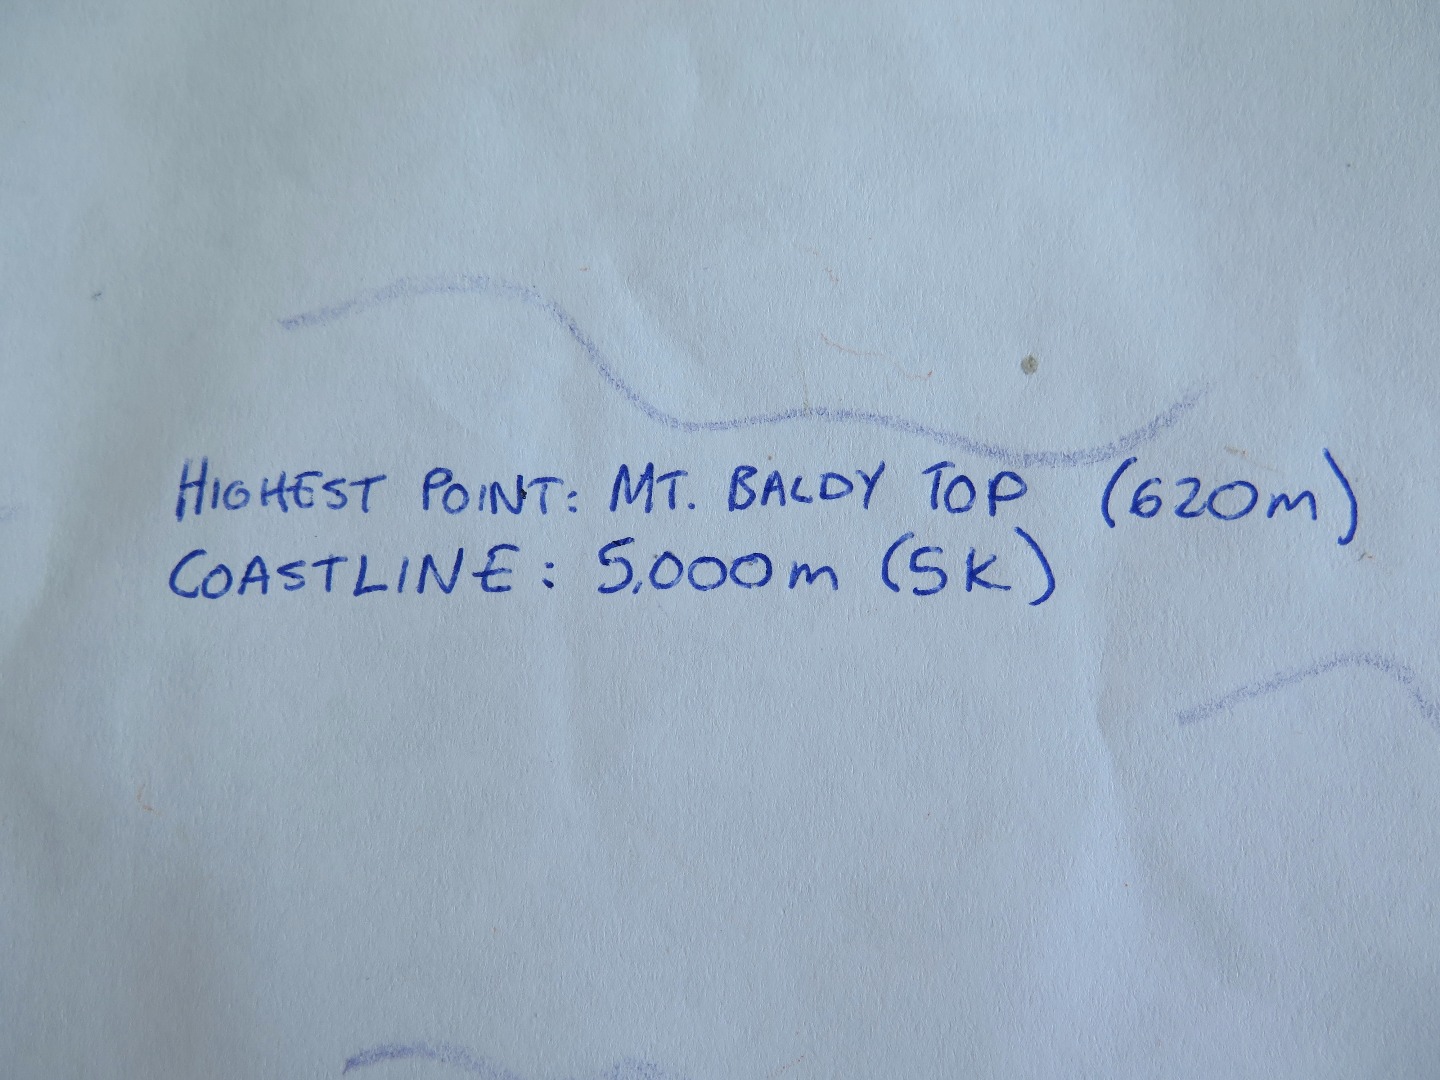
When geologists and surveyors are looking at new land, they often look at the extremes. Going all the way to the top, you can measure your highest peak by looking at the water level right before your island is submerged or simply measuring from the bottom of the tub.
Measure the coastline in a similar way to your roads by wrapping a piece of string around the island, and measuring it against a ruler or tape measurer. You can prompt students to think about, "What shapes of islands would have the most coastline?" "What about the least?"
Estimate Total Area
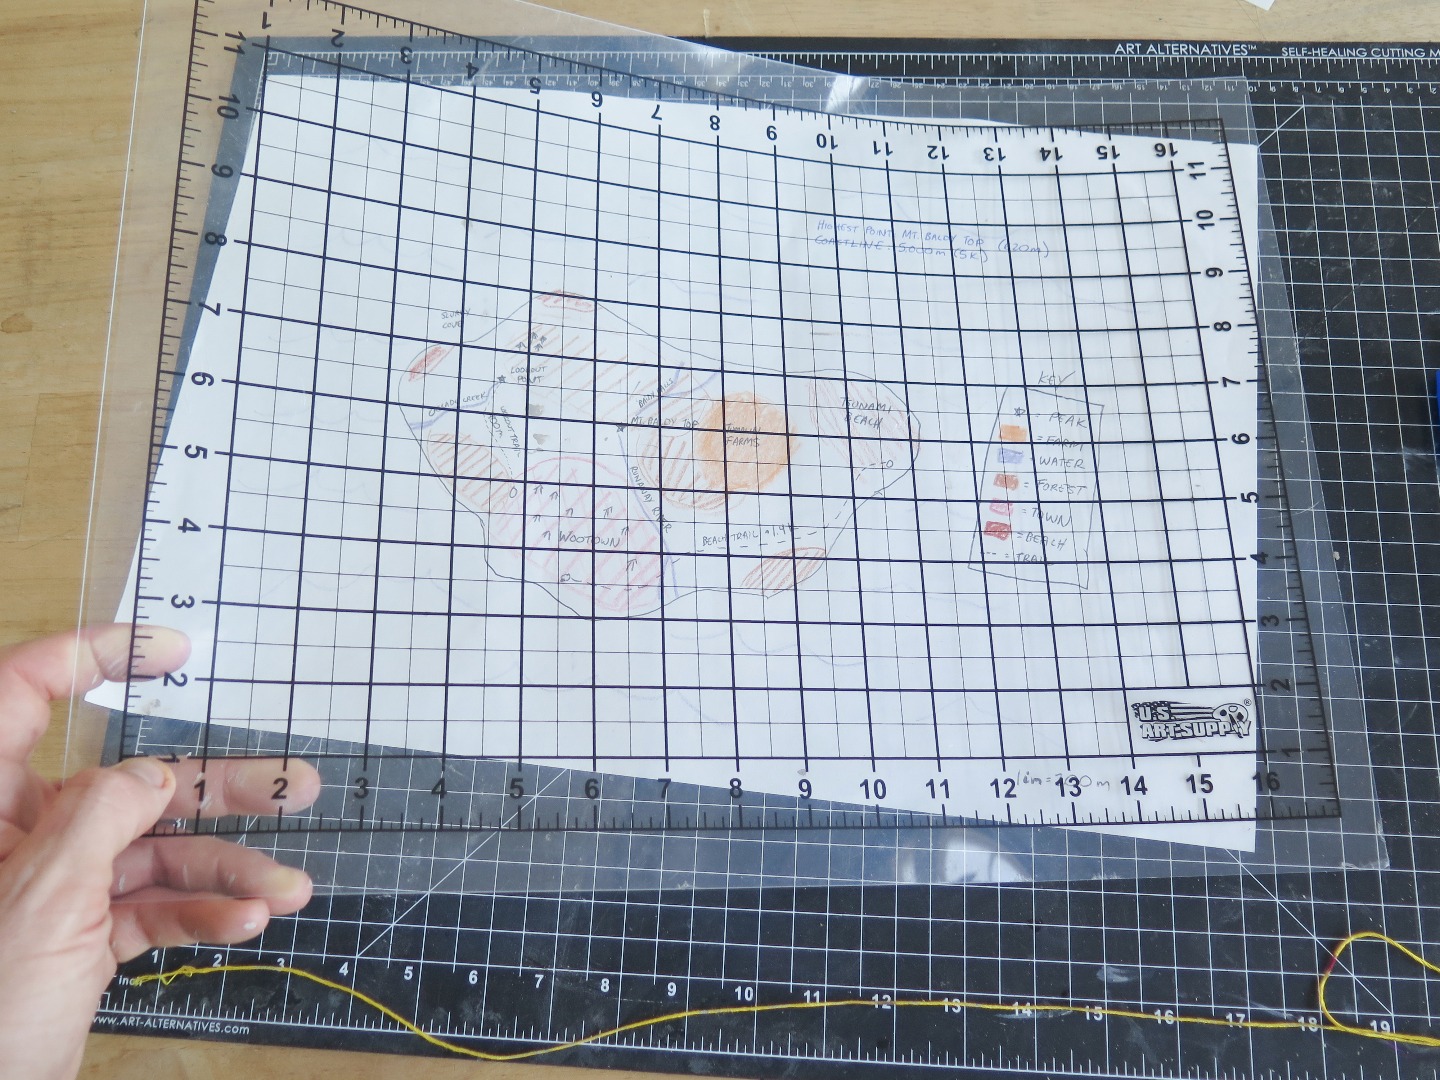
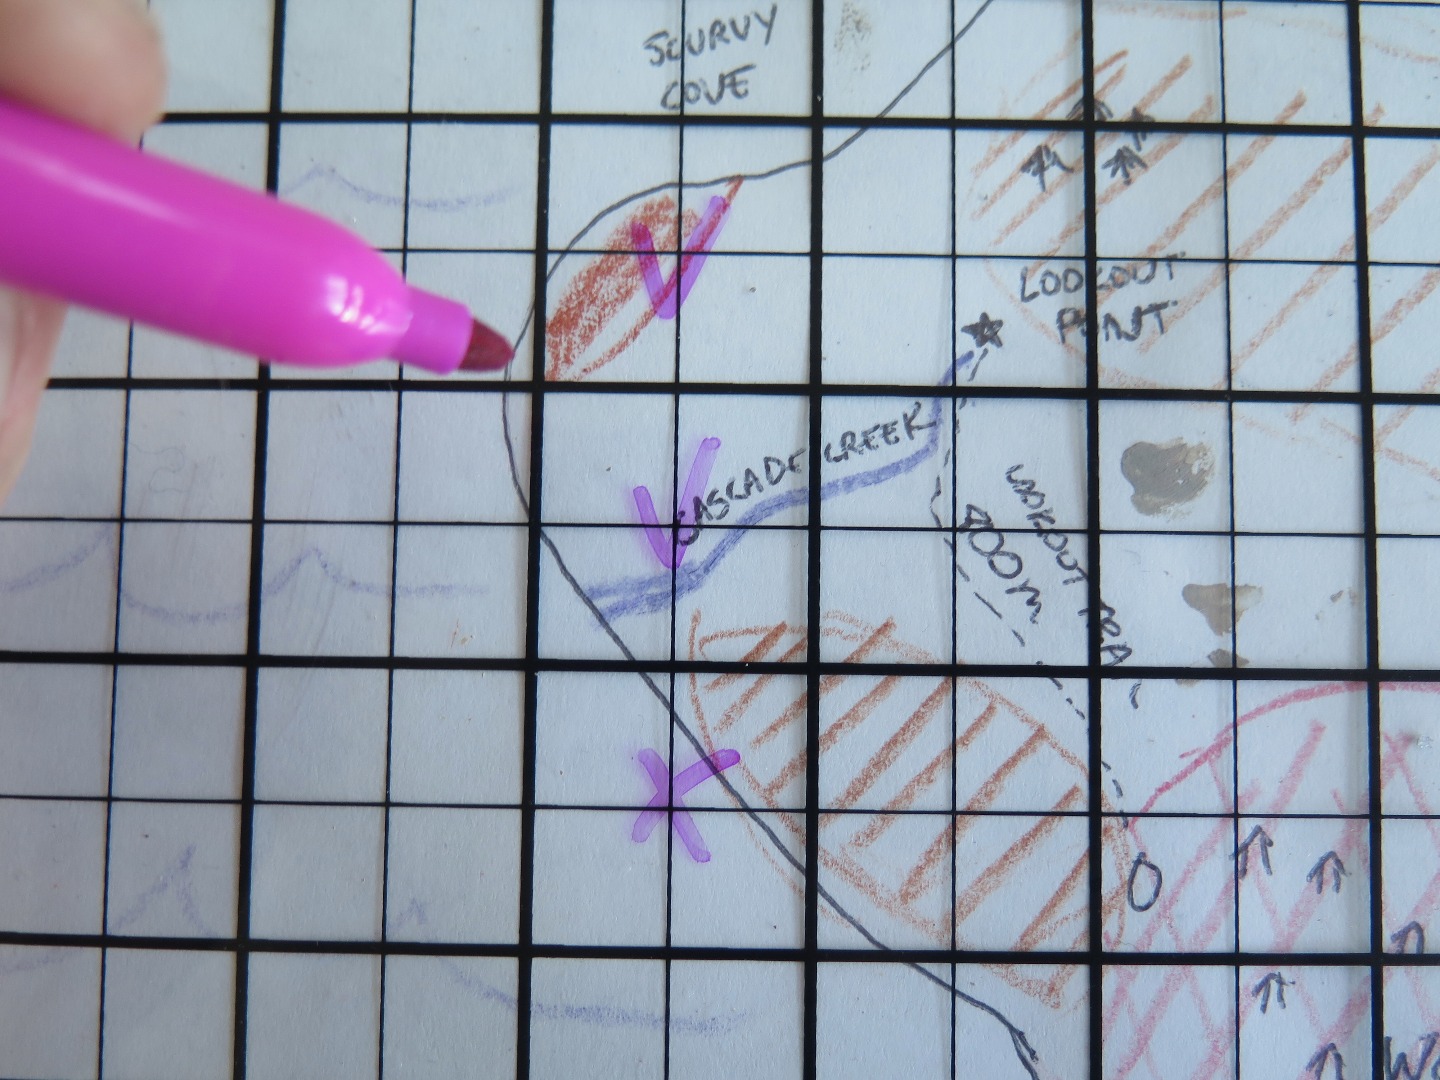
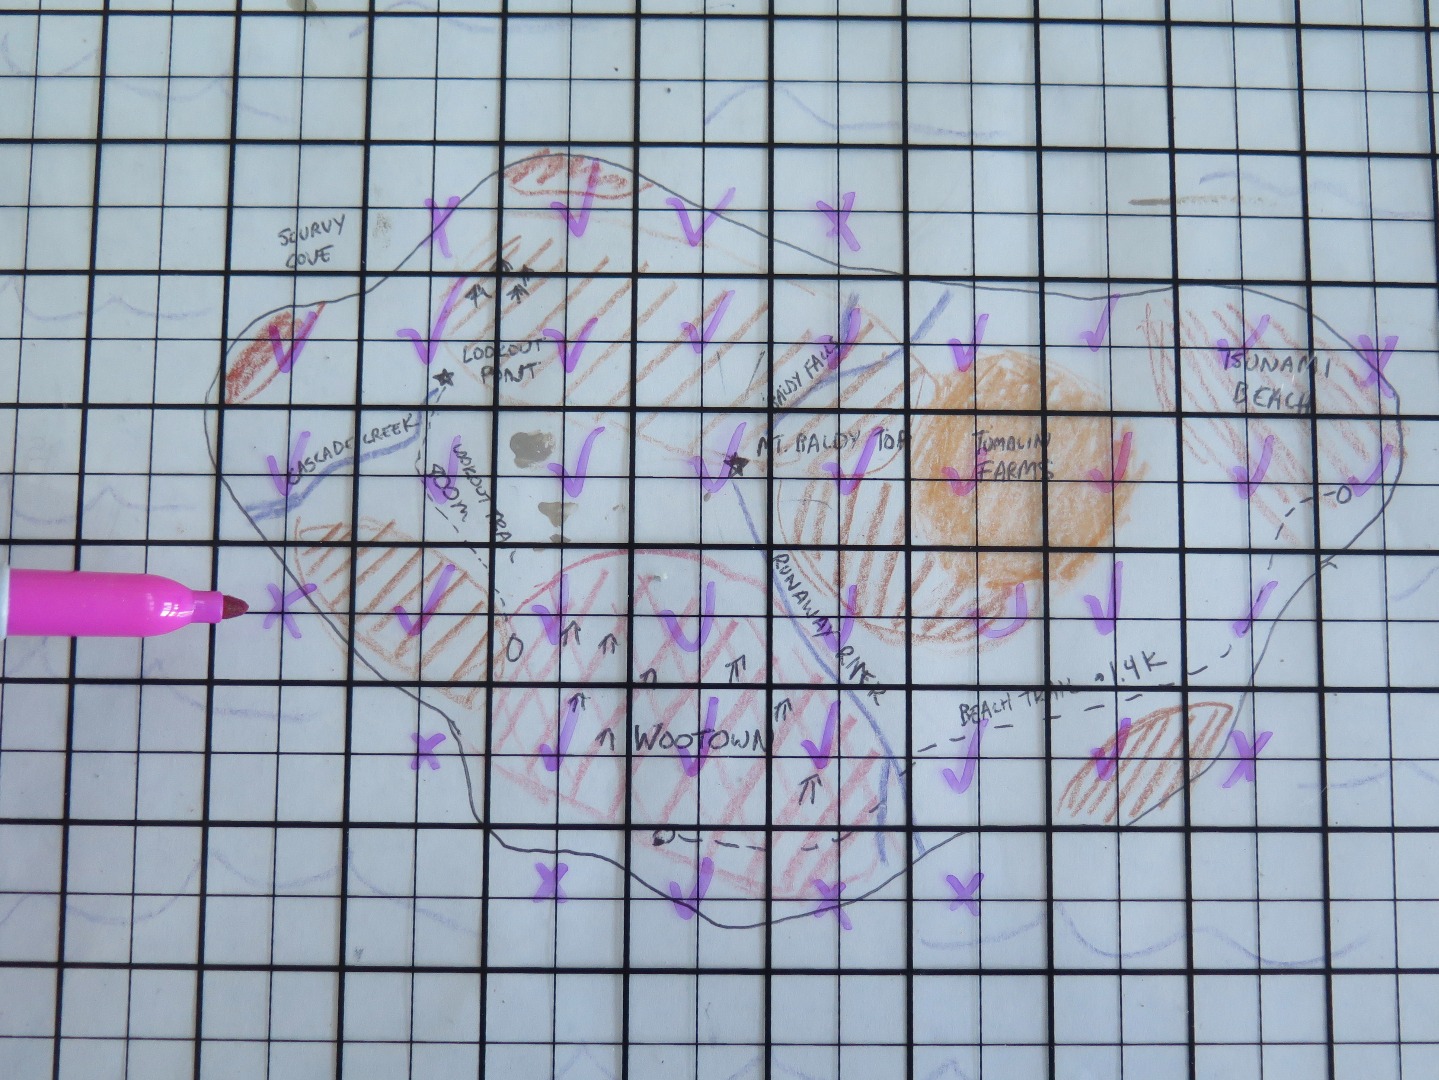
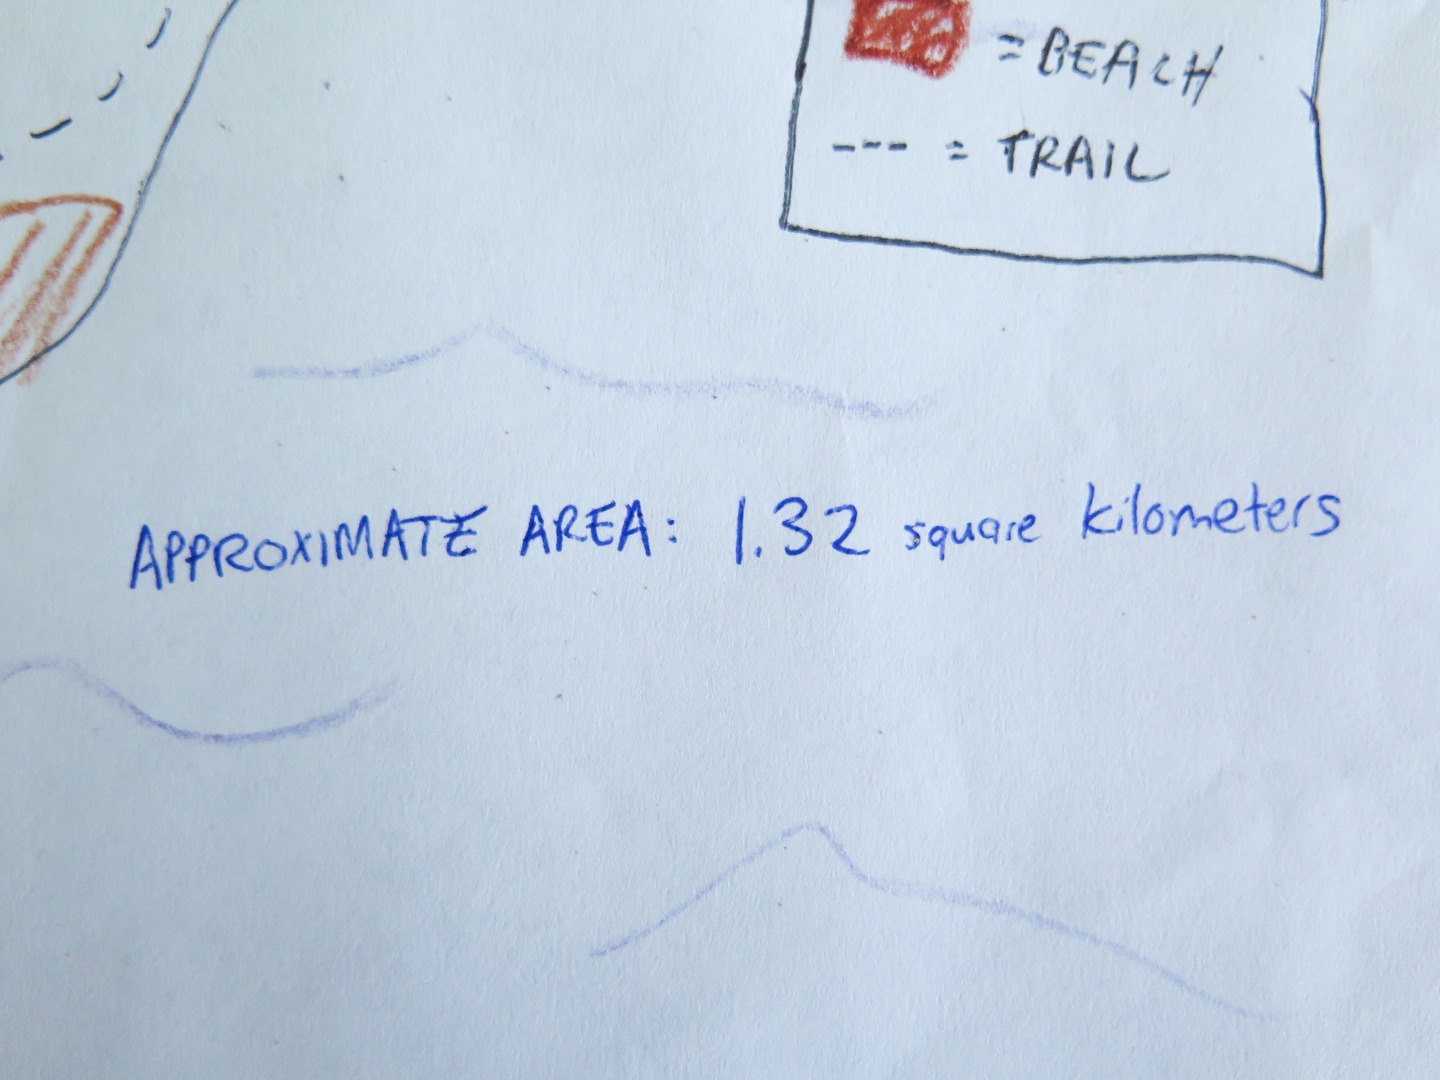
How big is your island?
Use a gridded sheet to help you estimate the area by superimposing it on top. Check boxes that are more than half-filled by your island, and put X's in ones that aren't. At the end, count the total number of checked boxes, and using your conversion ratio, calculate the total area.
Keep Going!
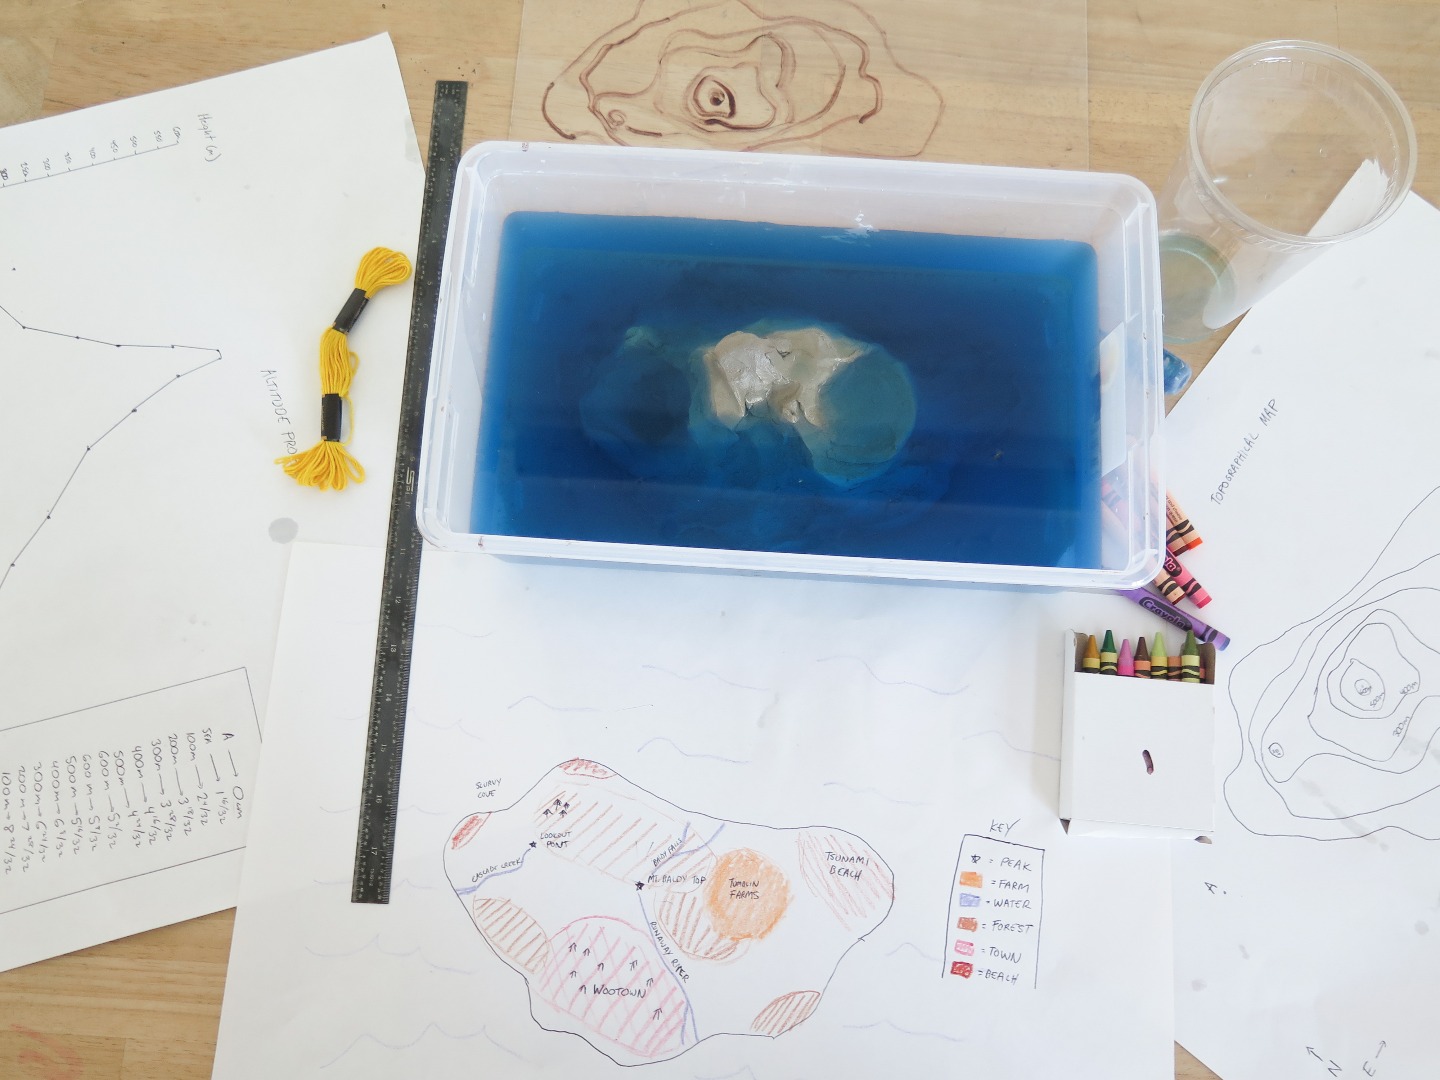
Oh there's no limits to what to be done with an island.
Some of which include:
- Talk about sea level rise and which areas would be affected
- Use a lightbulb to see how sunlight would travel on your island
- Draw a landscape of what it might look like
Have fun, keep exploring, and I'm excited to see what you come up with. Happy islanding!