Dre BeatsX - Battery Replacement
by Stephen_A in Circuits > Reuse
21985 Views, 5 Favorites, 0 Comments
Dre BeatsX - Battery Replacement
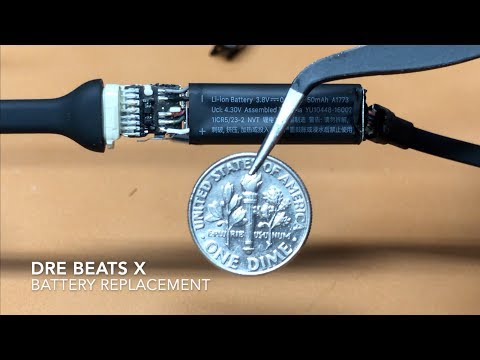
If you're already a soldering super-star or not afraid to try, this video will teach you the steps required to open up your BeatsX and replace the battery!
What was my inspiration? My BeatsX died after not using them for a year. Apple told me repair would be almost as much as a replacement pair of headphones (whatttt?). This is my little way of sticking it to them :)
You can find replacement batteries on eBay, Amazon, and Aliexpress — or you can do like I did; buy a broken pair off eBay for $4.00 and swap batteries!
Supplies
Required Supplies:
- Soldering Iron with Fine Tip (I used a "Weller WES51 Analog Soldering Station")
- Solder (I use 0.32" Diameter 60/40 Rosin Core Solder)
Optional Supplies (But Recommended):
- Fine-Tip Tweezers
- "Helping Hands" / "Third Hand" Hobbyist Project Holder
Open Your BeatsX
Before beginning, it is strongly recommended that you watch the video accompanying this Instructable.
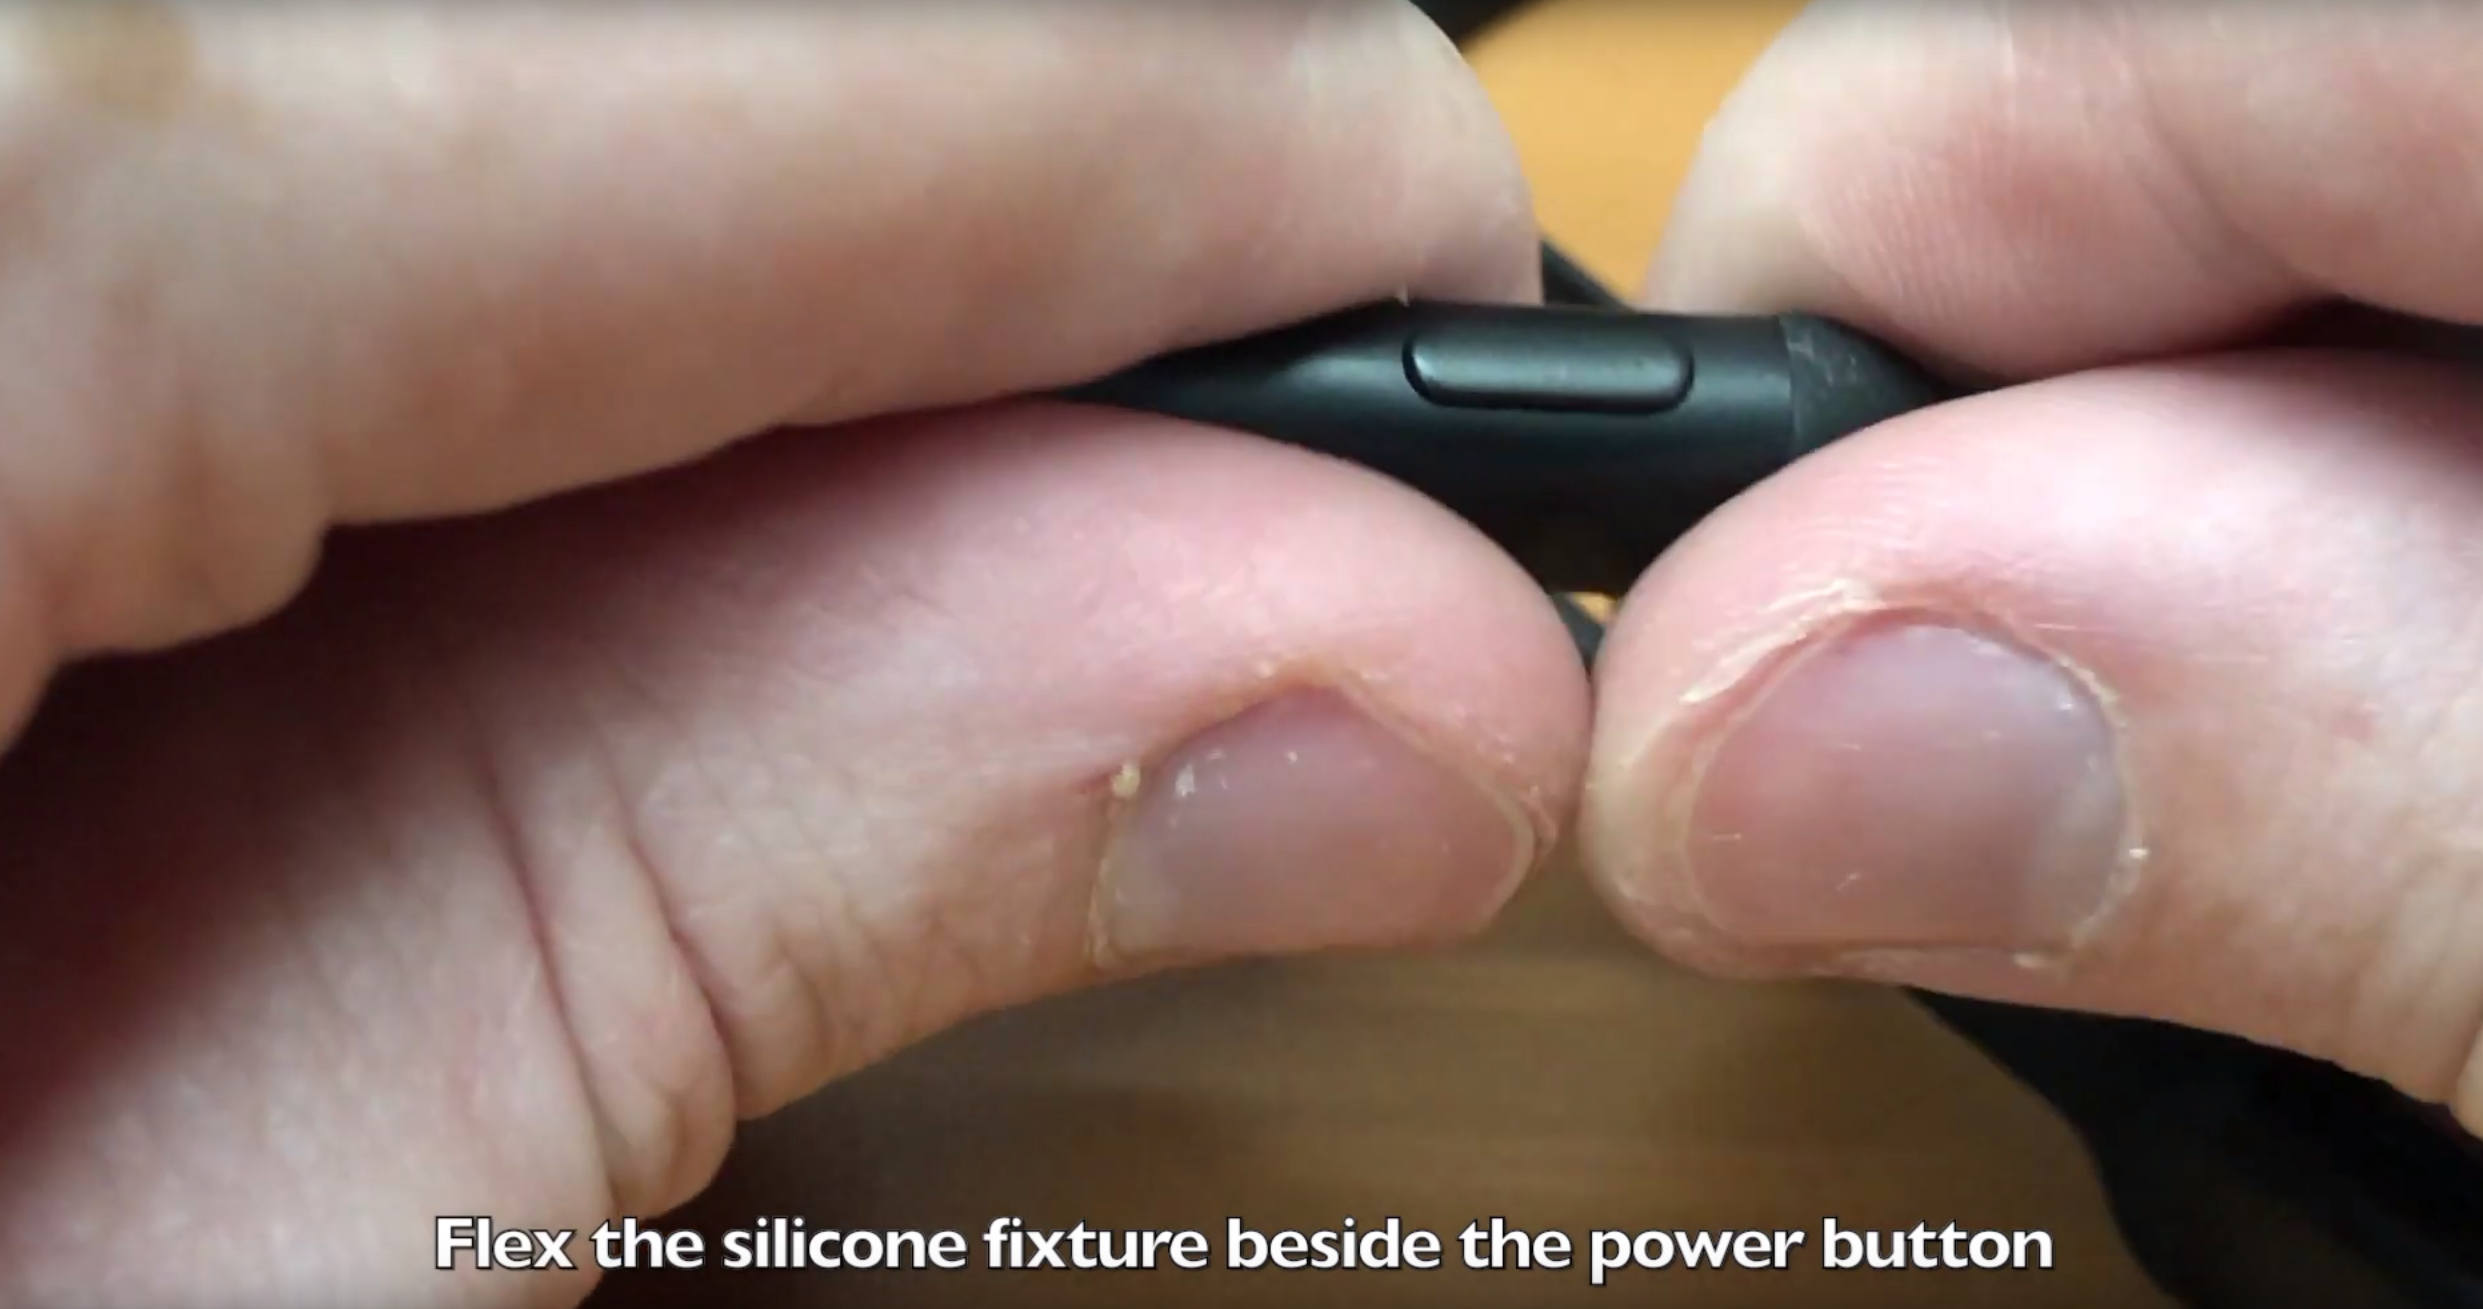
Crack it Open
In order to open the BeatsX you should first identify the "pod" which contains the battery. The BeatsX has two similar looking pods along the flexible cable - the pod on the "right" ear piece has the power switch.
As demonstrated in the video, you must firmly squeeze the "right" pod near the power switch with one hand and the adjacent flexible silicone cable with your other hand. With a firm grip on both sides you can now begin to bend which will release the internal clip. A "pop" noise will indicate that the clip has come free.
After you hear the "pop" you can proceed to wiggle the two pieces. This wiggling which will free the adjacent silicone cable from the pod's shell.
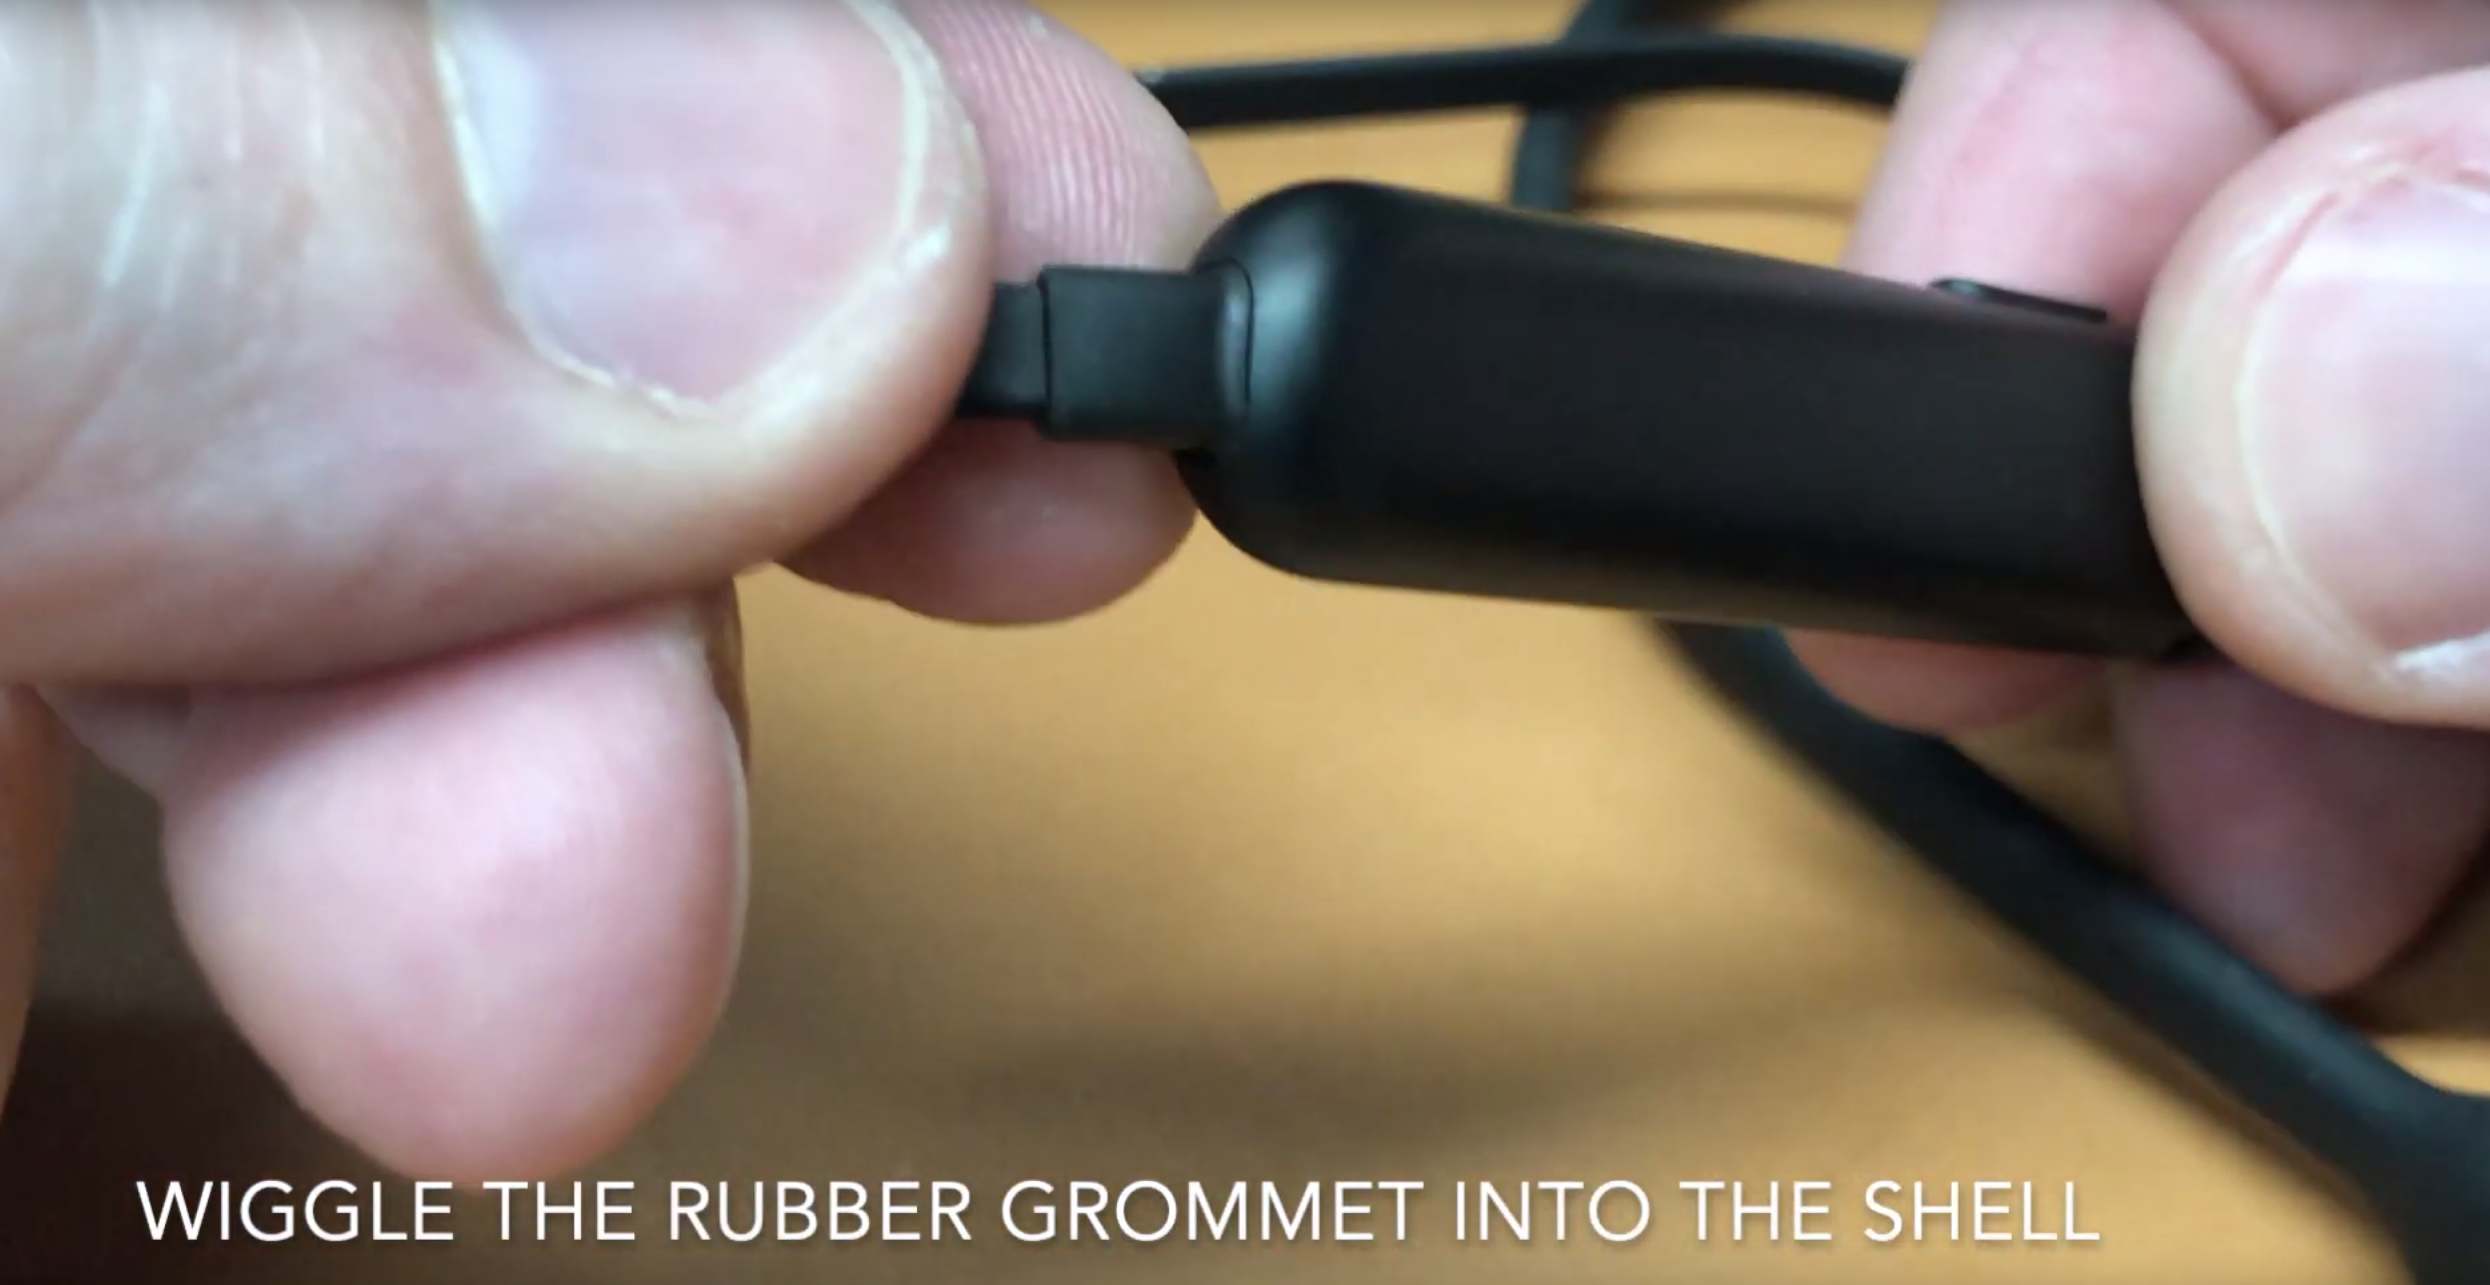
Pull It Apart
Once the clip has been freed from the pod's shell you can proceed to gently and slowly pull the shell from the adjacent flexible silicone cable. It is important to proceed slowly, as there is only ~2.75mm of "excess" cabling available inside of the shell.
In order to open the shell entirely you must now force the rubber grommet on the opposite end of the pod into the shell, as indicated in both the video and attached image.
Test Your Replacement Battery
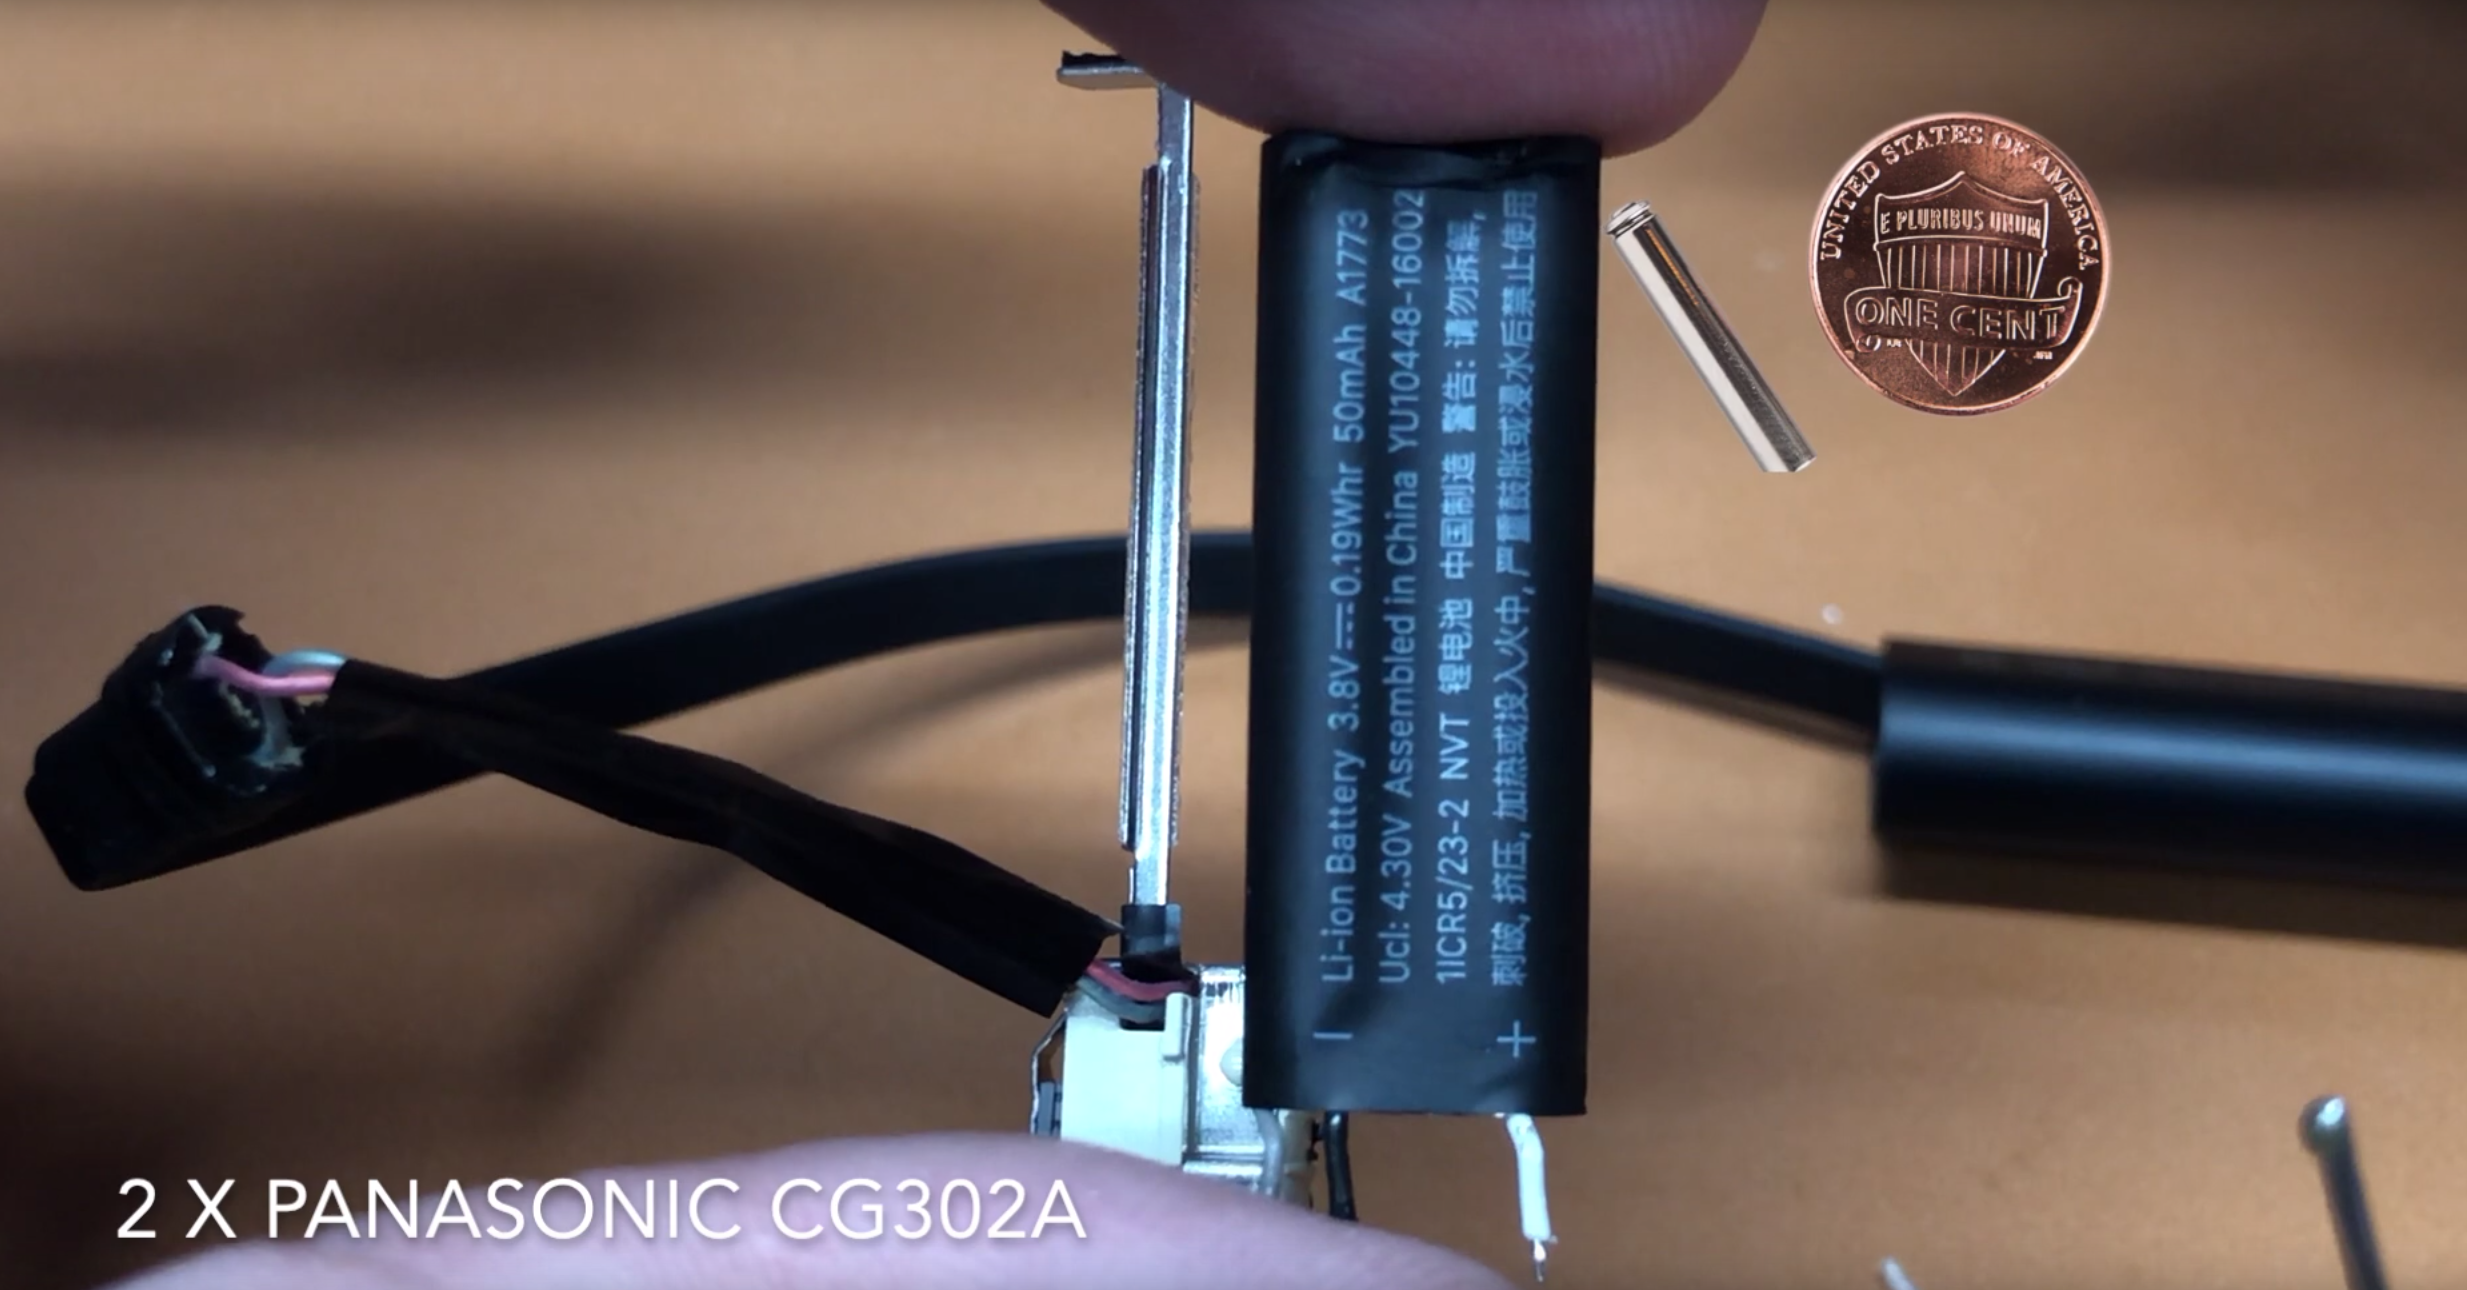
Whether you have elected to purchase a new replacement battery or a "donor" headset, I recommend checking your battery. This step is optional but may save you from performing the entire process with a faulty battery. A fully charged battery will indicate between 3.4 and 3.8 volts.
While entirely anecdotal, it is worth noting that I have found donor batteries with any measurable charge (e.g., ~0.5 volts) are suitable for immediate use and hold a charge.
Remove the Silicone Sealant
The battery contact points on the BeatsX board are coated with what appears to be either a hot glue or rigid silicone sealant. In my experience this sealant peals off with minimal resistance.
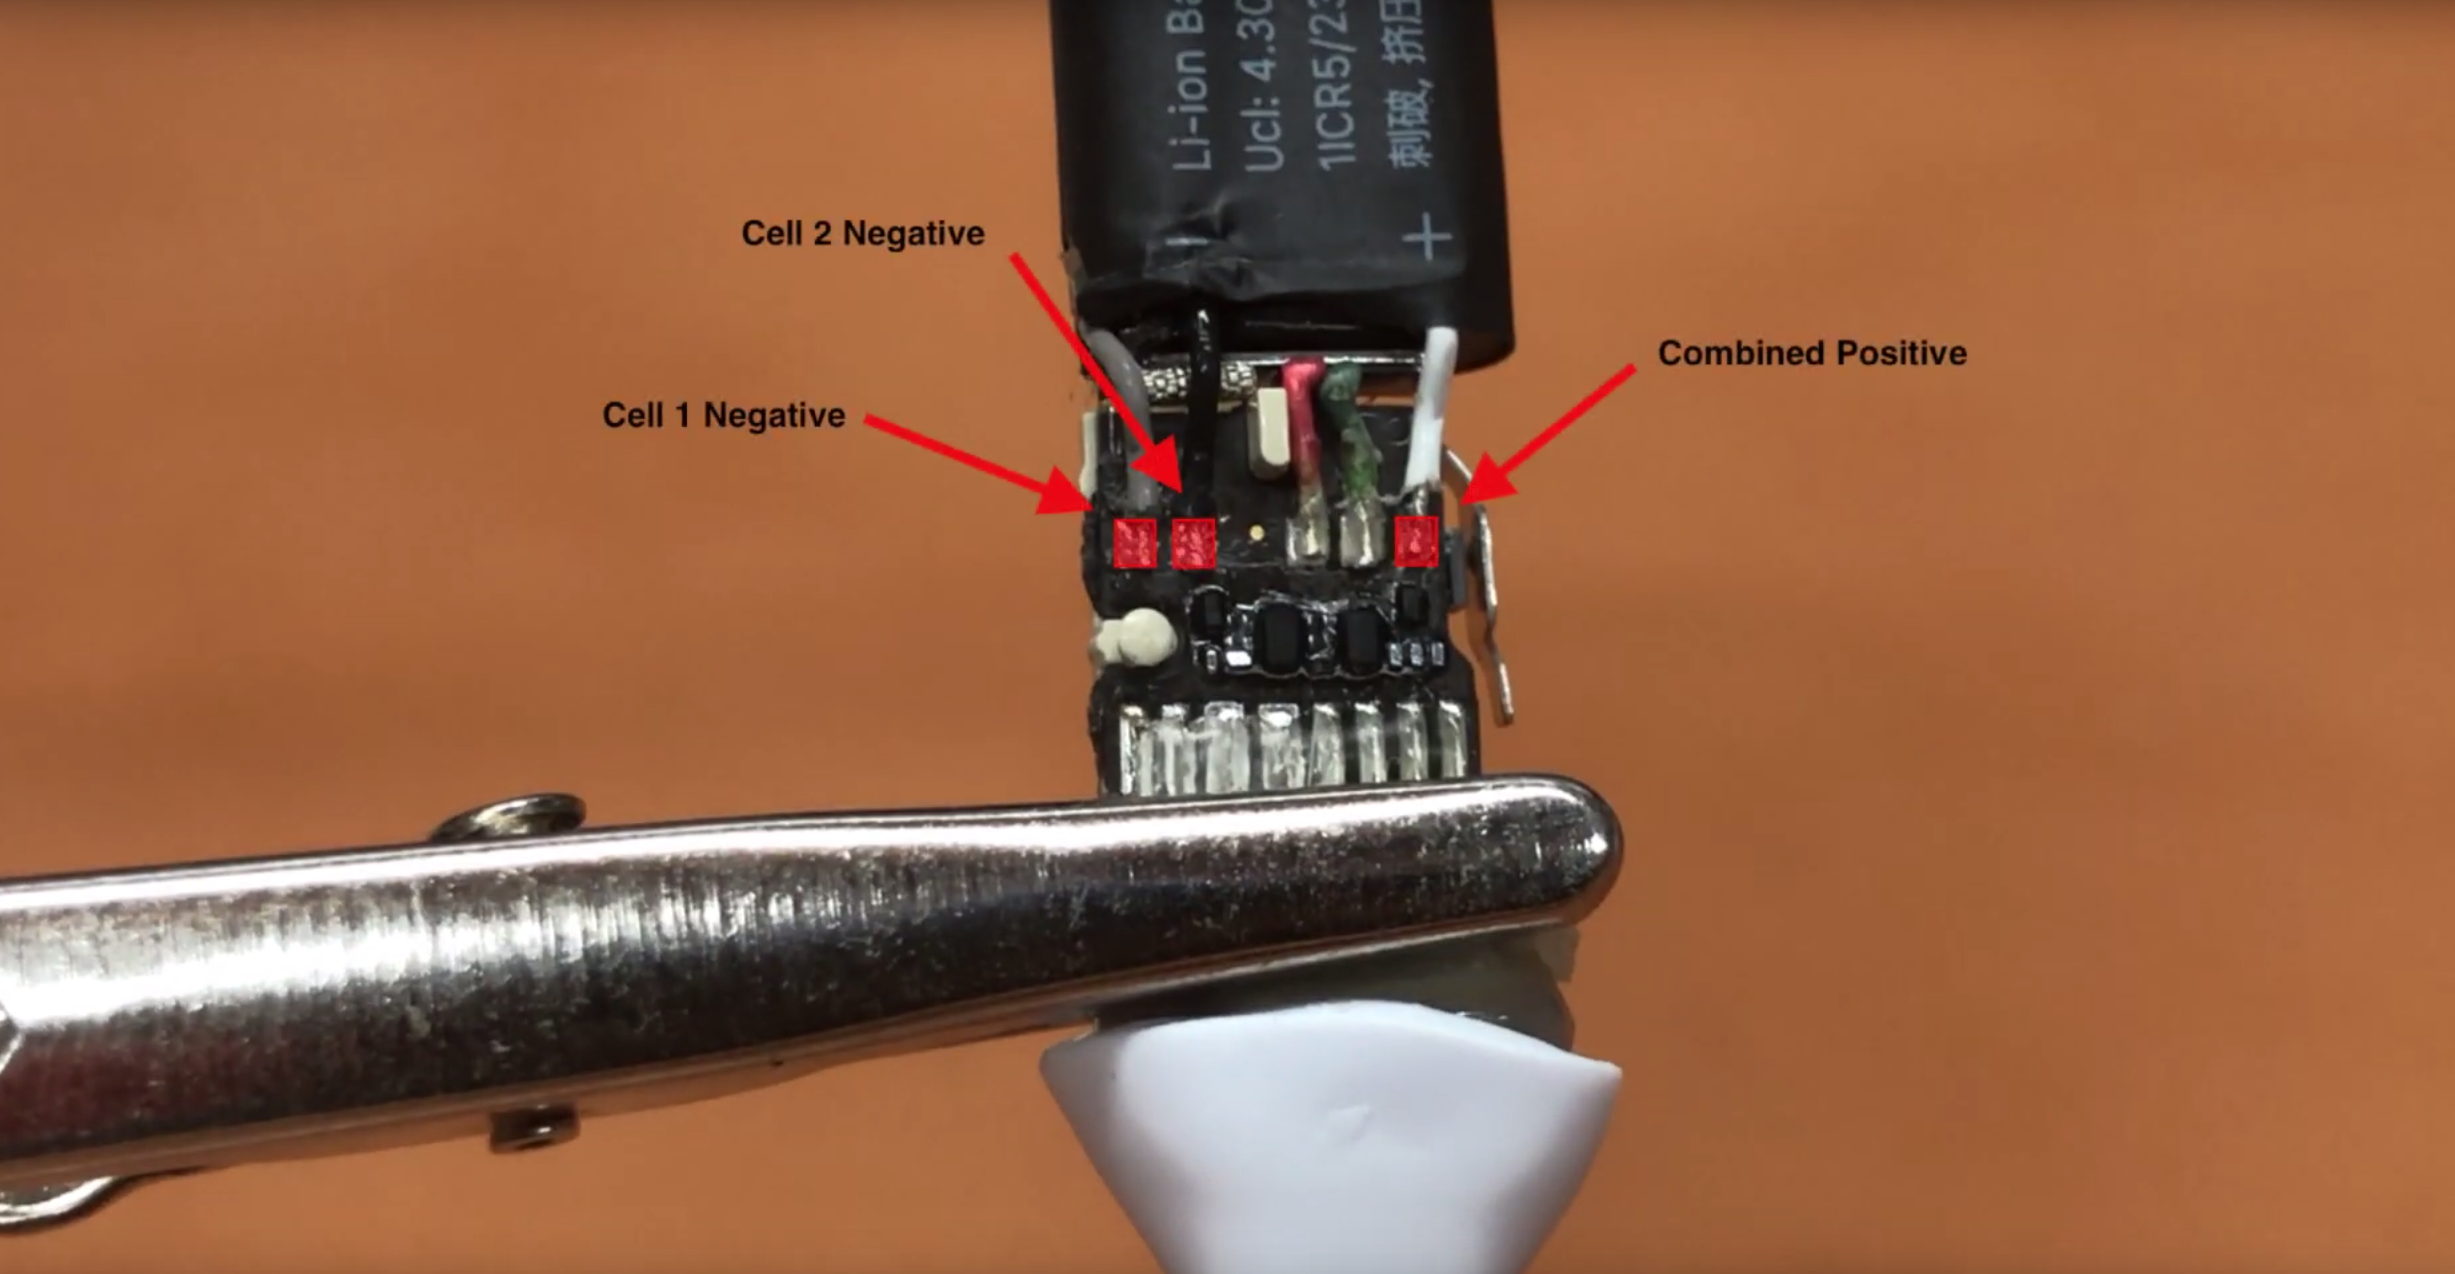
Test The Battery
Contact both the gray and white wires on the battery, this will measure Cell 1. Because the contacts are so small, you may need to repeat this process several times to get a reliable reading. This process can be repeated for the black and white wires on the battery to test Cell 2.
Remove Your Faulty Battery
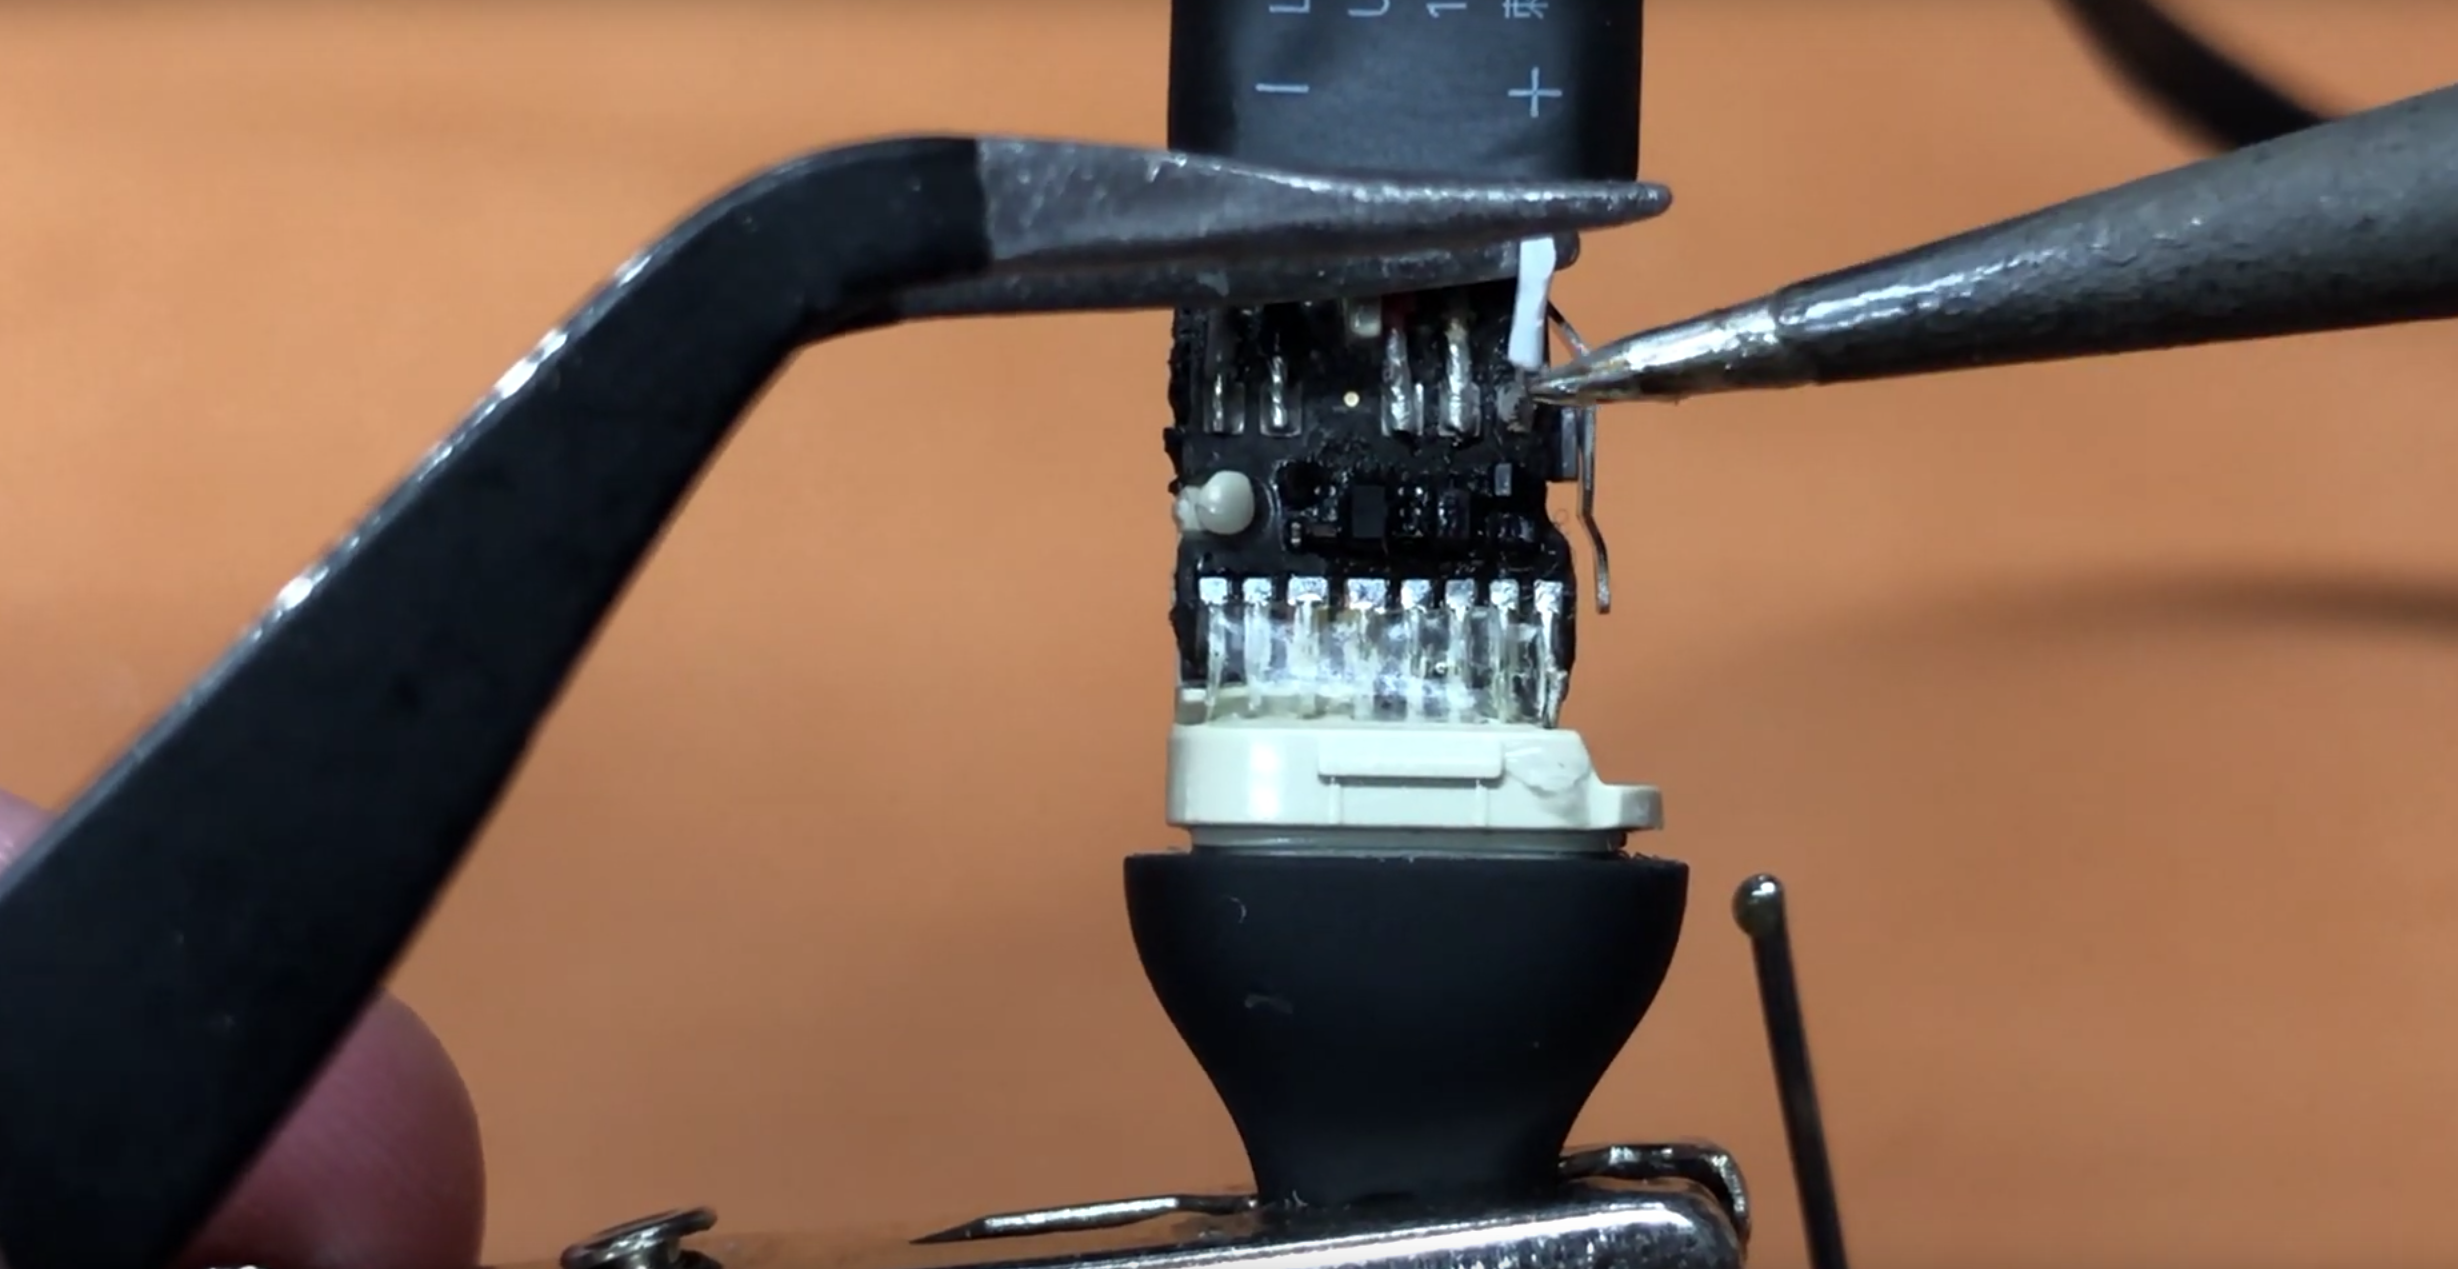
This step is the most challenging and will require the soldering iron with a fine tip. The fine-tipped tweezers and "Third Hand" is also recommended and encouraged as they make this process significantly more bearable.
Desolder The Old Battery
The gray, black, and white wires can now be desoldered from the pads on the BeatsX board. I used a temperature of 700° Fahrenheit (371° Celsius) on my adjustable soldering station but this is significantly hotter than necessary. The additional heat reduces the amount of time I must contact the BeatsX board (when successful!).
Shaky Hands?
If you have shaky hands this process is most successful when you can rest your hands on a supporting surface. The support reduces the shake to only that which is in your fingers — if you watch the video you will see my hands have a bit of shake so don't be discouraged from trying!
Repeat in Reverse
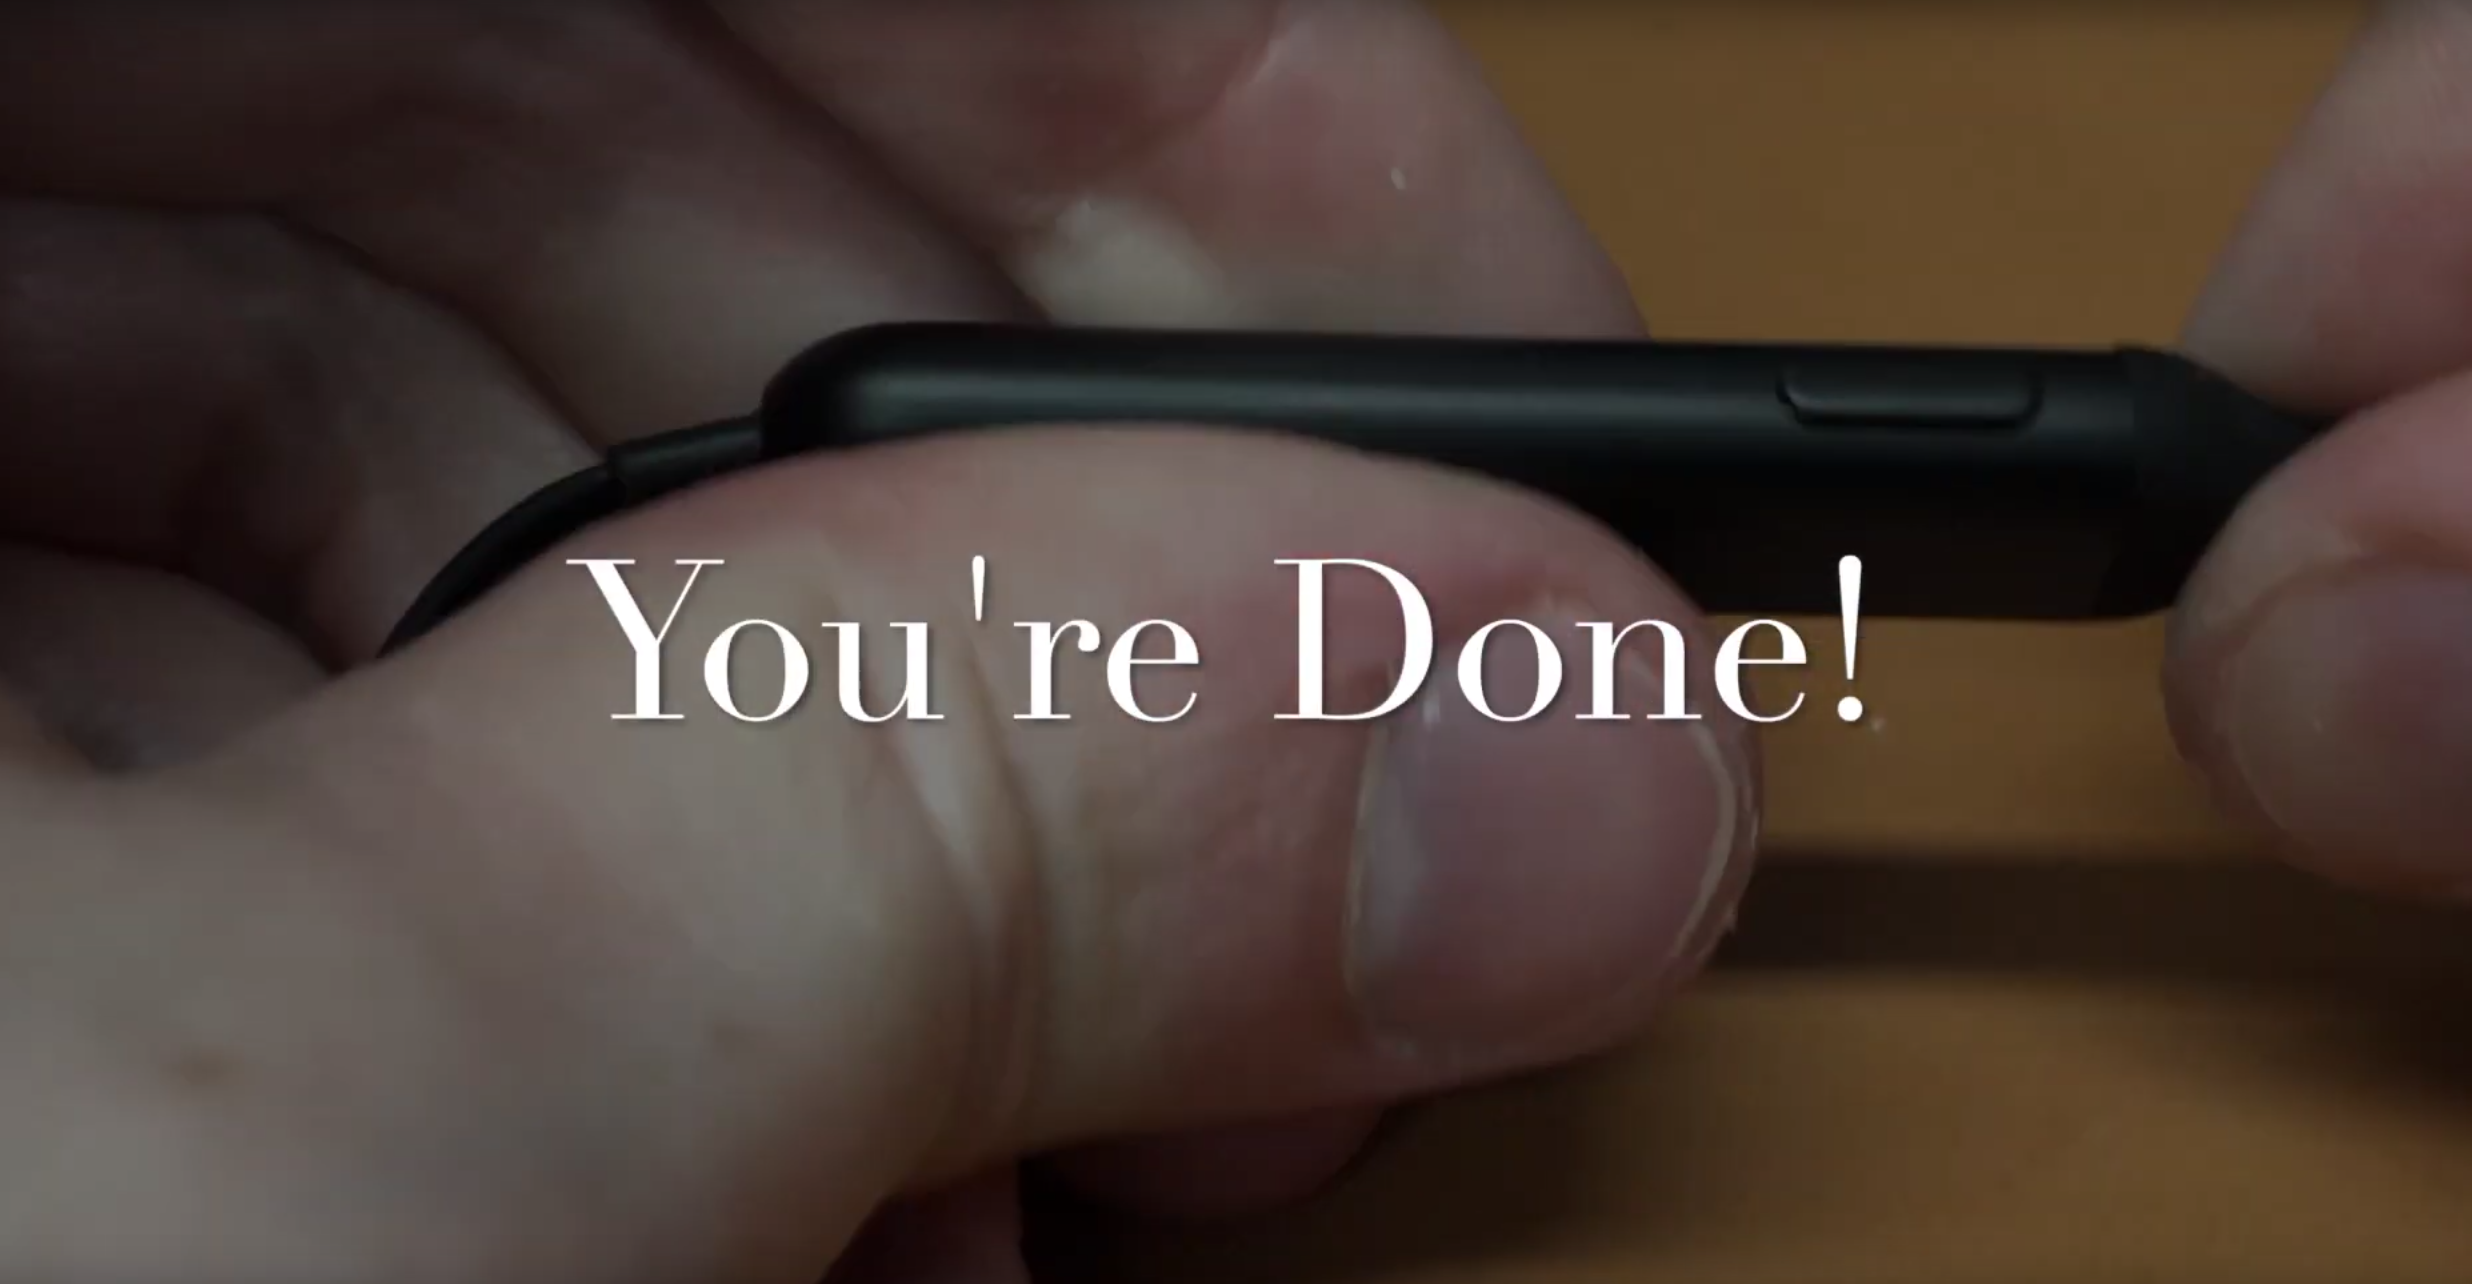
With the old battery desoldered and removed you can now repeat this process is reverse, this includes:
- Re-seat the new battery.
- Re-attach the tape holding the audio wires to the back of the battery.
- Permanently solder the new battery in place.
- Re-attach the button cover.
- Re-seat the button over the button cover.
- Slide the shell back over the battery and power button.
- Re-seat the rubber grommet securely in the shell of the pod.
- Charge your headphones.
- Test connectivity.
Feedback Appreciated!
I hope you found this Instructable clear and easy to understand with the accompanying video. Please leave your feedback and comments to let me know how it went and if you found this information helpful!