Drawing the Moon Using Procreate App
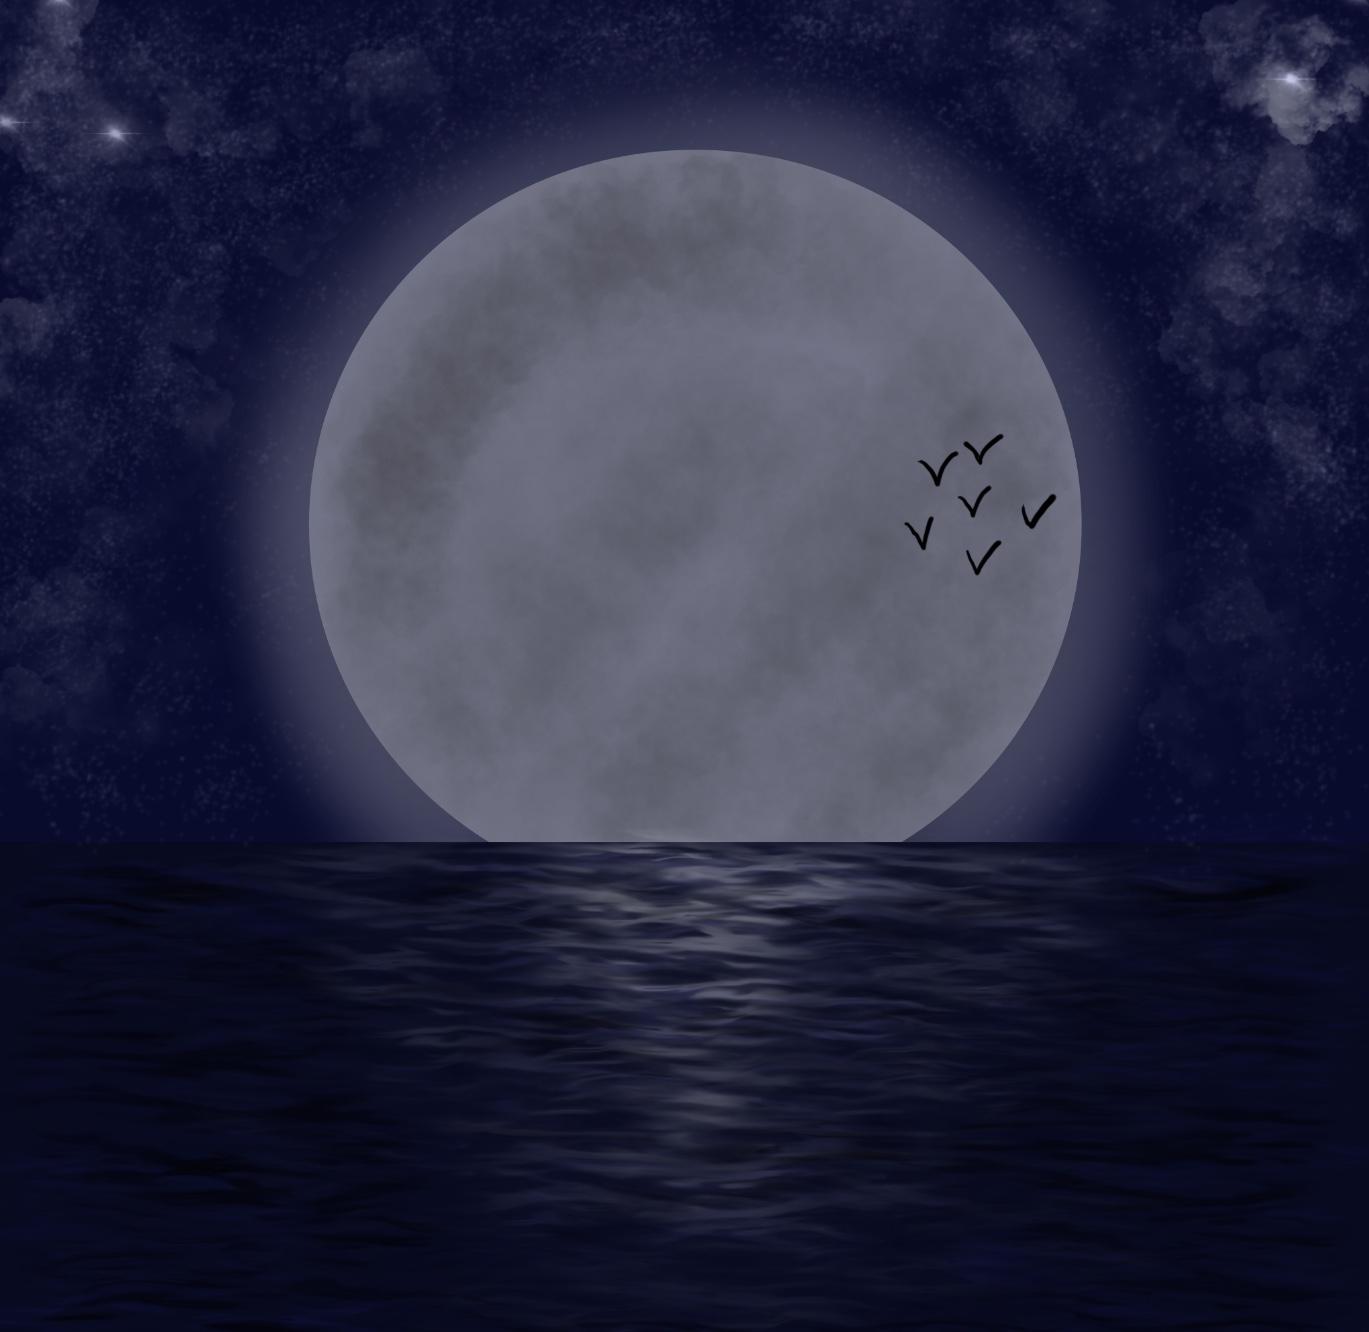
In this Instructable, I will give a step-by-step demonstration of how I draw the moon on my iPad using the Procreate app.
Supplies
Apple pencil.
Backdrop
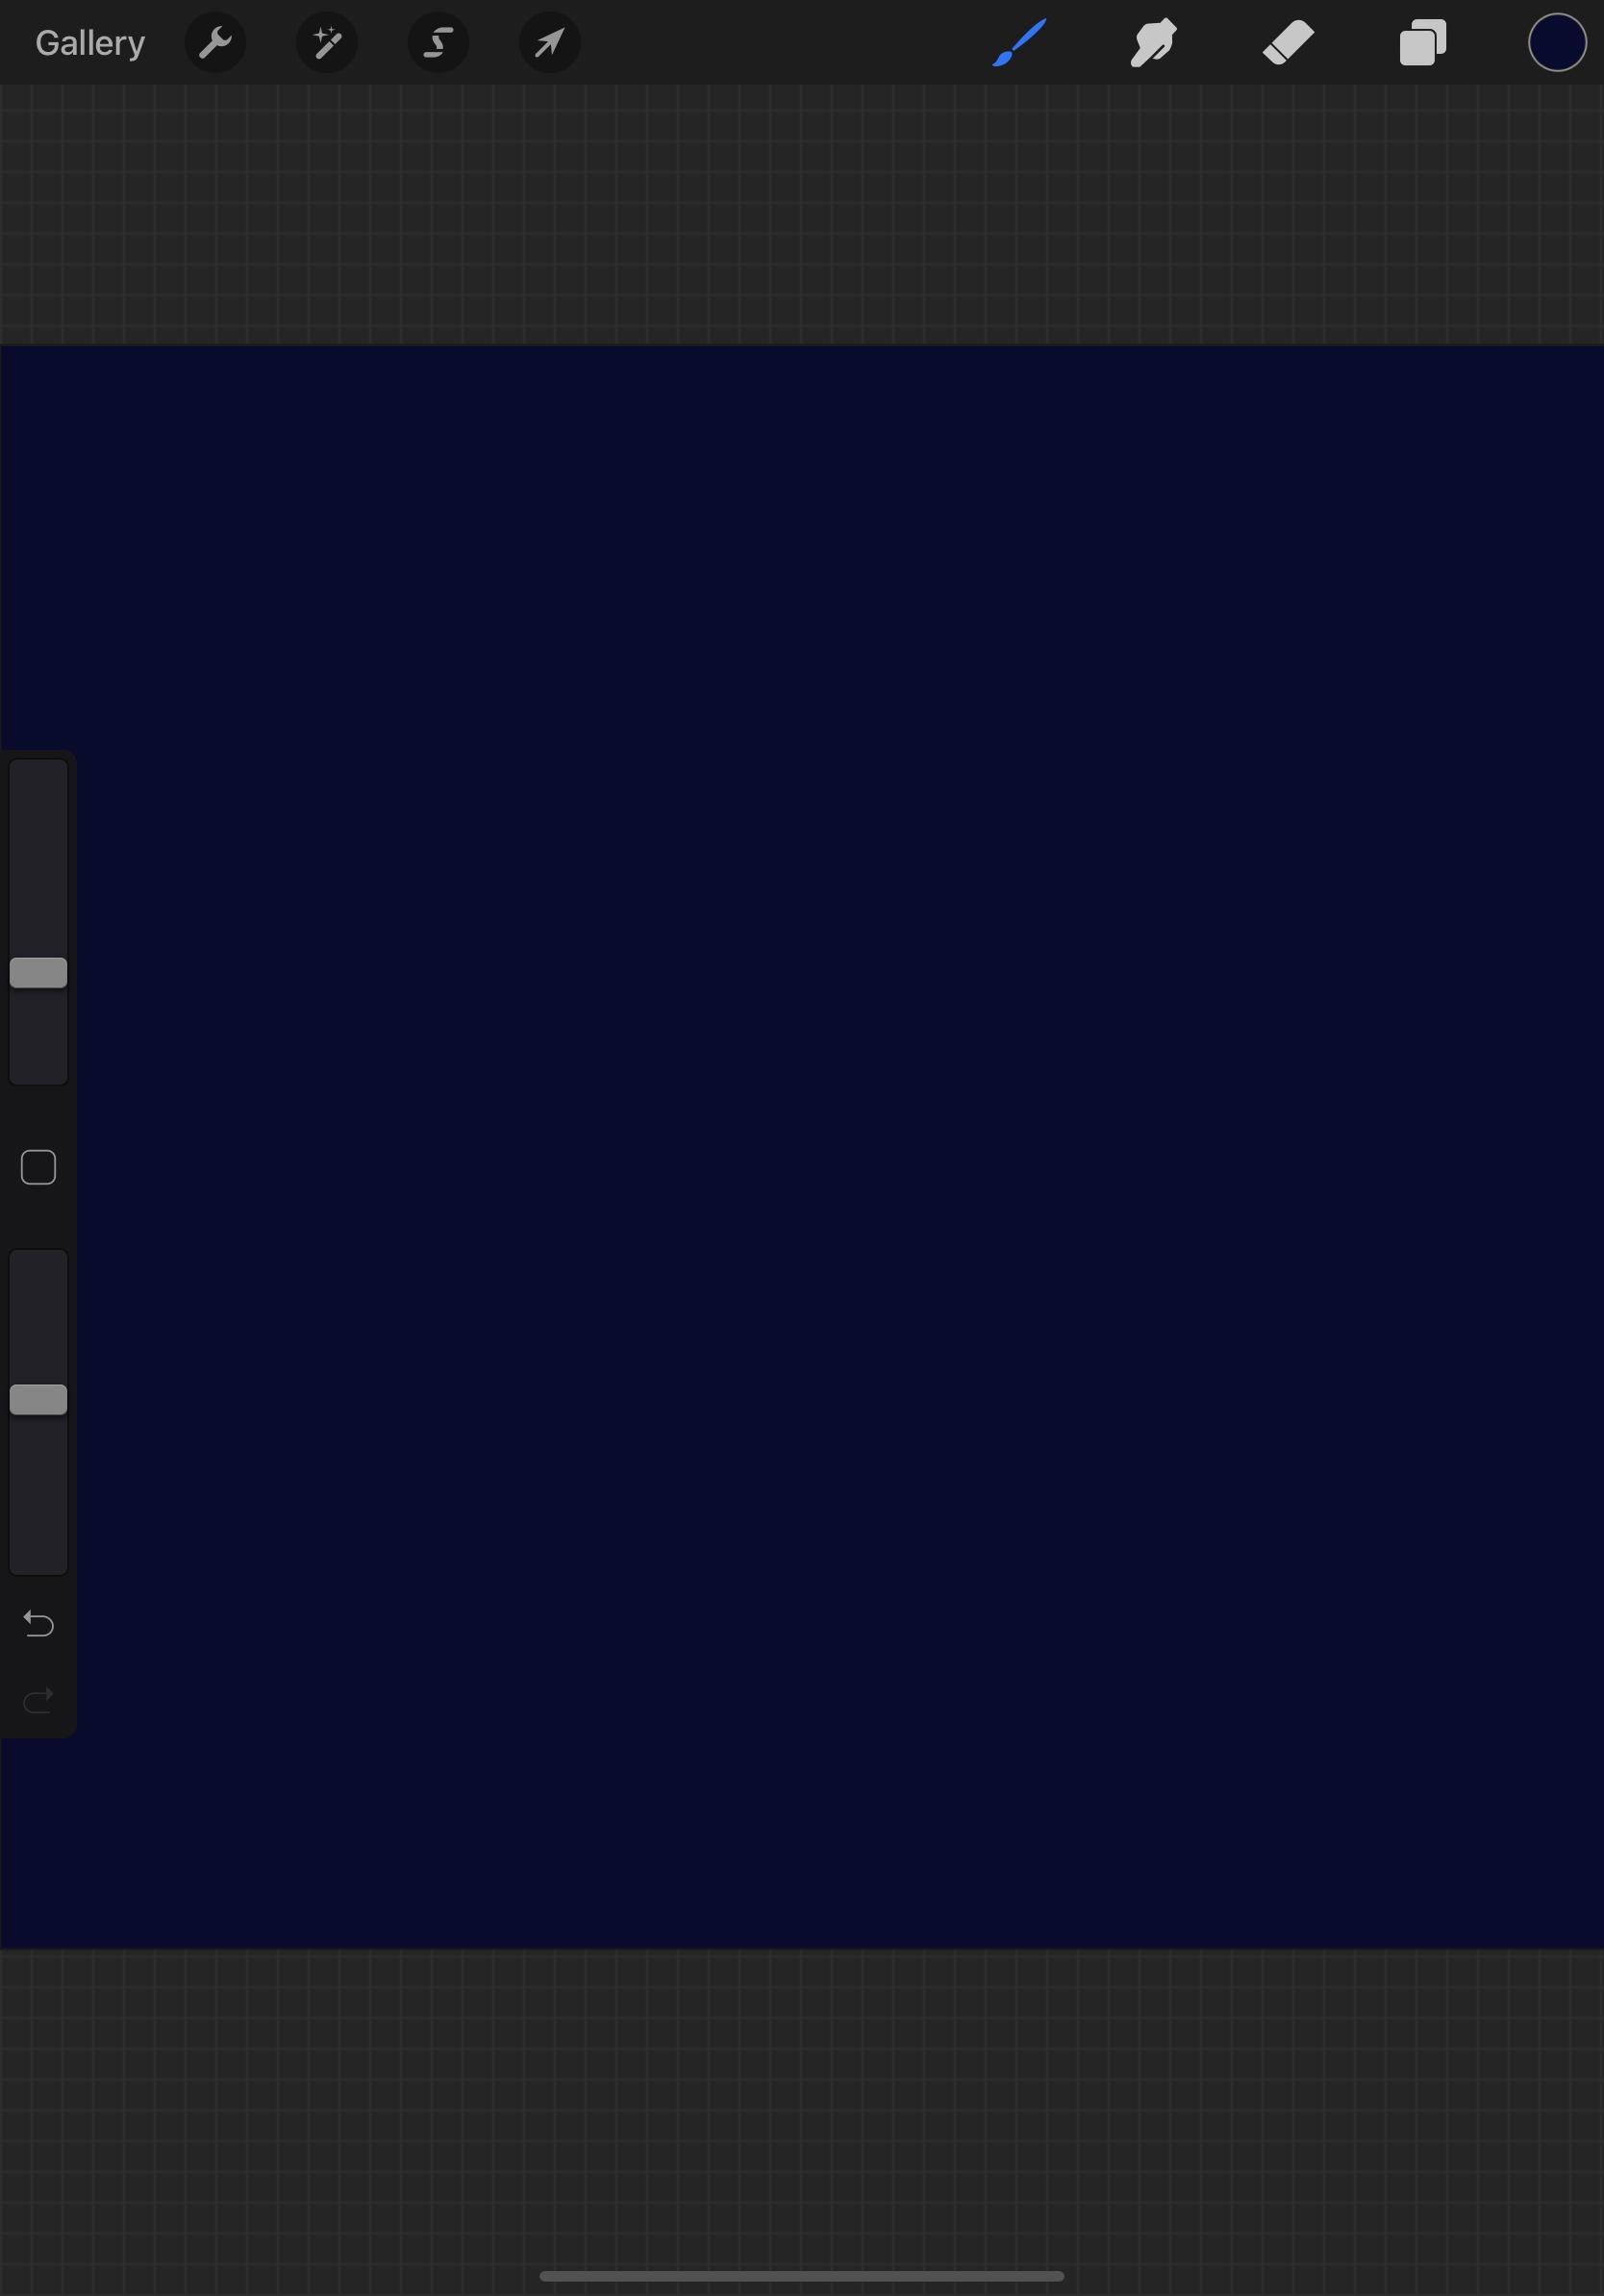
First, you will need to pick a the square "paper" size. After that, you will need to choose a dark blue background color.
Layer 3
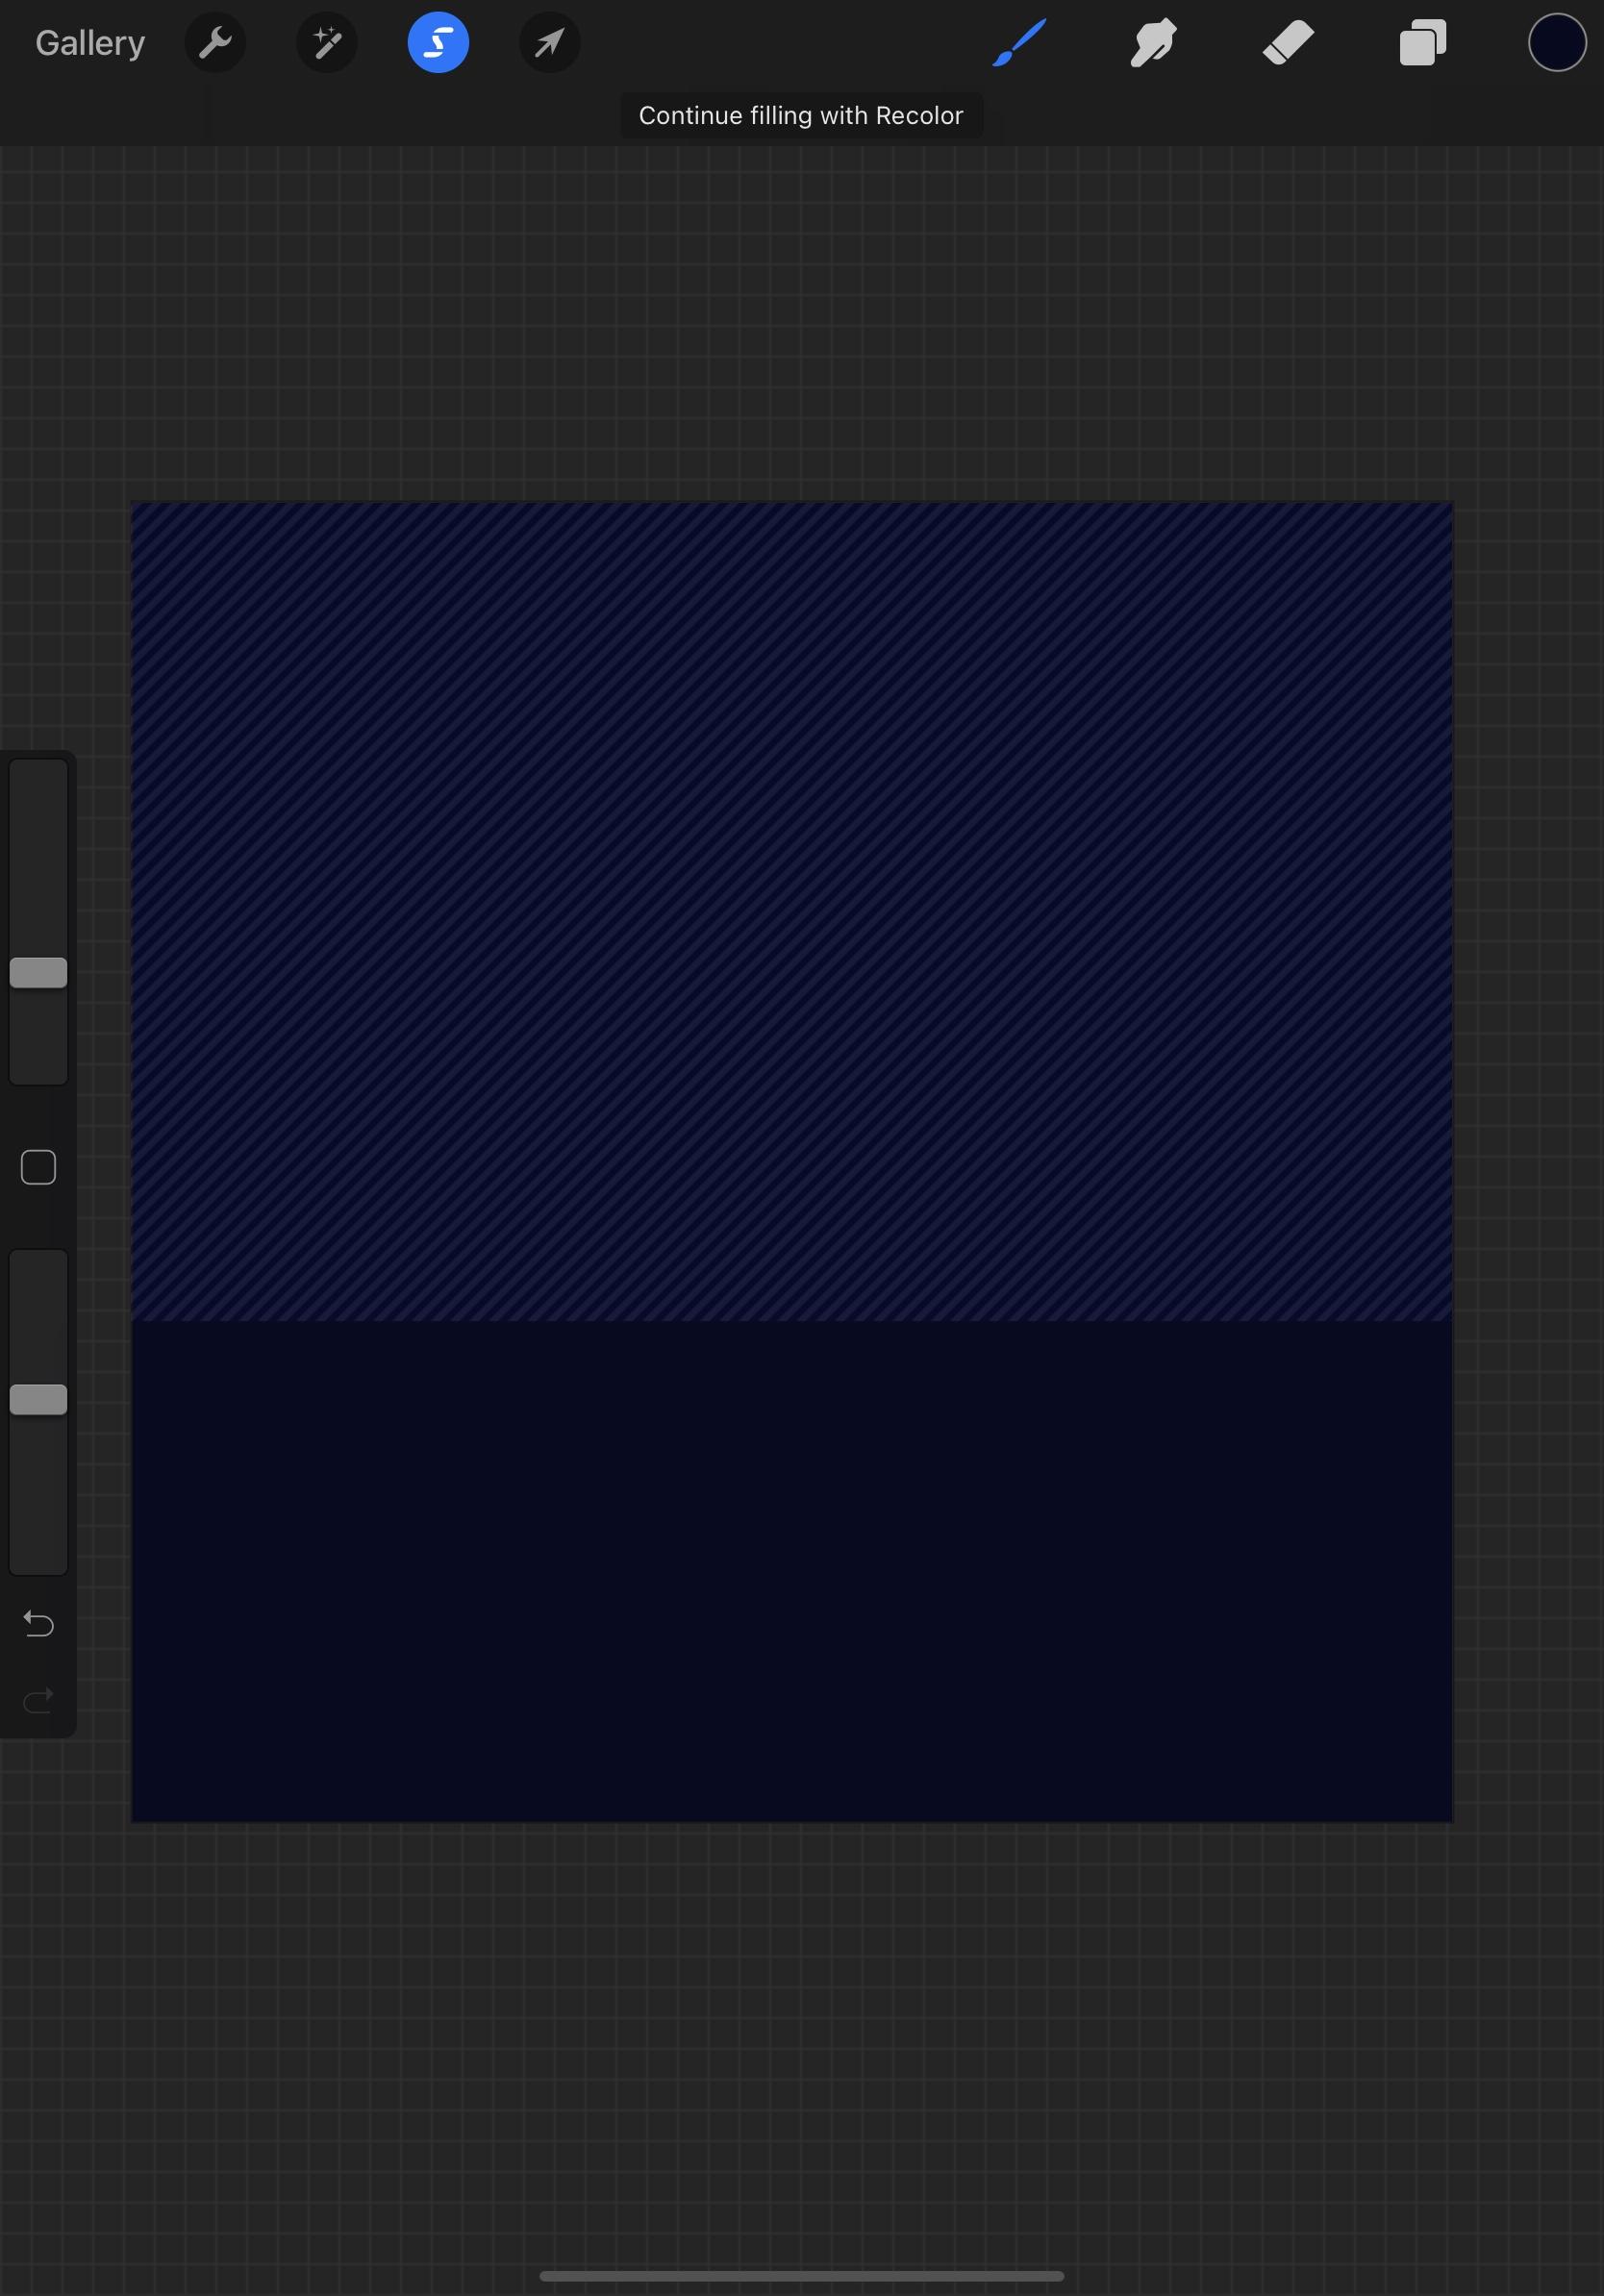
After completing layer 2, your background color, you will now move on to your third layer. The third layer is going the be our ocean. Click the "S" icon at the top left of the screen and choose the rectangle tool. Draw the rectangle on the bottom half of your picture and fill it in with a blue that is darker than your background color.
Layer 4
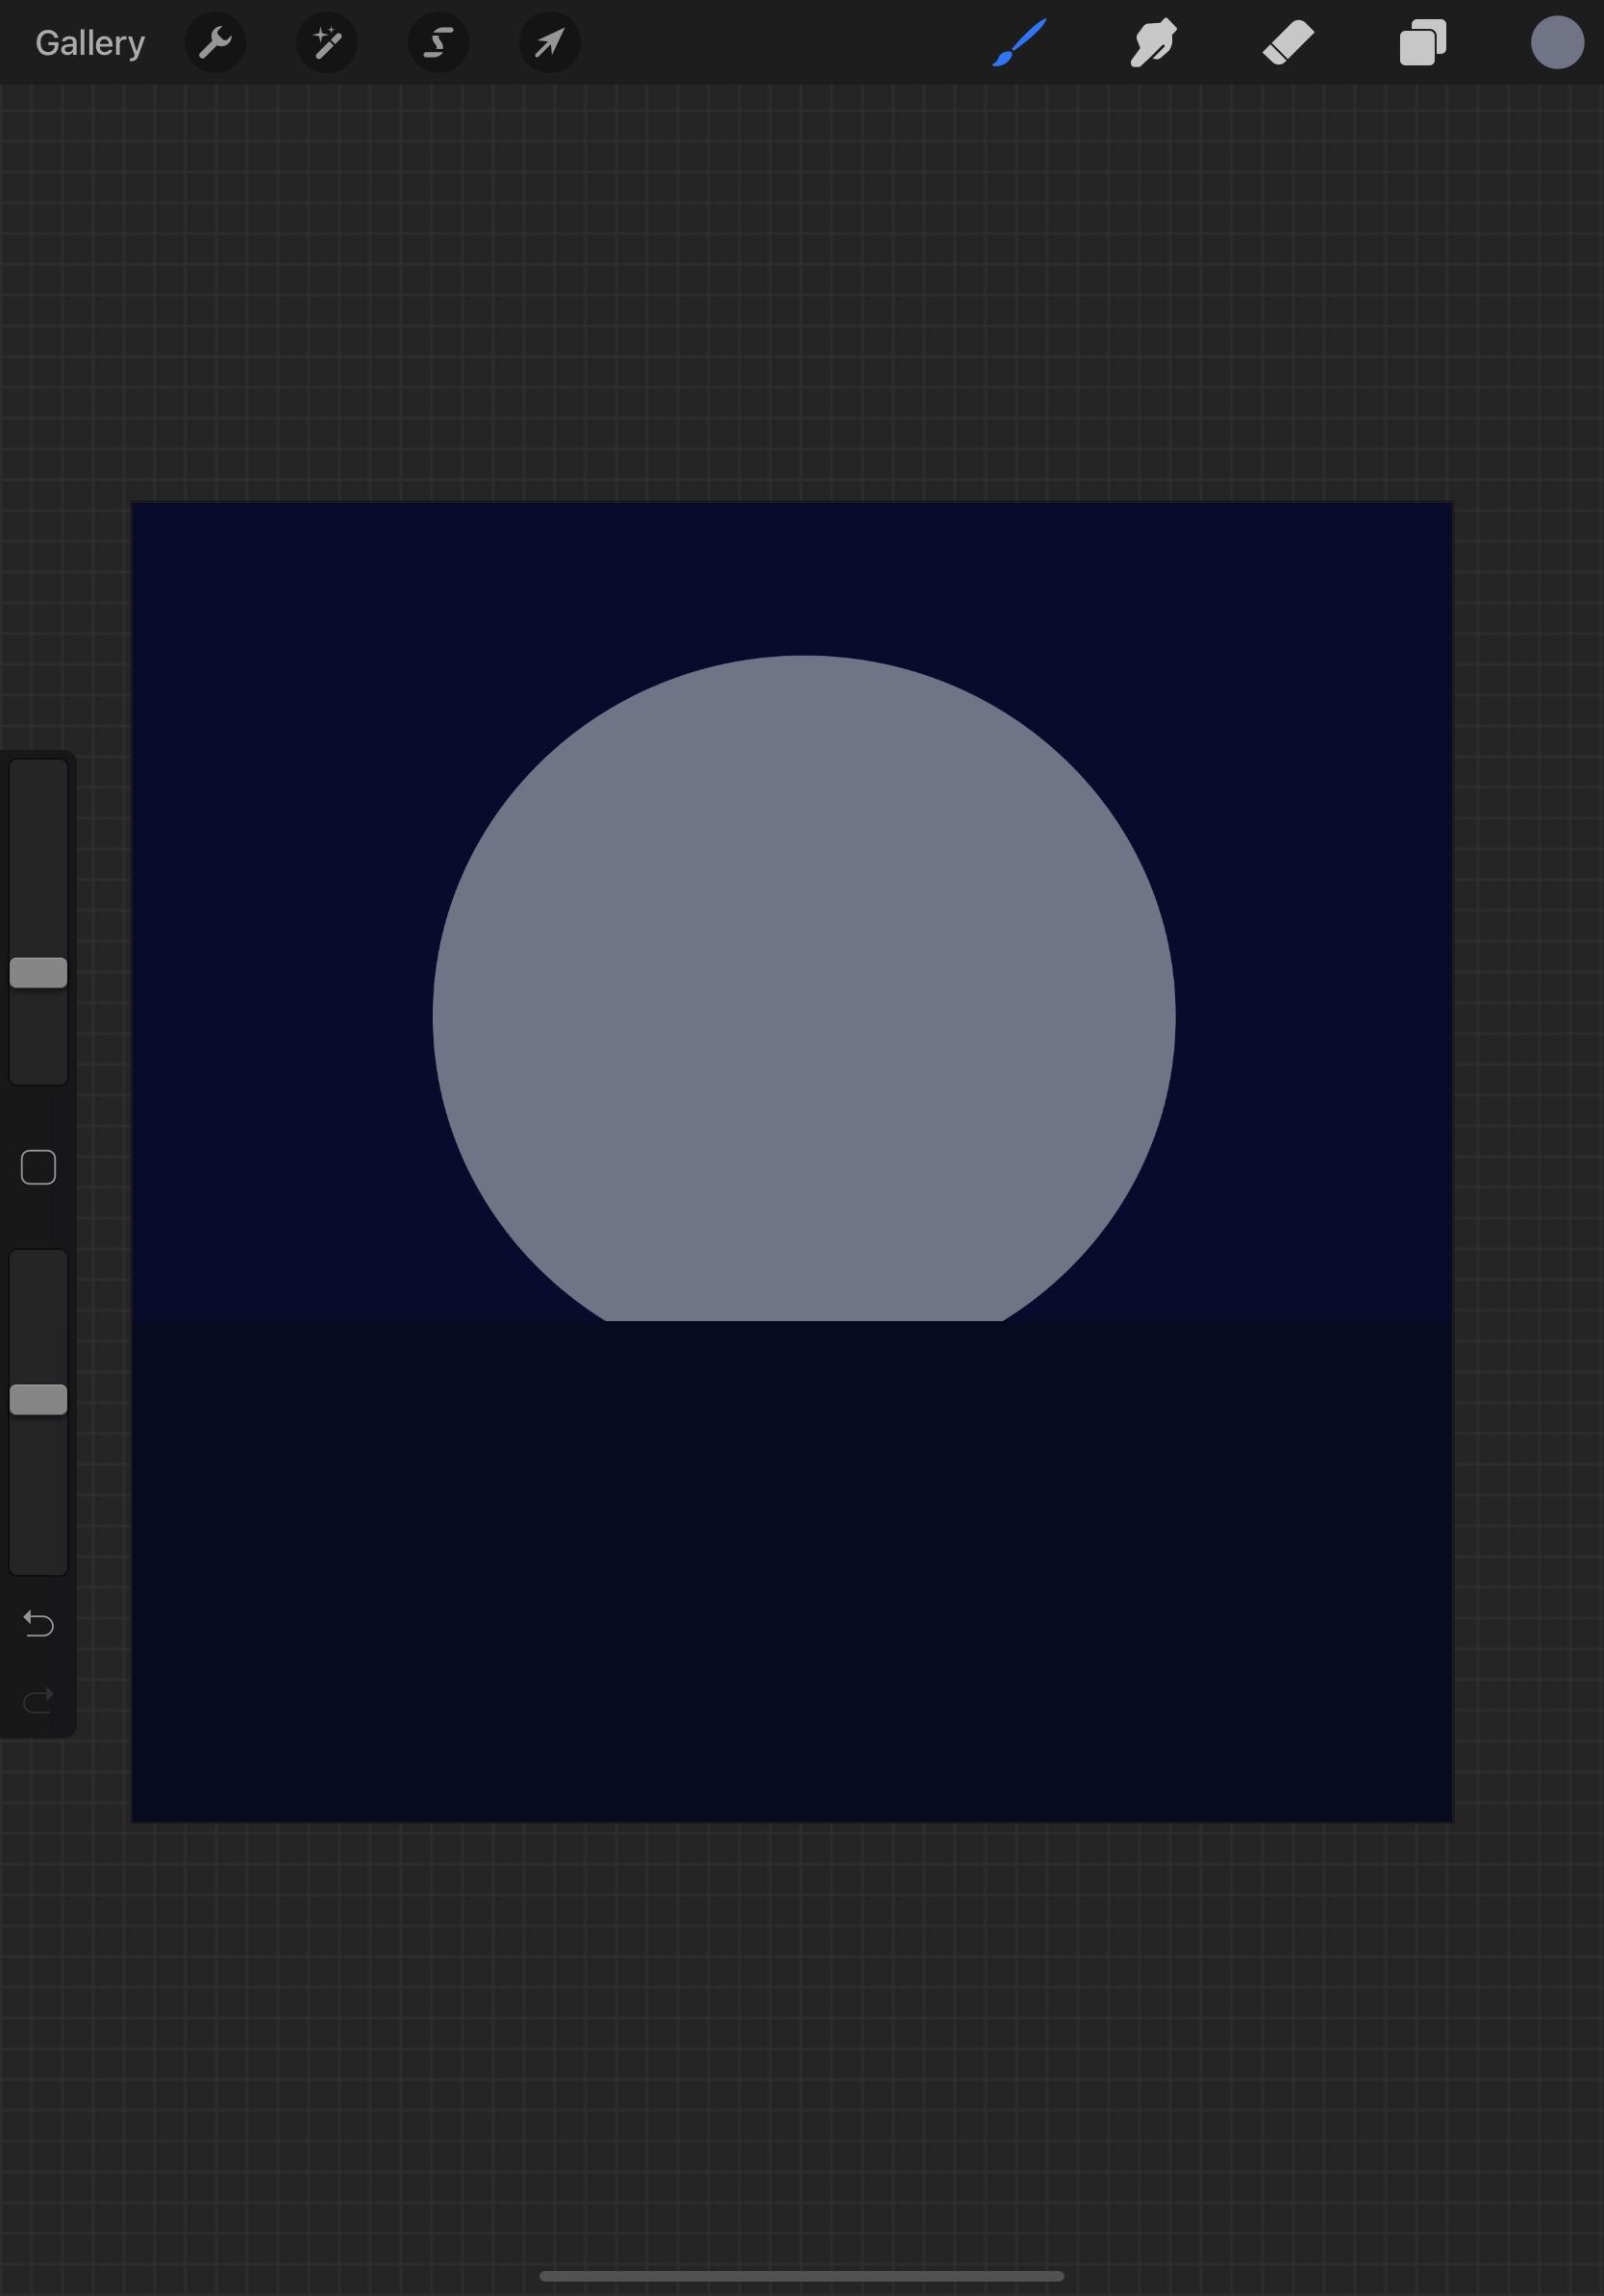
Layer 4 is going to be our moon. You want to add layer 4 in between layer 2 and layer 3 so your moon doesn’t cover your ocean. Once again, you’re going to go to the "S" at the top left of the screen. This time, instead of choosing a rectangle, you will choose a circle. Make sure some of your circle is hidden by your ocean layer.
Layer 5
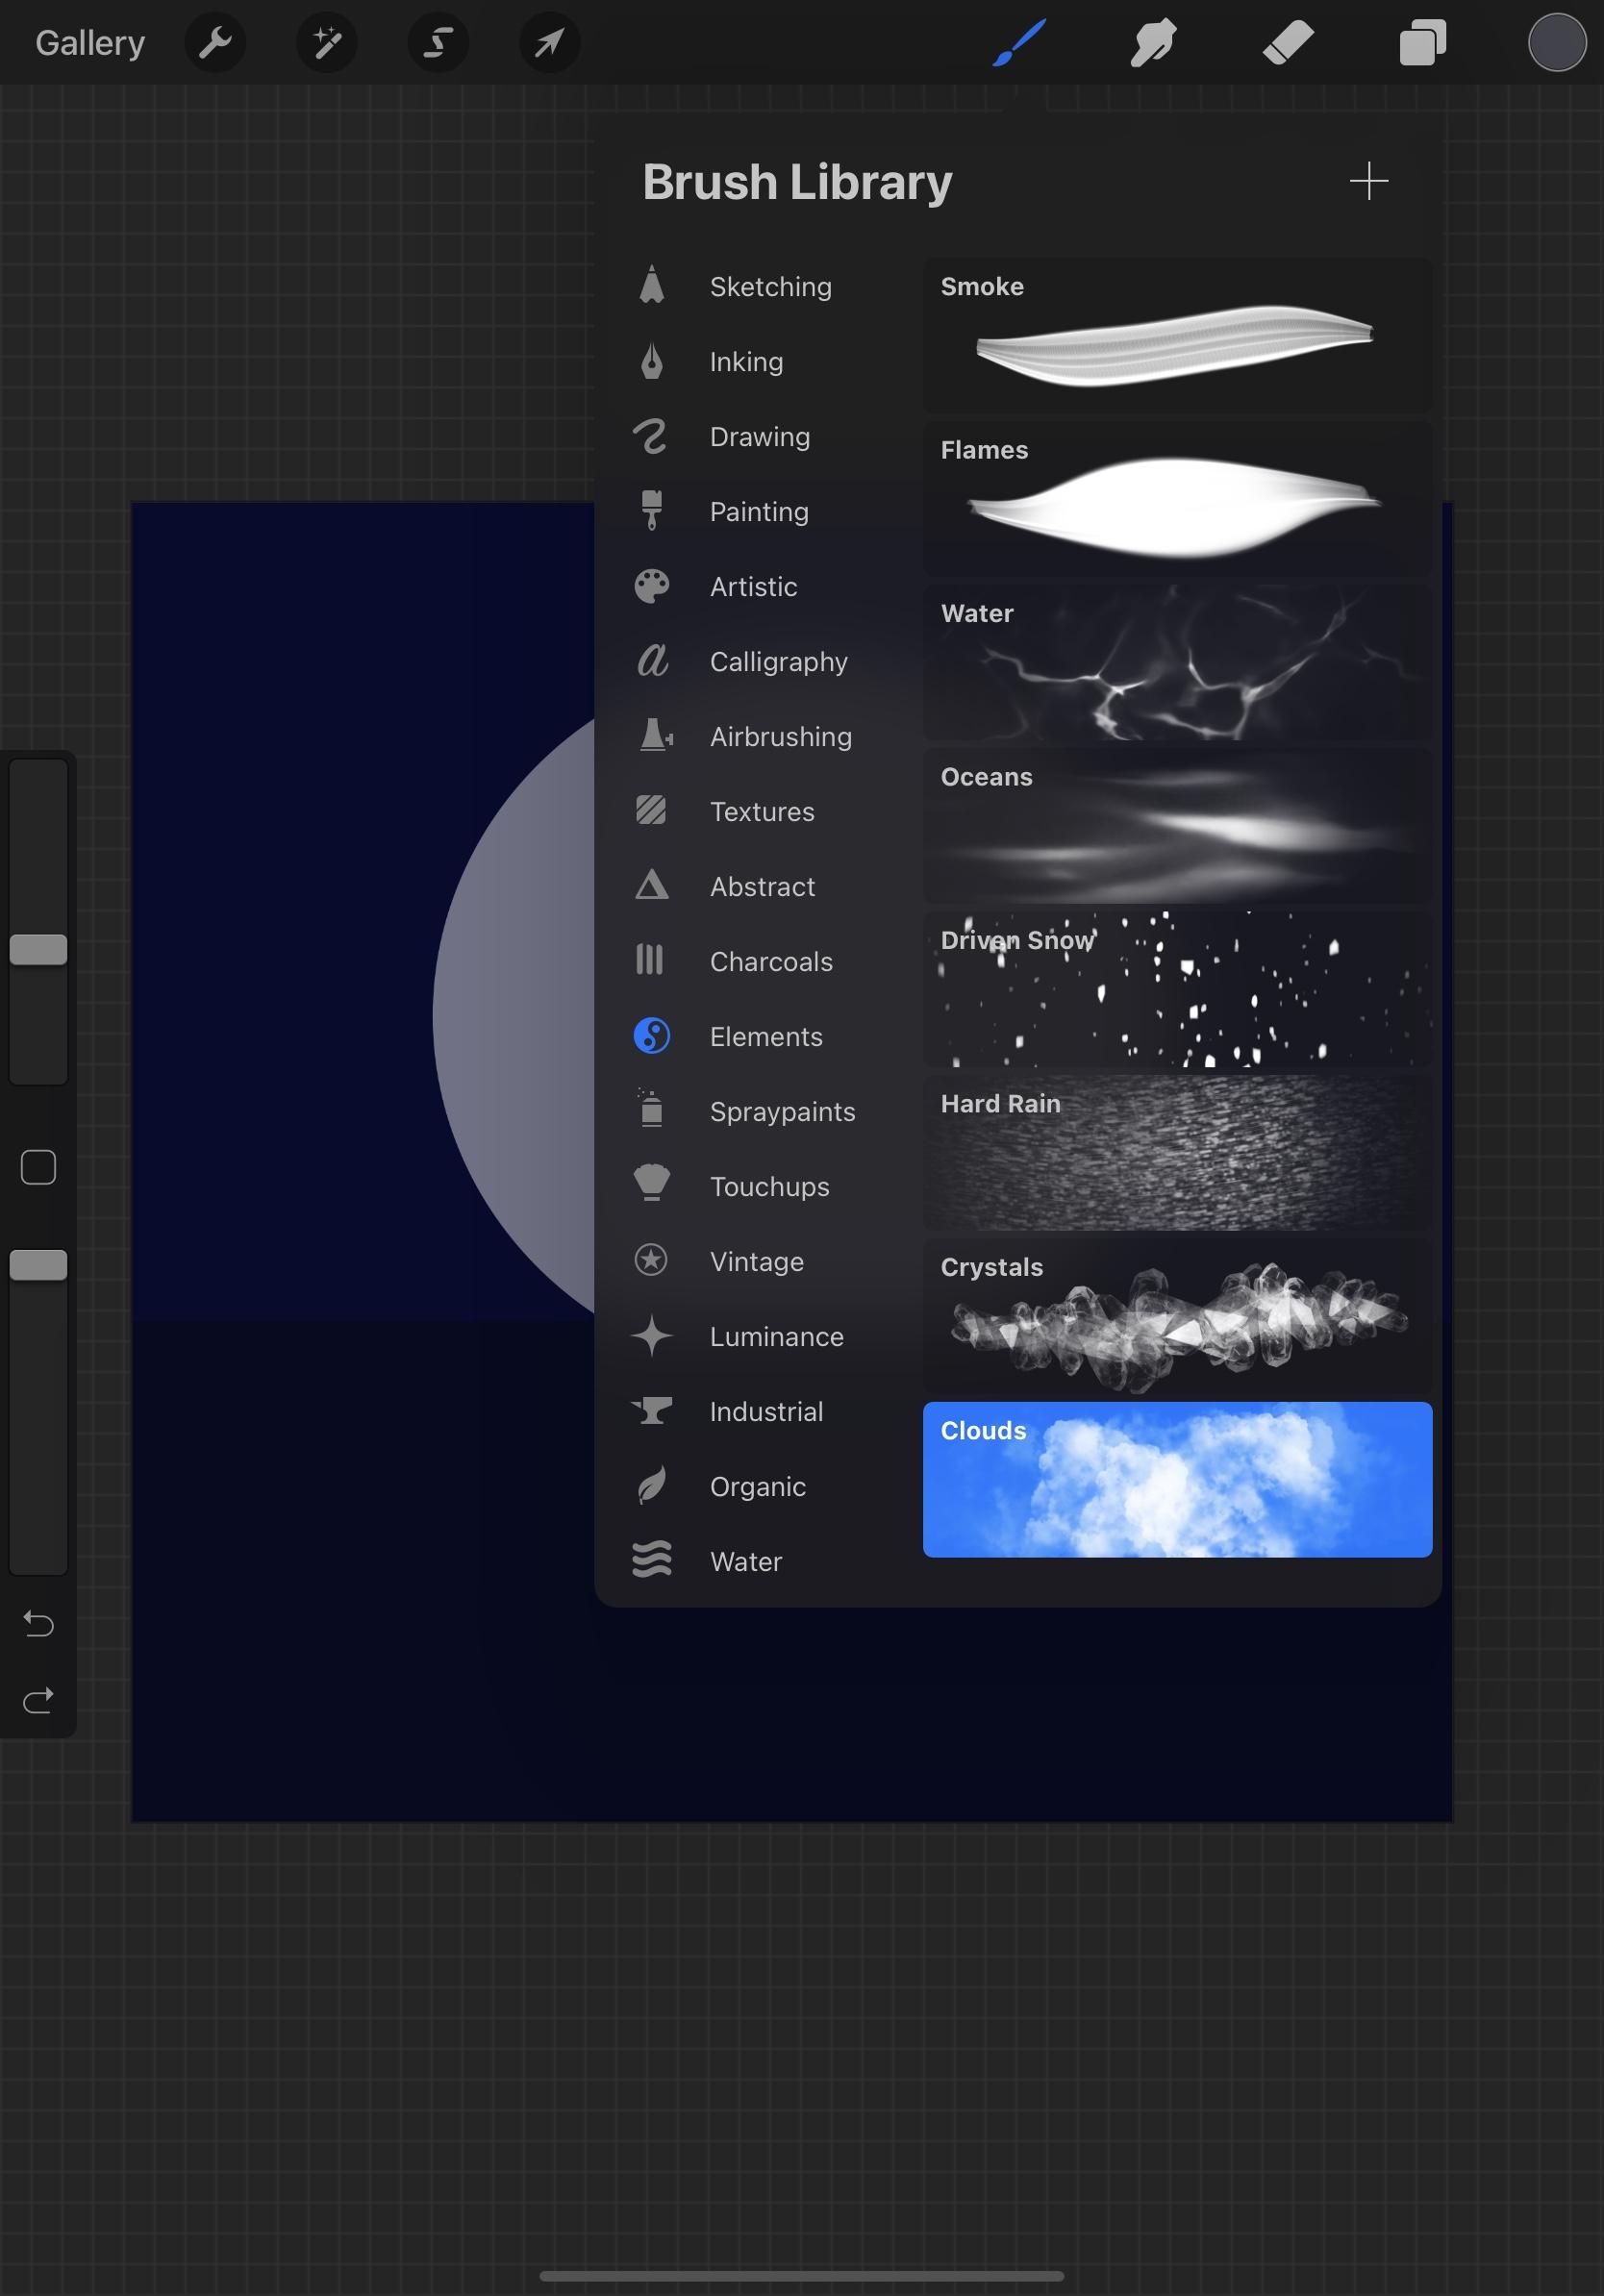
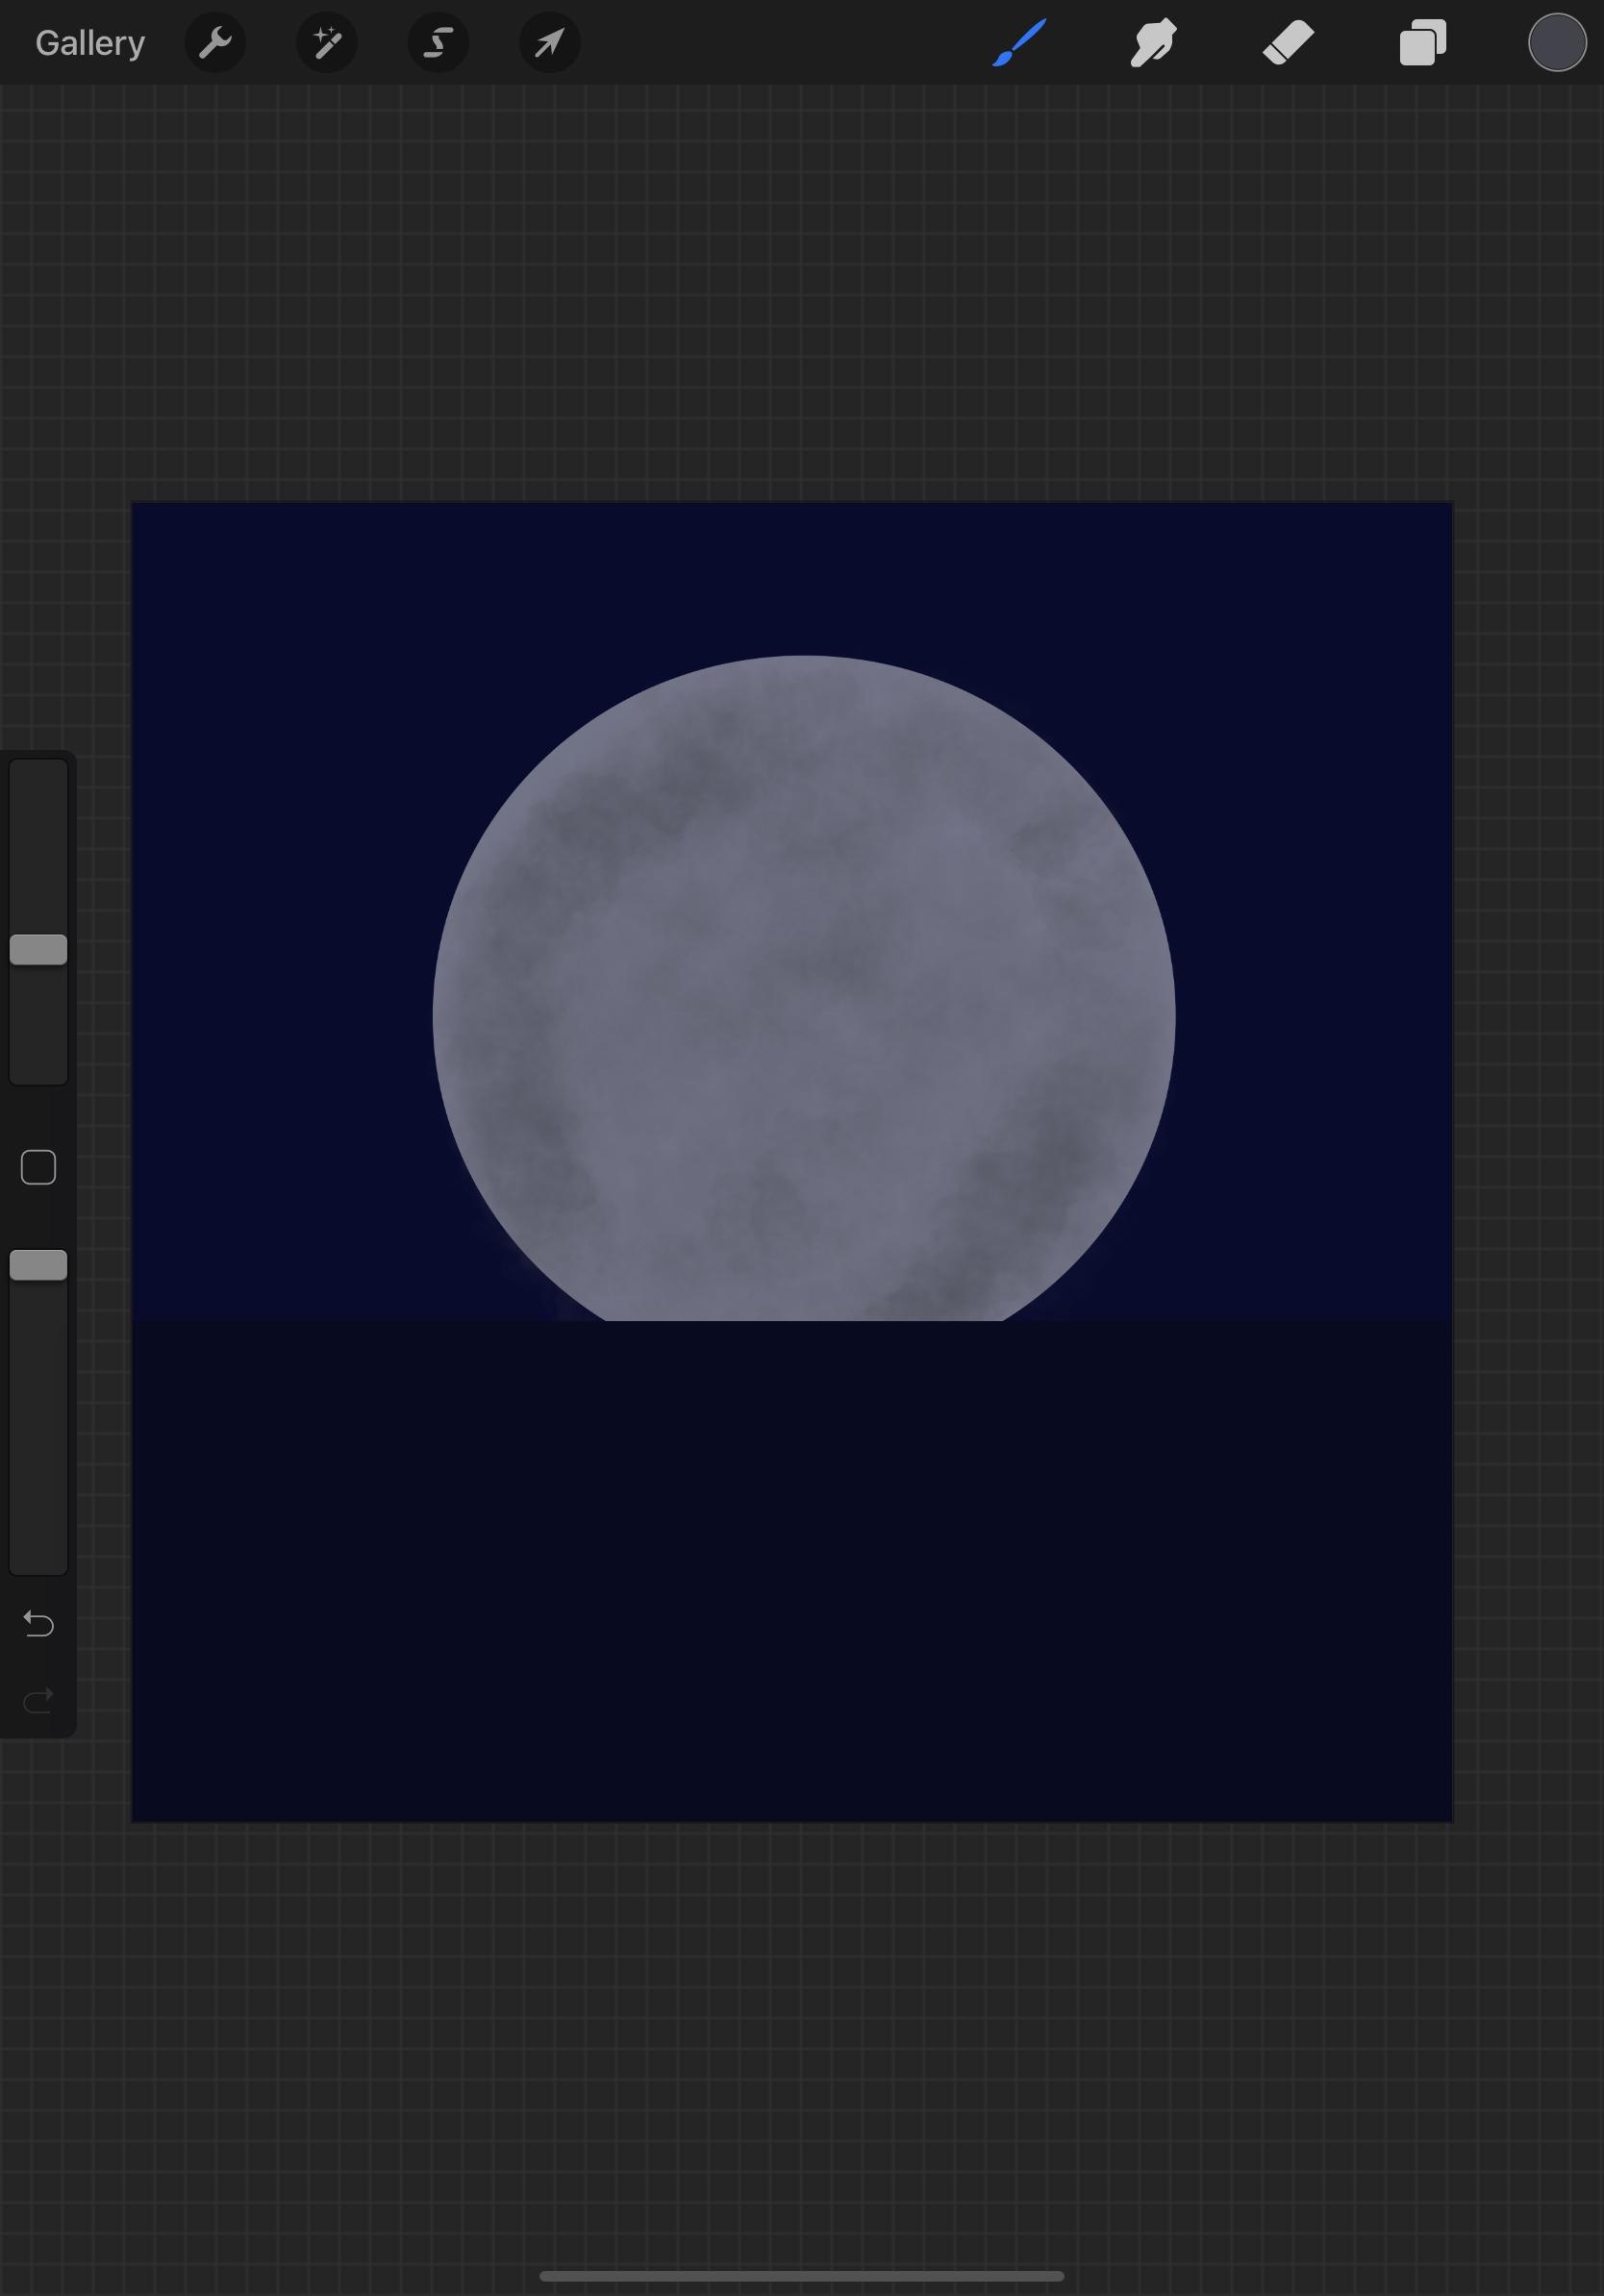
Now, we make our moon come to life. Choose the cloud brush and a dark gray color to add some texture to your moon.
Layer 5 Continued
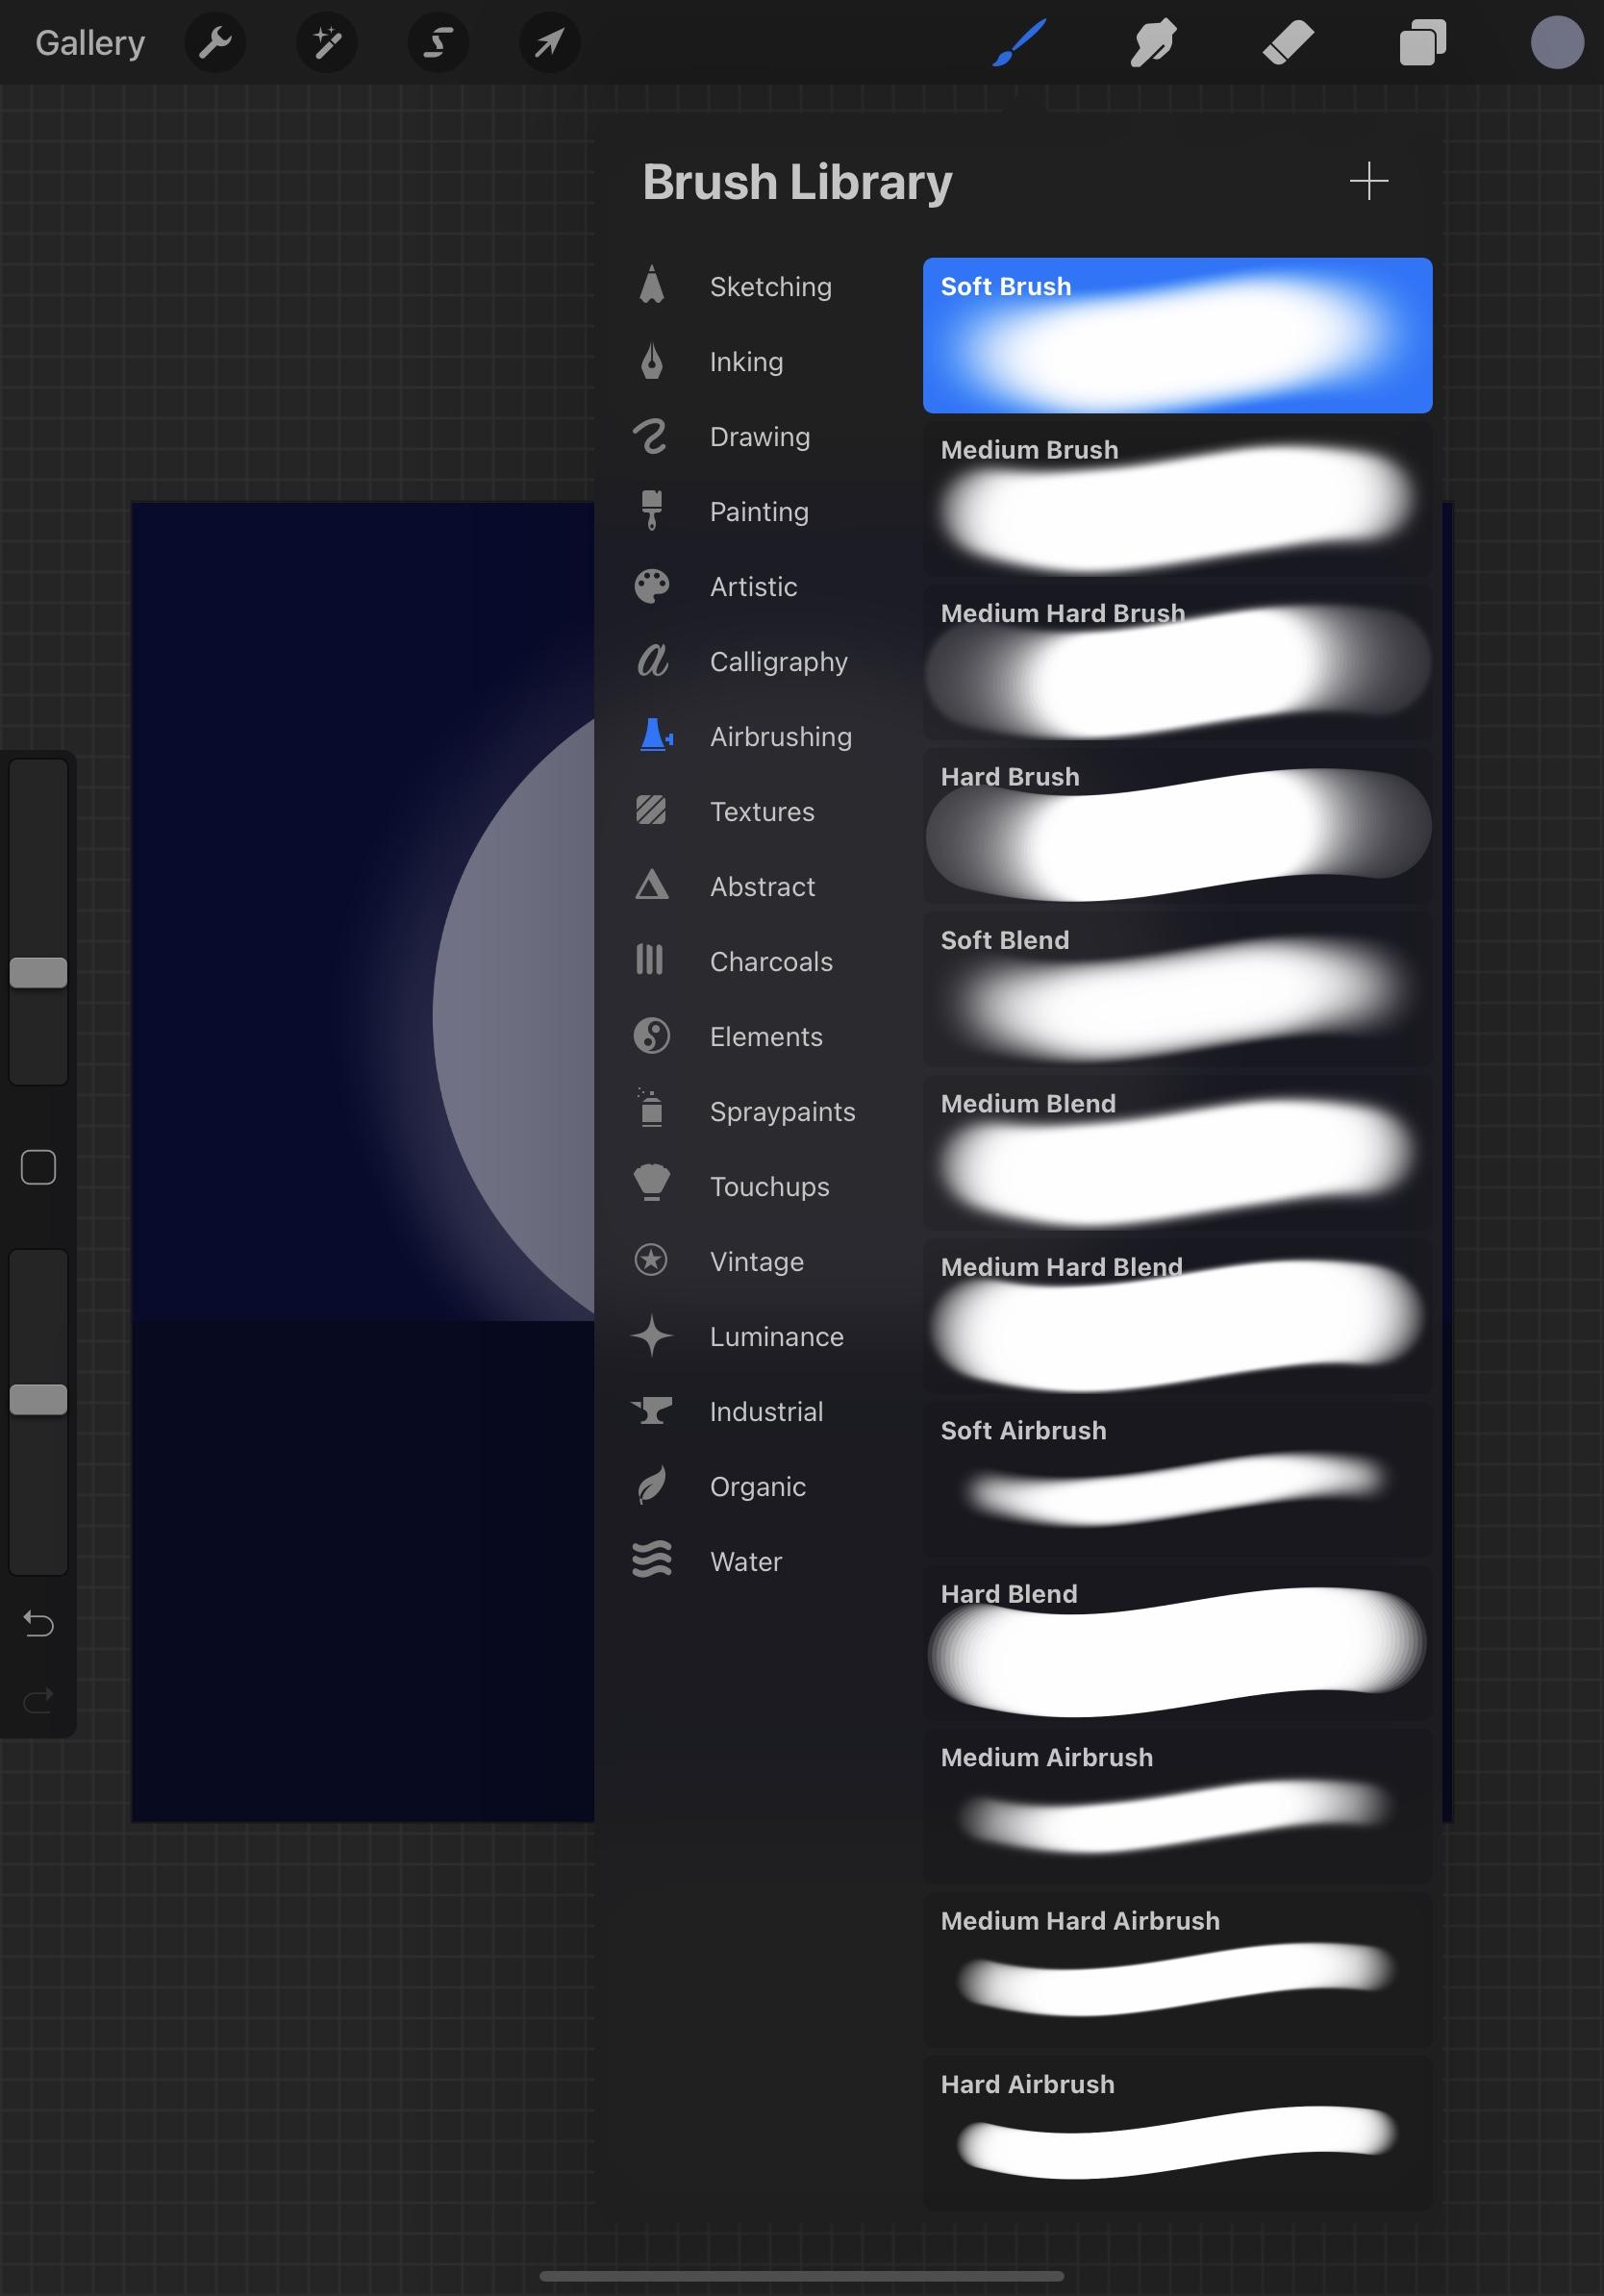
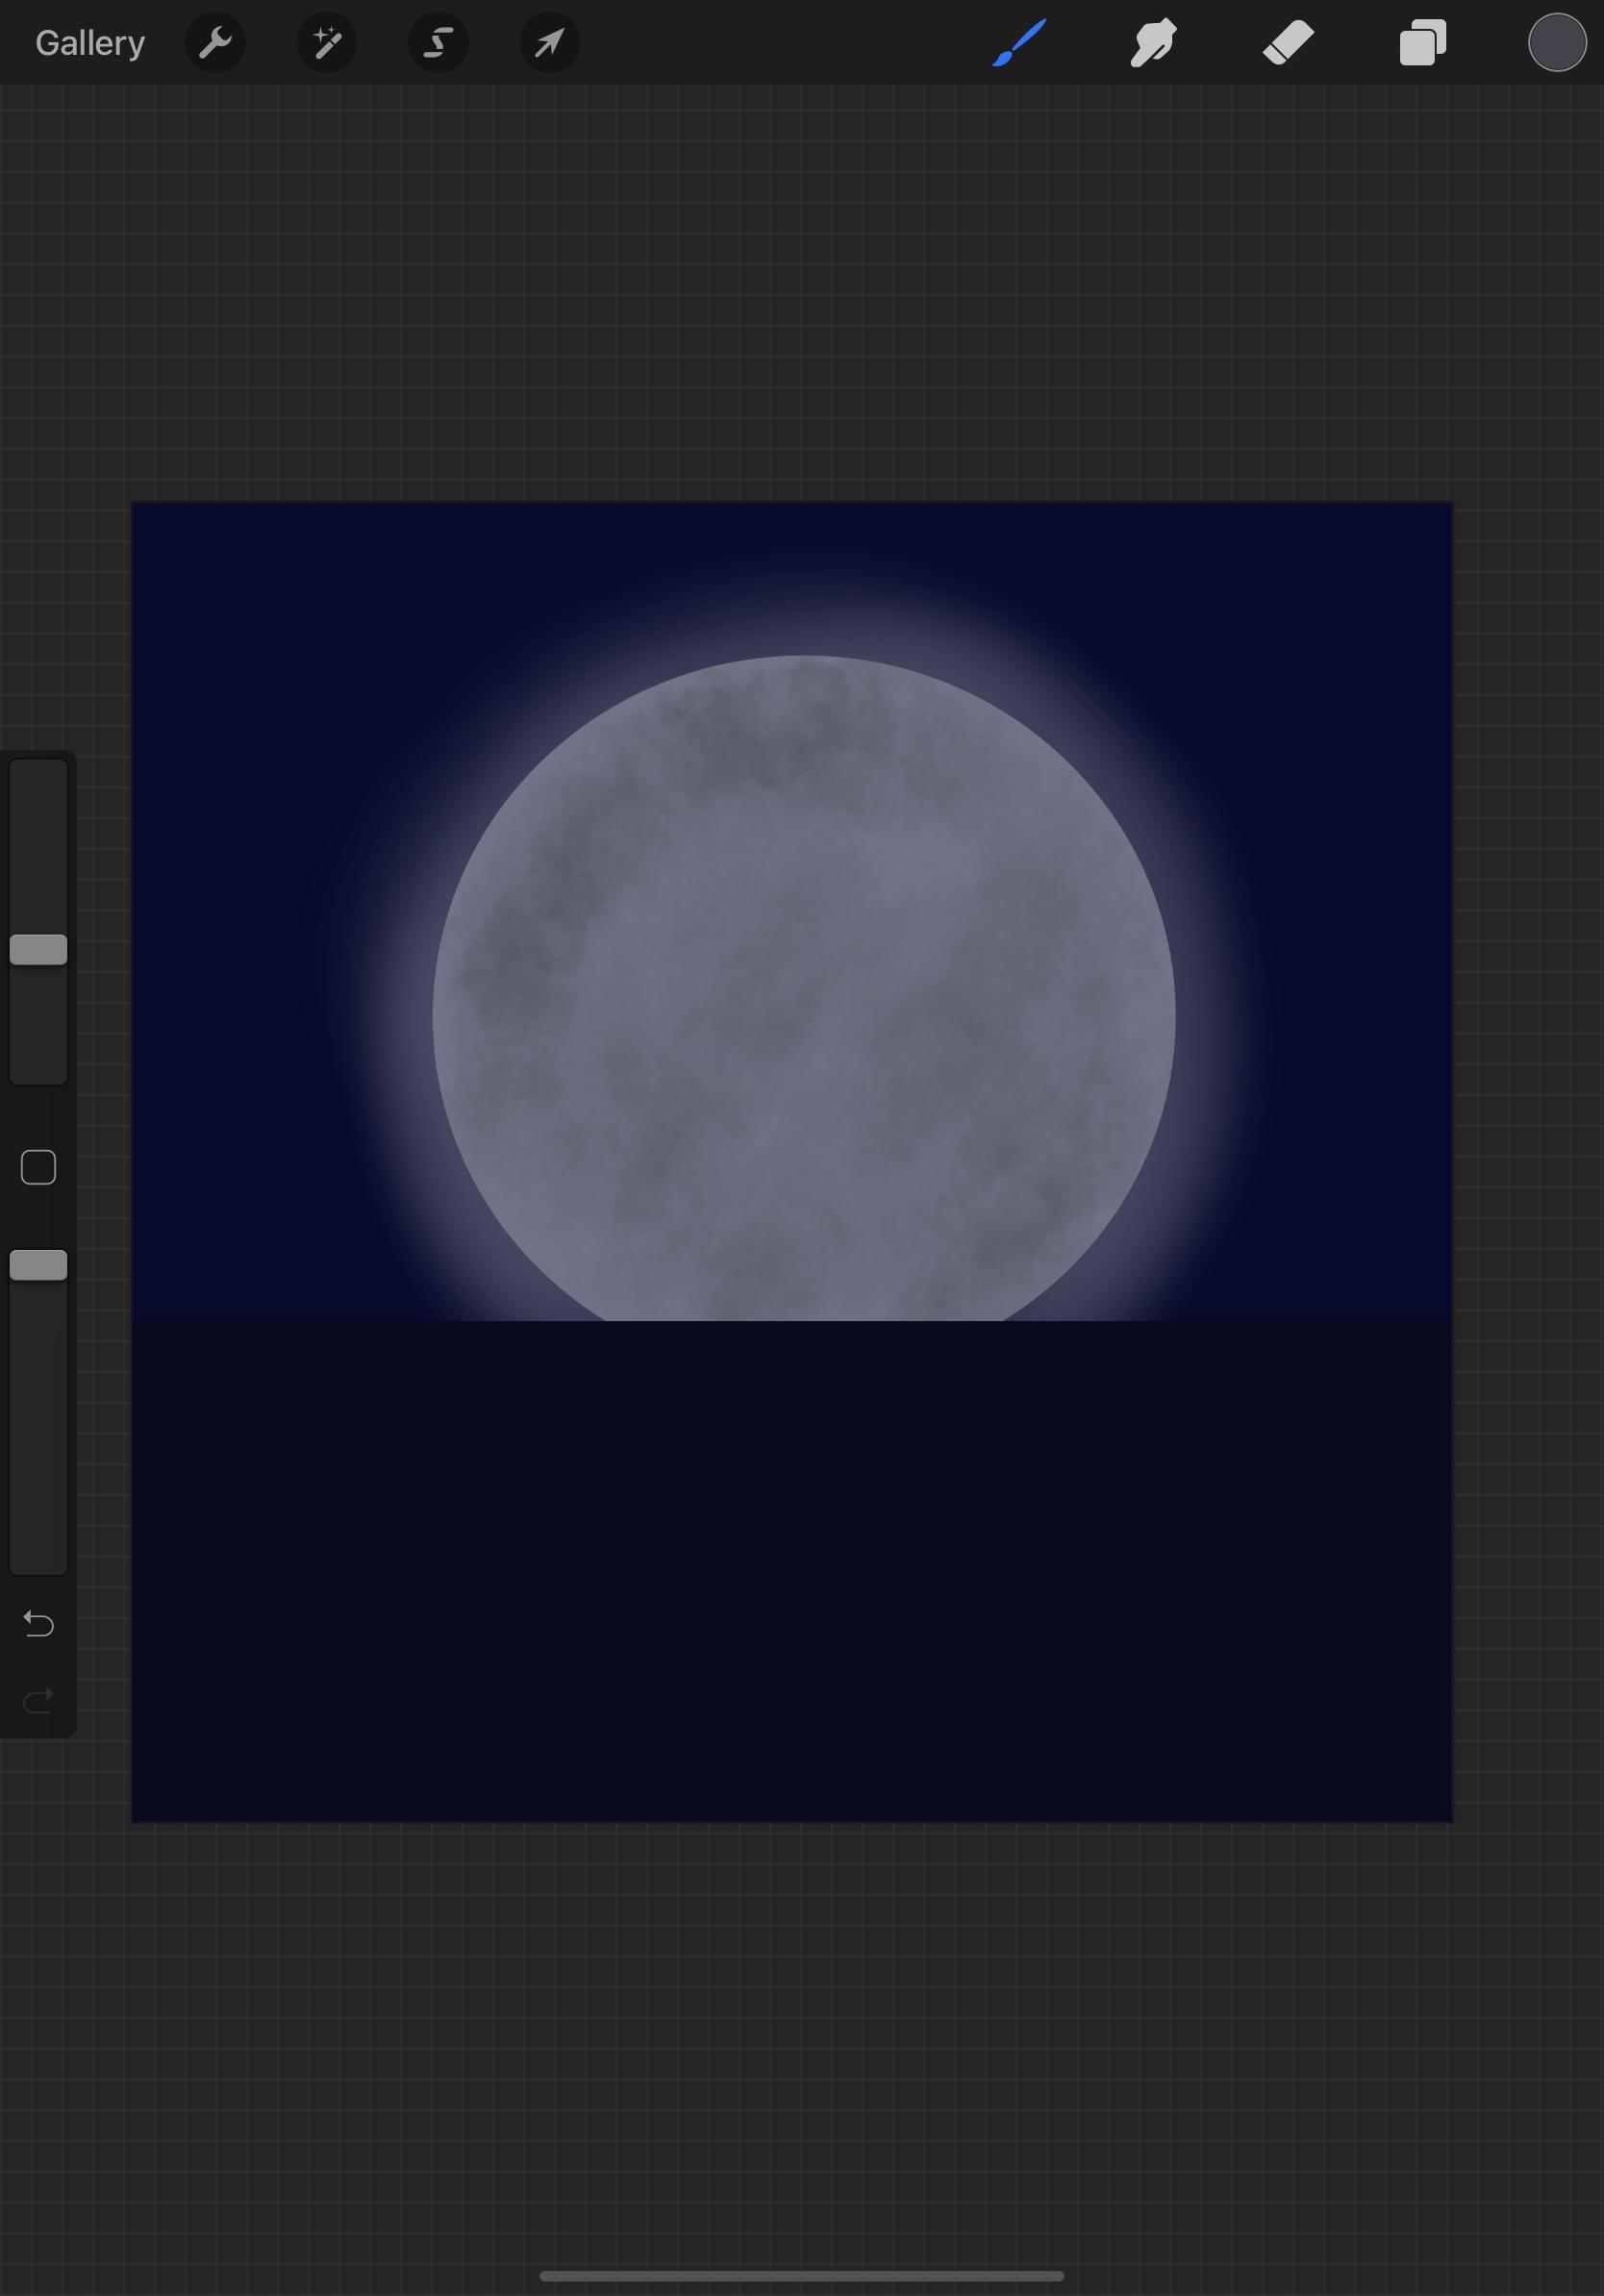
While you’re still on layer 5, go to the airbrushes and choose a soft brush with the color white. Trace this around the moon so it looks like the moon is glowing!
Layer 6
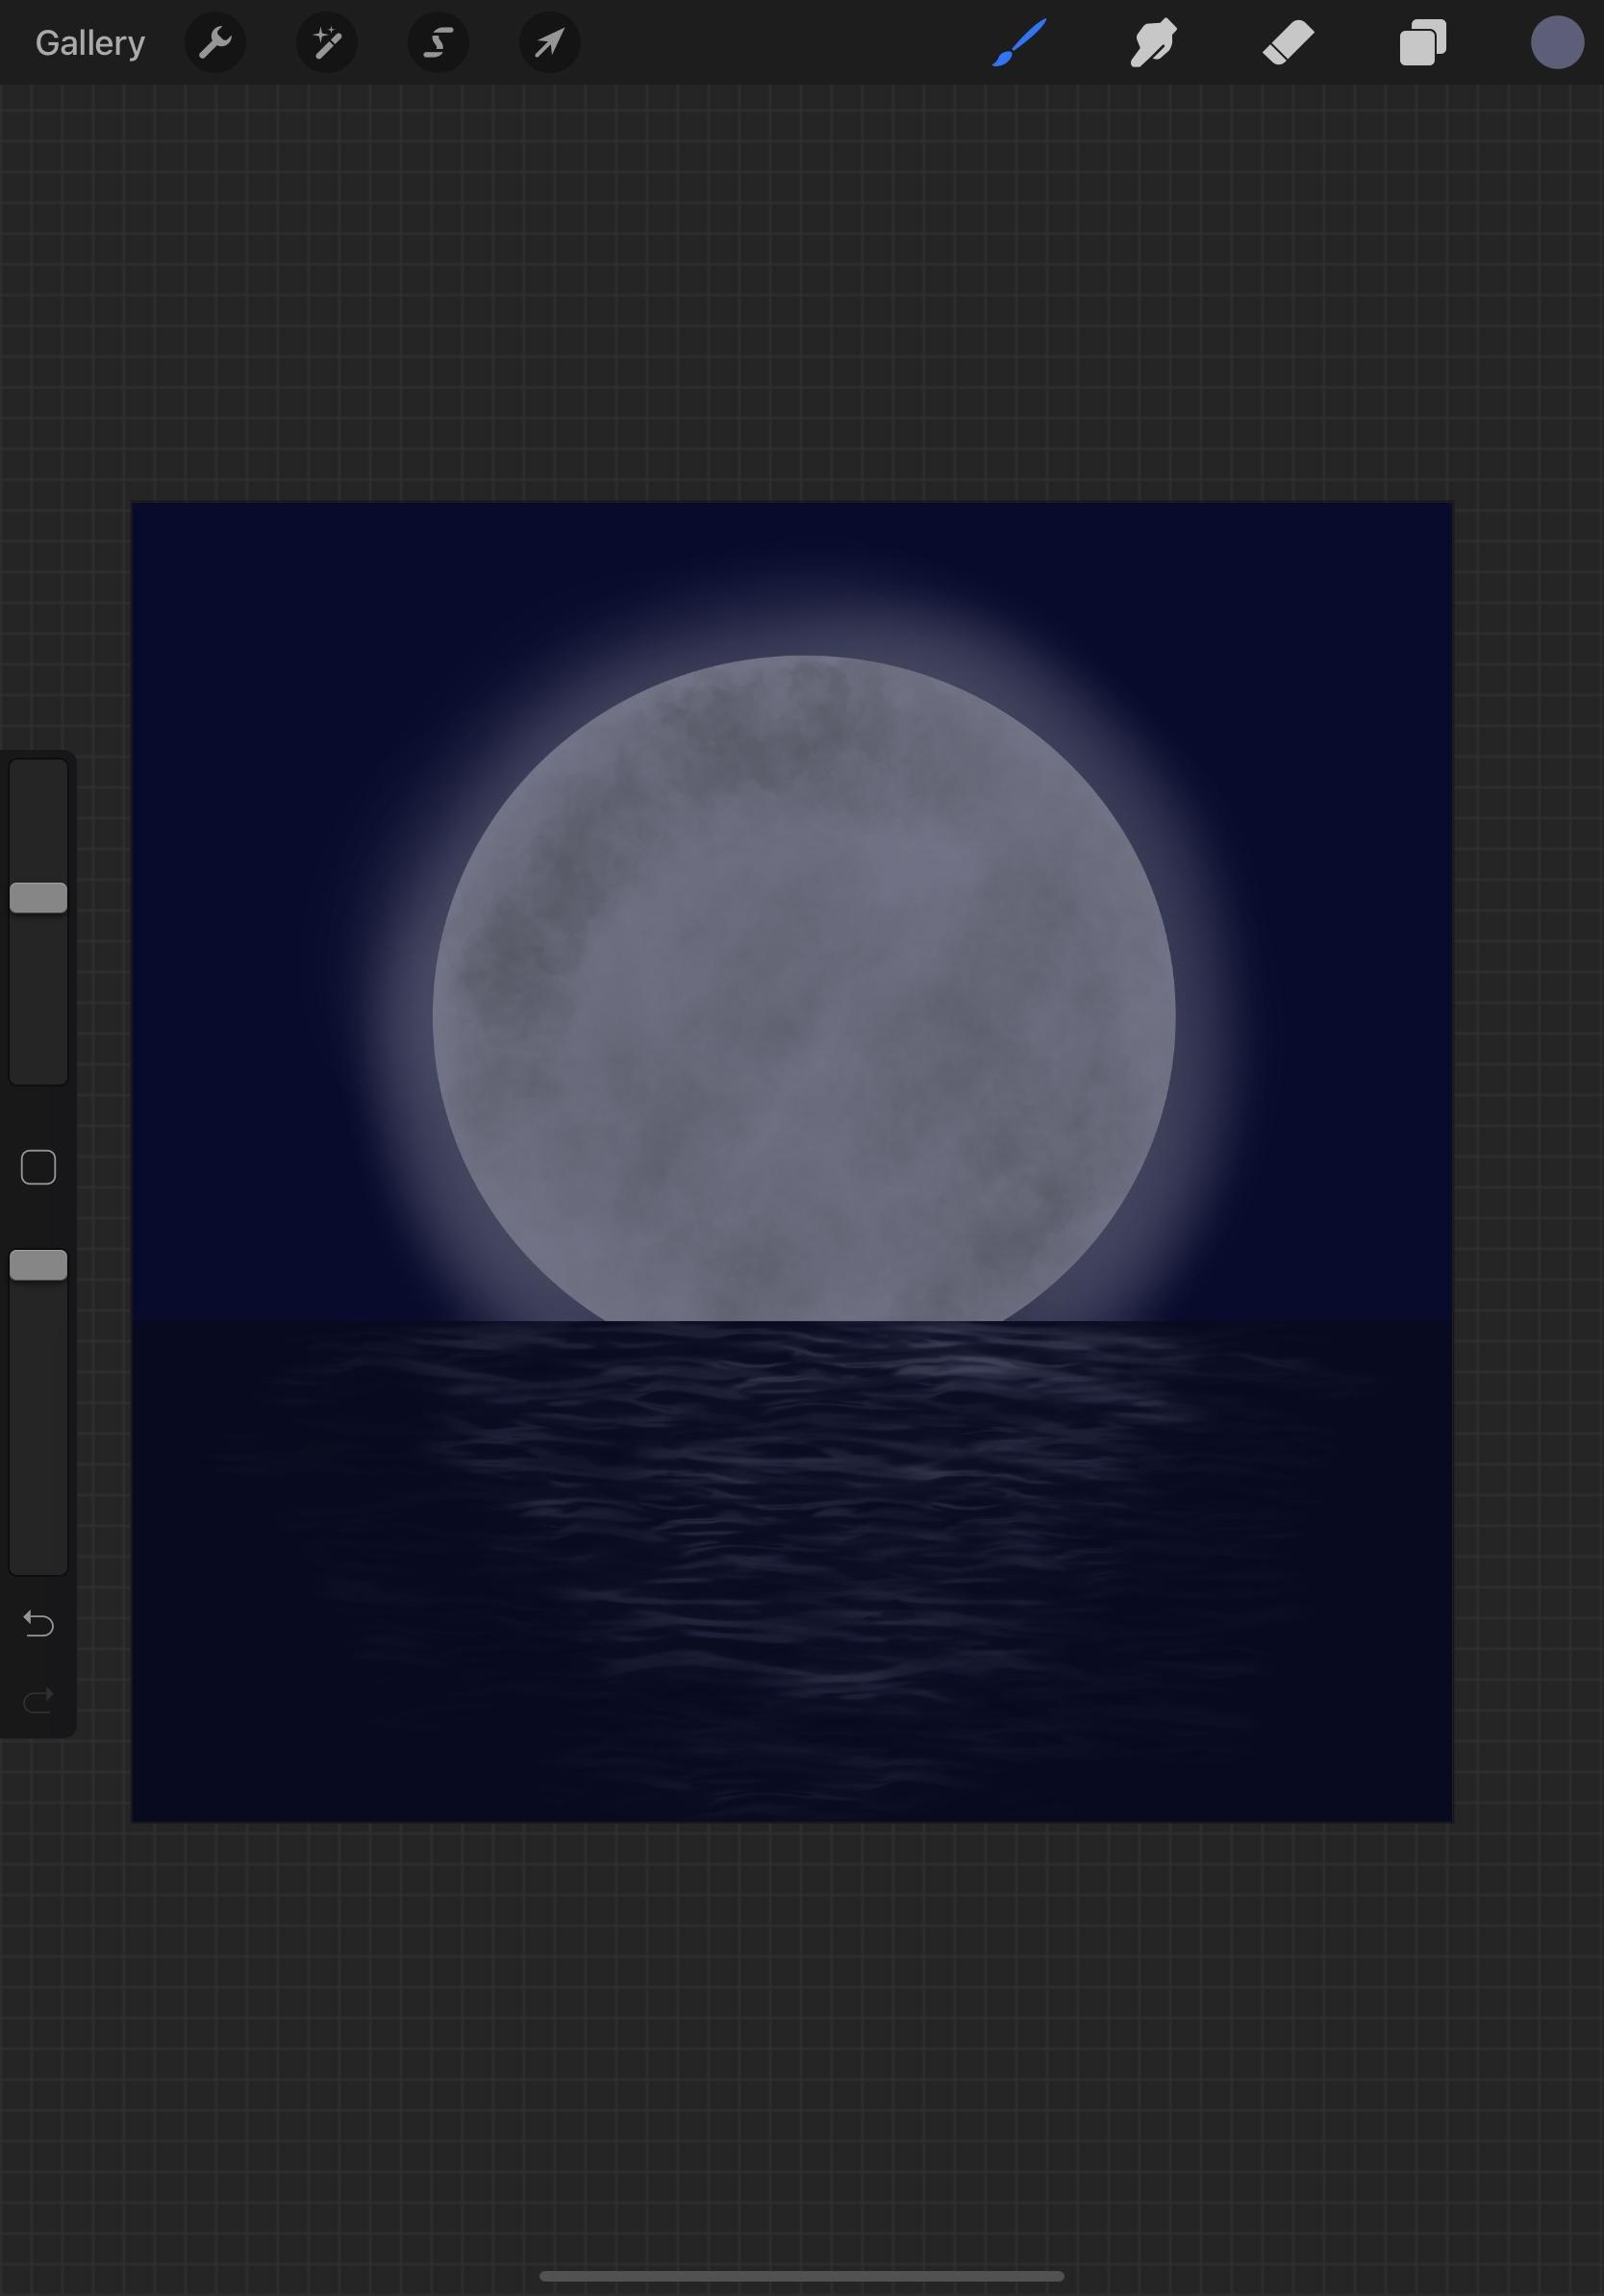
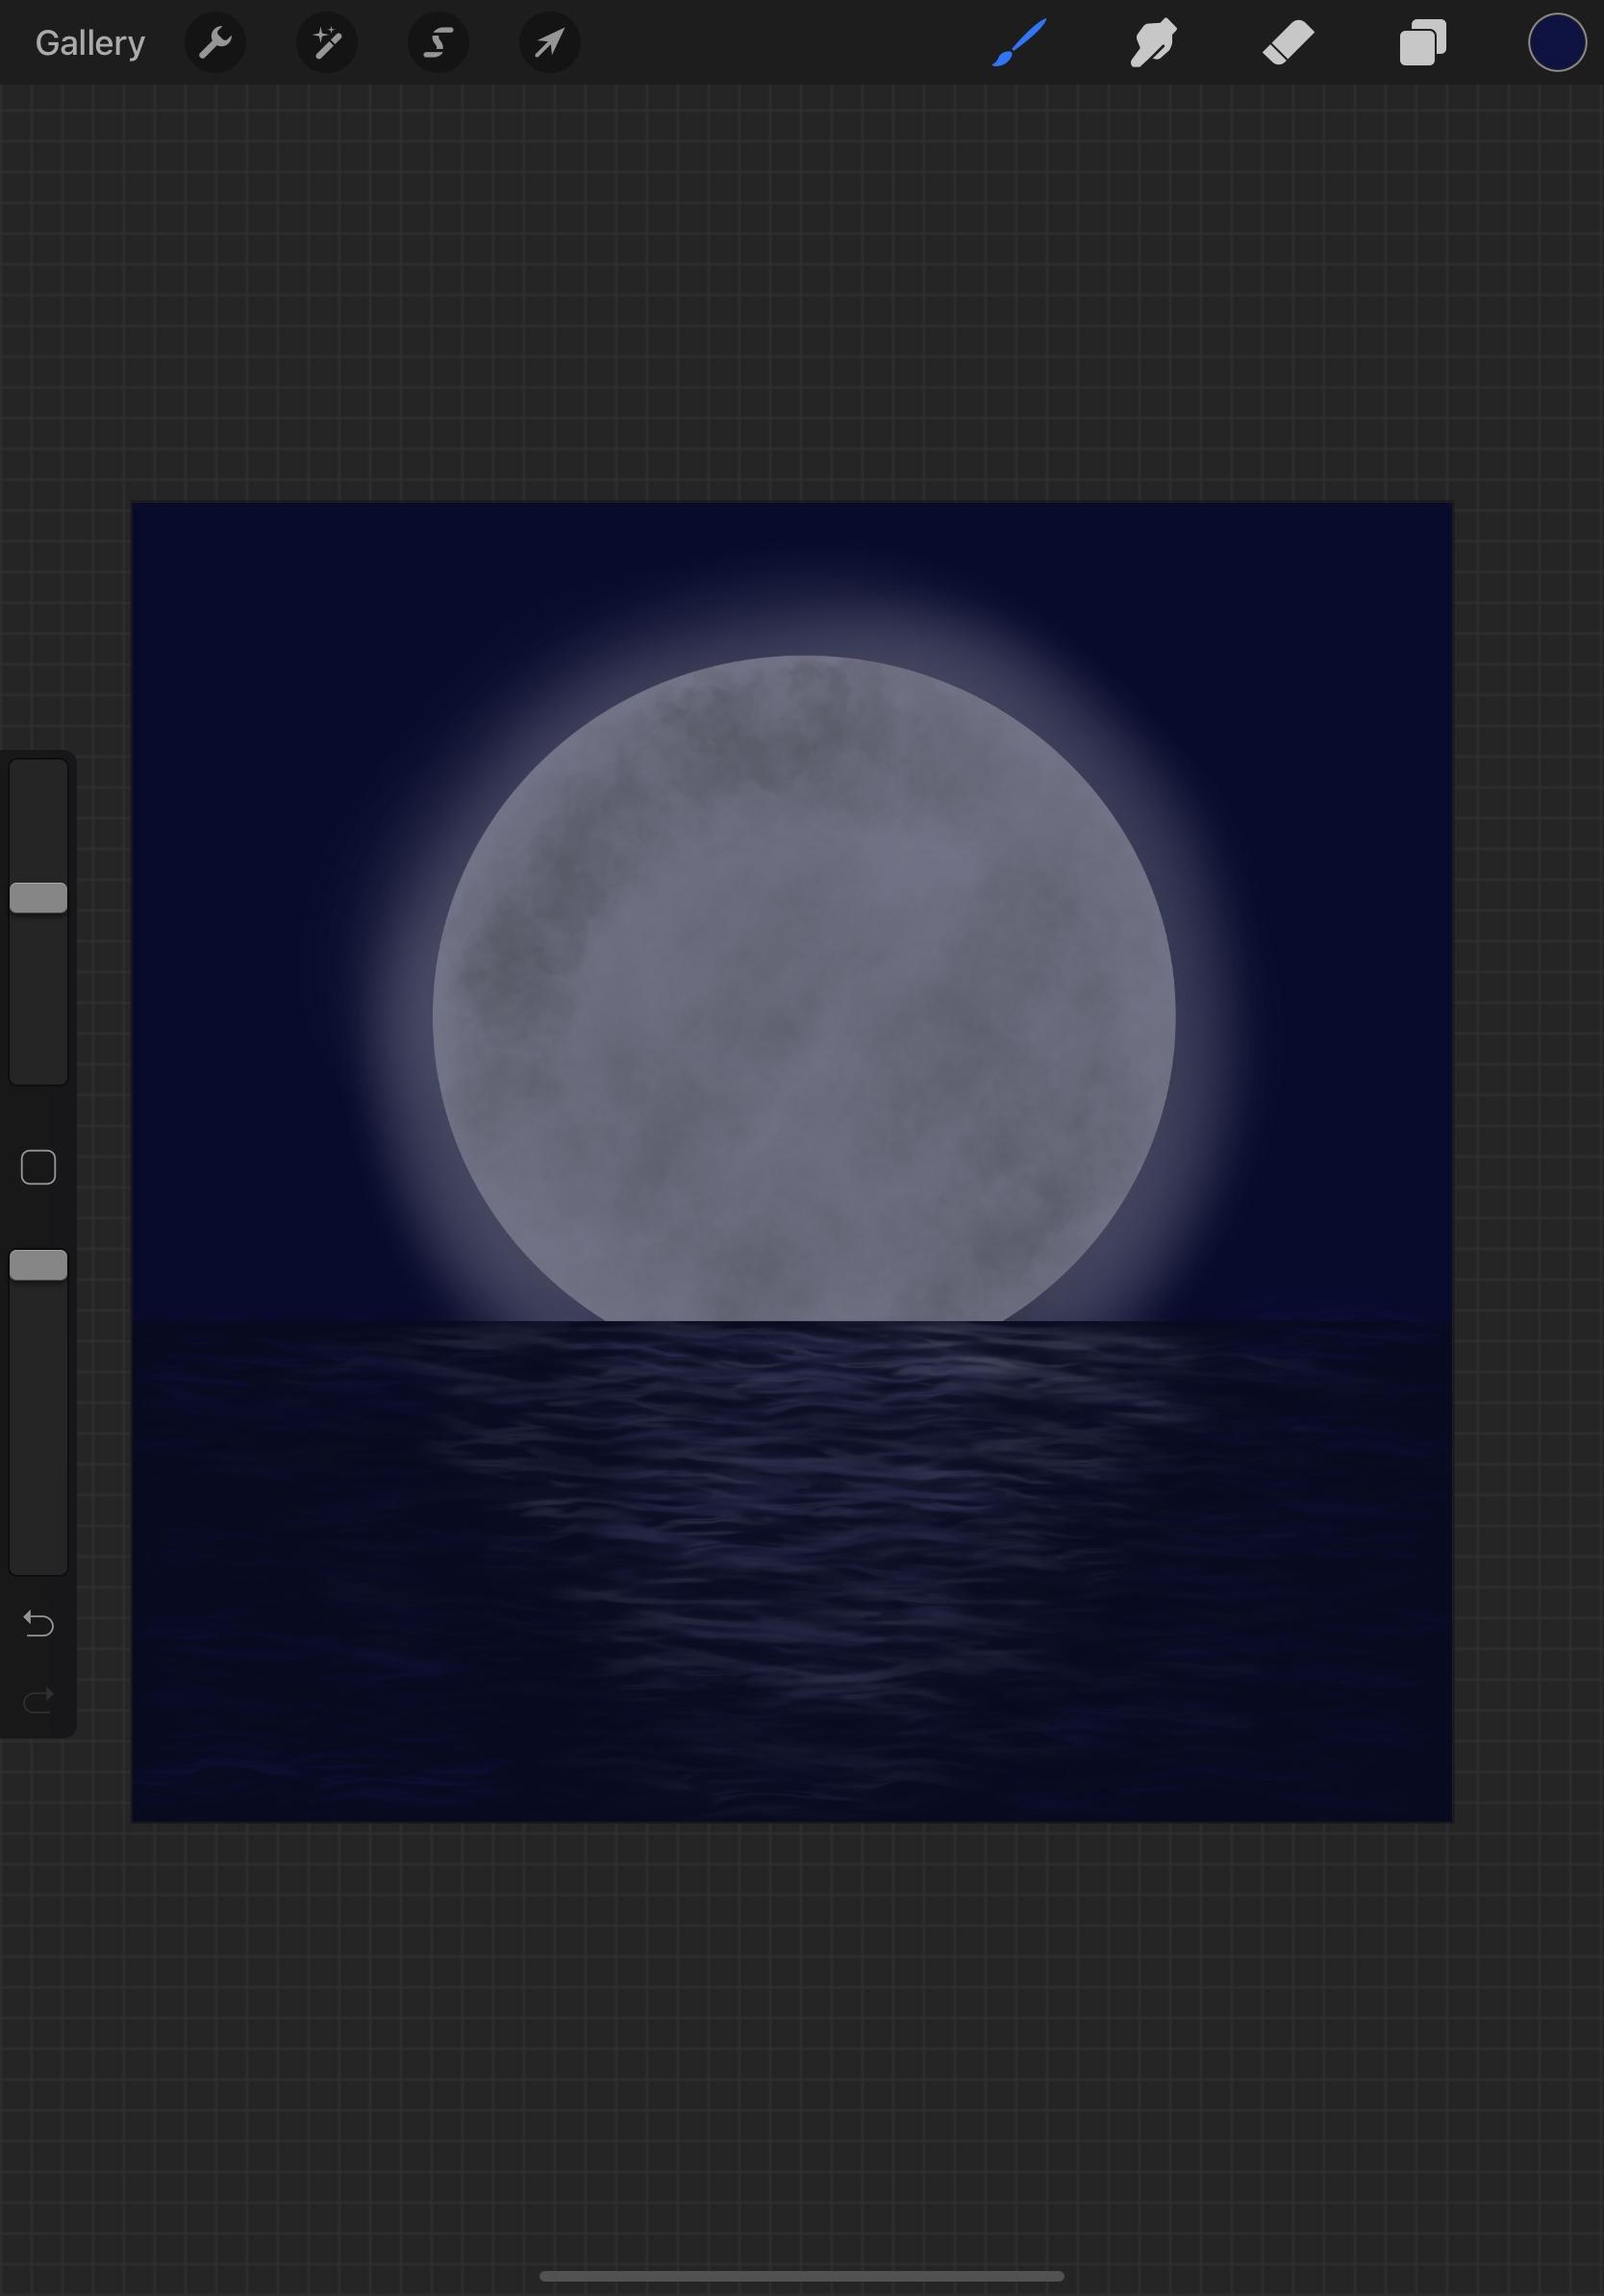
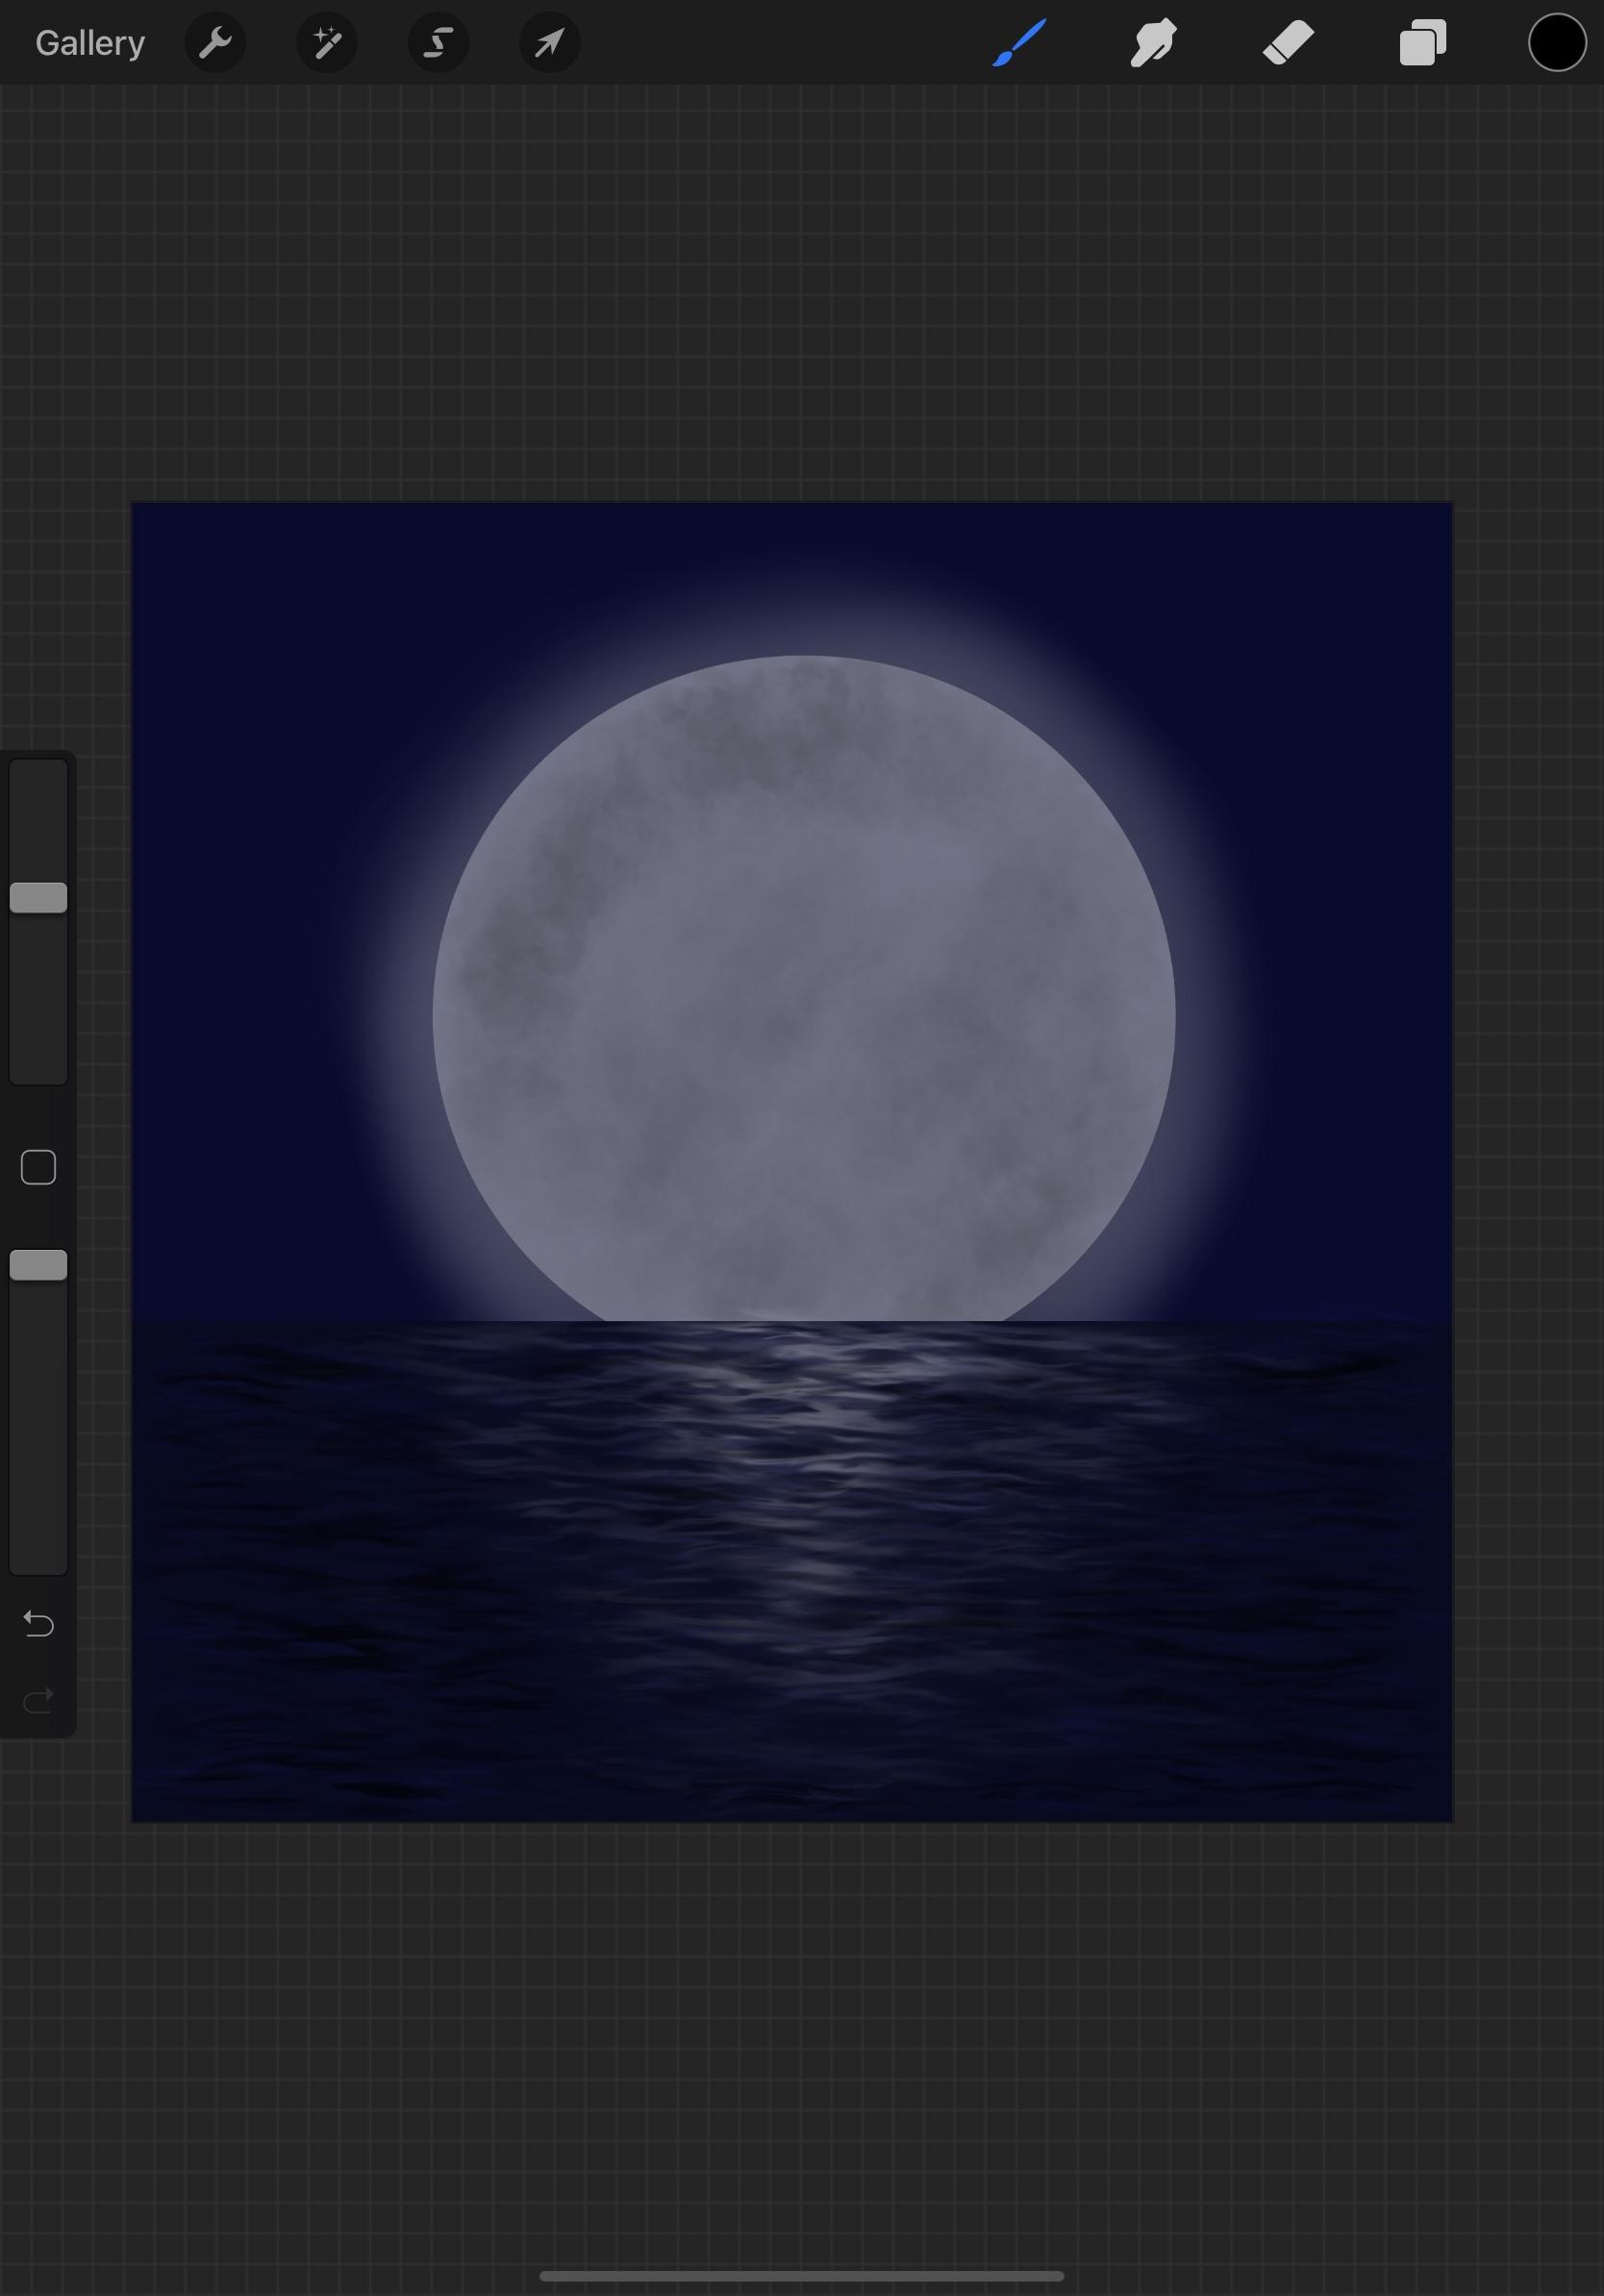
Layer 6 is where you’re going to add some detail to your ocean. Starting off, you’re going to choose the "ocean" pen. Use either light blue or white, or even both, in front of your moon. Moving away from your moon, use darker blue colors and black so it adds a shadow.
Layer 7
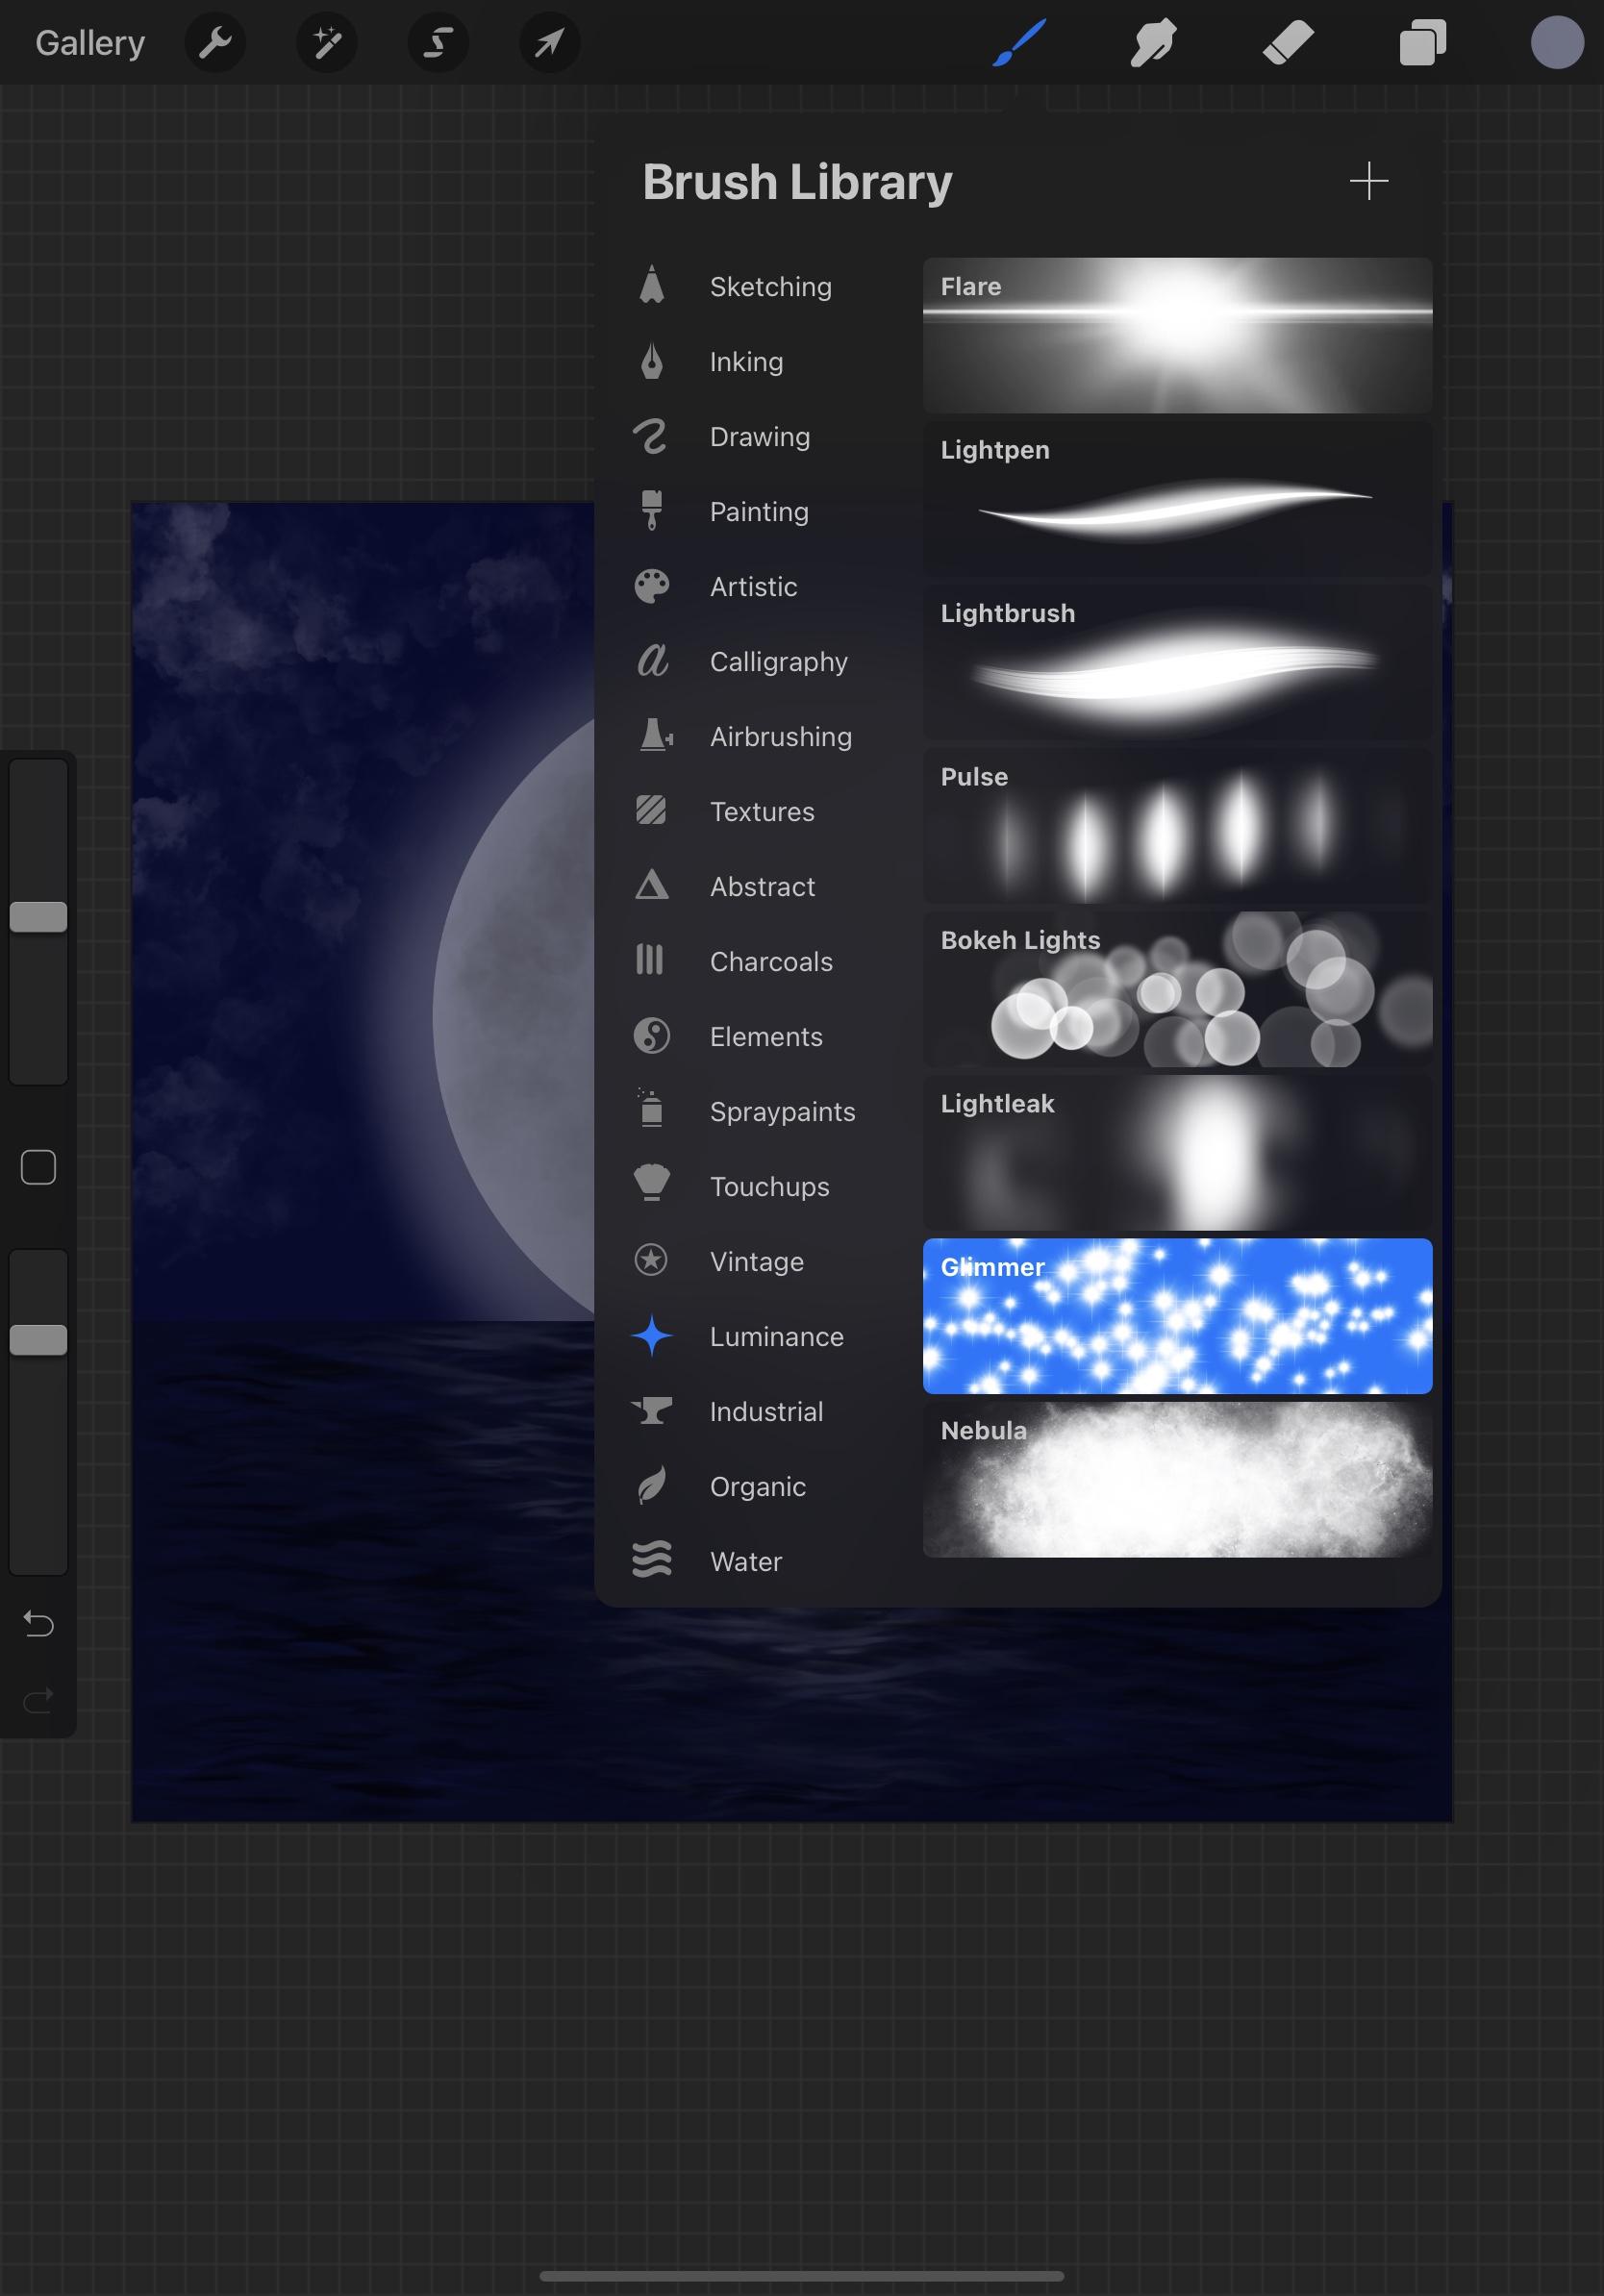
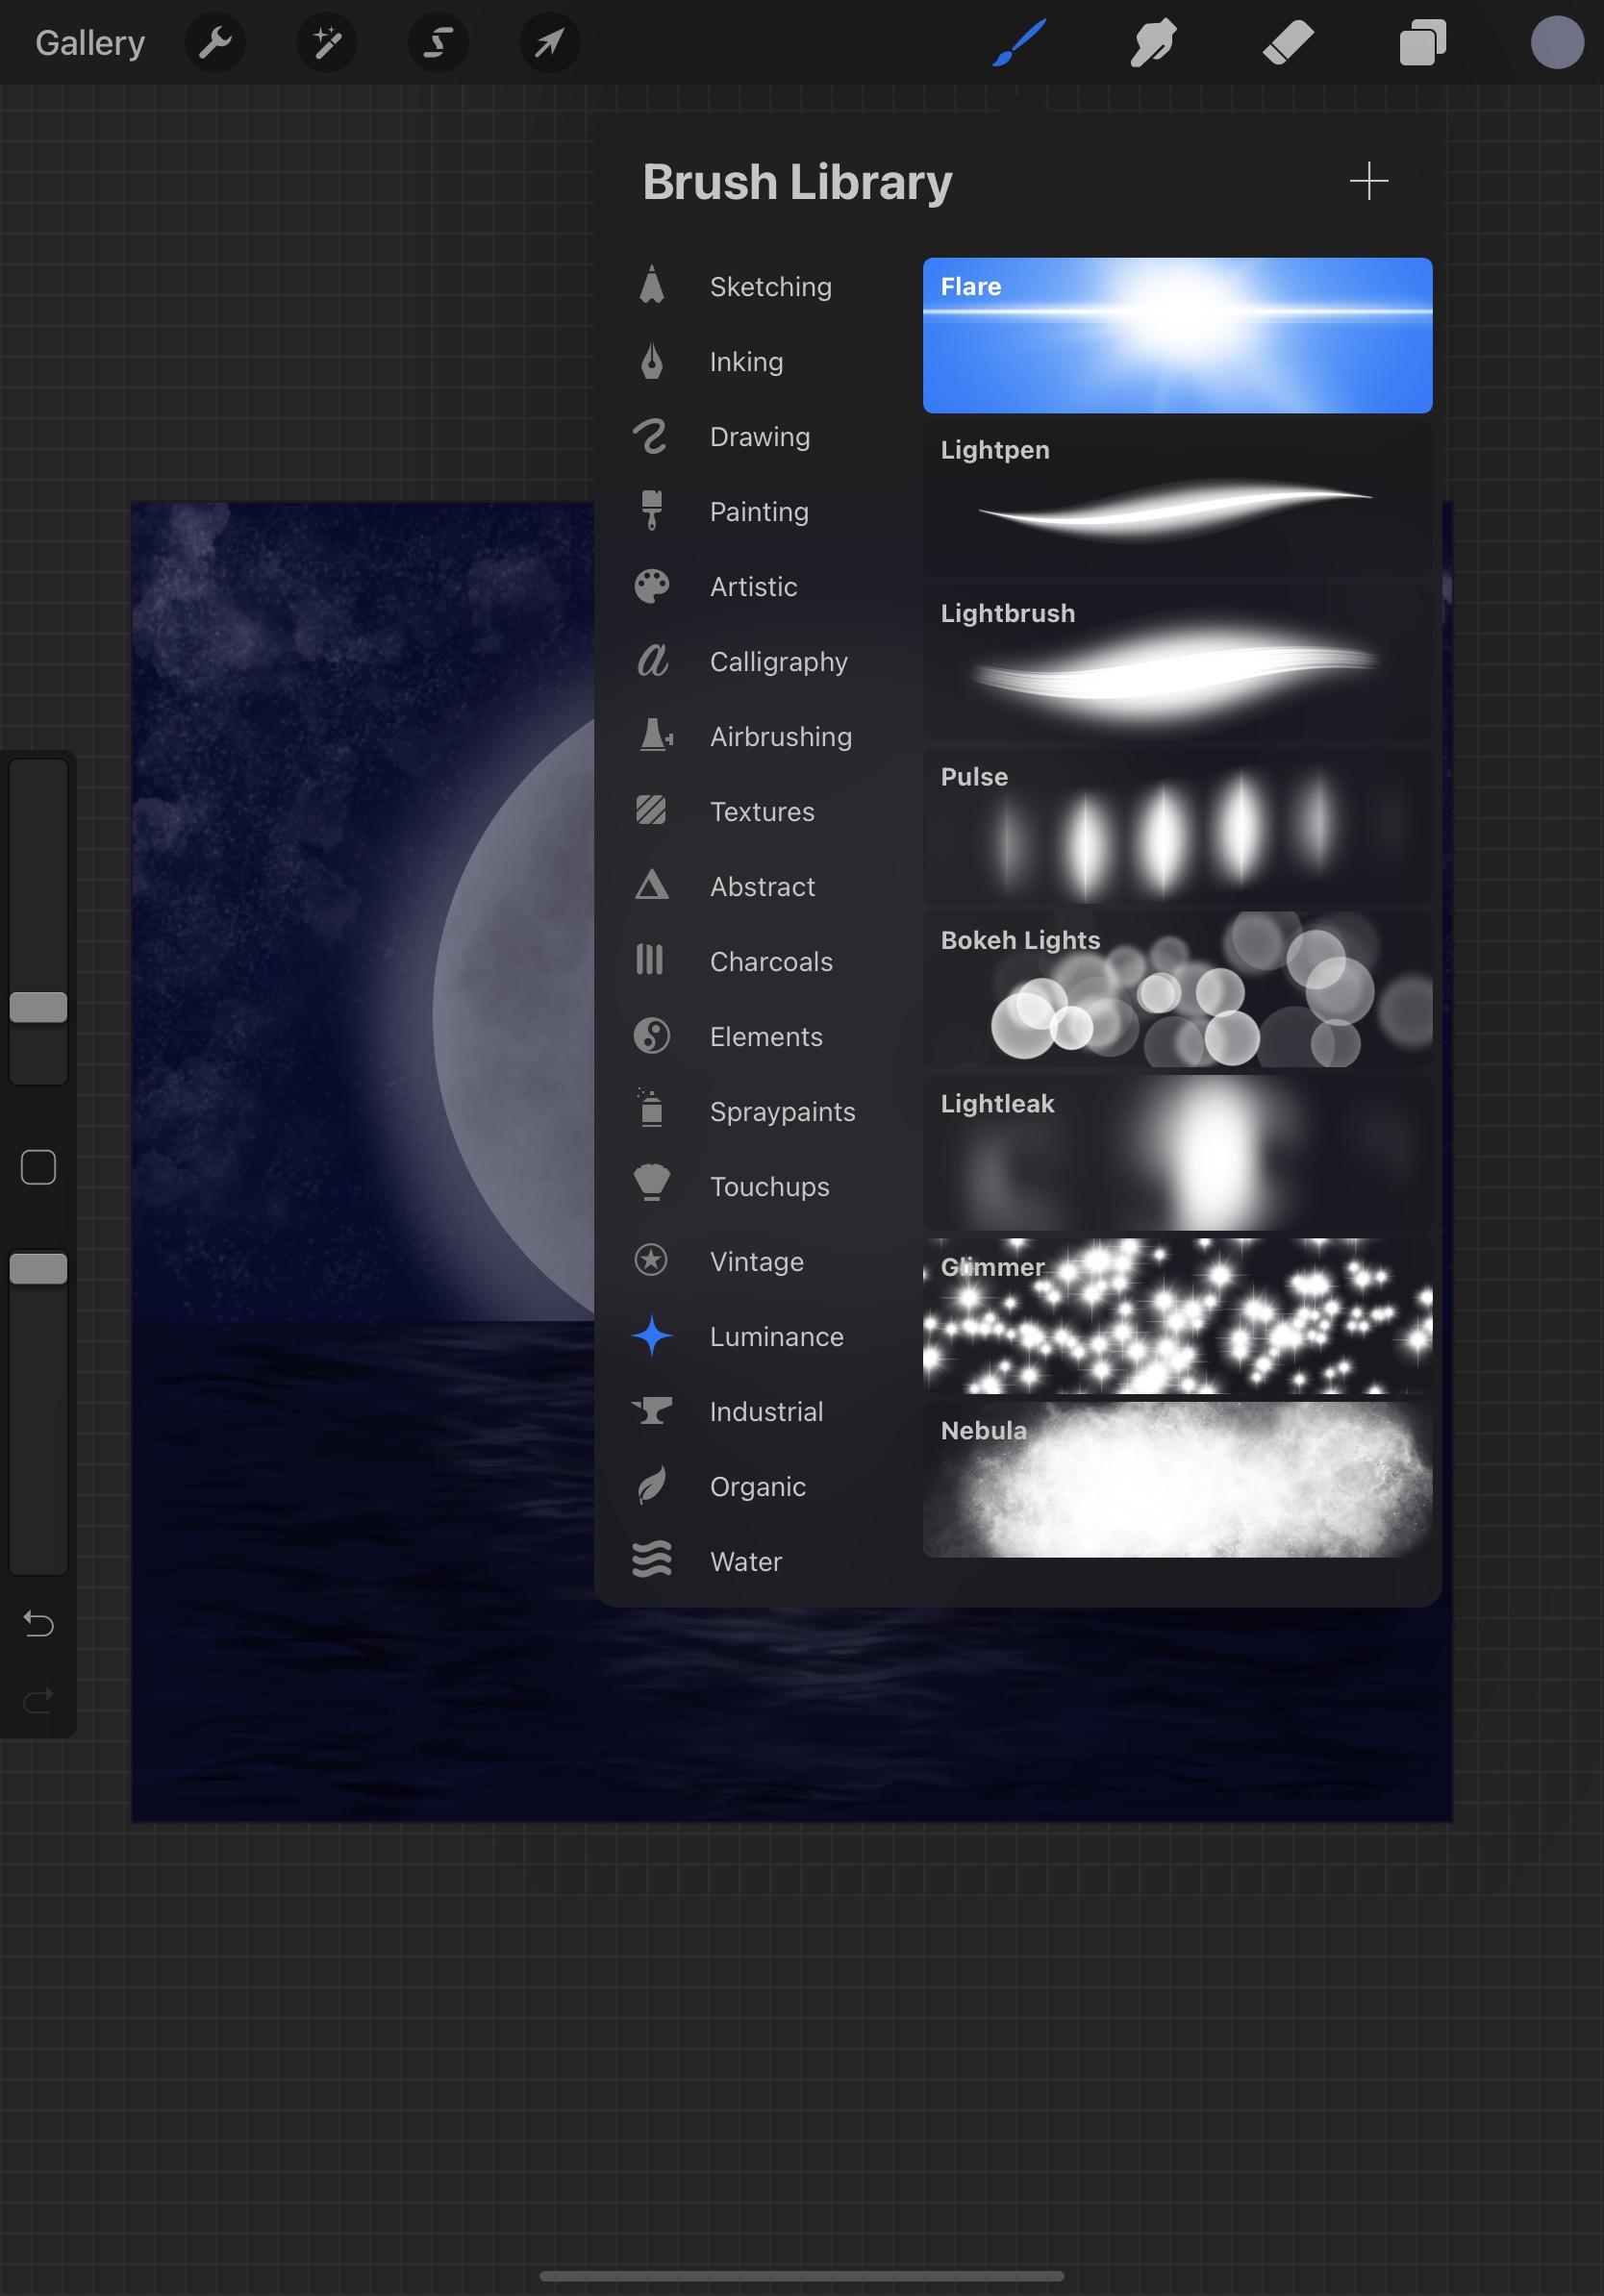
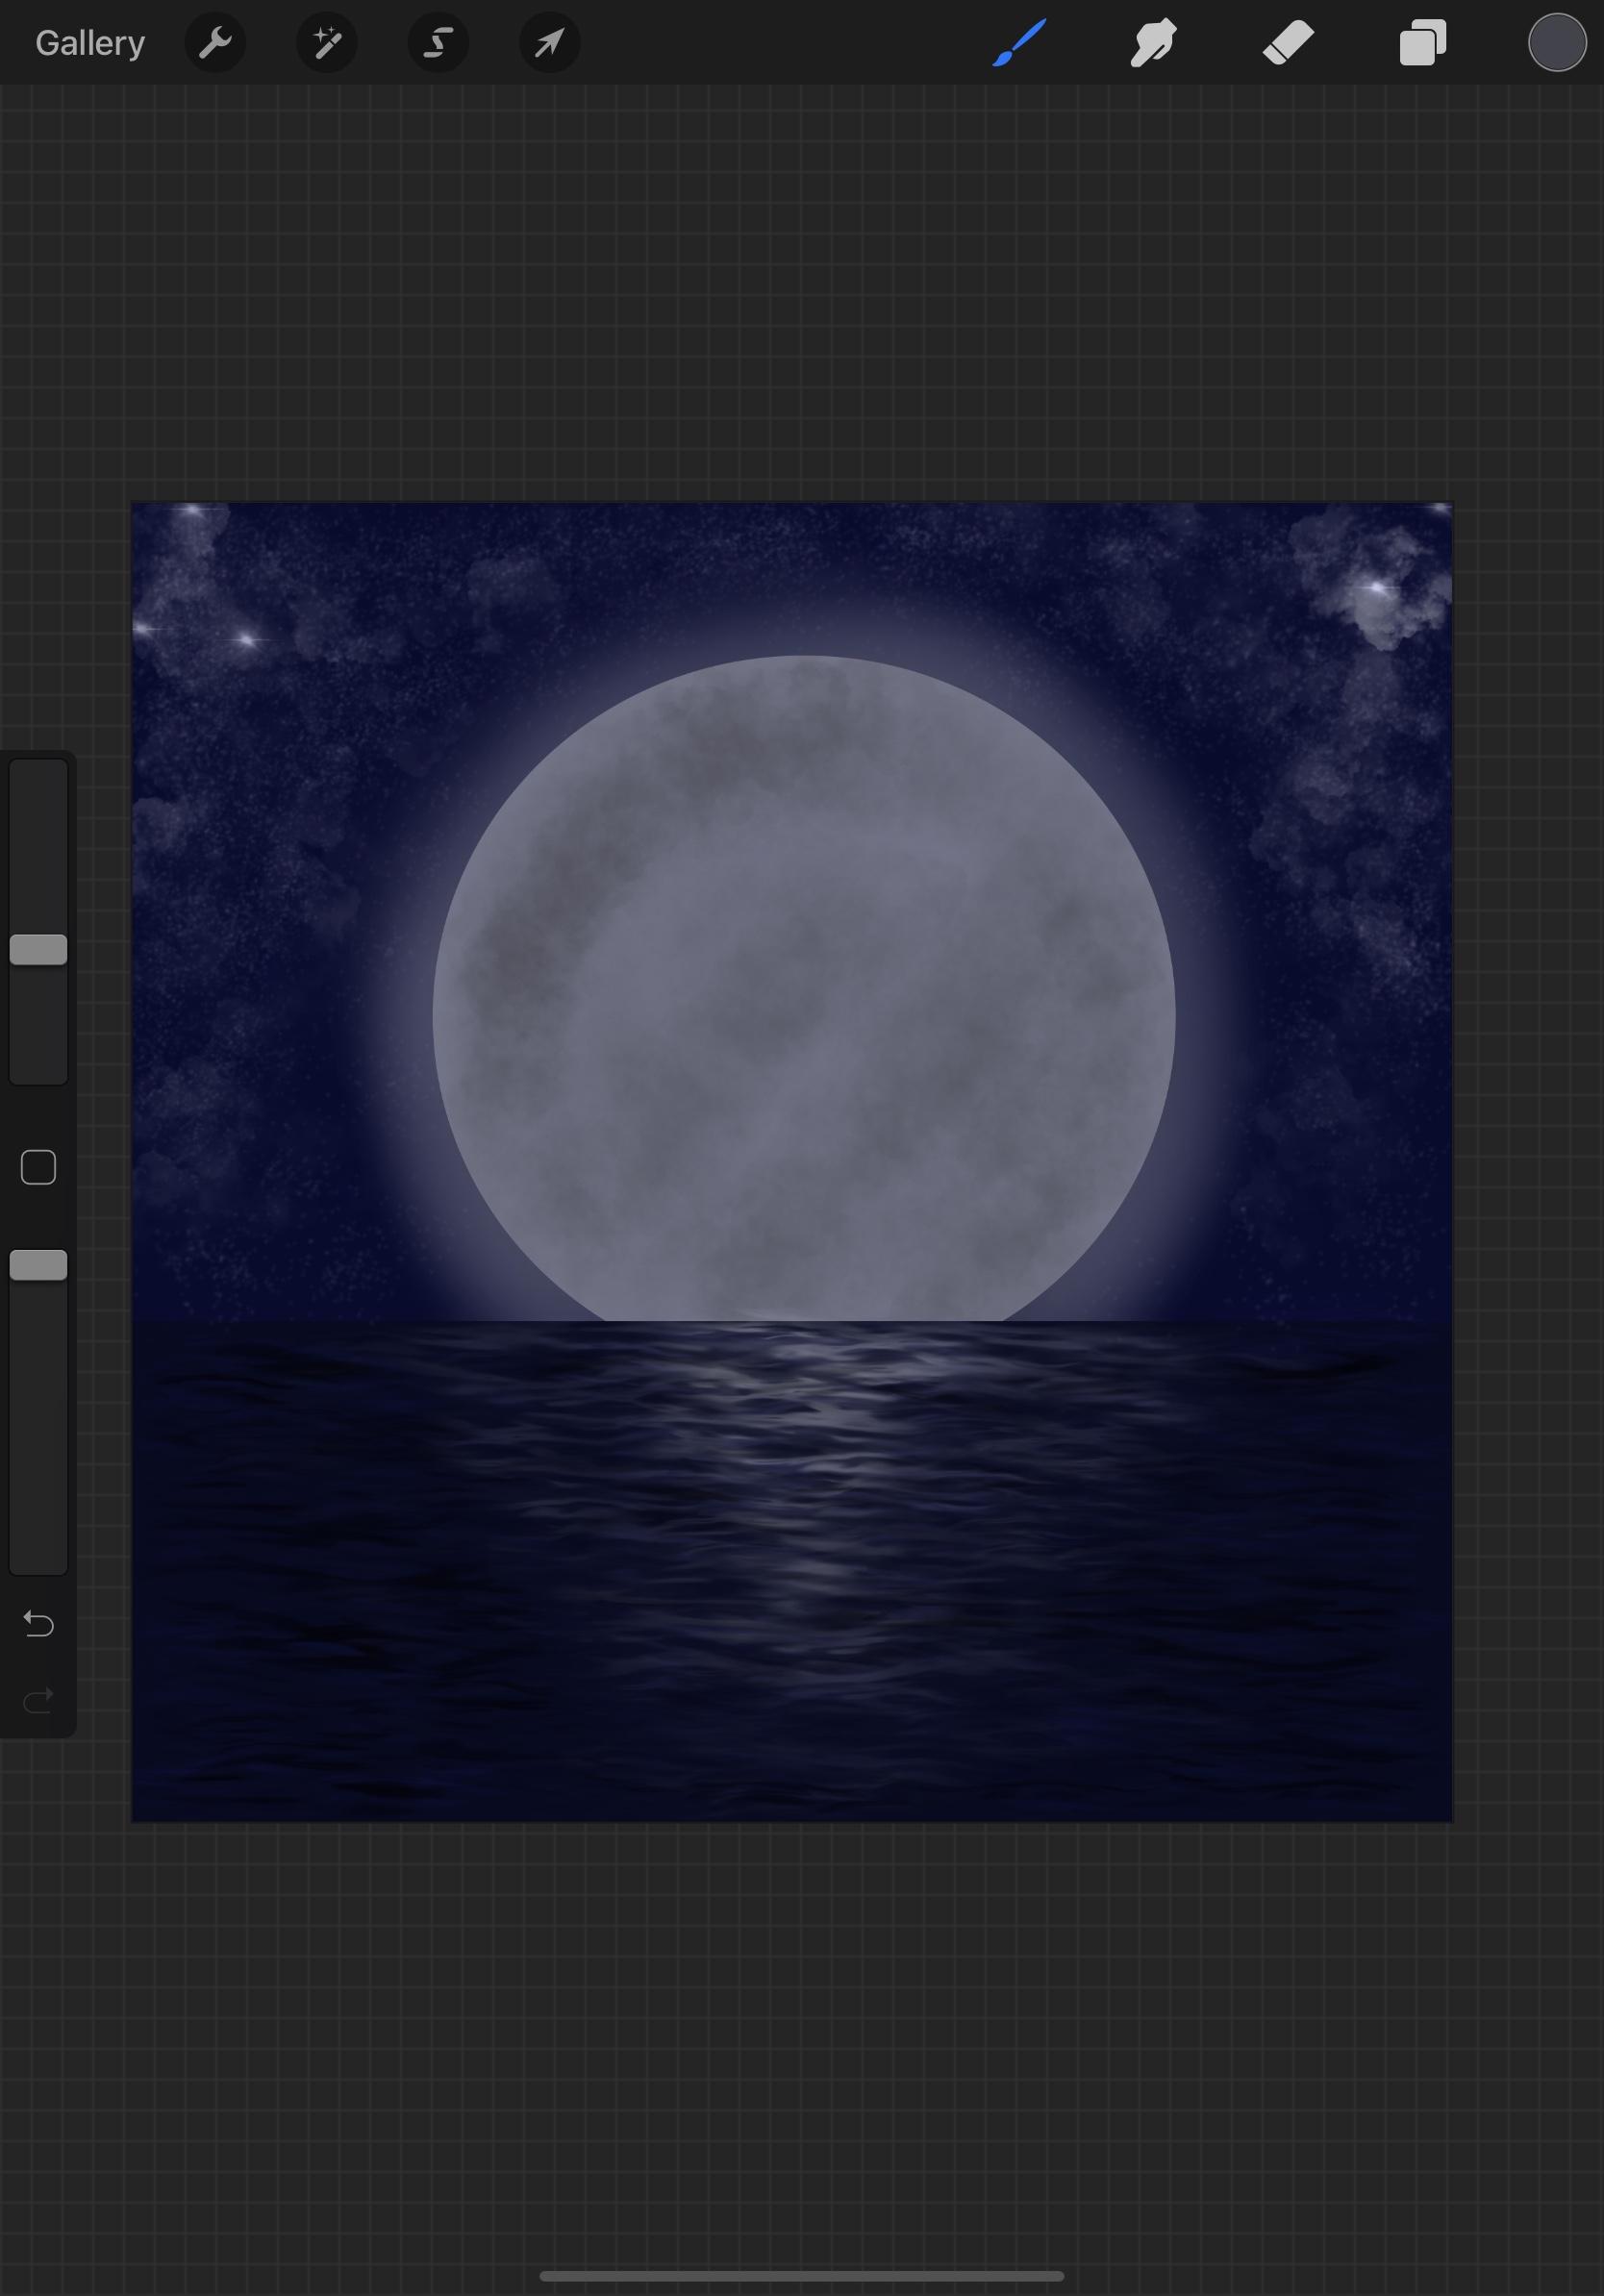
This is optional, you don’t have to add stars and clouds but I did. Choose the cloud pen in the color white and draw some clouds in the sky if you would like. Next, go in with the Glimmer pen and draw some small stars. You can draw bigger stars using the flare pen.
Personalize Your Moon
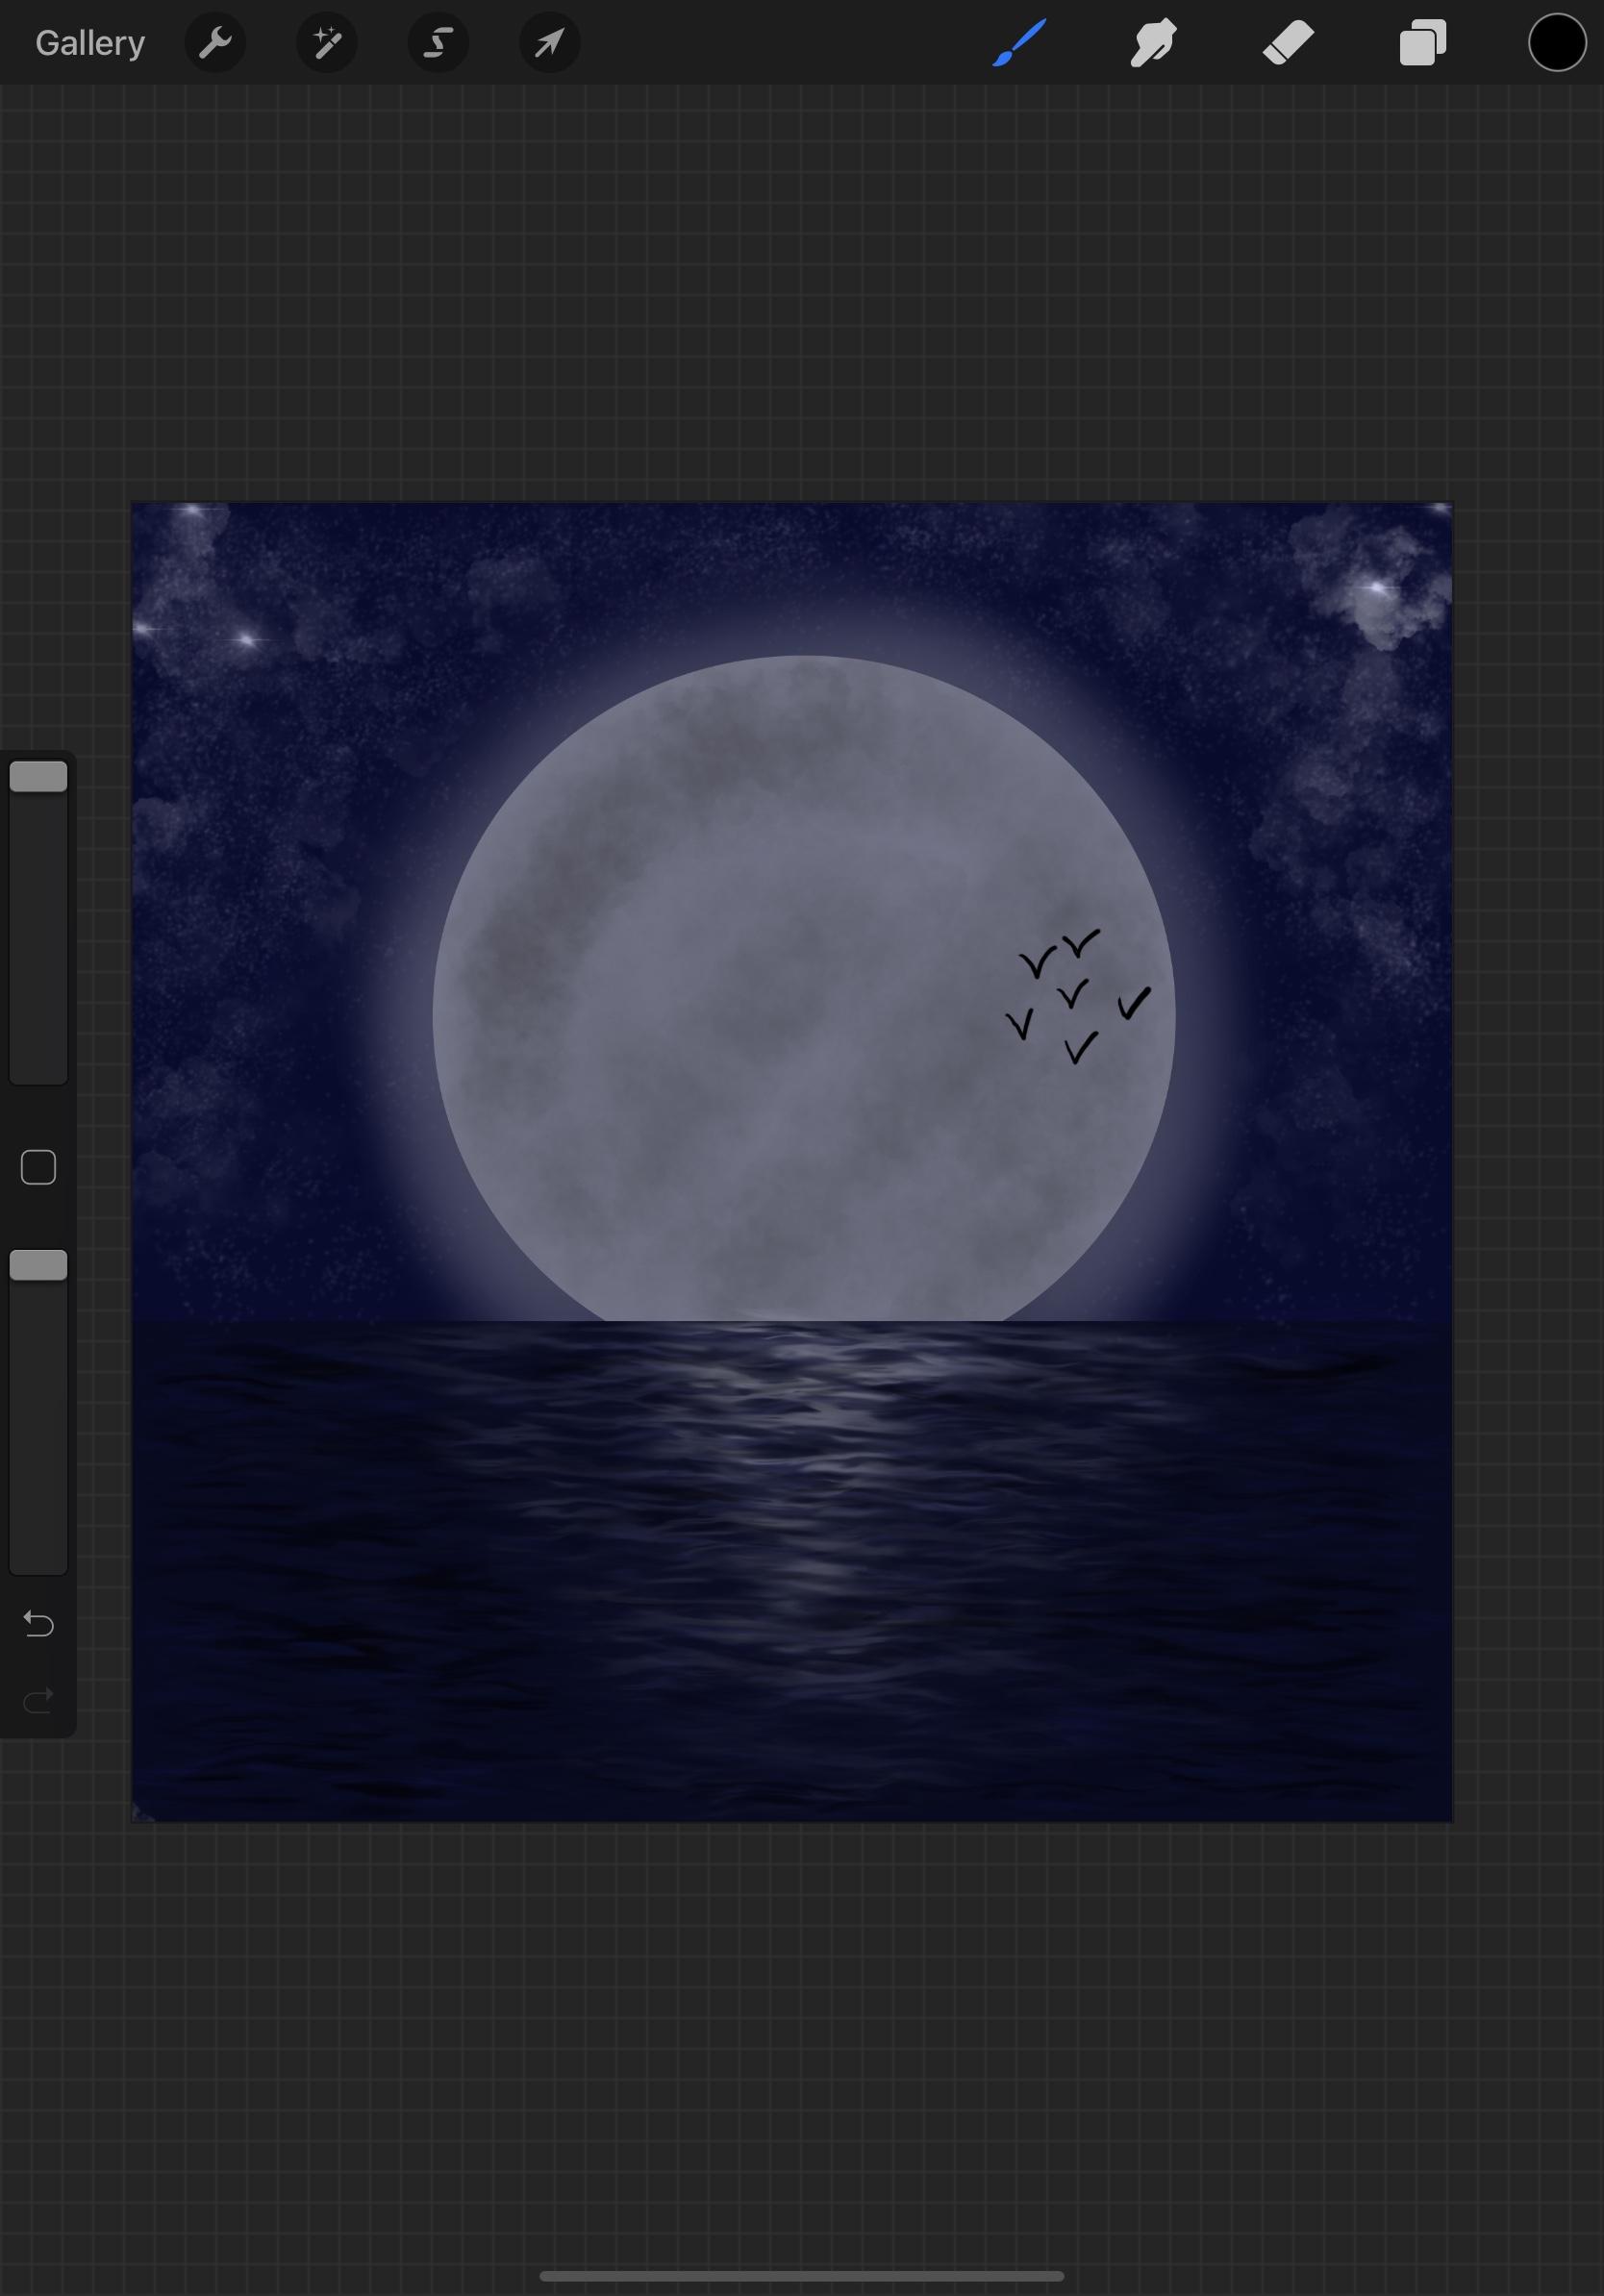
Add any touchups you would like! I added a few birds.