Drawing Flourishes in Inkscape
by wcamammoths in Design > Digital Graphics
1778 Views, 4 Favorites, 0 Comments
Drawing Flourishes in Inkscape
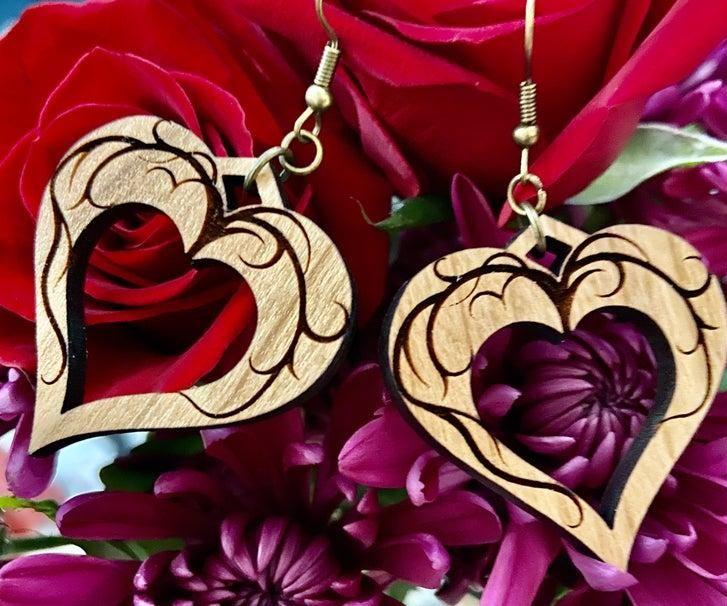
In my last Instructable, Lasercut Earrings with Inkscape and Glowforge, I showed how to make a basic earring. The earring in the cover image had a flourish on it and many ask how it was made. In the next steps, I'll show you how to draw these flourishes in Inkscape. If you'd like to see examples of SVGs created in Inkscape, check out my Etsy page.
You'll be able to put these flourishes on anything with your laser or your Cricut cutter. It seems like something you'd be able to do in one step, but they never come out exactly how you want them the first time.
Set Up the Bezier Tool
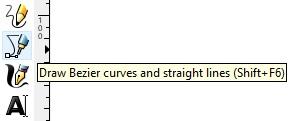
Click on the Bezier tool or press Shift and F6 simultaneously. With this tool, you can make smooth curves, but that's not the same thing as flourishes, so we have to change some settings first.
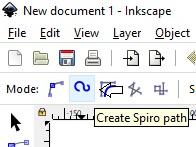
First thing, up in the top, left corner click the button that says, "Create Spiro Path" when you hover over it. This will make smooth, twisty curves.
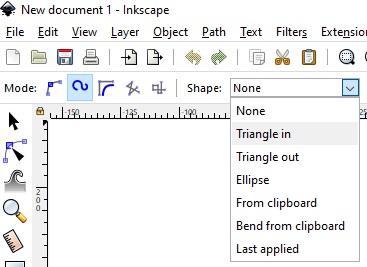
One more setting to change. Just to the right of the spiro curve button, click the shape dropdown, and choose "Triangle In." This will make it thick at the beginning and thin at the end how a flourish is supposed to be.
Draw the Shape of Your Flourish
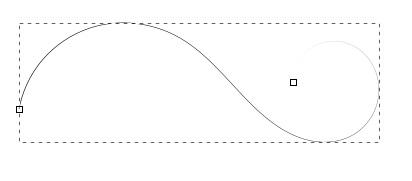
Now, click where you want the flourish to begin and click again at every major turn in the flourish. Watch how the curves change as you draw. Sometimes the behavior can be unpredictable, but you can modify it later.
After you click the end, hit Enter to finish. You'll notice that it's really thin and not that pretty. We'll fix that in the next step.
Modifying the Flourish
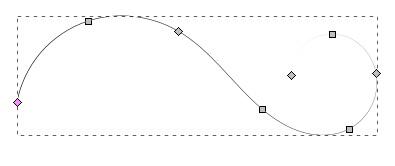
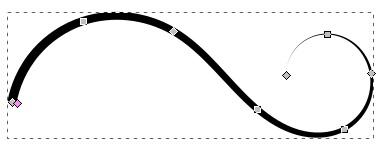
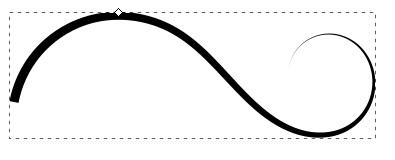
Now when you either click on the Node Editing arrow or press F2, you'll notice that a red square appears at the beginning of the flourish. If you drag that red square, the flourish will get thicker.
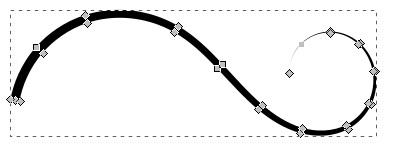
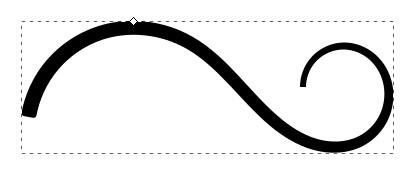
That looks a lot better, but I laser cut everything that I do, so the other end is still way too thin. In order to make the entire thing thicker, click "Path" and "Object to Path." You'll notice that there are now nodes all the way around the outside of the flourish and it is infinitely editable.
To make the whole thing thicker, click "Path" and "Dynamic Offset." Now, a little white box will appear at the top. If you drag that box, the whole flourish will get thicker.
Making It Fancy!

Now, you can add more flourishes and union them together, add leaves, put circles on the end, whatever you want. Share the pictures of what you create in the comments!