Double Exposure Photography
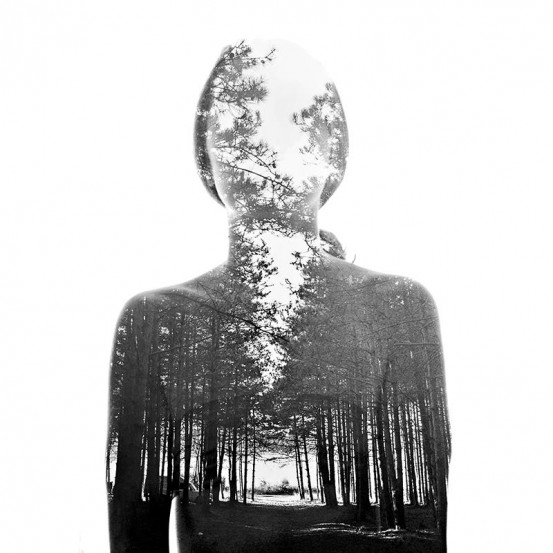
So, basically this new technique has been introduced into the field of photography. And it looks pretty cool.
What you basically do is have two pictures that can sync together like bread and butter. For example: a Human face and a good landscape!
How to do it? Its pretty simple. You can do it either using photoshop or using a already available android app.
For those who want to use the android app : https://play.google.com/store/apps/details?id=com.... .. here is the link to one of the many apps available from such type of blend photography.
For those who want to use photoshop : all you need to do is take the human picture.. select the brush tool and remove paint the background white and just keep the face outline. This gives an effect of double exposure. then select the second picture and place on the edited face picture. and then you just blend them.
Here is one such tutorial for photoshop : https://www.youtube.com/watch?v=Mbf-QXCCXgM
What you get is a perfect and creative picture! Try it
Step 1 :
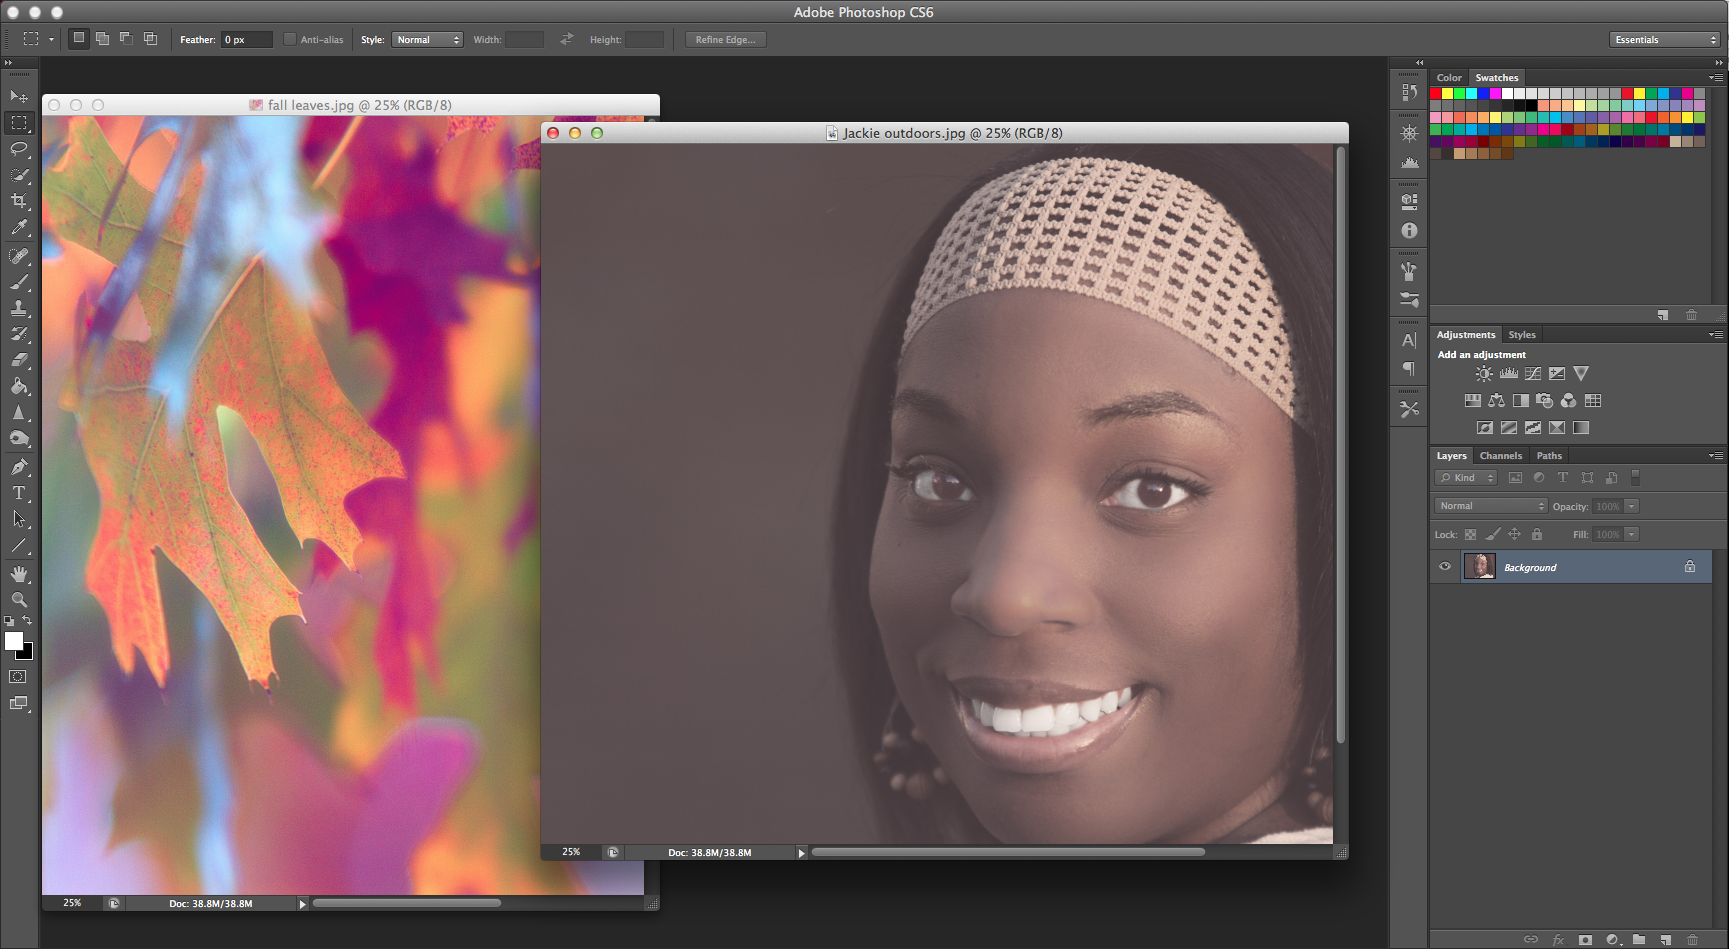
Open two images (you may open more than two if you’d like, but for the sake of simplicity, I’ll just use two). Go to the File menu, select Open, locate your photo, click “Open.”
Step 2 :
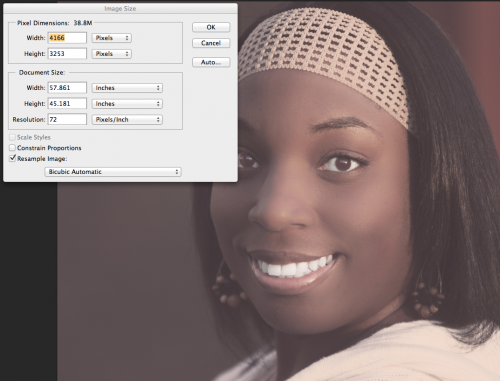
Resize one or both of your images so that they are the same dimensions. Go to the Image menu, select Image Size, adjust the Width and Height in Pixels for each image.
Step 3:
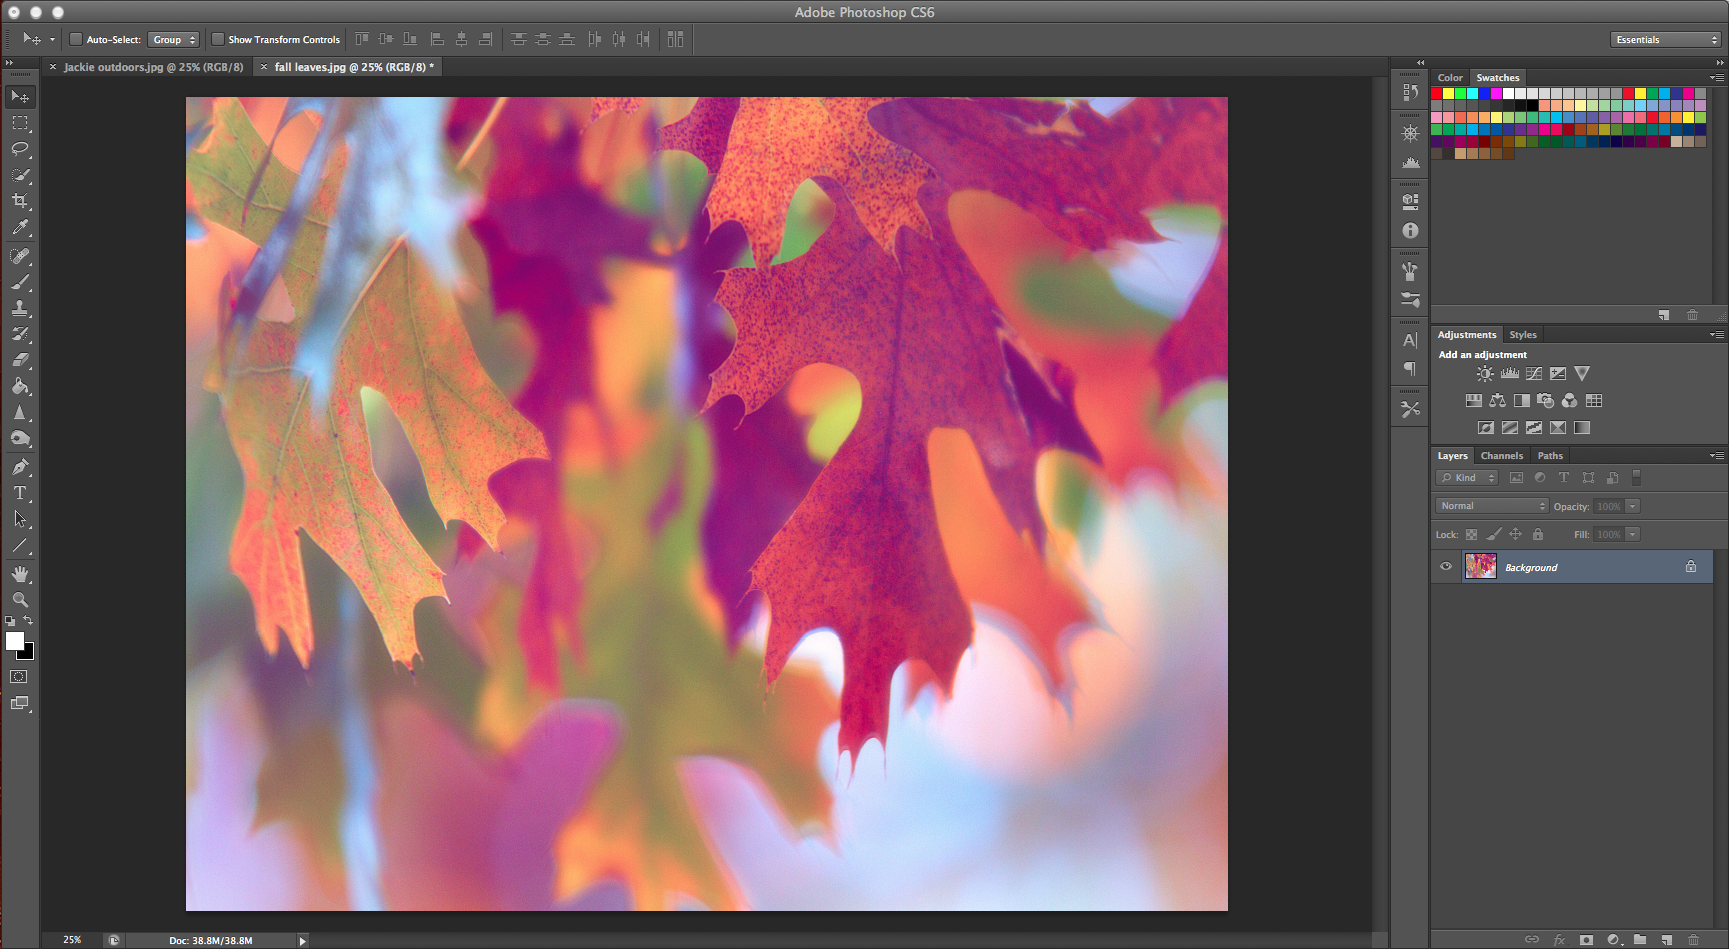
Decide which image will be your base exposure. In this example, the photo of the leaves is my base exposure.
Step 4:
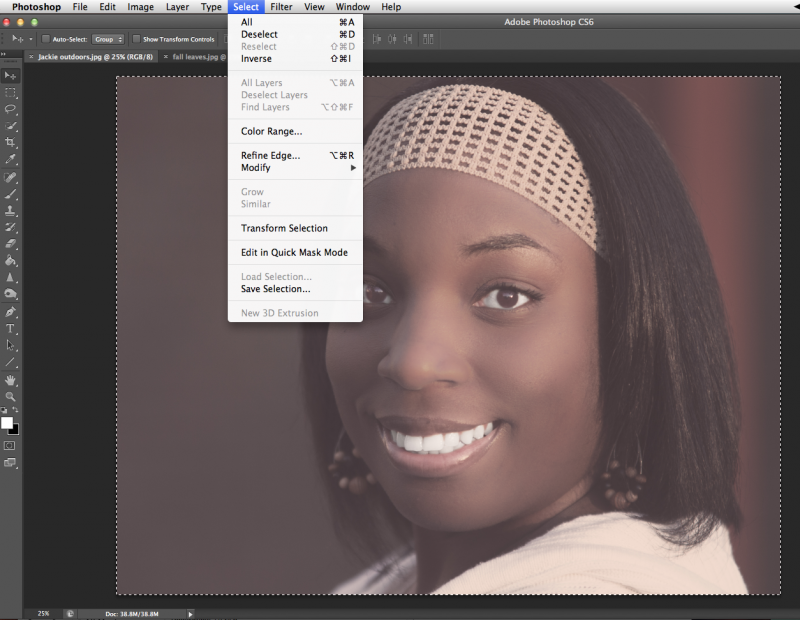
Now you will need to select your secondary image by going to the Select menu and choosing All
Step 5:

Select the Move tool from your tool palette. Click and hold the selected image and drag it over the top of your base exposure. Be sure that the images are perfectly aligned.
Step 6 :
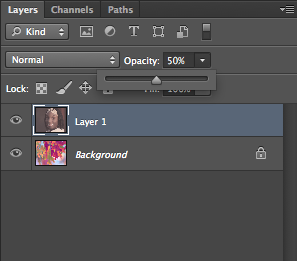
It will now appear that you’ve only got your secondary exposure available, but your base exposure is still there, trust me. You can reveal it by adjusting the Opacity slider. Here, I have it set to 60% for now.
Step 7 :
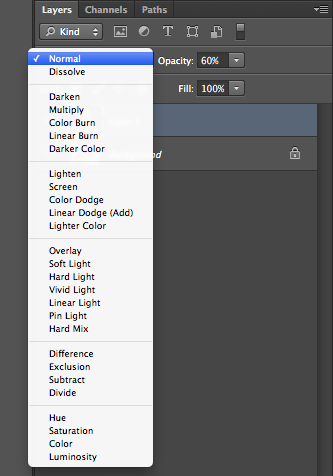
Next to the Opacity slider you will find a dropdown menu for the layer Blending Options, set to the default Normal. Adjust the options in this menu until you find a mode that suits your desire. I’ll leave it at Normal.
Step 8 :
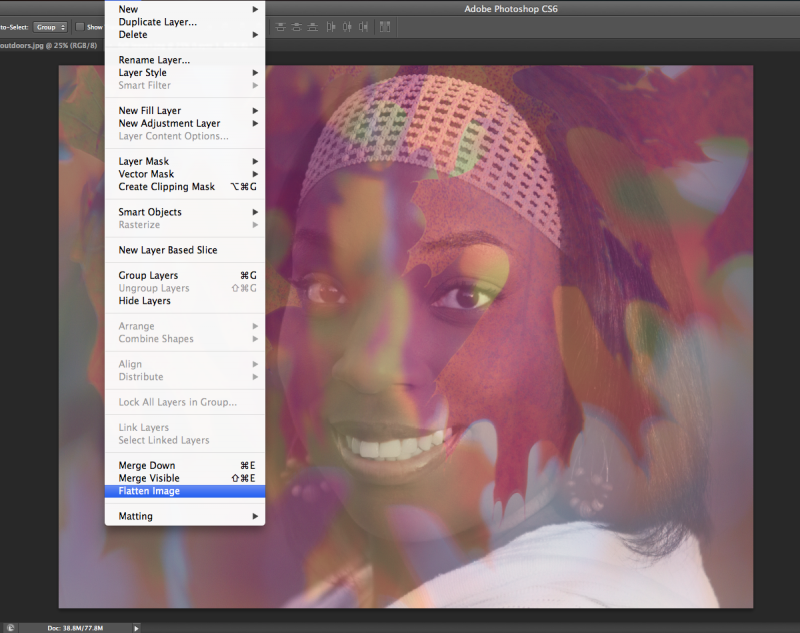
After you’ve made all your adjustments and everything looks the way you want, finalize your work by flattening everything into one layer. Go to the Layer menu, select Flatten Image.
Step 9 :
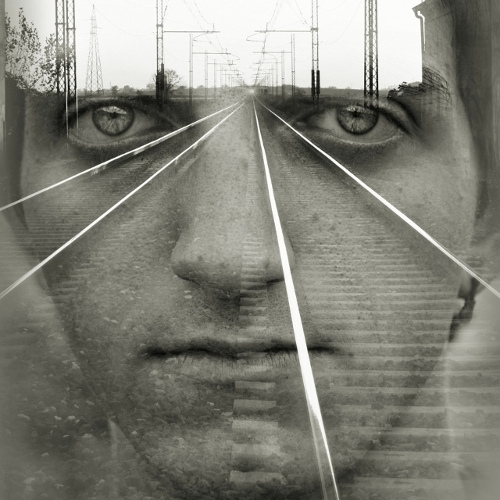
After you have mastered the basics — which shouldn’t take long at all — you can experiment with more images and more complex techniques involving layers and masking. You may even find that you eventually transcend simply having fun and are now making art. Really, the only limitation to working with multiple exposures is your own imagination. Just go with it.