Doorlock in Tinkercad
.png)
hi,
this is a really easy project and works flawlessly when you run the animation or if you make in real life!
Step 1 : Adding the Components
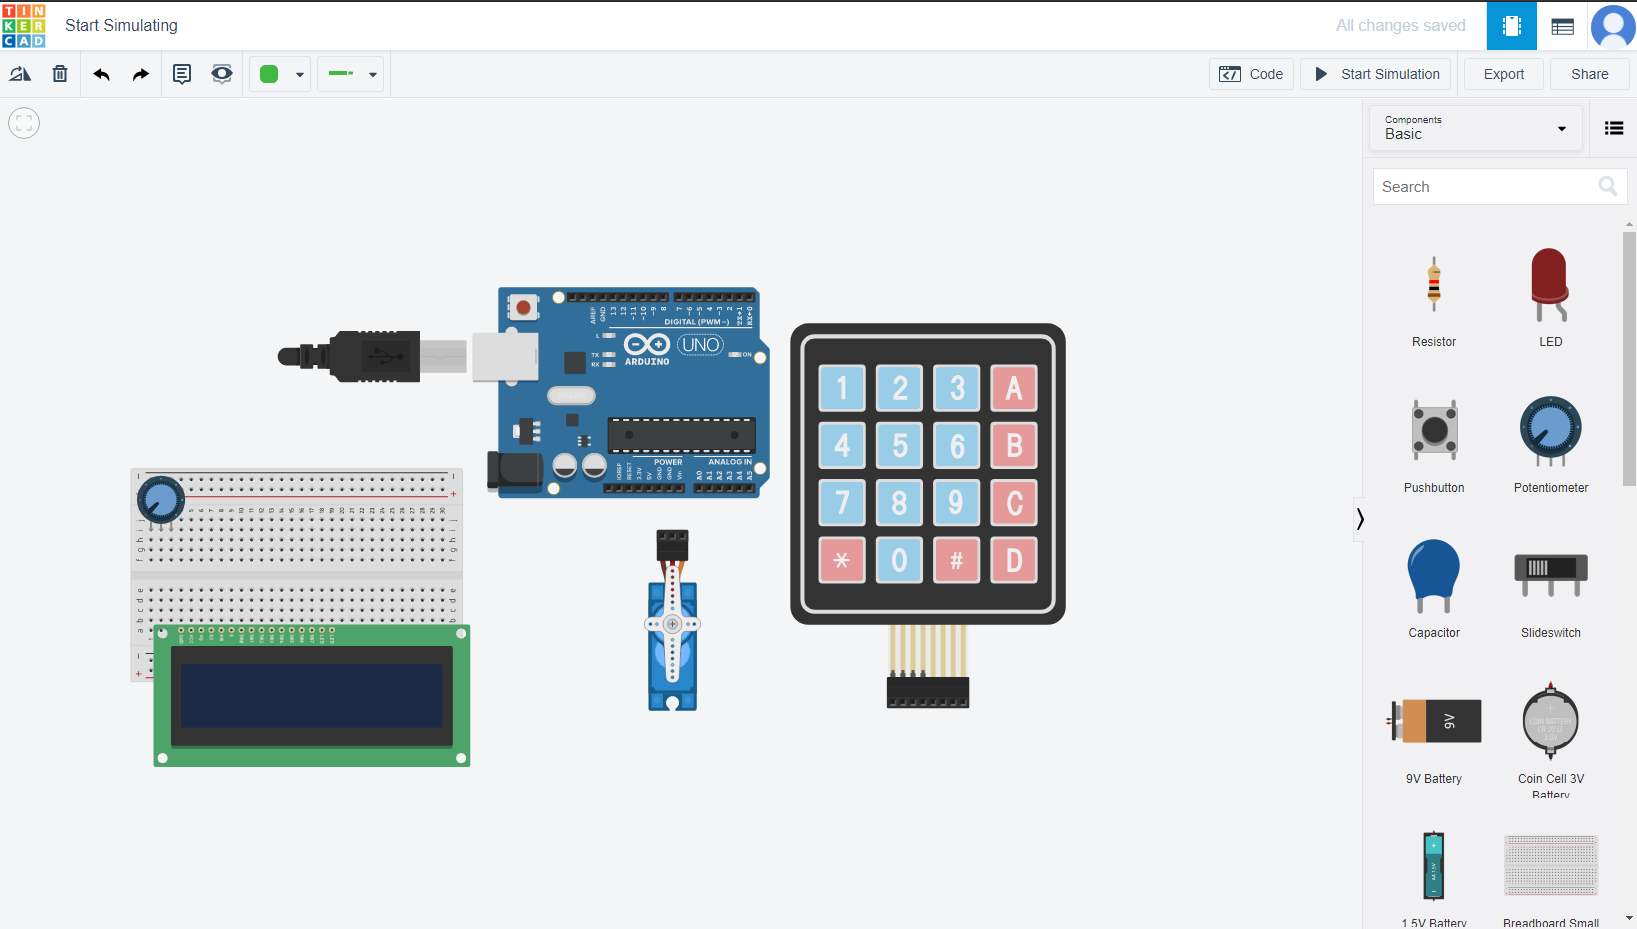
After opening tinkercad ,
drag and arrange the above shown components in your workspace
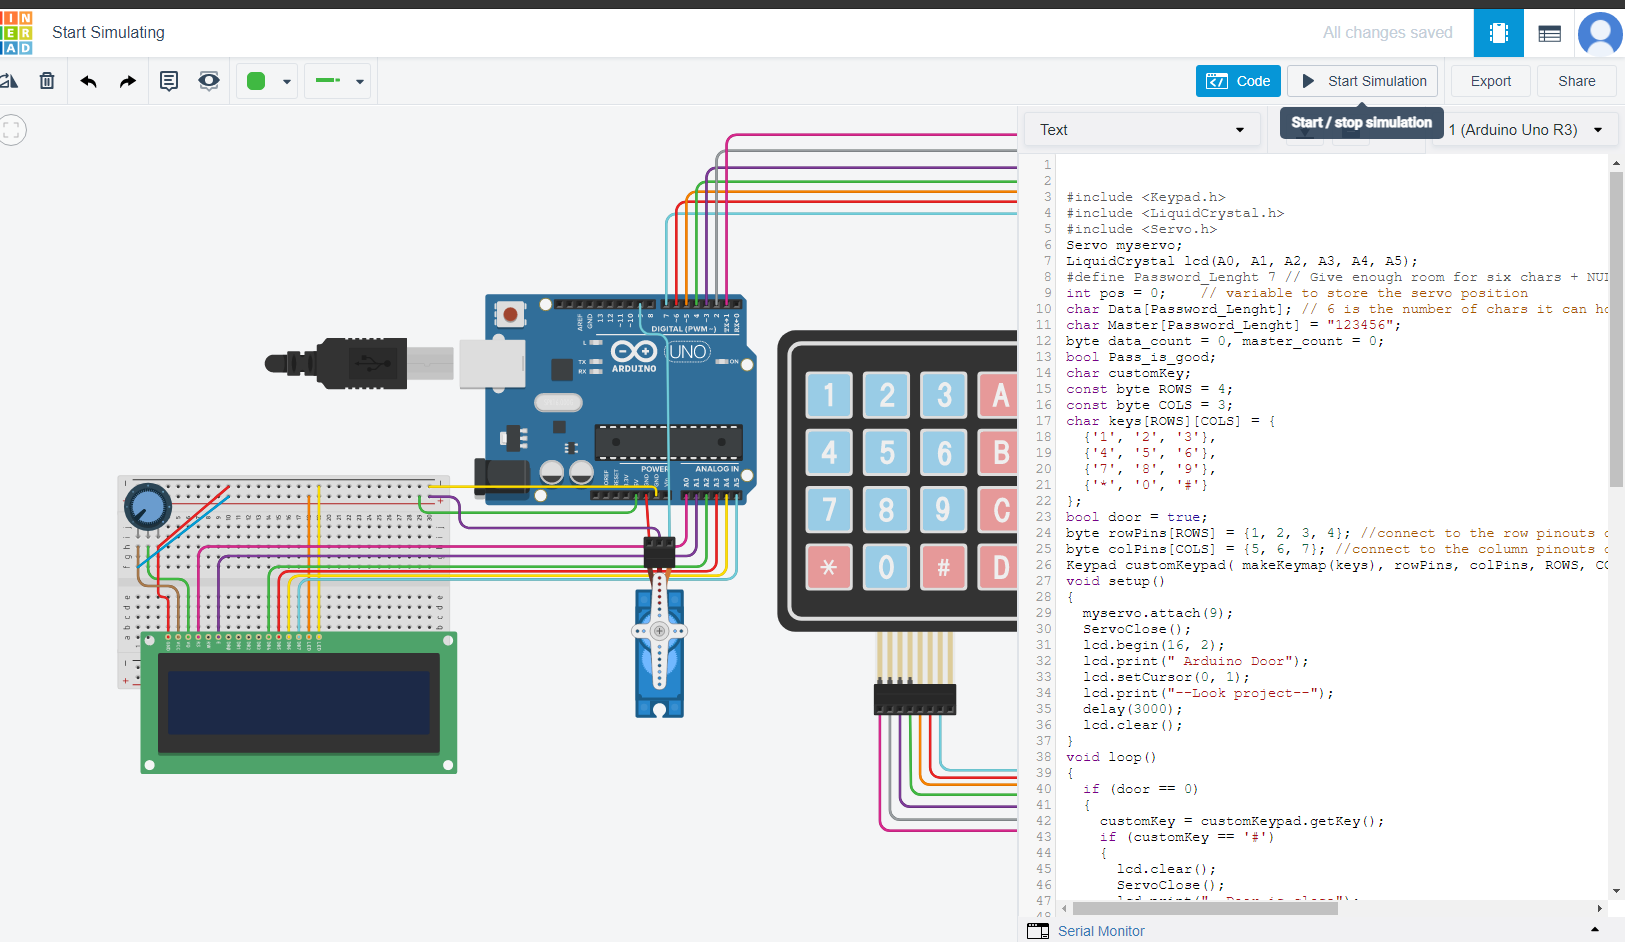
Step 2 : Wiring
.png)
Now for the wiring, look at the above picture and carefully connect all the wires in the same manner!
Step 3 : Final Step - Coding!
.png)
Now for this step , either you can make your own code to open the servo attached to the arduino or use the code provided below!
and that's it !!!
ENJOY!!