Doorbell Hacked With Telegram Bot
by SorinSalam in Circuits > Microcontrollers
2736 Views, 1 Favorites, 0 Comments
Doorbell Hacked With Telegram Bot
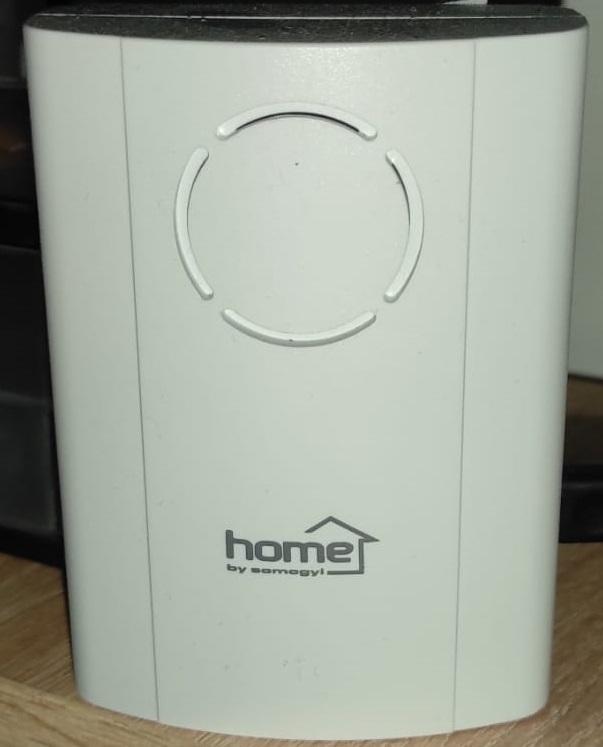
I had this doorbell for a while, but I didn't find it to be very useful. I almost always listen to music or do something to make enough noise to cover the intercom alarm. I had laying around an NodeMCU with ESP8266, so I wanted to use it to make it push notifications to my phone every time someone pressed the button outside my home.
Supplies
There are a few things to hack the doorbell:
- A wireless doorbell
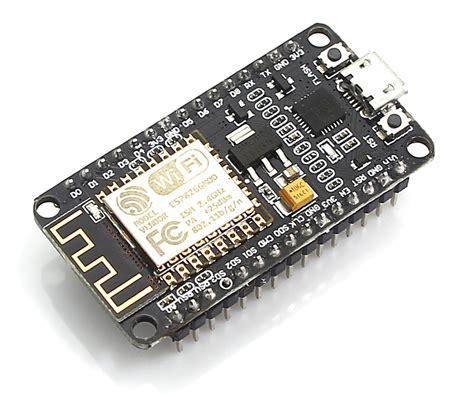
- NodeMCU with Esp8266 or ESP32
- Soldering iron + solder
- Screwdrivers
- Wires to hook the NodeMCU to the doorbell
- Engineer's tape to wrap things up
Telegram Setup

First off, download the Telegram App and make an account for it. The Telegram platform has easily configuring bots to make various things, is free to use, and are relatively fast to respond.
After creating an account, search for "Botfather". It's the interface from which you'll make your new bot. Follow his instructions and customize it as you want.
Hacking the Doorbell

The easy way is to find a wireless doorbell, so you can place it in convenient places, like your desk.
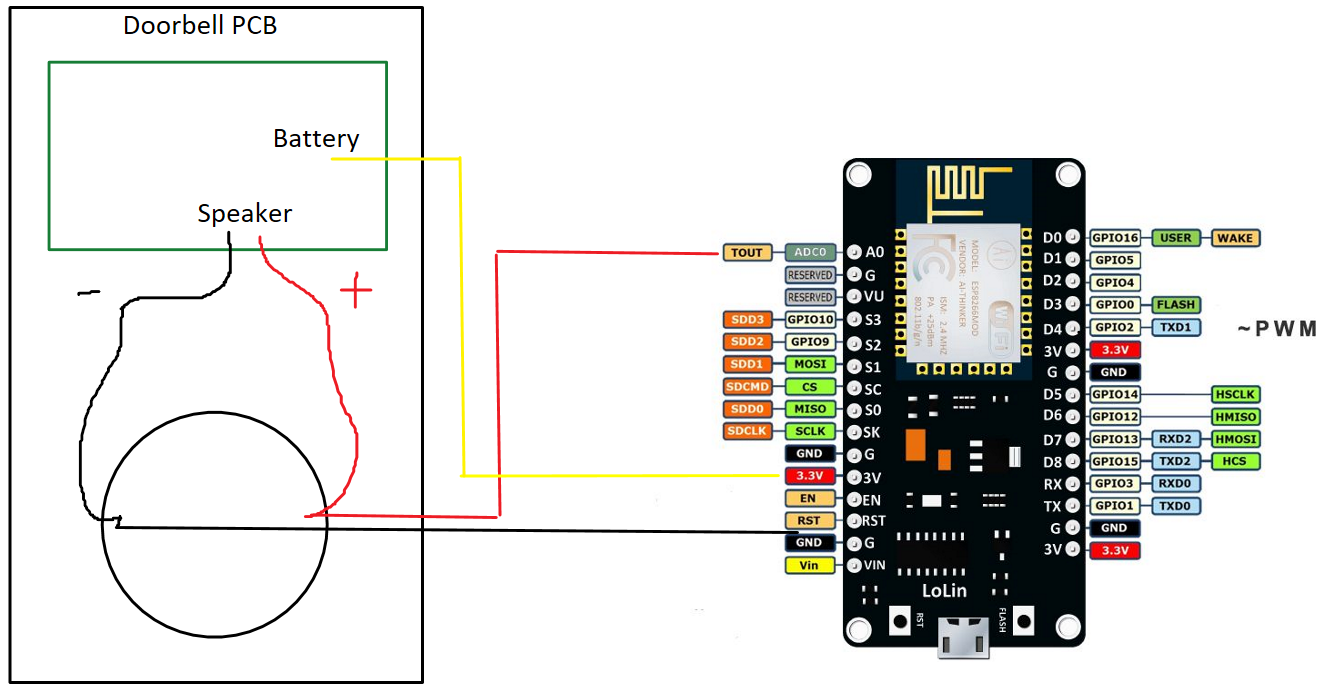
After finding it, you must take it apart and get to the speaker.
The circuit is simple, wire A0 from the NodeMCU to speaker red/+ sign lead, ground to battery- sign or speaker- sign and battery+ to 3.3V from NodeMCU (my doorbell needs 2 batteries, it's almost a spot on voltage).
Engineer a case for the whole system, or do as I did, and tape over the closing hatch of the batteries, encapsulating the NodeMCU from within. I left the MicroUSB free, for programming and powering up the system afterwards.
NodeMCU Setup

I used the Arduino IDE to program my microcontroller.
Open Your Arduino IDE, then open preference from the file menu and copy this link http://arduino.esp8266.com/stable/package_esp8266com_index.json to additional board manager URLs. Then change the board to NodeMCU 1.0.
Code
#include "CTBot.h"
/* ESP8266 Analog Pin ADC0 = A0 */
#define analogPin A0
/* Telegram library bot */
CTBot broBot;
/* Credentials for your wifi network + telegram token */
String ssid = "your network name";
String pass = "your network password";
String token = "your telegram token";
/* Variable to store Output of ADC */
int adcValue = 0;
void setup()
{
/* Serial connection for debugging */
Serial.begin(115200);
Serial.println("Starting TelegramBot...");
/* */
broBot.wifiConnect(ssid, pass);
/*Bot set telegram token */
broBot.setTelegramToken(token);
/* Check-up */
if (broBot.testConnection())
Serial.println("\ntestConnection OK");
else
Serial.println("\ntestConnection NOT OK");
}
void loop()
{
/* Read the Analog Input value */
adcValue = analogRead(analogPin);
/* Print the output in the Serial Monitor */
Serial.print("ADC Value = ");
Serial.println(adcValue);
/* If a voltage is present, send a message */
if (adcValue >= 100){
broBot.sendMessage(msg.sender.id, "Bro, there's someone at the door!");
delay(2000);
}
/* Delay for non-bouncing */
delay(500);
}
Downloads
Testing the Device
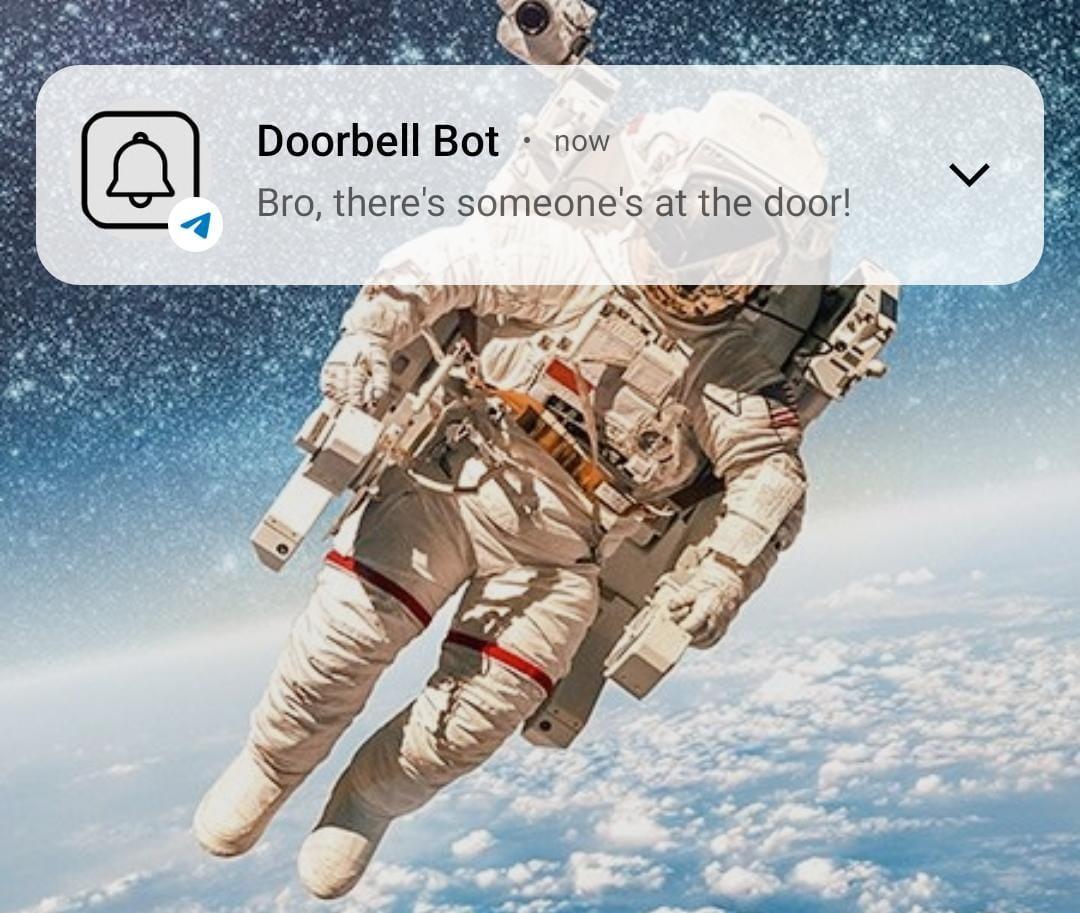
The program seems to send the message a few seconds after the button was pressed, but it may slow down due to other factors, like not having WiFi coverage on your phone or the Telegram notifications being slown down by your phone OS.