Door-On! a Door Opener Through an IR Sensor.
by luca.qumsieh in Circuits > Arduino
326 Views, 0 Favorites, 0 Comments
Door-On! a Door Opener Through an IR Sensor.
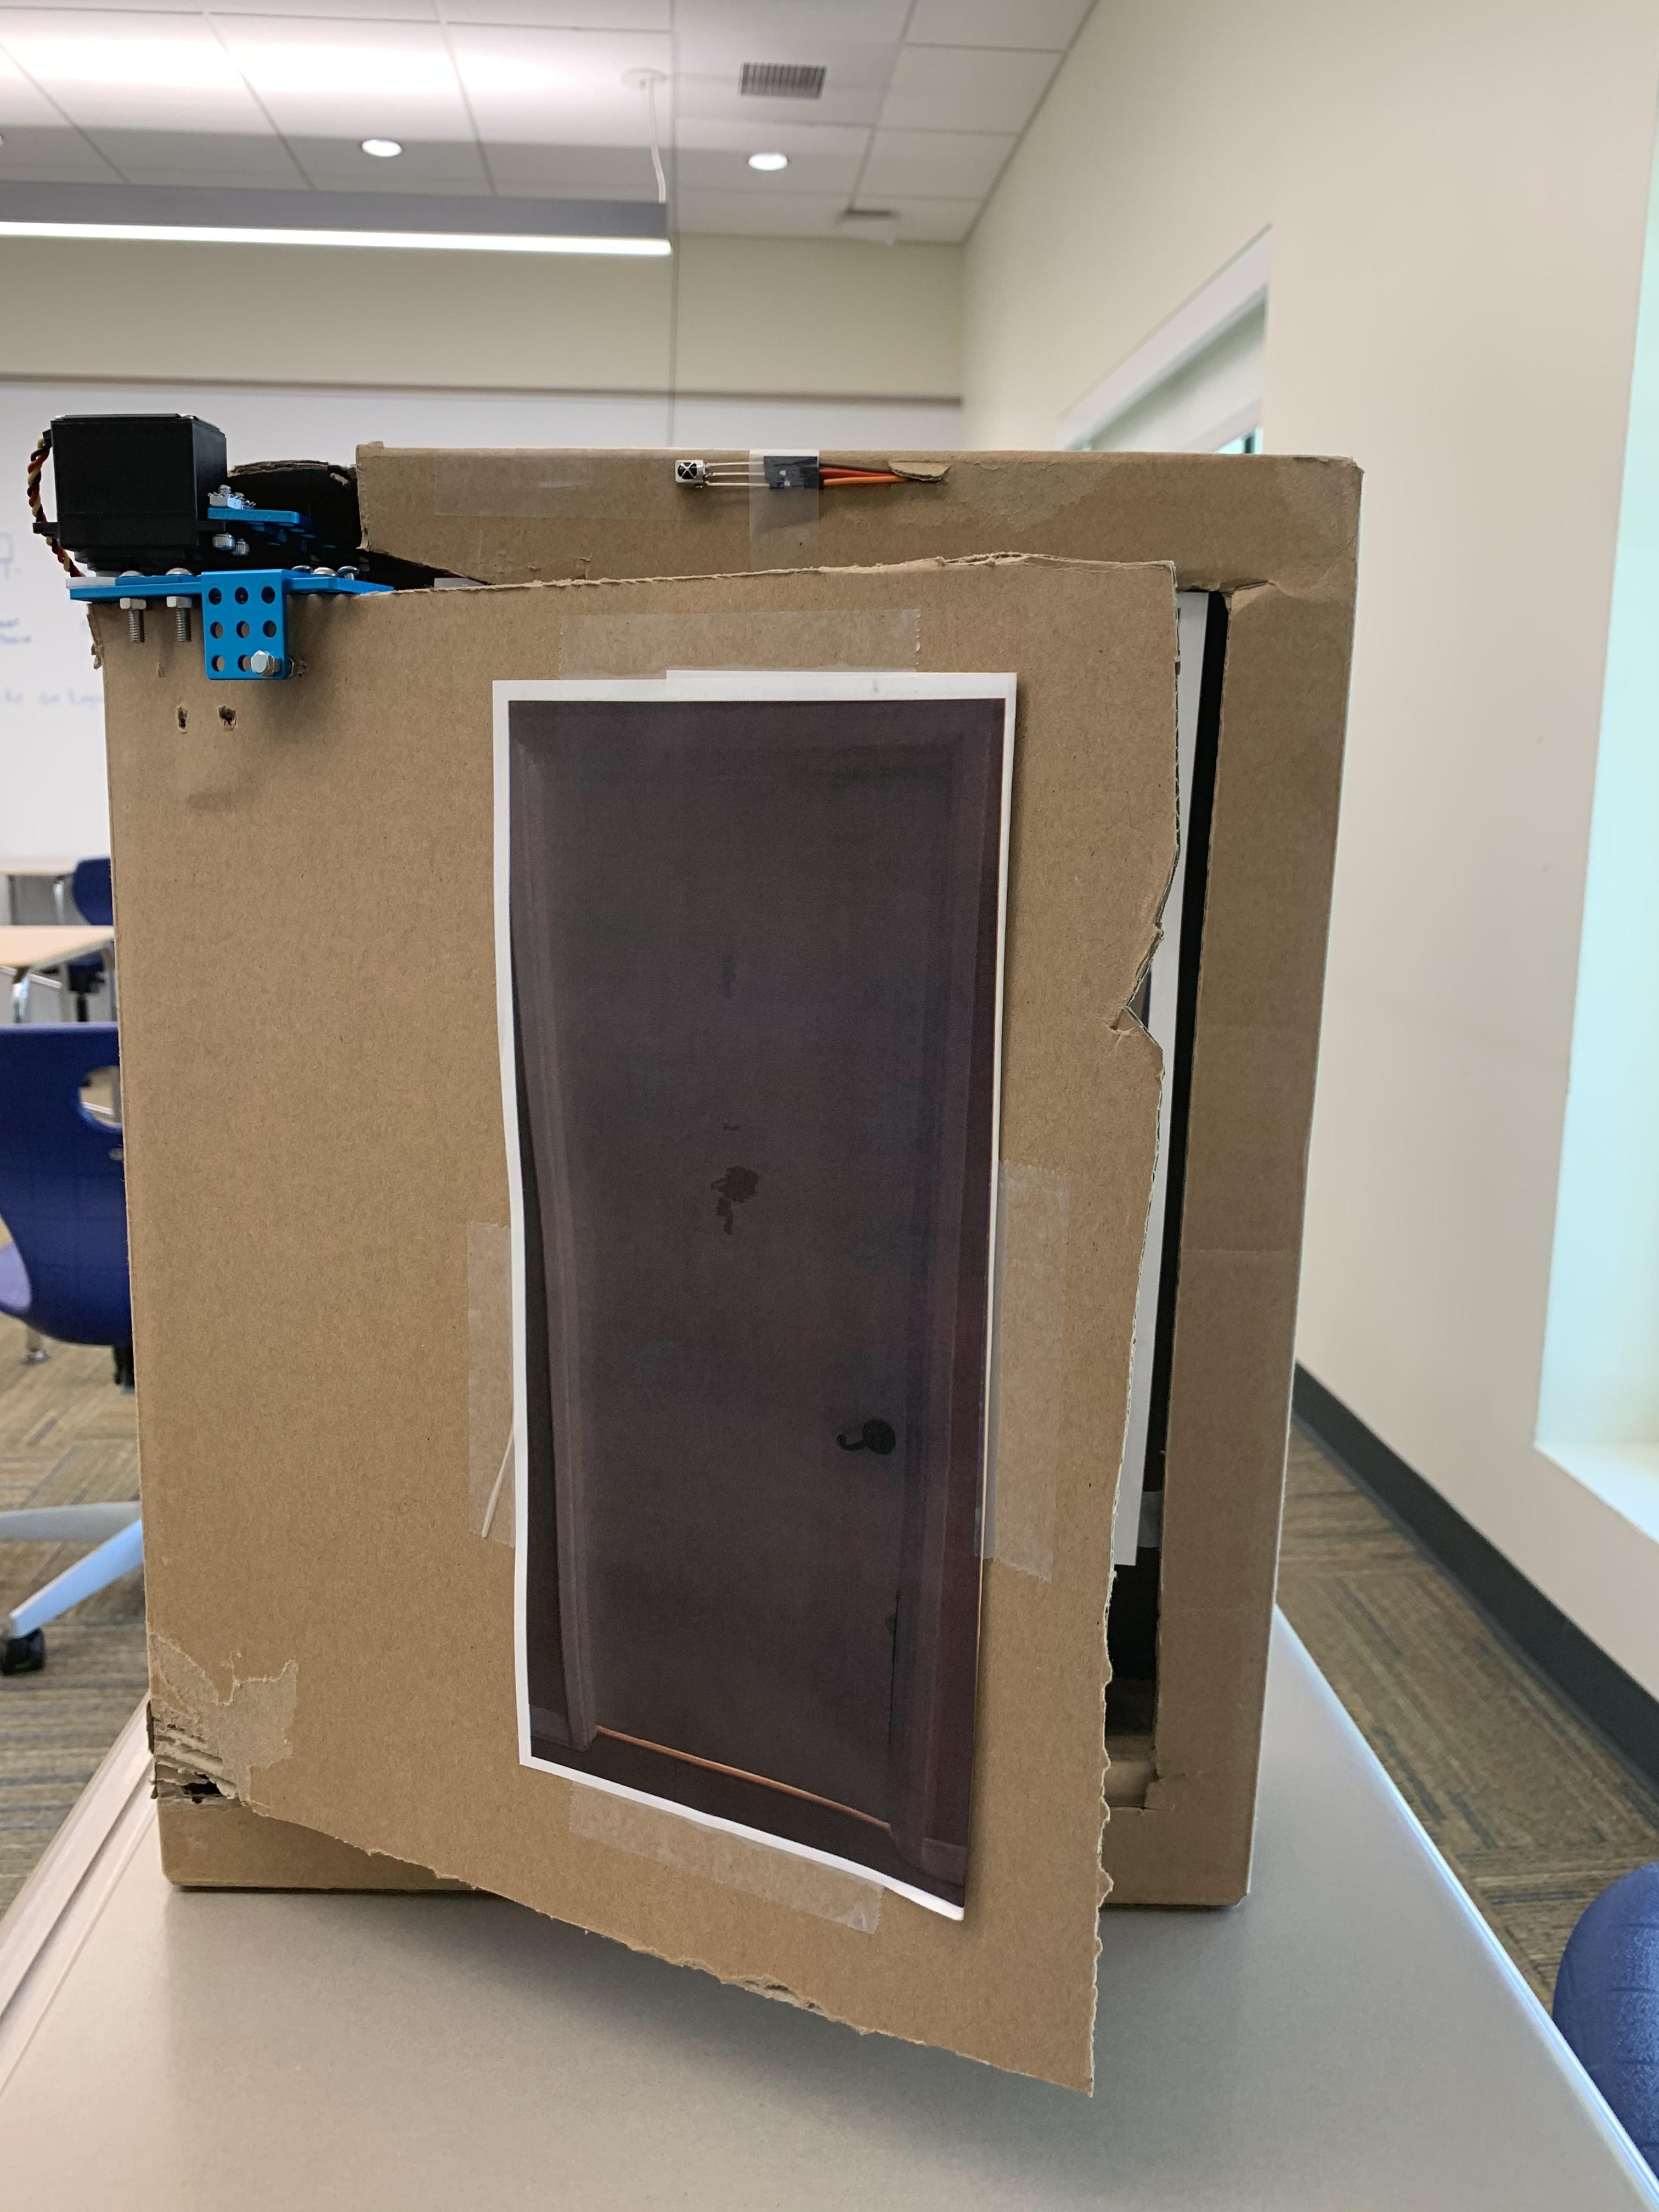
There are too many people who are stuck under the yoke of those who live with them who do not close doors when they leave, especially when the oppressed mentioned ones are laying in bed comfortably. Thus, the solution is to create a remote controlled door opener and door closer, which is just what I made.
Supplies
For this project you need:
- A cardboard box
- HITEC HS-485HB
- TSOP38238 IR Sensor
- Spare parts (i.e. screws, metal pieces, etc.)
You will also need the IR Remote Library
Step 1: Metal Bar
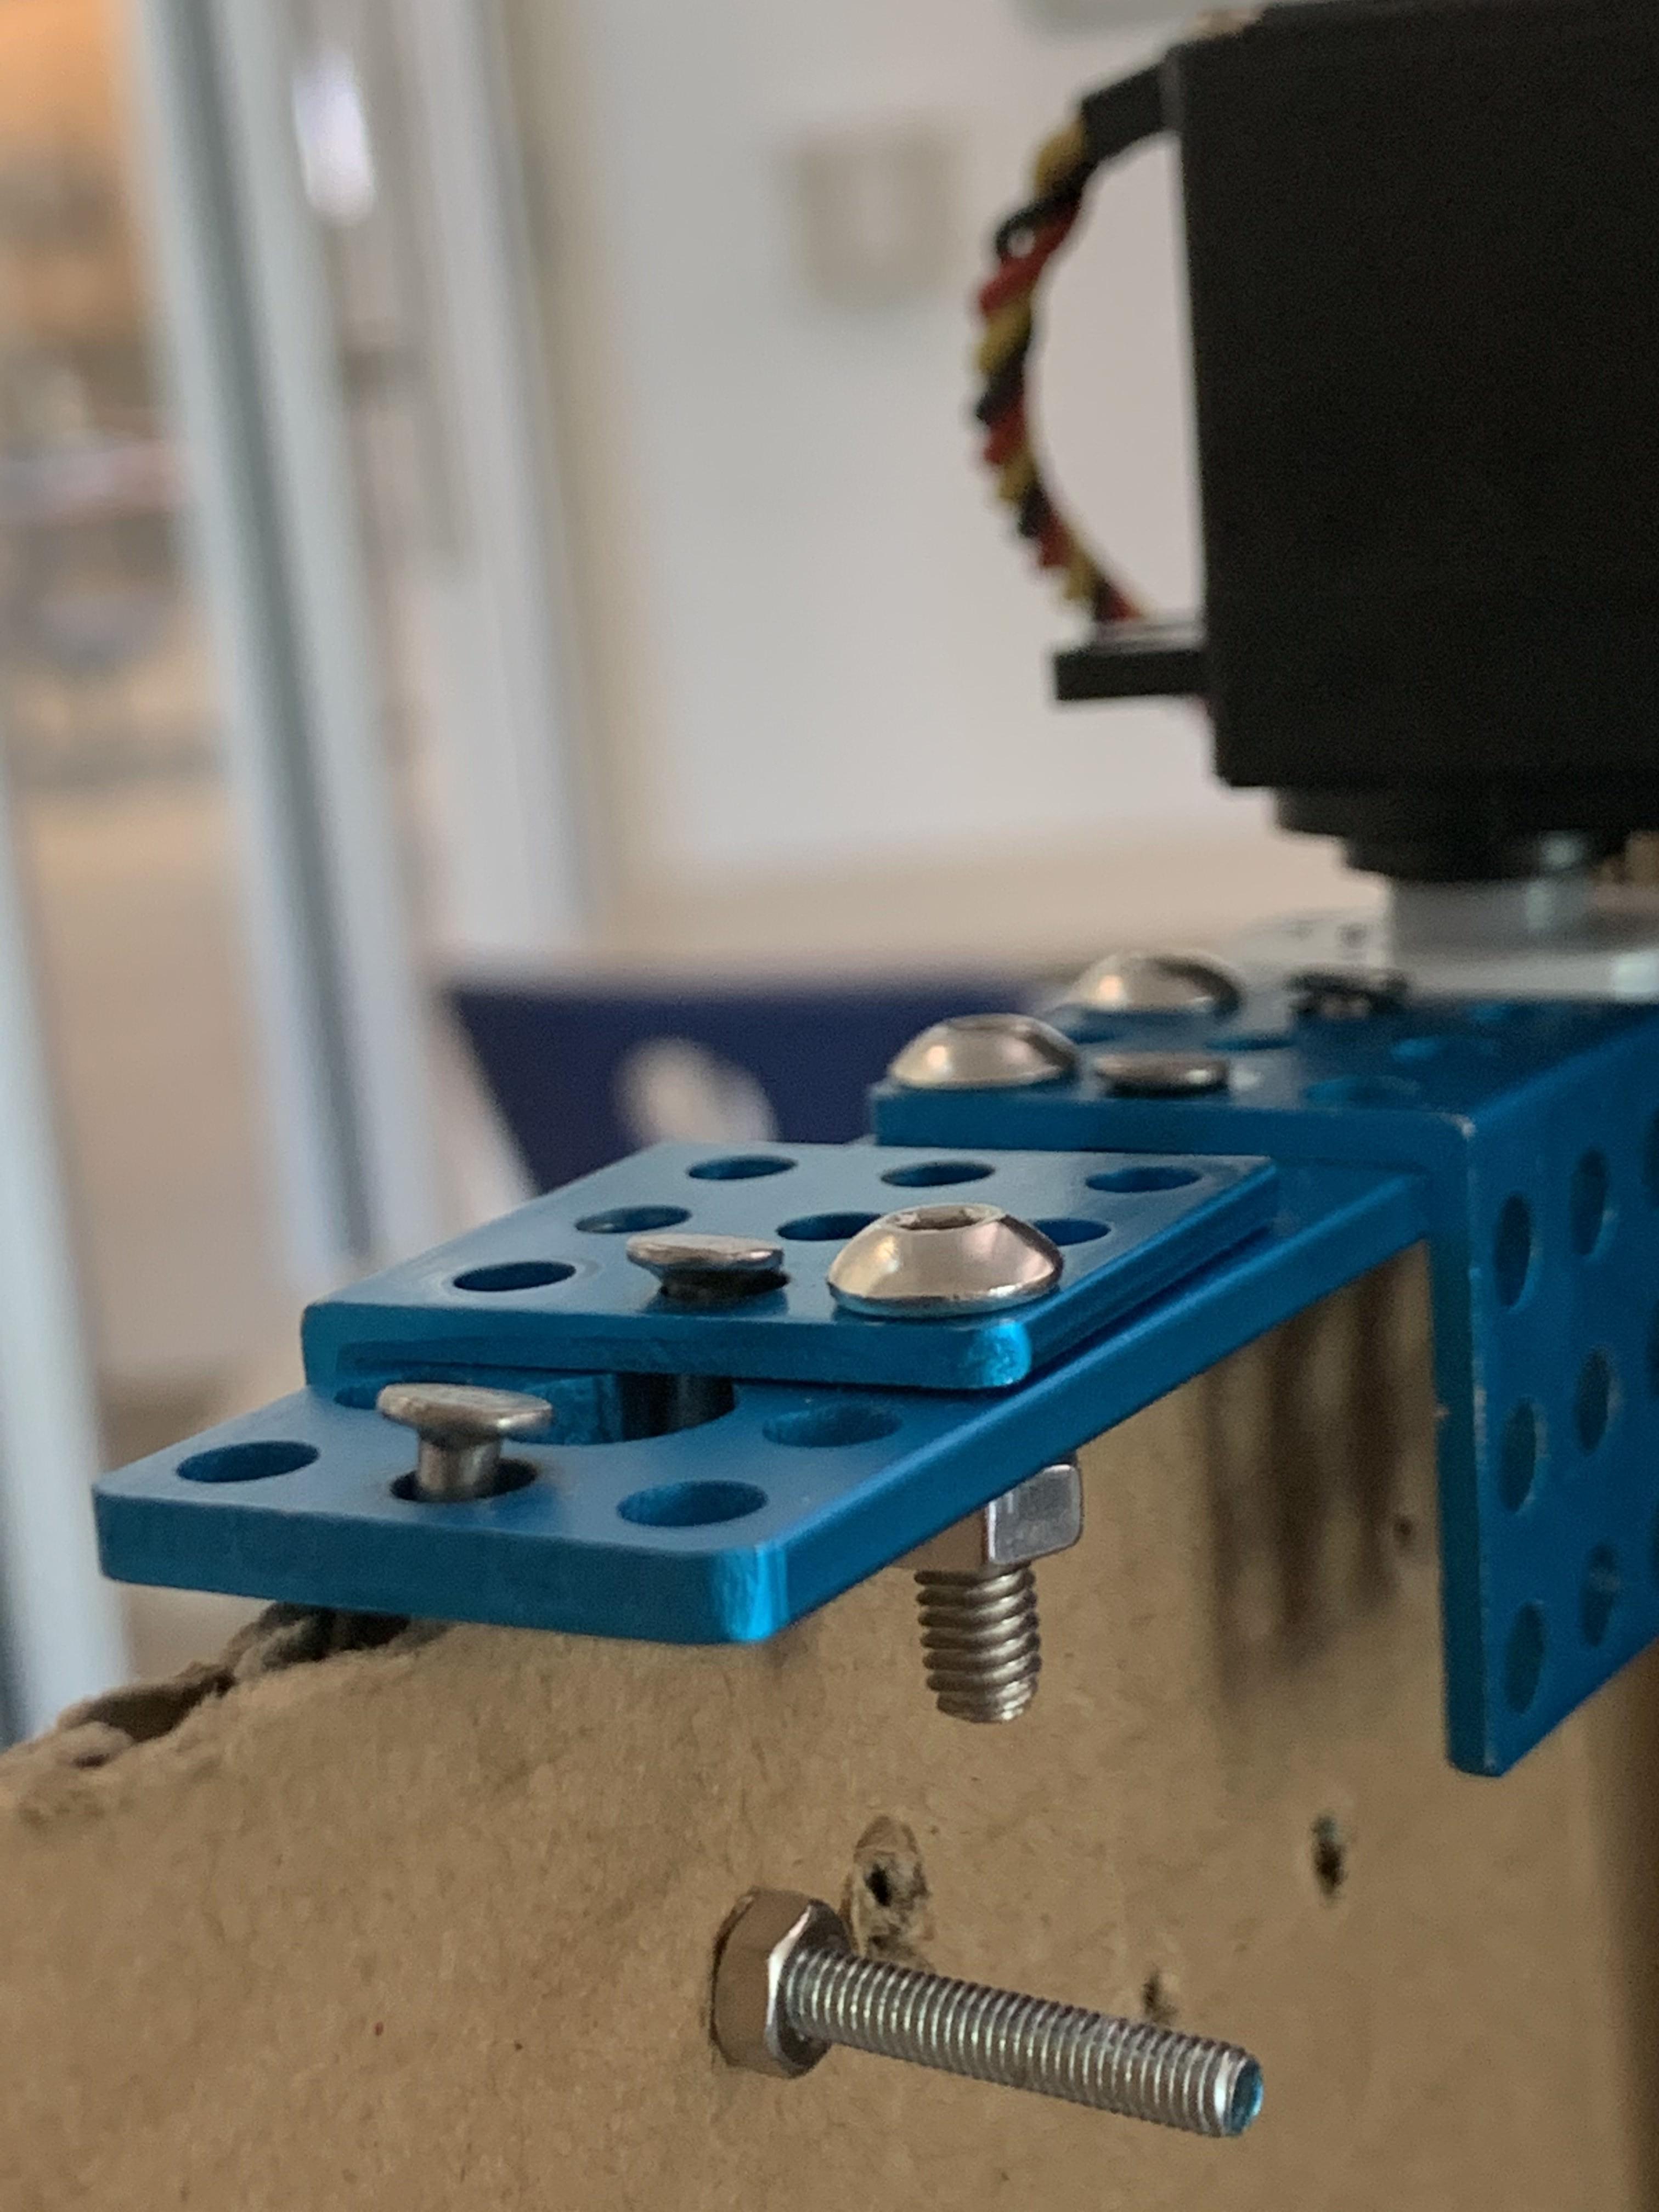
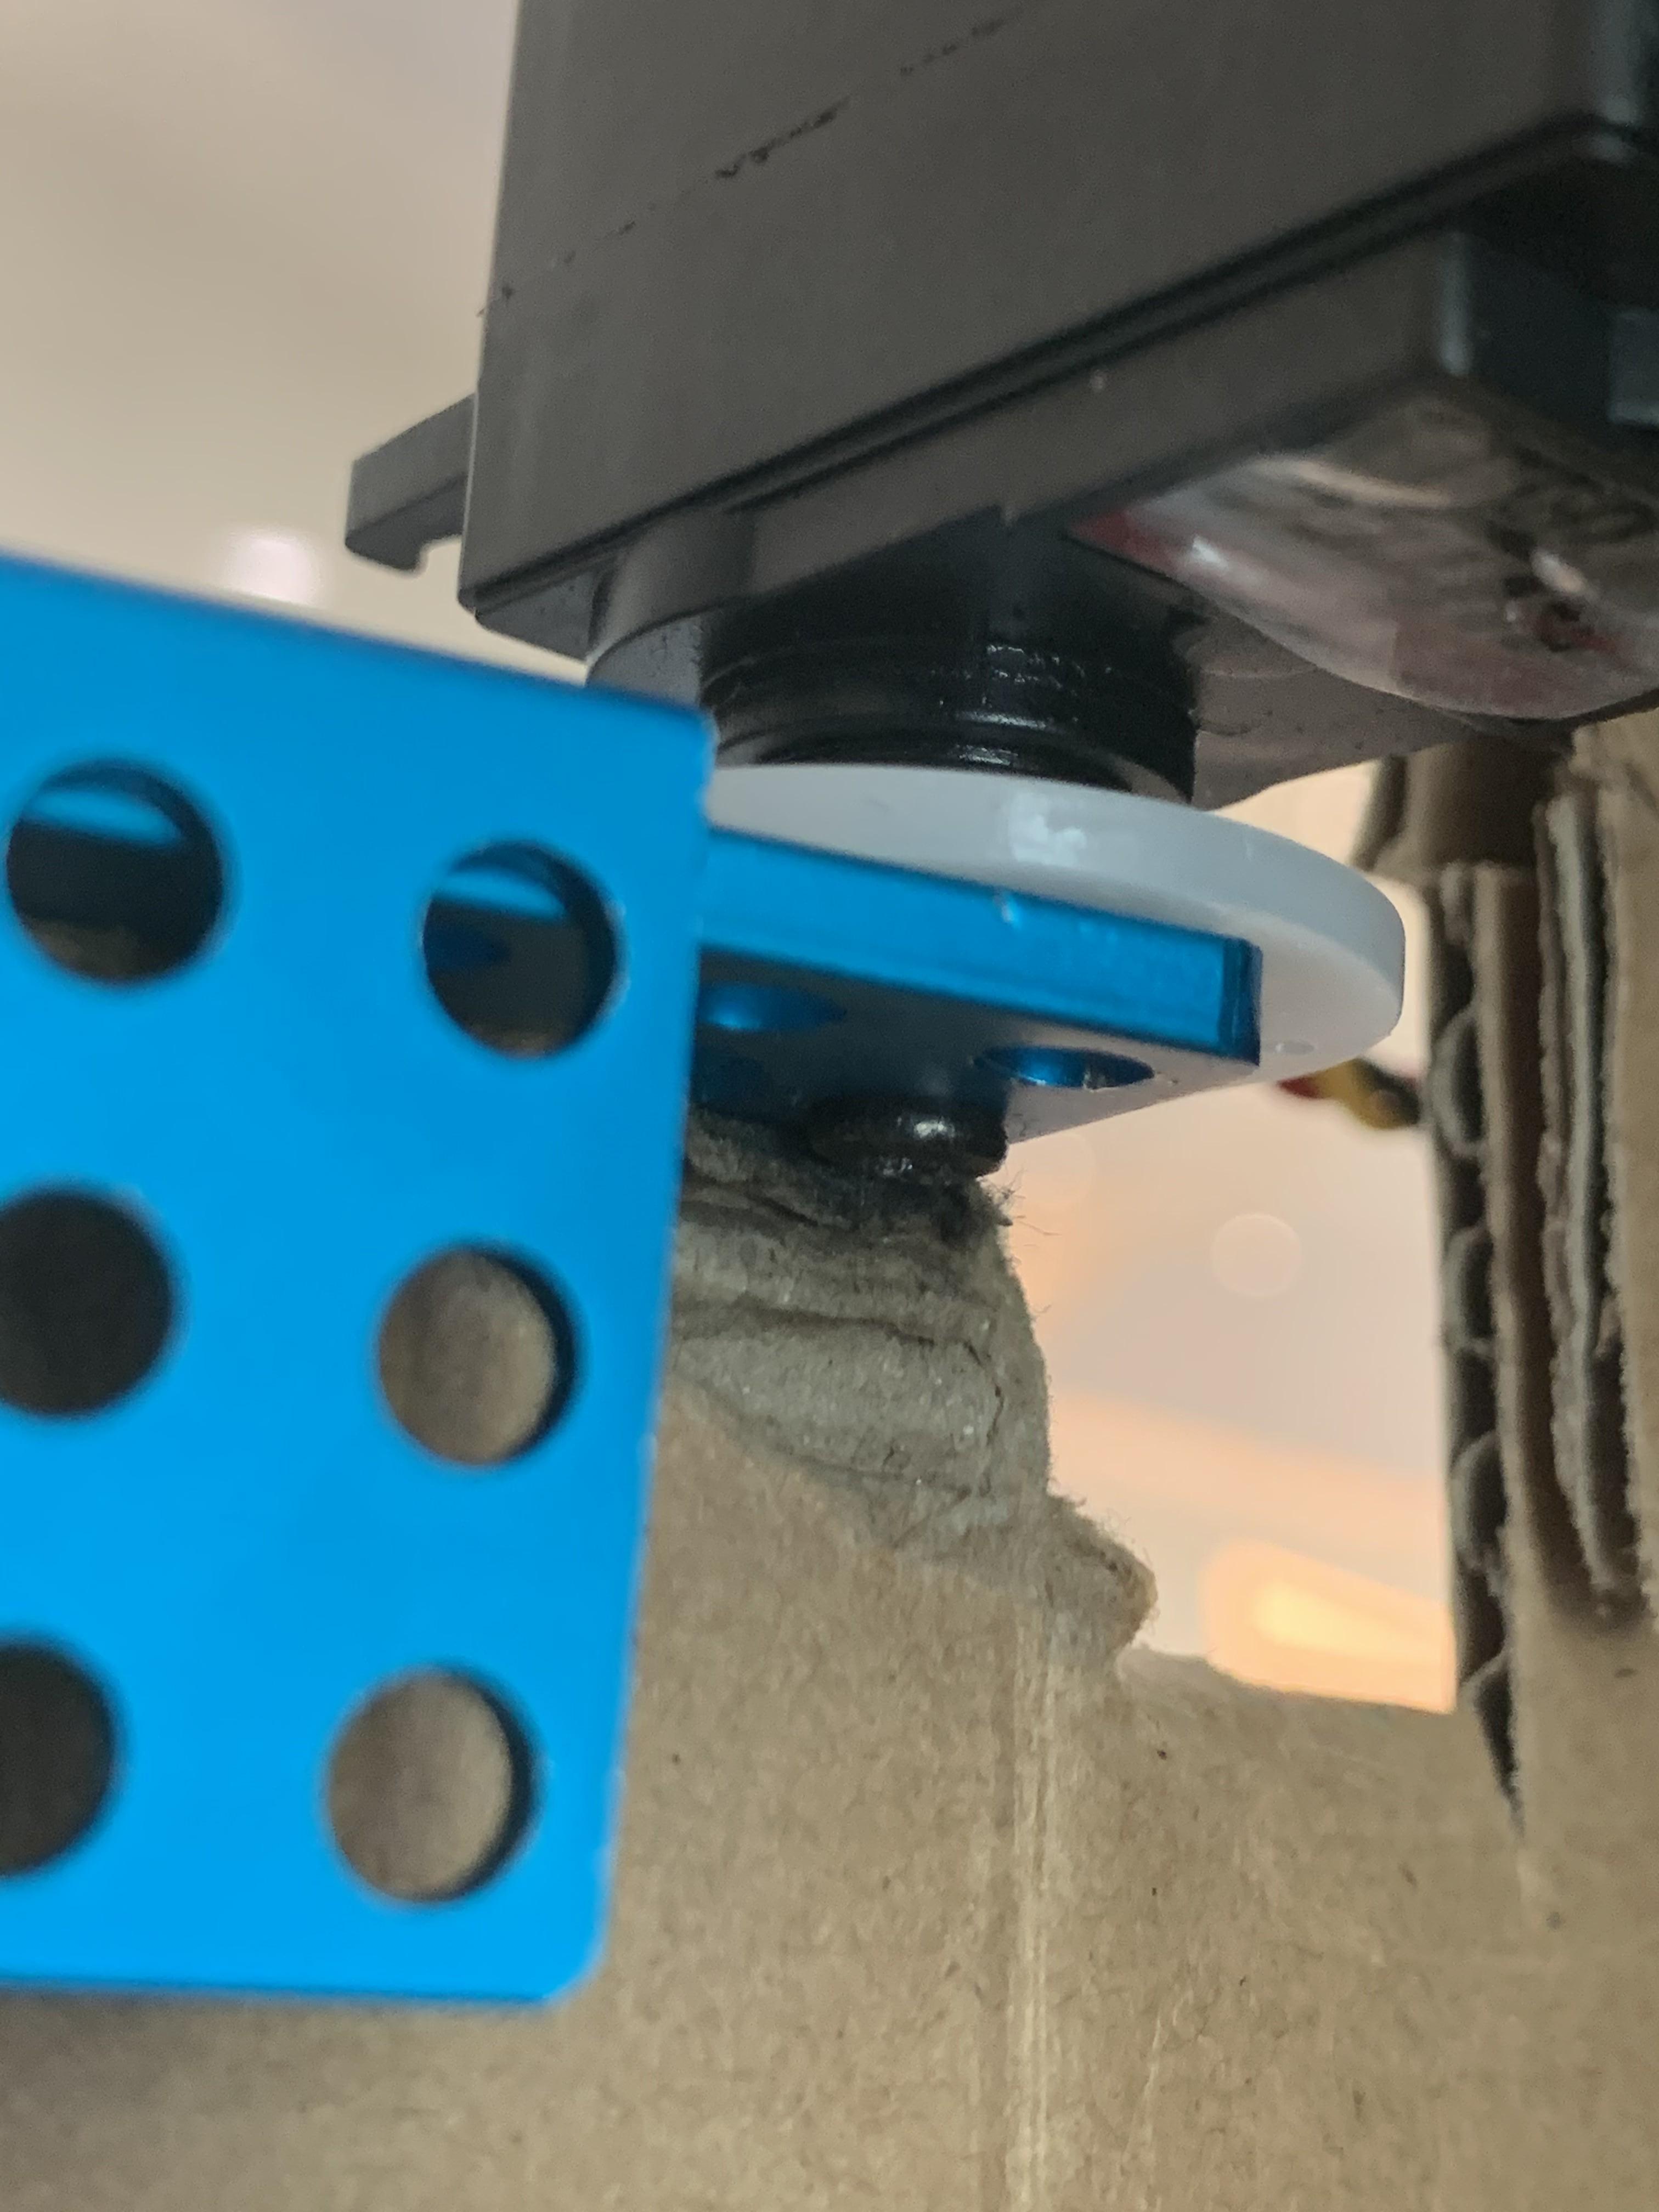
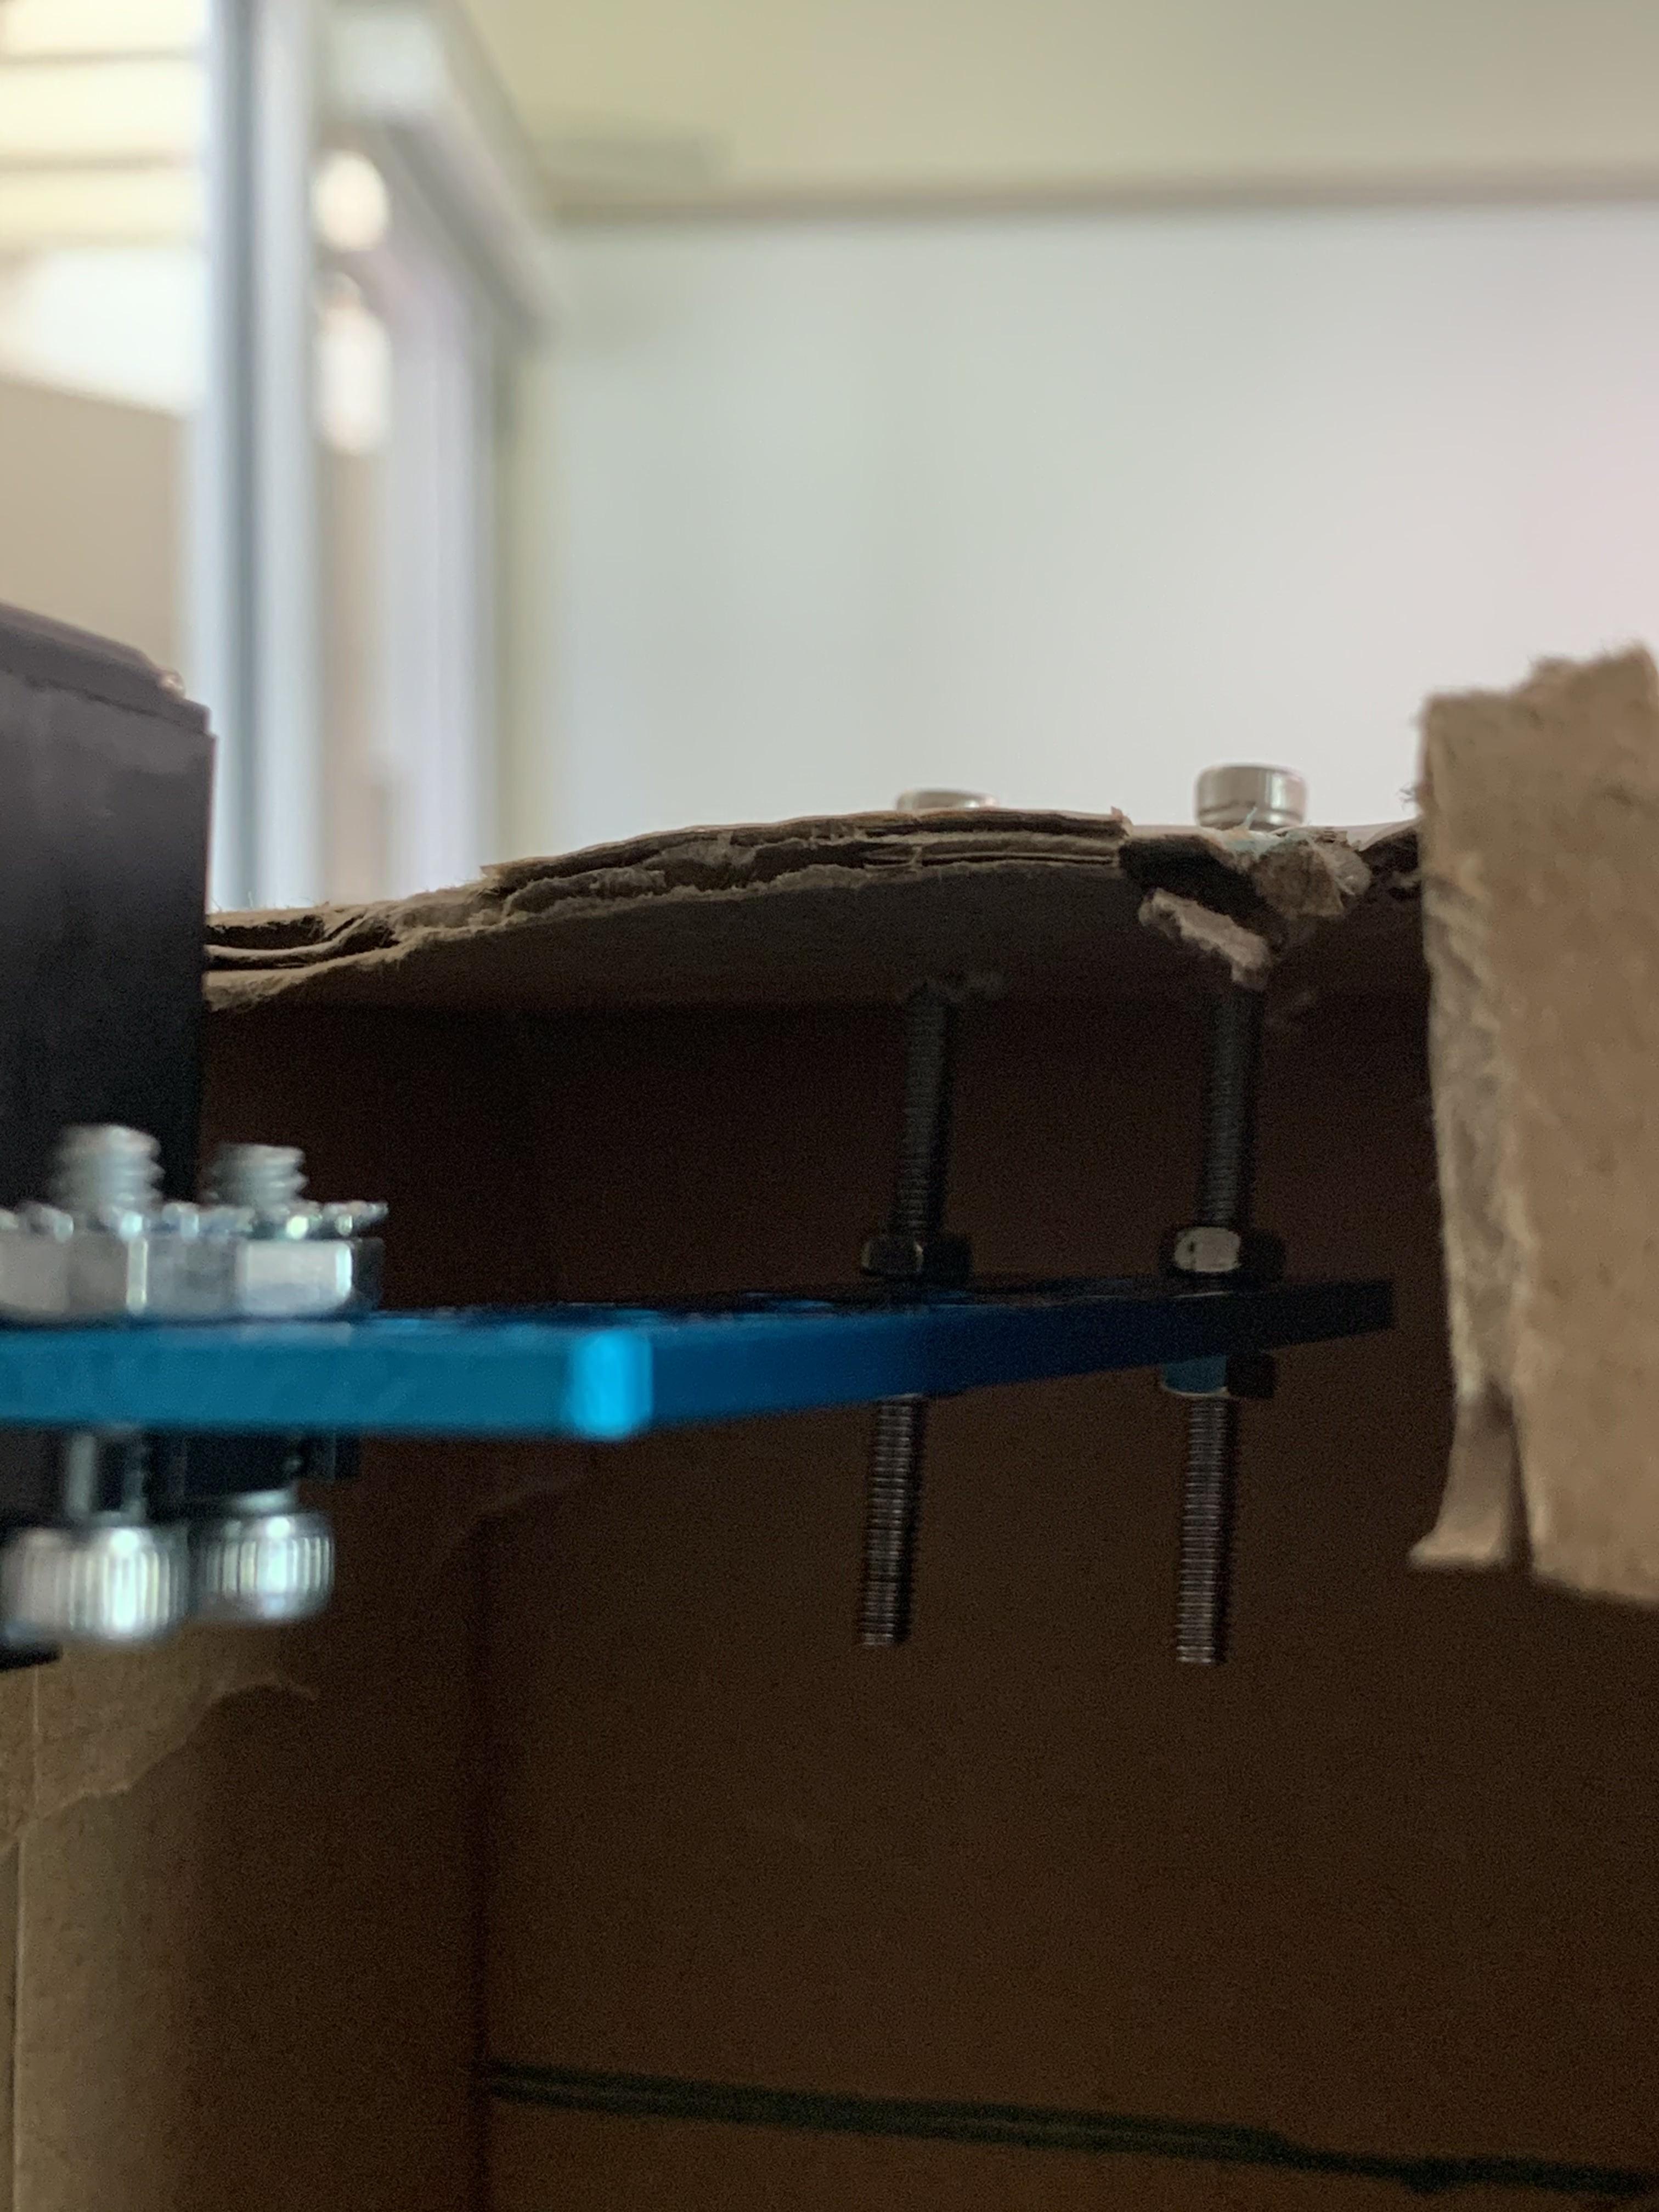
Attach a metal bar (it can be plastic, but it must have holes so that screws and nails can go through) to the top part of the door of the cardboard box. Then put nails into it, so that it stays firm. Then, put two "L" shaped metal pieces on top, and screw those in, as the image shows. Then connect the servo to the top of it, with the screw in the center of the servo connecting into the metal bar at the end, and then put another metal bar going out from the servo and have it go into the box. Then screw it in snugly.
Step 2: the Pictures
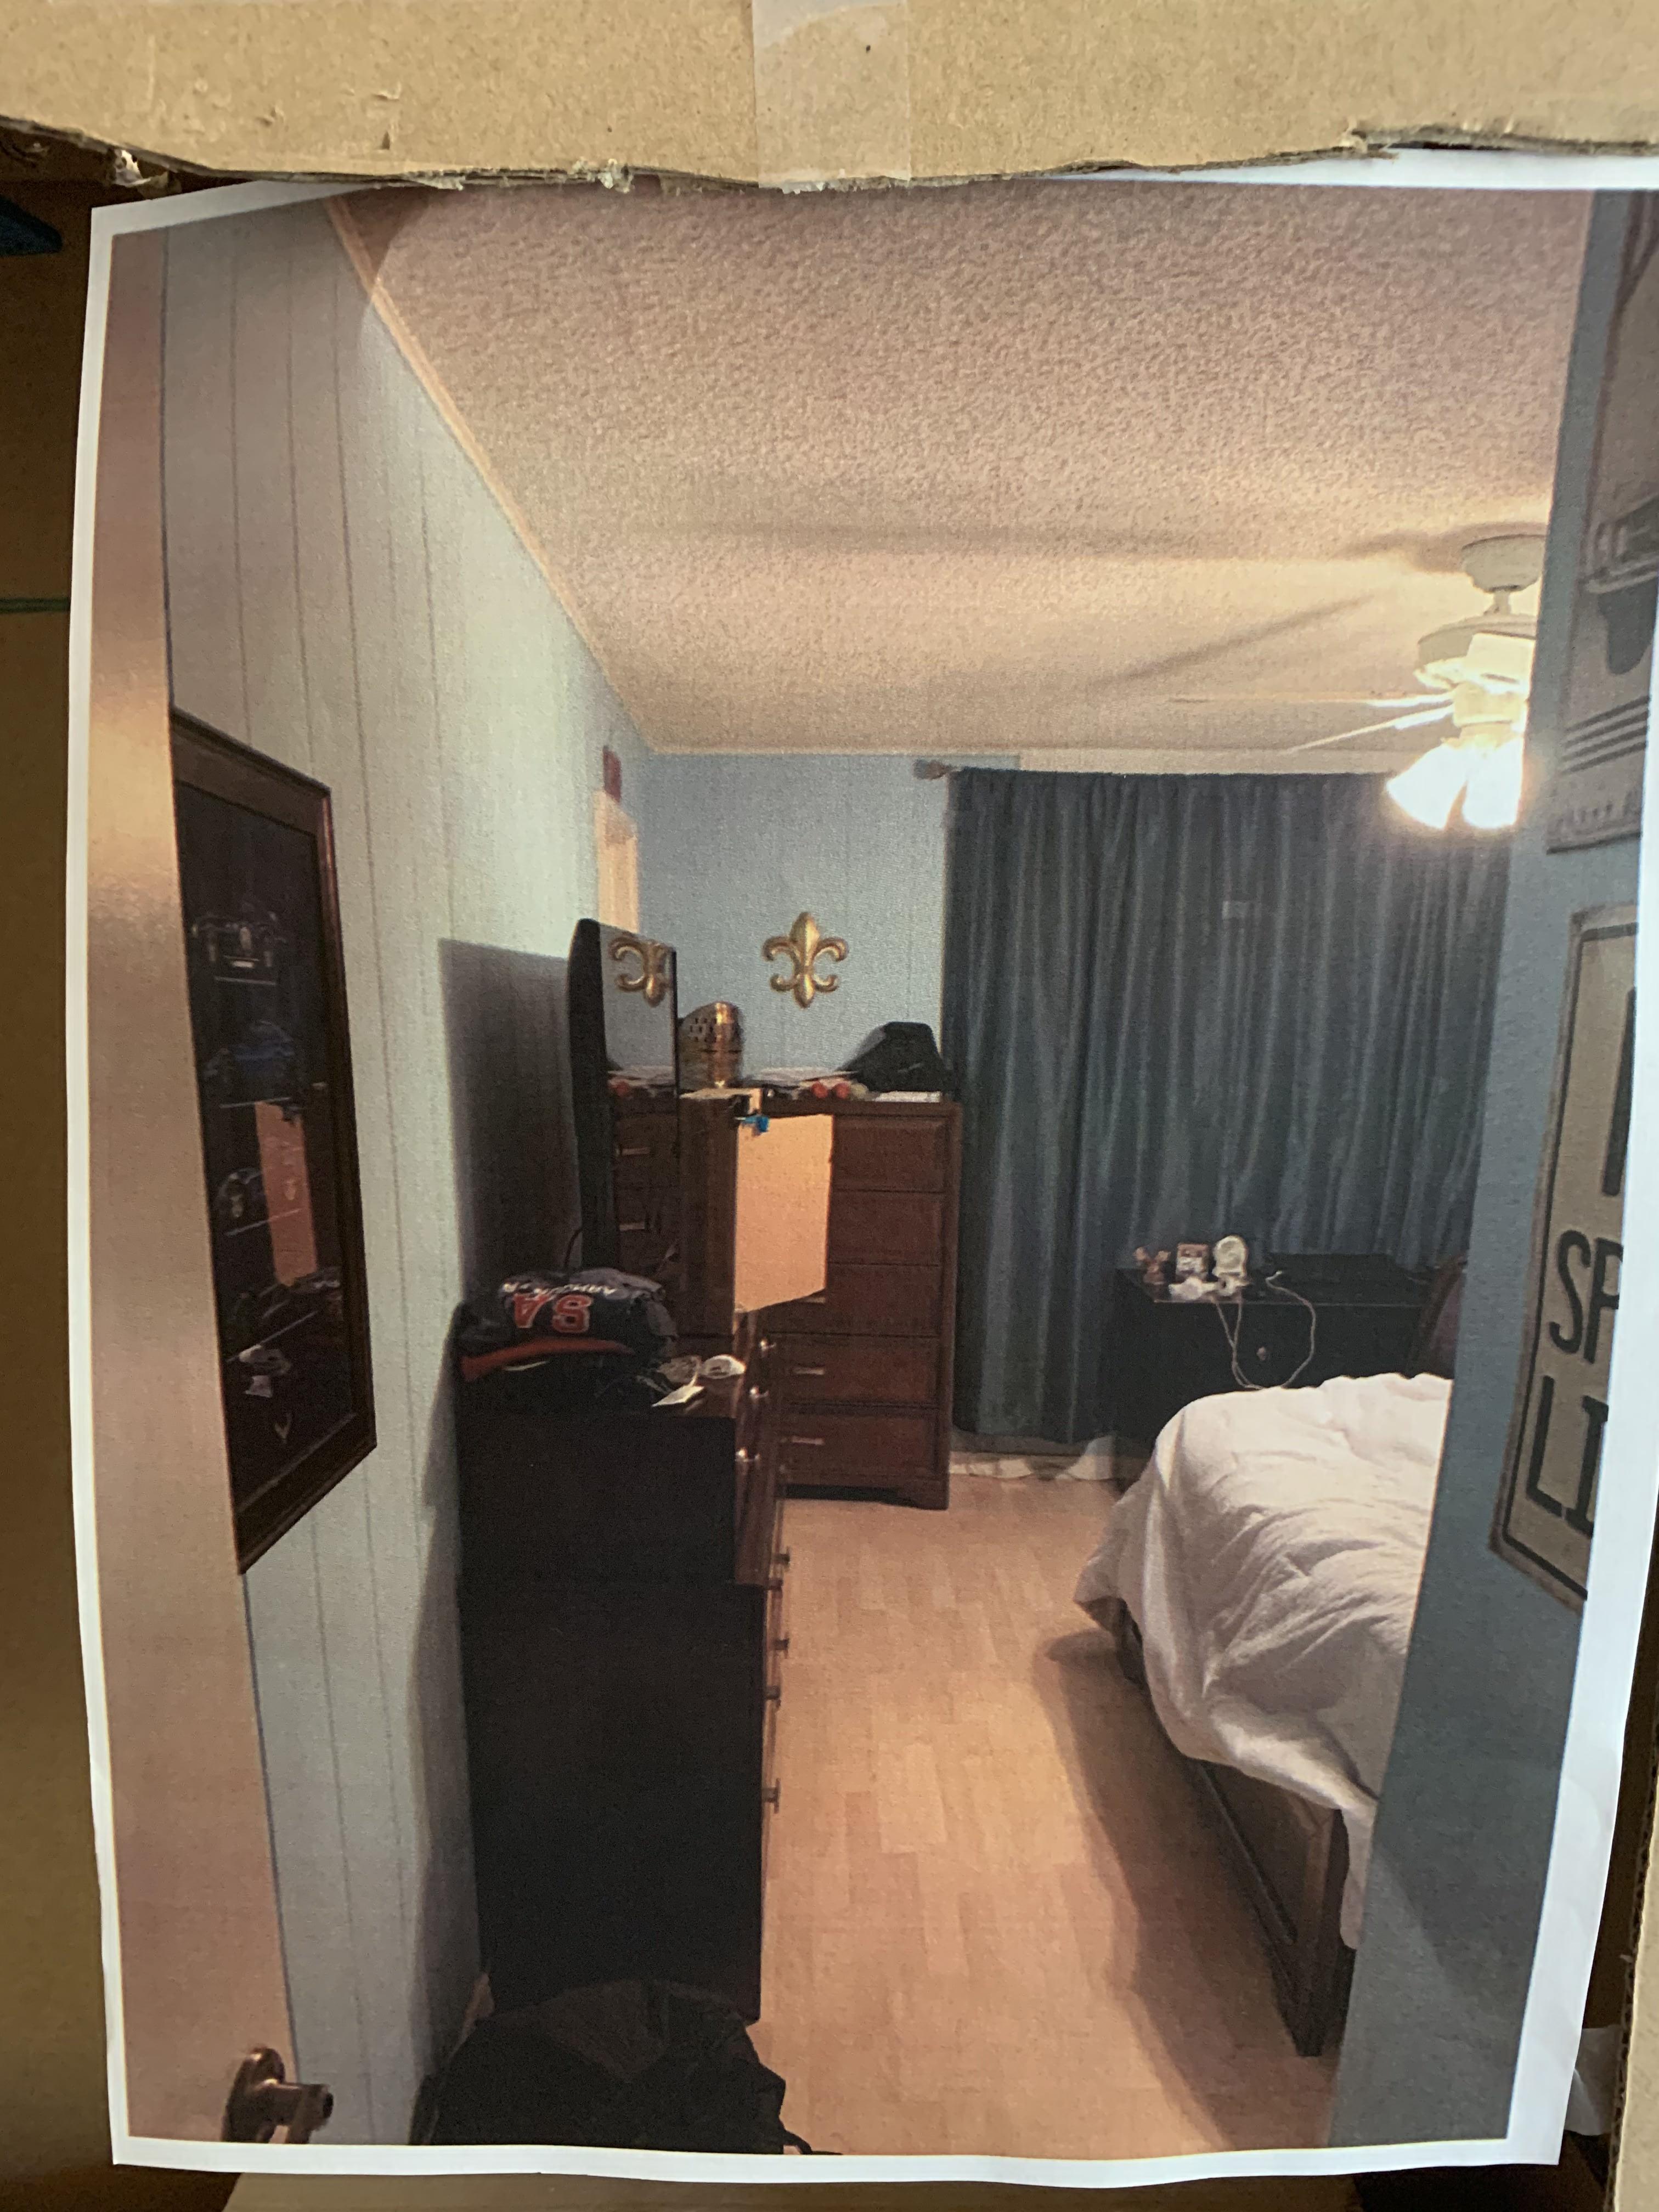
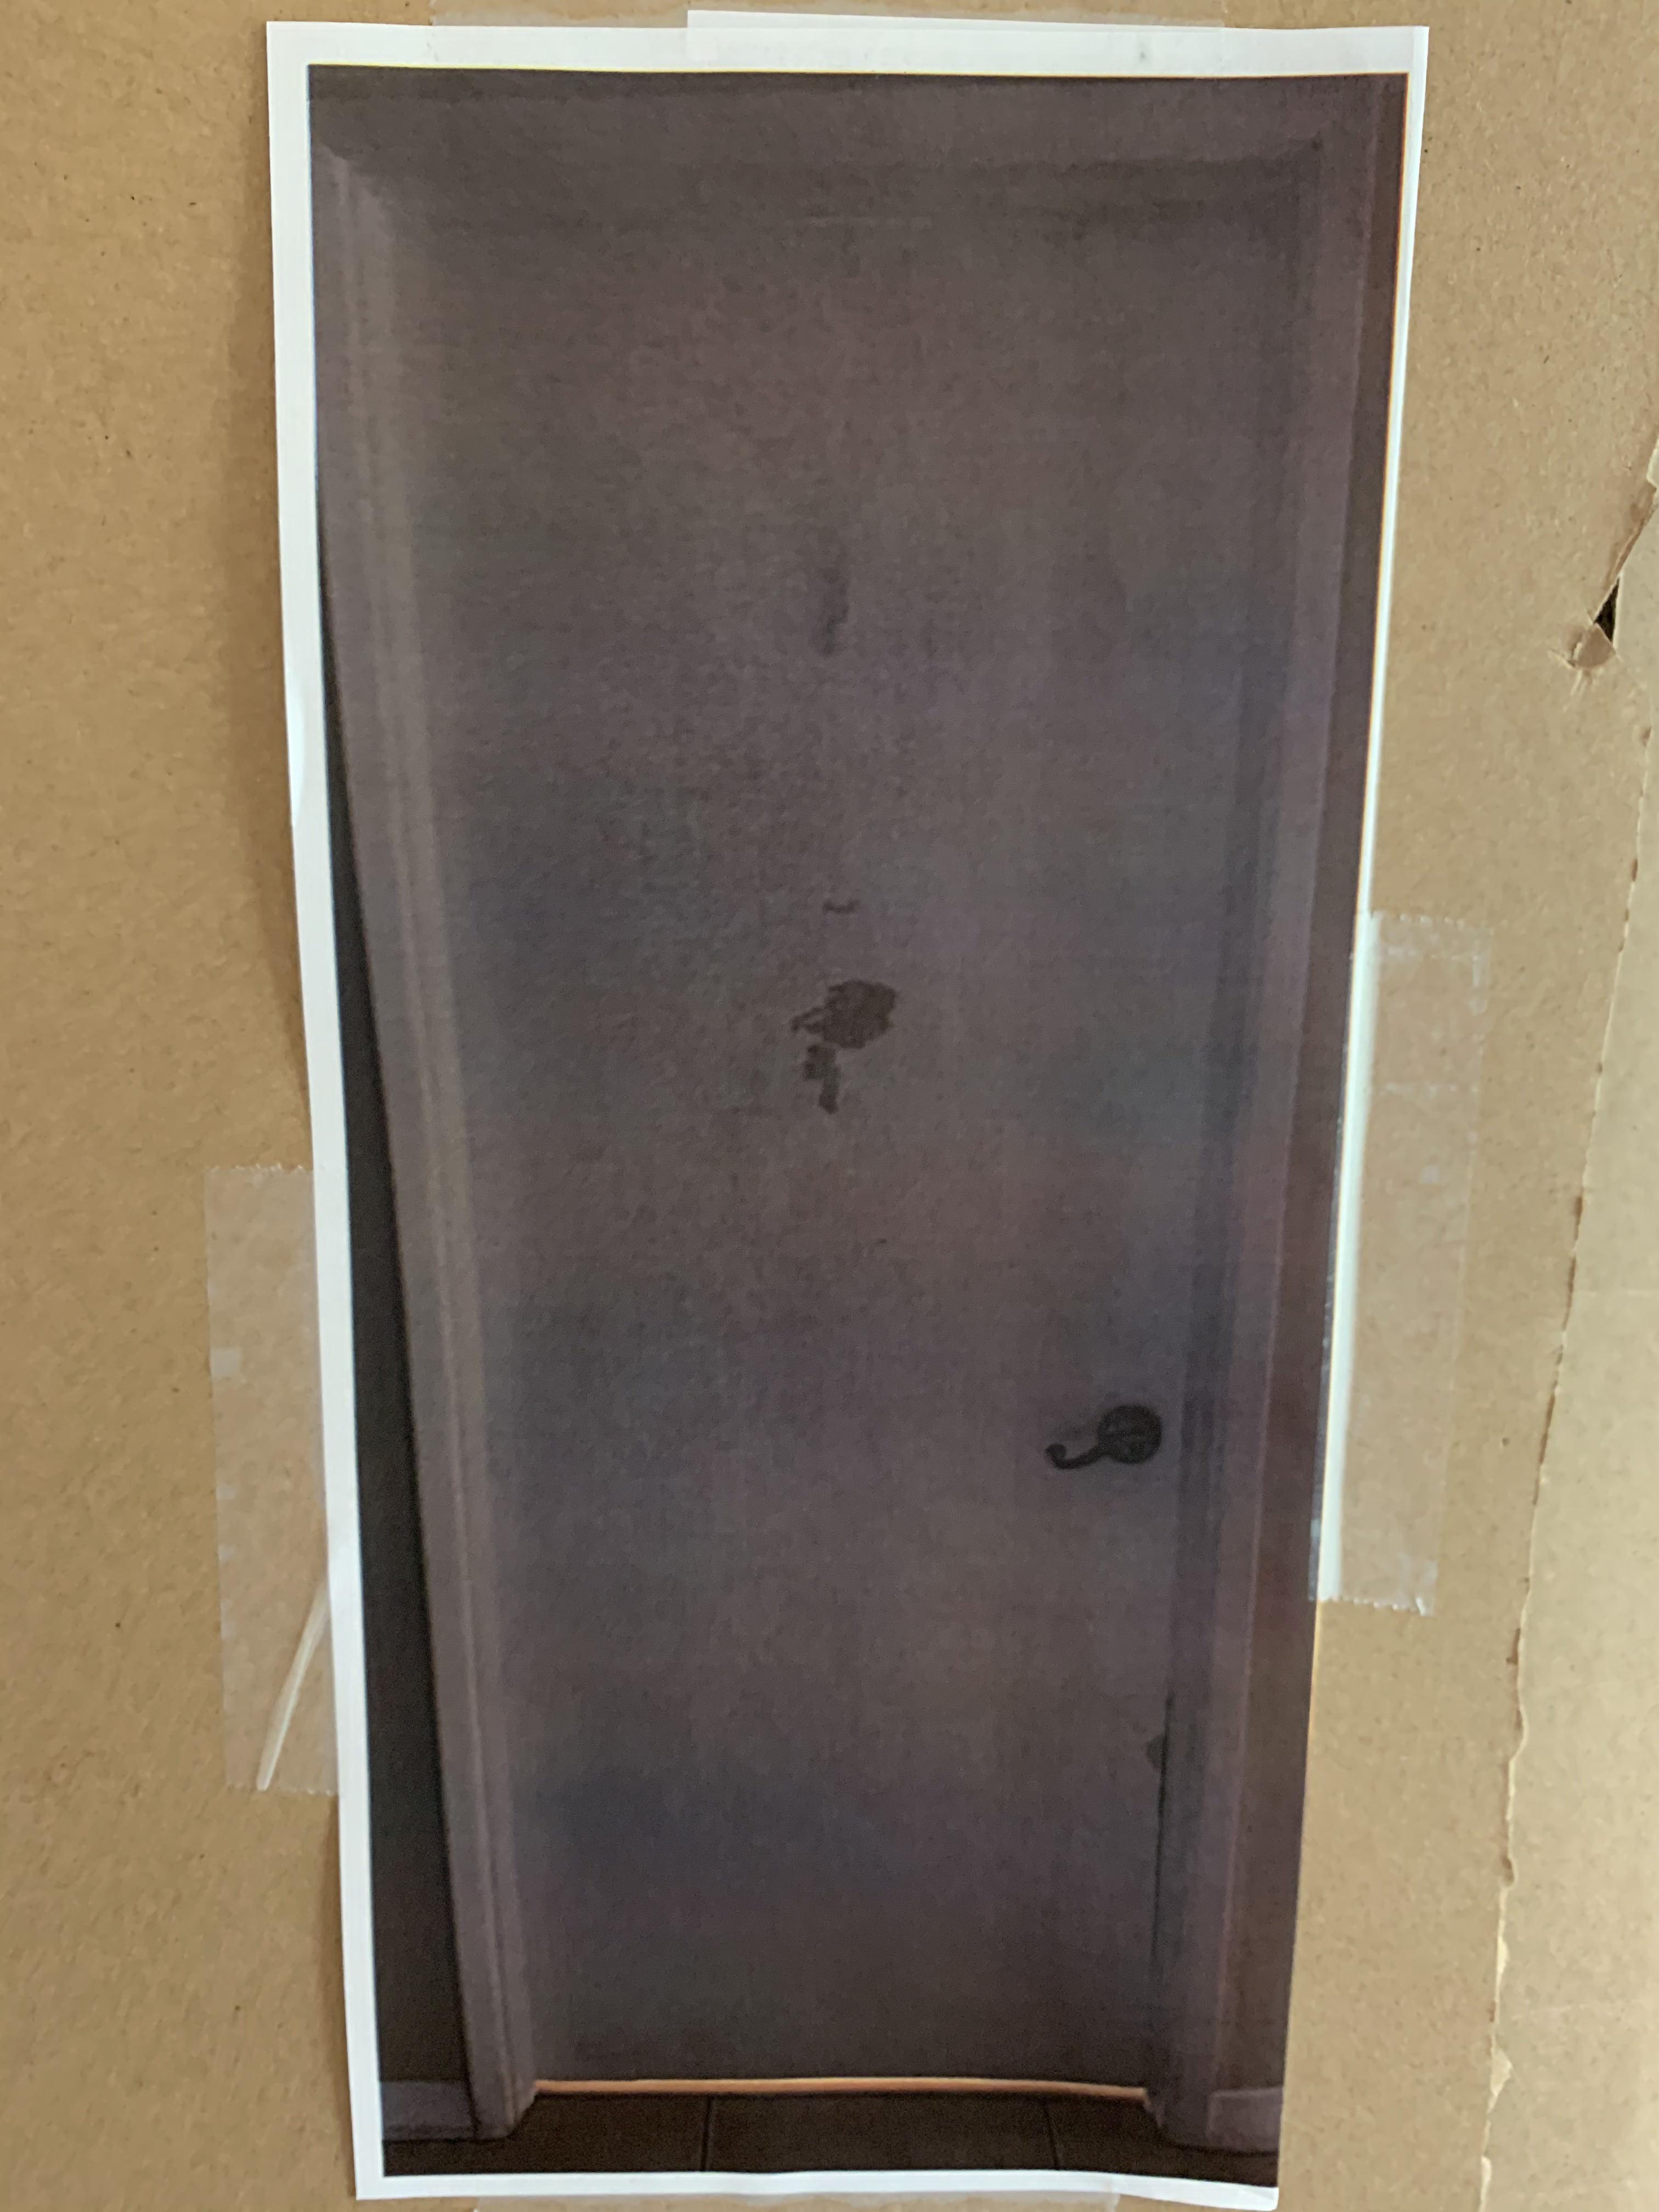
To make it seem more realistic, since this is but a prototype, take pictures of your room, like I did, and tape them to the top.
Step 3: the Wiring
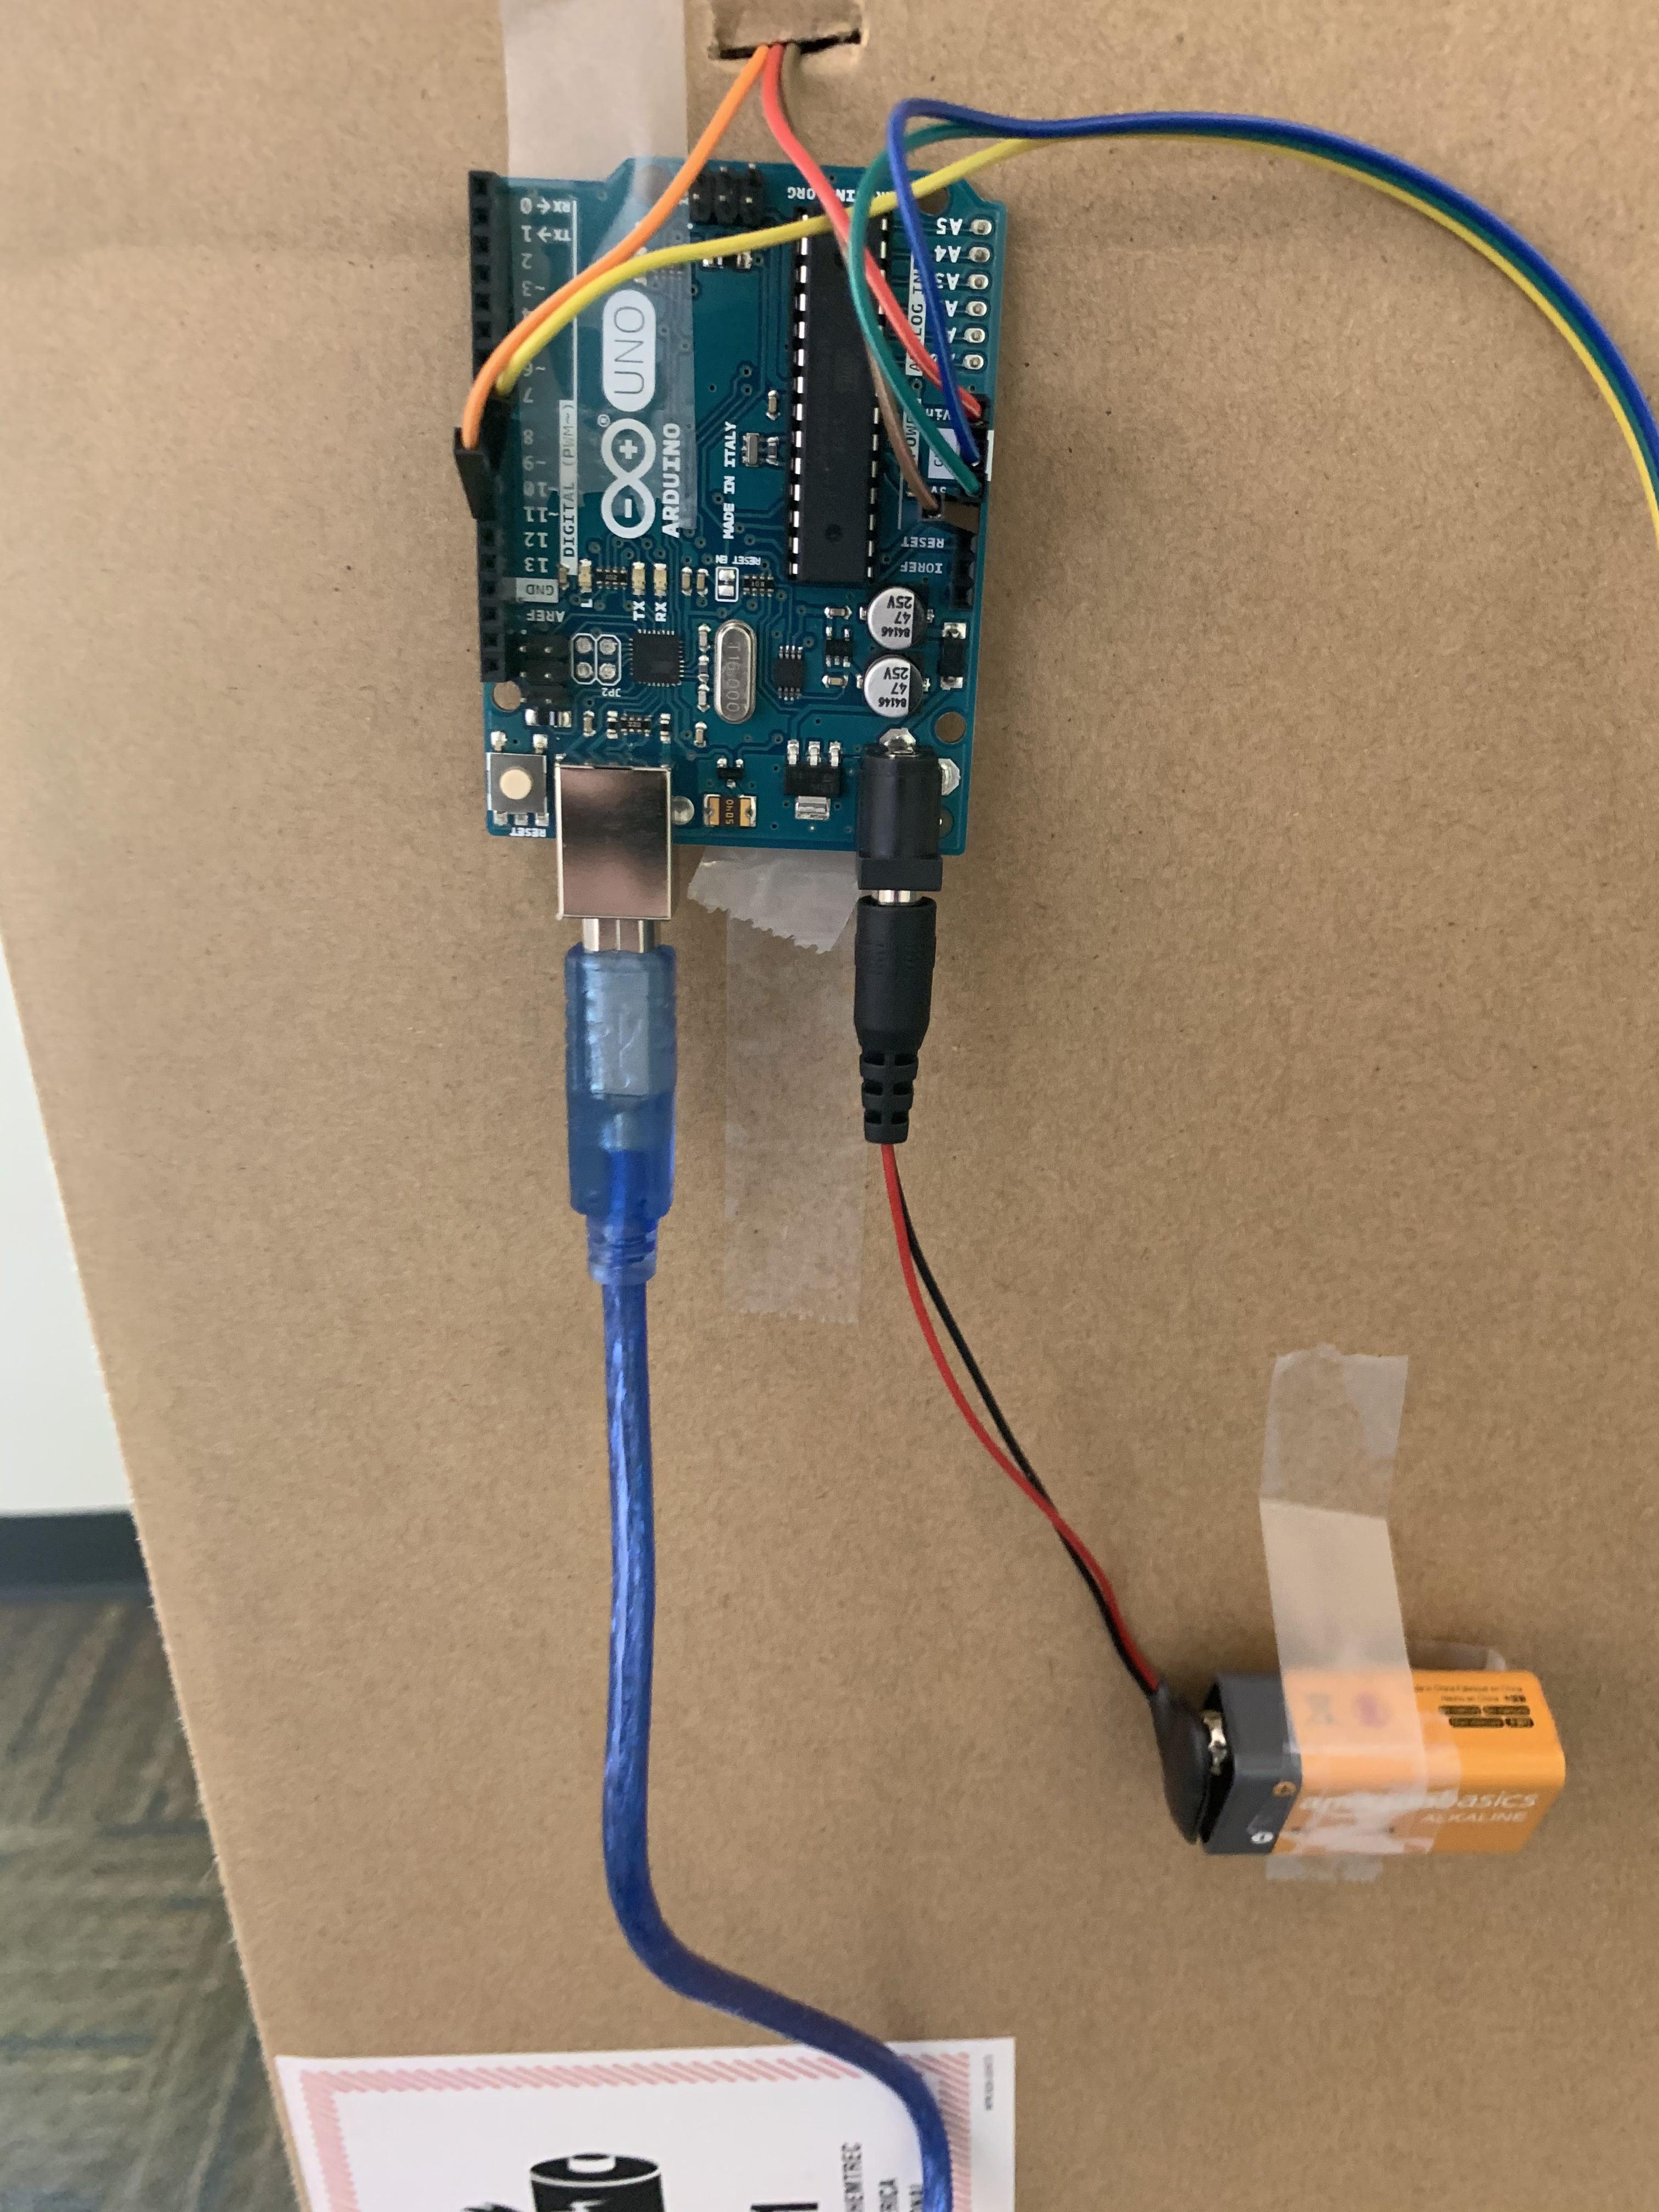
For the Servo
- Blue -> Black
- Green -> Red
- Yellow -> Yellow
Step 4: the IR Sensor
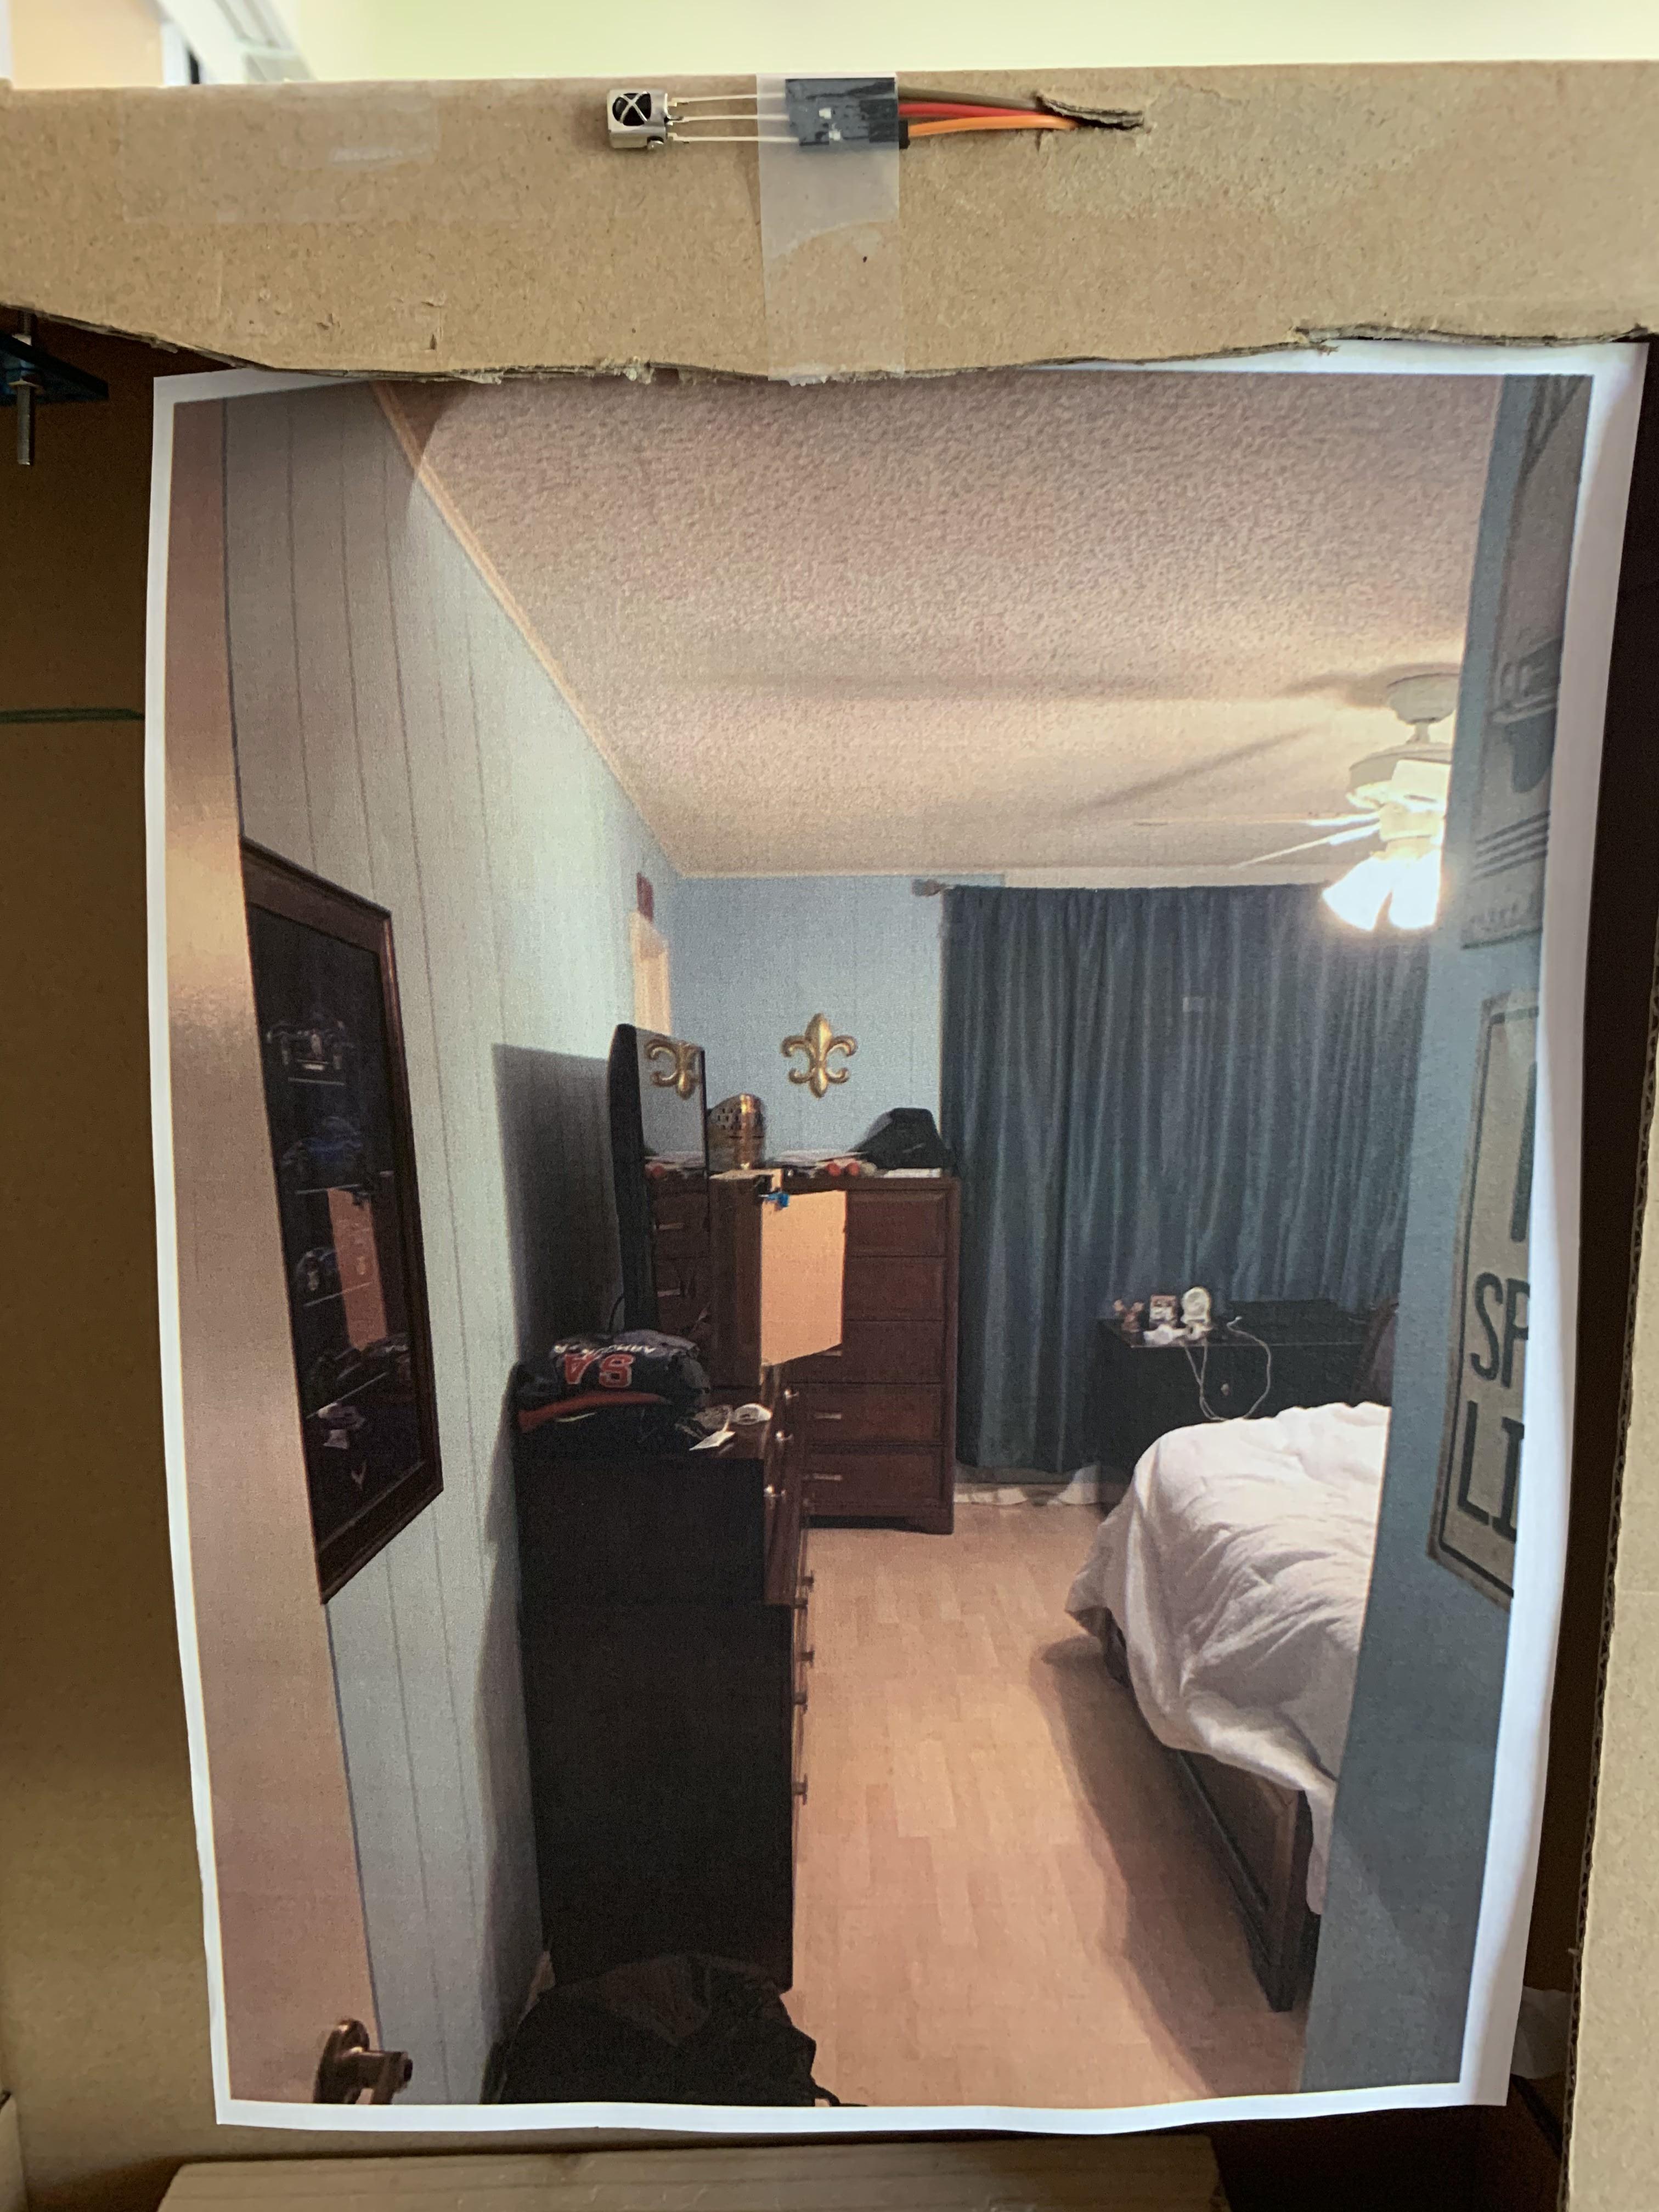
Tape the IR Sensor sideways at the top of the box, and then wire the wires from it through the box to the back and then connect it as such:
- Red -> GND
- Brown -> 3.3 V
- Orange -> 12
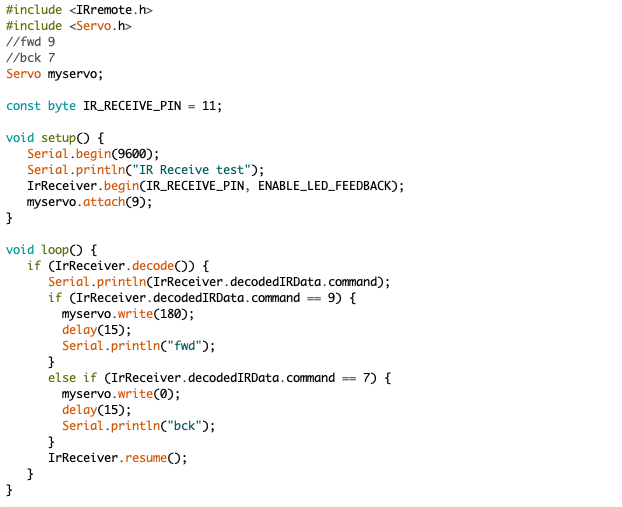
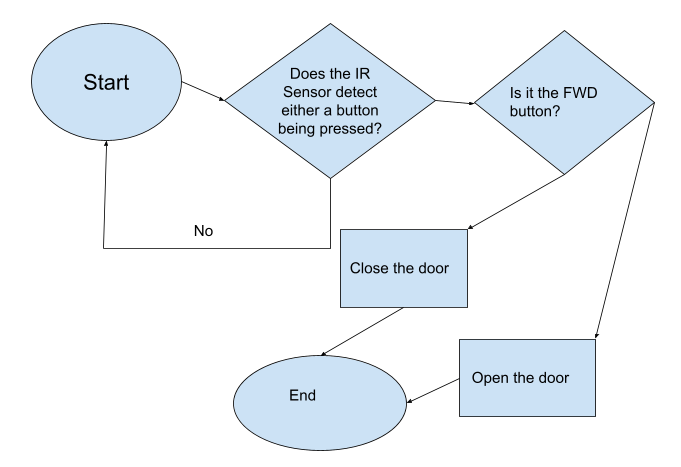
Step 5: the Coding
Step 6: Finished
You're done! It should look like the attached video! Good job!