Door Controlled Light (wireless!)
by gfwilliams in Workshop > Lighting
535 Views, 1 Favorites, 0 Comments
Door Controlled Light (wireless!)
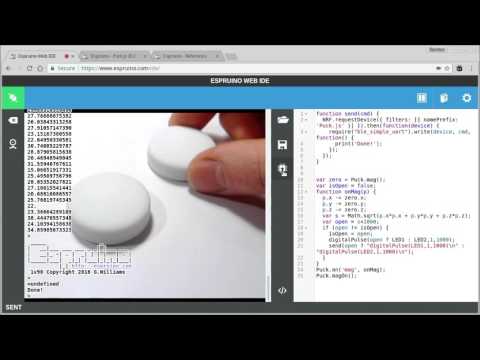
This project shows you how to make a light turn on when a door is opened - wirelessly!
The video will walk you through the process of writing the code to detect a door opening and closing with Puck.js, but if you just want to make this without seeing how the code is written, follow these steps!
You'll need:
- An Infrared controlled Light Bulb
- Two Puck.js devices (one as a sensor, one to send the IR signals)
- A magnet (for the door sensor)
Make sure you've followed the Puck.js getting started guide - so the firmware on the Puck.js devices is up to date and you can connect to them with the Espruino IDE.
Setting Up the Light
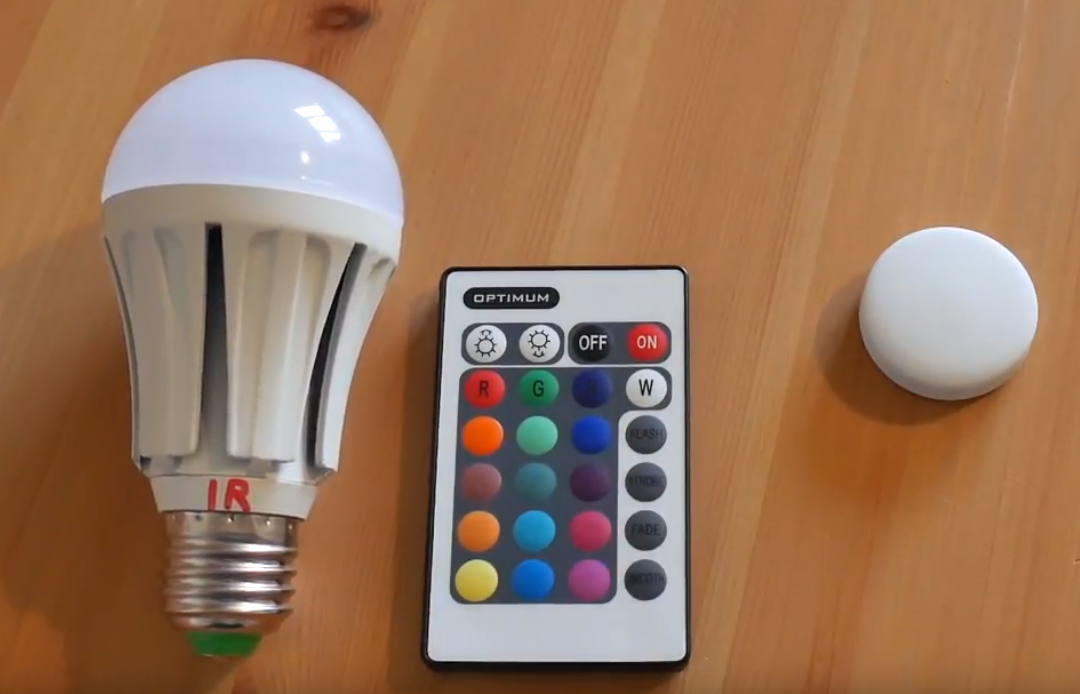
Set up your bulb so that it is connected to the mains and turned on, and so that one Puck.js device is less than 0.5m away from it.
Now, on a modern Android Phone, Mac, or other Web Bluetooth-enabled device, go to http://www.espruino.com/Puck.js+Infrared#playback and click the 'Try Me' link at the bottom of the code snippet.
Click on 'On', choose the Puck.js device from the list, and then see if you can use the buttons to control your LED bulb. If it doesn't work, follow the instruction here to record your own IR waveforms.
Detecting Door Opening
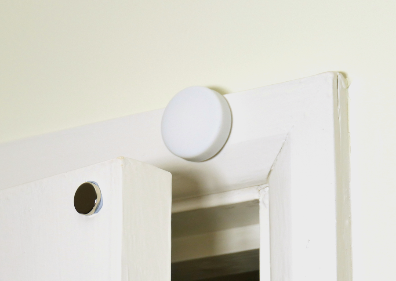
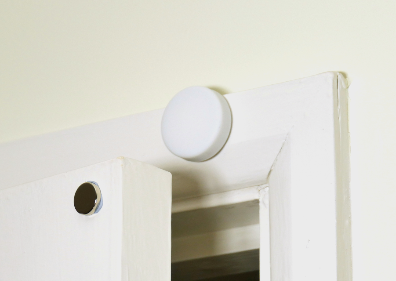
Add the second Puck.js to your door frame, with the magnet attached to the door as shown. Leave the door open for the next step!
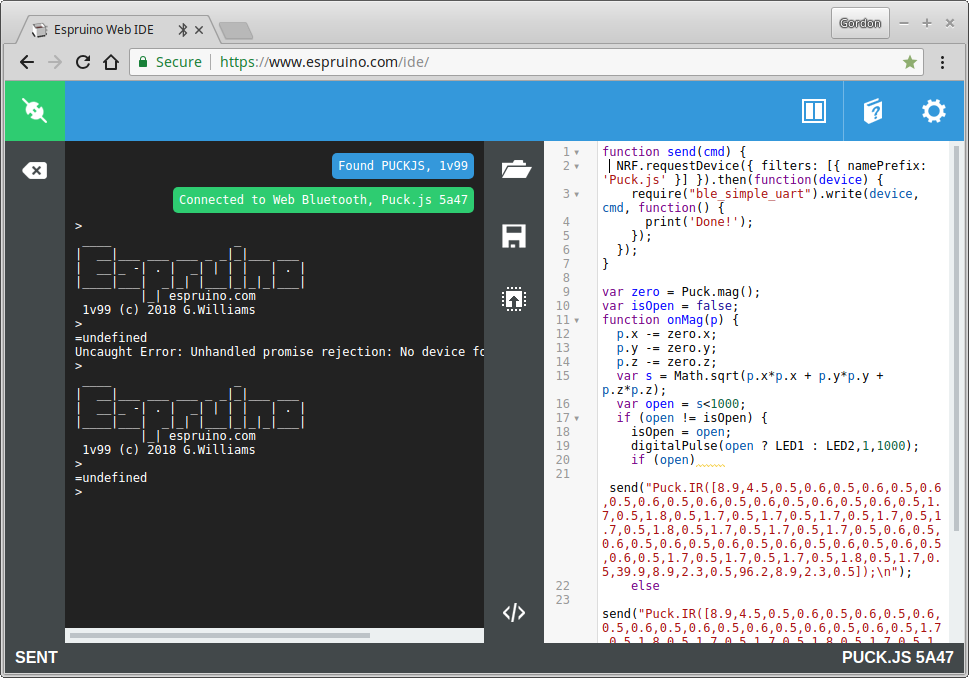
Now it's time to upload your code. Connect the Web IDE as you did in the Quick Start guide, then copy this code onto the right-hand side of the IDE and click 'Upload'.
If your LED light didn't work in the previous step, make sure you replace the `send("Puck.IR...` lines with the new code that you got.
function send(cmd) {
  NRF.requestDevice({ filters: [{ namePrefix: 'Puck.js' }] }).then(function(device) {
    require("ble_simple_uart").write(device, cmd, function() {
      print('Done!');
    });
  });
}var zero = Puck.mag();
var isOpen = false;
function onMag(p) {
  p.x -= zero.x;
  p.y -= zero.y;
  p.z -= zero.z;
  var s = Math.sqrt(p.x*p.x + p.y*p.y + p.z*p.z);
  var open = s<1000;
  if (open != isOpen) {
    isOpen = open;
    digitalPulse(open ? LED1 : LED2,1,1000);
    if (open)
          send("Puck.IR([8.9,4.5,0.5,0.6,0.5,0.6,0.5,0.6,0.5,0.6,0.5,0.6,0.5,0.6,0.5,0.6,0.5,0.6,0.5,1.7,0.5,1.8,0.5,1.7,0.5,1.7,0.5,1.7,0.5,1.7,0.5,1.7,0.5,1.8,0.5,1.7,0.5,1.7,0.5,1.7,0.5,0.6,0.5,0.6,0.5,0.6,0.5,0.6,0.5,0.6,0.5,0.6,0.5,0.6,0.5,0.6,0.5,1.7,0.5,1.7,0.5,1.7,0.5,1.8,0.5,1.7,0.5,39.9,8.9,2.3,0.5,96.2,8.9,2.3,0.5]);\n");
    else
       send("Puck.IR([8.9,4.5,0.5,0.6,0.5,0.6,0.5,0.6,0.5,0.6,0.5,0.6,0.5,0.6,0.5,0.6,0.5,0.6,0.5,1.7,0.5,1.8,0.5,1.7,0.5,1.7,0.5,1.8,0.5,1.7,0.5,1.7,0.5,1.8,0.5,0.6,0.5,1.7,0.5,1.7,0.5,0.6,0.5,0.6,0.5,0.6,0.5,0.6,0.5,0.6,0.5,1.7,0.5,0.6,0.5,0.6,0.5,1.8,0.5,1.7,0.5,1.7,0.5,1.8,0.5,1.7,0.5,39.9,8.9,2.3,0.5,96.2,8.9,2.3,0]);\n");  }
}
Puck.on('mag', onMag);
Puck.magOn();
And that's all you need! If you have more than one Puck.js device you can change [{ namePrefix: 'Puck.js' }] to [{ name: 'Puck.js abcd' }] where abcd is your Puck's name to ensure that the correct device always gets used.
It's also possible to skip out the middle-man and control Bluetooth Lights directly from the Puck.js on the door - however it can be much harder to find compatible lights.